How to Clean Glass Stove Top in 15 Gentle Steps
A glass stove top can go from sparkling to streaky in just one cooking session. But with the right technique, you can keep it looking brand new without harsh scrubbing or expensive products. These 15 gentle steps walk you through a safe, effective cleaning routine that protects your cooktop while removing every trace of grease and residue.
Start by letting the surface cool completely—cleaning a hot stove is both dangerous and ineffective. Then, work through each step methodically, from removing loose debris to tackling burnt-on spots with a razor scraper.
The process is straightforward and uses tools you likely already have at home. By following this sequence, you avoid common mistakes like using abrasive pads or the wrong cleaner.
1. Let the Stove Cool Completely
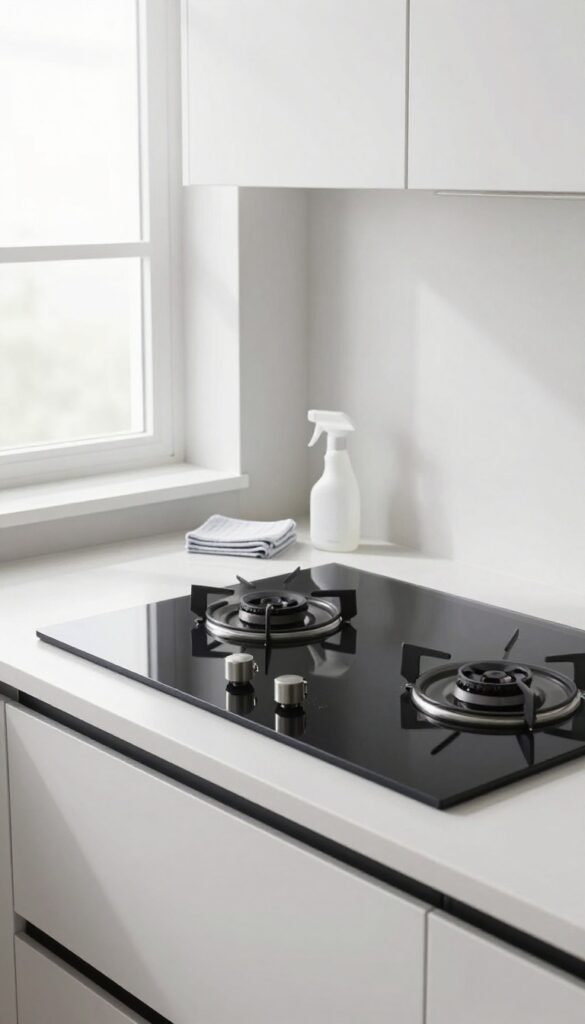
Patience is key when cleaning a glass stove top. Rushing to wipe down the surface while it's still hot can lead to burns, streaks, and even permanent damage. Waiting until the cooktop is completely cool ensures safe handling and better results.
Before you grab any cleaner or cloth, give your stove at least 15 to 20 minutes after the last burner is turned off. The surface may look cool but can still retain heat, especially around the heating elements. Touching it too soon risks injury and can cause cleaning products to evaporate too quickly, leaving residue behind.
Why Cooling Matters
Cleaning a hot stove top is not only dangerous—it's ineffective. Heat can cause food spills to bake on further, making them harder to remove. By letting the surface cool, you allow burnt-on bits to loosen naturally, so they come off with less effort.
How To Tell It's Cool Enough
A simple touch test works: place your palm an inch above the surface. If you feel any warmth, wait another five minutes. For extra safety, check the indicator light on your stove—most models have a "hot surface" light that stays on until it's safe.
2. Remove Loose Debris with a Soft Cloth
Before you bring out any cleaners, take a moment to clear the surface of loose crumbs and particles. This simple step prevents those tiny bits from scratching the glass when you start scrubbing. A dry microfiber cloth works perfectly for this—it grabs debris without leaving lint behind.
Sweep the cloth gently across the entire cooktop, focusing on areas around the burners where food tends to collect. Don't press hard; you're just lifting away what's loose. If you have stubborn crumbs, a soft brush or a vacuum with a brush attachment can help.
Once the surface feels clean to the touch, you're ready for the next step.
Why Microfiber Works Best
Microfiber cloths are designed to trap dust and debris in their fibers rather than pushing them around. Unlike paper towels or sponges, they won't shed or leave scratches. For best results, use a clean, dry microfiber cloth—one that hasn't been used with fabric softener, which can reduce its effectiveness.
What To Skip
Avoid using abrasive cloths, scrub brushes, or even a damp rag at this stage. Water can turn loose crumbs into a paste that's harder to remove. Also, skip any cleaning sprays until after you've cleared the debris—mixing cleaner with food particles can create a gritty mess.
3. Apply a Dedicated Glass Cooktop Cleaner
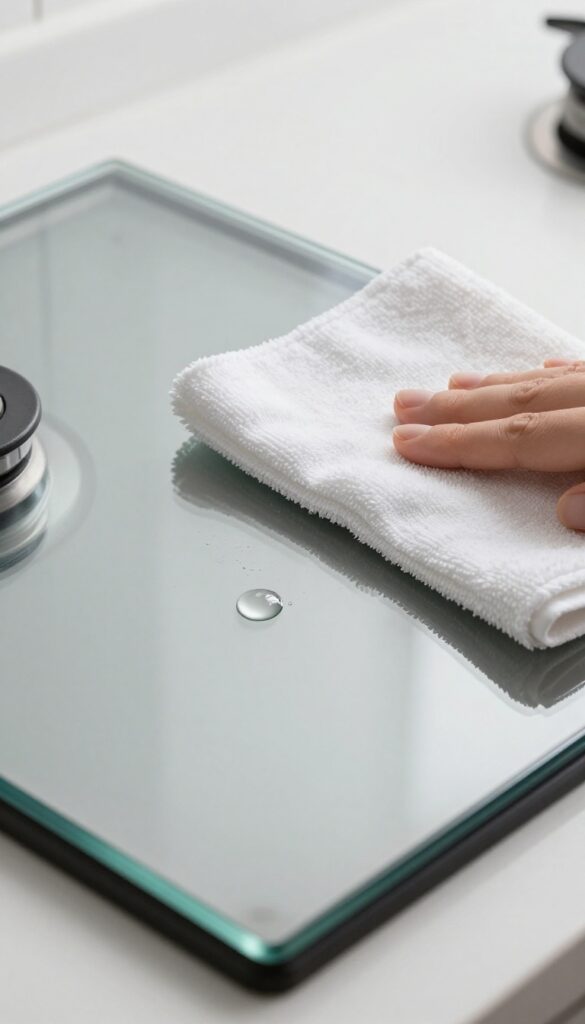
Not all cleaners are safe for glass stove tops. A dedicated glass cooktop cleaner is formulated to cut through grease and baked-on food without scratching the surface. Using the right product makes a huge difference in results and protects your stove from damage.
Choose a cleaner specifically labeled for glass cooktops. These products often contain mild abrasives that are fine enough to polish the glass without scratching. Squeeze or spray a small amount directly onto the cool surface—about the size of a quarter is usually enough.
Avoid using too much, as excess cleaner can leave a residue. Work in small sections so the cleaner doesn't dry out before you wipe it away.
Why Dedicated Cleaners Work Best
General kitchen cleaners may contain ingredients that dull or etch glass over time. Dedicated cooktop cleaners are pH-balanced and designed to dissolve the specific types of residue found on stovetops. They also leave a protective layer that helps prevent future buildup.
How Much To Use
A little goes a long way. Start with a pea-sized drop or a quick spray. If you need more for a stubborn spot, add a tiny bit more.
Spreading it thinly with a soft cloth or sponge ensures even coverage and avoids waste.
Application Tips
Apply the cleaner directly to the glass, not onto your cloth. This lets you see exactly where it's going. Use a circular motion to work it into the surface.
Focus on one area at a time to prevent the cleaner from drying and becoming hard to remove.
4. Spread the Cleaner with a Non-Abrasive Pad
You've got the right cleaner on the surface. Now it's time to work it in gently. The tool you choose makes all the difference between a pristine shine and a scratched-up mess.
Why Non-abrasive Matters
Glass stove tops are surprisingly delicate. Even a seemingly soft scrubby pad can leave micro-scratches that accumulate over time. Those scratches trap dirt and make future cleaning harder.
A non-abrasive pad, like a soft sponge or a dedicated cooktop cleaning pad, glides over the surface without damaging it.
How To Spread The Cleaner
Apply a small amount of cleaner directly to the cooktop or onto the damp pad. Using circular motions, spread the cleaner evenly across the surface. Cover the entire area, focusing on spots with baked-on residue.
Don't press hard—let the cleaner do the work. The goal is a thin, uniform layer, not a thick paste.
Avoid These Common Mistakes
Never use green scrubby pads, steel wool, or any abrasive sponge. They will scratch the glass. Also avoid using too much cleaner, which can leave a sticky film.
If the pad starts to dry out, dampen it slightly with water. Work in small sections so the cleaner doesn't dry before you wipe it off.
5. Let the Cleaner Sit for a Minute
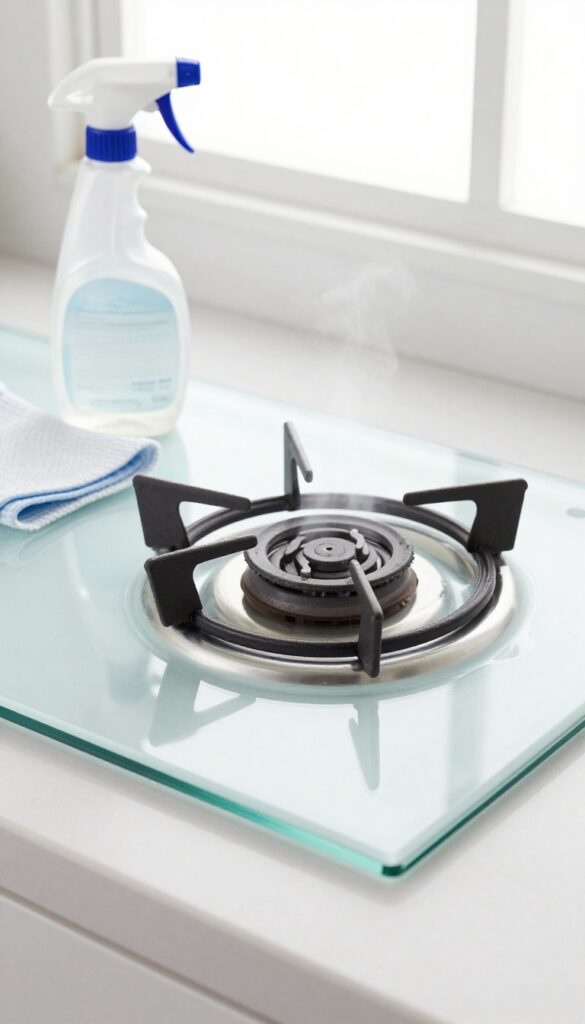
You've applied the cleaner, but don't rush to wipe it off just yet. Giving it a moment to work makes a real difference, especially on tough spots. This short waiting period is where the chemistry happens, breaking down grease and baked-on food so you can wipe them away with minimal effort.
After spraying or applying your chosen cleaner, let it sit for about 60 seconds. This dwell time allows the cleaning agents to penetrate and loosen the grime. You'll notice that stubborn residues start to lift on their own, making the next step much easier.
For extra-sticky areas, you can let it sit a bit longer, but a minute is usually enough for everyday messes.
Why 60 Seconds Matters
Most glass stove top cleaners contain surfactants or mild abrasives that need time to react. Rushing means you're just moving dirt around instead of dissolving it. A full minute ensures the cleaner has time to soften burnt-on food, so you don't have to scrub hard later.
Don't Let It Dry
Keep an eye on the cleaner while it sits. If it starts to dry out, especially in a warm kitchen, it can leave a hazy residue. If you notice it drying, lightly mist the area with water or reapply a small amount of cleaner to keep it damp.
Use This Time Wisely
While the cleaner works, use the minute to prepare your wiping cloth or sponge. Have a clean microfiber cloth ready, or if you're using a razor scraper, make sure it's at the right angle. This way, you're all set when it's time to wipe.
6. Wipe in a Circular Motion
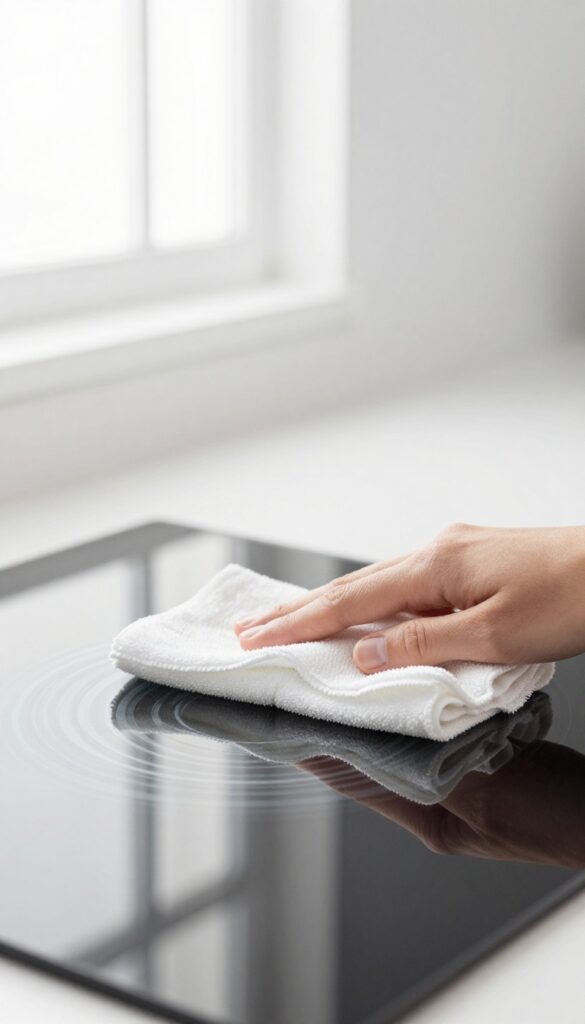
Now it's time to actually wipe the cleaner off. But don't just swipe back and forth—that's a recipe for streaks and missed spots. A simple change in motion makes all the difference.
Using a clean, dry microfiber cloth, wipe the surface in small, overlapping circles. This technique lifts residue and cleaner evenly, preventing streaks and ensuring every bit of grime is picked up. Work in sections so you don't lose track of where you've been.
As the cloth gets dirty, switch to a fresh side or grab a new one. This keeps you from redepositing dirt onto the glass.
Why Circles Work Best
Circular motion applies even pressure from all angles, which dislodges stuck-on particles more effectively than straight lines. It also prevents the cloth from pushing residue into a pile at the edge of your stroke.
The Right Cloth Matters
A high-quality microfiber cloth traps dirt in its fibers rather than smearing it around. Avoid using old rags or paper towels—they can leave lint or scratches. Dampen the cloth slightly if needed, but keep it just barely moist.
Don't Forget The Edges
Crumbs and grease often collect along the edges and around the knobs. Use the same circular motion there, but pay extra attention to corners. A cotton swab can help reach tight spots without scratching.
7. Rinse with a Damp Cloth
After the cleaner has done its job, you need to remove it completely. Leftover residue can leave a dull film that attracts more grime. A simple water rinse is all it takes to restore that streak-free shine.
Why Rinsing Matters
Cleaner residue might seem harmless, but it can actually dull the glass over time. When you heat the cooktop later, leftover chemicals can bake on, creating stubborn spots. A thorough rinse prevents that buildup and keeps the surface looking clear.
Use The Right Cloth
Grab a fresh microfiber cloth—not the one you used earlier. Microfiber is gentle and lifts residue without scratching. Dampen it with plain water (no soap) and wring it out well.
You want it moist, not dripping, to avoid puddles that leave streaks.
Wipe In One Direction
Wipe the entire cooktop using long, overlapping strokes in one direction—say, left to right. This helps push residue off the surface rather than spreading it around. Flip the cloth to a clean side as needed, and repeat until no cleaner residue remains.
Check For Streaks
After rinsing, hold the cloth at a slight angle and look for any hazy spots. If you see them, that means residue is still there. Go over those areas again with a fresh damp section of the cloth until the glass is crystal clear.
8. Dry with a Clean Microfiber Cloth
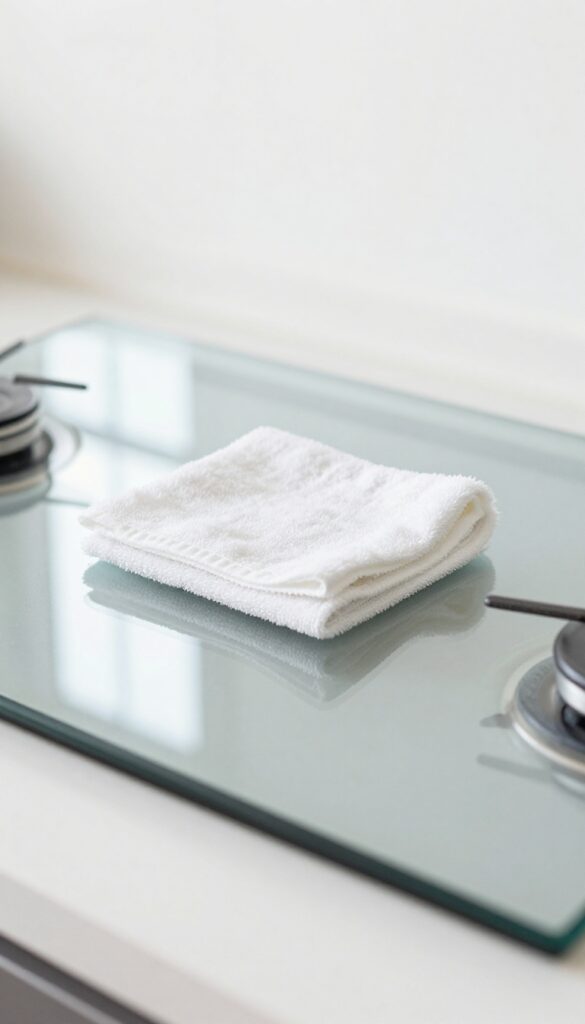
Drying might seem like an afterthought, but it's actually the secret to a streak-free, mirror-like finish. If you skip this step or use the wrong cloth, all your hard work can end up hidden under water spots and lint. A clean microfiber cloth is your best friend here—it absorbs moisture without leaving behind fibers or smudges.
Once you've wiped away all the cleaner and residue, grab a fresh, dry microfiber cloth. Fold it into a neat square so you have multiple clean surfaces to work with. Buff the entire glass surface in a circular motion, applying light pressure.
This not only dries the stove but also polishes it, bringing out that factory-fresh gleam.
Why Microfiber Works Best
Microfiber cloths are designed with split fibers that trap dust and moisture rather than pushing them around. Unlike paper towels or cotton rags, they won't leave lint or scratches. The static charge they create actually attracts tiny particles, giving you a cleaner finish.
The Right Technique For A Streak-free Shine
Start from one corner and work your way across the stove top in overlapping circles. This ensures you don't miss any spots and that the polish is even. Flip the cloth to a dry section as soon as it feels damp.
If you see any streaks, a quick second pass with a dry part of the cloth usually fixes them.
What To Avoid When Drying
Never use fabric softener or dryer sheets on microfiber cloths—they clog the fibers and ruin their effectiveness. Also, avoid using the same cloth you used for cleaning; any leftover residue can smear back onto the glass. Stick to a dedicated drying cloth for the best results.
9. Tackle Burnt-On Spots with a Razor Scraper
Even with regular cleaning, some spills get baked on and refuse to budge. That's where a razor scraper becomes your best friend. When used correctly, it lifts carbonized residue without scratching the glass.
Choose The Right Tool
Not all scrapers are safe for glass cooktops. Look for a cooktop-specific scraper with a sharp, single-edge blade. Replace blades often—dull ones require more pressure and increase scratch risk.
The 45-degree Angle Rule
Hold the scraper at a 45-degree angle to the surface. Push gently across the burnt area, never pull. Let the blade do the work.
If you feel resistance, stop and apply a little cooktop cleaner to soften the residue.
Light Pressure, Slow Motion
Scrape in short, controlled strokes. Too much pressure can cause micro-scratches that dull the finish. For really stubborn spots, let a damp paper towel sit on the area for a few minutes before scraping.
Finish With A Polish
After scraping, wipe the area with a damp microfiber cloth to remove debris. Then apply a small amount of cooktop cleaner and buff to restore the shine. This step ensures no residue remains and leaves the surface streak-free.
10. Make a Baking Soda Paste for Tough Stains
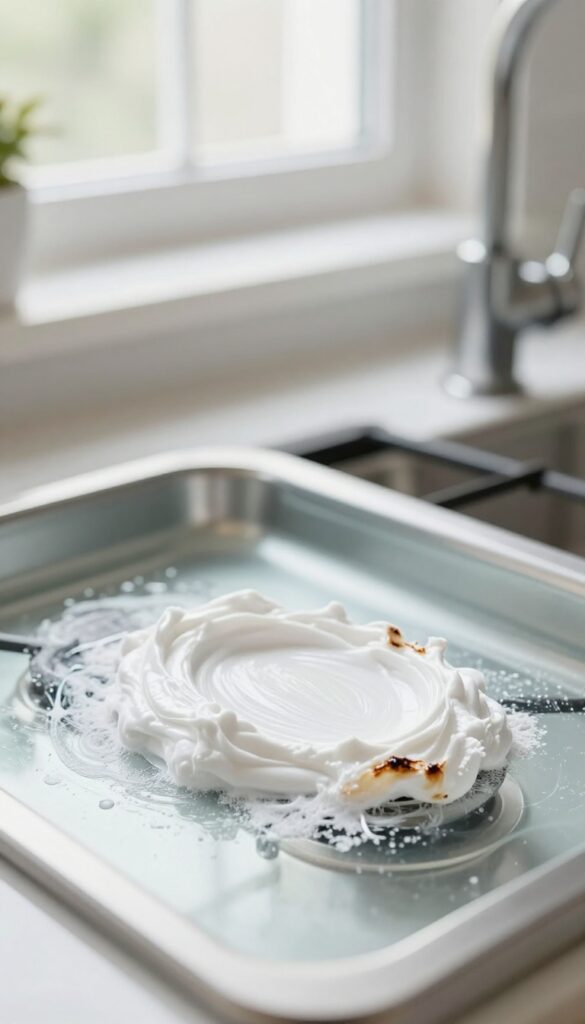
Baking soda is a gentle abrasive that can tackle burnt-on messes without scratching your glass cooktop. When mixed with a little water, it forms a paste that clings to stains and breaks them down. This method is perfect for those stubborn spots that don't come off with regular cleaner.
Creating a baking soda paste is simple and effective. Start by sprinkling a generous amount of baking soda directly onto the cool, clean cooktop. Add just enough water to form a thick, spreadable paste—about three parts baking soda to one part water.
Use a soft cloth or sponge to apply the paste directly to the stained areas, covering them completely. Let it sit for 10 minutes to allow the baking soda to work on the grime. After the wait, gently wipe the paste away with a damp microfiber cloth.
Rinse the area with a little water and dry it thoroughly. For extra stubborn stains, you can add a few drops of white vinegar to the paste for a fizzy boost—but be careful not to let it spread beyond the stain.
Why Baking Soda Works
Baking soda is mildly alkaline, which helps dissolve grease and food residue. Its fine, crystalline structure provides gentle scrubbing power that won't scratch the glass surface. Unlike harsh chemical cleaners, it's safe to use around food and won't leave harmful fumes.
How To Apply The Paste
Mix the baking soda and water in a small bowl until it forms a thick paste. Using a soft cloth or a non-abrasive sponge, apply the paste directly to the stained areas. Spread it evenly and let it sit for about 10 minutes to penetrate the grime.
Removing The Paste
After the paste has sat, dampen a clean microfiber cloth with water and gently wipe away the baking soda. You may need to rinse the cloth and repeat a few times to remove all residue. Finally, dry the surface with a separate dry cloth to reveal a clean, streak-free finish.
11. Use White Vinegar for Streak-Free Shine
White vinegar is a natural degreaser that cuts through cooking oils and leaves a brilliant, streak-free shine. It's safe for glass cooktops and won't leave behind any harmful residue. A quick spray and wipe is all it takes to restore that mirror-like finish after cleaning.
Why Vinegar Works So Well
Vinegar's mild acidity breaks down grease and grime without scratching the glass. It also evaporates quickly, which helps prevent streaks. Plus, it's non-toxic and inexpensive, making it a go-to for eco-friendly cleaning.
How To Apply It
Pour a small amount of white vinegar into a spray bottle. Lightly mist the entire cooktop surface—don't soak it. Then, use a clean, dry microfiber cloth to wipe in a circular motion, buffing as you go.
For stubborn spots, let the vinegar sit for 30 seconds before wiping.
Pairing With Other Steps
Vinegar works best as a final step after cleaning with baking soda or a dedicated cooktop cleaner. It removes any leftover cleaner residue and adds extra shine. Always wait until the surface is completely clean and dry before applying vinegar for the best results.
12. Clean the Edges and Crevices
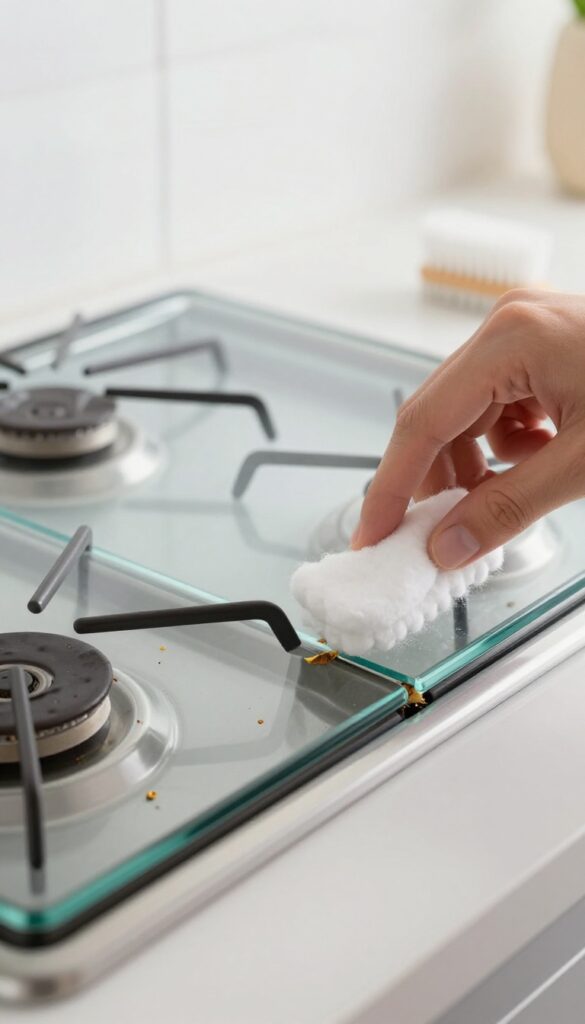
The main surface might look spotless, but dirt loves to hide along the edges and between the burners. Crumbs, grease, and dried spills sneak into those tight gaps, and if you ignore them, they'll build up over time. A quick detail with the right tool makes all the difference.
Grab a cotton swab or a soft toothbrush—something small enough to reach into crevices without scratching. Dip it in warm soapy water or a bit of vinegar solution, then gently work it along the seam where the glass meets the metal frame. For the gaps between burners, use a dry swab first to loosen debris, then a damp one to wipe clean.
Finish by running a microfiber cloth along the edges to catch any leftover moisture or residue.
Why Edges Need Special Attention
Spills from boiling pasta or splattering oil often seep into the crevices around the burners. Over time, that hidden grime can bake on and become harder to remove. A quick edge clean after each deep cleaning session prevents stubborn buildup.
Best Tools For Tight Spaces
Cotton swabs are perfect for narrow gaps, while a soft toothbrush works well on larger crevices. Avoid metal tools or abrasive scrubbers—they can scratch the glass or damage the seal. A dedicated crevice tool from a cleaning kit also works great.
How To Prevent Future Buildup
Wipe down the edges with a damp cloth after every cooking session, especially if you've boiled or fried anything. A quick once-over with a dry cloth afterward keeps moisture from settling. This habit makes deep cleaning much easier.
13. Polish with a Dry Cloth for Extra Gloss
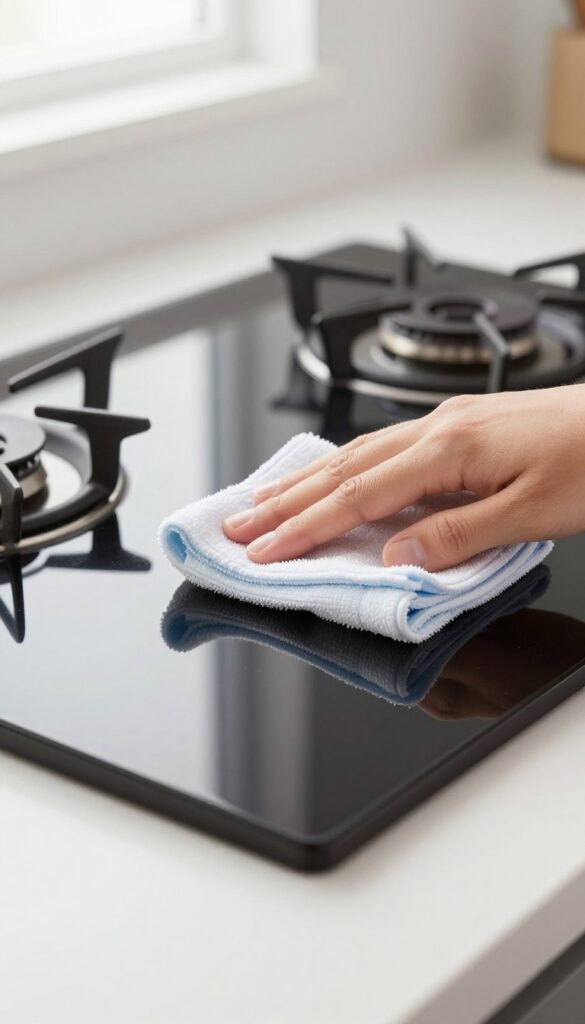
That last step of polishing is what takes your stove top from clean to truly stunning. A quick buff with a dry microfiber cloth removes any leftover moisture, smudges, or faint streaks, leaving a mirror-like shine. It's a simple move that makes a big difference in how your cooktop looks.
After you've cleaned and dried the surface, grab a fresh, dry microfiber cloth. Fold it into a neat square and work in small circular motions across the entire glass area. Focus on spots where fingerprints or water spots tend to linger.
The goal is to create a streak-free, reflective finish that makes the stove look brand new. This step takes less than a minute but elevates the whole cleaning process.
Why Microfiber Works Best
Microfiber cloths are designed to trap dust and oils without scratching. Their ultra-fine fibers grab onto residue rather than pushing it around. Avoid using paper towels or old rags, as they can leave lint or cause micro-scratches over time.
The Right Technique
Work in small, overlapping circles. This motion helps buff out any remaining cleaner residue and distributes the natural oils from your hands evenly. Don't press too hard—gentle pressure is enough to achieve a glossy finish.
When To Skip This Step
If your stove top is still slightly damp from cleaning, polish anyway—just use a dry section of the cloth. But if you've used a razor scraper or abrasive cleaner, make sure the surface is completely dry first to avoid trapping particles.
14. Clean Spills Immediately After Cooking
You just finished cooking, and the stove top is still warm. That's the perfect moment to grab a cloth and wipe up any spills before they harden into stubborn stains. Waiting even an hour can turn a simple splash into a baked-on mess that requires extra effort to remove.
By cleaning spills while the surface is still warm—but not hot—you prevent food particles from bonding with the glass. This small habit saves you time and keeps your cooktop looking pristine between deep cleans.
The key is to act quickly but safely. Let the stove cool for a few minutes until it's warm to the touch but not burning. Then, use a soft cloth or paper towel to wipe away any liquid or food residue.
For sticky spills, a damp microfiber cloth works wonders. Avoid using cold water on a warm surface, as rapid temperature changes can crack the glass. If a spill has already started to dry, lightly dampen the cloth to rehydrate it before wiping.
Why Timing Matters
When food spills onto a hot glass stove top, the sugars and proteins start to caramelize and bond with the surface. This creates a tough, burnt-on layer that requires scraping or chemical cleaners to remove. Cleaning immediately after cooking—once the surface is safe to touch—prevents this bonding process.
It also reduces the risk of scratching, since you won't need to scrub hard later.
Best Tools For Quick Wipe-ups
Keep a dedicated microfiber cloth or a soft sponge near the stove for quick cleanups. Avoid abrasive scrubbers or paper towels with rough textures, as they can leave micro-scratches over time. For greasy spills, a drop of dish soap on a damp cloth cuts through oil effectively.
Some people also keep a spray bottle of diluted vinegar handy for a streak-free finish.
What About Stubborn Spills?
If a spill has already started to dry, don't panic. Spray a little water or a gentle cleaner onto the spot and let it sit for a minute to soften. Then wipe gently.
For sugar-based spills that have turned sticky, use a damp cloth and a tiny amount of baking soda as a mild abrasive. Just rinse thoroughly afterward to avoid residue.
15. Use a Stove Top Cover When Not in Use
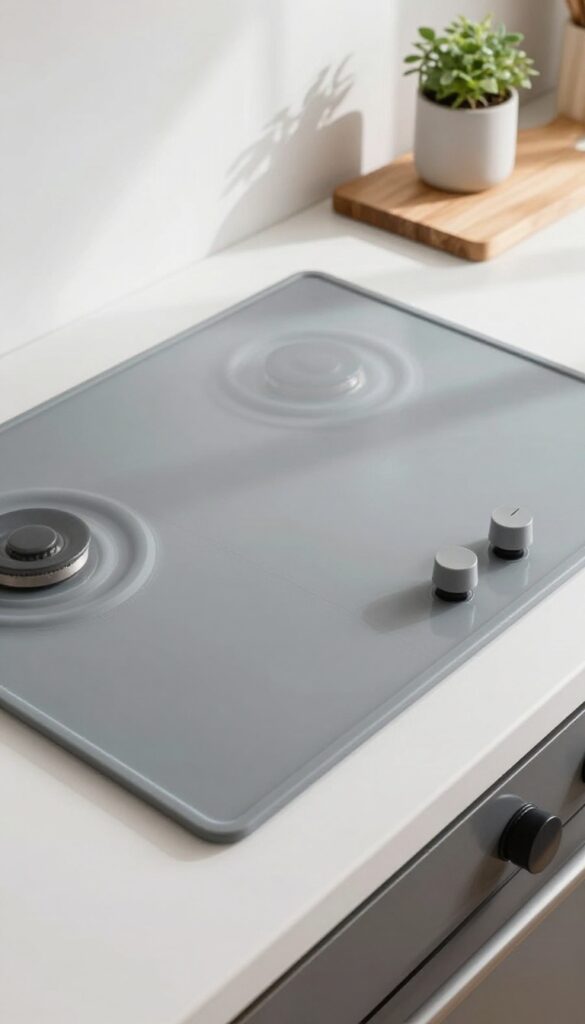
A simple habit can save you from constant cleaning: covering your glass stove top when it's not in use. A protective mat or cover acts as a barrier against dust, accidental spills, and even scratches from kitchen tools. It's a passive way to keep the surface cleaner between cooking sessions.
Using a stove top cover is one of the easiest ways to maintain a spotless cooktop. It reduces the frequency of deep cleans and protects against everyday messes. Plus, it adds a layer of defense against heavy pots or pans that might accidentally be set down.
Choose The Right Cover
Look for a cover made specifically for glass stove tops. Silicone mats are flexible, heat-resistant, and easy to clean. Some covers are designed to fit over the entire surface, while others are individual burner covers.
Make sure it's non-abrasive and won't trap moisture underneath.
Use It Consistently
Get in the habit of placing the cover on the stove top after it has cooled down. Keep it on when the stove is not in use, especially overnight or during the day. This simple routine prevents dust from settling and catches any small spills before they become baked-on stains.
Clean The Cover Regularly
Don't forget to clean the cover itself. Wash silicone mats with warm soapy water or run them through the dishwasher if they're dishwasher-safe. A dirty cover can transfer grime back onto the stove top, defeating the purpose.
FAQ
Can I use Windex on my glass stove top?
It's not recommended. Windex and other glass cleaners often contain ammonia or dyes that can damage the cooktop's coating. Stick to a dedicated glass cooktop cleaner.
How often should I deep clean my glass stove top?
A deep clean once a week is usually enough. For daily maintenance, a quick wipe with a damp cloth after cooking keeps it looking good.
What should I avoid using on a glass stove top?
Avoid abrasive sponges, steel wool, harsh chemicals like bleach, and any cleaner not labeled for glass cooktops. These can scratch or discolor the surface.
Why does my glass stove top look cloudy after cleaning?
Cloudiness is often caused by leftover cleaner residue or hard water deposits. Rinse thoroughly with water and dry with a clean microfiber cloth to restore clarity.
Can I use a razor blade on my glass stove top?
Yes, but only a dedicated cooktop scraper with a new blade. Hold it at a 45-degree angle and use gentle pressure to avoid scratching.
Conclusion
A sparkling glass stove top doesn't require harsh chemicals or expensive products—just a little patience and the right technique. With these 15 gentle steps, you can keep your cooktop looking brand new without scratching or damaging the surface.
Stick to a regular cleaning routine, and you'll avoid stubborn buildup that makes deep cleaning a chore. Your stove will thank you with even heating and a sleek, streak-free shine every time.