17 Cleaning Window Screens Tips for Dust and Pollen
Window screens do a thankless job. They block bugs and let in fresh air, but they also trap dust, pollen, and grime. Over time, that buildup can make your home feel less fresh and even trigger allergies.
You don't need fancy products or a professional service to get them clean. With a few household items and a little effort, you can restore your screens to like-new condition.
These 17 tips cover everything from quick maintenance to deep cleaning. They're realistic, budget-aware, and designed to fit into your routine without hassle.
1. Start with a Dry Dusting
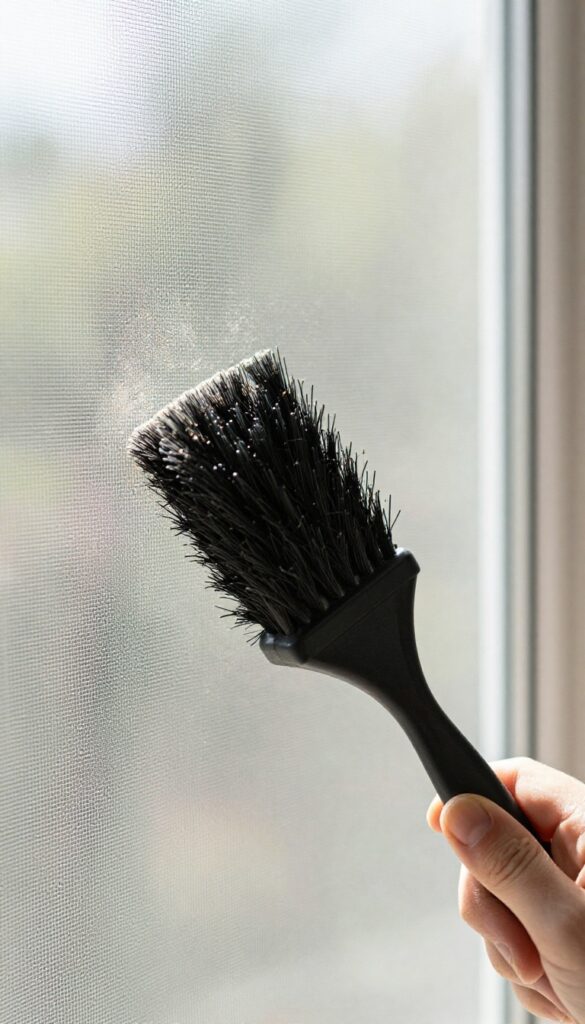
Before you bring out the soap and water, take a moment to remove loose debris. Dust and pollen sit on the surface of your screens, and if you wet them first, you'll just turn everything into a muddy mess. A quick dry dusting saves time and keeps your cleaning water from getting dirty too fast.
Grab a soft-bristled brush, a microfiber cloth, or a vacuum with a brush attachment. Gently go over both sides of the screen. This step is especially helpful if you have allergies, because it removes the pollen without stirring it into the air.
Dry dusting is the foundation of any good screen cleaning routine. It's fast, easy, and prevents the gunk from smearing around when you add water. Plus, it cuts down on the amount of wet cleaning you need to do later.
Use The Right Tool
A soft paintbrush, a clean makeup brush, or a vacuum with a brush attachment all work well. Avoid stiff bristles that could tear the mesh. A microfiber cloth also does the trick, just don't press too hard.
Work From Top To Bottom
Start at the top of the screen and work your way down. That way, dust falls onto areas you haven't cleaned yet. It's a small trick that makes a big difference in the final result.
Don't Forget The Frame
The screen frame collects just as much dust as the mesh. Give it a quick wipe or vacuum too. It'll make the whole screen look cleaner and reduce the amount of grime that can transfer back onto the mesh later.
2. Use a Lint Roller for Quick Touch-Ups
Sometimes your screens just need a quick once-over, not a full scrub. That's where a lint roller shines. It grabs surface dust and pollen in seconds, making it perfect for a refresh between deep cleans.
Keep one near your windows for easy access.
A lint roller is a surprisingly effective tool for window screens. The sticky sheets lift loose particles without pushing them deeper into the mesh. It's especially handy for pollen season when dust settles quickly.
Just roll it over the screen, peel off the sheet, and you're done.
Why It Works So Well
The adhesive on lint roller sheets is strong enough to grab fine particles but gentle on screen material. Unlike a dry cloth that can smear dust around, the roller traps everything in one pass. It's also great for reaching corners and edges where dust accumulates.
Best Times To Use It
Use a lint roller for quick touch-ups between deep cleans, especially after windy days or during high pollen counts. It's also ideal for screens in low-traffic rooms that don't get dirty often. A quick roll every couple of weeks keeps them looking fresh.
Tips For Best Results
Work in overlapping strokes to cover the entire screen. Change the sheet frequently—once it loses stickiness, it'll just push dust around. For extra stubborn spots, hold the screen taut with one hand while rolling with the other.
3. Mix a Gentle Cleaning Solution
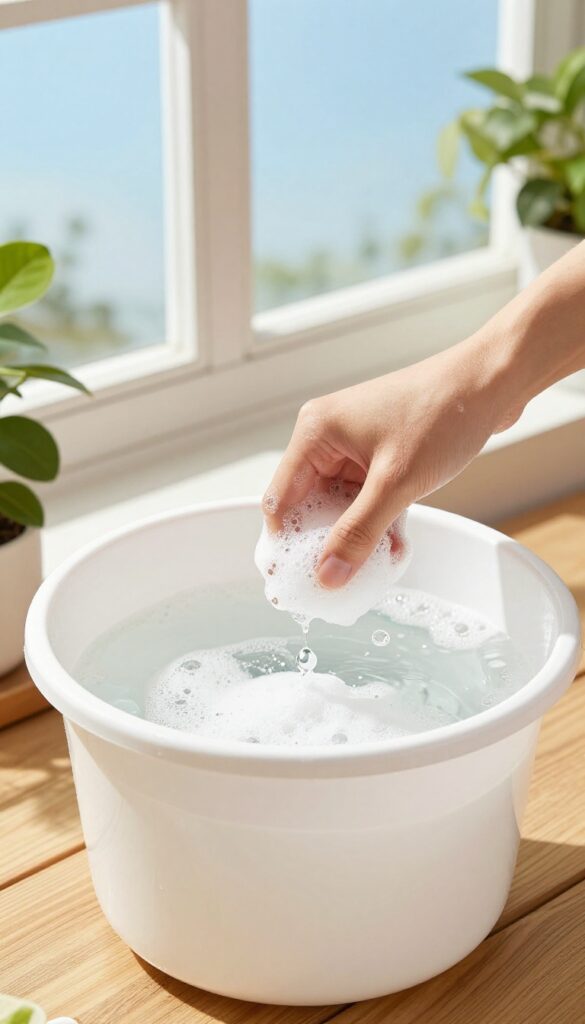
The right cleaning solution makes all the difference. Harsh chemicals can weaken screen mesh or discolor frames, so stick to something mild. A few drops of dish soap in warm water is plenty effective for cutting through dust and pollen without causing damage.
Dish soap is a surfactant, meaning it breaks down grease and lifts dirt so you can rinse it away easily. Warm water helps activate the soap and loosens stubborn grime. Avoid bleach, ammonia, or abrasive cleaners — they can corrode aluminum frames or make fiberglass screens brittle over time.
Why Mild Soap Works Best
Dish soap is gentle enough for all screen materials — fiberglass, aluminum, or polyester. It cuts through pollen and dust without leaving a residue that attracts more dirt. Plus, it's safe for plants and pets if runoff reaches your garden.
What To Avoid
Stay away from bleach, ammonia, vinegar, and citrus-based cleaners. These can discolor frames, weaken mesh, or cause rust on metal components. Even diluted, they may damage the screen's coating over time.
How To Mix The Solution
Fill a bucket with warm water and add just a few drops of liquid dish soap. Swirl gently to avoid creating too many suds — excess foam is harder to rinse off. For large screens, you can double the batch in a spray bottle for easier application.
4. Remove Screens for a Thorough Clean
Cleaning screens while they're still in the frame is fine for a quick wipe, but it leaves dirt trapped along the edges and on the back side. Taking them out is the only way to give both sides the attention they deserve. It also makes rinsing much easier since you can angle the screen to let water run off completely.
Once the screens are out, you can work on a flat surface like a driveway or patio. This gives you full access to every mesh opening and the frame corners where pollen tends to collect. Plus, you avoid dripping dirty water down your walls or windowsills.
How To Safely Remove Screens
Most window screens lift up and then tilt out from the bottom. Check for spring-loaded pins or clips that hold them in place. Work slowly to avoid bending the frame, and set each screen aside in a safe spot where it won't get stepped on.
Labeling Screens For Easy Reinstallation
Screens can look identical, but they often fit only one specific window. Use a piece of painter's tape on the frame to mark which window it belongs to. This small step saves frustration later when you're trying to match each screen to its correct opening.
Where To Clean Removed Screens
A flat, clean surface like a tarp or a plastic table works best. Avoid cleaning screens directly on grass or dirt, as that can grind grit into the mesh. If you're using a hose, position the screen so water drains away from your house foundation.
5. Lay Screens Flat on a Soft Surface
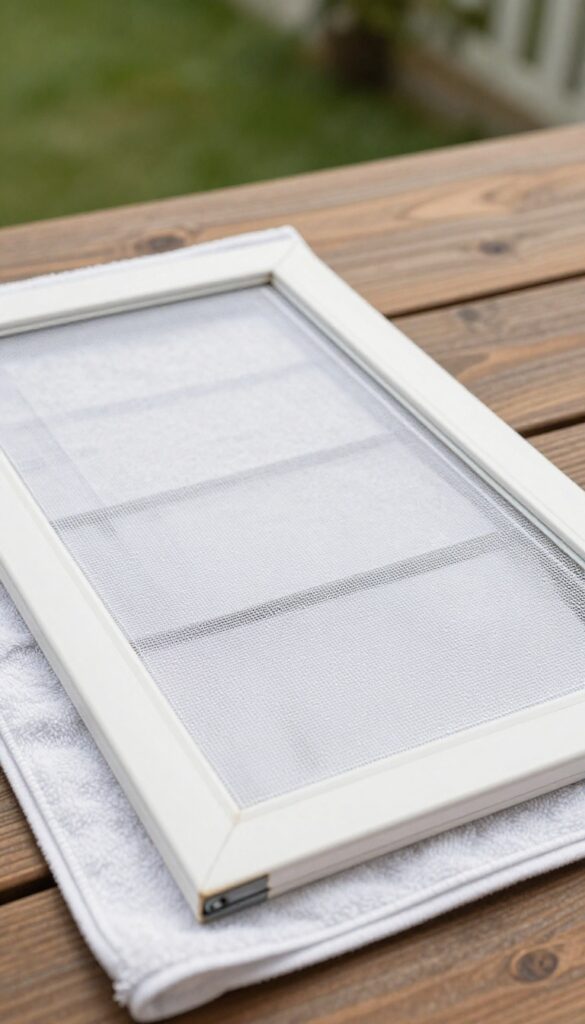
Once you've removed a screen, where you put it matters. Setting it directly on a hard driveway or deck can lead to bent frames or scratched mesh. A little padding goes a long way toward keeping your screens in good shape while you clean them.
Grab a clean towel, an old blanket, or even a large piece of cardboard and spread it out on a flat area. Lay the screen on top, mesh side up. This soft base cushions the frame and prevents any pressure points that could cause warping.
It also absorbs excess cleaning solution so it doesn't pool and drip onto your floor or patio. If you're cleaning multiple screens, you can line them up side by side on the same padded surface, just leave a few inches between each one so they don't bump into each other.
Choose The Right Padding
A thick bath towel or a moving blanket works best. Avoid anything with rough textures like a stiff rug or a towel with loose loops that could snag the mesh. If you're working on grass, a plastic tarp under the blanket keeps moisture from soaking through.
Keep The Mesh Side Up
Always clean with the mesh facing up. This lets you scrub gently without pushing dirt deeper into the weave. It also prevents the frame from pressing against the ground and picking up grit that could scratch the screen when you flip it.
Work In A Shaded Spot
Direct sunlight can dry cleaning solutions too quickly, leaving streaks or residue. A shaded area gives you more time to work and rinse thoroughly. If shade isn't available, clean one screen at a time and rinse immediately.
6. Scrub Gently with a Soft Sponge or Brush
Not all scrubbing tools are screen-friendly. A stiff brush or rough sponge can snag or tear the delicate mesh, leaving permanent damage. The key is to use something soft yet effective that lifts dirt without force.
A non-abrasive sponge or a soft-bristle brush works perfectly. These tools are gentle enough for fiberglass or aluminum screens but still get into the weave to dislodge pollen and dust. Work in small circular motions for even cleaning without over-scrubbing one spot.
Why Soft Tools Matter
Screen mesh is surprisingly fragile. A hard-bristle brush can stretch or break the threads, creating gaps that let bugs in. Soft sponges and brushes glide over the surface, cleaning without stress.
They also reduce the risk of bending the frame or scratching the window sill.
Best Tools For The Job
Look for a cellulose sponge (the kind without a scrubby pad) or a microfiber cloth wrapped around a sponge. For brushes, choose one with natural or synthetic bristles that are labeled "soft" or "delicate. " A soft paintbrush or a dedicated screen cleaning brush works well.
Avoid wire brushes or anything with abrasive pads.
Technique: Circular Motions
Dip your sponge or brush in your cleaning solution (or plain water for a light clean). Start at the top corner and work in small, overlapping circles. This pattern ensures you cover every part of the mesh without pressing too hard in one area.
Rinse the tool frequently to avoid spreading dirt back onto the screen.
7. Rinse with a Garden Hose
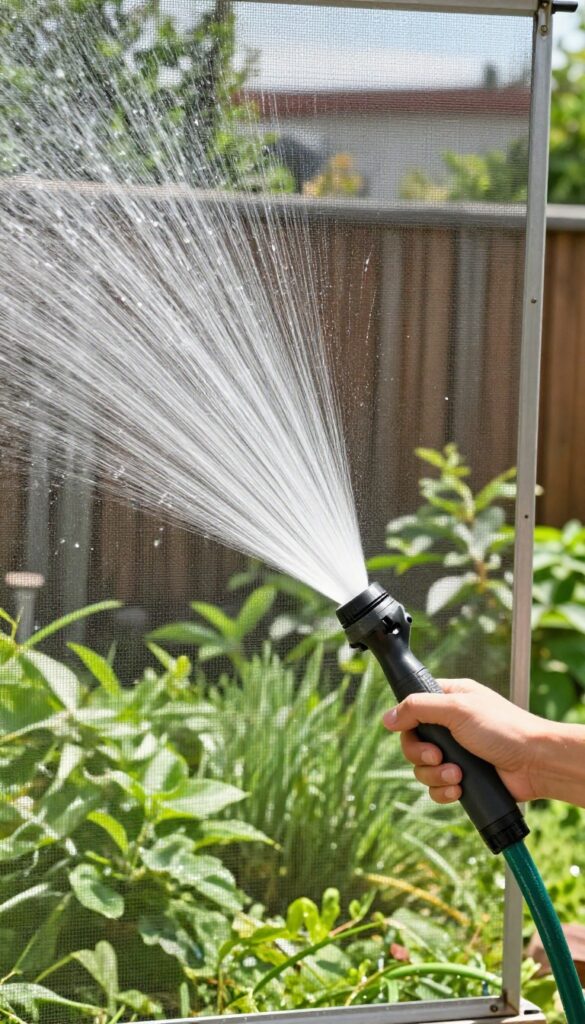
A simple rinse can do a lot of the work for you. After loosening dirt with a brush or vacuum, a gentle spray from a garden hose washes away soap residue and grime. It's a quick step that makes a big difference.
Don't reach for a pressure washer. High pressure can bend the mesh or pop the screen out of its frame. Stick to a standard nozzle set to a wide, soft spray.
Let the water flow from top to bottom, covering every inch. This method works best on screens that are already out of the window. If they're still installed, be careful not to soak the window sill or interior.
A quick rinse outside is always safer.
Choose The Right Nozzle Setting
Most garden hose nozzles have adjustable patterns. For screens, use a shower or flat setting—not jet or stream. A wide, gentle spray covers more area and won't damage the mesh.
If your nozzle has a trigger, keep the pressure low.
Rinse From Both Sides
Dirt gets trapped on both the interior and exterior sides. Spray the inside first to push debris outward, then the outside to flush it away. This two-sided rinse ensures nothing gets pushed deeper into the mesh.
Let Screens Dry Completely
After rinsing, prop screens upright at an angle so water drains off. Avoid laying them flat—water can pool and leave mineral spots. Let them dry fully in the shade before reinstalling to prevent mold or streaks.
8. Try a Vinegar Solution for Stubborn Grime
When plain water and soap just aren't cutting it, vinegar steps in as a natural degreaser and disinfectant. It's especially good at breaking down pollen residue and hard water stains that leave screens looking cloudy. Plus, it's cheap and already sitting in your pantry.
White vinegar is mildly acidic, which helps dissolve mineral deposits and organic grime without damaging the screen mesh. For most screens, a 50/50 mix of vinegar and water works perfectly. Spray it on, let it sit for a few minutes to loosen the dirt, then scrub gently with a soft brush or sponge.
Rinse thoroughly with water afterward to remove any vinegar smell. If the grime is really stubborn, you can increase the vinegar ratio slightly, but avoid using full-strength vinegar on aluminum screens as it may cause discoloration over time.
Why Vinegar Works So Well
The acetic acid in vinegar cuts through pollen's waxy coating and dissolves hard water minerals like calcium and lime. Unlike harsh chemical cleaners, vinegar is safe for most screen materials and won't leave a toxic residue that could harm pets or plants. It's also a natural deodorizer, so your screens will smell fresh after cleaning.
How To Apply It Right
Fill a spray bottle with equal parts white vinegar and water. Spray the solution generously onto the screen, making sure it soaks into the mesh. Let it sit for 3–5 minutes—this dwell time is key for breaking down tough grime.
Then scrub with a soft-bristled brush or a microfiber cloth, working in small circles. Rinse with a garden hose or a bucket of clean water. For vertical screens, work from top to bottom to avoid drips on already-cleaned areas.
What To Avoid
Don't use vinegar on fiberglass screens if they have a protective coating, as the acid can degrade it over time. Test on a small hidden area first. Also, never mix vinegar with bleach or ammonia-based cleaners—it creates toxic fumes.
And always rinse screens thoroughly after using vinegar, especially if they're in direct sunlight, as dried vinegar can leave a faint film.
9. Use a Squeegee for a Streak-Free Finish
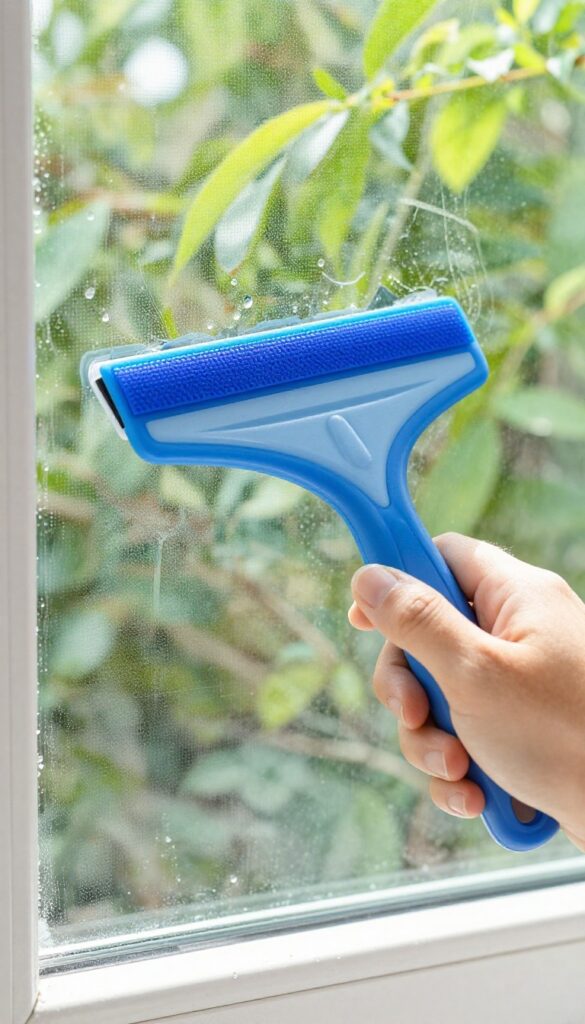
If you've ever dried a screen with a towel and ended up with lint or streaks, you'll love this trick. A squeegee does the job faster and leaves the surface spotless. It's a simple tool that makes a big difference in the final look of your screens.
After rinsing your screen, grab a clean squeegee and run it vertically from top to bottom. Overlap each pass slightly to avoid missing spots. The rubber blade pushes off excess water without leaving fibers behind.
This works best on flat, taut screens—if your screen is loose or bowed, the squeegee might not make full contact. For stubborn water spots, follow up with a microfiber cloth on the edges.
Why A Squeegee Beats A Towel
Towels can leave lint, especially if they're old or low-quality. A squeegee's rubber blade glides smoothly across the mesh, removing water without snagging. It also dries the screen faster, which means less time for new dust to settle.
Plus, you avoid the risk of pushing dirt deeper into the weave.
Best Technique For Flat Screens
Start at the top corner and pull the squeegee straight down. Wipe the blade with a damp cloth after each pass to keep it clean. Work your way across the screen in overlapping strokes.
If your screen is large, consider using a wider squeegee (12 to 18 inches) to cover more area per pass.
When To Skip The Squeegee
Don't use a squeegee on screens that are bowed, sagging, or made of very fine mesh—it can stretch or damage the material. Also avoid it if your screen has a lot of stubborn grime; squeegees work best after a thorough rinse. For delicate screens, stick to a soft microfiber cloth.
10. Clean Screens Without Removing Them
Not every screen is designed to pop out easily. Some are fixed in place, especially on upper floors or sliding windows. Taking them down can feel like a project in itself.
Luckily, you can get them spotless without removal.
The Right Tools For The Job
A microfiber cloth is your best friend here. It traps dust instead of pushing it around. Pair it with an extendable duster or a long-handled microfiber mop to reach high or awkward spots.
Avoid paper towels—they leave lint and can shred on the mesh.
Light Spray, Big Effect
If you need more than dry dusting, spray your cleaner directly onto the cloth, not the screen. A light mist is enough. Too much liquid will drip down the glass and frame, creating streaks and potential water spots.
A 50/50 water and vinegar mix works well for pollen and mild grime.
The Technique
Start from the top and work your way down in straight, overlapping strokes. Use gentle pressure—pushing too hard can bend the mesh. For stubborn spots, let the cleaner sit for a minute, then gently blot with a damp cloth.
Finish with a dry microfiber cloth to absorb any leftover moisture.
11. Tackle Pollen with a Dryer Sheet
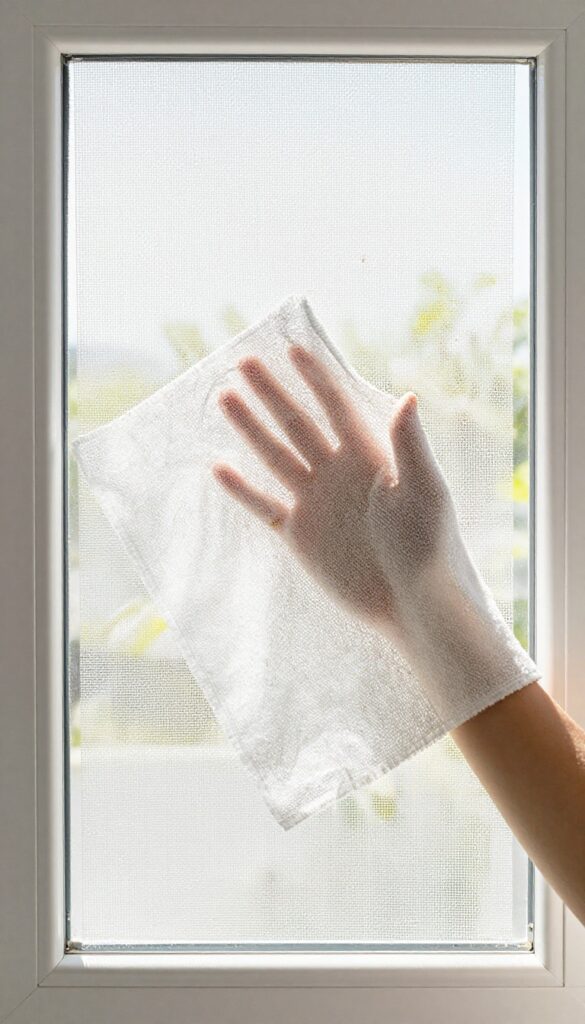
Pollen is sticky and stubborn. It clings to window screens and can trigger sneezing fits every time you open a window. A simple dryer sheet can help break that cycle without harsh chemicals.
Dryer sheets are designed to reduce static and repel lint in the laundry. Those same properties work wonders on screens. Rubbing a used or new sheet over the mesh lifts pollen, reduces static cling, and leaves a light, fresh scent.
Why Dryer Sheets Work On Screens
Dryer sheets contain fabric softeners and antistatic agents. When you wipe a screen, these compounds transfer to the mesh, neutralizing static electricity that attracts pollen and dust. The sheet also picks up loose particles, acting like a gentle dry wipe.
The result is a screen that stays cleaner longer and repels future pollen buildup.
How To Use A Dryer Sheet On Screens
Grab a used dryer sheet from your laundry—it still has enough active ingredients. If you prefer a fresh sheet, that works too. Gently rub the sheet over both sides of the screen, applying light pressure.
Focus on areas with visible pollen or dust. No need to rinse. The sheet leaves a thin protective layer that keeps pollen from sticking as easily next time.
When To Skip This Method
Avoid dryer sheets on screens with fragile coatings or very old mesh—the chemicals might leave a residue. Also, if you have pets or young children, check that the scent isn't overwhelming. For heavy grime, combine this trick with a quick rinse first.
Dryer sheets are best for maintenance between deeper cleanings.
12. Don't Forget the Screen Frame
It's easy to focus all your energy on the mesh and completely ignore the frame. But those edges and corners collect dust, pollen, and grime just as much as the screen itself. If you wipe only the mesh, dirt from the frame can transfer right back onto it the next time rain or wind hits.
Cleaning the frame is a quick step that makes a big difference. Use a soft cloth or sponge dipped in warm water with a few drops of mild dish soap. Wipe down all sides of the frame, including the tracks and corners where debris likes to hide.
For stubborn buildup, an old toothbrush works wonders on tight crevices. Rinse with a clean damp cloth to remove any soap residue, and dry with a towel to prevent water spots or streaks.
Tackle The Tracks
The bottom track of a window screen is a magnet for dirt, dead bugs, and pollen. Use a vacuum with a brush attachment to suck out loose debris first. Then wipe with a soapy cloth.
For really caked-on grime, a putty knife wrapped in a cloth can scrape it out without scratching.
Check For Damage
While you're cleaning the frame, take a moment to inspect it for cracks, warping, or rust. A damaged frame won't hold the screen tight, which lets bugs and pollen sneak through. Small issues can be patched with silicone caulk or rust-resistant paint, but a severely bent frame may need replacement.
Dry Thoroughly
Moisture trapped in the frame can lead to mold or rot, especially in wooden frames. After cleaning, use a dry microfiber cloth to absorb any leftover water. If the frame has drainage holes, make sure they're clear so water can escape properly.
13. Use a Pressure Washer on a Low Setting
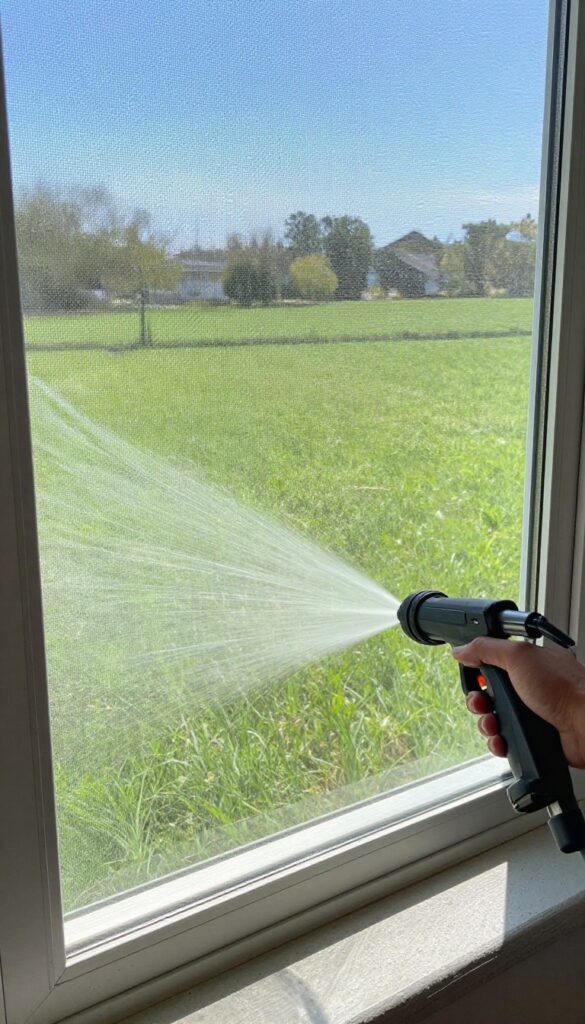
For large or heavily soiled screens, a pressure washer can be a real time-saver. But you have to be careful—too much pressure can tear the mesh or bend the frame. The trick is to use the lowest setting and keep the nozzle at least 12 inches away.
This method is best for screens that are caked with dust, pollen, or even mildew. It's also great if you have multiple screens to clean in one go. Just make sure you have a clear area where the water can drain safely without flooding your yard or patio.
Prep The Screen
Remove the screen from the window and lay it flat on a clean surface like a driveway or lawn. Give it a quick brush with a soft broom to knock off loose debris. This prevents the pressure washer from pushing dirt deeper into the mesh.
Choose The Right Nozzle And Pressure
Use a wide-angle nozzle (like 40 or 65 degrees) to spread the spray. Start with the lowest pressure setting and test on a corner. If it's not cleaning effectively, increase the pressure slightly, but never go above medium.
Keep the nozzle moving to avoid concentrating the stream.
Work In Sections
Spray from top to bottom in overlapping passes. Hold the nozzle at a slight angle to help dislodge stubborn grime. For really dirty screens, you can apply a mild detergent first and let it sit for a few minutes before pressure washing.
Let It Dry Completely
After washing, shake off excess water and let the screen dry in the sun. Make sure it's fully dry before reinstalling to prevent mold or water spots. A dry microfiber cloth can speed things up if you're in a hurry.
14. Dry Screens Completely Before Reinstalling
After all that scrubbing and rinsing, it's tempting to pop the screens back in while they're still damp. But that's a shortcut that can lead to bigger problems down the road. Moisture trapped in the mesh or frame creates a perfect breeding ground for mold, mildew, and even rust on metal frames.
Taking a little extra time to dry them thoroughly will keep your screens fresh and functional for years.
Why Damp Screens Are Trouble
When you install a wet screen, moisture gets sealed between the mesh and the window frame. That dark, humid environment is exactly what mold spores need to take hold. You might not see it at first, but over time you'll notice a musty smell or black spots.
Metal frames can also start to corrode, especially if they're aluminum or have any exposed scratches.
The Best Way To Air Dry
Lay the screens flat on a clean surface in direct sunlight if possible. Sunlight not only speeds up drying but also helps kill any lingering bacteria. If you're short on space, lean them against a wall at an angle so air can circulate on both sides.
For a faster finish, pat the mesh gently with a microfiber towel to absorb excess water—just avoid pressing too hard or you might distort the screen.
What About Towel Drying?
You can use a clean, lint-free towel to speed things up, but be careful. Rough fabrics can snag the mesh, and some towels leave behind fibers that stick to the damp screen. Microfiber is your best bet because it's gentle and absorbent.
Just dab rather than rub, and switch to a dry section of the towel as it gets wet.
15. Clean Screens Seasonally
A regular cleaning schedule keeps screens looking good and working well. Aim to clean them at least twice a year—once in spring before pollen season and once in fall after leaves drop. This simple habit prevents buildup and keeps your home feeling fresh.
Spring Cleaning Before Pollen Hits
Pollen season can be brutal for screens. Cleaning them in early spring, before trees and flowers start releasing pollen, reduces the amount that sticks to the mesh. A quick wash with mild soap and water removes winter grime and prepares screens for the warmer months.
Fall Cleaning After Leaf Drop
Falling leaves, dust, and debris accumulate on screens throughout autumn. Cleaning them after the leaves have fallen prevents that material from breaking down and staining the mesh. It also helps your screens last longer by removing acidic residues from decomposing leaves.
Adjust For Your Climate
If you live in a high-pollen area or near a dusty road, you might need to clean more often. Pay attention to how dirty your screens get between seasons. If they look dusty or feel gritty after a few months, add an extra cleaning session.
Your nose and lungs will thank you.
16. Use a Microfiber Cloth for Final Polish
You've rinsed, scrubbed, and dried your screens. But tiny dust specks or lint can still cling to the mesh, dulling the finish. A microfiber cloth is the perfect tool to grab those last bits without leaving streaks or scratches.
Microfiber is designed to trap particles, not just push them around. A quick once-over after drying gives your screens that just-cleaned look. It's a small step that makes a noticeable difference.
Grab a clean, dry microfiber cloth—the kind you use for glasses or electronics works great. Gently wipe the entire screen surface in one direction, applying light pressure. For stubborn spots, dampen the cloth slightly and repeat.
This final polish removes any residue from cleaning solutions or hard water, leaving the mesh clear and ready to let in fresh air.
Why Microfiber Works Best
Microfiber has ultra-fine fibers that create a static charge, attracting dust like a magnet. Unlike cotton or paper towels, it won't shed lint or leave fuzz behind. It's also gentle on the screen material, so you won't accidentally tear or stretch the mesh.
When To Skip This Step
If your screens are vinyl or have a delicate coating, test the microfiber cloth on a small corner first. Some low-quality microfiber can be abrasive. Also, avoid using fabric softener when washing your microfiber cloths—it clogs the fibers and reduces their effectiveness.
Quick Maintenance Between Cleans
Keep a microfiber cloth handy for a quick dust-off every few weeks. Just a light wipe before pollen season peaks can cut down on buildup. It takes 30 seconds and keeps your screens looking fresh longer.
17. Prevent Future Buildup with Regular Maintenance
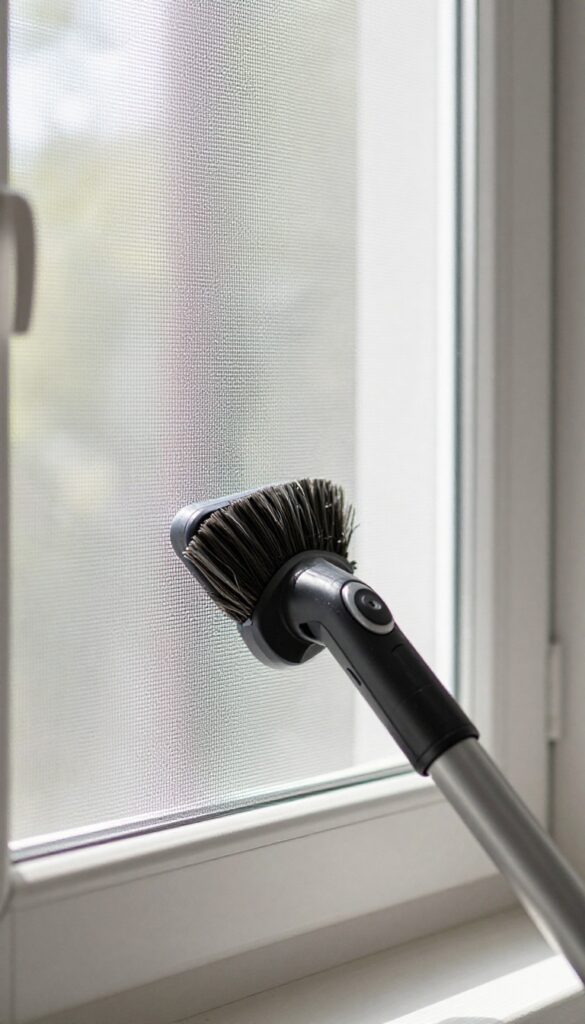
Once your screens are spotless, keeping them that way doesn't have to be a chore. A little regular attention stops dust and pollen from piling up in the first place. Think of it as a quick habit that pays off in less scrubbing later.
A few minutes each month can save you from a deep-cleaning marathon. The key is consistency and using methods that fit your lifestyle.
Quick Monthly Dusting
Run a vacuum with a soft brush attachment over both sides of the screen. This lifts loose dust and pollen before they settle in. If you don't have a vacuum, a microfiber cloth or a duster works just as well.
Rinse During Rainy Days
When it's raining, take advantage of the natural shower. A quick spray from a garden hose after the rain clears can wash away any remaining residue. Just make sure the screens are properly installed and won't get damaged.
Seasonal Deep Clean
Even with monthly care, a more thorough cleaning twice a year—spring and fall—keeps screens in top shape. This is when you can remove them, wash with mild soap, and inspect for any damage.
FAQ
How often should I clean my window screens?
At least twice a year—once in spring and once in fall. If you live in a high-pollen area, consider cleaning every 3 months.
Can I clean window screens without removing them?
Yes. Use a microfiber cloth or a duster with an extendable handle. Spray a mild cleaner and wipe gently.
Rinse with a spray bottle if needed.
What is the best homemade cleaner for window screens?
A mix of warm water and a few drops of dish soap works well. For tough grime, use equal parts white vinegar and water.
Is it safe to use a pressure washer on window screens?
Yes, but only on the lowest setting and keep the nozzle at least 12 inches away. High pressure can tear the mesh.
How do I dry window screens after cleaning?
Let them air dry in a sunny spot or pat dry with a clean towel. Make sure they are completely dry before reinstalling to prevent mold.
Conclusion
Cleaning your window screens doesn't have to be a dreaded chore. With these 17 tips, you can tackle dust and pollen using simple tools and a little elbow grease. Pick the methods that fit your schedule and supplies—even a quick vacuum or rinse makes a noticeable difference.
Regular maintenance keeps your screens looking clear and your indoor air fresher. Try a couple of these ideas this weekend, and you'll breathe easier knowing your windows are truly clean.