How to Clean an Oven With 17 Deep Cleaning Tips
Oven cleaning often feels like a dreaded chore, especially when grease has baked on for months. But you don't need harsh chemicals or a professional service to get it sparkling clean.
With a few smart techniques and everyday ingredients, you can tackle even the toughest buildup without breaking a sweat or your budget. These 17 tips break down the process into manageable steps, so you can choose what works best for your oven and your schedule.
Whether you prefer natural solutions or heavy-duty methods, there's a tip here for every level of grime.
1. Start With a Dry Scrape
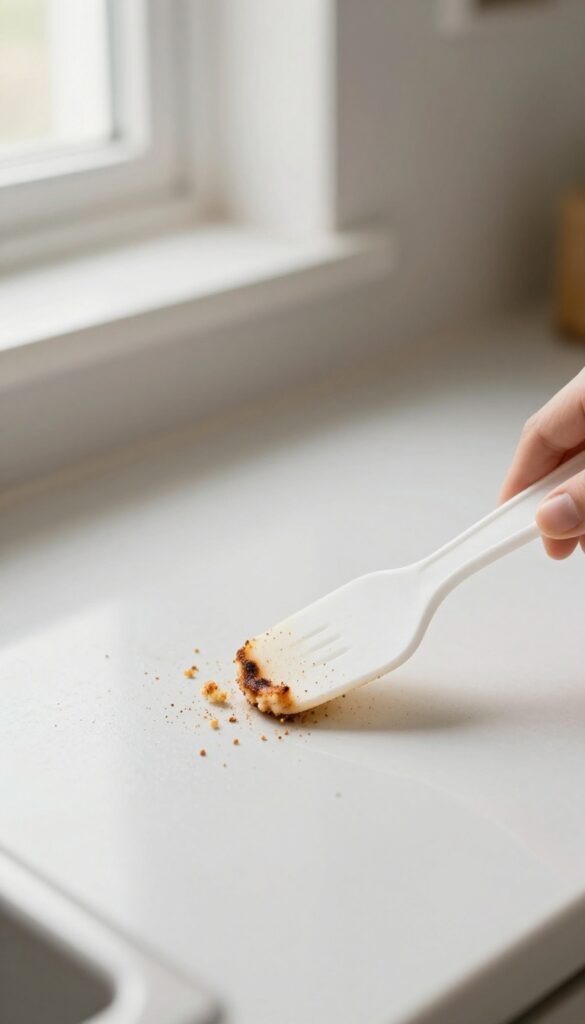
Before you bring out any sprays or pastes, grab a plastic scraper or an old spatula. A dry scrape removes loose crumbs, charred bits, and flaky residue without turning everything into a sticky mess. It’s a simple first step that makes every cleaner you use afterward work better and faster.
Why Dry Scraping Works
Baked‑on food often sits loosely on the surface, especially after the oven has cooled. A plastic scraper lifts these particles without scratching the enamel or glass. This prevents you from pushing debris around when you apply a wet cleaner, which can turn into a muddy sludge that’s harder to wipe away.
What You’ll Need
A plastic putty knife, a sturdy kitchen spatula, or even a credit card you don’t mind sacrificing works well. Avoid metal scrapers—they can leave permanent scratches on your oven’s interior. A handheld vacuum or a brush can help collect the loosened crumbs afterward.
How To Do It Right
Work in sections, starting from the top and moving down. Hold the scraper at a low angle and use gentle, firm pressure. Focus on the bottom and corners where spills tend to accumulate.
For stubborn spots, let the scraper do the work—don’t force it. Once you’ve removed the loose debris, you’re ready for the next cleaning step.
2. Use Baking Soda and Water Paste
If you want a powerful cleaner without the harsh fumes, baking soda is your best friend. It’s gentle enough to use regularly but tough enough to break down baked-on grease. Mixed with water, it forms a paste that clings to vertical surfaces and works overnight.
This method is ideal for light to moderate buildup and leaves your oven smelling fresh, not chemical. Plus, it costs pennies compared to store-bought cleaners.
Make The Paste
Combine ¾ cup baking soda with about ¼ cup water in a small bowl. Stir until it forms a thick, spreadable paste. Adjust water if needed—you want it like frosting, not runny.
Apply And Wait
Spread the paste all over the interior, avoiding heating elements and the door glass if you don’t want streaks. Let it sit for at least 12 hours or overnight. The longer it sits, the easier the grease will wipe away.
Wipe It Clean
After waiting, spray vinegar over the dried paste. It will fizz slightly—that’s normal. Wipe with a damp cloth, rinsing frequently.
For stubborn spots, scrub gently with a non-abrasive sponge.
3. Add Vinegar for Fizzing Action
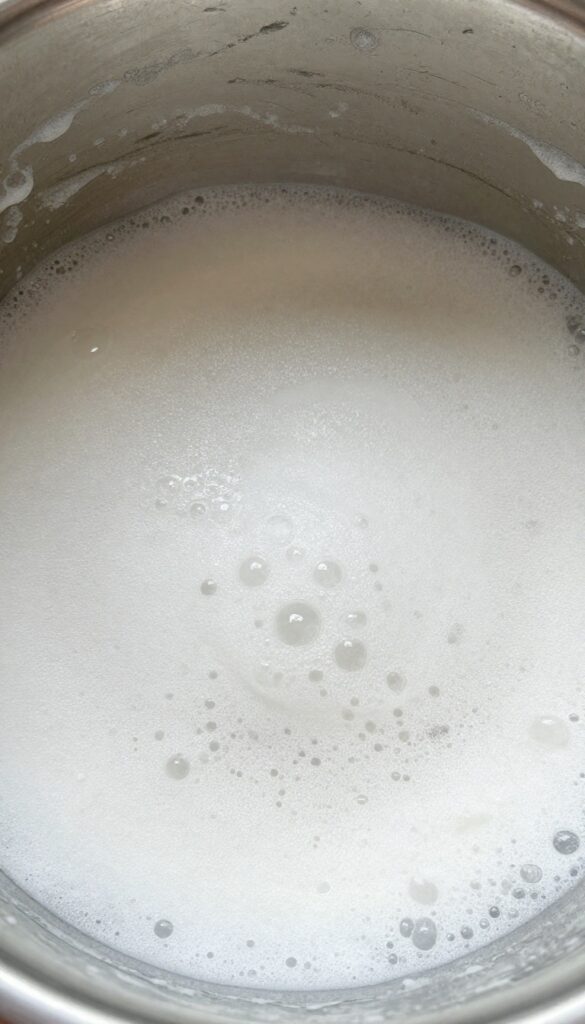
Once your baking soda paste has had time to work its magic, it's time for the fun part. White vinegar reacts with the baking soda to create a fizzy foam that helps lift stubborn, baked-on grease. This chemical reaction is gentle yet effective, breaking down residue so you can wipe it away with minimal elbow grease.
Why Vinegar Works So Well
Vinegar is acidic, which makes it great at cutting through grease and dissolving mineral deposits. When it meets the alkaline baking soda, the fizzing action physically loosens stuck-on food. Plus, vinegar is a natural deodorizer, so it helps neutralize any lingering smells from the cleaning process.
How To Apply It Safely
Fill a spray bottle with undiluted white vinegar. Mist it generously over the baking soda paste, focusing on areas with heavy buildup. You'll see it start to bubble immediately.
Let it sit for about 10 to 15 minutes to allow the reaction to fully work. Avoid spraying heating elements or the oven light.
Wiping Away The Mess
After the fizzing subsides, use a damp microfiber cloth to wipe down the surfaces. The loosened grime should come off easily. For stubborn spots, gently scrub with a non-abrasive sponge.
Rinse the cloth frequently to avoid spreading residue. Finish with a clean, damp cloth to remove any vinegar smell.
4. Steam Clean With a Bowl of Water
Steam is a surprisingly effective tool for loosening baked-on grease and grime without any scrubbing. This method uses only water and heat, making it a great first step before deeper cleaning. It's gentle on your oven's interior and works wonders on light to moderate buildup.
How To Set Up The Steam
Place an oven-safe bowl or dish filled with about 2 cups of water on the bottom rack. Make sure the oven is cold before you start. Then, preheat the oven to 250°F (120°C) and let it run for 20 minutes.
The steam will soften the grime, making it easy to wipe away.
Wipe Down While Warm
After 20 minutes, turn off the oven and let it cool just enough to handle safely. Open the door and use a damp cloth or sponge to wipe the interior. The loosened grime should come off with minimal effort.
For stubborn spots, repeat the process or follow up with a baking soda paste.
When To Use This Method
Steam cleaning is ideal for regular maintenance or when you want to avoid harsh chemicals. It's also a great way to freshen up the oven between deep cleans. However, for heavy, baked-on grease, you may need a stronger approach after steaming.
5. Try Lemon Juice for a Fresh Scent
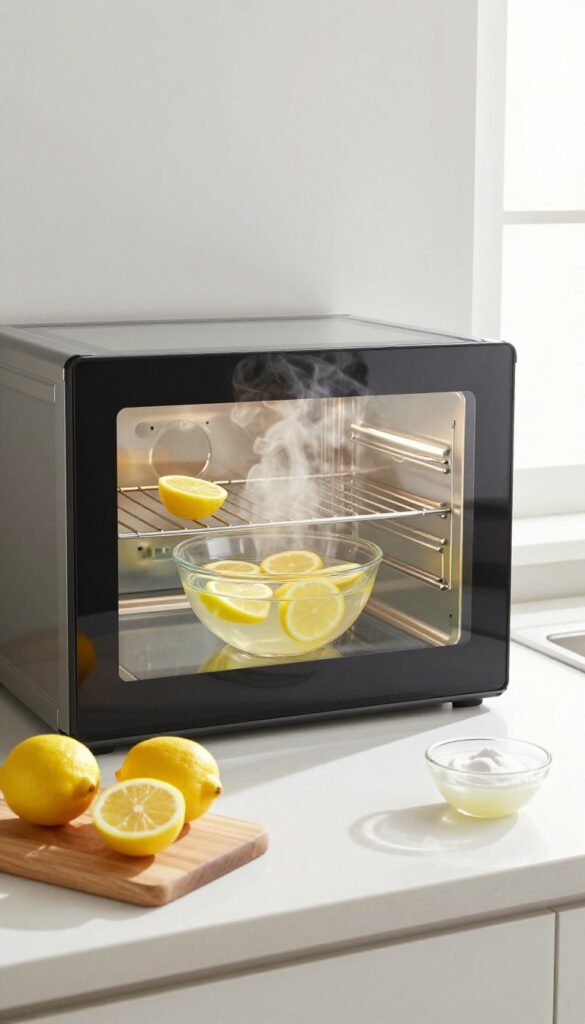
Lemon juice isn't just for lemonade. It's a natural degreaser that cuts through baked-on grime while leaving your kitchen smelling like a citrus grove. The acidity helps break down grease, and the fresh scent neutralizes odors without chemical perfumes.
Boost Your Baking Soda Paste
Mix lemon juice with baking soda instead of water to create a paste. The fizzing action helps lift grime, and the lemon boosts cleaning power. Apply it to the oven interior, let it sit for 15 minutes, then wipe clean.
Steam Clean With Lemon Water
Fill an oven-safe bowl with water and add the juice of two lemons. Place it in a cold oven, then heat to 250°F for 30 minutes. The steam loosens residue, and the lemon scent fills the oven.
Let it cool, then wipe away softened grime.
Deodorize Oven Racks
Soak oven racks in hot water with lemon juice and a few slices of lemon. Let them sit for an hour, then scrub with a brush. The acid helps remove burnt-on food and leaves racks smelling fresh.
6. Use Dish Soap for Light Grease
Not every oven needs a heavy-duty scrub. If yours has only light splatters and a thin layer of grease, dish soap and water are all you need. This method is gentle, fast, and perfect for routine maintenance between deeper cleans.
For ovens with only light buildup, mix a few drops of dish soap with warm water. Wipe down surfaces with a sponge—no harsh chemicals needed for routine maintenance.
Why Dish Soap Works
Dish soap is designed to break down grease on dishes, and it does the same on oven surfaces. It's mild enough not to damage enamel or glass, yet effective at lifting fresh spills and light grime.
How To Apply It
Fill a bowl with warm water and add a squirt of dish soap. Dip a non-abrasive sponge, wring it out slightly, and wipe down the interior. Focus on the door, walls, and floor.
Rinse the sponge frequently and change the water if it gets greasy.
When To Use This Method
This approach is best for ovens that get cleaned every few weeks. If you've let things go for months, you'll need a stronger method first. But for quick touch-ups, dish soap is your go-to.
7. Tackle the Oven Door Glass
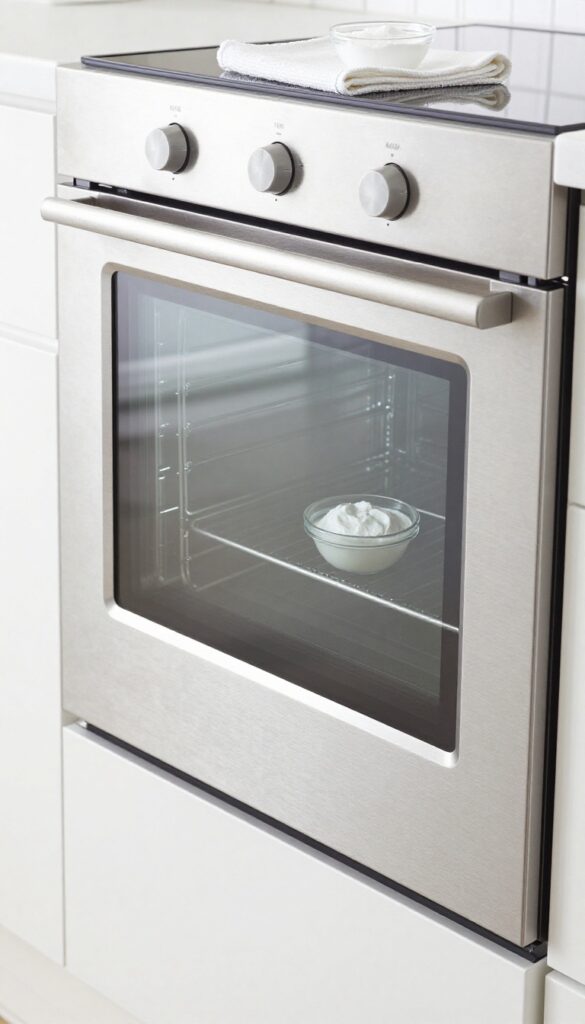
The oven door glass often gets overlooked, but it's one of the first things people notice. Grease and grime can build up into a foggy film that makes it hard to check on your food. Luckily, there are simple ways to get it crystal clear again.
Start by checking if your oven has a removable inner glass panel. Many modern ovens allow you to slide it out for easier cleaning. If yours doesn't, you'll need to clean it in place.
A baking soda paste works wonders—apply it generously and let it sit for 15 minutes before wiping off. For stubborn spots, a razor blade held at a 45-degree angle can scrape away baked-on residue without scratching, but always test on a small hidden area first.
Removable Vs. Fixed Glass
If your oven has a removable inner glass panel, take advantage of it. Consult your manual for instructions—usually it involves sliding a latch and lifting the glass out. Once removed, you can clean it flat on a counter with your preferred method.
For fixed glass, work carefully to avoid drips inside the oven.
Baking Soda Paste Method
Mix equal parts baking soda and water to form a spreadable paste. Apply it to the glass and let it sit for 15–20 minutes. The paste will loosen the grease.
Wipe it off with a damp microfiber cloth, then buff dry with a clean cloth for a streak-free shine.
Using A Razor Blade Safely
For tough, burnt-on spots, a razor blade scraper can be your best tool. Hold it at a 45-degree angle to avoid scratching the glass. Always wet the glass first to reduce friction.
Test on a small area to ensure it doesn't damage the surface. Never use a razor on tempered glass if you're unsure.
8. Clean Oven Racks Separately
Oven racks often get the worst of the grime, but they're also the easiest part to clean if you remove them first. Trying to scrub them in place is awkward and rarely gets the job done well. Taking them out lets you use stronger methods without worrying about damaging the oven interior.
Start by pulling the racks out and laying them on old newspapers or in a bathtub (if you're careful not to scratch the finish). For light to moderate buildup, fill your sink or a large container with hot water and add a few squirts of dish soap or a generous scoop of baking soda. Let the racks soak for at least an hour—overnight is even better.
The hot water loosens grease, and the soap or baking soda helps break it down. After soaking, scrub with a non-abrasive sponge or a nylon brush; most residue will slide right off. Rinse thoroughly and dry before sliding them back into the oven.
Soak In Hot Water And Dish Soap
Fill your bathtub or a large plastic storage bin with the hottest tap water you can get. Add a few tablespoons of dish soap or half a cup of baking soda. Submerge the racks completely and let them sit for several hours or overnight.
The heat and detergent work together to dissolve baked-on grease. After soaking, scrub gently with a sponge—avoid steel wool, which can scratch the chrome finish.
Heavy-duty Ammonia Trick
For racks with stubborn, crusty buildup, place each rack inside a heavy-duty garbage bag. Pour about half a cup of household ammonia into the bag, seal it tightly, and let it sit overnight in a well-ventilated area (or outdoors). The ammonia fumes will break down the toughest grease without any scrubbing.
The next day, open the bag carefully—avoid inhaling the fumes—and rinse the rack thoroughly with hot water. Wash with dish soap afterward to remove any ammonia residue.
9. Use a Pumice Stone on Burnt Spills
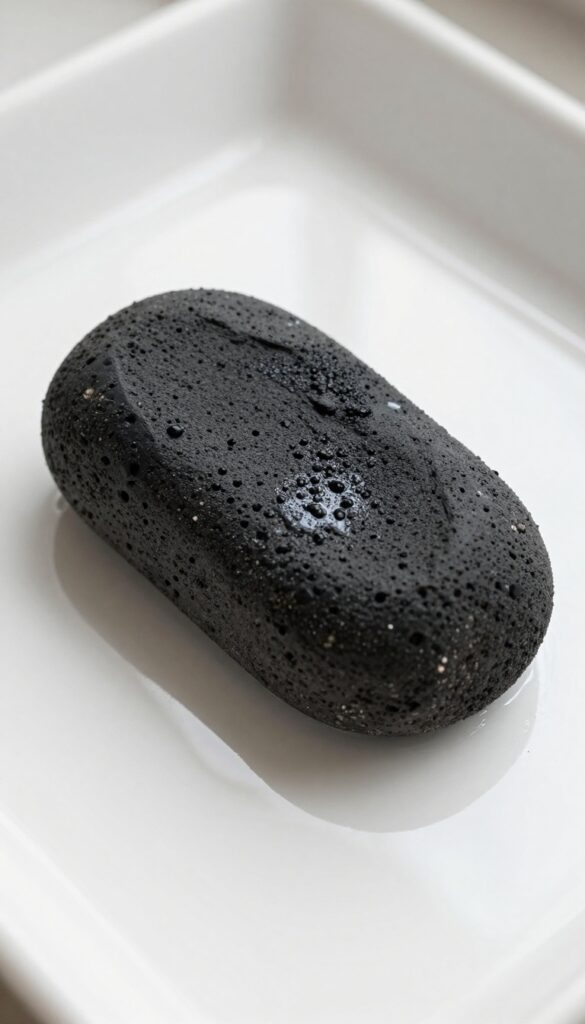
When baked-on spills turn into black, crusty patches on your oven floor, a pumice stone can be your best friend. This natural volcanic rock works like a gentle abrasive, scouring away carbonized residue without scratching the enamel surface. The key is to keep the stone wet and use light pressure.
Pumice stones are inexpensive and available at most hardware or home goods stores. They're typically used for removing stubborn stains from toilets or sinks, but they work wonders on oven floors too. The porous texture lifts burnt-on food without damaging the finish, making it a safe alternative to steel wool or harsh scrapers.
How To Use A Pumice Stone Safely
Start by wetting both the pumice stone and the oven floor. Gently rub the stone over the burnt spill using circular motions. Let the stone do the work—don't press hard.
Rinse the stone frequently to remove residue and keep it wet. Once the spill is gone, wipe the area with a damp cloth to remove any grit.
When To Skip The Pumice Stone
Avoid using a pumice stone on glass, ceramic, or non-stick surfaces, as it can cause scratches. It's best reserved for the porcelain-enamel oven floor. Also, don't use it on self-cleaning oven liners, which are designed to burn off spills during the cleaning cycle.
Pair With A Degreaser For Stubborn Spots
For extra tough spots, spray a little degreaser or baking soda paste onto the spill before using the pumice stone. Let it sit for a few minutes to soften the residue. Then use the stone as usual.
This combination can tackle even the most stubborn carbonized messes.
10. Try Commercial Cleaners for Tough Jobs
Sometimes natural methods just don't cut it. When you're faced with years of baked-on grease or carbonized spills, a heavy-duty commercial cleaner can save the day. Products like Easy-Off are formulated to dissolve the toughest grime with minimal scrubbing.
Commercial oven cleaners are powerful, so they require careful handling. Always read the label and follow safety instructions. Wear rubber gloves to protect your skin, and make sure the kitchen is well-ventilated—open a window or turn on the exhaust fan.
Some cleaners produce strong fumes, so it's best to keep pets and kids out of the area while you work. Apply the cleaner evenly on cool surfaces (unless the product says otherwise). Let it sit for the recommended time—usually 15 to 30 minutes—then wipe away with a damp cloth.
For extra-stubborn spots, a gentle scrub with a non-abrasive pad can help. Rinse thoroughly with water to remove any residue before using the oven again. One important note: after using a chemical cleaner, avoid running the self-cleaning cycle.
The high heat can react with leftover chemicals, creating harmful fumes or damaging the oven's interior. Stick to manual wiping and air drying instead.
Choosing The Right Cleaner
Look for a cleaner labeled for heavy-duty oven use. Brands like Easy-Off, Carbona, and Goo Gone offer different formulas—some are foaming sprays, others are gels. Foaming sprays cling to vertical surfaces better, while gels are great for thick, caked-on grime.
If you have a self-cleaning oven, check the manufacturer's recommendations; some warn against certain chemicals.
Safety First: Protective Gear And Ventilation
Always wear long rubber gloves to prevent skin irritation. Safety goggles are a good idea if you're working overhead. Open windows and turn on the range hood to keep fumes from building up.
If you feel dizzy or nauseous, stop immediately and step outside for fresh air.
Application And Removal Tips
Spray or apply the cleaner evenly, avoiding heating elements and the oven light. Let it sit for the time specified on the label—don't exceed it, as the cleaner can dry out and become harder to remove. Wipe away with a sponge or cloth, then rinse with a damp cloth several times to remove all chemical residue.
Dry with a clean towel before closing the door.
11. Don't Forget the Oven Gasket
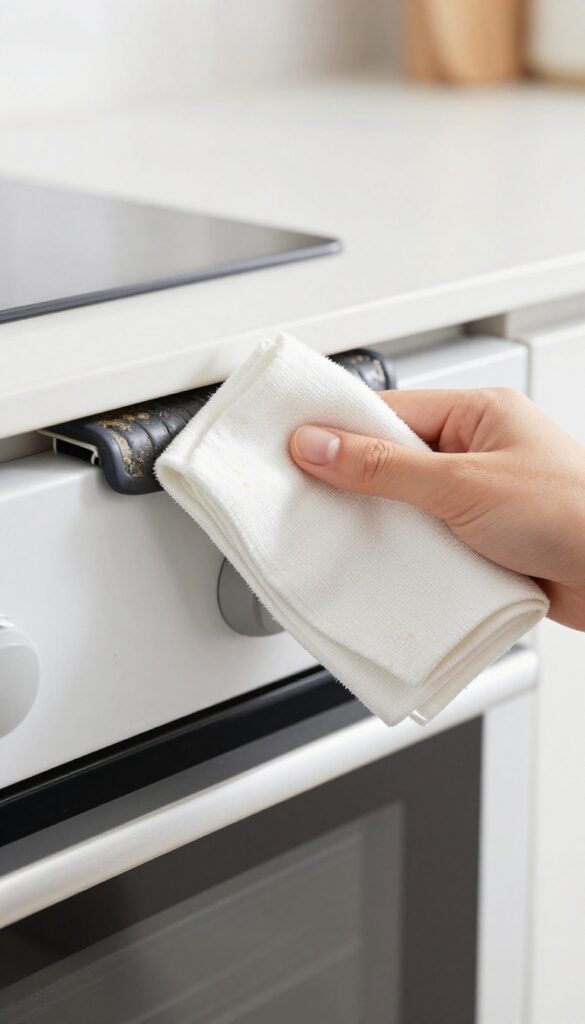
The rubber gasket that seals your oven door is easy to ignore, but it plays a big role in how well your oven works. A dirty or damaged gasket lets heat escape, making your oven less efficient and your food cook unevenly. Cleaning it is simple and takes just a few minutes.
The key is to be gentle—too much water or scrubbing can ruin the seal. A quick wipe-down during your regular oven cleaning routine is all it needs.
Wipe the rubber gasket around the door with a damp cloth and mild soap. Avoid soaking it, as moisture can damage the seal. A clean gasket ensures proper heat retention.
Why The Gasket Matters
The gasket keeps hot air inside the oven and cold air out. When it's covered in grease or food debris, it can't seal properly. This leads to longer cooking times, higher energy bills, and uneven baking.
A clean gasket also prevents smoke and odors from leaking into your kitchen.
How To Clean It Safely
Mix a few drops of mild dish soap with warm water. Dip a soft cloth or sponge into the solution, wring it out well, then gently wipe the gasket. Use a cotton swab for tight corners.
Rinse with a clean, damp cloth and pat dry. Never use abrasive cleaners or scrub brushes—they can tear the rubber.
When To Replace The Gasket
If your gasket is cracked, torn, or no longer springs back when pressed, it's time for a replacement. You can order a new one from the manufacturer or an appliance parts store. Installing it is usually straightforward—just pull off the old one and press the new one into the groove.
A fresh gasket restores your oven's efficiency.
12. Clean the Exterior and Knobs
The outside of your oven gets just as dirty as the inside, especially around the handle and knobs where hands touch it daily. Grease, fingerprints, and food splatters build up fast, making the whole appliance look grimy even when the interior is spotless. Giving the exterior a thorough wipe-down is the finishing touch that makes your oven look brand new.
Choose The Right Cleaner
For stainless steel exteriors, use a dedicated stainless steel cleaner or a simple mix of vinegar and water. Avoid abrasive scrubbers that can scratch the surface. For painted or enamel finishes, a mild degreaser or dish soap solution works well.
Test any cleaner on a small hidden area first to make sure it doesn't damage the finish.
Wipe Down The Surface
Spray your cleaner onto a microfiber cloth, not directly onto the oven, to prevent drips into vents or electrical components. Wipe in the direction of the grain on stainless steel to avoid streaks. Pay extra attention to the area around the handle and the control panel where grime accumulates.
Buff dry with a clean cloth for a streak-free shine.
Soak And Scrub The Knobs
Most oven knobs pull straight off, but check your manual first. Soak them in warm water with a few drops of dish soap for 15–20 minutes to loosen sticky residue. Use a soft brush or sponge to gently scrub away any remaining grime.
Rinse thoroughly and dry completely before snapping them back on. For knobs that don't remove, use a cotton swab dipped in soapy water to clean around the base.
13. Use a Self-Cleaning Cycle Sparingly
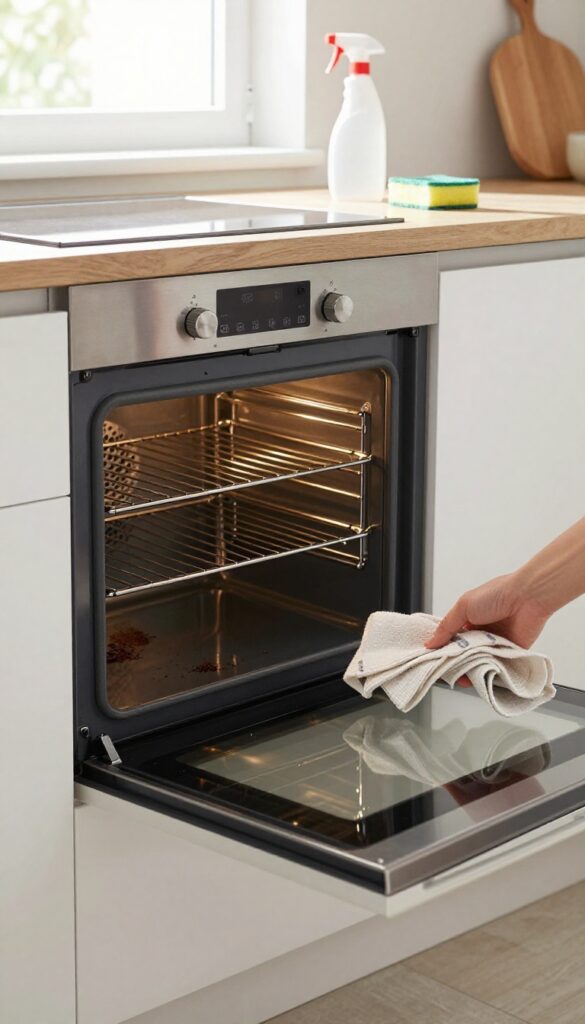
Your oven's self-cleaning feature sounds like a dream—just press a button and walk away. But it's not the magic solution many people expect. The cycle heats the oven to extremely high temperatures (around 800°F or more) to burn off food residue, which can produce smoke, strong odors, and even trigger smoke alarms.
It also uses a significant amount of energy and can put stress on your oven's components over time.
That doesn't mean you should never use it. For heavy, baked-on spills that resist scrubbing, a self-cleaning cycle can be a powerful tool. But reserve it for those tough cases, not for routine maintenance.
Before you start, remove oven racks—the high heat can discolor or warp them, and they're much easier to clean separately. Also, wipe up any loose debris or large spills to minimize smoke. Make sure your kitchen is well-ventilated, and consider running the cycle when you can stay nearby to monitor it.
When To Use It
Use the self-cleaning cycle only when you have a heavy layer of burnt-on grease or spills that you can't remove with gentler methods. For example, after a holiday cooking marathon where something overflowed and charred, the cycle can save hours of scrubbing. But if your oven just has light splatter or minor stains, skip the high heat and use a natural cleaner or a simple wipe-down instead.
How To Prepare
Always remove oven racks first—they can turn a bluish color or become brittle under extreme heat. Wipe out any loose crumbs or food chunks to reduce smoke. Close the door securely and set the cycle according to your oven's manual.
Most cycles last 2 to 4 hours and automatically lock the door during operation. After the cycle finishes and the oven cools, wipe the ash residue with a damp cloth.
Safety Precautions
Stay nearby while the cycle runs. If you see excessive smoke or smell something burning, turn off the oven and ventilate the area. Keep pets and children away, as the oven door gets extremely hot.
Never use oven cleaners or liners during the self-cleaning cycle—they can release toxic fumes or damage the oven. Also, if your oven has a faulty door seal or latch, skip the cycle and clean manually.
14. Line the Oven Bottom With Foil (Carefully)
Aluminum foil is a handy tool for catching drips and spills, but using it wrong can cause serious problems. Many people make the mistake of covering the entire oven floor, which blocks airflow and can damage heating elements. Instead, place a sheet of foil on the bottom rack to catch messes without interfering with your oven's performance.
Where To Put The Foil
Slide a sheet of heavy-duty aluminum foil onto the lowest oven rack, not on the floor. This way, it catches drips from dishes above while allowing air to circulate underneath. Make sure the foil is flat and doesn't touch the heating elements at the bottom.
What To Avoid
Never line the oven floor directly with foil. It can trap heat, cause uneven cooking, and even start a fire. Also avoid covering vents or letting foil touch the heating coils.
If you're using the self-cleaning cycle, remove the foil entirely—it can melt or ignite.
When To Replace The Foil
Replace the foil after each major spill or when it looks dirty. A fresh sheet ensures it stays effective and doesn't become a fire hazard. If the foil has large grease pools or burnt-on food, toss it and put down a new piece.
15. Use a Steam Cleaner for Quick Maintenance
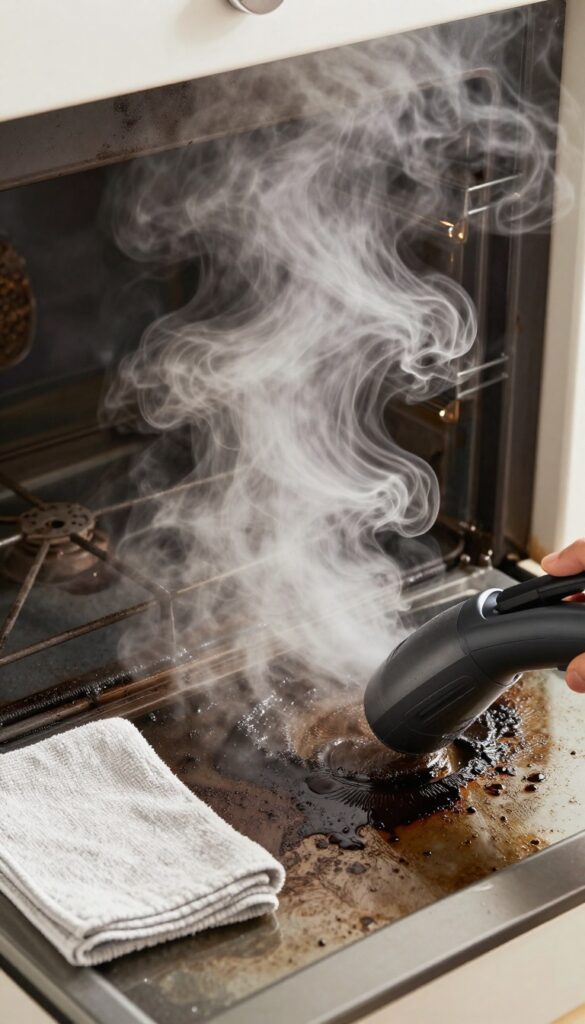
A handheld steam cleaner is a game-changer for keeping your oven fresh between deep cleans. It blasts hot steam directly onto greasy surfaces, loosening baked-on grime in seconds. No chemicals, no scrubbing—just heat and water.
Steam cleaning is perfect for spot-treating spills and splatters before they harden. It's also great for cleaning the oven door glass and racks without harsh fumes. Just fill the reservoir, let it heat up, and aim at the mess.
Wipe away the loosened grease with a microfiber cloth.
Why Steam Works So Well
Steam penetrates grease and food residue at high temperatures, breaking down bonds that make scrubbing tough. It's safe on most oven surfaces, including enamel and glass. Plus, it sanitizes without chemicals, so you can clean right before cooking.
Best Uses For A Steam Cleaner
Target the oven door window, burner grates, and the area around the heating element. For stubborn spots, let steam sit for a few seconds before wiping. Avoid using it on electrical components or self-cleaning oven locks.
Quick Maintenance Routine
After each heavy use, give the oven a quick steam wipe-down. This prevents buildup and makes deep cleans easier. Keep the steam cleaner handy for weekly touch-ups on the stovetop and microwave too.
16. Try a DIY Oven Cleaner With Hydrogen Peroxide
Hydrogen peroxide isn't just for first aid—it's a surprisingly effective oven cleaner. When combined with baking soda, it creates a powerful paste that tackles baked-on grease and stains without the harsh fumes of commercial products. This simple mixture can make a big difference on those stubborn spots that won't budge with regular cleaning.
To make the paste, mix three parts baking soda with one part hydrogen peroxide until you get a spreadable consistency. Apply it directly to the problem areas, focusing on burnt-on spills and discolored patches. Let it sit for about 30 minutes—the hydrogen peroxide works to break down the grime while the baking soda provides gentle abrasion.
After the wait, wipe away the paste with a damp cloth. For extra stubborn spots, scrub gently with a non-abrasive sponge. Rinse with a clean, damp cloth to remove any residue.
This method is especially good for glass oven doors and stained enamel surfaces.
Why Hydrogen Peroxide Works
Hydrogen peroxide is a mild bleaching agent that helps lift and dissolve organic stains. When it reacts with baking soda, it creates a fizzing action that can loosen caked-on food particles. It's also naturally antibacterial, so you get a cleaner surface without chemical residues.
Where To Use This Paste
This paste is ideal for vertical surfaces like the oven door and sides, where gravity makes other cleaners run off. It's also great for the area around the heating elements (avoid direct contact with electrical parts). Just apply, let it sit, and wipe clean.
Safety Tips
Always wear gloves when handling hydrogen peroxide, as it can irritate skin. Test the paste on a small hidden area first to ensure it doesn't damage the finish. Keep the oven off and cool during application, and rinse thoroughly before using the oven again.
17. Maintain a Regular Cleaning Schedule
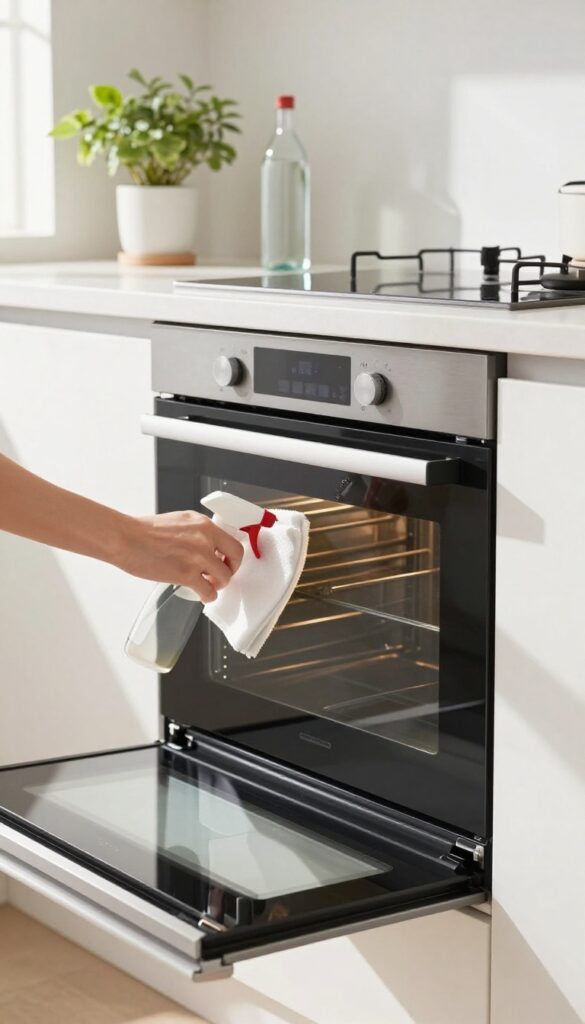
The best way to avoid a marathon scrubbing session is to never let the grime get that bad in the first place. A little consistency goes a long way in keeping your oven looking and smelling fresh. By building a simple routine, you can cut down on deep cleaning frequency and effort.
Set a reminder to wipe down the interior once a month, even if it looks clean. Use a damp microfiber cloth and a mild degreaser to catch any early buildup. Also, make it a habit to clean the oven door glass weekly—it’s the first thing people see.
A quick spray and wipe after each use (once the oven is cool) prevents baked-on splatters from becoming permanent stains.
Wipe Spills While They’re Fresh
As soon as your oven is cool enough to touch, grab a sponge and wipe up any spills or splatters. Dried-on food is much harder to remove, so catching it early saves you time and elbow grease. Keep a spray bottle of vinegar water nearby for a quick, natural clean.
Monthly Light Clean
Once a month, remove the racks and give the oven a gentle scrub with baking soda and water. Focus on the bottom and sides where grease tends to accumulate. This short session prevents heavy buildup and keeps your oven performing efficiently.
Seasonal Deep Clean
Every three to four months, do a more thorough clean using the methods from earlier tips—like steam cleaning or a baking soda paste. This keeps your oven in top shape without the need for harsh chemicals or professional services.
FAQ
How often should I deep clean my oven?
Deep clean your oven every 3 to 6 months, depending on usage. If you cook greasy foods often, aim for every 3 months to prevent heavy buildup.
Can I use baking soda and vinegar on a self-cleaning oven?
Yes, baking soda and vinegar are safe for self-cleaning ovens. Avoid using them on the heating elements, and rinse thoroughly to prevent residue during the self-clean cycle.
Is it safe to use oven cleaner on the glass door?
Most oven cleaners are safe for glass, but check the label. For extra caution, use a baking soda paste or a razor blade to avoid chemical damage.
How do I remove burnt-on sugar from the oven floor?
Sprinkle baking soda over the sugar spill, then spray with vinegar. Let it fizz for 15 minutes, then scrape gently with a plastic scraper. Repeat if needed.
Can I clean my oven while it's still warm?
It's safer to clean a cool oven to avoid burns and prevent cleaners from evaporating too quickly. Let it cool completely before applying any cleaning solution.
Conclusion
Cleaning your oven doesn't have to be a weekend project. With these 17 tips, you can choose the methods that fit your oven's condition and your personal preferences. Start with the gentlest approach and work your way up to stronger solutions only if needed.
A clean oven not only looks better but also cooks more efficiently and lasts longer. Regular maintenance is the secret to avoiding those marathon scrubbing sessions. So pick a tip, give it a try, and enjoy a sparkling oven without the stress.