15 Cleaning the Oven Steps for Baked On Messes
You open the oven door and cringe at the crusted grease and burnt-on spills staring back. That lasagna disaster from last month has turned into a stubborn black patch. It’s time to tackle it without spending hours scrubbing or using harsh chemicals.
A clean oven not only looks better but also cooks more evenly and smells fresh. The good news is you don’t need expensive products or professional help. With a few simple tools and a little patience, you can restore your oven to its former glory.
These 15 steps break down the process into manageable chunks. Each one targets a specific problem area, from the door glass to the heating elements. Follow them in order for the best results.
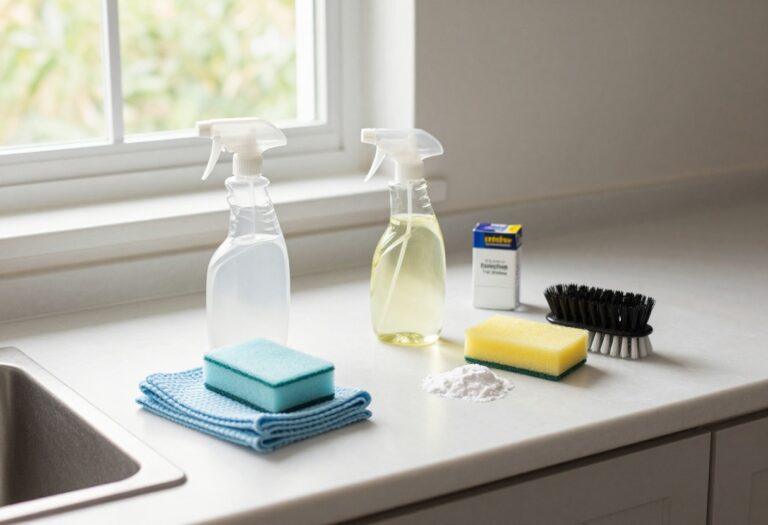
1. Step 1: Remove Everything and Protect the Floor
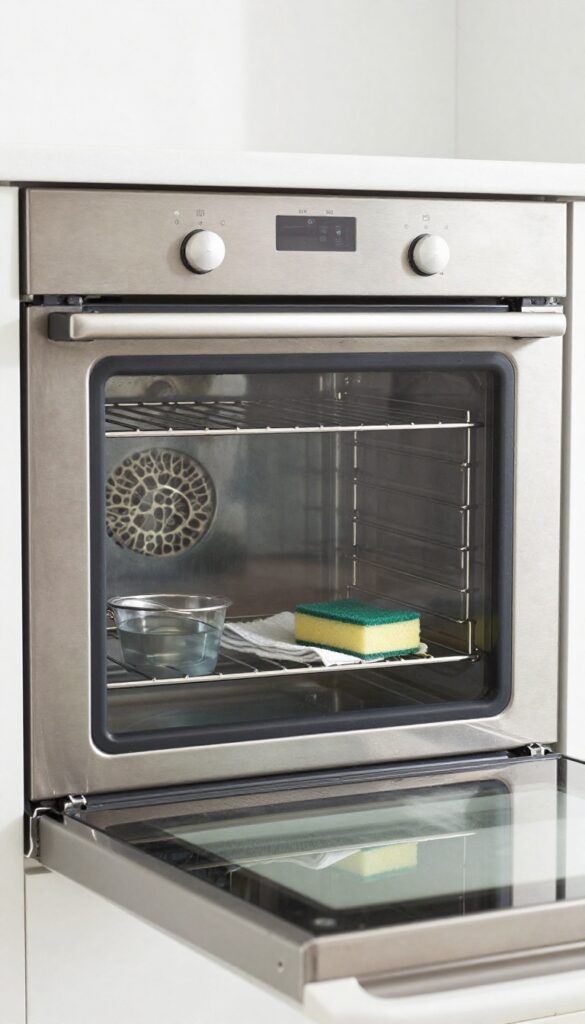
Before you start spraying or scrubbing, clear the oven completely. Racks, thermometers, pizza stones—anything loose needs to come out. This gives you full access to every surface and keeps your tools from getting coated in cleaner or grime.
While you're at it, lay down newspaper or an old towel on the floor in front of the oven. It catches drips and makes post-cleaning cleanup a breeze.
Removing everything first prevents accidents and ensures you don't miss any spots. Oven racks can be cleaned separately, and loose debris like crumbs or burnt bits can be swept away easily. Protecting the floor saves you from scrubbing cleaner residue off your tiles or hardwood later.
A simple layer of newspaper or a drop cloth does the trick.
Why Clearing The Oven Matters
When you leave racks and thermometers inside, they block access to the oven walls and floor. Cleaner can pool under them, leaving streaks or residue. Plus, some oven cleaners can damage metal finishes or thermometers.
Taking everything out lets you work efficiently and avoid ruining your gear.
How To Protect Your Floor
Lay down several layers of newspaper or an old bath towel right in front of the oven. Spread it wide enough to catch any drips that run off the door or fall from the racks. If you're using a spray cleaner, the mist can settle on the floor too.
This simple step saves you from an extra mopping session.
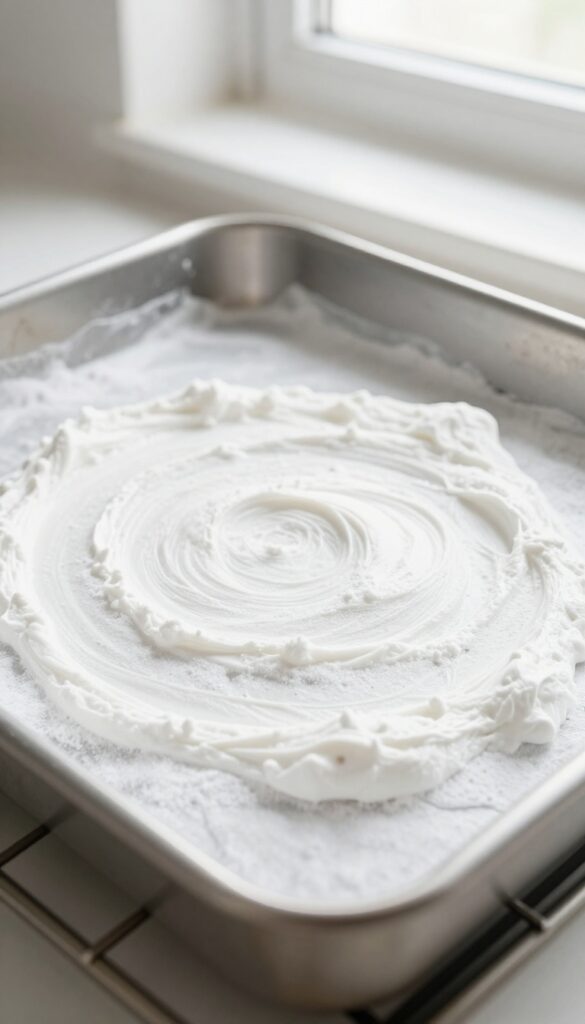
2. Step 2: Make a Baking Soda Paste
Baking soda is a powerhouse when it comes to cutting through grease and lifting burnt-on grime. Unlike harsh chemical cleaners, it's gentle on surfaces but tough on messes. Mixing it into a paste gives you a spreadable scrub that clings to vertical surfaces and caked-on spots.
In a small bowl, combine ½ cup of baking soda with a few tablespoons of water. Stir until it forms a thick, spreadable paste—think toothpaste consistency. If it's too runny, add more baking soda; if too dry, add water a teaspoon at a time.
This paste works as a mild abrasive that won't scratch your oven's interior.
Why Baking Soda Works
Baking soda is alkaline, which helps break down acidic grease and carbonized food. Its fine grit provides gentle scrubbing power without damaging enamel or glass. Plus, it's non-toxic and odorless, making it safe for food-contact surfaces.
How To Apply The Paste
Use a spatula or your fingers (wearing gloves) to spread the paste over the dirty areas. Focus on the bottom, walls, and door. Don't forget the corners and around the heating elements—but avoid getting paste on the elements themselves.
Let it sit for at least 15 minutes, or overnight for tough buildup.
Pro Tips For Stubborn Spots
For extra-thick crud, add a splash of white vinegar to the paste before applying. The fizzing action helps lift debris. You can also sprinkle dry baking soda over the paste for more abrasion.
Just be patient—the longer it sits, the easier the scrubbing will be.
3. Step 3: Apply the Paste to Interior Surfaces
Now that your baking soda paste is mixed to a spreadable consistency, it's time to put it to work. This step is where the magic happens—the paste will cling to grease and grime, breaking it down so you can wipe it away later. Don't rush this part; thorough coverage and patience pay off.
Use a spatula, a gloved hand, or a soft brush to apply the paste. Start with the bottom of the oven, where most spills land, then move to the sides and the door. Avoid getting paste on the heating elements (both top and bottom) as it can cause smoke or damage.
For the door, pay extra attention to the glass and the seal area. Once applied, let the paste sit overnight—at least 8 to 12 hours. This gives it time to penetrate baked-on layers.
If your mess is extra stubborn, you can even leave it for 24 hours.
Cover Every Dirty Spot
Work in sections to ensure you don't miss any crusty patches. Use a small brush for corners and crevices where grime hides. The paste should be thick enough to stick but not so thick that it drips.
A 1/4-inch layer is ideal.
Avoid Heating Elements
Heating elements are sensitive and can be damaged by moisture or abrasive pastes. Use a piece of aluminum foil to cover them temporarily if you're worried about accidental contact. Or simply apply paste carefully around them.
Let It Sit Overnight
Patience is key. The longer the paste sits, the less scrubbing you'll do later. If you're short on time, a minimum of 4 hours can still help, but overnight gives the best results.
The paste will dry slightly and may crack—that's normal.
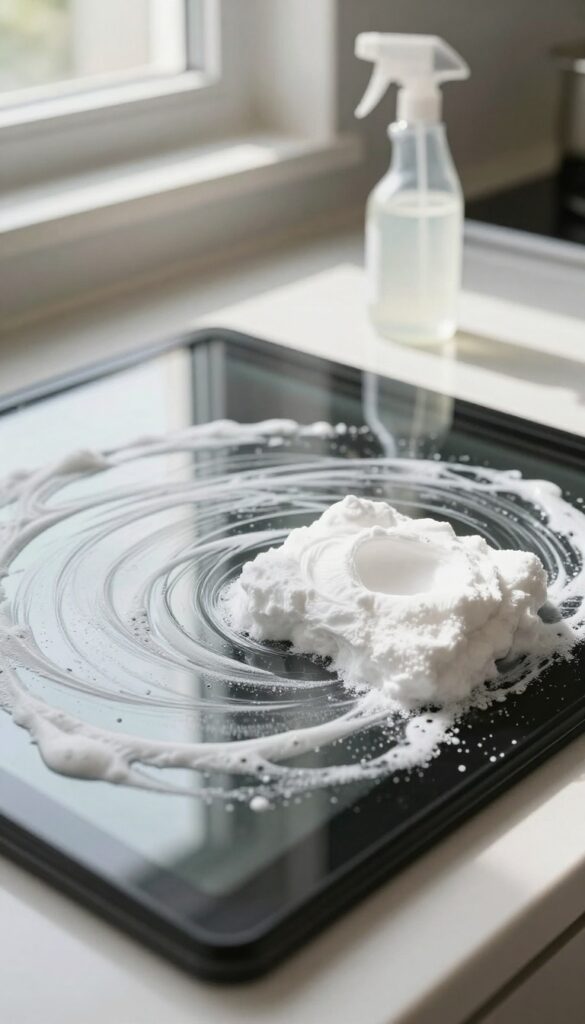
4. Step 4: Spray with Vinegar for a Fizzing Reaction
Once the baking soda paste has done its magic and dried completely, it's time for the next step. White vinegar is the perfect partner here because its acidity reacts with the baking soda to create a fizzy reaction. That fizzing action helps lift and loosen any stubborn residue that's still clinging to the oven surfaces.
Grab a spray bottle filled with plain white vinegar and mist it generously over the dried baking soda paste. You'll see bubbles and fizz almost immediately, which is a good sign. Let the reaction work for a few minutes to break down the grime.
Then, take a damp cloth or sponge and wipe away the mixture. Rinse the cloth frequently as you go to avoid spreading residue. The result is a noticeably cleaner oven with minimal scrubbing.
Why Vinegar Works So Well
Vinegar is mildly acidic, which makes it effective at dissolving grease and mineral deposits. When it meets the alkaline baking soda, the chemical reaction produces carbon dioxide gas—those bubbles you see. This gentle fizzing action physically helps dislodge burnt-on food particles without damaging the oven's interior.
Tips For Best Results
Use a spray bottle set to a fine mist to cover the paste evenly without saturating it too much. Work in sections if your oven is large, so the paste stays active. If some spots don't fizz much, they might need a little more vinegar or a gentle scrub with a non-abrasive pad.
Always use a damp cloth, not a soaking wet one, to avoid excess moisture in the oven.
What To Avoid
Never use colored or flavored vinegars, as they can leave stains or sticky residues. Stick to plain white vinegar. Also, avoid spraying vinegar on heating elements or the oven light bulb, as moisture can damage them.
Focus on the walls, floor, and door.
5. Step 5: Scrub Gently with a Non-Abrasive Sponge
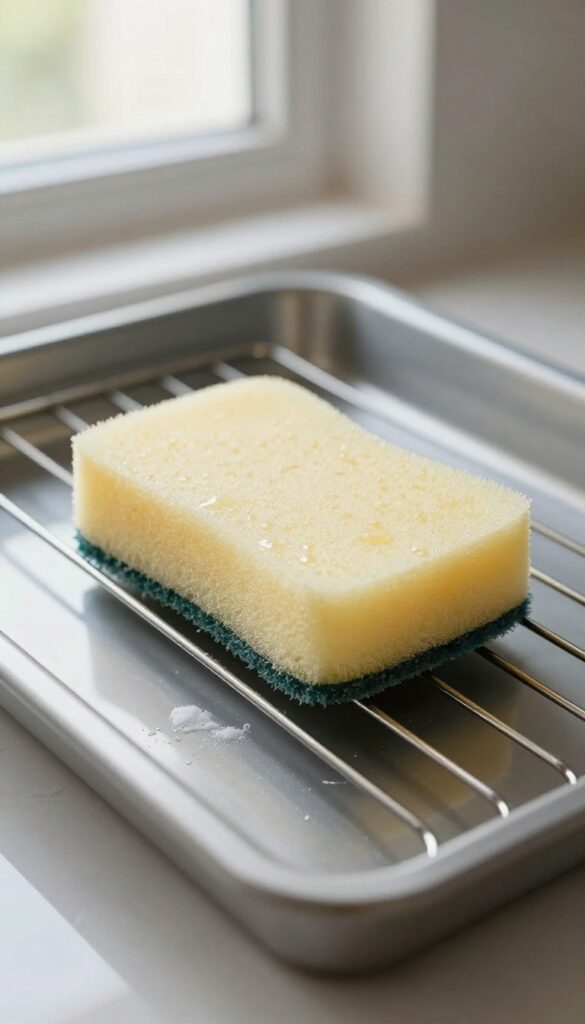
After letting the baking soda paste sit, you'll see that much of the grime has loosened. Now it's time to scrub—but with care. Using the right sponge makes all the difference between a spotless oven and a scratched surface.
Reach for a soft sponge or a nylon brush. Avoid steel wool or abrasive scrubbers, which can damage the oven's enamel coating. For tough spots, let the paste sit a little longer before scrubbing again.
Choose The Right Tool
A non-abrasive sponge is your best friend here. Microfiber cloths also work well. If you have stubborn burnt-on bits, a nylon brush can provide extra scrubbing power without scratching.
Work In Small Circles
Apply gentle pressure and scrub in small circular motions. This helps lift the grime evenly. For corners and crevices, use an old toothbrush or a soft-bristled brush.
Reapply Paste For Stubborn Spots
If some areas refuse to budge, don't force it. Simply reapply a fresh layer of baking soda paste to those spots and let it sit for another 15–20 minutes. Then scrub again.
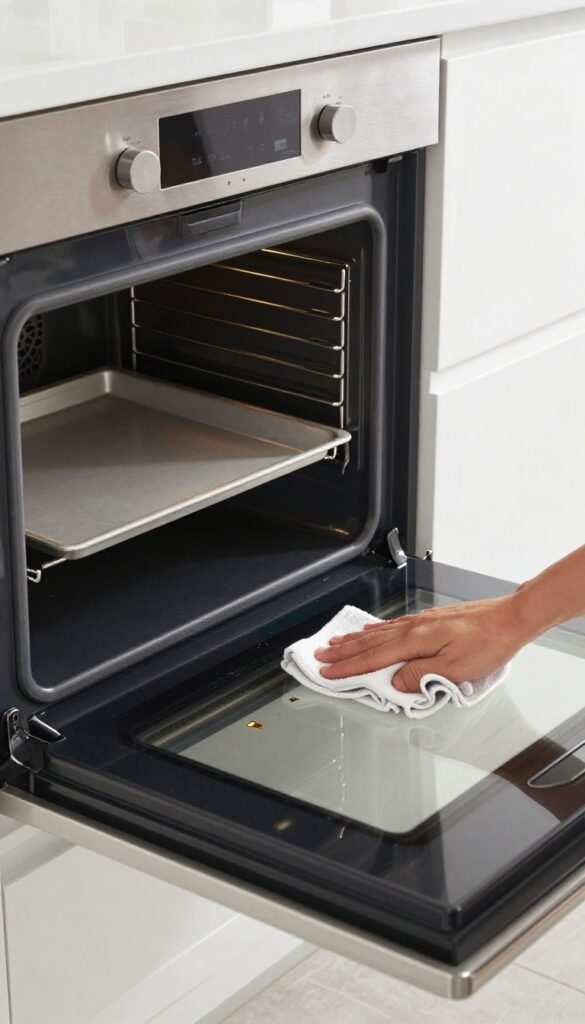
6. Step 6: Clean the Oven Door Glass
The oven door glass often gets overlooked, but it's a magnet for grease splatters and baked-on drips. A clear glass not only looks better but lets you check on your food without opening the door. This step uses a simple paste to cut through the grime without scratching the glass.
Mix a thick paste of baking soda and water, then spread it over the glass. Let it sit for 15-20 minutes to loosen the grime. Spray white vinegar over the paste to create a fizzing reaction, then wipe clean with a damp cloth.
For stubborn spots, use a razor blade at a 45-degree angle to gently scrape them off.
Why Baking Soda Works
Baking soda is mildly abrasive, so it lifts grease without scratching the glass. Combined with vinegar, the fizzing action helps dislodge burnt-on particles. This duo is safe and non-toxic, ideal for kitchen surfaces.
Using A Razor Blade Safely
For baked-on splatters that won't budge, a razor blade can be effective. Always use a new blade and hold it at a shallow angle to avoid gouging the glass. Wet the glass first to reduce friction, and work gently.
7. Step 7: Tackle the Oven Racks Separately
Oven racks often get the worst of the mess—grease drips, burnt-on food, and stubborn stains. Trying to clean them while they're still inside the oven is a losing battle. Instead, pull them out and give them the dedicated attention they deserve.
This step will save you time and effort, leaving your racks sparkling clean without harsh scrubbing.
Removing the racks is the first move. Once they're out, you can use methods that would be impossible inside the oven, like soaking or applying heavy-duty cleaners. This also prevents any cleaning solution from dripping onto the oven floor or heating elements.
Plus, cleaning racks separately means you can scrub them thoroughly without worrying about damaging the oven interior.
Soak In Hot, Soapy Water
Fill your sink or a large tub with hot water and add a generous squirt of dish soap. Submerge the racks completely and let them soak for at least 30 minutes, or up to an hour for heavy buildup. The hot water and soap work together to loosen grease and food particles.
For extra power, add half a cup of baking soda to the water—it helps break down tough, baked-on grime without scratching the metal.
Scrub With A Stiff Brush
After soaking, use a stiff-bristled brush or a scrubbing sponge to remove the loosened gunk. Focus on the areas where the racks connect to the oven walls, as those spots often trap the most residue. For stubborn spots, make a paste of baking soda and water, apply it directly, and let it sit for 10 minutes before scrubbing again.
Rinse the racks thoroughly with clean water to remove all soap and debris.
Use A Commercial Degreaser For Heavy Buildup
If your racks have layers of baked-on grease that won't budge, a commercial degreaser can be a lifesaver. Look for one that's safe for oven racks—avoid anything with chlorine bleach, which can damage the metal. Spray the degreaser onto the racks, let it sit for the recommended time (usually 5–10 minutes), then scrub and rinse.
Wear gloves and work in a well-ventilated area to avoid fumes.
8. Step 8: Wipe Down the Oven Ceiling
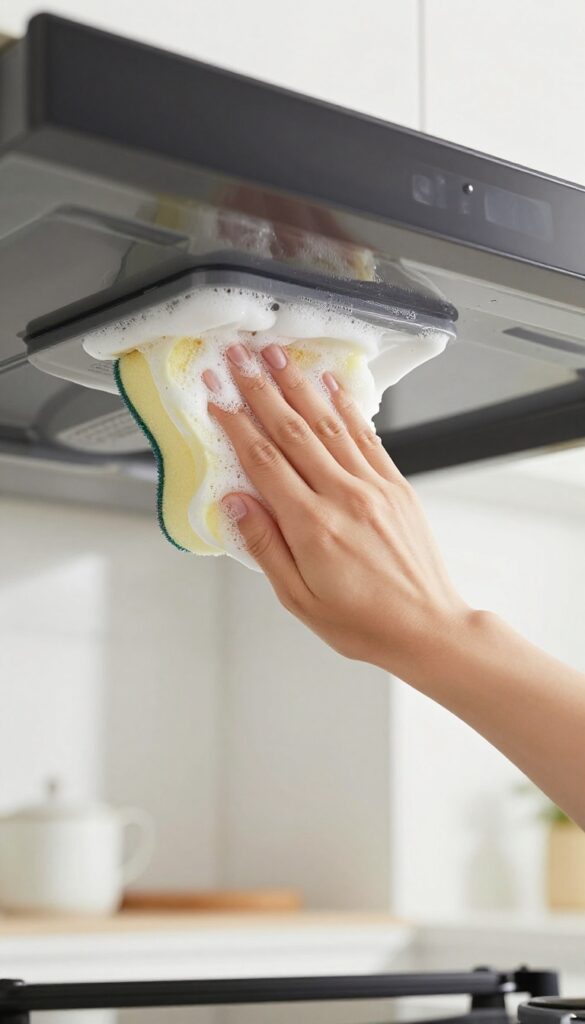
The oven ceiling is easy to forget, but it collects grease splatters and baked-on residue just like every other surface. When you heat the oven, that grime can smoke and create unpleasant odors. Reaching it takes a little creativity, but it's not as hard as you might think.
Grab a sponge on a stick—often sold as a grout sponge or a car wash sponge—or wrap a damp microfiber cloth around a spatula and secure it with a rubber band. Dip your tool into warm, soapy water or a vinegar solution, and gently wipe the ceiling in long, overlapping strokes. For stubborn spots, let the cleaning solution sit for a few minutes before scrubbing.
Rinse the tool frequently to avoid spreading grease around. Once the ceiling looks clean, go over it with a damp cloth to remove any soap residue.
Why The Ceiling Matters
Grease and food particles on the ceiling can burn during preheating, releasing smoke and bad smells. A clean ceiling also helps your oven heat more evenly since there's no burnt-on layer insulating the surface.
Tools That Work Best
A sponge on a stick is ideal because it gives you leverage and reach. Alternatively, a long-handled scrub brush or a steam mop head (used on low heat) can work. Avoid anything abrasive that might scratch the enamel.
Tips For Tough Spots
If you encounter baked-on crud, spray it with a 50/50 vinegar-water mix and let it sit for 10 minutes. Then scrub with the sponge stick. For really stubborn areas, a paste of baking soda and water applied with a spatula can do the trick.
9. Step 9: Clean the Heating Elements Carefully
Heating elements are the workhorses of your oven, but they're also delicate. Baking soda paste or harsh scrubbing can damage them, so you need a gentle touch. Here's how to clean them safely without causing any harm.
Start by making sure the oven is completely cool. Even if it's been off for a while, give it extra time to cool down. Then, use a damp microfiber cloth to gently wipe the surfaces of the heating elements.
Avoid soaking them—too much moisture can seep into the connections. For the crevices around the elements, a soft toothbrush works wonders. Dip it in a little water and gently scrub away any baked-on gunk.
Finally, go over the area with a dry cloth to remove any remaining moisture.
Why Gentle Cleaning Matters
Heating elements are designed to get extremely hot, but they're not built to withstand abrasive cleaners or excessive moisture. Scrubbing too hard can damage the protective coating, leading to uneven heating or even element failure. A gentle approach keeps them working efficiently and extends their lifespan.
Tools You'll Need
All you really need is a soft microfiber cloth, a toothbrush with soft bristles, and some water. Avoid using steel wool, scouring pads, or harsh chemicals. If you want a mild cleaner, a tiny bit of dish soap mixed with water is fine, but make sure to rinse and dry thoroughly.
Step-by-step Cleaning Process
First, ensure the oven is off and completely cool. Then, lightly dampen a microfiber cloth with water—it should be barely wet, not dripping. Wipe the heating elements gently, following their shape.
For stubborn spots, use the toothbrush dipped in water to scrub the crevices. After cleaning, use a dry cloth to pat the elements dry. Let them air dry for a few minutes before using the oven again.
10. Step 10: Degrease the Oven Door Gasket
The rubber gasket that seals your oven door is a magnet for grease and grime. Over time, residue builds up and can prevent the door from closing properly, letting heat escape. Cleaning it regularly keeps your oven efficient and extends the life of the seal.
Mix a few drops of mild dish soap with warm water. Dip a soft cloth or sponge into the solution, wring it out well, and gently wipe the gasket. Be careful not to stretch or tear the rubber.
Rinse with a clean damp cloth and dry thoroughly. Avoid abrasive cleaners, bleach, or ammonia—they can dry out the rubber and cause cracks. For stubborn spots, use a baking soda paste (3 parts baking soda to 1 part water) applied with a soft toothbrush, then wipe clean.
Why The Gasket Matters
The gasket creates an airtight seal that keeps heat inside your oven. A dirty or damaged gasket forces your oven to work harder, increasing energy bills and uneven cooking. Regular cleaning prevents buildup that can lead to premature wear.
What To Avoid
Steer clear of harsh chemicals like oven cleaners, degreasers, or scouring pads. These can degrade the rubber, causing it to become brittle or lose its shape. Stick to gentle soap and water or a mild baking soda paste.
When To Replace
If the gasket is cracked, frayed, or no longer forms a tight seal, it's time for a replacement. You can order a new gasket from the manufacturer or a hardware store. Installation is usually straightforward—just remove the old one and press the new one into the groove.
11. Step 11: Use a Lemon Steam for Lingering Odors
Even after you've scrubbed every surface, a stubborn smell can linger. Burnt food particles and grease residue often hide in corners, releasing odors every time you preheat. A lemon steam is a simple, natural way to refresh your oven and neutralize those smells without any chemical sprays.
Lemon steam works by releasing citrus oils and gentle acidity into the air. The heat helps loosen any remaining baked-on bits while the lemon scent replaces unpleasant odors. This step is especially helpful if you've been tackling tough, greasy messes and want a fresh finish.
Why Lemon Works So Well
Lemons contain citric acid, which cuts through grease and neutralizes alkaline odors. When heated, the steam carries the lemon oil throughout the oven cavity, reaching spots you can't easily wipe. It's a safe, non-toxic alternative to commercial deodorizers, and it leaves your kitchen smelling clean.
How To Set Up The Steam
Fill an oven-safe bowl with about 2 cups of water. Slice one or two lemons and drop the slices into the water. Place the bowl on the middle rack and set your oven to 250°F.
Let it run for 30 minutes, then turn off the heat and leave the door closed for another 15 minutes to let the steam settle.
After The Steam Treatment
Carefully remove the bowl—it will be hot. Use a damp cloth to wipe down the interior, especially the bottom and corners where moisture may have pooled. You'll likely see some loosened residue come away easily.
The lemon scent should linger pleasantly, and any old food smells will be gone.
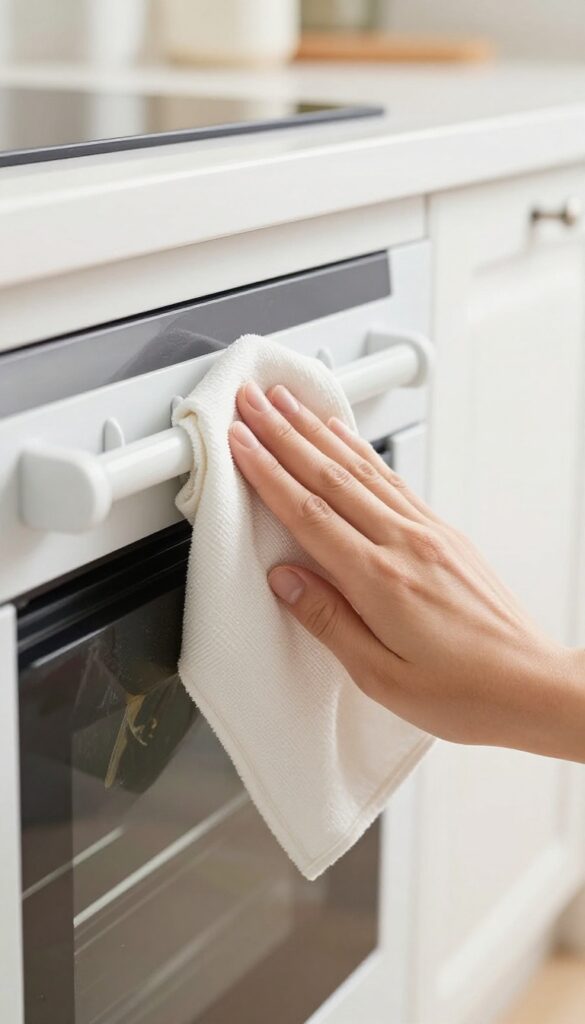
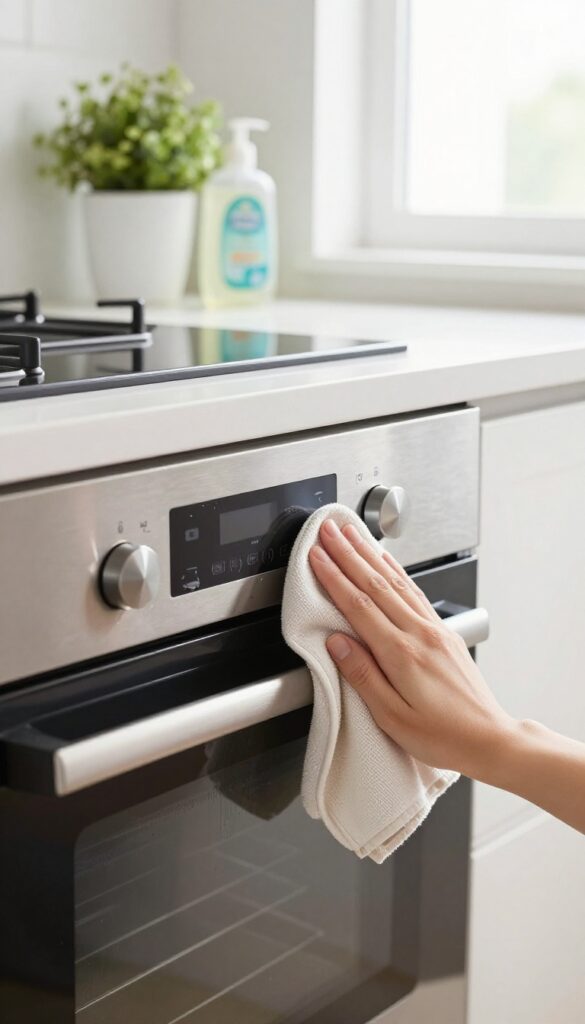
12. Step 12: Wipe Down the Exterior and Control Panel
The oven door and control panel are the first things people see, so they deserve some attention after the interior is spotless. But these surfaces are also delicate—harsh scrubbing or the wrong cleaner can damage the finish or seep into electronics. A gentle approach works best.
For stainless steel, you need to know the grain direction to avoid streaks. And for the control panel, moisture is the enemy. A few careful wipes will leave everything looking like new without risking damage.
Choose The Right Cleaner
Skip the abrasive powders or bleach-based sprays. A mild dish soap and water solution is safe for most finishes. For stainless steel, a dedicated stainless steel cleaner or a mix of vinegar and olive oil can restore shine.
Test any cleaner on a small hidden area first.
Wipe With The Grain
Stainless steel has a visible grain—fine lines running in one direction. Always wipe along those lines, not against them. This prevents swirl marks and keeps the finish uniform.
Use a soft microfiber cloth; paper towels can leave lint.
Protect The Electronics
The control panel often has buttons, a display, and vents. Spray cleaner onto your cloth, not directly onto the panel. Wipe gently around buttons and avoid letting liquid pool near edges.
For tight spots, use a cotton swab dipped in cleaner and wrung out well.
13. Step 13: Rinse Thoroughly to Remove Residue
You've scrubbed, soaked, and wiped your way through the oven, but there's still a fine film of baking soda paste or vinegar solution clinging to the surfaces. That residue can leave white streaks or a faint chemical smell when you heat the oven next. A thorough rinse ensures your oven is truly clean and ready to use.
Grab a clean bucket of warm water and a soft sponge or microfiber cloth. Dip the cloth in water, wring it out well, then wipe down all interior surfaces—walls, floor, ceiling, door, and racks. Change the water frequently to avoid redepositing grime.
Pay extra attention to corners and crevices where paste can hide. Once you've wiped everything down, go over it again with a dry microfiber towel to catch any remaining moisture and prevent water spots. Let the oven air dry completely with the door open for about 30 minutes before moving to the next step.
Why Rinsing Matters
Baking soda and vinegar are great cleaners, but if left behind, they can leave a chalky residue or react with heat, producing odors. Rinsing removes every trace so your oven is truly clean and safe for cooking.
Best Tools For The Job
Use a soft sponge or microfiber cloth—avoid abrasive scrubbers that can scratch enamel. A clean, lint-free towel works best for drying. Change your water as soon as it looks dirty.
Don't Forget The Racks
If you cleaned the racks separately, rinse them under warm running water and dry them thoroughly before sliding them back in. Any leftover cleaner on the racks can transfer to your food.
14. Step 14: Replace Racks and Run a Short Bake Cycle
Now that the interior is spotless, it's time to put the racks back and give your oven a final burn-off. This simple step ensures any lingering residue or moisture is gone, leaving your oven fresh and ready for cooking.
Slide the clean racks back into their proper positions. Then set the oven to 350°F and let it run for about 15 minutes. This short bake cycle will burn off any remaining cleaning residue or moisture, especially around hidden corners.
You might notice a faint smell or a wisp of smoke at first—that's normal. Just keep the kitchen ventilated.
Why A Short Bake Cycle Helps
Even after a thorough wipe, tiny traces of baking soda, vinegar, or commercial cleaner can cling to the oven's interior. Heating the oven to 350°F vaporizes these leftovers and burns off any stubborn grease particles. It also dries out any moisture that could cause rust or odors later.
What To Watch For
During the cycle, keep an eye on the oven. If you see heavy smoke or smell something burning strongly, turn it off and check for leftover residue. A little smoke is okay, but excessive smoke means you missed a spot.
Let the oven cool completely after the cycle before giving it a final quick wipe.
15. Step 15: Maintain with Regular Quick Wipes
You've put in the work to get your oven sparkling clean. Now the trick is keeping it that way without letting grime build up again. A few simple habits can save you from future marathon scrubbing sessions.
The best way to avoid baked-on messes is to stop them before they start. A quick wipe after each use and a monthly deep clean will keep your oven in top shape.
Wipe Spills Immediately
As soon as your oven cools enough to touch safely, grab a damp cloth and wipe up any spills or splatters. Fresh messes come off easily, but once they bake on, they become a nightmare. This simple habit takes just a minute and prevents stubborn stains from forming.
Use A Baking Sheet As A Shield
Place a baking sheet on the bottom rack to catch drips from pies, casseroles, or anything that might bubble over. The sheet catches the mess, and you can just wash it by hand or in the dishwasher. This keeps the oven floor clean and reduces smoke and odors.
Schedule Monthly Deep Cleaning
Even with regular wipes, grease and residue can accumulate. Once a month, give your oven a quick deep clean using baking soda and vinegar or a gentle commercial cleaner. This prevents buildup from becoming baked on and keeps your oven performing efficiently.
FAQ
How often should I deep clean my oven?
Every 3 to 6 months, depending on usage. If you see smoke or smell burnt food, it's time.
Can I use oven cleaner on self-cleaning ovens?
It's best to avoid harsh chemicals. Use the self-clean cycle or natural methods like baking soda and vinegar.
Will baking soda and vinegar damage my oven?
No, they are safe for most ovens. Avoid getting them on heating elements or electrical parts.
How do I clean burnt-on sugar spills?
Sprinkle baking soda over the spill, add a little water to make a paste, let it sit, then scrub. For tough spots, use a razor blade.
Is it safe to use a razor blade on oven glass?
Yes, if you hold it at a 45-degree angle and scrape gently. Avoid scratching the glass by keeping it wet.
Conclusion
Cleaning a baked-on mess doesn't have to be a dreaded chore. With these 15 steps, you can break the job into simple tasks that actually work. Your oven will look and smell fresh, and you'll feel a sense of accomplishment.
Remember, regular maintenance is the secret to avoiding future buildup. A quick wipe after each use saves you from hours of scrubbing later. Now go enjoy your clean oven and get back to cooking without the guilt.