12 Clever Best Pantry Ideas That Save Real Shelf Space
You open the pantry door and everything stares back at you—cans stacked sideways, bags of rice sliding into a pile, and that one box you forgot existed. Deep shelves turn into black holes, and shallow ones never seem to hold enough.
The problem isn't your pantry size; it's how you use the space you have. These 12 ideas target specific pain points, from wasted vertical inches to awkward corners.
Each one is designed to free up real shelf space without expensive renovations. Let's fix that cluttered pantry once and for all.
1. Use Shelf Risers to Double Your Vertical Space
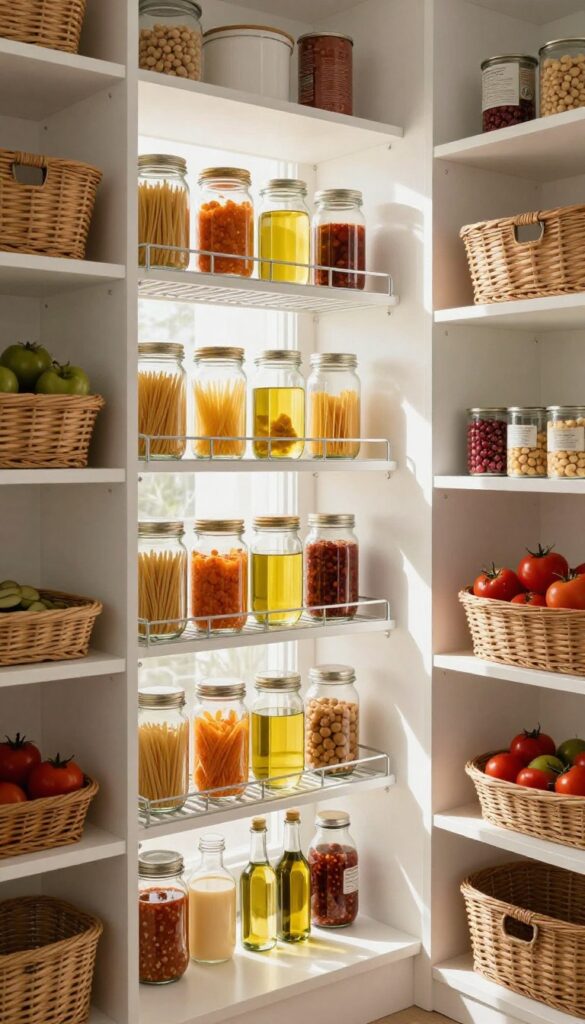
Deep shelves have a nasty habit of swallowing items whole. You slide a can of tomatoes to the back, and it disappears for months. Shelf risers solve this by creating a second level on existing shelves, turning wasted vertical inches into prime real estate.
Shelf risers are simple wire or acrylic platforms that elevate items in the back, letting you store cans, spices, or jars above each other. They're especially useful for deep shelves where things get buried. You can find them in various heights to fit different shelf depths.
The key is to group similar items on each level—taller jars on the bottom, shorter cans on top. This way, everything stays visible and accessible. No more digging through a pile to find that one can of black beans.
Pick The Right Height
Measure your shelf depth and the height of your tallest items. A 4-inch riser works for most cans and spice jars, while 6-inch risers accommodate taller bottles. Adjustable risers are a versatile option if your storage needs change.
Group Like With Like
Keep similar items together on each tier. Put canned vegetables on the bottom riser and spices or small jars on top. This creates a logical system that makes grabbing ingredients quick and easy.
Don't Overload
Risers work best when you leave a little breathing room. Overstacking defeats the purpose and can make items unstable. Stick to one layer per riser level for a tidy, functional setup.
2. Install Pull-Out Drawers for Deep Shelves
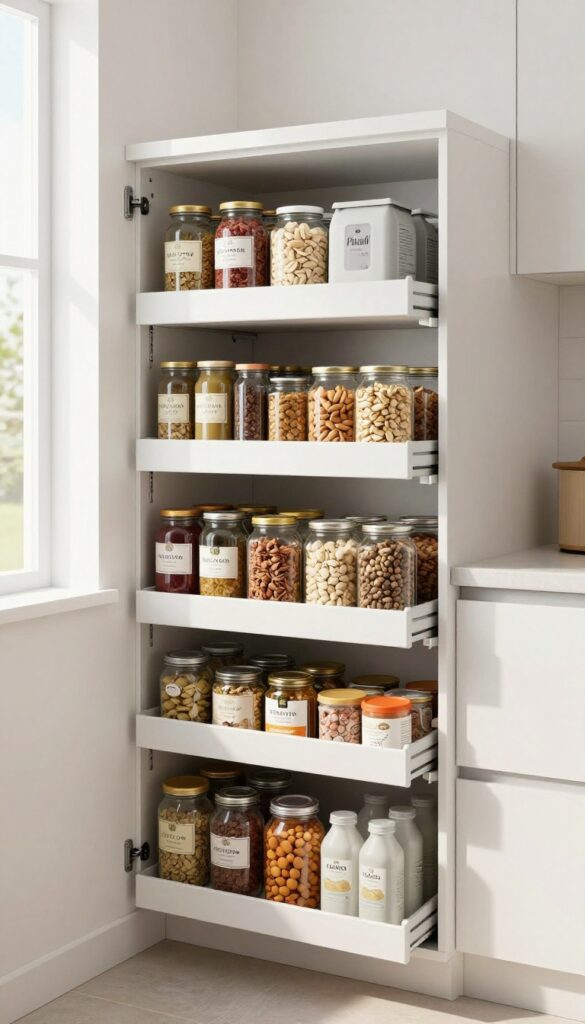
Deep shelves are the worst offenders when it comes to wasted space. You stash things in the back, forget about them, and rediscover expired cans months later. Pull-out drawers or sliding baskets completely change the game by bringing everything to you.
No more kneeling, reaching, or playing pantry archaeologist. With pull-out drawers, every single item is visible at a glance. You can actually use the full depth of your cabinet without losing track of what's hiding in the shadows.
It's a small upgrade that makes a massive difference in daily usability.
Why Pull-outs Beat Static Shelves
Static shelves force you to stack items front to back, which inevitably leads to forgotten cans and wasted space. Pull-out drawers let you organize by category—canned goods on one, spices on another—and access everything without moving a single jar. They also prevent the dreaded domino effect when you grab one can and the whole row tumbles.
Choosing The Right Hardware
You don't need to be a carpenter to install pull-out drawers. Many kits are designed to retrofit existing shelves with minimal tools. Look for full-extension slides (they pull all the way out) and weight ratings that match your heaviest items.
Wire baskets are great for ventilation, while solid drawers work better for smaller items like spice jars.
Diy Vs. Professional Installation
If you're handy with a drill, you can install most pull-out systems in an afternoon. But if your shelves are oddly sized or you want a custom look, hiring a handyman might be worth it. Either way, the investment pays off in saved time and reduced food waste.
3. Hang a Door Organizer for Small Items
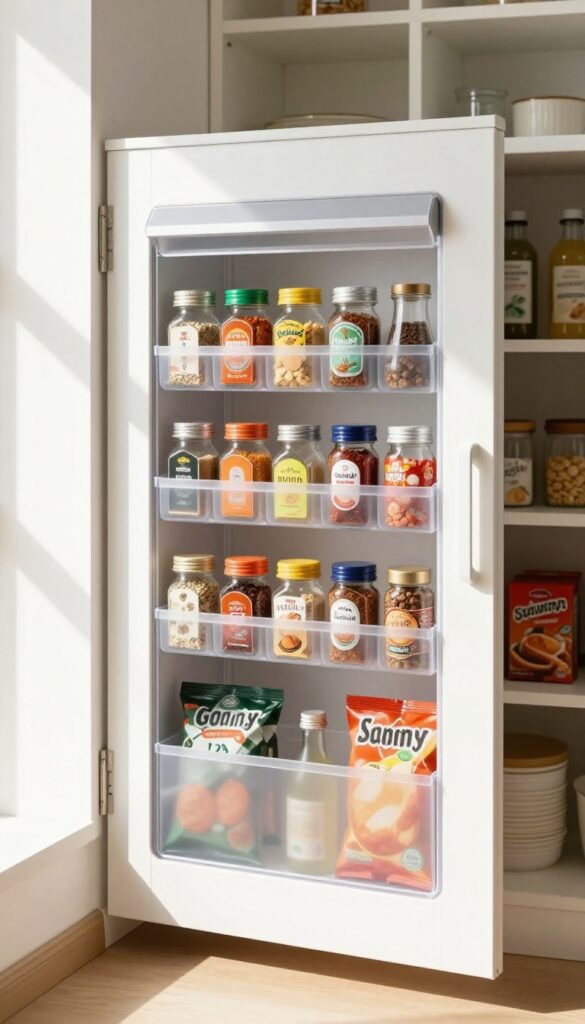
That pantry door is prime real estate just waiting to be used. Over-the-door racks or adhesive pockets turn a blank slab into a storage powerhouse for spices, packets, and small bottles. You reclaim vertical space that does nothing but collect dust, and your shelves stay free for bigger items.
A door organizer is one of the fastest fixes for a cramped pantry. It adds instant storage without any tools or drilling. Just hook it over the top of the door, load it up, and watch your shelf clutter disappear.
Choose one with clear pockets so you can see everything at a glance.
Pick The Right Size And Pocket Count
Not all door organizers are created equal. Measure your door width and clearance first. A slim 12-pocket version works for spices and seasoning packets, while a wider 24-pocket model handles condiment bottles and snack pouches.
Avoid overcrowding—leave a little space between items so you can grab them easily.
Organize By Frequency Of Use
Keep your most-used spices and oils at eye level. Store backup packets or rarely used items in the lower pockets. This prevents digging and keeps your cooking flow smooth.
Group similar items together—all baking spices in one section, all hot sauce in another.
Watch Out For Door Clearance
Before you load up, check that the organizer doesn't bump into shelves or walls when the door closes. Some racks are bulky and can prevent the door from shutting fully. Test with a few items first.
If it fits, you're golden. If not, look for a slim-profile version.
4. Use Clear Bins to Group Like Items
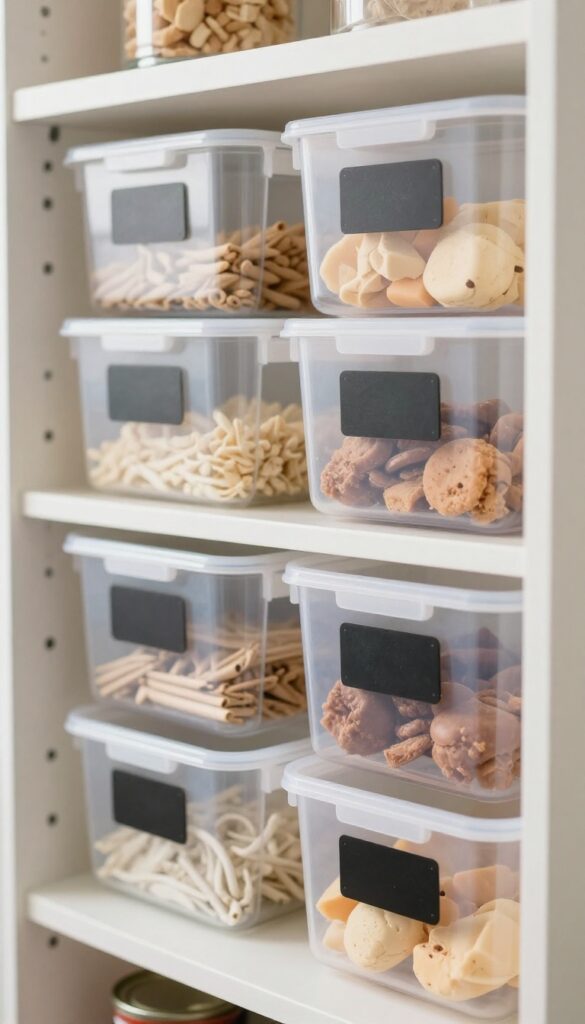
Clear plastic bins are a simple fix for chaotic shelves. They keep similar items together—snacks in one bin, baking supplies in another—and let you see exactly what you have at a glance. No more digging through stacks or buying duplicates of things you already own.
Choose The Right Size And Shape
Measure your shelf depth and height before buying bins. Shallow bins work best for spices and small packets, while deeper ones hold canned goods or pasta boxes. Look for bins with handles or cutouts for easy pulling from deep shelves.
Label Everything Clearly
Use a label maker or simple chalkboard stickers to mark each bin's contents. This helps everyone in the household put things back in the right spot. Labels also make it easy to spot when you're running low on a category.
Stack Strategically
Choose bins that stack securely to use vertical space. Place heavier bins on the bottom and lighter ones on top. Stacking works especially well for items like canned vegetables or jars that don't need frequent access.
5. Add a Lazy Susan for Corner Cabinets
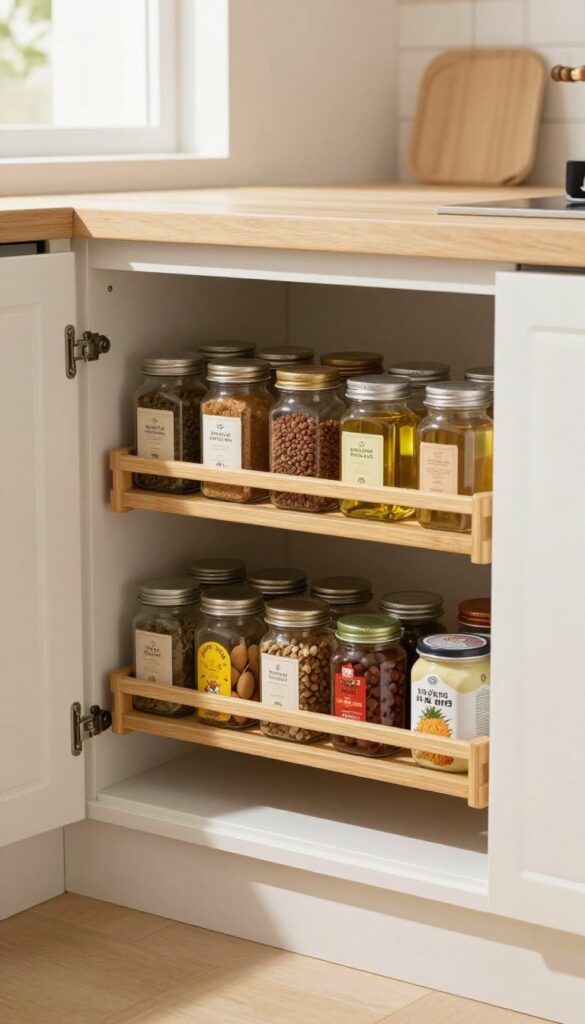
Corner cabinets are the Bermuda Triangle of the pantry—things go in and are never seen again. A lazy Susan changes that by turning dead space into a spinning carousel of accessibility. With a simple spin, every jar, can, and bottle comes into view, no digging required.
Lazy Susans are perfect for corner cabinets or deep shelves where items tend to get lost. They come in various sizes and materials, from clear acrylic to sturdy bamboo, so you can find one that fits your space and style. Installing one is usually a quick DIY project—just place it on the shelf and load it up.
For maximum efficiency, group similar items together, like oils and vinegars or canned goods, and keep frequently used items toward the front.
Choosing The Right Size
Measure your cabinet's width and depth before buying. A lazy Susan that's too small wastes space, while one that's too large won't spin freely. Standard diameters range from 10 to 24 inches.
For corner cabinets, consider a two-tier model to double your storage.
What To Store On It
Lazy Susans work best for round or cylindrical items like spice jars, condiments, cans, and bottles. Avoid storing tall items that might tip over during spinning. Use the top tier for smaller jars and the bottom for larger containers.
Installation Tips
Most lazy Susans come with a non-slip surface or adhesive pads to keep them in place. If yours doesn't, add a liner to prevent sliding. For a custom fit, look for models with adjustable dividers or removable trays.
6. Stack Cans with a Can Organizer Rack
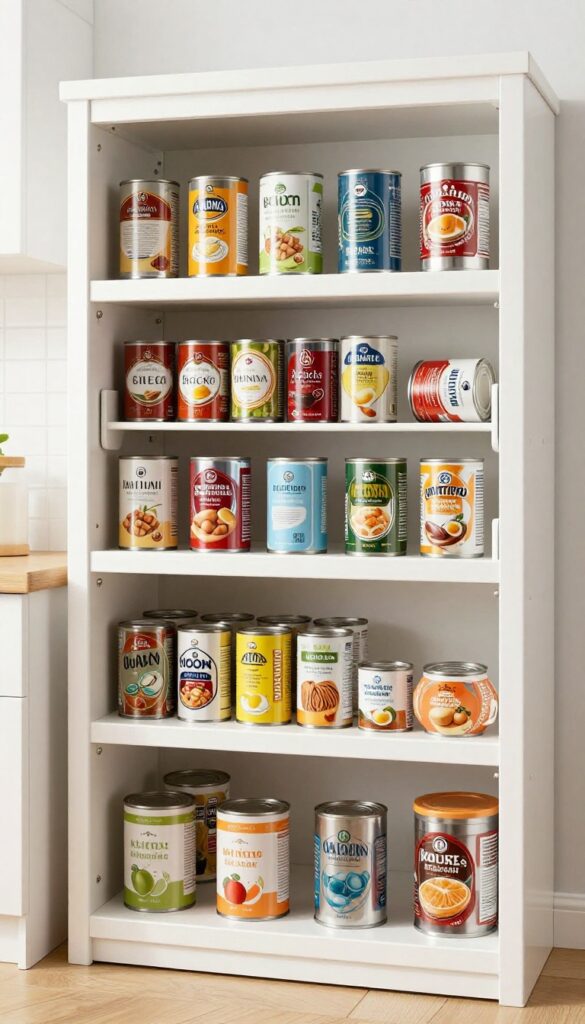
Cans are some of the trickiest items to store neatly. They roll, they hide behind each other, and you end up buying duplicates because you can't see what you have. A tiered can rack solves all of that by letting you store cans in rows, one behind the other, with every label fully visible.
Tiered can racks are simple but genius. They create a slight incline so that when you grab a can from the front, the next one rolls forward automatically. No more digging or forgetting what's in the back.
They come in different sizes to fit standard pantry shelves, and some are even expandable to fit your exact space.
Why Tiered Racks Work So Well
The biggest win is visibility. You can see every can at a glance, so you know exactly what you have and what needs restocking. The incline also prevents cans from rolling off the shelf or getting lost in the back.
Plus, they make the most of vertical space by stacking cans in a compact, organized row.
Choosing The Right Rack For Your Pantry
Measure your shelf depth first. Standard racks fit 12-ounce cans, but if you stock larger cans (like tomato sauce or broth), look for adjustable or extra-deep models. Some racks are designed for soda cans, while others handle standard food cans.
Also consider material: coated wire is durable and easy to clean, while plastic is lightweight and budget-friendly.
Installation And Maintenance Tips
Most can racks are freestanding and require zero installation—just set them on your shelf. To keep them working smoothly, avoid overloading and occasionally wipe them down to prevent dust buildup. Rotate your cans by expiration date as you restock, placing newer ones in the back so older ones get used first.
7. Use Tension Rods to Store Baking Sheets
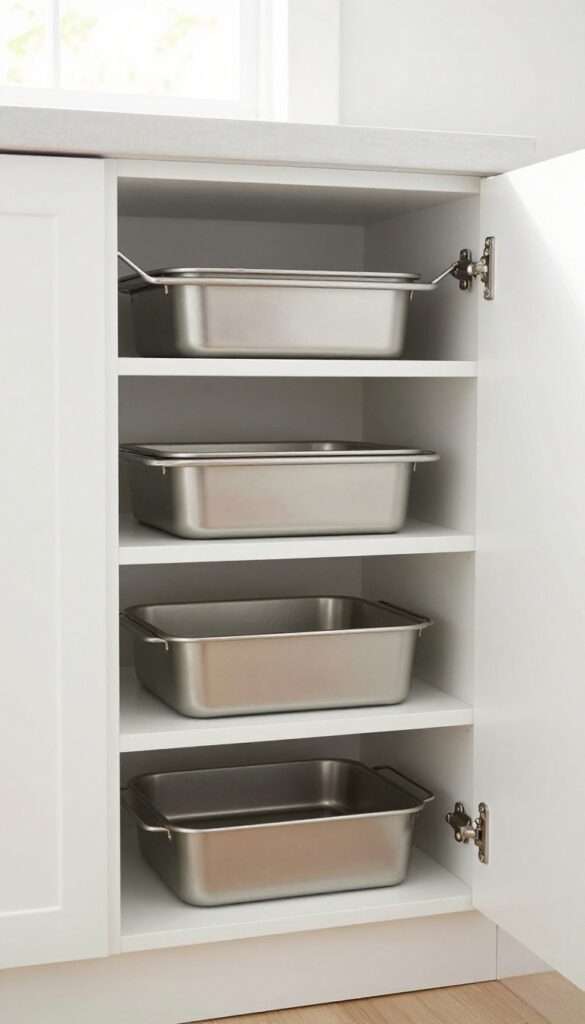
Baking sheets, cutting boards, and lids are notorious for creating chaos when stacked flat. They slide, clatter, and take up way more room than necessary. A simple tension rod can turn that mess into an organized, upright storage system that frees up shelf space.
Tension rods aren't just for curtains. Place one or two vertically between shelves to create dividers that keep pans and boards standing on their sides. This prevents them from falling over and makes grabbing one a breeze.
You'll reclaim the flat shelf space they used to hog.
How To Set It Up
Measure the height between your shelves and buy tension rods that fit snugly. Install them vertically, pressing firmly so they stay put. For heavier items like cast iron pans, use rods with stronger springs or add a second rod for extra support.
What To Store This Way
Baking sheets, cooling racks, cutting boards, and even pot lids work perfectly. You can also use this trick for cookie cutters or shallow trays. Keep similar items together for easy access.
Pro Tips For Best Results
Position rods close to the front of the shelf so you can grab items without reaching. If your shelves are adjustable, place them a few inches apart to maximize vertical storage. For a cleaner look, use matching rods and keep items grouped by size.
8. Label Everything for Quick Identification
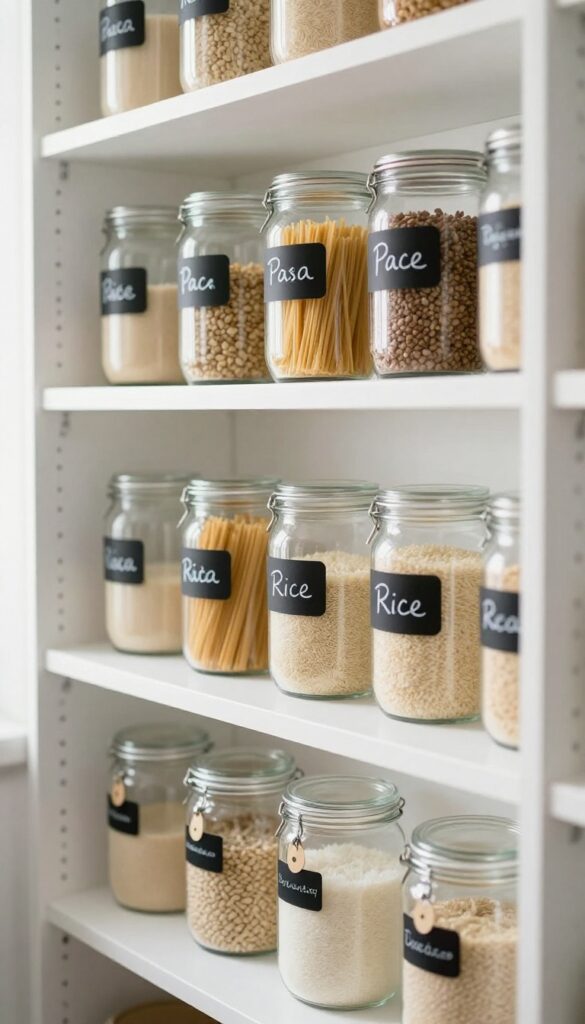
Labels turn a chaotic pantry into an organized system where everything has a home. When bins, jars, and shelves are clearly marked, everyone in the household can find what they need and—more importantly—put things back in the right spot. It’s a small effort that pays off every single day.
A well-labeled pantry saves time and reduces frustration. You no longer have to dig through bins or guess what’s inside a container. Labels also help maintain organization long-term because they create a visual cue for where items belong.
Whether you use a label maker, chalkboard tags, or simple masking tape, the key is consistency. Label categories like “Pasta, ” “Rice, ” “Snacks, ” and “Baking Supplies. ” For jars, include the contents and expiration date. This system works especially well for bulk items stored in clear containers, as it prevents mix-ups and keeps your pantry looking tidy.
Choose The Right Labeling Method
A label maker gives a clean, professional look and is easy to update. Chalkboard labels offer a reusable option—just wipe and rewrite when contents change. For a budget-friendly approach, use washi tape and a permanent marker.
Whichever method you pick, make sure labels are legible and placed consistently (e. g. , on the front of bins or at eye level on shelves).
Label Both Containers And Shelf Zones
Don’t stop at labeling individual bins. Use shelf labels to designate zones: “Grains, ” “Canned Goods, ” “Spices, ” etc. This guides everyone to the right area and makes restocking a breeze.
When you combine container labels with zone labels, the system becomes almost foolproof.
Involve The Whole Family
If multiple people use the pantry, labels help everyone stay on track. Teach kids to read labels when putting away groceries. Over time, this habit reduces clutter because items return to their designated spots.
You’ll spend less time reorganizing and more time enjoying a functional pantry.
9. Store Spices on a Wall-Mounted Rack
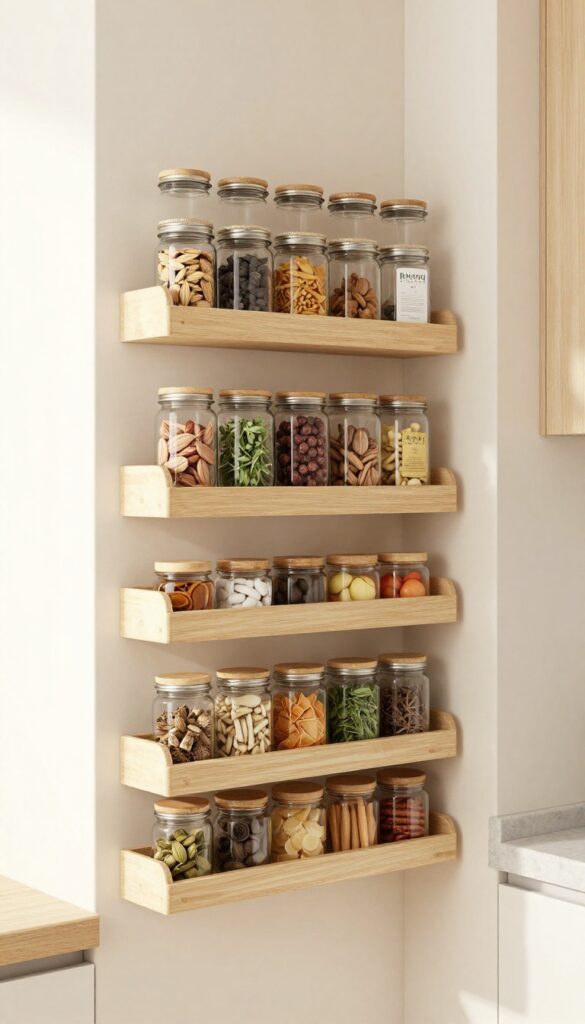
Spices are small but they take up a surprising amount of shelf space when stored in their original jars or a bulky rack. Moving them to a wall-mounted rack frees up prime real estate for larger pantry items. Plus, you get to see everything at a glance—no more digging through a cluttered cabinet for that jar of cumin.
Magnetic Strips For Metal Jars
If you buy spices in metal tins, a magnetic strip is a sleek solution. Mount a strip on the inside of a cabinet door or on an empty wall space. The jars stick right on, and you can arrange them in neat rows.
This keeps them off the shelf and within easy reach. Just make sure the strip is strong enough to hold the weight of several jars.
Small Shelves For Glass Jars
For glass spice jars, small wall-mounted shelves are a better fit. Look for narrow shelves designed specifically for spices—they're often just deep enough to hold one row of jars. Install them near your cooking area for quick access.
You can even label each shelf by spice type (like baking spices on one, savory on another).
Using The Inside Of Cabinet Doors
Don't overlook the back of your cabinet doors. You can mount a small wire rack or a series of adhesive hooks to hold spice jars. This uses dead space that's otherwise wasted.
Just be sure to check that the door closes properly and that the jars don't bump into shelves inside.
10. Use Baskets for Bulk Items
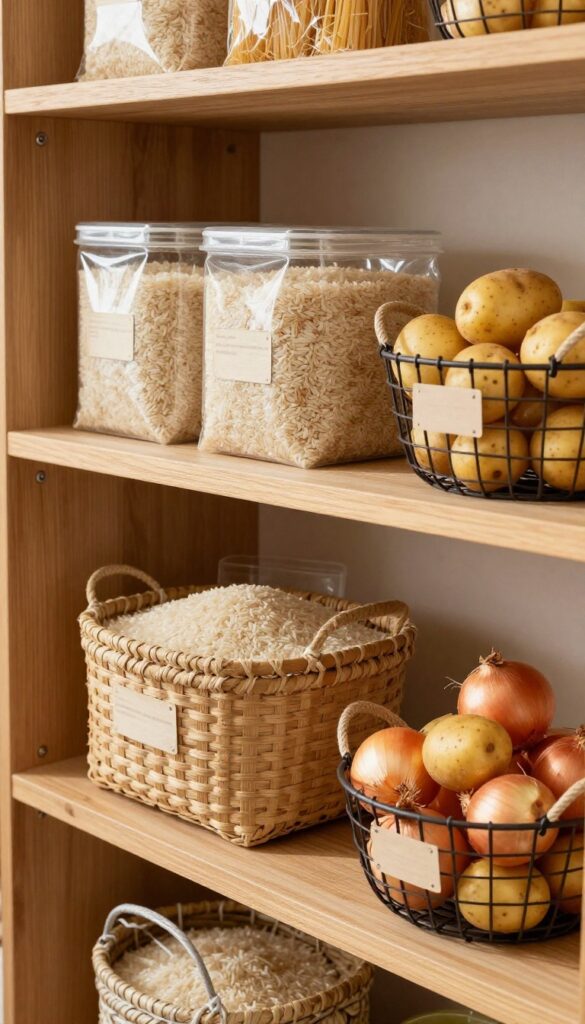
Bulk bags of rice, pasta, or potatoes can be a pain to store. They slide around, spill, and take up more space than they should. That's where baskets come in—woven or wire baskets corral these items neatly, making them easy to grab and stack.
Baskets are a simple solution for loose bulk items that don't stack well on their own. They keep everything contained, prevent spills, and add a rustic touch to your pantry. Plus, they're easy to slide out or stack, making the most of vertical space.
Choose The Right Basket
Opt for sturdy woven baskets or wire baskets with handles. Woven baskets work well for dry goods like potatoes and onions, while wire baskets allow airflow for produce. Make sure they're wide enough to hold standard bags but not so deep that items get lost.
Stack And Slide
Baskets are perfect for deep shelves because they slide out easily, giving you access to items in the back. Stack smaller baskets on top of larger ones to use vertical space. Label each basket so you know what's inside without pulling everything out.
Group By Category
Use one basket for rice and grains, another for pasta, and a third for potatoes or onions. This keeps similar items together and makes meal prep faster. You can also use baskets for snacks or baking supplies—whatever you buy in bulk.
11. Install Under-Shelf Baskets for Extra Hanging Storage
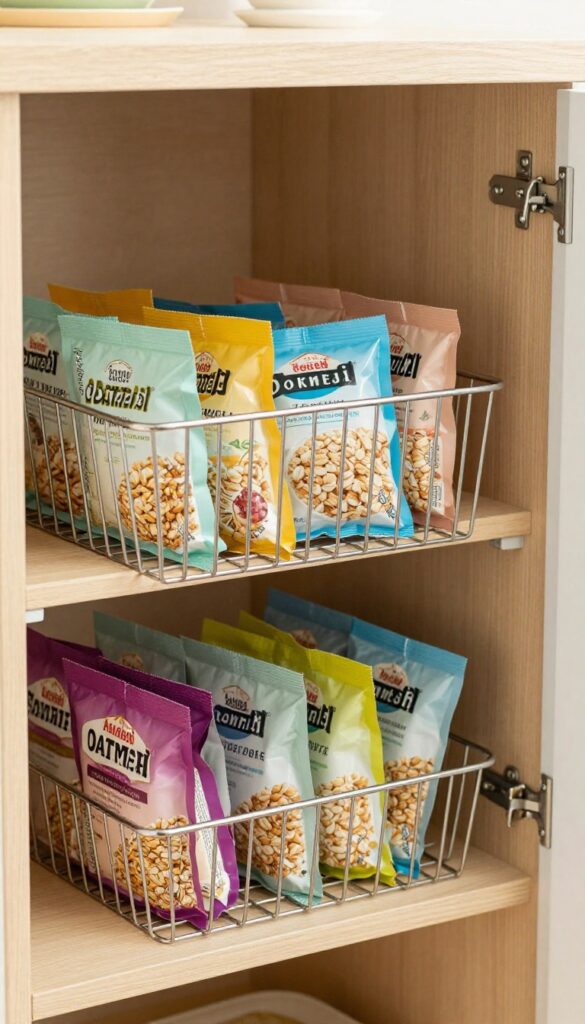
You've probably looked at the empty space under your shelves and thought, "That's just dead air. " But it doesn't have to be. Under-shelf baskets clip right onto the shelf above, turning that wasted gap into usable storage for lightweight items that usually clutter your counters.
These baskets are a game-changer for small or oddly shaped items that don't stack well. Think single-serve packets, spice envelopes, or small jars. They hang securely and are easy to slide out when you need something.
The best part? They don't take up any shelf space at all.
What To Store In Under-shelf Baskets
Stick with lightweight items that you grab often. Packets of oatmeal, seasoning mixes, tea bags, or even small snack packs work great. Avoid heavy cans or glass jars that could strain the clips or make the basket tip.
Installation Tips For A Secure Fit
Most under-shelf baskets come with adjustable clips that fit standard shelf thickness. Make sure the shelf is sturdy and the clips are tight. If your shelves are wire or glass, check compatibility first—some baskets are designed only for solid wood or laminate.
Maximizing Visibility And Access
Position the basket near the front of the shelf so you can see and reach everything easily. Group similar items together—like all your hot cocoa packets in one basket. This way, you avoid the "out of sight, out of mind" problem that plagues deep pantries.
12. Rotate Stock with a First-In, First-Out System
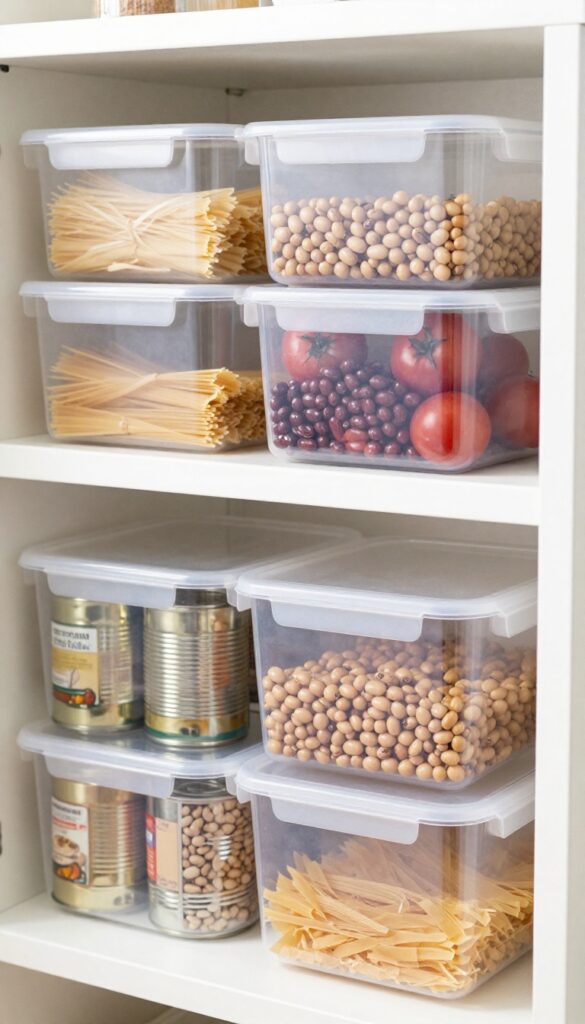
Ever find a can of beans from 2019 hiding behind a fresh stack? You're not alone. Without a system, older items get pushed to the back and forgotten until they expire.
A first-in, first-out (FIFO) approach keeps your pantry fresh and reduces waste. It's simple: always place newer items behind older ones. With the right bins or racks, this becomes second nature.
Implementing FIFO doesn't require a complete pantry overhaul. Start by grouping similar items together—canned goods, pasta, snacks—and use containers that make it easy to grab from the front and restock from the back. Clear bins work well because you can see what's inside without digging.
For shelves, consider can dispensers or tiered racks that automatically push older items forward. Label each bin with the category and a "use by" reminder so nothing gets buried. Once the system is in place, make it a habit: when you buy new groceries, take a moment to pull older items to the front before stashing the new ones behind.
This small routine saves money and keeps your pantry organized.
Why Fifo Matters For Your Pantry
Food waste is a common kitchen frustration, and it often stems from poor rotation. FIFO ensures you use items before they expire, saving money and reducing clutter. It also helps you keep track of what you have, so you don't accidentally buy duplicates.
Tools That Make Fifo Easy
Invest in a few key organizers: can dispensers that roll cans forward, tiered shelf risers for jars and bottles, and clear bins with handles for dry goods. These tools turn the abstract concept of FIFO into a visual, hands-on system that practically runs itself.
How To Maintain The System Long-term
Set a weekly or bi-weekly pantry check-in. During this quick scan, pull any items nearing their expiration to the front, and restock new purchases behind existing ones. Involve your family so everyone follows the same rule.
Over time, it becomes a natural part of your grocery routine.
FAQ
How do I organize a small pantry without shelves?
Use over-the-door organizers, wall-mounted racks, and stackable bins. Consider adding a freestanding shelving unit or using tension rods for vertical storage.
What is the best way to store canned goods?
Use tiered can racks or stackable can dispensers. Group by type and rotate stock so older cans are used first.
How can I maximize deep pantry shelves?
Install pull-out drawers or sliding baskets. Use shelf risers to create vertical layers, and store less-used items in the back.
Should I use clear or opaque bins for pantry storage?
Clear bins are better because you can see contents without opening. They also help with inventory management and quick access.
How do I keep my pantry organized long-term?
Adopt a first-in, first-out system, label everything, and do a monthly tidy-up. Avoid overstocking and return items to their designated spots.
Conclusion
Maximizing pantry space doesn't require a complete overhaul—just a few clever swaps. Start with the idea that solves your biggest headache, whether it's lost cans, cluttered shelves, or hard-to-reach corners. Small changes like risers, bins, or door racks add up fast.
Before long, you'll open your pantry and actually find what you need without digging. That's the real win: a system that saves both space and sanity. Pick one tweak today and see how good it feels.