12 Pantry Categories Ideas for a Cleaner, Calmer Kitchen
A cluttered pantry doesn't just hide your snacks—it steals time and patience every time you cook. But organizing by category can turn that chaos into a calm, efficient space where everything has its place.
These 12 pantry categories are designed to streamline your kitchen routine, making grocery runs and meal prep feel effortless. From baking basics to bulk overflow, each group solves a specific storage challenge.
Pick the ones that fit your cooking style, and watch your pantry transform into a stress-free zone.
1. Baking Essentials
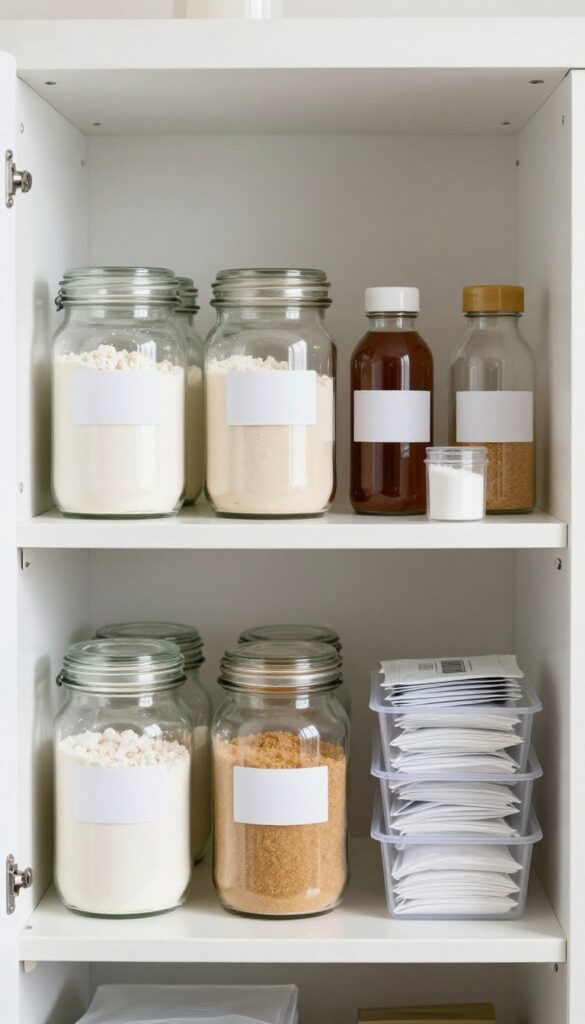
Baking is one of the most rewarding kitchen activities, but nothing kills the mood like hunting for a half-empty bag of flour. Grouping all your baking staples in one spot makes spontaneous cookie batches a breeze. Clear containers let you see when supplies are low, and stackable bins keep everything tidy.
This category covers the core ingredients you reach for again and again. Flours, sugars, leavening agents, and flavorings all live here. By dedicating a single shelf or drawer to baking, you avoid cross-contamination and speed up your prep time.
It’s the foundation of a functional pantry.
The Must-haves
Start with the basics: all-purpose flour, granulated sugar, brown sugar, baking soda, baking powder, salt, and vanilla extract. Add specialty flours or alternative sweeteners if you bake often. Keep these in airtight containers to stay fresh longer.
Clear Containers Are A Game Changer
Transfer dry ingredients into clear glass or BPA-free plastic jars. Label each one with the name and expiration date. This not only looks clean but also lets you spot when you’re running low at a glance.
Stackable Storage For Small Spaces
Use square or rectangular bins that stack neatly. They maximize vertical space and prevent items from getting lost. Place the most-used ingredients at eye level and less frequent ones above or below.
2. Grains and Pasta
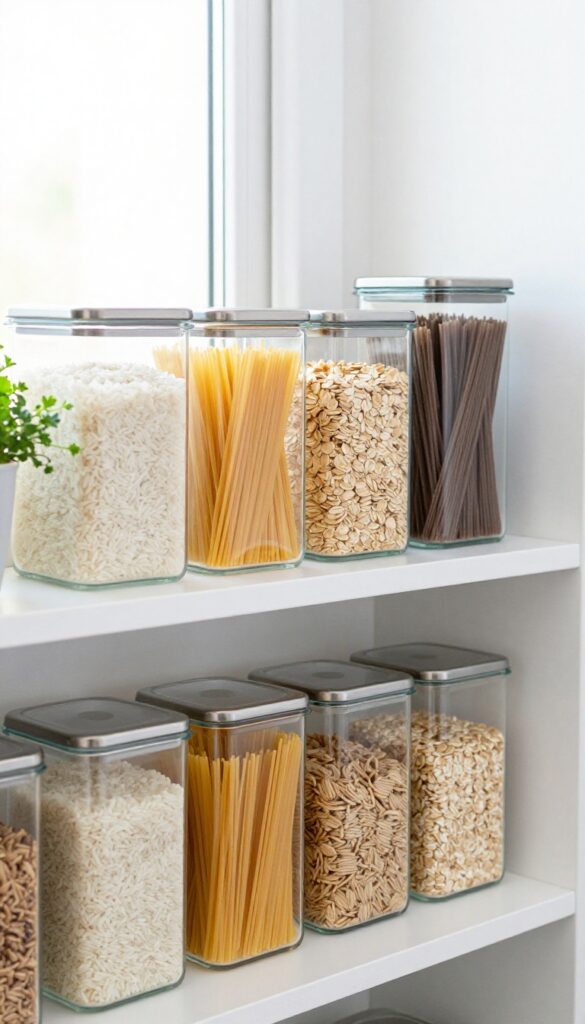
Grains and pasta are the backbone of countless meals, yet they often end up scattered in half-open boxes or shoved into deep cabinets. Giving them a dedicated zone with clear, airtight containers not only keeps them fresh but also makes grabbing a handful effortless. Grouping by type and frequency of use means your go-to rice or quick-cooking couscous is always within arm's reach.
Start by transferring all grains and pasta into uniform airtight containers—glass or BPA-free plastic works well. This prevents pests, locks in freshness, and lets you see exactly how much you have left. Arrange containers on a sturdy shelf or in a pull-out drawer, with everyday staples like white rice and spaghetti at the front, and specialty items like farro or soba noodles toward the back.
Label each container with the grain type and cooking time for extra convenience.
Choose The Right Containers
Square or rectangular containers maximize shelf space and stack neatly. Look for wide mouths for easy scooping and airtight seals. Avoid tapered or oddly shaped jars that waste space.
Group By Frequency Of Use
Place your most-used grains—white rice, pasta, oats—at eye level or the front of the shelf. Reserve higher or deeper spots for occasional items like arborio rice or buckwheat. This simple flow saves time during meal prep.
Label For Clarity
Use a label maker or simple chalk labels to mark each container with the grain type and approximate cooking time. This is especially helpful for grains that look similar, like quinoa and millet.
3. Canned Goods
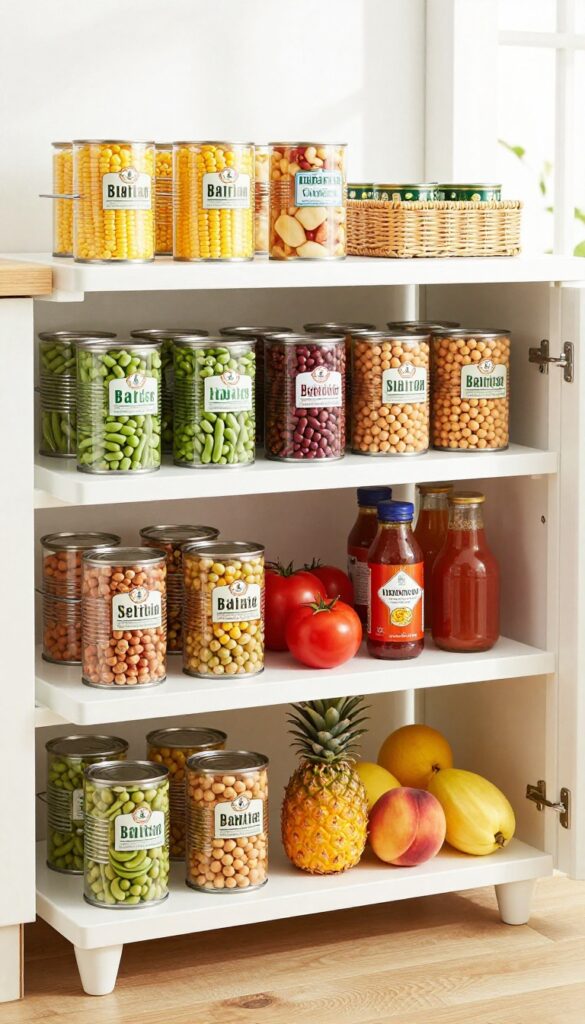
Canned goods are pantry workhorses, but they can quickly become a jumbled mess if you just toss them on a shelf. The key is grouping them by type so you can grab a can of black beans or diced tomatoes without playing hide-and-seek. A little structure here saves time and prevents buying duplicates.
Group By Meal Role
Separate your cans into logical categories: vegetables (corn, green beans), beans (kidney, chickpeas), tomatoes (crushed, sauce), soups (broth, chowder), and fruits (pineapple, peaches). This way, when you're making chili, you head straight for the beans and tomatoes section. Use small bins or dividers to keep each group together.
Use Vertical Storage
Tiered shelves or can organizers let you see every can at a glance. No more shoving new cans in front of old ones. Stackable racks work well for deep cabinets, while pull-out drawers are great for lower shelves.
If you have a lot of cans, consider a lazy Susan for corner cabinets.
Label And Rotate
Even with categories, labels on the front of shelves or bins help everyone in the household put things back correctly. Practice first-in, first-out by adding new cans behind older ones. A quick monthly check can catch dented or expired cans before they become a problem.
4. Spices and Seasonings
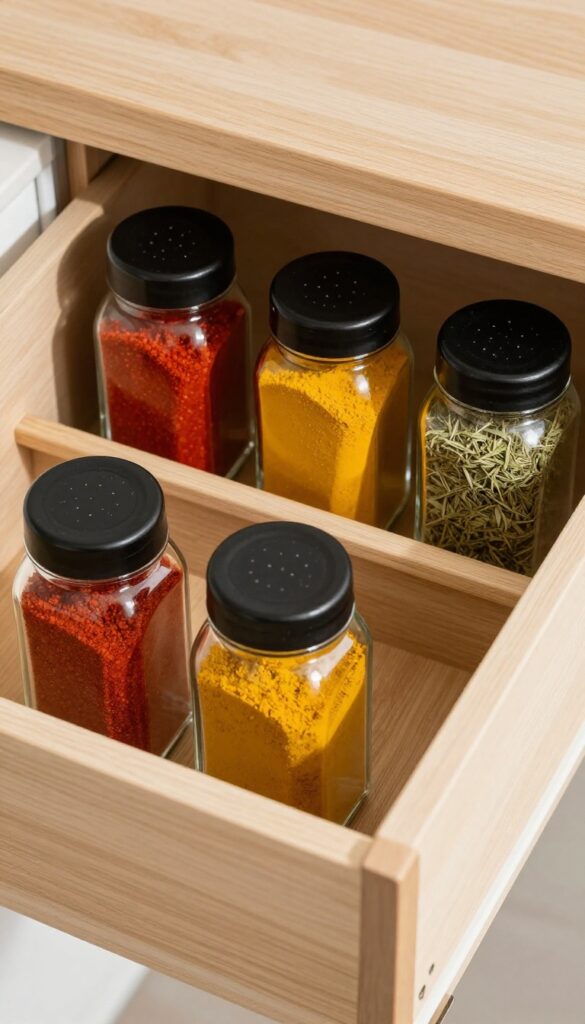
Spices add life to your cooking, but a jumbled drawer can turn a pinch of cumin into a five-minute hunt. Organizing your seasonings by system—alphabetical or by cuisine—saves time and keeps your recipes on track. Once everything is visible and reachable, you'll actually use that smoked paprika you bought on a whim.
Alphabetical Order
For the purist, alphabetical is the gold standard. It works especially well if you have a large collection and cook across many cuisines. Use a tiered rack or a shallow drawer insert so every label is readable at a glance.
No more pulling out five jars to find the oregano.
By Cuisine Grouping
If you tend to cook Mexican one week and Italian the next, grouping spices by cuisine makes meal prep seamless. Keep cumin, chili powder, and oregano together for Tex-Mex nights, and basil, thyme, and rosemary for Italian dishes. A small lazy Susan or a divided drawer works perfectly for these clusters.
Storage Solutions That Work
Drawer inserts keep spices lying flat so you can see every label. Lazy Susans are great for deep cabinets—just spin to find what you need. For wall-mounted options, magnetic tins on a metal strip save counter space and look sleek.
Whatever you choose, make sure the containers are uniform and airtight to preserve freshness.
5. Oils, Vinegars, and Condiments
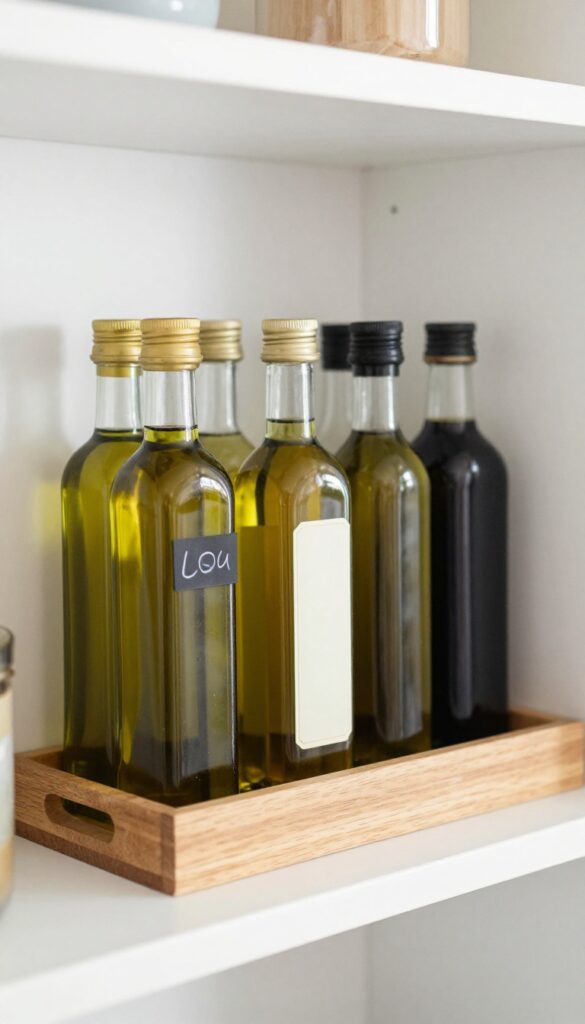
Oils, vinegars, and condiments are the flavor powerhouses of your pantry, but their bottles come in all shapes and sizes, making them prone to tipping over and leaking. Grouping them together on a tray or in a shallow bin keeps them upright and contains any spills, saving you from sticky shelves. Plus, having them all in one spot speeds up cooking—no more digging for the soy sauce behind the olive oil.
Choose The Right Container
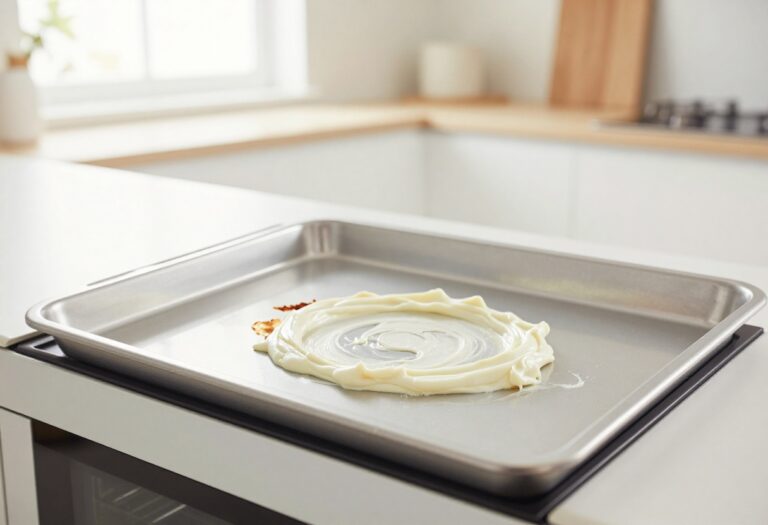
A rimmed baking sheet, a plastic boot tray, or a wire basket with a liner works well. Make sure it's easy to pull out and wipe down. If you have a deep cabinet, consider a tiered shelf or a lazy Susan so you can see everything at a glance.
Group By Usage Frequency
Place everyday items like olive oil, vinegar, and soy sauce at the front. Reserve the back for specialty oils (walnut, sesame) and less-used condiments (fish sauce, hoisin). This way, you grab the daily drivers without shuffling bottles.
Label For Clarity
If you decant oils into pourers or store homemade dressings, label them clearly. A simple chalk label or a piece of masking tape with a marker prevents confusion and keeps your system foolproof for everyone in the household.
6. Snacks and On-the-Go Items
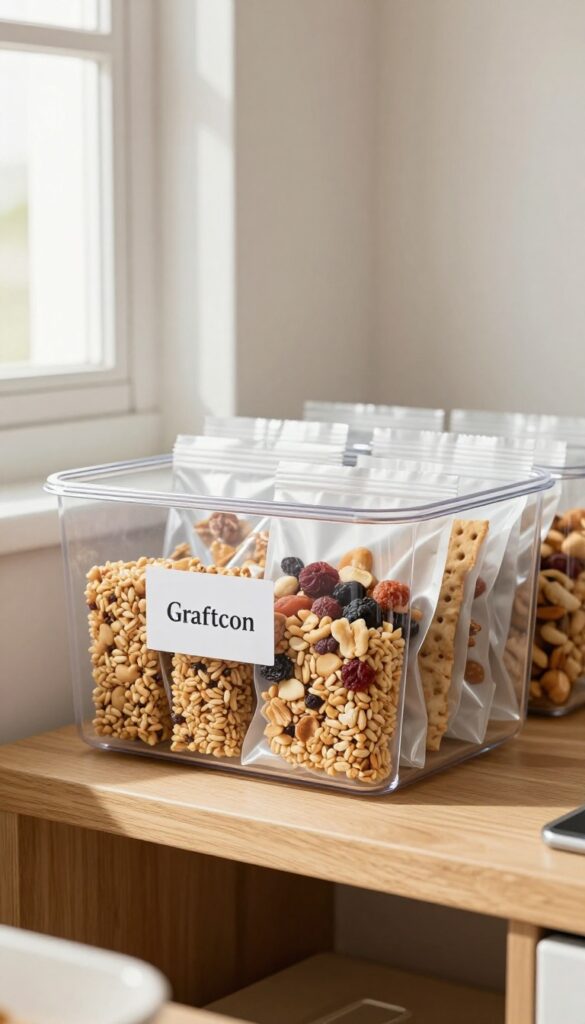
Snacks have a way of taking over every available surface when they're not contained. By corralling granola bars, nuts, dried fruit, crackers, and single-serve packs into one designated bin or shelf, you stop the spread and make grab-and-go effortless. This category is a lifesaver for busy mornings, lunch packing, and curbing those 3 p. m. cravings without a full kitchen excavation.
A dedicated snack zone means you can see exactly what you have at a glance, so you're less likely to buy duplicates or let things expire. It also keeps healthier options front and center, making it easier to choose a handful of almonds over a less nutritious impulse grab. For families, this system lets kids help themselves without rummaging through the entire pantry.
Choose The Right Container
A clear, wide bin works best because it lets you see everything without digging. Baskets with labels are also great for a more decorative look. Avoid deep bins where small items get lost at the bottom—go for shallow, open-top containers that allow easy access.
Group By Type Or Frequency
Sort snacks into logical subgroups: all granola bars together, nuts in one spot, dried fruit in another. If you have kids, place their favorites at eye level. For yourself, put healthier options at the front and treat-style snacks toward the back to encourage better choices.
Keep It Stocked And Rotated
Make it a habit to check your snack bin before grocery shopping. Use a first-in, first-out approach by placing new items behind older ones. This prevents stale crackers and forgotten protein bars from piling up.
7. Breakfast Staples
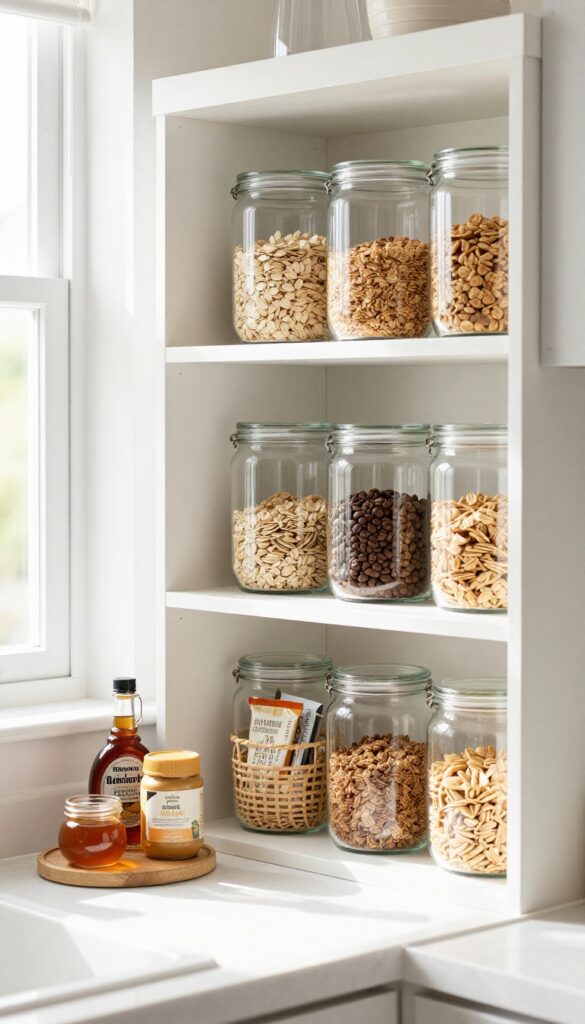
Mornings are hectic enough without hunting for the pancake mix or realizing you're out of coffee. Grouping all your breakfast essentials in one dedicated zone streamlines your routine and cuts down on decision fatigue. Keep the items you reach for daily front and center, so you can grab them without thinking.
By corralling cereal, pancake mix, syrup, peanut butter, and coffee together, you create a one-stop morning station. Store frequently used items at eye level for easy access, and use clear bins for small packets or single-serve options. This category prevents breakfast items from migrating to other shelves and keeps your pantry logical.
The Morning Power Shelf
Designate one shelf—preferably at eye level—for your most-used breakfast items. Cereal boxes, oatmeal canisters, and coffee bags should live here. Use clear canisters for loose items like granola or ground coffee to keep them fresh and visible.
This shelf is your fastest route from sleepy to fed.
Syrups, Spreads & Toppers
Syrup, honey, peanut butter, and jam bottles can be messy if stored haphazardly. Place them in a small bin or on a turntable to prevent sticky spills. Group them near the coffee station so you can add a drizzle or a spread without extra steps.
For kids, keep these within reach but out of the way of heavy traffic.
Quick-grab Breakfast Bins
Use shallow bins or baskets for single-serve oatmeal packets, instant grits, or protein bars. Label each bin so everyone knows where the grab-and-go options are. This is especially helpful on busy mornings when you need to eat on the run.
Keep these bins in front of larger boxes so nothing gets buried.
8. Baking Mixes and Boxed Meals
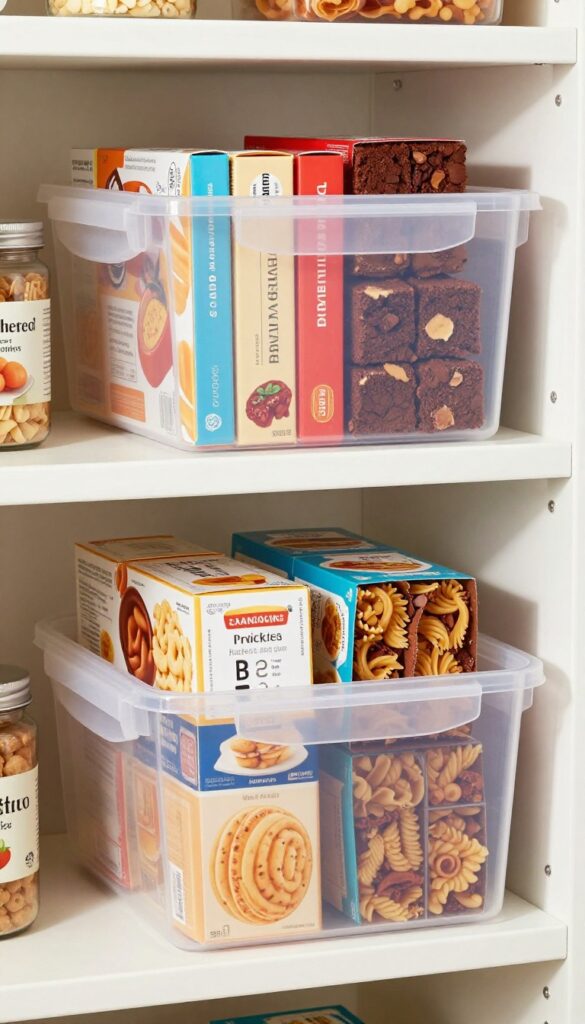
Boxed dinners and baking mixes are lifesavers on busy nights, but they tend to pile up in weird corners. Before you know it, you've got three boxes of mac and cheese and no cake mix for a birthday. A dedicated bin keeps them visible and accessible, so you can grab what you need and avoid buying duplicates.
Group all your boxed meals—mac and cheese, rice mixes, pasta kits—and baking mixes like cake, brownie, and pancake mixes together. Use a clear, wide bin so you can see labels at a glance. Stack boxes upright to save space and prevent crushing.
This also makes it easy to rotate stock, using older boxes first.
Sort By Meal Type
Separate baking mixes from savory boxed dinners. Keep cake and brownie mixes on one side, and mac and cheese or rice mixes on the other. If you have a lot, use small dividers or separate bins.
This way you won't accidentally grab a brownie mix when you wanted dinner.
Use A Bin With A Handle
A bin with a sturdy handle makes it easy to pull the whole category out when you're meal planning. Clear plastic is best so you can see inventory. Label the bin "Baking Mixes" or "Boxed Dinners" so everyone in the household knows where to put things back.
Check Expiration Dates Regularly
Boxed mixes can sit forgotten for months. Every few months, go through the bin and toss anything expired. Keep a small marker to write the purchase date on boxes if you want to be extra organized.
This keeps your bin fresh and useful.
9. International Ingredients
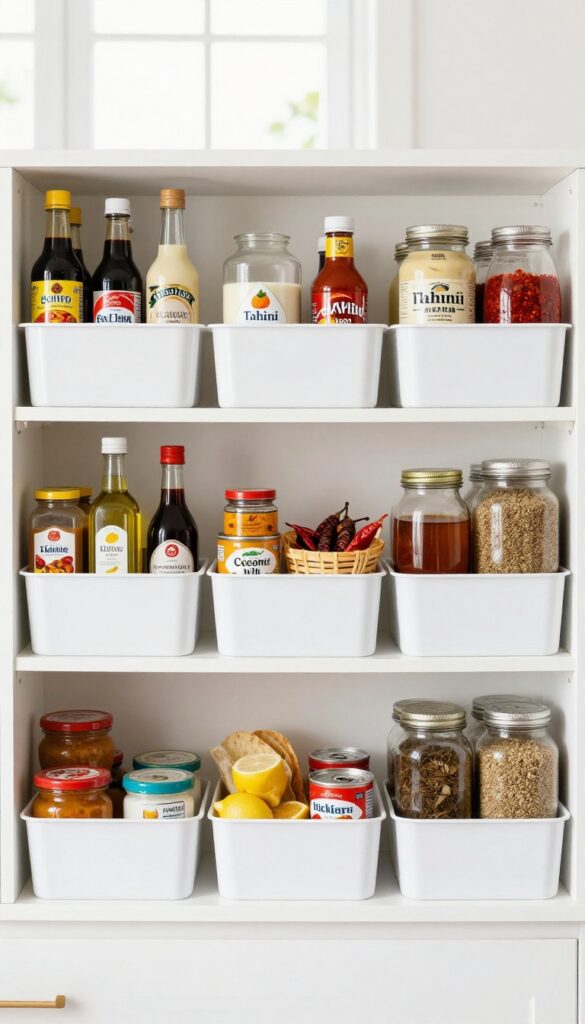
Cooking global cuisine at home is fun, but digging through a jumble of bottles and packets to find that one jar of Thai red curry paste can kill the mood fast. Grouping your international ingredients into a dedicated zone keeps your pantry organized and your culinary adventures stress-free.
When you have a clear spot for Asian, Latin, or Middle Eastern staples, you can grab what you need without rummaging. It also helps you see what you're running low on before you start a recipe.
Asian Pantry Staples
Keep soy sauce, fish sauce, oyster sauce, rice vinegar, sesame oil, and chili pastes together. Add coconut milk, curry pastes, and dried noodles or rice. Use a tiered shelf or small bins to separate bottles from cans.
Latin & Mexican Essentials
Store canned chipotles, adobo sauce, dried chiles, and jars of salsa verde or mole. Don't forget masa harina, canned beans, and taco seasoning. A small basket works well for packets and smaller cans.
Middle Eastern & Mediterranean
Group tahini, harissa, sumac, za'atar, and preserved lemons. Keep olive oil, canned chickpeas, and jars of roasted red peppers nearby. Use a clear container for loose spices like cumin and coriander.
10. Root Vegetables and Alliums
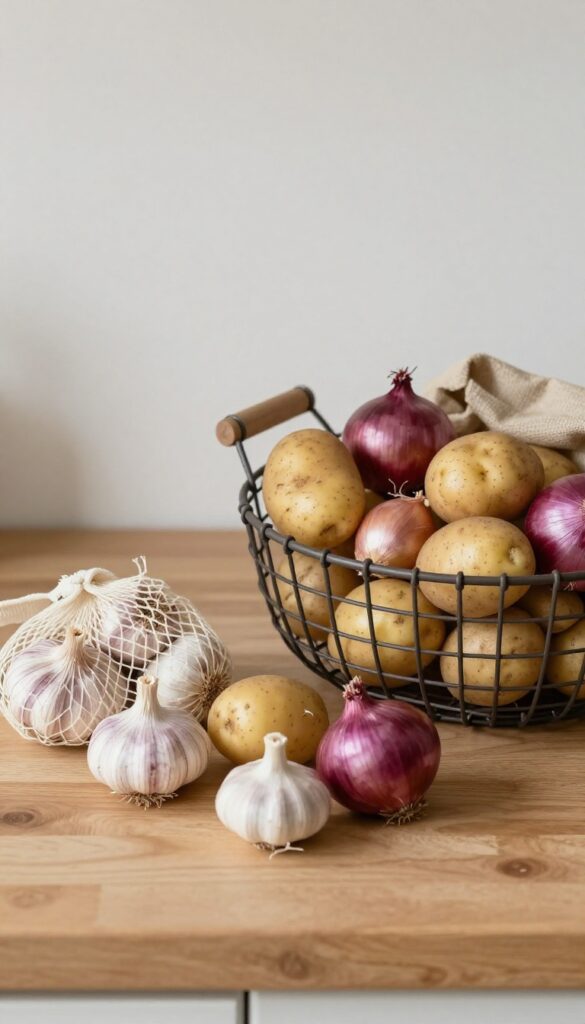
Potatoes, onions, garlic, and shallots are pantry staples that need special care to stay fresh for weeks. They prefer cool, dark, and ventilated spots—away from light, moisture, and each other. Getting their storage right means less waste and better flavor in your cooking.
Root vegetables and alliums are forgiving but have distinct needs. Keep them in a dedicated bin or basket with airflow, like a wire basket or perforated crate. Never store them in plastic bags or sealed containers, as trapped moisture leads to sprouting and rot.
Separate potatoes from onions: onions release gases that speed up potato spoilage, and vice versa. A cool pantry or basement around 50–60°F is ideal, but a dark cabinet away from the stove or fridge works too. Check them weekly and remove any that show soft spots or sprouts to keep the rest healthy.
Best Storage Containers
Use open-weave baskets, burlap sacks, or cardboard boxes with ventilation holes. Avoid plastic bins or sealed drawers. For garlic and shallots, small mesh bags are perfect—they allow airflow while keeping them contained.
Where To Place Them
Designate a low shelf or a pull-out drawer away from heat sources. A dark corner near the floor works well, as cooler air settles there. Keep them separate from apples and other ethylene-producing fruits, which can cause premature sprouting.
Signs Of Spoilage
Soft spots, green patches (on potatoes), or a musty smell mean it's time to toss. Sprouted potatoes are still edible if you cut off the sprouts, but they won't store long. For onions, any softness or mold means discard immediately to protect the batch.
11. Broths and Stocks
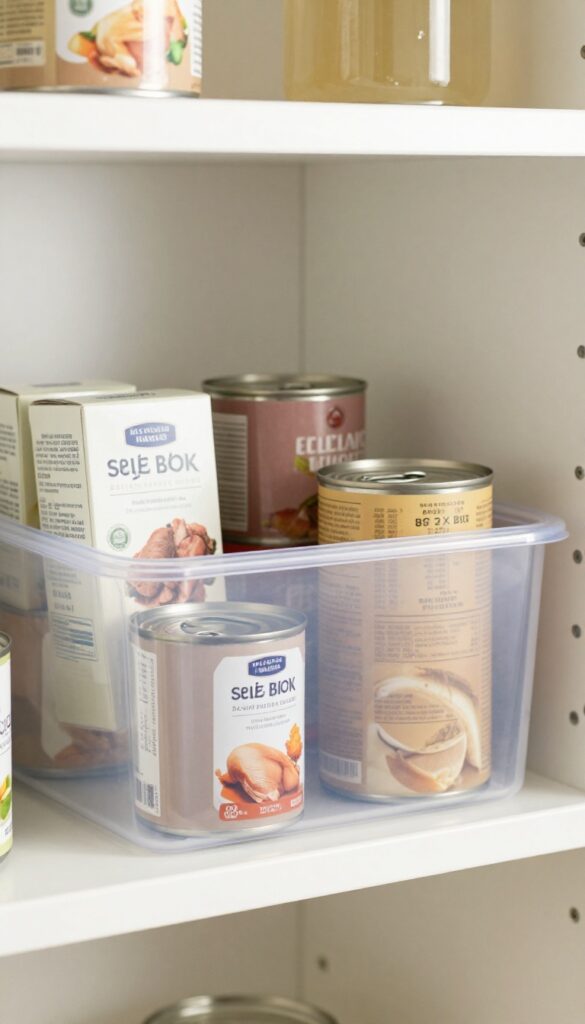
Broths and stocks are the unsung heroes of soups, stews, and sauces, but their awkward boxes and cans can turn a tidy shelf into a mess. The trick is to corral them so they stay upright and visible. A small bin or basket keeps everything in line and makes it easy to grab what you need without sending cans rolling.
Line up boxes or cans of chicken, beef, and vegetable broth. Use a small bin to keep them from rolling around and to see how many you have left. This simple system prevents duplicates and saves you from digging through a jumble.
Choose The Right Container
A shallow, rectangular bin works best for broth boxes and cans. It should be wide enough to hold several items side by side, but not so deep that you lose sight of what's in back. Clear plastic or wire baskets let you see stock levels at a glance.
Organize By Type Or Frequency
Group chicken, beef, and vegetable broths separately if you use them often. For less frequent items like seafood stock or bone broth, keep them in a designated spot so you can find them when a recipe calls for something specific.
Rotate And Date
Broths have expiration dates, so practice first-in, first-out rotation. When you buy new ones, place them behind the older ones. A quick check every few months keeps your stock fresh and avoids surprises.
12. Bulk and Overflow Items
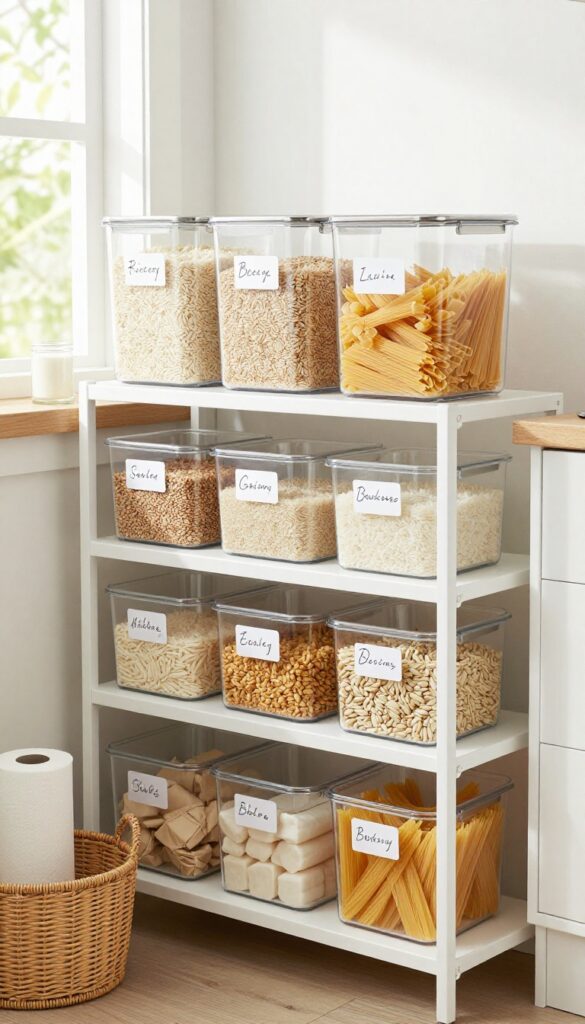
Bulk buys and overflow items can quickly turn a tidy pantry into a chaotic mess. Designating a dedicated spot for these extras keeps your main shelves organized and your backup supplies easy to find. Whether it's a large bin, a high shelf, or a separate cabinet, giving bulk items a home prevents them from spilling into other categories.
Pick A Dedicated Zone
Choose one area—like a top shelf, a deep bin, or a corner of the floor—for all your overflow. Keep it consistent so you always know where to look for that extra bag of rice or paper towel roll.
Label Everything Clearly
Use clear bins or add labels to bags and boxes. Write the contents and purchase date so you can rotate stock easily. No more guessing what's inside that unmarked sack of flour.
Use Vertical Space
Stackable bins or wire shelves help you maximize vertical room. Group similar items together—grains with grains, canned goods with canned goods—so you can grab what you need without unstacking everything.
FAQ
How do I start organizing my pantry by category?
First, take everything out and sort items into piles by type (baking, grains, canned, etc. ). Then, choose containers or bins that fit your shelf dimensions and label each category clearly.
What containers are best for pantry organization?
Clear, airtight containers work best for dry goods like flour, sugar, and pasta. For smaller items like spices, use uniform jars or a tiered rack. Baskets and bins are great for grouping loose packets.
How often should I reorganize my pantry?
Aim for a deep clean and reorg every 3-6 months. But do a quick tidy-up whenever you notice items are out of place or you've bought new staples.
What if my pantry is very small?
Use vertical space with stackable bins, door racks, and shelf risers. Stick to the most essential categories and combine similar ones, like merging baking mixes with baking essentials.
How do I keep my pantry categories from getting messy again?
Label everything and make sure everyone in the household knows where things go. Do a 5-minute reset each week to put items back in their correct category.
Conclusion
A well-organized pantry isn't about perfection—it's about making your daily routine smoother. Start with one category that frustrates you most, like snacks or spices, and apply just one idea from this list. Small changes add up fast.
Before you know it, you'll grab ingredients without digging, see everything at a glance, and actually enjoy opening that pantry door. Your kitchen will feel calmer, and so will you.