12 Small Pantry Cabinet Ideas for Easier Everyday Meals
You're halfway through a recipe, and you can't find the cumin. You dig through cans, bags, and boxes, only to realize it's buried behind a bag of flour. That frustrating scramble happens because your pantry isn't set up for how you actually cook.
A well-organized small pantry cabinet can turn that chaos into calm. When everything has a home and is easy to reach, meal prep becomes faster and more enjoyable.
These 12 ideas focus on real-world usability—not just pretty photos. Each one helps you save time, reduce waste, and make cooking from your pantry feel effortless.
1. Pull-Out Shelves for Deep Cabinets
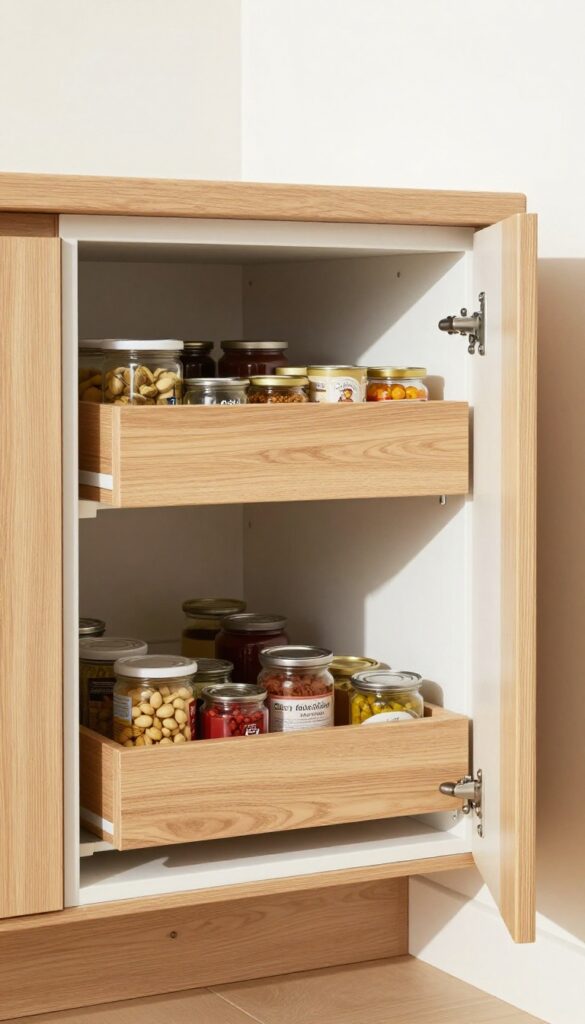
Deep cabinets are notorious for swallowing items whole. You shove things in, close the door, and hope for the best. Pull-out shelves solve that by bringing everything forward with a gentle tug.
No more digging or forgetting what's in the back.
Pull-out shelves transform dead space into usable storage. They mount on heavy-duty slides and can handle canned goods, jars, and even small appliances. The key is measuring your cabinet depth and choosing slides that extend fully so you can see every item.
Once installed, you'll wonder why you didn't do it sooner.
Why They Work So Well
The main advantage is visibility. When shelves slide out, you see everything at once—no more buried spices or forgotten cans. They also make it easier to group like items, so you can grab what you need without rearranging the whole cabinet.
Installation Tips
Measure twice, buy once. Most pull-out shelves come in standard widths, but you can find adjustable options. Look for models with soft-close mechanisms to prevent slamming.
If you're not handy, consider hiring a pro—it's a one-time investment that pays off daily.
What To Store On Them
Canned goods, jars, spices, and small bottles are perfect candidates. Avoid stacking heavy items on top of each other; instead, use tiered organizers to maximize vertical space. Keep frequently used items at the front for quick access.
2. Door-Mounted Racks for Spices and Oils
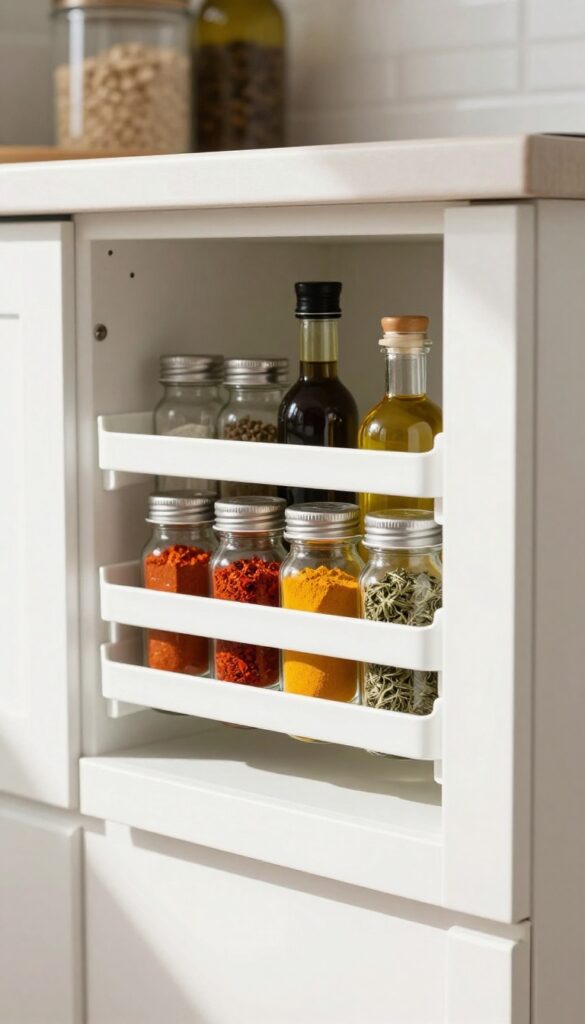
Your cabinet door is prime real estate that often goes unused. Instead of letting that space collect dust, mount slim racks to hold your most-used spices, oils, and small bottles. This keeps everything visible and within arm's reach, so you can grab what you need without digging through the cabinet.
Door-mounted racks are a game-changer for small pantries. They turn a flat surface into vertical storage, freeing up shelf space for larger items. Plus, having your spices and oils right in front of you makes cooking more efficient—no more hunting for that bottle of sesame oil buried in the back.
Choosing The Right Rack
Look for racks that attach securely with adhesive strips or screws. Adhesive strips work well for lightweight items like spice jars, but for heavier bottles (olive oil, vinegar), opt for screw-mounted racks. Measure your door's clearance to ensure the rack doesn't hit the shelves when closed.
Organizing By Frequency Of Use
Place your most-used spices and oils at eye level on the rack. Reserve the top and bottom for less frequently used items. Group similar spices together (like Italian herbs or baking spices) to make them easy to find.
Consider using small baskets or bins within the rack to corral tiny packets.
Maximizing Small Spaces
If your cabinet door is narrow, choose a rack with adjustable shelves or tiers. Some racks even have hooks for measuring spoons or small utensils. For extra storage, attach a magnetic strip to hold metal spice tins or a small wire basket for packets and sachets.
3. Clear Bins for Grouping Like Items
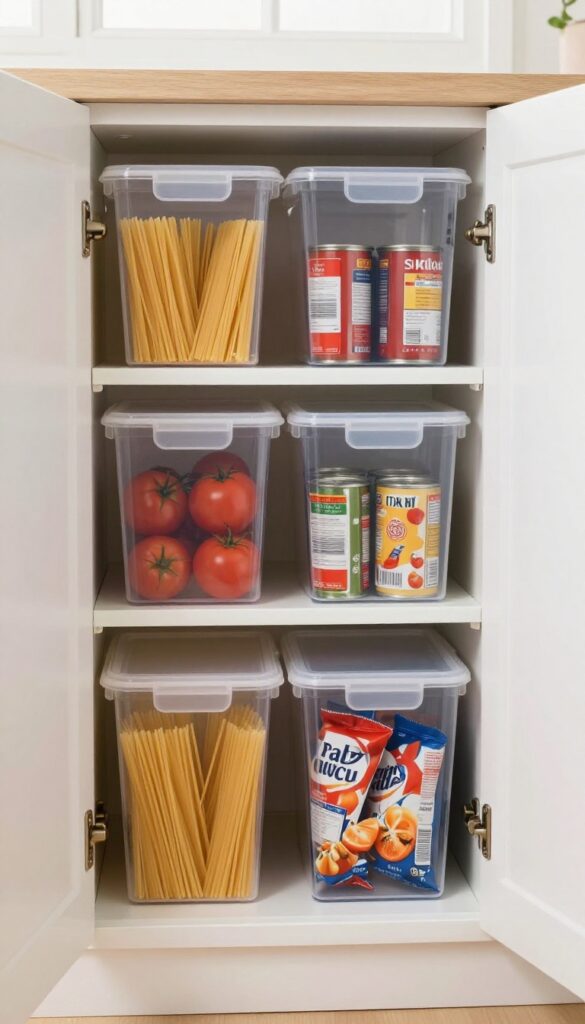
Grouping similar items in clear bins is a game-changer for small pantries. You can see everything at a glance, and when you need pasta, you pull out the whole bin instead of hunting through shelves. It also makes restocking obvious—when the bin looks sparse, you know it's time to buy more.
Clear bins create visual order and save time during meal prep. By corralling like items together, you eliminate the chaos of mixed packages and cans. Plus, bins keep things from rolling to the back of deep cabinets, so nothing gets forgotten until it expires.
Choose The Right Bin Size
Measure your cabinet depth and height before buying bins. Shallow bins work well for spice packets and small snack bags, while deeper ones hold pasta boxes and canned goods. Stackable bins maximize vertical space, but avoid overfilling—each bin should be easy to lift out.
Label Each Bin Clearly
Use a label maker or chalk labels to mark categories like "Baking, " "Pasta & Rice, " or "Snacks. " Labels help everyone in the household put things back in the right spot, and they make it easy to find what you need even when you're in a hurry.
Group By Meal Or Use
Consider grouping bins by meal type: a "Taco Night" bin with seasoning, salsa, and tortillas, or a "Breakfast" bin with pancake mix, syrup, and oatmeal. This approach speeds up meal prep because you grab one bin and have everything you need.
4. Tiered Risers for Cans and Jars
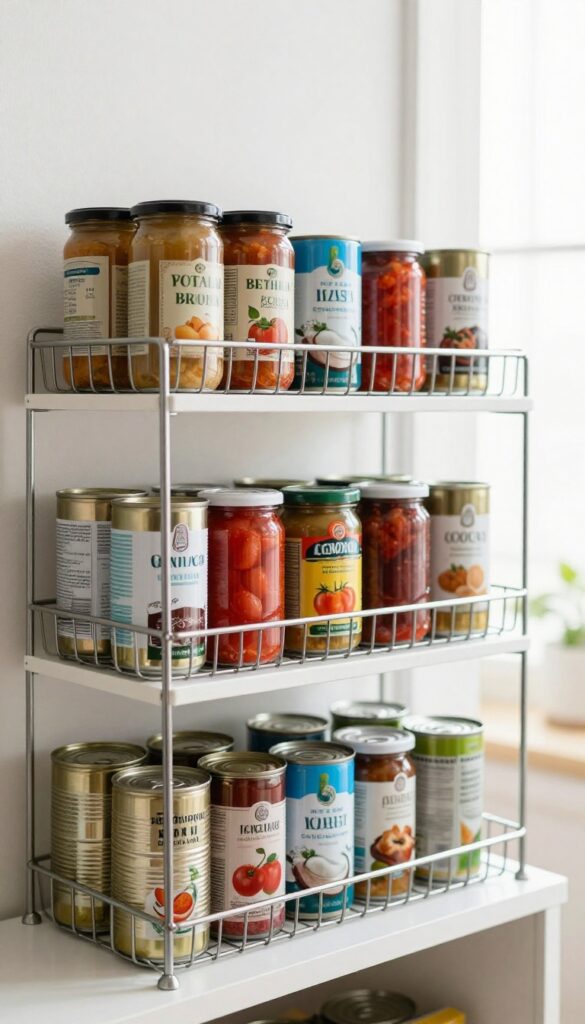
Canned goods are pantry staples, but they're also easy to lose in the shuffle. Stackable tiered risers create stadium seating so every can is visible. No more forgetting about that can of black beans in the back.
This simple upgrade turns a jumbled shelf into a neat, accessible display.
Tiered risers are a low-cost, high-impact solution for small pantry cabinets. They elevate items in the back so you can see everything at a glance. Here's how to make them work for you.
Choose The Right Riser
Look for risers that fit your shelf depth. Adjustable or expandable options work best for non-standard sizes. Wire risers are lightweight and allow airflow, while acrylic ones are easy to clean.
Avoid flimsy plastic that might collapse under heavy cans.
Group By Frequency Of Use
Place your most-used cans—like diced tomatoes or broth—on the front row. Reserve the back row for occasional ingredients like coconut milk or specialty sauces. This way, you grab what you need without shifting everything around.
Layer With Lazy Susans For Corners
If your cabinet has deep corners, pair a tiered riser with a small lazy Susan. The riser handles the front-to-back visibility, while the turntable makes corner items spin into reach. This combo maximizes every inch of awkward space.
5. Lazy Susans for Corner Cabinets
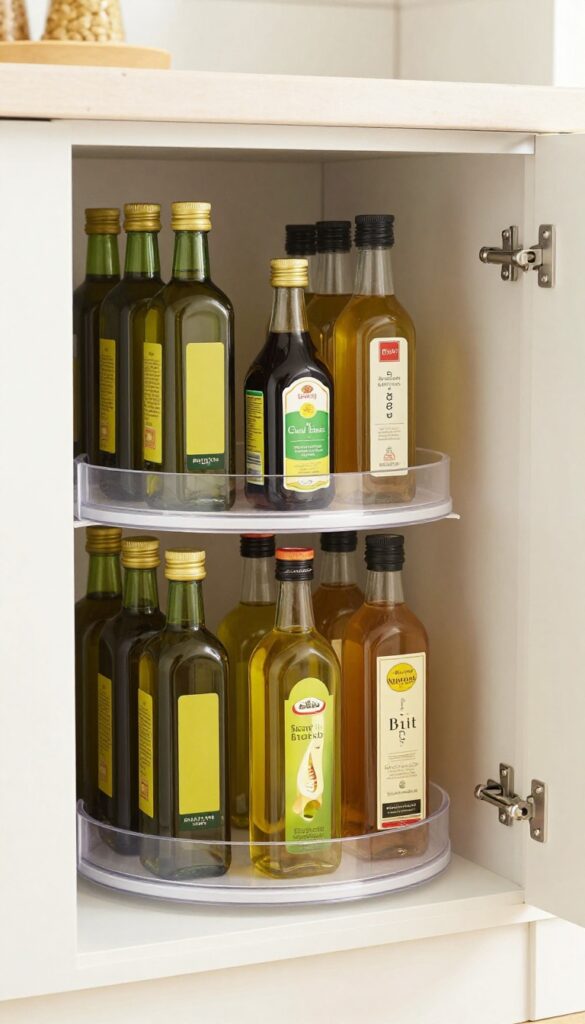
Corner cabinets are the Bermuda Triangle of the pantry—items go in and are never seen again. A lazy Susan changes that entirely. This rotating tray brings everything to the front with a simple spin, making those awkward deep corners suddenly usable.
Stick one in your lower corner cabinet for oils, vinegars, and condiments you grab daily. No more digging or buying duplicates because you forgot what was back there. It's a small fix that saves real time during meal prep.
Pick The Right Size And Material
Measure your cabinet before buying. A lazy Susan that's too small wastes space; one that's too big won't spin. Standard sizes range from 10 to 16 inches in diameter.
For materials, clear acrylic lets you see everything at a glance, while bamboo or wood adds warmth. Avoid metal if you store glass bottles—the clanking gets old fast.
Group By Frequency Of Use
Keep your most-used items on the lazy Susan: cooking oils, soy sauce, vinegar, hot sauce, and olive oil. Reserve the stationary sides for backup bottles or rarely used condiments. This way, you spin to what you need without moving things around.
Label the tray sections if you share the pantry with others.
Stack Strategically For Double The Space
If your corner cabinet has adjustable shelves, install two lazy Susans—one on each shelf. Use the top one for spices and small jars, the bottom for taller bottles. For a single deep cabinet, consider a tiered lazy Susan that holds two levels.
This doubles your usable space without losing the spin function.
6. Adjustable Shelving for Odd-Sized Items
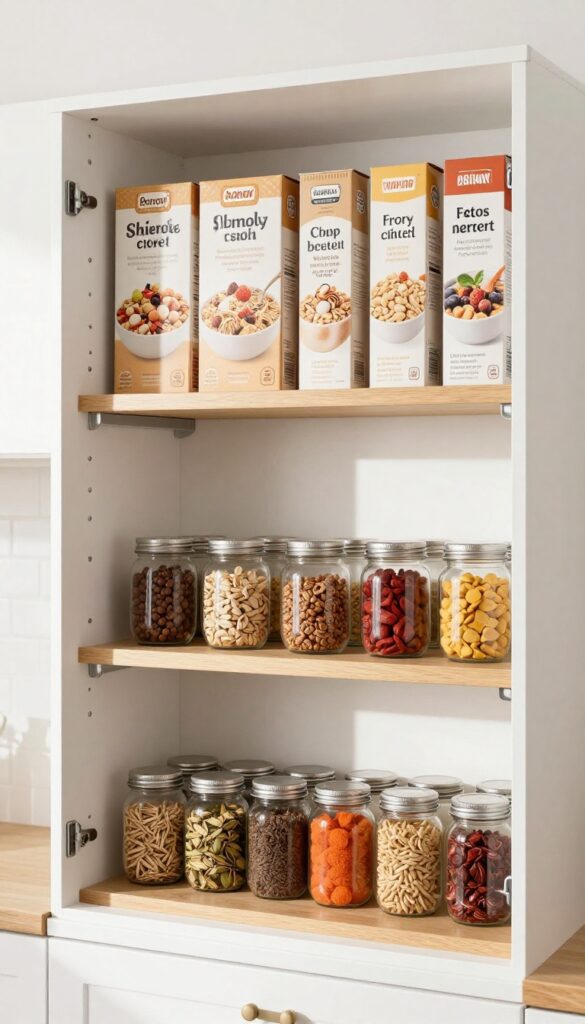
Standard fixed shelves force you to work around their limitations. That awkward gap above a shelf that's too short for a cereal box but too tall for spice jars? It's wasted space.
Adjustable shelving lets you reconfigure your cabinet on the fly.
Swap fixed shelves for adjustable ones to fit tall cereal boxes or small spice jars. Customize the height as your needs change.
How Adjustable Shelving Works
Most adjustable systems use metal tracks with brackets that clip in at 1-inch intervals. You can move shelves up or down without tools. Some newer designs use peg-style supports that slide into pre-drilled holes.
Where To Start
Measure your tallest and shortest pantry items. Set one shelf high enough for bulk bags and another low for cans or jars. Leave a middle shelf that can move as your inventory shifts.
Installation Tips
If your cabinet has particleboard shelves, replace them with solid wood or coated wire shelves for durability. For renters, look for tension-mounted adjustable shelves that don't require drilling.
7. Under-Shelf Baskets for Extra Storage
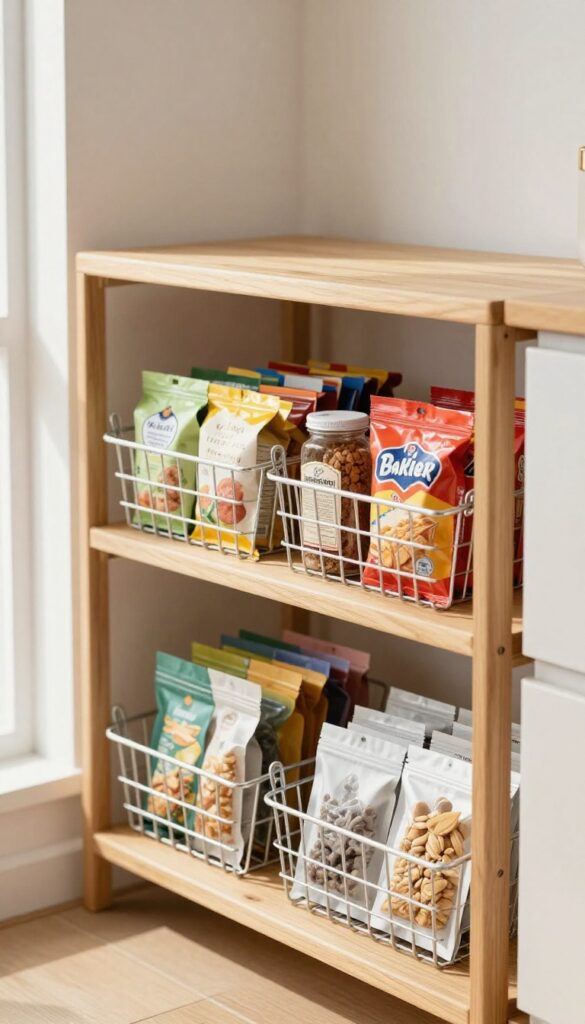
Clip-on baskets are the unsung heroes of small pantry storage. They hang under existing shelves, instantly creating a second layer of space for lightweight items. No drilling, no measuring—just clip and go.
This simple hack can double your usable storage without a single renovation.
Under-shelf baskets work best for items you reach for often: snack packs, tea bags, spice envelopes, or small condiments. They keep these essentials visible and accessible, freeing up shelf space for bulkier goods. Choose wire baskets with a fine mesh to prevent small items from slipping through.
The key is to avoid overloading them—stick to lightweight items to keep the baskets secure.
Where To Place Them
Install baskets on the underside of shelves that are at eye level or slightly above. This makes grabbing a tea bag or snack pack effortless. Avoid placing them over heavy items like cans or jars, as the baskets are designed for lighter loads.
A row of baskets under a spice shelf works wonders for quick access.
What To Store
Think small and light: individual oatmeal packets, broth cubes, seasoning envelopes, or even kitchen tools like measuring spoons. You can also use them for produce like garlic or shallots, as long as the basket allows airflow. Just avoid anything that could spill or break if the basket gets bumped.
Installation Tips
Most under-shelf baskets clip directly onto standard shelves. For glass or wire shelves, look for baskets with adjustable clips or adhesive hooks. Measure your shelf thickness before buying to ensure a snug fit.
If the basket wobbles, a small piece of non-slip liner can keep it steady.
8. Magnetic Strips for Metal Lids and Tools
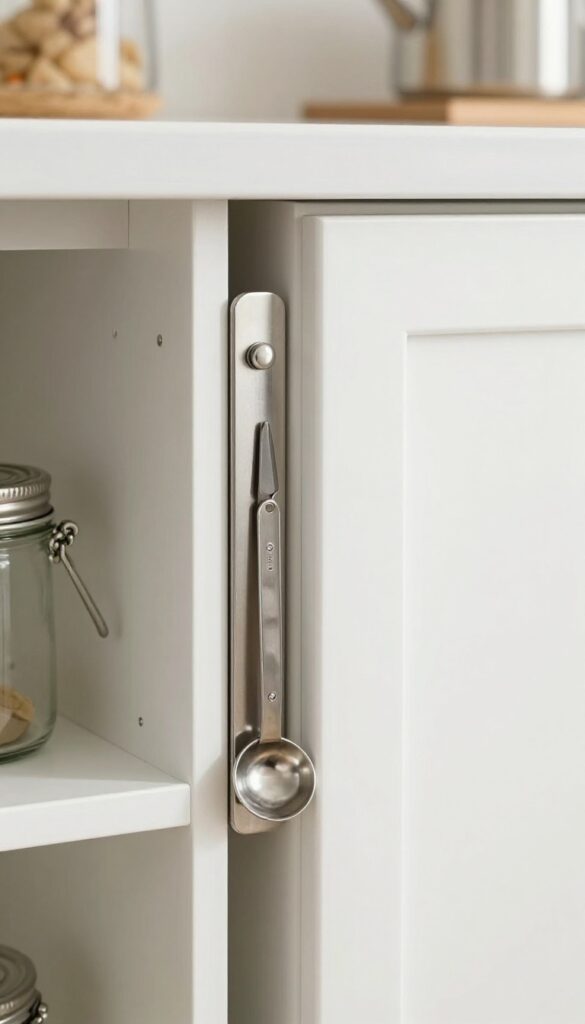
Magnetic strips aren't just for knives in the kitchen. Attach one to the inside wall of your pantry cabinet, and suddenly you have a home for all those metal lids, measuring spoons, and small tools that usually clutter your shelves. It's a simple, low-cost upgrade that puts frequently used items right where you need them, without taking up any shelf space.
A magnetic strip mounted vertically or horizontally on the inside of a cabinet door or wall can hold metal jar lids, canning lids, measuring spoons, tongs, and even small scissors. This keeps them visible and accessible, so you don't have to dig through drawers or bins. Plus, it frees up shelf space for larger items.
Choose a strong magnet that can hold several items at once, and make sure it's rated for the weight you'll be hanging.
Choosing The Right Strip
Look for a magnetic strip with a strong hold—neodymium magnets work best. Consider the length based on your cabinet size; a 12-inch strip is usually enough for a small pantry. Some strips come with adhesive backing, but for heavier items, screw-mount options are more secure.
What To Store
Metal lids from jars, measuring spoons, small tongs, and kitchen shears are perfect candidates. You can also store canning lids or even small metal tins. Avoid storing heavy metal pans or large utensils, as they may cause the strip to detach.
Installation Tips
Clean the surface thoroughly before attaching. For adhesive strips, press firmly and wait 24 hours before loading. If using screws, pre-drill holes and use wall anchors if needed.
Position the strip where it's easy to reach but won't interfere with items on the shelf.
9. Stackable Can Dispensers for Soda or Beans
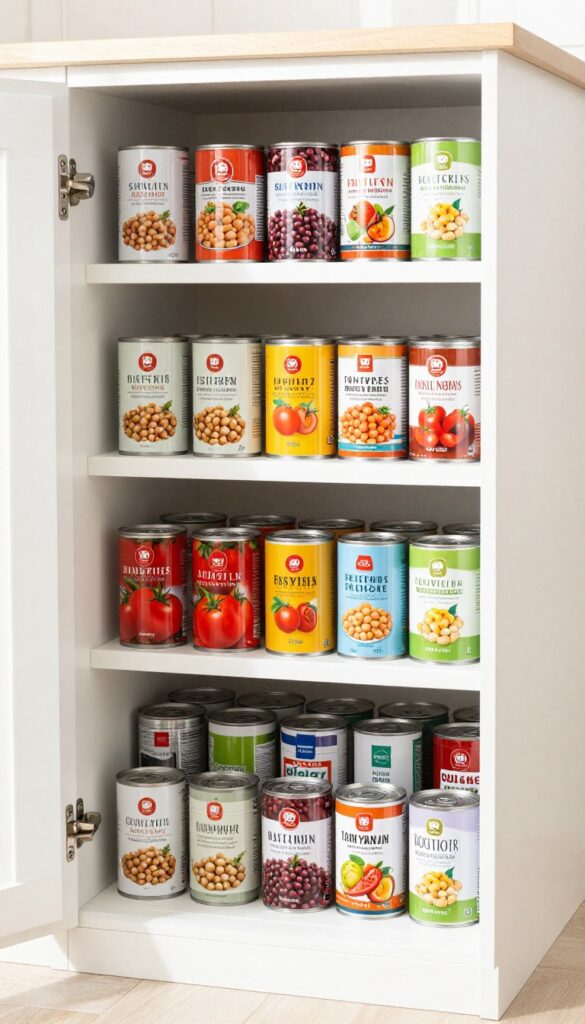
Canned goods are pantry staples, but they're also easy to lose in the shuffle. Gravity-fed dispensers solve that by letting you load from the top and grab from the bottom—old stock automatically rotates forward. This keeps your cans organized and visible, so you always know what you have and what's running low.
Gravity-fed can dispensers are a game-changer for small pantries. They stack vertically, making use of wasted overhead space, and they work for any standard-sized can—beans, tomatoes, soda, or broth. No more digging through stacks or forgetting what's in the back.
How They Work
These dispensers are essentially angled shelves with a front opening. You drop cans in from the top, and they roll down to the front, ready to grab. When you take one, the next can slides into place.
It's a simple, mechanical system that requires no batteries or setup.
Where To Install
Install them on the inside of a cabinet door, on a wall, or on an existing shelf. For deep cabinets, mount them on the door to avoid reaching into the back. For shallow cabinets, place them on a shelf with the cans facing forward.
Best Uses
Use them for items you rotate through quickly: canned beans, diced tomatoes, coconut milk, or even soda cans. Avoid using them for irregularly shaped cans or jars that might jam. Label each dispenser with a small chalkboard sticker or washi tape for easy identification.
10. Drawer Inserts for Utensils and Gadgets
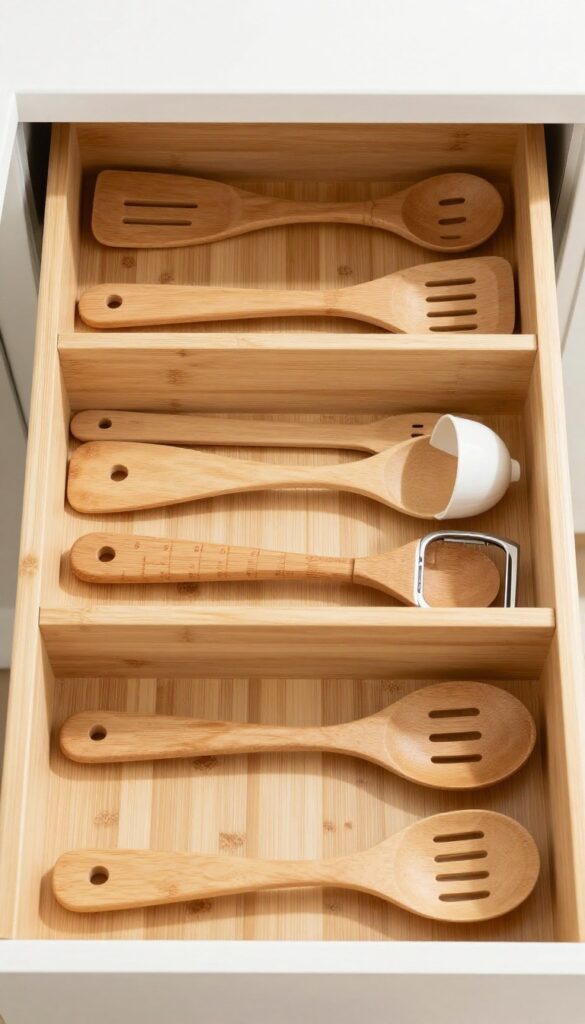
Deep drawers are often a dumping ground for random kitchen tools. You know you have a garlic press somewhere, but it's tangled in a mess of spatulas and measuring spoons. Adding custom inserts turns that chaos into a well-organized tool station.
Drawer inserts are a simple upgrade that pays off every time you cook. They keep utensils, gadgets, and small tools separated so you can grab what you need without digging. The key is to measure your drawer first and choose inserts that fit snugly.
You can buy adjustable bamboo or plastic dividers, or go with custom-cut foam for a perfect fit. Group items by function—baking tools together, measuring cups in one section, tongs and spatulas in another. This way, you always know exactly where to find that vegetable peeler or kitchen shears.
Choosing The Right Inserts
Start by measuring the depth, width, and height of your drawer. Look for inserts that are deep enough to hold taller gadgets like potato mashers or meat thermometers. Adjustable dividers are great because you can reconfigure them as your tool collection changes.
For a clean look, go with bamboo or solid wood inserts that match your cabinet finish.
Grouping By Use
Organize your inserts by how you cook. Keep everyday utensils like spatulas, ladles, and tongs in one section. Dedicate another area to measuring tools—cups, spoons, and a kitchen scale.
Small gadgets like garlic presses, zesters, and peelers can go in a third compartment. This grouping saves time because you're not hunting through mixed items.
Maintaining The System
Once your inserts are in place, commit to putting each tool back in its designated spot. A quick reset every few weeks keeps the system working. If you add new gadgets, adjust the dividers or remove an insert to make room.
The goal is a drawer that stays organized with minimal ongoing effort.
11. Hanging Rod for Aprons and Bags
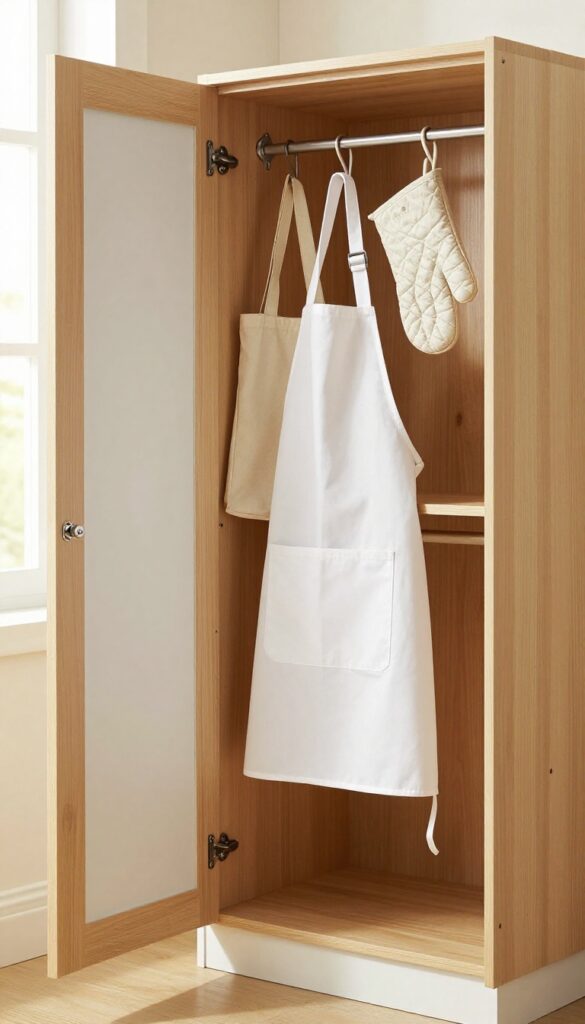
That narrow strip of vertical space inside your pantry door or between shelves often goes unused. A simple tension rod or a few hooks can turn that dead zone into a handy spot for items you reach for daily.
Choose The Right Rod
A tension rod works best if you have a cabinet door or a gap between shelves. Measure the width first, then pick a rod that fits snugly without damaging the surface. For heavier items like canvas totes, opt for a sturdy metal rod or adhesive hooks rated for more weight.
What To Hang
Aprons, reusable shopping bags, oven mitts, and even lightweight cutting boards are perfect candidates. Keep frequently used items within easy reach—no more digging through drawers for a bag when you're heading out the door.
Installation Tips
No drilling required for most setups. Tension rods use pressure to stay in place, and adhesive hooks come off cleanly with a bit of heat. Just make sure the surface is clean and dry before sticking.
If you're using a rod inside a cabinet, position it so it doesn't block shelves or items below.
12. Label Maker for Every Bin and Shelf
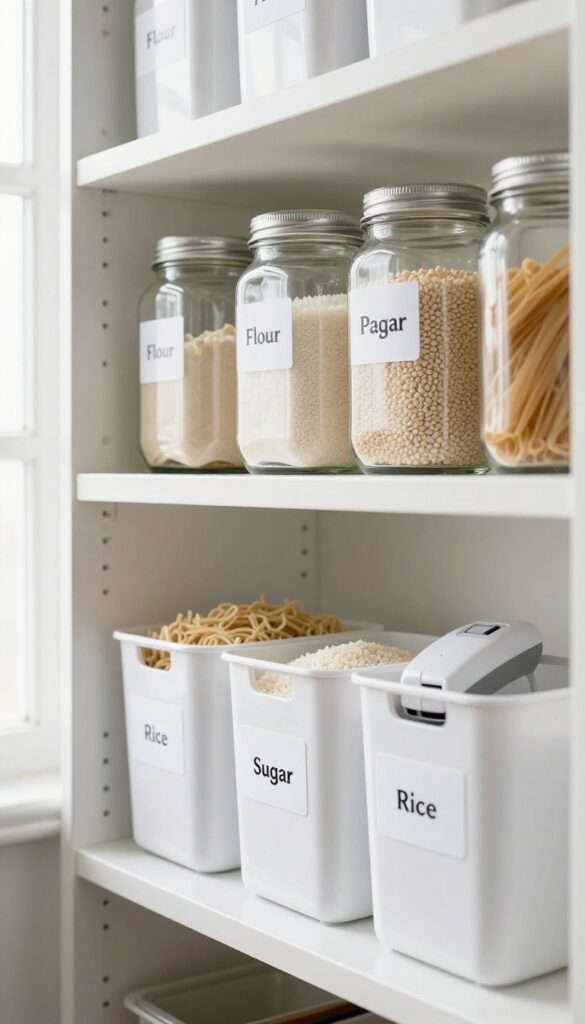
Labels might seem like a small detail, but they're the glue that keeps an organized pantry working long-term. Without labels, even the best bins and shelves can turn into a free-for-all. A simple label maker—or even handwritten tags—helps everyone in the household put things back where they belong.
Plus, when you're cooking, you can grab exactly what you need without reading every label.
Why Labels Matter More Than You Think
Labels eliminate the guesswork. When you're rushing to make dinner, you don't want to squint at a dozen identical white bins. A clear label lets you spot the flour, sugar, or rice instantly.
They also train your family to maintain the system. If everyone knows that "Pasta" goes on the second shelf, you won't find spaghetti in the snack bin.
What To Label And How
Start with the categories you use most: baking supplies, grains, snacks, canned goods, and spices. Label every bin, jar, and shelf edge. Use a label maker for a clean, uniform look, or try chalk labels for a reusable option.
Stick to large, readable fonts. Avoid abbreviations—write "Chickpeas" not "Chkps. "
Make It A Family Habit
Once everything is labeled, it's easier for everyone to stay organized. Kids can help put away groceries when they see where each item goes. Spouses won't accidentally stash the brown sugar with the pasta.
And when you're meal prepping, you can grab ingredients without stopping to search. Labels turn your pantry into a system that works for you, not against you.
FAQ
What is the best way to maximize a small pantry cabinet?
Use vertical space with risers, door racks, and under-shelf baskets. Group similar items in clear bins and label everything so you can find what you need quickly.
How do I organize a deep pantry cabinet?
Install pull-out shelves or sliding drawers so you can access items in the back without digging. Lazy Susans also work well for corner or deep cabinets.
Can I organize a pantry without spending much money?
Yes. Use items you already have like shoeboxes or plastic containers. Repurpose tension rods for hanging, and make your own labels with tape and a marker.
How often should I reorganize my pantry?
Do a quick tidy every month and a deeper reset every season. Remove expired items, wipe shelves, and adjust groupings based on what you cook most.
What are the most common pantry organization mistakes?
Not grouping similar items, overstuffing shelves, and ignoring vertical space. Also, failing to label means things get misplaced quickly.
Conclusion
A small pantry doesn't have to limit your cooking. Pick one or two ideas that target your biggest frustration—like losing cans in the back or lacking spice storage—and try them this week. Small changes compound fast.
Soon, grabbing ingredients becomes second nature, and meal prep feels less like a treasure hunt. Your pantry should work for you, not against you.