13 Split Living Room Ideas to Define Zones Without Clutter
An open-plan living room can feel twice as large when you carve out clear zones. You get a spot for movie nights, a corner for conversation, and a place for work without adding walls.
The trick is doing it without making the room feel chopped up or crowded. These 13 ideas focus on smart, low-clutter ways to split your living area.
Each one helps you define zones using what you already have or a few well-chosen pieces. You'll find options for renters, small spaces, and anyone who wants a calm, organized home.
1. Anchor Each Zone with a Large Area Rug
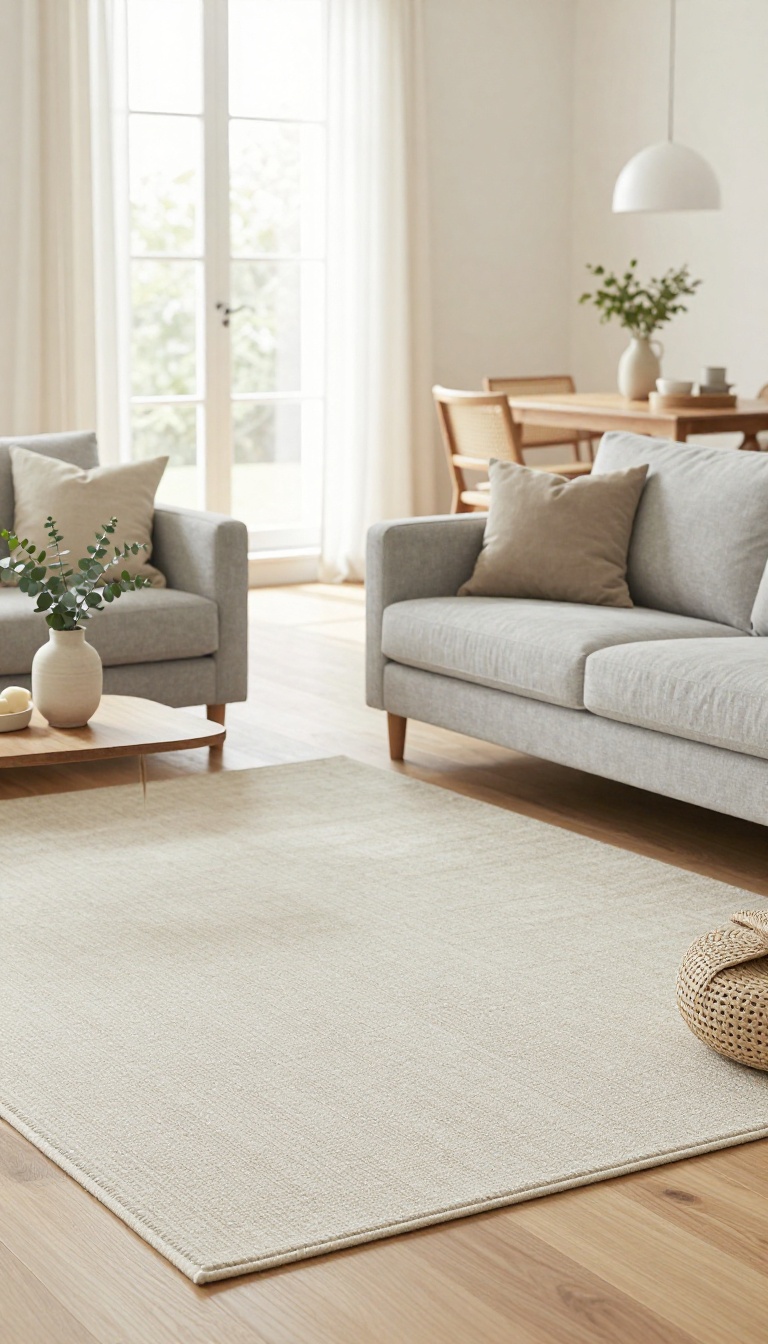
A large area rug is the simplest way to tell your brain where one zone ends and another begins. It creates a visual boundary without adding a single wall or blocking the view across the room. The rug also softens sound and adds warmth underfoot, which makes the whole space feel more intentional.
Think of the rug as the foundation for your seating area. When it's big enough to sit under the front legs of your sofa and chairs, it visually pulls those pieces together into one clear conversation zone. That leaves the rest of the floor open for a dining table, a play corner, or a reading nook.
The key is size and placement. A rug that's too small makes the zone feel cramped and disconnected. Aim for at least 8×10 feet in a typical living room, or go larger if your furniture is spread out.
Center it under the main furniture group, leaving a border of bare floor around the edges to show where the zone stops.
Pick A Rug That Fits The Zone, Not The Room
Measure your furniture arrangement first, then choose a rug that covers that footprint plus a few inches on each side. In an open-plan space, the rug should define the seating area, not stretch wall to wall. That border of exposed floor is what makes the split feel deliberate instead of accidental.
Use Color And Texture To Separate Without Screaming
A subtle pattern or a different texture from the surrounding floor helps the rug read as its own zone. If your floors are light wood, try a rug with a bit of contrast, like a muted navy or charcoal. In a dining area, a flat-weave or indoor-outdoor rug is easier to clean and still looks polished.
Keep The Edges Clear For Easy Flow
Leave at least 18 inches of bare floor between the rug and any adjacent zone. That walking path keeps the room from feeling like an obstacle course. It also gives each area a clear edge, so you never have to guess where the living room ends and the dining room begins.
2. Float Furniture Away from Walls
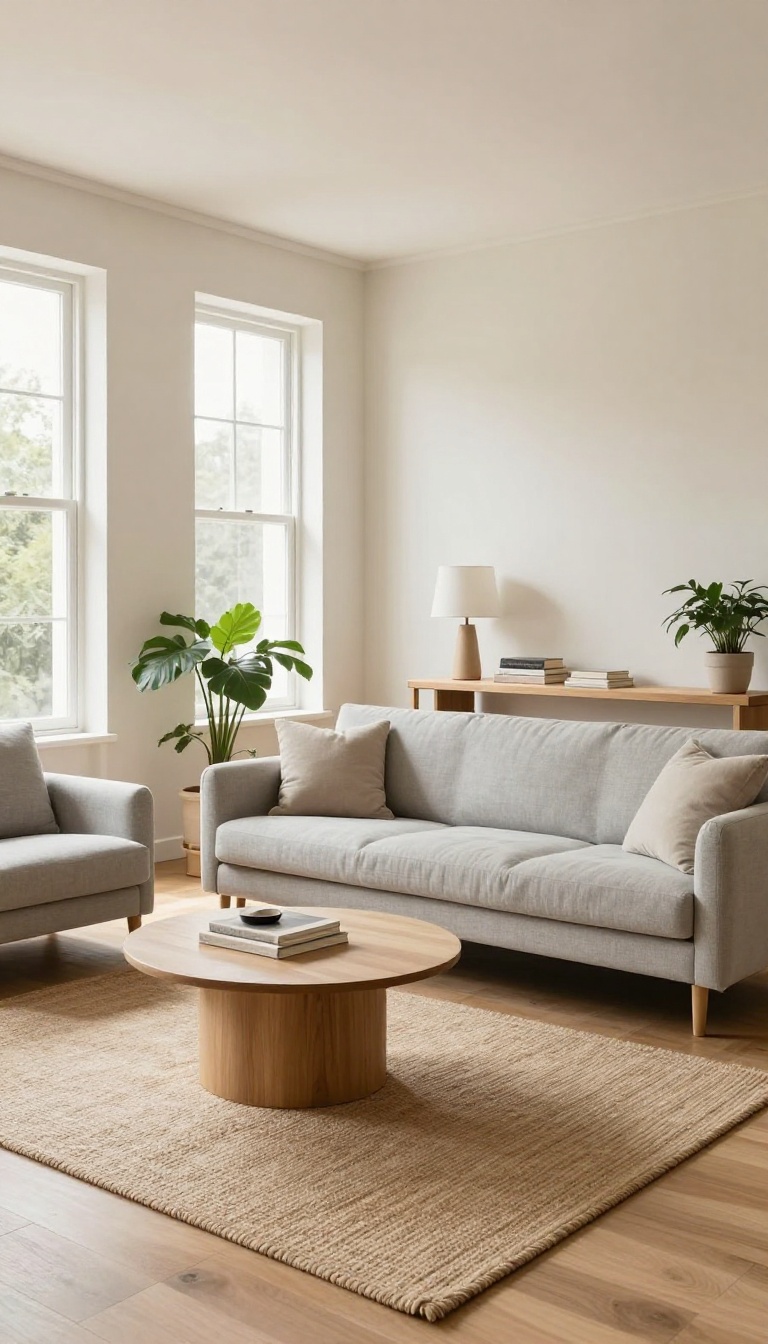
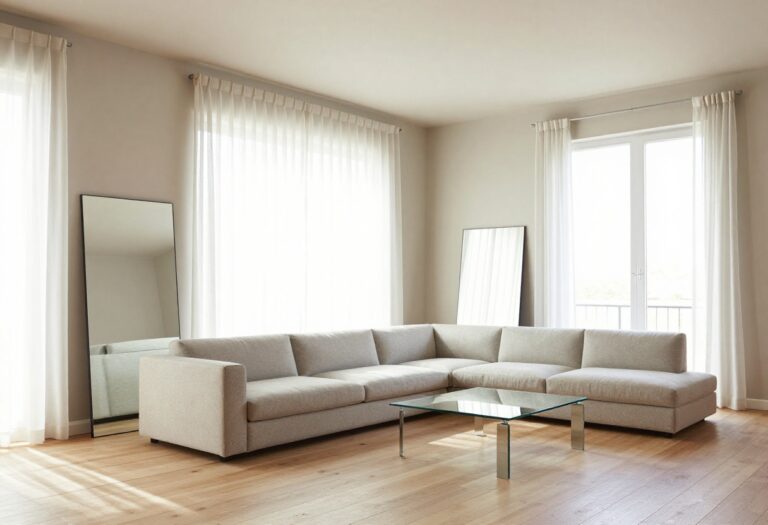
Pushing every piece of furniture against the wall is a habit that makes even big rooms feel flat. When you pull your sofa and chairs into the room, you instantly create walkways behind them and cozy conversation pockets in front. This move is a game-changer for long, narrow living areas that need a little breathing room.
Floating furniture isn't about making your room look like a showroom. It's about using empty space to guide how people move and gather. By leaving a gap between your furniture and the walls, you build natural paths that keep traffic out of your seating zone.
That simple shift helps define areas without adding a single divider or screen.
How To Float Without Making It Awkward
Start with your largest piece, usually the sofa, and pull it about 12 to 18 inches off the wall. That gap is enough to create a walkway but not so much that the sofa feels stranded. Angle it slightly if you want a more relaxed vibe, or keep it parallel for a cleaner look.
Add a console table behind the sofa if the gap feels too open, which also gives you a spot for lamps or books.
Why It Works In Narrow Rooms
In a long, narrow living room, wall-hugging furniture emphasizes the tunnel effect. Floating pieces break that line and make the room feel wider. You can create two distinct zones—say, a TV area at one end and a reading nook at the other—simply by leaving space between them.
The walkway between zones doubles as a visual divider, so you don't need a rug or screen to separate activities.
Pair It With The Right Rug
A rug anchors your floating furniture and keeps it from looking like it's drifting. Choose a rug that's large enough to fit under the front legs of all your seating pieces. That ties the group together and signals that this is one zone.
If you have two floating groups, use two rugs to reinforce the separation.
3. Use a Low Bookshelf as a Room Divider
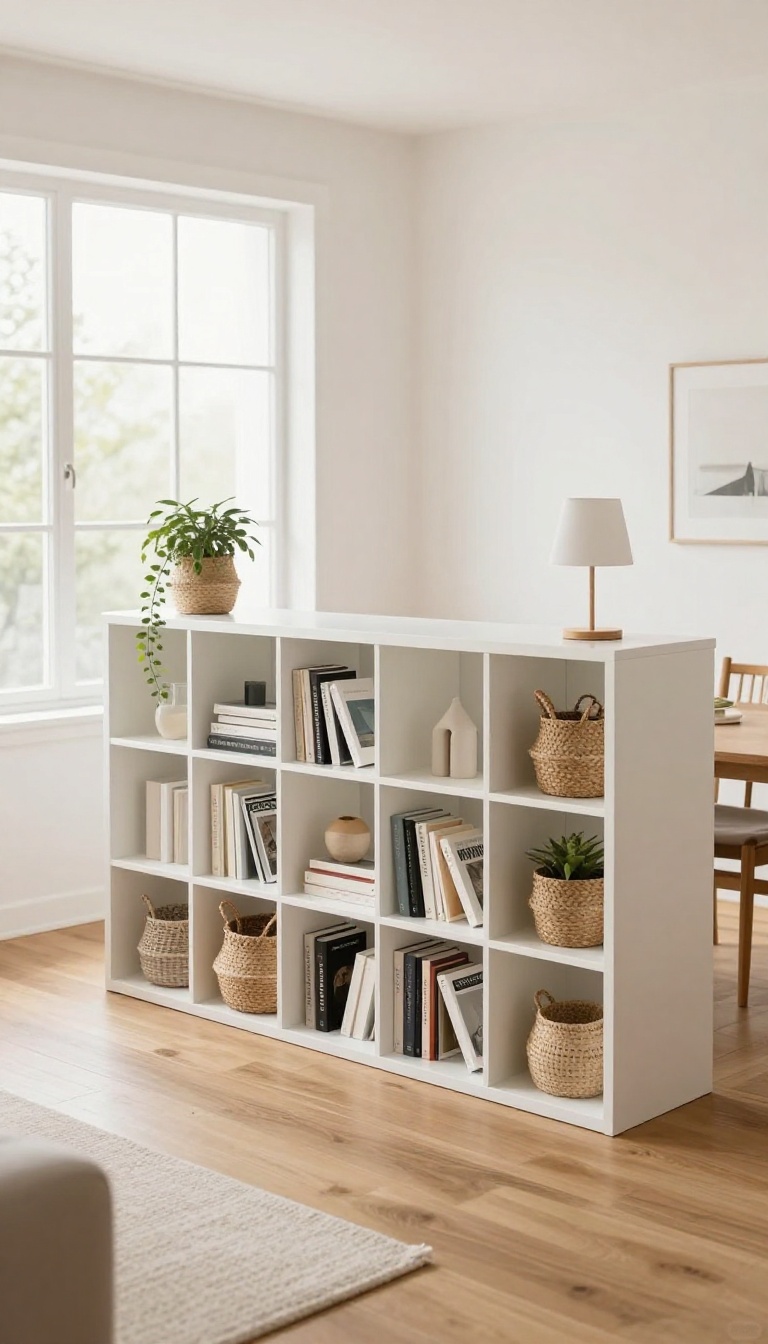
A waist-high bookshelf does two jobs at once: it stores your stuff and gently separates one zone from another. Because it stays low, it never blocks light or makes the room feel walled off. You get a visual boundary without losing the open, airy feel.
Think of it as a friendly fence. It tells your eye where the living area ends and the dining nook begins, but you can still see over it and talk to someone on the other side. That openness keeps the whole space feeling connected.
You don't need a custom piece. A simple cube organizer or a low console works fine. Just keep the top clear so it doesn't turn into a dumping ground.
The goal is a clean line that defines the zone, not a cluttered wall of stuff.
Pick The Right Height
Aim for something around 30 to 36 inches tall. That's high enough to read as a divider but low enough to keep sightlines open. Anything taller starts to feel like a wall, which defeats the purpose.
Style It Without Clutter
Treat the shelves like a display, not a storage unit. Mix books with a few decorative objects, and leave some empty space. Baskets hide small items and keep the look tidy.
Rotate your display every few months so it stays fresh.
Make It Work Double Duty
Choose a shelf with a finished back if it faces the dining area, so it looks good from both sides. Add a small lamp or a trailing plant on top to draw the eye. If you need extra seating, a low bench with storage underneath can serve the same purpose.
4. Create a Conversation Circle
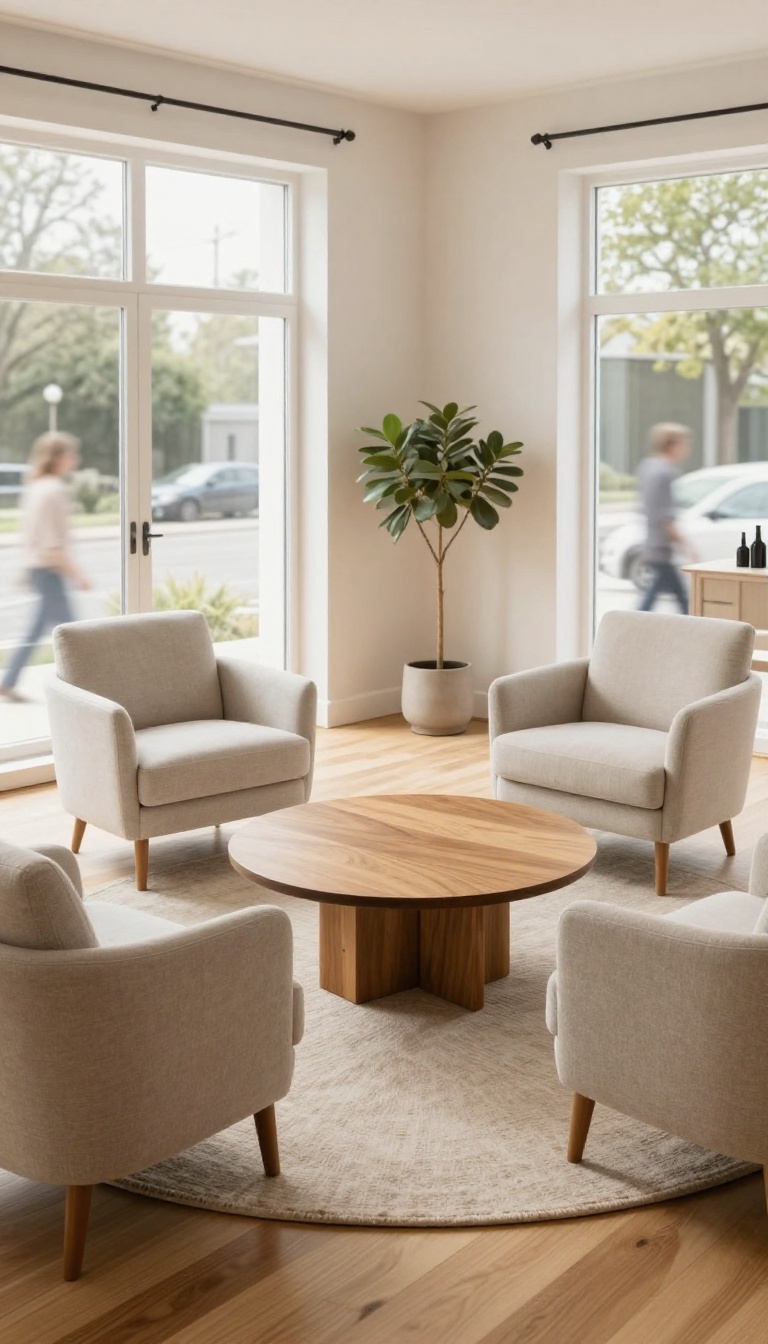
A conversation circle turns a corner or an open stretch of floor into a spot where people naturally sit and talk. You don't need a big sofa to make it work. Four chairs, or a sofa paired with two chairs, arranged around a coffee table does the job.
The circle itself becomes the zone. It tells everyone where to gather without a single wall or screen.
The key is the shape. When seats face each other, the space between them becomes its own little room. That's what separates it from the rest of the living area.
You can drop this setup in a corner that feels empty or float it in the middle of a large room. Either way, it reads as a distinct zone. Keep the circle tight.
If people have to shout to hear each other, it's too wide. A good rule is to leave about 18 inches between the coffee table and each seat. That's close enough to reach a drink, far enough to stand up without knee-bumping.
You also want the circle to feel intentional, not accidental. Matching chairs help, but they're not required. A mix of styles can work if the colors or materials tie together.
The point is that the arrangement looks deliberate, like you meant to create a gathering spot.
Pick The Right Spot
Corners are great for conversation circles because they already have two walls doing some of the work. You just add the other two sides with chairs. In a large room, you can float the circle in the middle and let traffic flow around it.
That keeps the zone open but still defined.
Choose Seats That Fit The Circle
Four armchairs make a classic circle, but a sofa plus two chairs is more flexible. The sofa gives you a longer line, and the chairs can angle inward. Swivel chairs are a bonus because they let you turn toward the conversation or away from it.
Just make sure every seat has a clear view of the coffee table.
Anchor It With A Rug
A round or square rug under the circle helps hold the zone together. It doesn't have to be big—just large enough that all four seats sit on it. The rug gives the circle a visual boundary, so it doesn't bleed into the rest of the room.
Choose a low-pile rug if you'll be walking over it often.
Keep The Clutter Out
The circle should feel open, not crowded. Skip the side tables if you can. Use a coffee table with a lower shelf for remotes and magazines.
If you need lighting, a single floor lamp behind one chair works better than four table lamps. The fewer pieces you add, the more the circle itself stands out.
5. Add a Slim Console Behind the Sofa
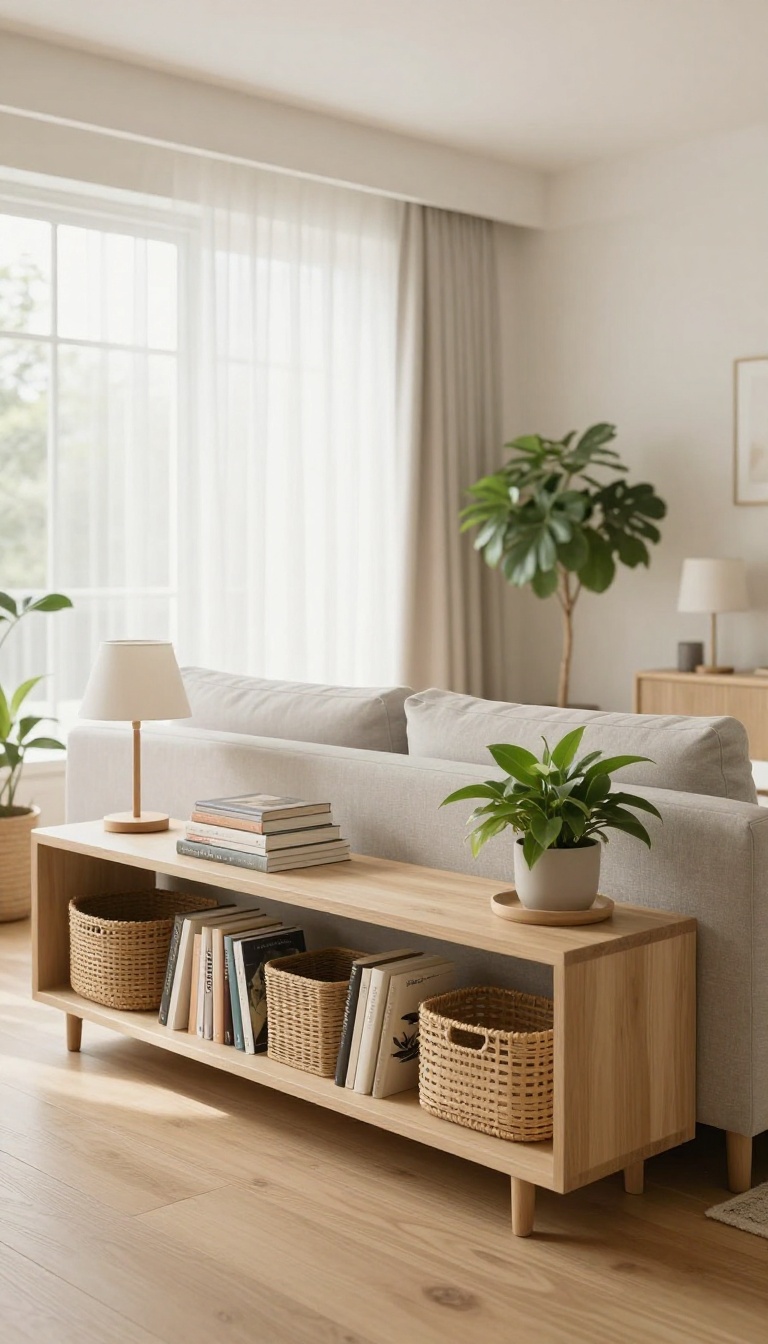
A floating sofa looks great in an open room, but it can leave the back of your living zone feeling unfinished. A slim console fixes that in one move. It sits right behind the couch, marks where the seating area stops, and hands you a surface that actually earns its keep.
The key is keeping it narrow. Look for something around 10 to 14 inches deep so it hugs the sofa without stealing floor space from the zone behind it. This works whether your sofa faces a TV, a fireplace, or a window.
The console becomes a quiet divider that you barely notice until you need it.
Pick The Right Depth
Measure the gap between your sofa back and the next zone before you buy. You want enough room to walk past comfortably, not a tight squeeze. A console that's too deep turns a walkway into an obstacle course.
Style The Top, Not The Whole Thing
A pair of small lamps, a stack of books, and one catch-all tray is plenty. Clutter on a console reads fast because it sits at eye level. Leave some empty space so the piece feels light.
Use It As A Power Spot
A console with a built-in outlet or a hidden cable channel keeps chargers and cords out of sight. It's a small upgrade that makes the surface more useful day to day.
Keep The Back Neat
If the console is open, the side facing the other zone becomes part of the view. Baskets or a low row of books on the lower shelf keep it looking intentional from both directions.
6. Hang a Ceiling-Mounted Room Divider
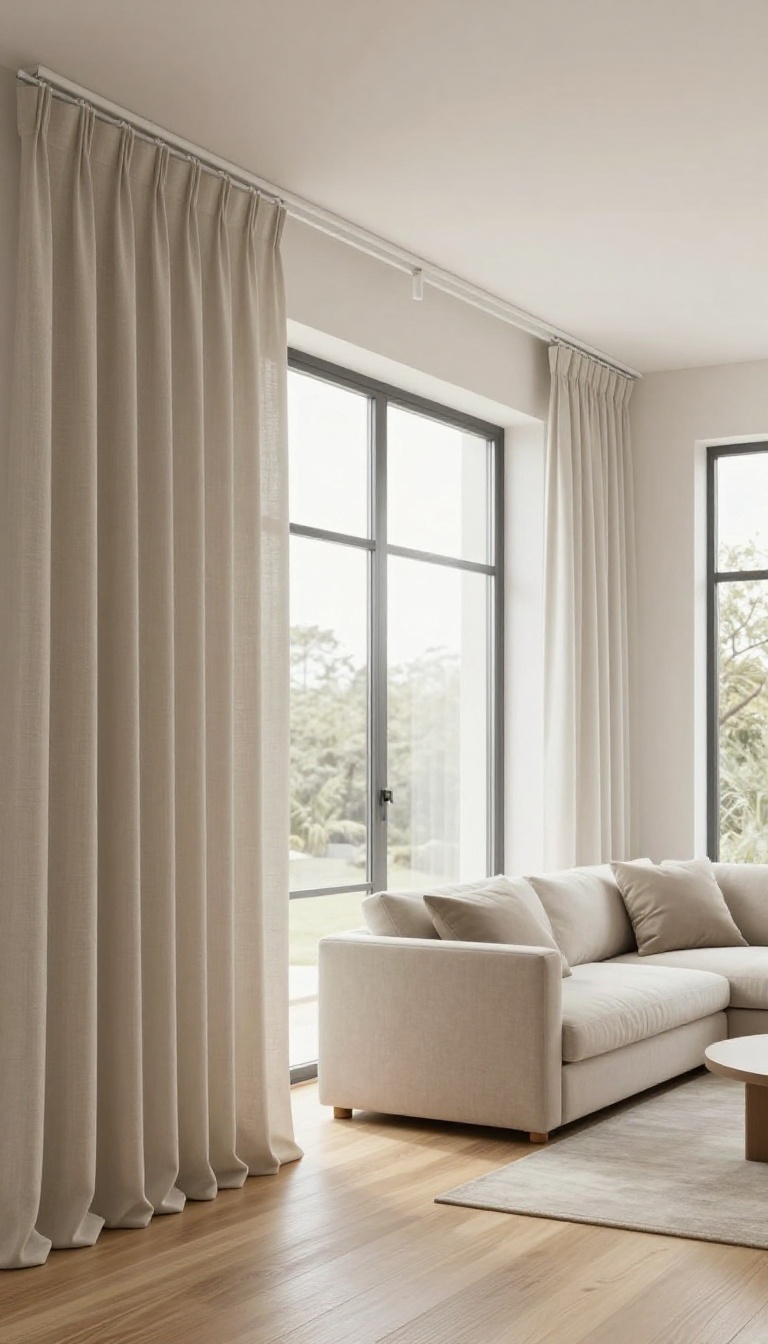
A ceiling-mounted room divider gives you the best of both worlds: separation when you need it, openness when you don't. Instead of a permanent wall, you get a track that lets curtains or panels slide out of the way in seconds. This is especially handy for renters or anyone who wants to test a layout before committing.
You can define a cozy TV nook, a home office, or a guest corner without drilling into the floor or blocking light. The key is choosing the right hardware and fabric so the divider feels intentional, not like a shower curtain in the middle of your living room.
Track systems come in a few styles: ceiling-mounted, wall-mounted, and even tension rods for temporary setups. Ceiling-mounted is the most seamless because it disappears into the room's architecture. You can run a single track straight across, or curve it to follow a seating area.
For a clean look, match the track color to your ceiling. White on white vanishes; black on white makes a bold statement. Either way, the track itself should be slim and unobtrusive.
The panels do the heavy lifting. Choose a fabric that suits your room's vibe—linen for a relaxed feel, velvet for drama, or a sheer for soft division that still lets light through. You can also use rigid panels like wood slats or woven screens if you want something more architectural.
Why It Works For Renters
Most rental leases frown on major alterations, but a ceiling-mounted track only needs a few small screw holes that are easy to patch. If you're worried about damage, look for tension-mounted tracks that grip the ceiling without screws. They're not as sturdy for heavy curtains, but they work great for lightweight fabrics.
Another bonus: you can take the whole system with you when you move. Just unscrew the track, fill the holes, and reinstall it in your next place. It's a reusable solution that adapts to any layout.
How To Choose The Right Fabric And Track
Start by deciding how much privacy you need. For a visual divider that still lets air and light move, go with a sheer or open-weave fabric. If you want to block sound or create a true separate zone, choose a heavier material like canvas or blackout curtains.
Next, measure your space. The track should span the entire opening plus a few extra inches on each side so the curtains can stack completely out of the way. For a standard 8-foot ceiling, a track that's 1 to 1.
5 inches deep works well. Finally, think about operation. A simple cord or wand pull is easiest for daily use.
If you want a high-tech touch, motorized tracks let you open and close the divider with a remote or voice command—great for hard-to-reach spots.
Styling Tips To Avoid Clutter
A ceiling-mounted divider can look messy if the curtains pool on the floor or bunch up when open. Keep hems just barely touching the floor, and use tiebacks or a stacking system to gather panels neatly to one side. Choose a fabric color that blends with your walls or complements your furniture.
A bold pattern can be fun, but it might compete with the rest of the room. If you want pattern, keep the rest of the space simple. Don't forget the track's end caps and brackets.
They should match the track and be installed securely so the whole thing feels like a built-in feature, not an afterthought.
7. Use Lighting to Separate Zones
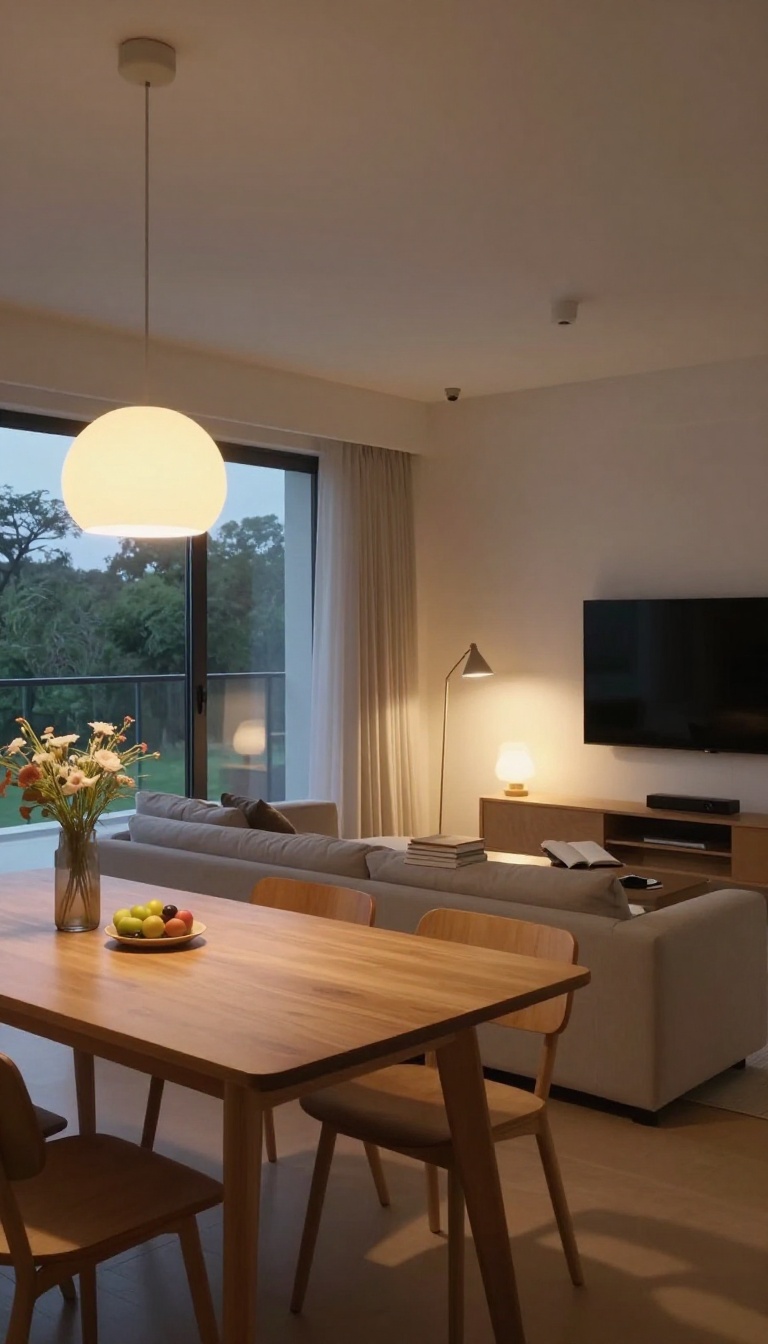
Light tells your brain where to look and what to do. A pendant hanging low over a dining table says, “Sit here and eat. ” A floor lamp arcing over a sofa says, “Relax and read. ” When you layer those signals, each zone in an open room feels like its own little world—without a single wall. The best part?
You probably already have a few lamps you can reposition today.
Start by thinking about activities, not fixtures. Where do you eat, work, watch TV, or chat? Each of those spots deserves its own pool of light.
Then choose fixtures that match the mood: bright and focused for tasks, soft and warm for lounging. You don’t need to buy everything at once. Move what you have, live with it for a week, and adjust.
Pick A Focal Light For Each Zone
Every zone needs one clear anchor. Over a table, a pendant or chandelier draws the eye down and creates an intimate circle. In a reading nook, a floor lamp with an adjustable arm points light exactly where you need it.
For a TV area, a dimmable wall sconce or a pair of small lamps on a console keeps glare off the screen while still defining the space. The anchor doesn’t have to be expensive—it just has to be intentional.
Layer Light At Different Heights
One overhead light flattens a room. Three heights—ceiling, eye level, and table—add depth and make zones feel separate. A ceiling fixture gives general glow.
A floor lamp or tall plant with a clip-on light fills the middle. A table lamp or candle adds a low, cozy layer. When you turn on only the lights in one zone, that area pops while the rest fades back.
That contrast is what separates zones without clutter.
Use Dimmers And Smart Bulbs For Flexibility
A dimmer switch is the cheapest room divider you’ll ever buy. During the day, keep everything bright and even. At night, dim the dining pendant to 20% and raise the sofa lamp—suddenly the room shifts from “dinner party” to “movie night. ” Smart bulbs take it further: set scenes like “work” (cool, bright) or “wind down” (warm, low).
You can even control zones by voice or app, so you never have to walk around flipping switches.
Keep Cords And Clutter Out Of Sight
Visible cords ruin the clean look you’re after. Run them behind furniture, use cable clips along baseboards, or choose battery-operated lamps for spots without outlets. A small tray or basket on a console can hide chargers and remotes.
When the light itself is the star, the mess disappears—and each zone feels polished, not patched together.
8. Define a Work Nook with a Desk and Screen
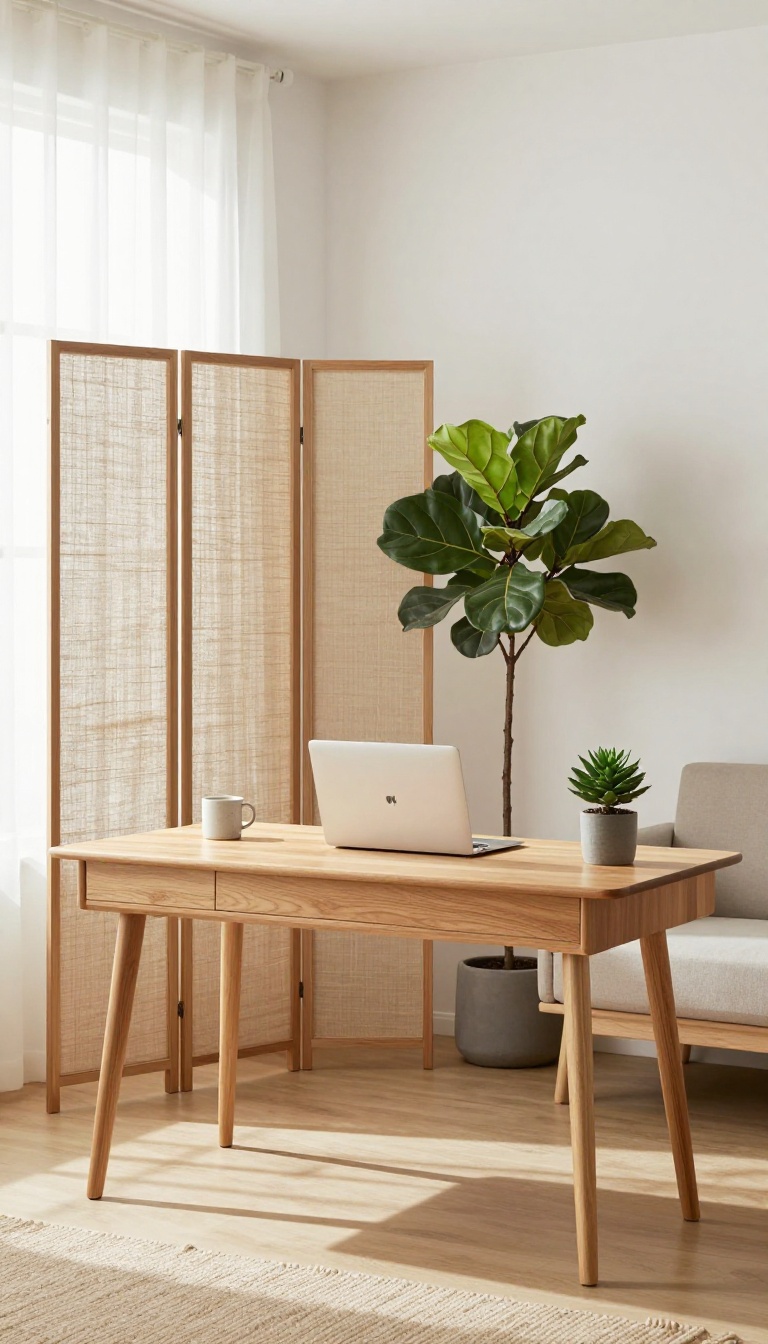
Working from home sounds great until your laptop lives on the coffee table and your living room starts to feel like a cubicle. A dedicated work nook fixes that by giving your job a physical address. Pair a slim desk with a folding screen or a tall plant, and you get a real office corner without adding a room.
The screen or plant acts as a soft border, so work stays put when you clock out. It's a small move that keeps your living space feeling like living space.
The goal is simple: create a boundary that your brain can read. You don't need a full wall or a spare bedroom. You need a desk, a divider, and a little intention.
When those three things line up, your living room stops being a hybrid mess and starts feeling like two clear zones.
Pick A Desk That Fits The Corner
Measure the spot before you buy anything. A desk that's 36 to 48 inches wide usually slides into a corner or along a short wall without eating the whole room. Look for a shallow depth, around 18 to 20 inches, so it doesn't jut into your walking path.
A wall-mounted or ladder-style desk works well if floor space is tight. If you need storage, choose a desk with one slim drawer instead of a bulky file cabinet. Keep the surface clear except for what you use daily.
Use A Screen Or Plant As The Divider
A three-panel folding screen gives you instant separation and folds away when you want an open room. Choose a height between 60 and 72 inches so it blocks the visual line of sight when you're seated. If screens feel too staged, a tall plant like a fiddle leaf fig or snake plant does the same job with more life.
Place it at the edge of the desk, not in the middle of the floor. The divider should sit between your work zone and your sofa, not behind your chair.
Set Up For Focus And Quick Pack-down
Keep your monitor or laptop at eye level so you're not hunched over. Add a small task lamp with a warm bulb, and point it at your desk, not the whole room. A basket or bin under the desk holds your notebook, charger, and headset when you're done.
At the end of the day, close the laptop, drop everything in the bin, and fold the screen if you want the room back. That two-minute routine is what keeps work from bleeding into your evening.
Make It Look Like It Belongs
Choose a desk finish that matches your coffee table or shelving so the nook feels intentional. A simple chair with a low back keeps the sightline open and looks less like office furniture. If you use a screen, pick a fabric or wood tone that ties into your rug or curtains.
Add one small plant or framed print on the desk, but don't clutter it. The nook should read as part of the living room, not a cubicle dropped into it.
9. Paint or Wallpaper an Accent Wall
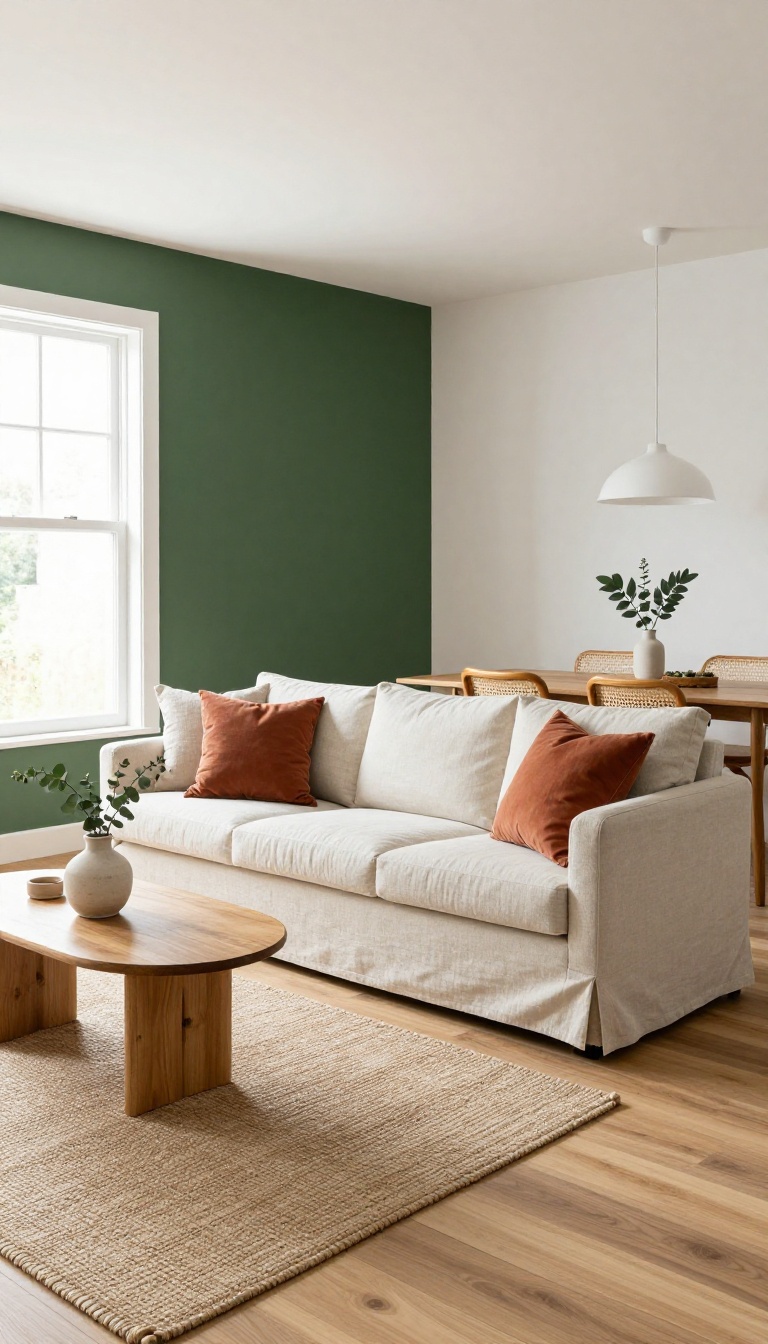
Paint or wallpaper on a single wall does the heavy lifting of a room divider without taking up an inch of floor space. Color and pattern tell your eye where one zone ends and another begins, so a seating area can read as its own spot even when the sofa floats in the middle of an open plan. It's a low-cost move that renters can pull off with peel-and-stick options, and it works in small apartments where furniture would feel cramped.
You don't need to repaint the whole room or hang a gallery wall to make this work. One well-chosen wall is enough to anchor a zone, and the rest of the room can stay neutral so the split feels intentional rather than busy. The trick is picking the right wall and the right treatment for your space, then letting the color do the separating for you.
Pick The Wall That Already Divides The Room
Look for the wall that sits at the edge of the zone you want to define, not the one in the middle of traffic. A wall behind a sofa, a desk, or a reading chair gives that area a natural backdrop and makes it feel like a destination. If your living room opens into a dining area, painting the wall behind the dining table instantly marks that half as its own space.
Avoid accenting a wall that's mostly covered by a TV or a tall bookcase, since the color won't read clearly.
Choose A Color That Separates Without Shouting
Deep tones like navy, forest green, or charcoal create a strong anchor and make the zone feel cozy and contained. Soft tones like sage, terracotta, or warm gray split the room more gently, which suits small spaces or rentals where you want flexibility. If you're nervous about commitment, go two or three shades darker than your main wall color instead of picking something completely different.
That keeps the room feeling connected while still giving the zone its own identity.
Use Wallpaper When You Want Pattern To Do The Work
A patterned wallpaper adds texture and movement that paint can't match, and it's especially good for defining a zone in a rental. Peel-and-stick options come off cleanly, so you can test a bold geometric or a subtle grasscloth without losing your deposit. Keep the pattern scale in mind: large prints need a bigger wall to breathe, while small repeats work well in tight corners.
If the rest of the room is busy, choose a tone-on-tone pattern so the accent wall stays calm.
Tie The Zone Together With One Or Two Matching Details
Once the wall is painted or papered, pull one color from it into the zone with a throw pillow, a rug, or a lamp shade. That small repeat makes the area feel deliberate instead of like a random painted wall. You don't need to match everything, just one or two touches that echo the accent color.
This is also a good place to add a slim console or a floor plant to ground the zone without adding bulk.
10. Use a Pair of Armchairs as a Boundary
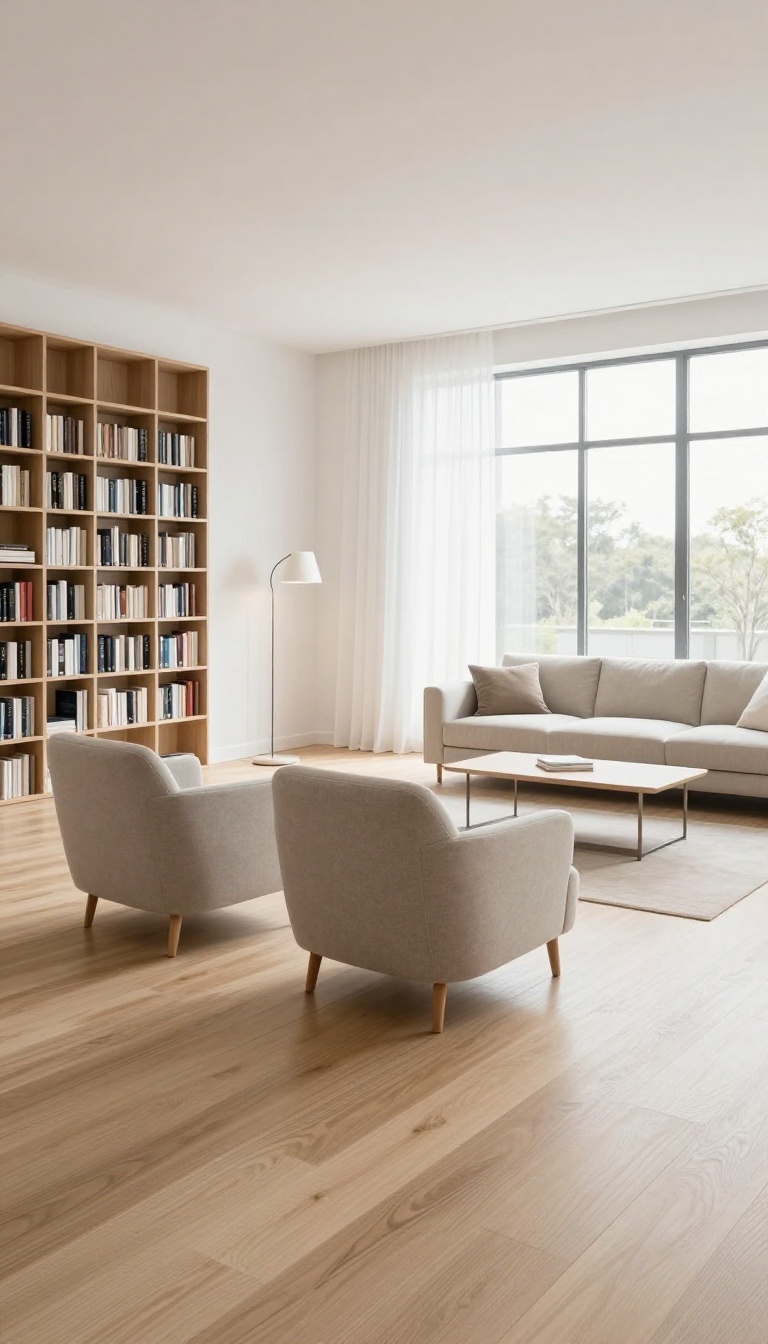
Two armchairs can quietly split a room without a single nail or screw. Place them back-to-back or side-by-side, and suddenly you have a soft border between a reading nook and the main seating area. They're easy to move when you need more floor space, which makes them a renter's best friend.
Armchairs work as a boundary because they're tall enough to block sightlines but open enough to keep the room feeling connected. Unlike a sofa, they don't dominate the floor plan, so you can shift them around whenever the mood strikes. The key is to treat them as a flexible wall you can rearrange in seconds.
Back-to-back For Clear Separation
Push two chairs back-to-back and you create a double-sided barrier. One side faces the TV or main sofa; the other faces a bookshelf or window. This setup works especially well in long, narrow rooms where you want two distinct zones without blocking the flow of traffic.
Just leave a few inches between the backs so the chairs don't look glued together.
Side-by-side To Guide Traffic
Placing two chairs side-by-side forms a low wall that guides people around a zone. Angle them slightly toward each other for conversation, or keep them parallel for a cleaner line. This is a smart move near an entryway or between a living area and a dining space.
It tells guests where to walk without a physical barrier.
Choose Chairs That Pull Double Duty
Pick armchairs with a low profile and a neutral back so they look good from every angle. Swivel chairs are a bonus because they let you turn toward either zone. If you need extra storage, choose chairs with legs high enough to slide a basket underneath.
That way, your boundary does more than just divide.
11. Install a Sliding Barn Door or Partition
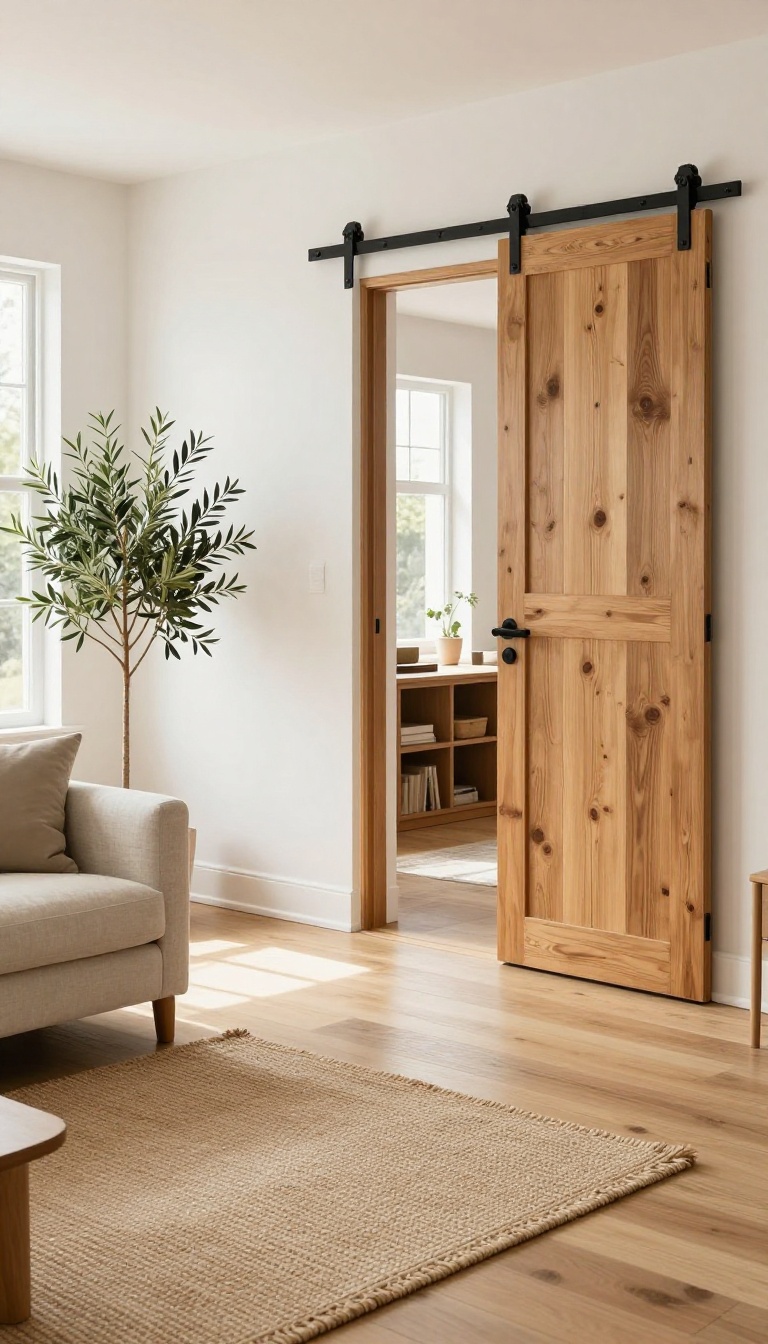
A sliding door gives you a real wall when you want one, then disappears into the wall when you don't. It's the kind of split that feels permanent and polished, not temporary or fussy. If you're already planning a bigger renovation, this is a smart time to work it into the plan.
Barn doors get a lot of attention for their looks, but the function is what sells them. You can close off a home office, a guest nook, or a play area in seconds. And when it's open, the room reads as one big space again.
Unlike a curtain or a bookshelf, a sliding door actually blocks sound and light. That matters if you're taking calls or trying to keep a movie night from waking the house. It also holds up better over time than fabric or folding screens.
Pick The Right Track Style
A top-mounted track is the classic barn-door look and works on most walls. If you don't want visible hardware, a pocket door slides inside the wall instead. That option costs more and usually needs framing work, so it's best during a remodel.
For a middle ground, a ceiling-mounted track keeps the wall clean and still gives you that sliding motion.
Match The Door To Your Room
Reclaimed wood brings warmth and suits farmhouse or rustic rooms. A frosted glass panel feels modern and lets light pass through while still blocking the view. Solid painted doors blend into the wall when closed, which keeps the space calm.
Pick a finish that matches your trim or your floor so it doesn't fight the rest of the room.
Plan For Clearance And Flow
You need empty wall space for the door to slide into. Measure that span before you buy anything, and check that light switches or outlets aren't in the way. Leave at least a few inches of gap so the door doesn't scrape the wall.
If the opening is wide, a double-door setup splits the difference and looks intentional.
12. Create a Play Zone with Low Storage
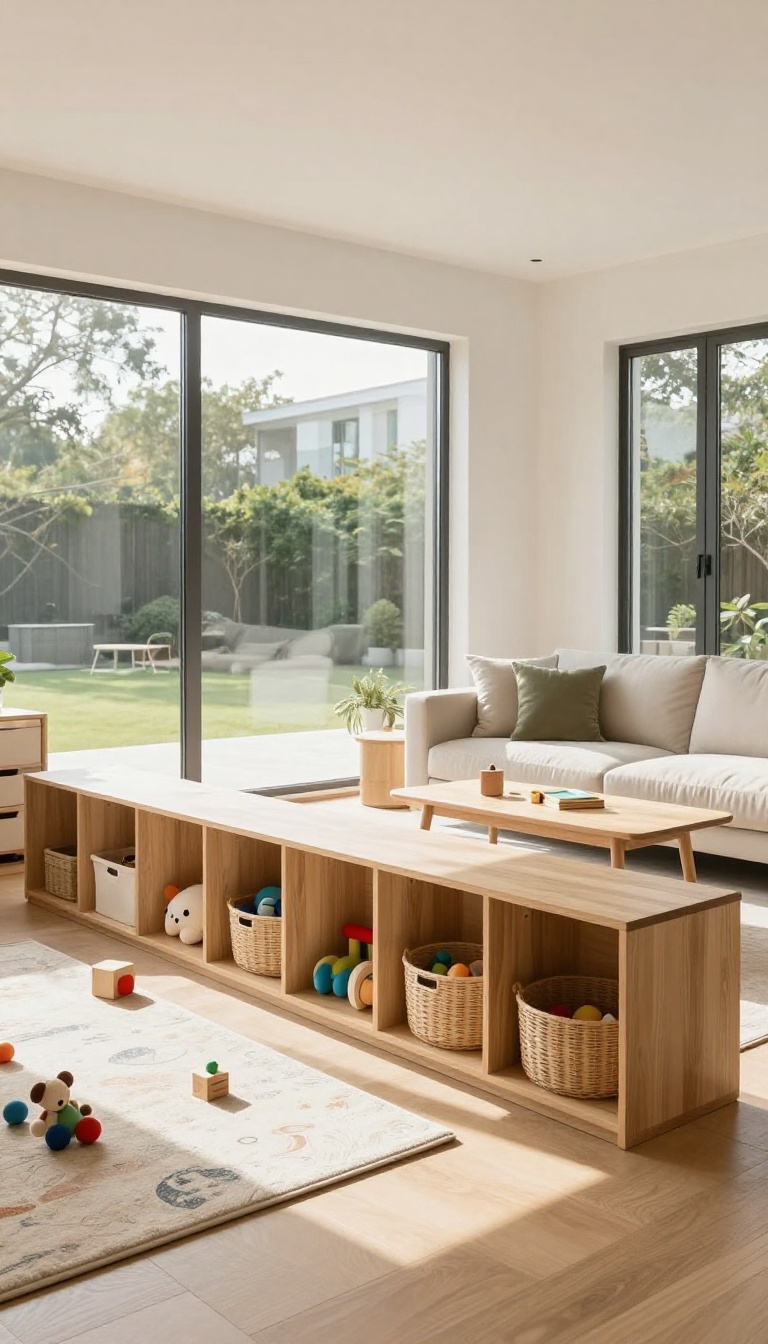
Toys have a way of migrating across a whole room by mid-afternoon. A low storage unit gives them a home base that kids can actually reach, which means they're more likely to put things back without a fight. The storage itself becomes the divider, so you get a soft border between the play area and the grown-up side of the room.
The key is keeping everything at kid height. Open bins, low shelves, and floor-level cubbies make it easy for little hands to grab what they want and toss it back when they're done. You're not asking a four-year-old to open a heavy lid or climb a step stool, so cleanup stops being a chore you have to supervise.
Because the unit stays low, it doesn't block sightlines or light. You can still see the whole room from the couch, and the play zone doesn't feel like a cage. It's a gentle boundary that says "this is where the toys live" without a gate or a wall.
Pick a spot that's visible but slightly tucked away, like the area behind the sofa or beside a window. That way, playtime stays close enough to keep an eye on, but the mess doesn't sit in the middle of your conversation area. A rug underneath helps define the zone even more, and it's easier to shake out than carpet.
Choose The Right Low Storage
Go for open bins, fabric cubes, or low bookcases with baskets. Anything with a lid or a latch will slow kids down and end up staying open. Look for units that are wide and shallow rather than tall and deep, so they act as a low wall without eating floor space.
A bench with storage underneath works double duty as seating for storytime.
Make Cleanup Part Of The Routine
Label bins with pictures or colors so kids know where things go. A quick five-minute tidy before dinner or before switching to screen time keeps the zone from taking over. When the storage is right there and easy to use, kids can handle most of it themselves.
You're not aiming for perfect, just contained.
Keep The Border Soft
Don't line the storage up like a barricade. Leave a gap or angle it slightly so the room still flows. A low unit with a few plants or a lamp on top blends into the adult side while still holding toys on the other.
The goal is a gentle transition, not a hard stop.
13. Use Plants as Natural Dividers
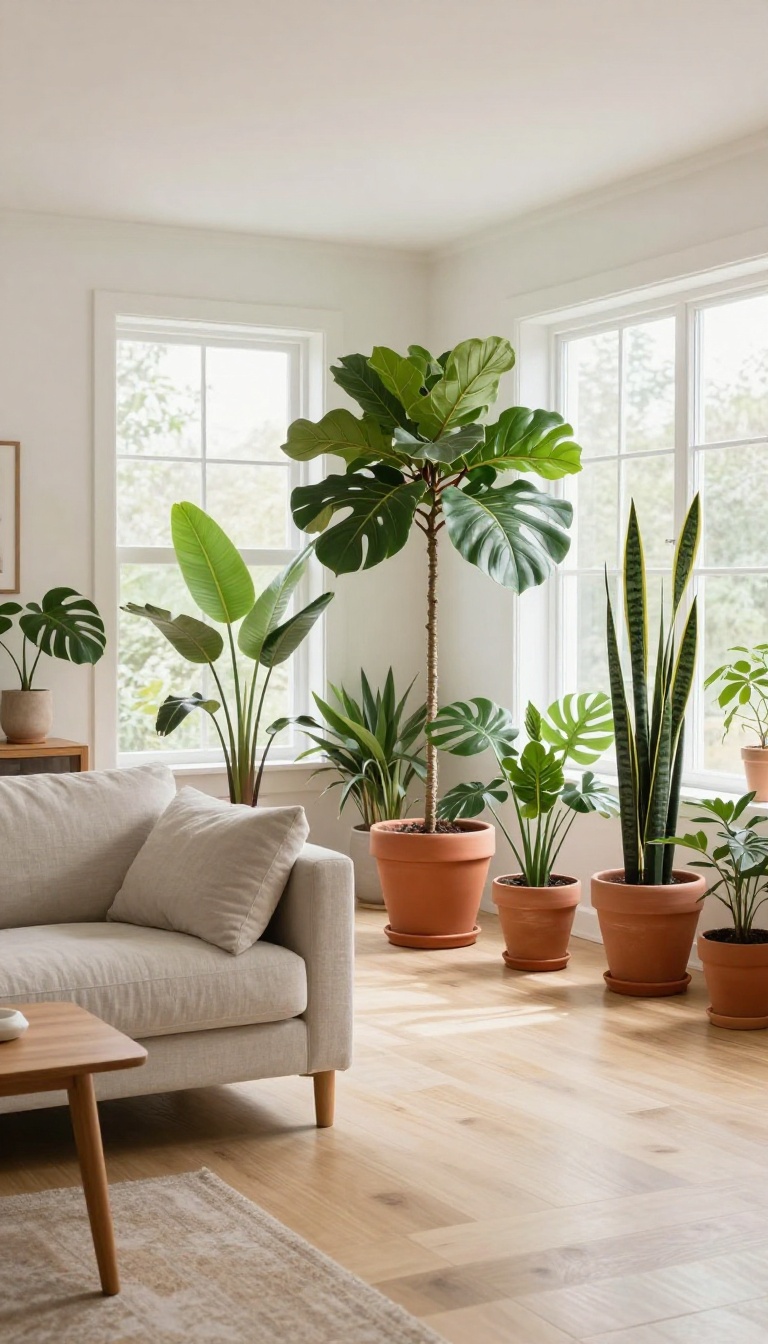
Plants do something walls can’t: they divide a room while keeping it open and airy. A tall fiddle leaf fig or a row of snake plants creates a soft boundary that still lets light and conversation flow through. They also add texture, color, and a little life to a space.
And as a bonus, many common houseplants help clean the air, so your split living room feels fresher, not just more organized.
You don’t need a green thumb to pull this off. A few well-placed pots can define zones without blocking sightlines or making the room feel smaller. Here’s how to use plants as dividers that actually work.
Pick The Right Plants For The Job
Tall, upright plants like rubber trees, monsteras, or bamboo palms make the best dividers because they grow high enough to create a visual screen. For a lower divider, use a row of medium plants like pothos or peace lilies on a bench or stand. If you need something extra tall, consider a pair of matching ficus trees.
They’re affordable, easy to find, and fill vertical space quickly.
Arrange Them For Maximum Impact
Place plants in a straight line or a gentle curve to suggest a boundary without closing off the room. A cluster of three pots at different heights works well in a corner, while a single large plant can mark the end of a seating area. For a stronger division, use a low bench or a row of identical planters.
This creates a consistent line that reads as a divider even when the plants are small.
Keep It Low-maintenance And Clutter-free
Choose plants that suit your light and schedule. Snake plants and ZZ plants thrive in low light and need water only every few weeks. If you’re short on time, mix real plants with high-quality faux ones—just keep the faux ones dust-free.
Use simple, neutral pots that match your decor. Grouping plants in matching containers keeps the look clean and intentional, so the divider feels like part of the design, not an afterthought.
FAQ
How do I split a living room without making it feel smaller?
Use low furniture, open shelving, and consistent flooring. Avoid tall, solid dividers that block light and sightlines.
What's the best way to divide a living room and dining room?
A large area rug under the dining table and a floating sofa or console behind it clearly separates the two zones without walls.
Can I split a living room if I rent?
Yes. Try tension rods with curtains, freestanding bookshelves, rugs, and plants. These are all removable and landlord-friendly.
How do I keep a split living room from looking cluttered?
Stick to a consistent color palette, choose multi-functional furniture, and use closed storage. Keep surfaces clear and edit regularly.
What's the cheapest way to define zones in a living room?
Rugs and lighting are the most affordable options. You can also rearrange existing furniture to create natural walkways and groupings.
Conclusion
Splitting a living room works best when you treat zones as gentle suggestions, not hard walls. Pick one idea that solves your biggest annoyance, whether that is a sofa that blocks the flow or a corner nobody uses. Live with it for a week before adding anything else.
Small moves stack up faster than one big redesign. Keep walkways clear, let each piece earn its spot, and stop once the room feels open and easy. Two clear zones beat one crowded space every time.