11 Fresh Corner Glass Shower Ideas for a Clean, Custom Space
Corner showers are space-savers by default, but the glass you choose decides whether that corner feels like a design feature or an afterthought. A frameless two-panel setup reads almost invisible, while a neo-angle door finally makes a tight stall usable. The right pick depends on your layout, your budget, and how much you care about squeegee duty.
Glass does most of the heavy lifting here. Low-iron panes stay truly clear, tinted or reeded options add privacy, and matte black hardware gives clear glass a sharp edge.
You can also skip full enclosure costs with a half-wall, a channel-mounted transition, or a stock kit you install yourself. Below are eleven corner glass ideas worth stealing.
1. Frameless Two-Panel Corner Setup
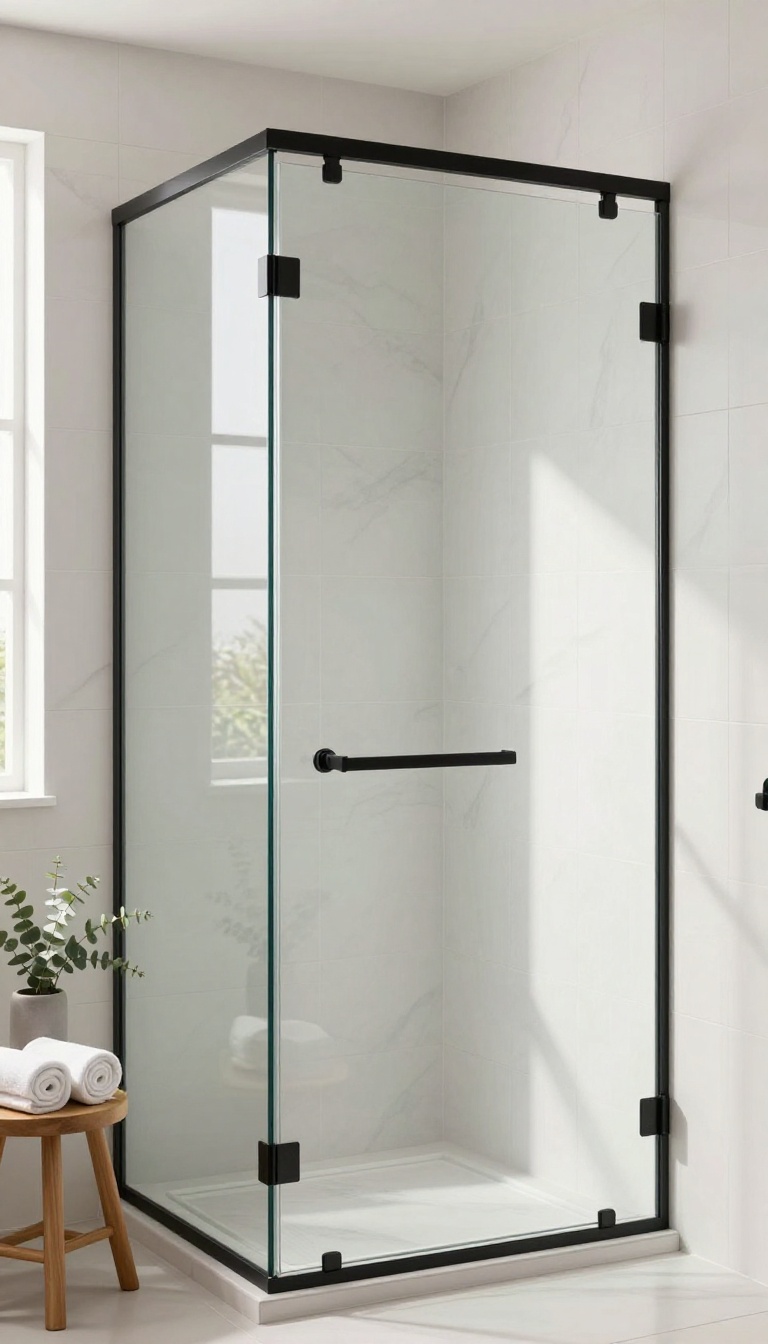
Two fixed panels meet at a 90-degree angle, and a hinged door fills the opening. That's the whole recipe, and it's why this design shows up in so many remodels. No bulky frame interrupts the glass, so the corner reads as open space instead of a boxed-in stall.
The L-shape follows the natural geometry of a corner, which means you're not fighting your floor plan. One panel runs along each wall, the door swings from the edge of the shorter panel, and the whole thing sits inside a footprint most bathrooms already have. Because there's no metal frame around the panels, the glass edges are polished and exposed.
That detail is what gives the setup its custom, high-end look. It also means the hardware matters more, since hinges and clips are the only visible metal in the room.
Why It Works In Tight Corners
Fixed panels take up zero swing space, so the only moving part is the door. In a small bathroom, that's a big deal. You get a full enclosure without sacrificing the floor area you need to actually move around.
The frameless build also bounces light instead of blocking it. In a dim corner, that can make the whole room feel brighter and larger.
Hardware And Glass Choices
Go with 3/8-inch or 1/2-inch tempered glass for stability, since thinner panes can flex without a frame to support them. Low-iron glass keeps the edges from looking green, which matters when there's no metal to distract the eye. For hardware, matte black and brushed nickel are the two safest picks.
Match the hinges and handle to your shower fixtures so the corner feels intentional rather than pieced together.
Install And Maintenance Notes
This isn't a weekend DIY project. The panels are heavy, the measurements have to be exact, and the hinges need solid blocking behind the tile. Hire a glass company that templates on site.
Maintenance is simple but real: squeegee after every shower and use a mild cleaner weekly. Skip the abrasive stuff, since it can scratch the glass and cloud the finish over time.
2. Low-Iron Glass for a True Clear Look
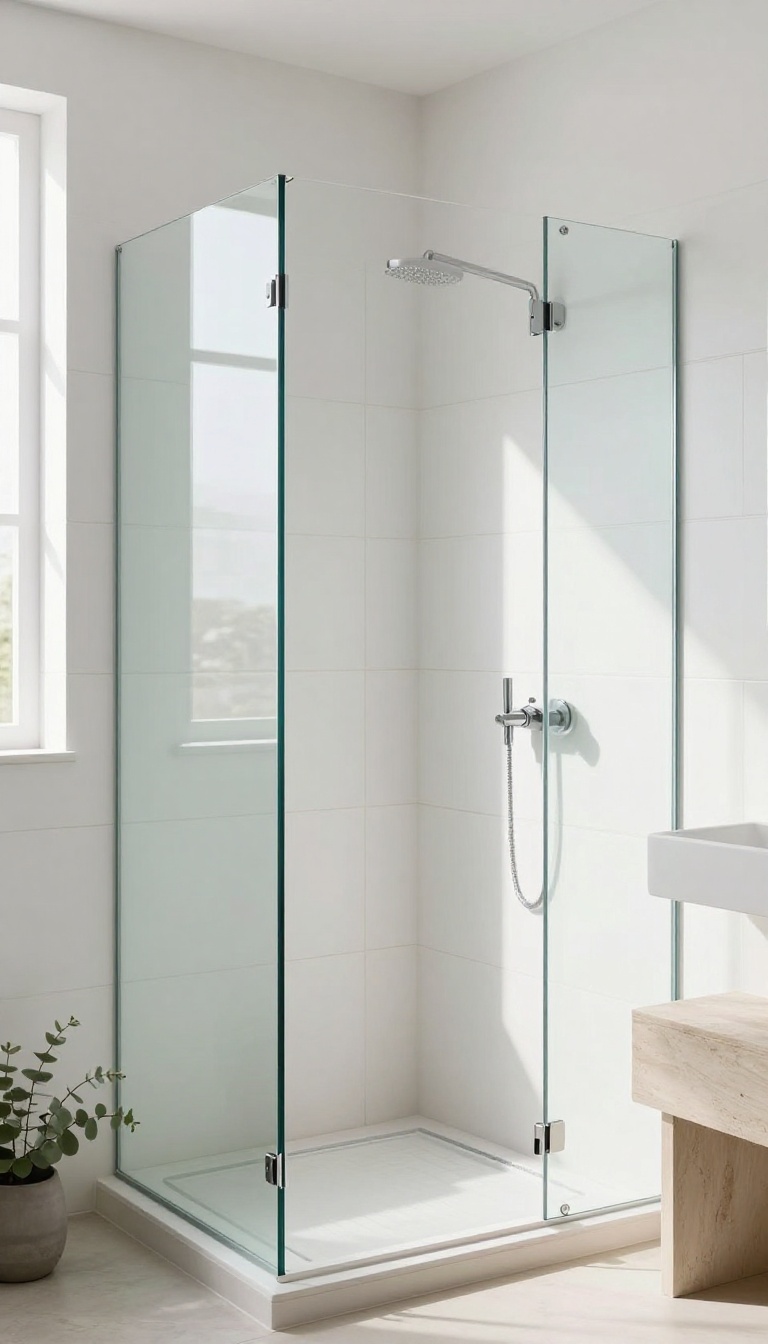
Standard glass carries a faint green edge, and in a bright bathroom that tint shows up fast. It can make white tile look slightly dingy and throw off warm grout colors. Low-iron glass removes that green cast so everything behind the pane reads accurately.
The difference is subtle until you see it side by side. Then it’s hard to unsee. For a corner shower where glass wraps two walls, that clarity keeps the whole space feeling open instead of tinted.
Low-iron glass swaps out most of the iron content that gives regular glass its color. The result is a pane that stays clear even when it’s thick. In a corner shower, where light bounces between two glass walls, that matters more than you’d think.
You’ll pay a bit more for it, usually 10 to 20 percent over standard clear. But if you’re matching paint, tile, or grout, the upgrade pays you back every time you walk in.
How To Spot The Difference
Hold a sample of standard glass against a white wall. Look at the edge—it’ll have a green or blue-green stripe. Low-iron glass shows almost no color at the edge.
Ask your fabricator for a sample before you commit. Some shops label it “ultra-clear” or “starphire, ” which are just brand names for the same low-iron formula.
Where It Shines Most
Bright, south-facing bathrooms benefit the most. All that daylight amplifies any tint in standard glass. Low-iron keeps the view clean and lets your tile do the talking.
It also works well with light grout and pale stone. If you’ve picked a color palette you love, you don’t want green glass muting it.
Worth The Upgrade?
If your shower sits in a dark corner with little natural light, standard glass is fine. You won’t notice the tint much. But in a sunlit room, low-iron is the difference between “nice” and “wow. ” Budget-wise, it’s one of the smaller upgrades you can make.
And it pairs with any hardware finish, so you’re not locked into a look.
3. Matte Black Hardware on Clear Glass
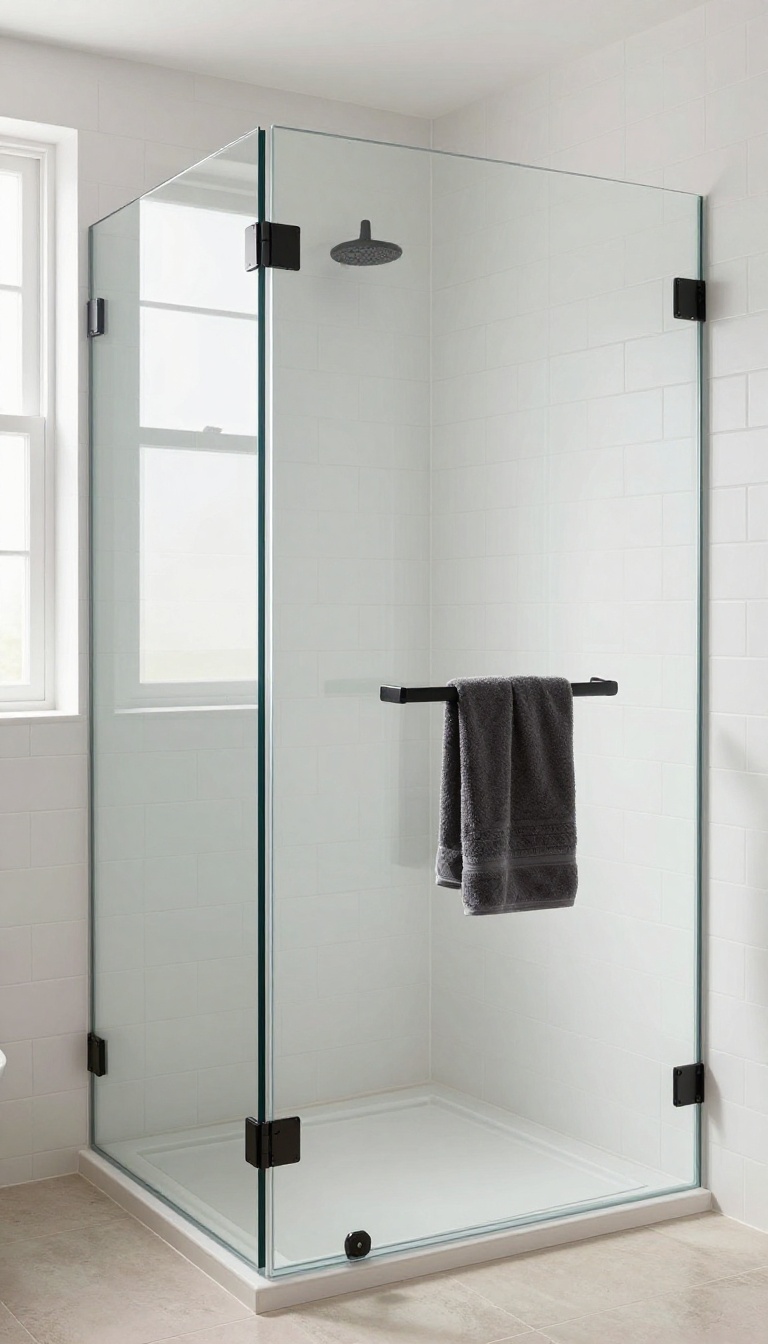
Chrome and brushed nickel have dominated shower hardware for decades, but matte black is quickly becoming the go-to finish for anyone who wants a modern, high-contrast look. The best part? You don't have to replace your glass to get it.
Simply swapping out the brackets, hinges, and handles on a clear glass enclosure can transform the entire vibe of your corner shower. It's one of the most affordable upgrades you can make, and the visual payoff is huge.
Matte black hardware works because it creates a sharp, deliberate contrast against the transparency of clear glass. Instead of blending in like chrome often does, black stands out and draws the eye to the clean lines of your shower. It also hides water spots and fingerprints better than shiny finishes, which means less polishing for you.
Whether your bathroom leans industrial, minimalist, or even a bit traditional, matte black can fit right in. And because you're only changing the metal parts, you can pull off this update in an afternoon with just a few tools.
What To Swap
Start with the most visible pieces: the hinges that hold the door, the handle or knob you grab every day, and any brackets or clips that secure the fixed panels. If your shower has a top rail or support bar, those can be swapped too. Many manufacturers sell matte black hardware kits that are designed to fit standard glass thicknesses, so you don't need to worry about compatibility.
Just measure your glass and check the specs before ordering.
Mixing Metals Without The Mess
You don't have to go all-black if that feels too heavy. A common approach is to keep your showerhead and faucet in their original finish and only change the glass hardware. This works especially well if your sink faucet is chrome or nickel—the black hardware becomes a deliberate accent rather than a full commitment.
Just make sure the black you choose matches across all the glass pieces; slight variations in sheen can look unintentional.
Installation Tips
Before you buy, take a photo of your existing hardware and note the brand if possible. That makes it easier to find direct replacements. When installing, use a screwdriver and a level to keep everything aligned.
If you're not comfortable removing the door yourself, a handyman can do it in under an hour. And don't forget to clean the glass thoroughly before reassembling—it's much easier without the hardware in the way.
4. Half-Wall with Glass Above
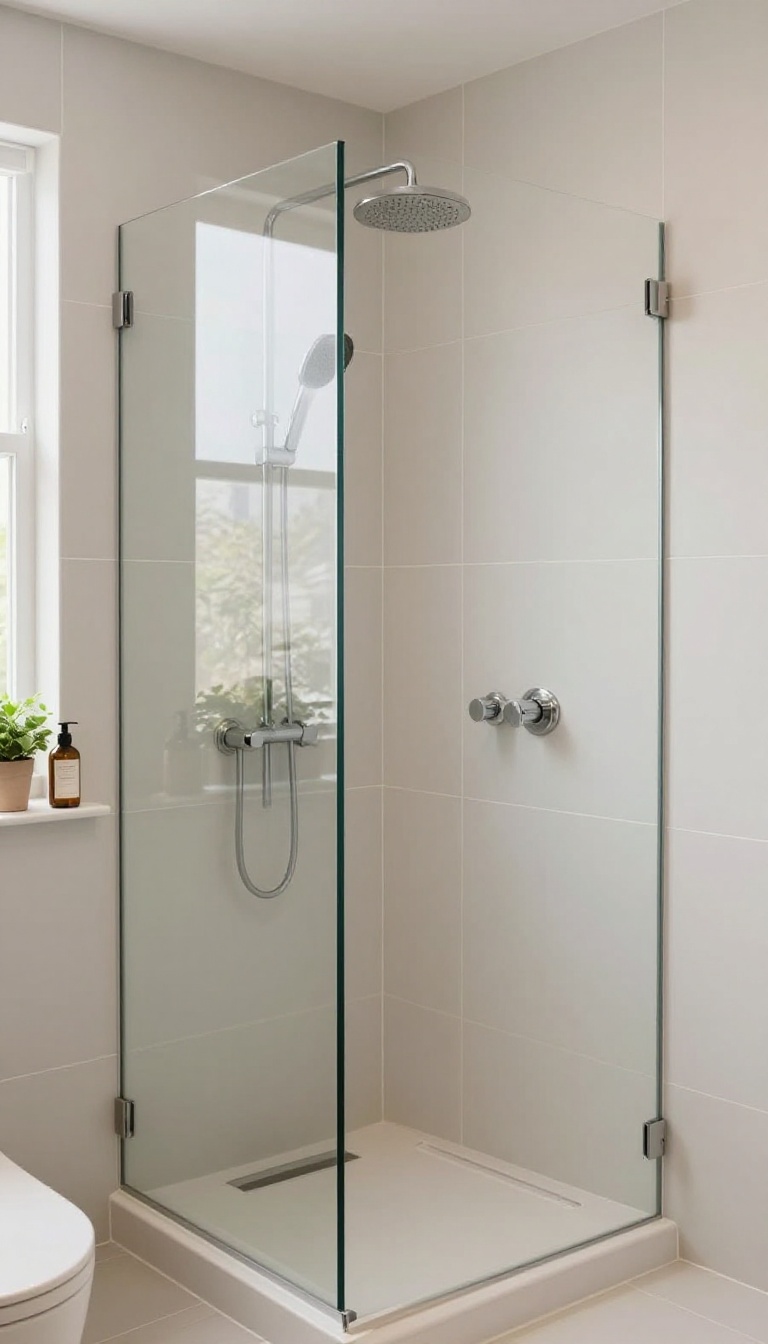
A tiled half-wall solves two problems at once: it hides the plumbing and gives you a ledge for shampoo bottles. Glass above that wall keeps the corner bright and open instead of boxed in. It’s a smart compromise between full enclosure and wide-open spray.
The half-wall typically runs about 42 to 48 inches high, which is tall enough to conceal the shower valve and showerhead riser. Above that, a single fixed pane of glass extends to the ceiling or to a header. The result feels custom without the cost of a full glass wall.
You get a shelf, a splash guard, and a view—all in one move.
Why The Half-wall Works
The wall itself is usually framed and covered in the same tile as the shower interior, so it blends right in. That tiled face becomes a natural shelf for bottles, razors, or a small plant. Because the glass only occupies the upper portion, you use less glass overall, which can lower material costs.
And the wall adds a bit of visual weight, grounding the corner instead of letting it float.
Glass Options Above The Wall
Frameless is the cleanest look here—a single pane with polished edges and a channel at the bottom. You can also use a framed panel if you want a more traditional or industrial vibe. Low-iron glass keeps the view truly clear, while reeded or frosted glass adds privacy without blocking light.
Just make sure the glass sits securely in a channel or clips that are anchored to the wall.
Height And Proportion Tips
A half-wall that’s too low won’t hide the plumbing; too high and you lose the open feel. Aim for the top of the wall to land just above the showerhead arm. The glass above should reach at least 72 inches from the floor, or all the way to the ceiling if you have the height.
That keeps steam in and makes the shower feel like a room within a room.
5. Neo-Angle Door for Tight Corners
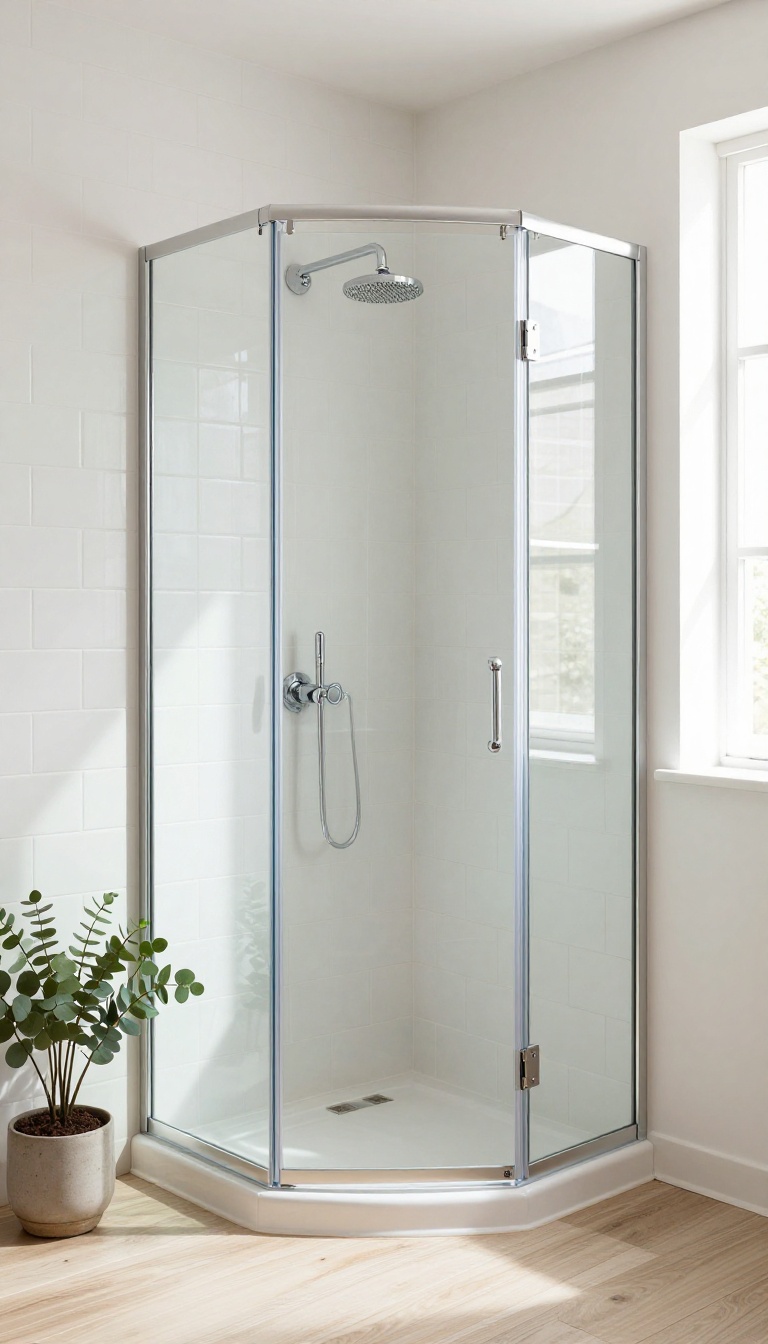
A neo-angle door slices across the corner at 45 degrees, turning a cramped square stall into something you can actually step into. That angled front buys you elbow room where a standard pivot door would smack the vanity or your knees. It's the go-to fix for bathrooms where every inch counts.
Most corner showers force you to choose between a door that swings into the room or one that folds awkwardly. A neo-angle door sidesteps both problems by facing the room at an angle. You get a wider entry point and more standing space inside, without stealing floor area from the rest of the bathroom.
The glass itself usually comes as two fixed side panels and a hinged door that meets them at the corners. Frameless versions keep the look open and bright, while semi-frameless options cost less and still feel custom. Either way, the 45-degree cut is what makes a tight corner feel intentional instead of squeezed.
Why The 45-degree Cut Works
A square enclosure traps you in a box. The neo-angle design replaces the two front corners with a single angled panel, so your body has a natural place to turn. That angle also means the door swings out into open floor space instead of into a wall or fixture.
In a small bathroom, that difference is huge.
Sizing And Door Swing
Neo-angle kits typically fit corners from about 36 to 42 inches wide. Measure your corner twice, then check the door swing radius so it clears the toilet or sink. Some models offer a left or right hinge, which lets you aim the swing toward the emptier side of the room.
If your corner is smaller than 36 inches, a neo-angle might not fit, so consider a pivot door instead.
Glass And Hardware Picks
Clear 3/8-inch tempered glass keeps the space feeling open, but if privacy matters, go with reeded or frosted glass on the fixed panels. For hardware, matte black or brushed gold adds a custom touch without much extra cost. Just make sure the hinges are rated for the door weight, because a sagging neo-angle door is a pain to fix later.
6. Sliding Glass Doors for Zero Swing Clearance
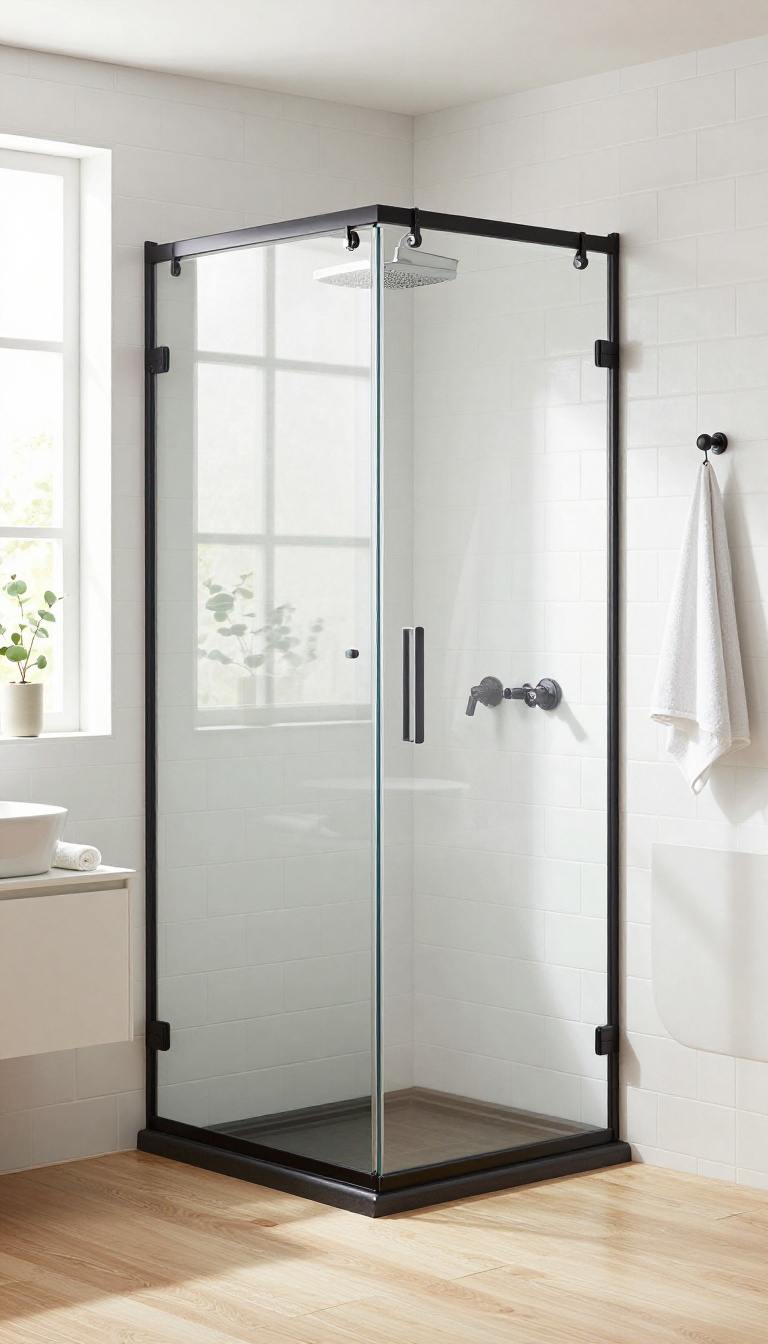
A hinged door needs a clear arc to swing open, and in a tight corner that arc usually runs straight into the vanity, the towel bar, or your shins. Sliding glass doors skip the swing entirely. They glide along a top track, so the only space they occupy is the width of the panels themselves.
That makes them a smart fix for small bathrooms where every inch counts. You get a full glass enclosure without rearranging the rest of the room around a door that needs room to move.
Sliding doors work on a simple principle: one panel stays fixed while the other slides behind or in front of it. The hardware mounts to a top track, which carries the weight and keeps the floor clear. No bottom rail means nothing to step over and nothing to scrub around.
For a corner shower, you can run the track along the open side of the stall or across the front at an angle. Either way, the entry footprint stays minimal, which is the whole point when a swinging door would smack into something. One thing to know up front: bypass sliders need a place for the moving panel to park.
If your corner is boxed in on both sides, a pivot or hinged door might still be the better call. But if you have a straight run of glass, sliders are hard to beat.
Top Track Vs. Bottom Track
Top-track sliders are the cleaner choice for most corner showers. The rollers hide up top, the floor stays open, and there is no channel to collect soap scum. Bottom-track systems can feel more stable, but that lower rail is one more thing to wipe down.
If you go with a bottom track, look for a low-profile version that sheds water instead of trapping it.
Panel Overlap And Sealing
Sliding panels need a slight overlap so water does not sneak through the gap. A clear vinyl seal or a magnetic strip along the vertical edge keeps drips inside the shower. Check that the overlap matches your panel widths, because too little overlap means puddles on the floor.
Too much and the door feels stiff to slide.
When Sliders Make The Most Sense
They shine in bathrooms where the shower sits next to a vanity, a toilet, or a door that already has its own swing. They also work well for tub-and-shower combos, where a hinged door would hang over the tub edge. If you want a low-maintenance enclosure that stays out of the way, sliders are a solid pick.
7. Frosted or Reeded Glass for Privacy
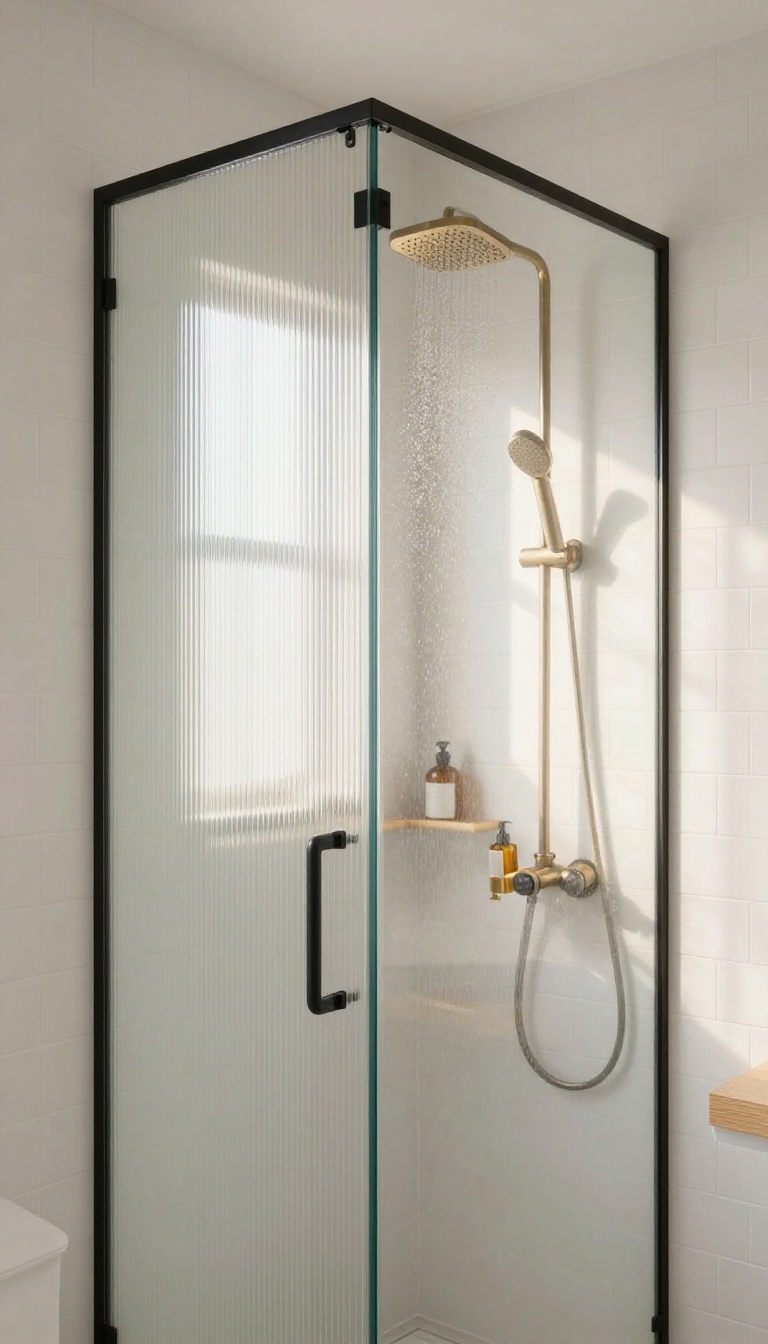
Clear glass makes a small bathroom feel bigger, but it also puts everything on display. If your shower doubles as the guest bath or you share it with family, that openness can get awkward fast. Frosted, fluted, and reeded glass solve the problem by blurring the view while still letting light pass through.
You get the bright, airy feel of glass without turning your morning routine into a show.
Textured glass has been around for decades, but the recent comeback of reeded and fluted patterns has made it feel fresh again. Instead of a flat, milky sheet, you get vertical lines or soft ripples that add subtle movement to the wall. The privacy level depends on the pattern and the thickness, so you can dial in exactly how much you want to reveal.
Most glass shops stock a few standard textures, but you can also order custom panels cut to your corner dimensions. That matters for corner showers because the angles are rarely perfectly square. A local fabricator can template the opening and deliver panels that drop right in without ugly gaps.
Frosted Vs. Reeded: What’s The Difference?
Frosted glass is sandblasted or acid-etched to create a uniform, cloudy surface. It hides everything behind it, from body silhouettes to shampoo bottle labels, and it’s usually the most affordable textured option. Reeded glass, on the other hand, has vertical flutes or ribs that distort the view just enough to keep things private without going fully opaque.
Fluted glass is similar but with wider, softer channels. Both reeded and fluted styles catch light in a way that adds a bit of shimmer, which is why designers love them for modern bathrooms.
Where Textured Glass Works Best
Guest bathrooms and shared family baths are the obvious spots. If your shower sits right next to the toilet or a vanity that gets heavy traffic, textured glass keeps the room feeling open without sacrificing privacy. It also works well in a primary bath if you and your partner have different schedules and you don’t want to blind each other with the overhead light at 5 a. m.
One thing to keep in mind: textured glass can’t be used on both sides of a frameless door if you want to see through it at all. Pick one panel to be clear and one to be textured for the best balance.
Cleaning And Maintenance Tips
Texture gives soap scum more places to hide, so you’ll need to stay on top of cleaning. A squeegee after every shower helps, but you’ll still want a soft brush or a microfiber cloth to get into the grooves. Avoid abrasive cleaners that can dull the pattern over time.
If you hate scrubbing, choose a larger-scale fluted pattern over a tight frosted etch—fewer crevices, easier wipe-downs. And always seal the glass with a quality hydrophobic coating to keep water spots from becoming a permanent art project.
8. Full-Height Glass with a Curbless Entry
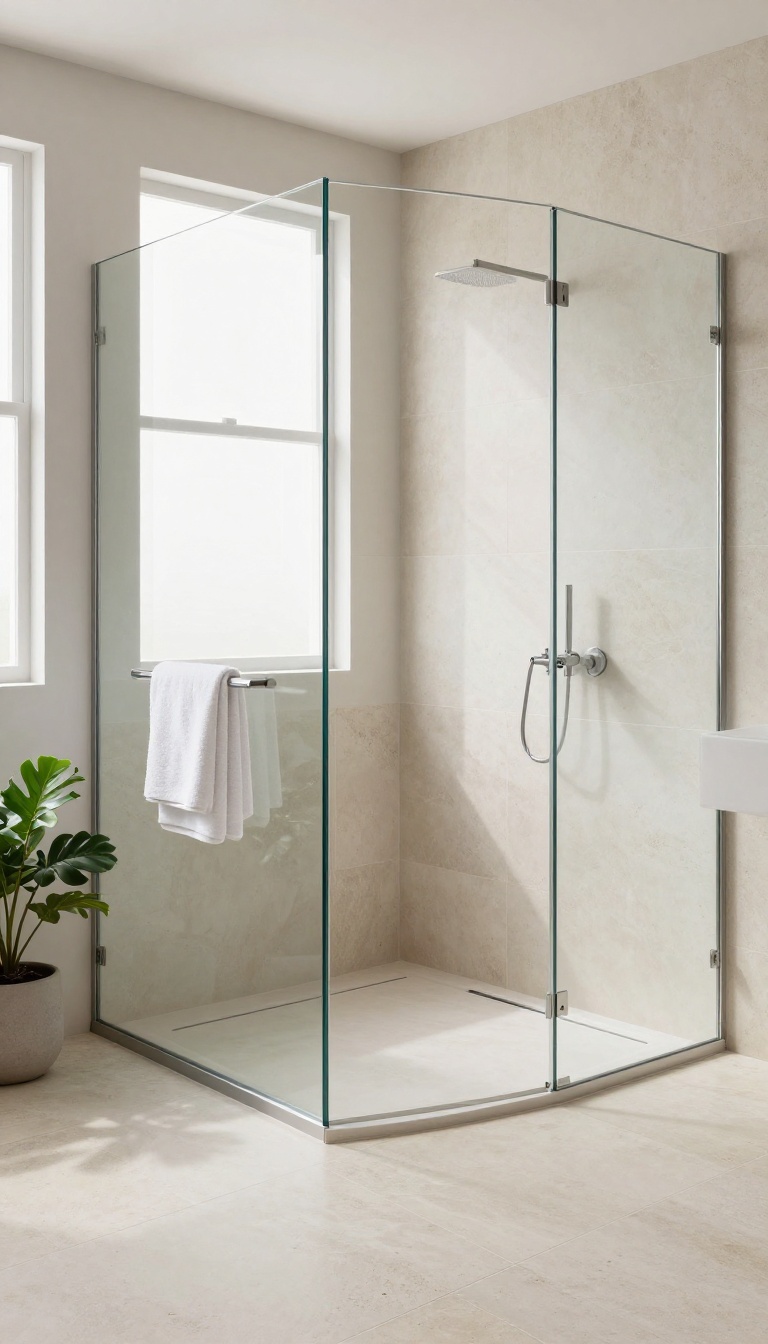
Full-height glass paired with a curbless entry turns a corner shower into a seamless, open space. The glass runs from floor to ceiling, and the floor itself becomes the only threshold. It’s a spa-level detail that demands careful planning, but the payoff is a bathroom that feels bigger and cleaner.
The concept is simple: no curb to step over, and no gap between the top of the glass and the ceiling. That means the shower floor sits flush with the rest of the bathroom, and the glass panels are cut to exact ceiling height. The result is a continuous visual plane that makes even a small corner feel expansive.
But simple doesn’t mean easy. Without a curb, water containment relies entirely on the floor’s slope and the waterproofing beneath it. You’ll need a pro who understands linear drains and can pitch the tile just right.
Get it wrong, and you’ll be mopping up after every shower.
Why Go Curbless?
Curbless entries are a game-changer for accessibility. No lip means no trip hazard, which is great for aging in place or anyone with mobility concerns. They also make the shower feel like part of the room, not a separate box.
And visually, that uninterrupted floor line is hard to beat. Plus, cleaning is easier. There’s no curb to scrub or collect grime.
A squeegee and a quick wipe keep the glass clear, and the floor drains straight into a linear or center drain.
Waterproofing And Slope
This is where the pros earn their keep. The entire shower area needs a waterproof membrane, and the floor must slope toward the drain at a precise angle—usually a quarter-inch per foot. Too flat, and water pools; too steep, and you’ll feel like you’re standing on a hill.
A linear drain at the back wall often works best for corner showers because it allows a single slope. It also looks sleek and handles high flow well. Make sure your contractor uses a bonded waterproofing system, not just cement board and paint-on goo.
Glass And Hardware Details
Full-height glass usually means frameless panels with minimal hardware. You’ll need sturdy wall channels and possibly a header bar for stability, especially if the glass is tall. Tempered glass is non-negotiable—it’s required by code and safer if it ever breaks.
For a truly seamless look, consider low-iron glass, which has less green tint. And think about door options: a hinged door can work if you have clearance, but a sliding or pivot door might save space in a tight corner.
Cost And Planning
This is not a weekend DIY project. Between the structural work, waterproofing, tiling, and custom glass, you’re looking at a significant investment. But if you’re already remodeling, the incremental cost over a standard curb shower might be less than you think.
Plan early. The drain location, slope, and glass measurements all depend on each other. Once the floor is set, changes get expensive.
Bring in your glass fabricator before the tile goes down so everything lines up perfectly.
9. Tinted or Smoked Glass Accent Panels
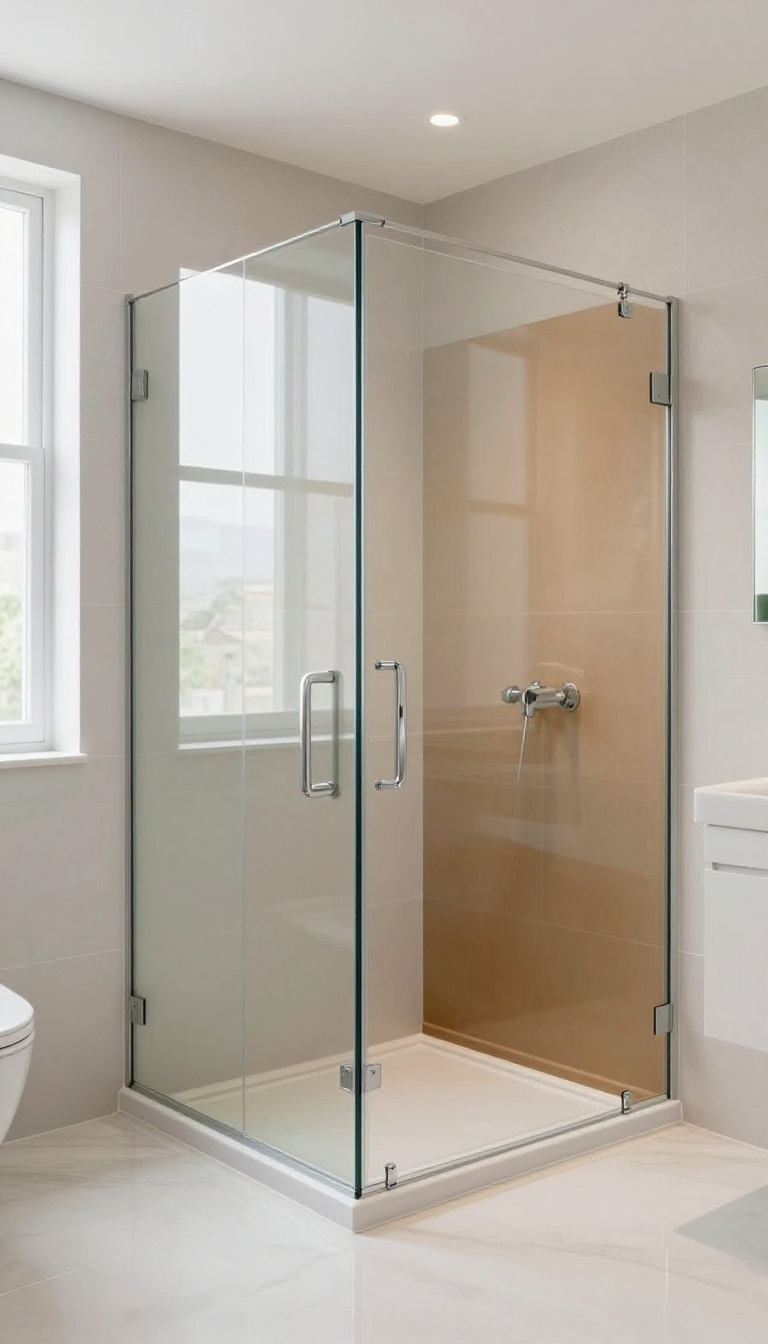
A single tinted panel can do more than just close off a shower—it can become the focal point of an otherwise neutral bathroom. The smoky hue adds instant contrast and depth, making your corner shower feel intentional rather than an afterthought. And as a bonus, it hides water spots and soap scum far better than clear glass, so your bathroom looks cleaner between wipe-downs.
Tinted glass isn't just for sleek modern hotels. It works in any style when you use it sparingly. Think of it as jewelry for your shower: a little goes a long way.
The key is to let one panel stand out while the rest of the enclosure stays clear or frameless. That way, you get the drama without turning your bathroom into a cave. Smoked or bronze tints are the most popular because they feel warm and sophisticated.
Gray and blue tints lean cooler and more contemporary. Whichever you choose, the tint reduces transparency, so you get a bit more privacy without sacrificing light flow. That's a big win in a shared bathroom.
One thing to keep in mind: tinted glass shows fewer water spots, but it still needs cleaning. You'll just have more time between squeegee sessions. And because the tint is baked into the glass, it won't fade or peel like a film might.
Where To Use A Tinted Panel
The most common spot is the fixed panel next to the shower door. It frames the entry and draws the eye without blocking light. You can also use a tinted panel as a half-wall topper or as a backsplash behind a freestanding tub.
Just avoid using tinted glass on every surface—it can make the space feel closed in. One or two accent panels are plenty.
Pairing Tints With Hardware
Matte black hardware looks incredible against smoked glass. It's a high-contrast combo that feels modern and moody. Brushed nickel or chrome works better with lighter tints like bronze or gray.
If you want a seamless look, choose a tint that matches your other metals. For example, bronze glass with oil-rubbed bronze hinges creates a warm, cohesive vibe.
Cleaning And Care
Tinted glass hides spots, but it's not self-cleaning. Use a squeegee after each shower to keep it looking pristine. For deeper cleaning, avoid abrasive pads or ammonia-based cleaners, which can dull the tint over time.
A mix of vinegar and water works great. And don't forget to clean the tracks and hinges—grime there can make even the best glass look tired.
10. Glass-to-Tile Transitions with a Channel
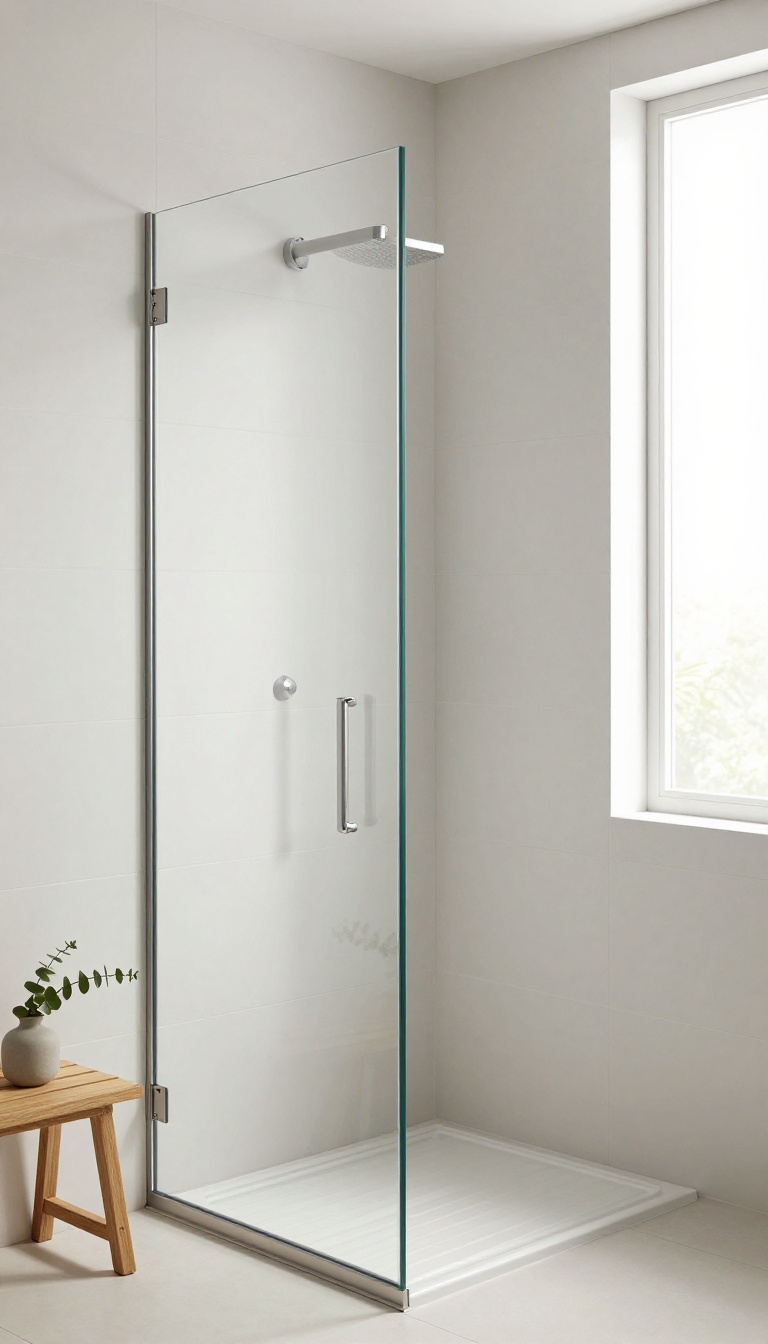
Where glass meets tile, you have two choices: clips that grip the edge or a channel that holds it. Clips get the job done, but they leave visible metal tabs every few inches. A channel replaces that dotted line with one continuous strip, and the difference shows the moment you step back.
A U-channel or C-channel runs along the floor, wall, or both, cradling the glass inside a slim metal profile. The glass slides in, the channel anchors to the substrate, and the tile butts up against it. No clips, no brackets, no little screws to scrub around.
The result is a straight, uninterrupted seam that reads more like a custom installation than a kit. It also solves a practical problem. Clips create pockets where soap scum and hard water collect, and those pockets are annoying to clean.
A channel gives you a smooth surface you can wipe in one pass. Fewer parts also means fewer chances for a loose fitting or a stripped screw down the road. Channels work with framed or frameless glass, but they shine with frameless because there is no frame to hide the hardware.
You can match the channel finish to your other fixtures or go subtle with brushed nickel or matte black. Either way, the line stays clean and the glass looks like it belongs there.
U-channel Vs. C-channel
A U-channel wraps around the glass on three sides, so it works well for a fixed panel that sits on a curb or floor. A C-channel covers only two sides, which makes it a better fit for walls or where the glass meets a perpendicular surface. Both do the same job: hold the glass without clips.
Pick based on where the glass lands and how much edge you want covered.
Installation And Tile Alignment
The channel goes in before the tile, not after. You anchor it to the studs or blocking, then tile up to the edge. That sequence keeps the channel flush and lets you caulk the joint cleanly.
If you tile first, you are stuck trying to fit a channel into a finished opening, which rarely looks as sharp. Plan the channel location with your tile layout so you do not end up with a sliver cut along the profile.
Cleaning And Long-term Looks
A channel eliminates the clip pockets that trap grime, so your weekly wipe-down gets faster. Run a squeegee over the glass and a damp cloth along the channel, and you are done. Over time, the channel stays put and the glass stays aligned.
Just use a quality silicone where the channel meets tile, and re-caulk if it ever pulls away. That small maintenance step keeps the transition looking intentional for years.
11. DIY-Friendly Stock Glass Kits
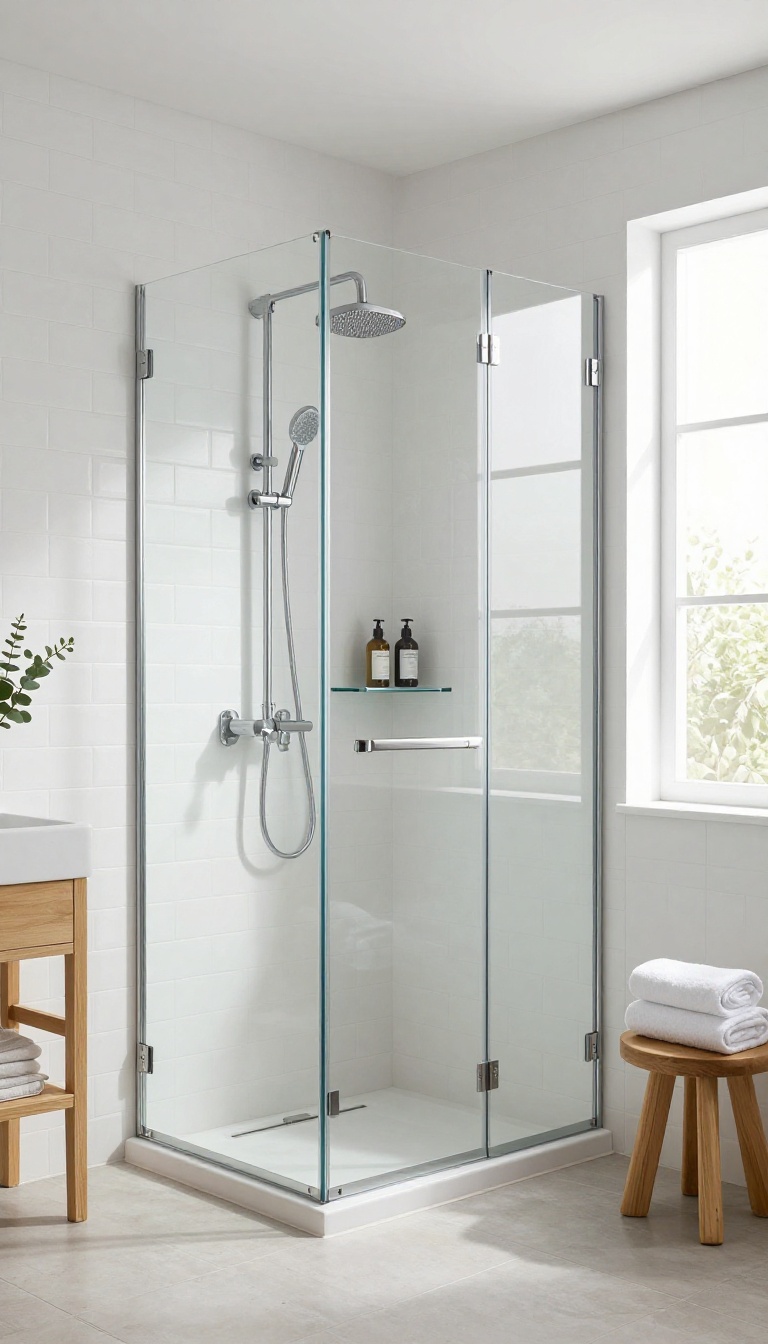
Stock glass kits are the budget-friendly route to a corner shower enclosure, and they're designed for homeowners who don't mind a little measuring and assembly. Big-box stores and online retailers sell pre-sized panels and doors that ship flat, often for a fraction of the cost of custom glass. The trade-off is that you're working with fixed dimensions, so your walls need to cooperate.
These kits typically include tempered glass panels, a frame or channel, and all the hardware you need to put it together. Some are frameless, some are semi-frameless, and a few come with a pre-drilled track for a curb. The install is doable on a weekend if you're handy, but it's not a snap-together project—precision matters more than speed.
The biggest appeal of a stock kit is the price tag. A custom enclosure can run thousands of dollars, while a pre-sized corner kit often lands between $400 and $1, 200 depending on glass thickness and hardware finish. You're not sacrificing safety either—these kits use the same tempered glass required by code, just in standard sizes.
The catch is that standard sizes only work if your shower opening is standard too. Older homes rarely have perfectly square corners, and even a quarter-inch off can mean the difference between a clean fit and a frustrating gap. That's why measuring twice—and checking your wall angles—is non-negotiable before you buy.
Measure Like You Mean It
Grab a tape measure and check the width at the top, middle, and bottom of your opening. Do the same for height on both sides. If those numbers vary by more than an eighth of an inch, you're dealing with an out-of-square space.
Also check that your walls are plumb. A slight lean might not seem like much, but it can throw off how the door hangs and whether the panels sit flush. Write everything down and compare it to the kit's specs before you order.
Know What You're Installing
Stock kits come in a few flavors: framed, semi-frameless, and frameless. Framed kits are the most forgiving because the metal hides small gaps. Semi-frameless gives you more glass and less metal, but it demands a squarer opening.
Frameless looks the cleanest but leaves zero room for error. Check the glass thickness too. A 1/4-inch panel is fine for a stationary side, but a door usually needs 3/8-inch or thicker to feel solid.
Thicker glass also means heavier panels, so plan for a second set of hands.
When To Call A Pro
If your measurements come back uneven or your walls are noticeably out of plumb, a stock kit might not be the right call. You can sometimes shim or fur out the studs to square things up, but that's a bigger job than most DIYers want. Hiring an installer for a stock kit usually costs a few hundred dollars and can save you from a leaky, crooked mess.
It's still cheaper than going full custom, and you get the peace of mind that the door will actually close.
FAQ
How much does a corner glass shower enclosure cost?
Stock kits can start around $400 to $800, while custom frameless setups often run $1, 500 to $3, 500 or more depending on glass thickness, hardware, and installation.
Is frameless glass worth the extra money?
If you want a clean, open look and easier cleaning, yes. Frameless glass has fewer tracks and seals to scrub, but it needs sturdier walls and precise measurements.
What glass thickness should I choose for a corner shower?
Most residential showers use 3/8-inch or 1/2-inch tempered glass. Thicker glass feels more solid and needs less bracing, but it also weighs more and costs more.
Can I install a corner glass shower myself?
Stock kits are DIY-friendly if your walls are plumb and square. Custom frameless panels are heavy and unforgiving, so hiring a pro is usually the safer call.
How do I keep hard water spots off corner shower glass?
Squeegee after every use, use a daily shower spray, and consider a glass coating. A water softener helps too if your area has hard water.
Conclusion
Corner glass showers reward small, deliberate choices more than big budgets. Start with the one idea that fixes your worst daily annoyance, whether that is water on the floor, bottles crowding the corner, or a door that swings into your towel bar. Then stop and live with it for a week.
You can always add a panel, swap the hardware, or tweak the tile later. Get the glass and the layout right first, and the rest of the space tends to fall into place on its own.