10 Unique Shower Tile Ideas for a Seamless High-End Finish
Your shower is more than a daily necessity—it's a personal sanctuary. The right tile can turn an ordinary stall into a striking focal point, setting the tone for the entire bathroom. But with endless options, choosing a design that feels both unique and timeless can be overwhelming.
These 10 ideas focus on creating a seamless, high-end look that prioritizes clean lines and visual continuity. Whether you're planning a full remodel or a simple refresh, each option brings its own character while maintaining a polished, cohesive feel.
From dramatic veining to subtle texture, these tile choices are selected for their ability to elevate your space without sacrificing practicality. Let's explore how to make your shower feel like a five-star escape.
1. Large-Format Porcelain Slabs
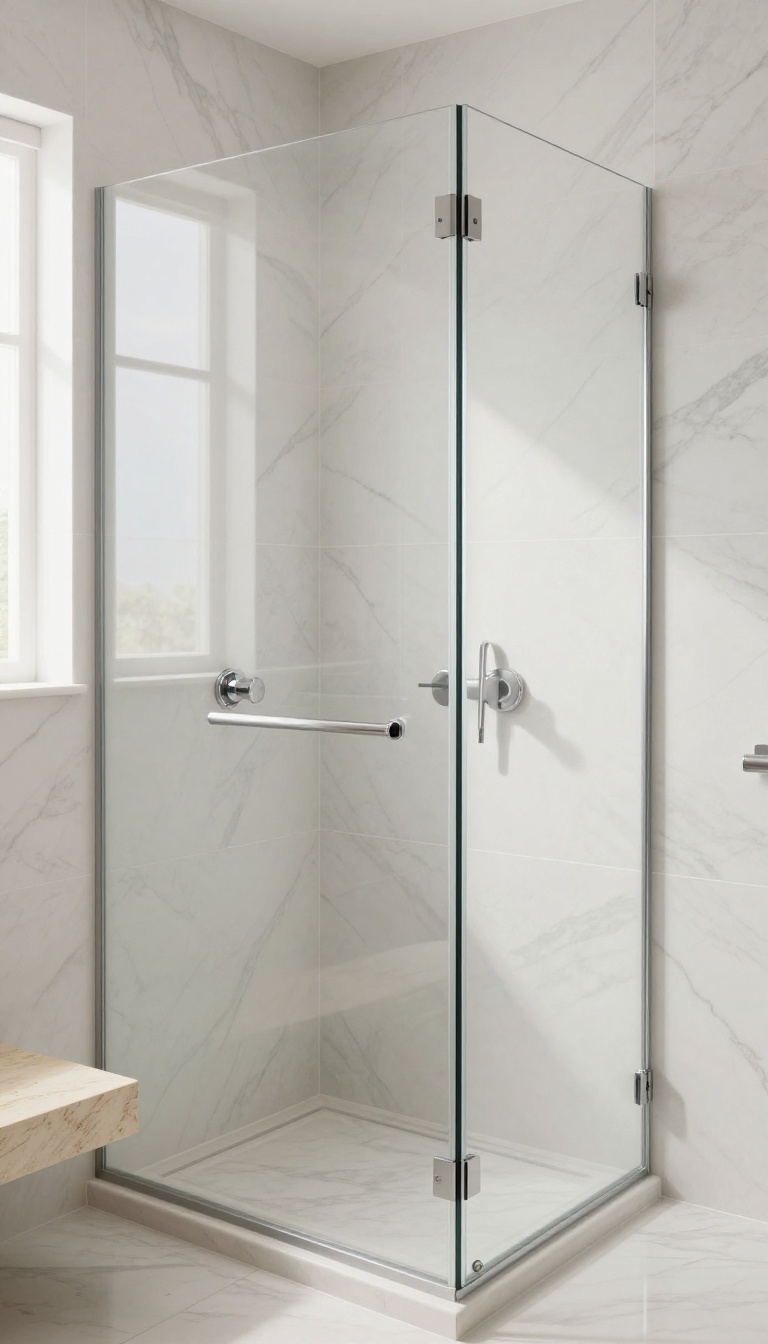
If you want a shower that feels like a single, unbroken piece of stone, large-format porcelain slabs are the answer. These oversized tiles—often measuring 4 feet by 8 feet or larger—dramatically reduce the number of grout lines, giving your walls a smooth, continuous look. The effect is both modern and timeless, instantly making the space feel more expansive and luxurious.
Large-format porcelain slabs are a favorite in high-end bathroom designs because they create a seamless, spa-like atmosphere. With fewer joints, there are fewer places for soap scum and mildew to hide, making cleaning easier. The minimal grout lines also allow the natural veining or texture of the tile to take center stage, adding depth and character without visual clutter.
Why Size Matters
The bigger the tile, the fewer interruptions in the surface. Standard subway tiles or small mosaics create a busy pattern that can feel dated. Large slabs, on the other hand, offer a clean, uninterrupted canvas that highlights the material's beauty.
They also make a small shower feel larger by reducing visual noise.
Installation Tips
Because these slabs are heavy and fragile, professional installation is highly recommended. The walls need to be perfectly flat to avoid lippage, and the adhesive must be applied evenly to prevent hollow spots. Using a leveling system ensures a flawless finish.
Also, consider using a large-format tile cutter or wet saw for precise cuts around fixtures.
Design Ideas
For a dramatic look, choose slabs with bold veining, like Calacatta or Carrara marble looks. If you prefer a more subtle aesthetic, opt for a matte finish in a solid neutral tone. You can also extend the slab from the shower floor to the ceiling, and even onto a bench or niche, to create a fully integrated design.
2. Bookmatched Marble Look
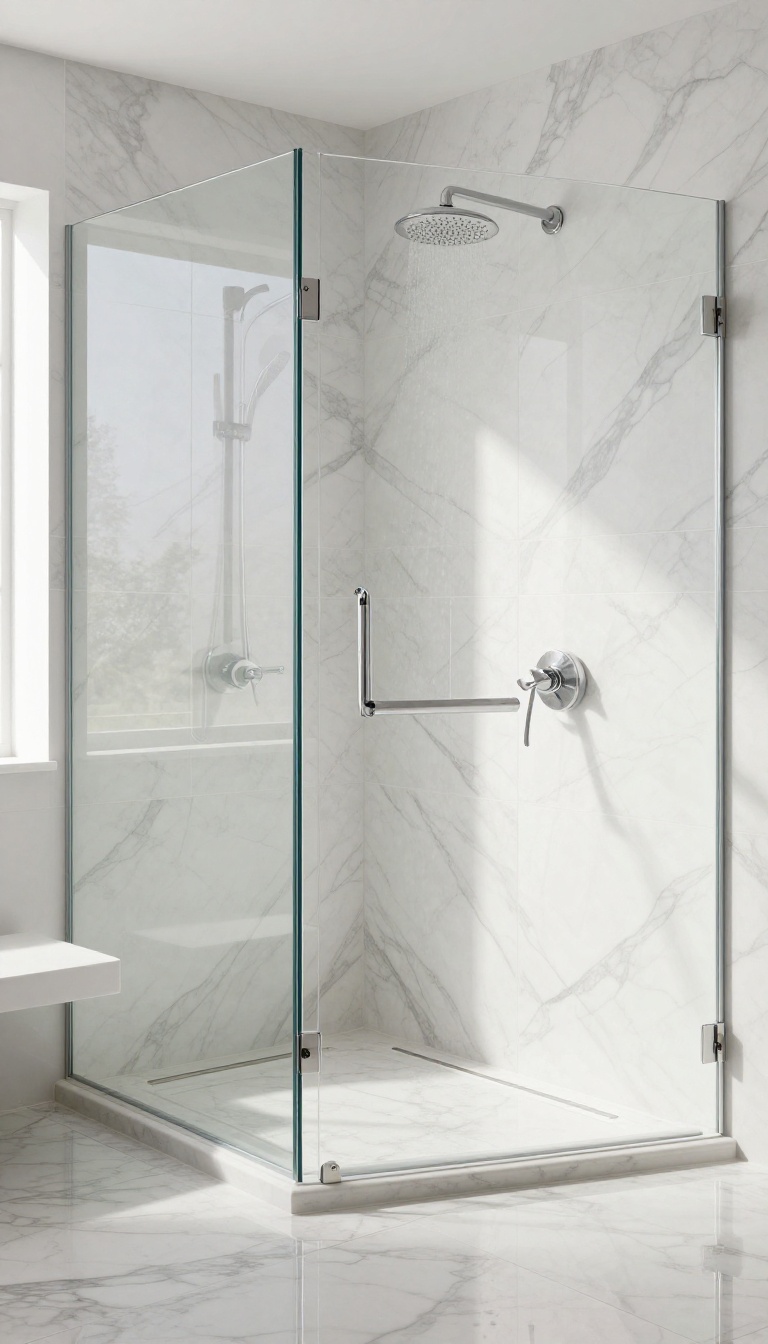
Marble has always been a symbol of luxury, but bookmatching takes it to another level. By placing two slabs side by side so their veining mirrors perfectly, you create a striking, symmetrical pattern that feels intentional and high-end. This technique works beautifully in showers, turning the walls into a work of art.
Bookmatching is a technique where two or more tiles are cut from the same block and opened like a book, creating a mirror image across the joint. When applied to marble-look tiles, the result is a continuous, flowing vein pattern that adds depth and drama. The effect is especially stunning in a walk-in shower, where the large surface area allows the pattern to shine.
It’s a design choice that instantly elevates the space, making it feel custom and opulent.
Why Bookmatching Works In Showers
The mirror effect draws the eye and creates a sense of balance, making the shower feel more expansive. Unlike standard tile layouts, bookmatching introduces a dynamic visual that feels deliberate and luxurious. It also adds a natural, organic element that softens the hard surfaces typical of bathrooms.
Choosing The Right Marble-look Tile
Opt for large-format porcelain or ceramic tiles that mimic the veining of natural marble. Look for tiles with high-definition printing and a polished or honed finish. Ensure the pattern is consistent across tiles so the bookmatch aligns perfectly.
Consider the color palette—classic white and gray veining offers timeless elegance, while darker marbles add drama.
Installation Tips For A Seamless Look
Work with an experienced installer who understands how to align the veining precisely. Use rectified tiles for minimal grout lines, and choose a grout color that blends with the tile to maintain continuity. Plan the layout in advance, marking each tile’s position to achieve the perfect mirror effect.
Proper sealing is essential if you opt for natural stone, but porcelain or ceramic offers durability with less maintenance.
3. Hexagon Mosaic with Metallic Accents
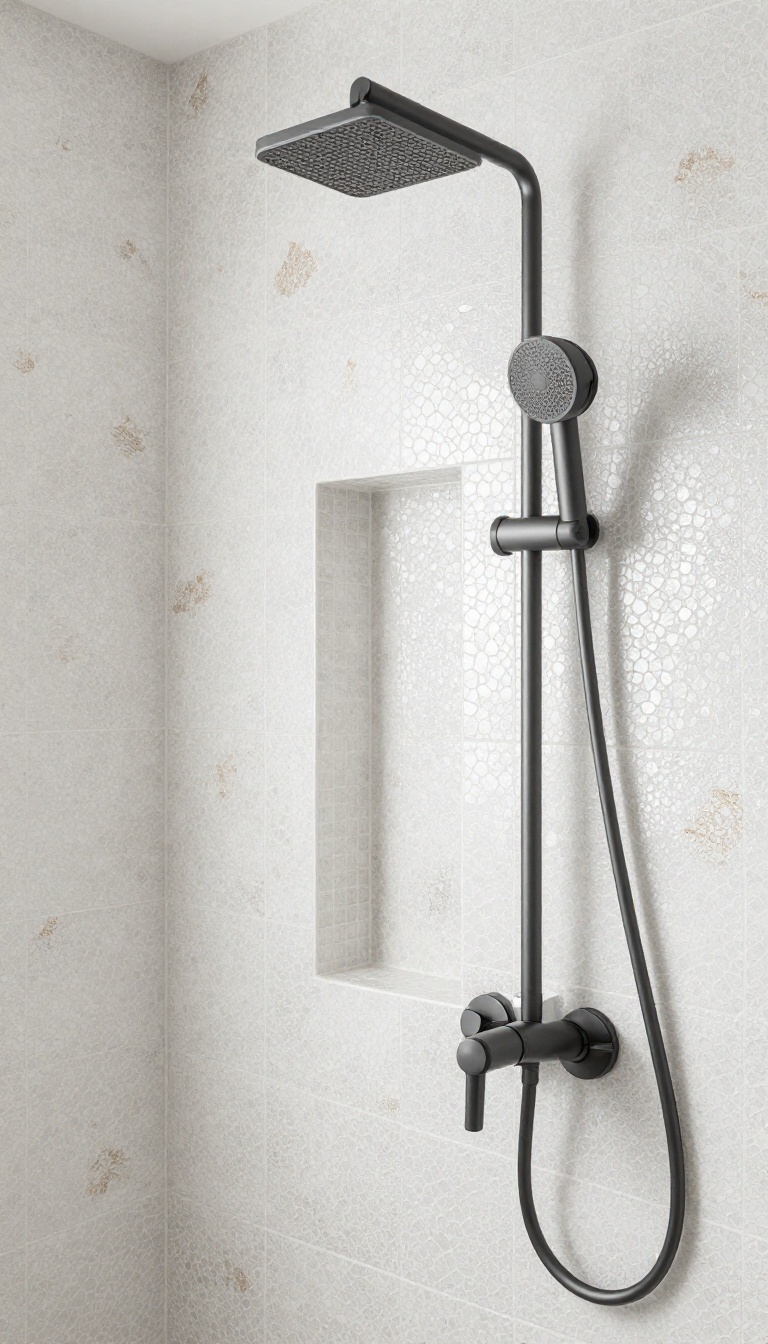
If you're drawn to the classic appeal of hexagon tiles but want a modern twist, metallic accents offer just the right amount of sparkle. These tiny flecks catch the light subtly, adding depth and a hint of glamour without feeling overdone. It's a smart way to introduce luxury into your shower while keeping the overall look clean and seamless.
The beauty of hexagon mosaic with metallic accents lies in its versatility. The metallic flecks can be integrated into the tile glaze or appear as separate accent pieces mixed into the pattern. Either way, they create a shimmering effect that changes with the lighting, giving your shower a dynamic, high-end feel.
Pair them with matte fixtures for balance, or lean into the shine with polished chrome for a more dramatic look.
Choosing The Right Metallic Finish
Not all metallic finishes are created equal. For a subtle shimmer, opt for silver or champagne gold flecks that blend seamlessly with the tile's base color. If you want a bolder statement, consider copper or bronze accents that stand out more.
Keep in mind the overall color scheme of your bathroom—cool tones pair well with silver, while warm tones are complemented by gold or bronze.
Placement Strategies
You don't have to cover every wall with metallic hexagons. A great approach is to use them as an accent strip in the niche or as a band around the shower. This draws the eye without overwhelming the space.
For a more uniform look, use the same tile throughout but let the metallic flecks do the talking. Either way, the effect is cohesive and luxurious.
Grout And Finish Considerations
The grout color plays a big role in how the metallic accents read. A light gray or white grout keeps the focus on the tile, while a darker grout can make the metallic flecks pop. Also, consider the finish of the tile—a matte finish with metallic flecks offers a subtle contrast, while a glossy finish amplifies the shimmer.
Choose a combination that feels balanced and intentional.
4. Vertical Stacked Subway Tiles
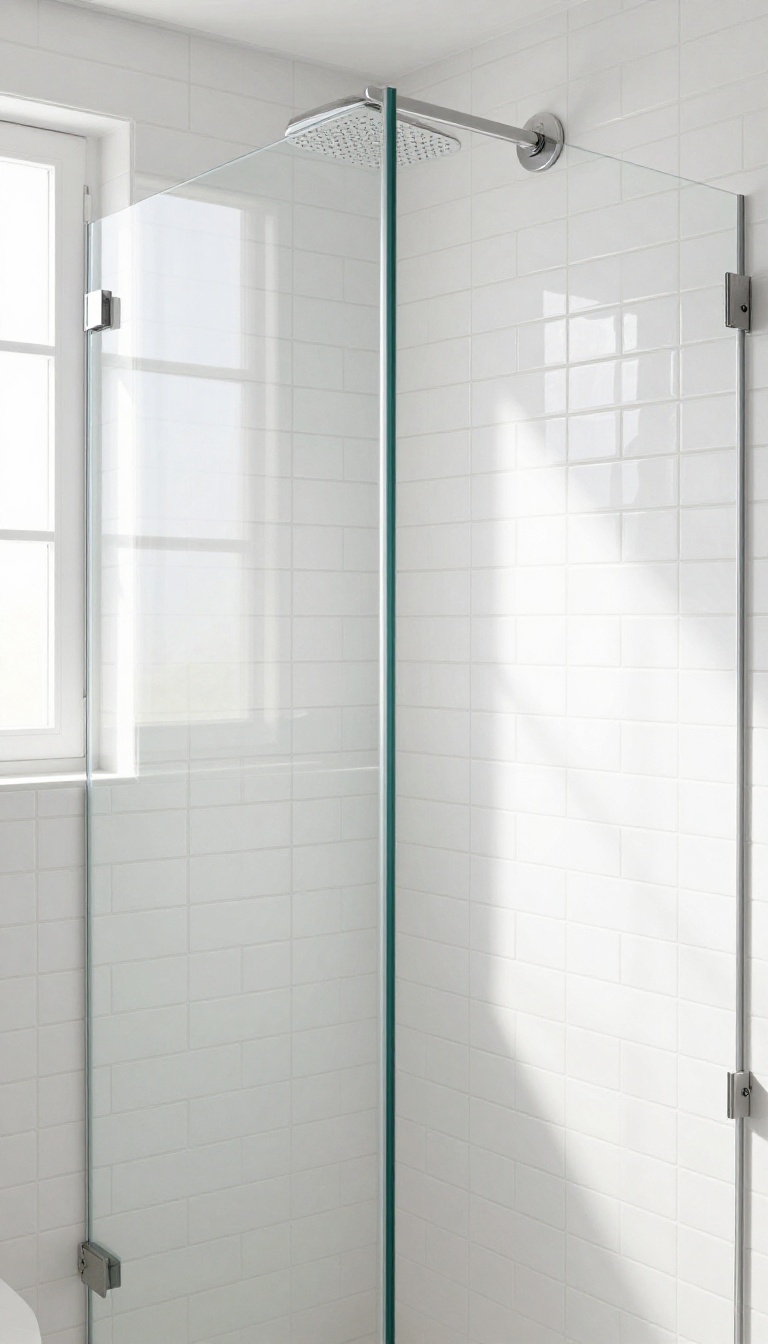
Subway tiles are a timeless classic, but the way you lay them can completely change their personality. Instead of the traditional brick pattern, try installing them vertically in a straight stack. This simple switch draws the eye upward, making your shower feel taller and more spacious.
It's a subtle twist that adds a modern, clean-lined look without sacrificing the familiar charm of subway tile.
Vertical stacking is all about creating clean, continuous lines that elongate the space. The straight vertical grout lines act like visual pillars, lifting the ceiling and giving the room a more open, airy feel. This works especially well in showers with lower ceilings or narrower footprints, where you want to maximize the sense of height.
Plus, it's a great way to add visual interest without introducing a bold pattern or color—it's a quiet statement that feels both fresh and sophisticated.
Why Vertical Stacking Works
The main benefit is the optical illusion of height. When your eye follows the vertical lines, it naturally travels upward, making the ceiling seem higher than it actually is. This is a clever trick in compact bathrooms or showers with standard 8-foot ceilings.
It also gives the tile a more structured, architectural look, which pairs beautifully with minimalist fixtures and frameless glass enclosures.
Choosing The Right Tile Size
For a truly seamless look, opt for larger subway tiles, like 3×12 or 4×12 inches. The longer format emphasizes the vertical line and reduces the number of grout lines, creating a smoother, more continuous surface. Smaller tiles, like 3×6, can still work, but they'll have more grout lines that might break up the clean effect.
If you want to minimize grout further, consider tiles with a rectified edge for tighter joints.
Grout And Finish Tips
To keep the focus on the vertical lines, choose a grout color that closely matches your tile. This creates a nearly invisible grid, letting the tile itself shine. Alternatively, a contrasting grout can make the vertical pattern more pronounced, adding a graphic, modern edge.
For a high-end feel, use a matte or satin finish tile—it reduces glare and feels more luxurious than a glossy shine.
5. Textured 3D Tiles
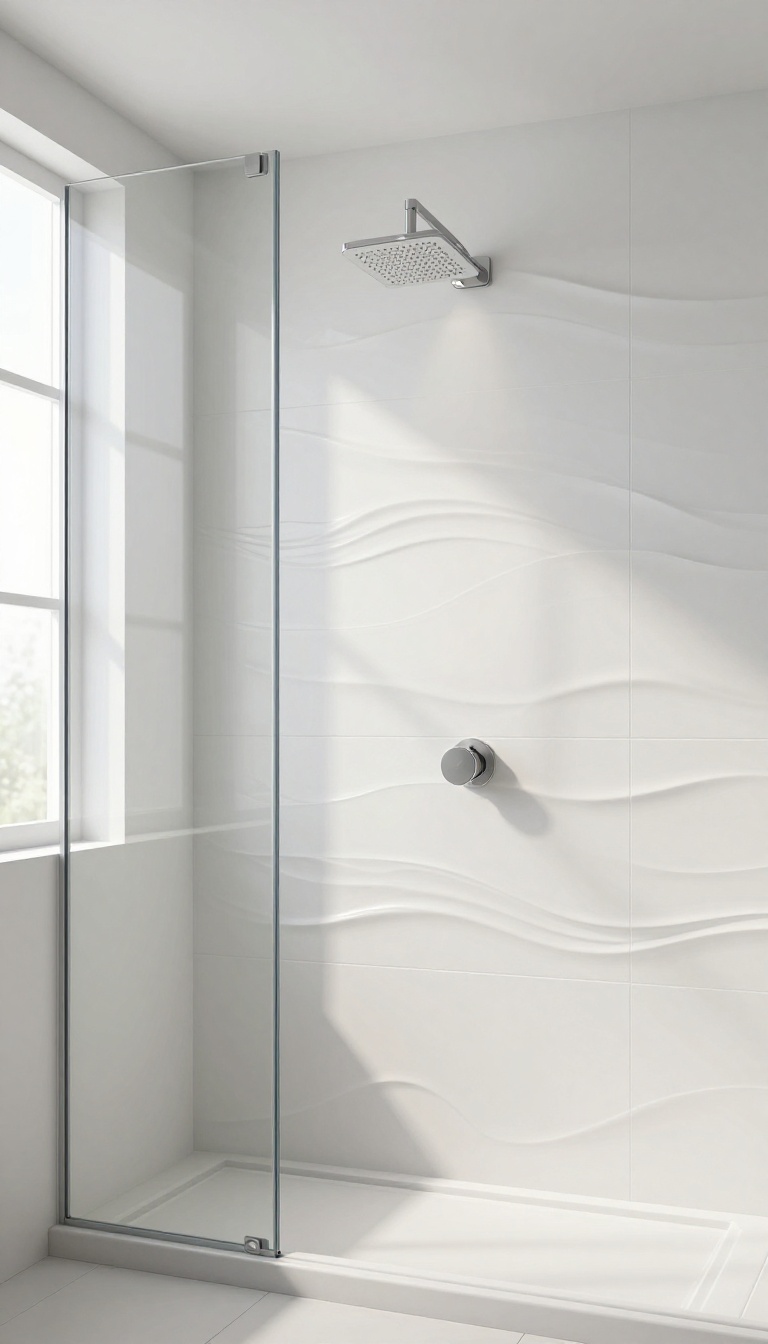
Flat surfaces are safe, but they can also feel a little flat. That's where three-dimensional tiles come in—they add a tactile quality that catches light and shadows, making your shower feel more dynamic and expensive. The trick is to choose a pattern that stays subtle enough to maintain that seamless, high-end vibe.
3D tiles are a great way to introduce depth without breaking the visual flow. Waves, ripples, and soft geometric reliefs all create a play of light that changes throughout the day. The key is to stick to a single color or tone, so the texture does the talking while the overall look stays cohesive.
Choosing The Right Pattern
Not all 3D tiles are created equal. For a seamless feel, go for large-format tiles with a subtle, repeating pattern—like a gentle wave or a soft diamond relief. Avoid overly busy designs that can make the shower feel chaotic.
If you're unsure, stick to a neutral palette like white, beige, or light gray, which lets the texture shine without overwhelming the space.
Installation And Grout Lines
One of the biggest advantages of 3D tiles is that they can hide grout lines effectively, especially if you use a matching grout color. This creates a more continuous surface, which is essential for that high-end look. Make sure your installer uses a level system to keep the tiles perfectly flush—any lippage can ruin the seamless effect.
Lighting And Shadows
The real magic of 3D tiles happens when light hits them at an angle. Consider installing a shower niche with a small spotlight or using a glass enclosure that lets natural light in. The shadows cast by the texture add depth and make the shower feel more luxurious.
Just be mindful of the direction of light—you want to highlight the pattern, not create harsh contrasts.
6. Thin Brick or Stone Veneer
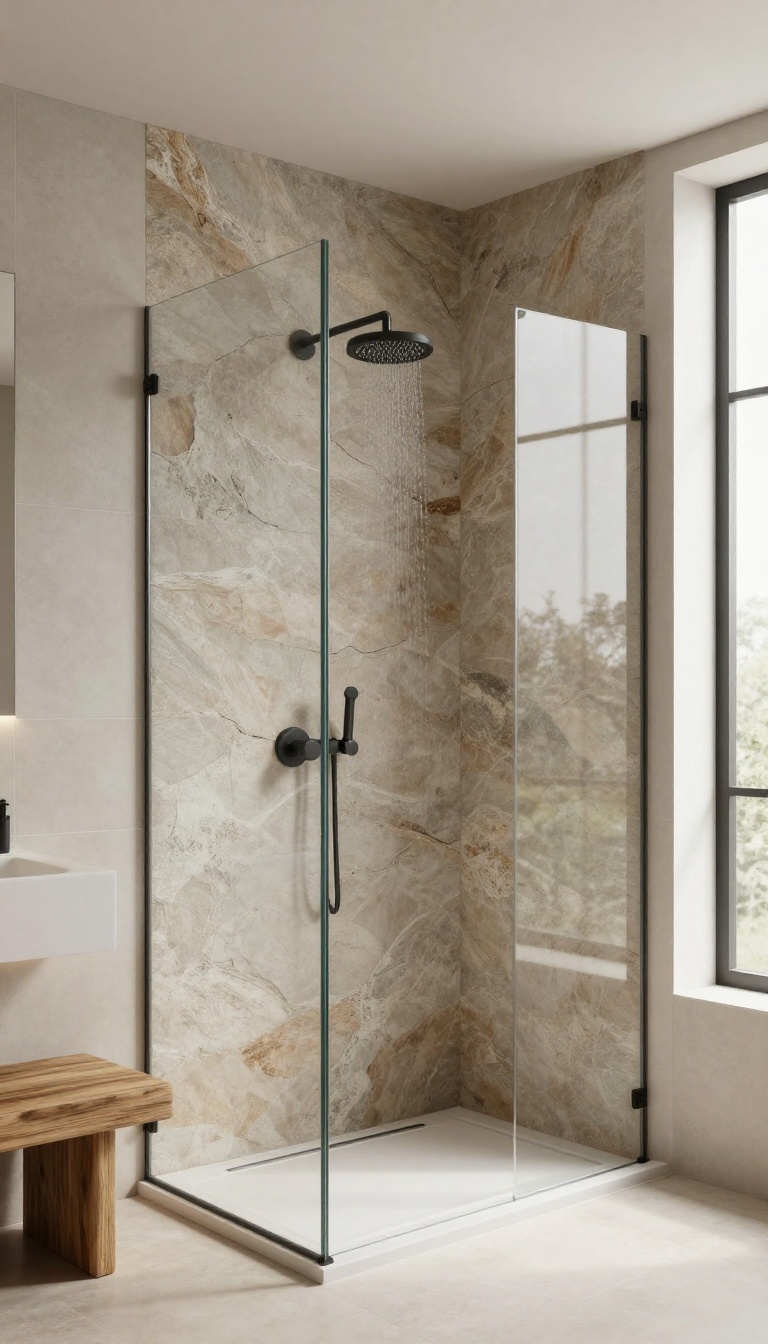
For a shower that feels grounded and organic, thin brick or stone veneer brings an earthy, textured presence that plain tile just can't match. This material adds a rugged, spa-like warmth that turns your daily rinse into a mini retreat. It's a bold move, but one that pays off with a look that's both timeless and distinctive.
Thin brick or stone veneer isn't just about looks—it's also surprisingly practical. These slices are lighter and easier to install than full-size masonry, so you get the authentic texture without the heavy structural demands. Plus, the natural variations in color and surface create a rich, tactile experience that feels anything but mass-produced.
Why It Works In A Shower
The key to using veneer successfully is proper sealing. Because these materials are porous, a high-quality penetrating sealer is essential to protect against moisture and staining. Once sealed, they're just as durable as any tile, and the textured surface adds a gentle slip-resistant quality underfoot—a practical bonus you'll appreciate every day.
Design Ideas To Try
Consider a full wall of thin brick behind your fixtures for a dramatic, rustic focal point, or use stone veneer on a single accent wall and pair it with neutral tile elsewhere. For a more subtle approach, run a band of veneer horizontally at waist height to break up larger expanses of smooth tile. The contrast between rough and smooth creates visual interest without overwhelming the space.
Installation Tips
Work with a contractor who has experience with veneer in wet areas. The installation process involves a waterproofing membrane, a suitable adhesive, and careful sealing of all joints. It's not a DIY job for most, but the investment pays off in a stunning, one-of-a-kind shower that feels like a natural extension of the outdoors.
7. Large-Scale Chevron Pattern
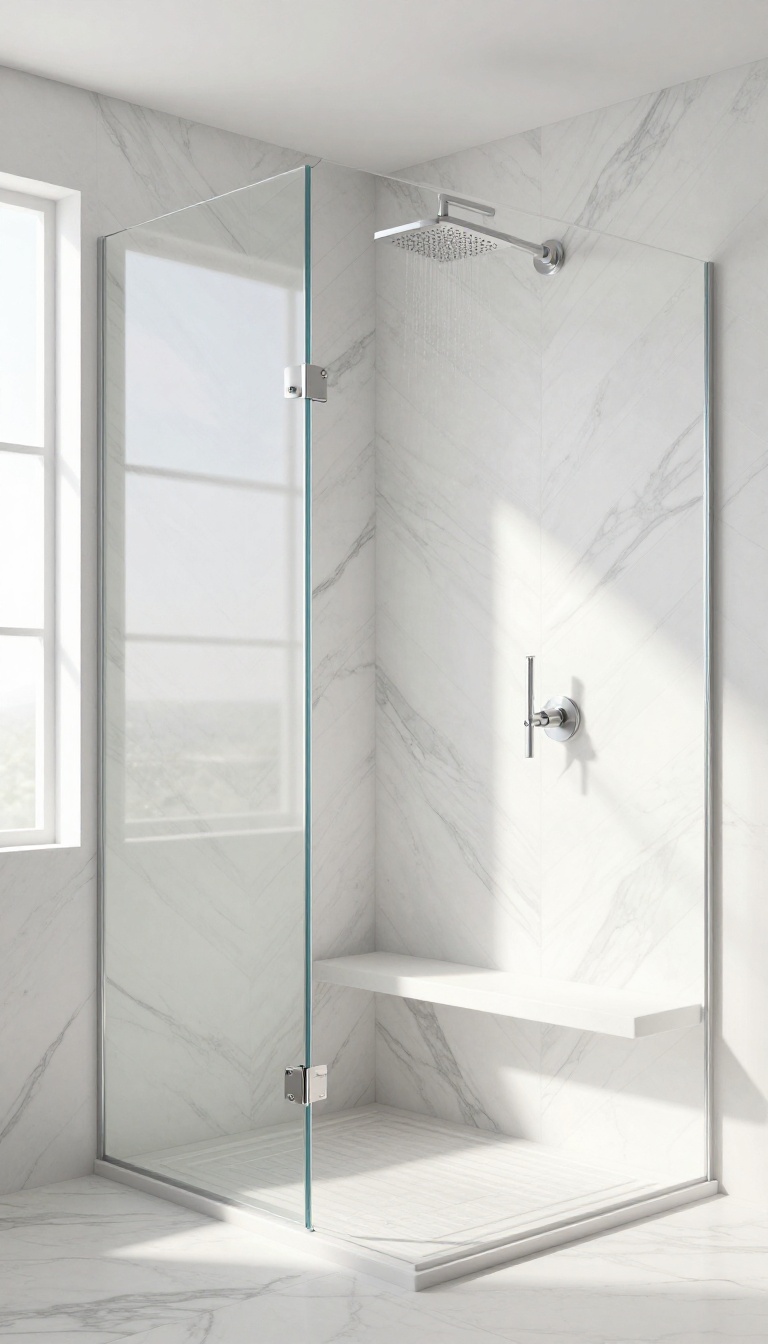
Chevron is a classic pattern that instantly adds energy to any space. When you scale it up with large-format tiles, the effect becomes more dramatic and sophisticated. The continuous V-shaped lines draw the eye across the wall, creating a sense of movement that makes the shower feel larger and more dynamic.
Large-scale chevron is a bold choice that works best when you let the pattern shine. Keep the rest of the bathroom simple, with neutral fixtures and minimal accessories, so the tile becomes the star. The elongated tiles also mean fewer grout lines, which gives the wall a cleaner, more seamless appearance—exactly what you want for a high-end finish.
Why Scale Matters
Standard chevron uses small tiles that create a busy, intricate look. By switching to large-format tiles, you reduce visual noise and make the pattern feel more modern and refined. The bigger tiles also make the room feel more open, as there are fewer interruptions in the flow of the design.
Choosing The Right Tile
Look for rectangular tiles with a length-to-width ratio of at least 2: 1, like 4×12 or 6×24 inches. Porcelain and ceramic are practical choices for showers, but natural stone like marble or travertine can elevate the look even further. Just make sure the tiles are cut precisely so the chevron points align perfectly.
Installation Tips
Chevron requires careful planning and a skilled installer. Start from the center of the wall and work outward to keep the pattern symmetrical. Use spacers to maintain even grout lines, and consider using a matte or subtle grout color that blends with the tile to keep the focus on the pattern itself.
8. Satin-Finish Matte Tiles
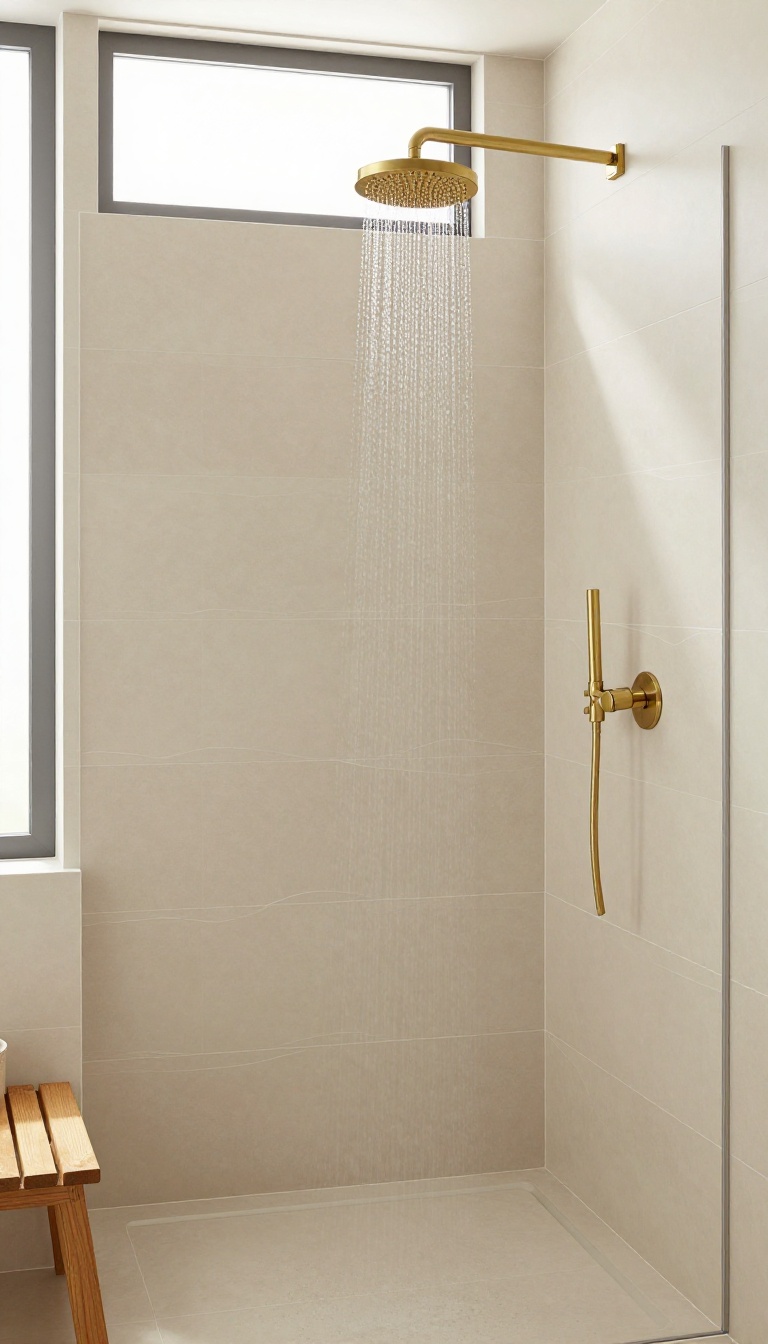
Matte finishes have been gaining traction, and for good reason. They offer a soft, sophisticated look that feels both modern and timeless. Satin-finish matte tiles, in particular, strike a perfect balance—they're not too flat, not too shiny, and they hide water spots and fingerprints beautifully.
Satin-finish matte tiles bring a quiet elegance to your shower. Unlike glossy tiles that reflect light and show every smear, these tiles diffuse light gently, creating a calm, spa-like atmosphere. The subtle sheen adds depth without being overpowering, making them an excellent choice for a seamless, high-end finish.
Why Choose Satin Over Gloss?
Glossy tiles can look stunning, but they demand constant upkeep. Every water drop, soap smear, and fingerprint becomes a visible annoyance. Satin-finish matte tiles, on the other hand, are more forgiving.
Their slightly textured surface helps mask smudges and water spots, so your shower looks cleaner for longer with less effort.
Color And Texture Pairings
Neutral tones like warm beige, soft gray, and creamy white work beautifully in satin matte. They create a serene backdrop that lets other elements, like natural wood or brushed metal fixtures, shine. For added interest, consider large-format tiles with subtle veining or a gentle wave pattern—these add texture without overwhelming the space.
Installation Tips For A Seamless Look
To achieve that seamless, high-end finish, use thin grout lines and match the grout color closely to the tile. This creates a nearly monolithic surface that feels expansive and clean. If you're feeling adventurous, try a stacked or linear layout instead of the classic brick pattern—it emphasizes the smooth, continuous flow of the matte finish.
9. Mixed-Material Borders
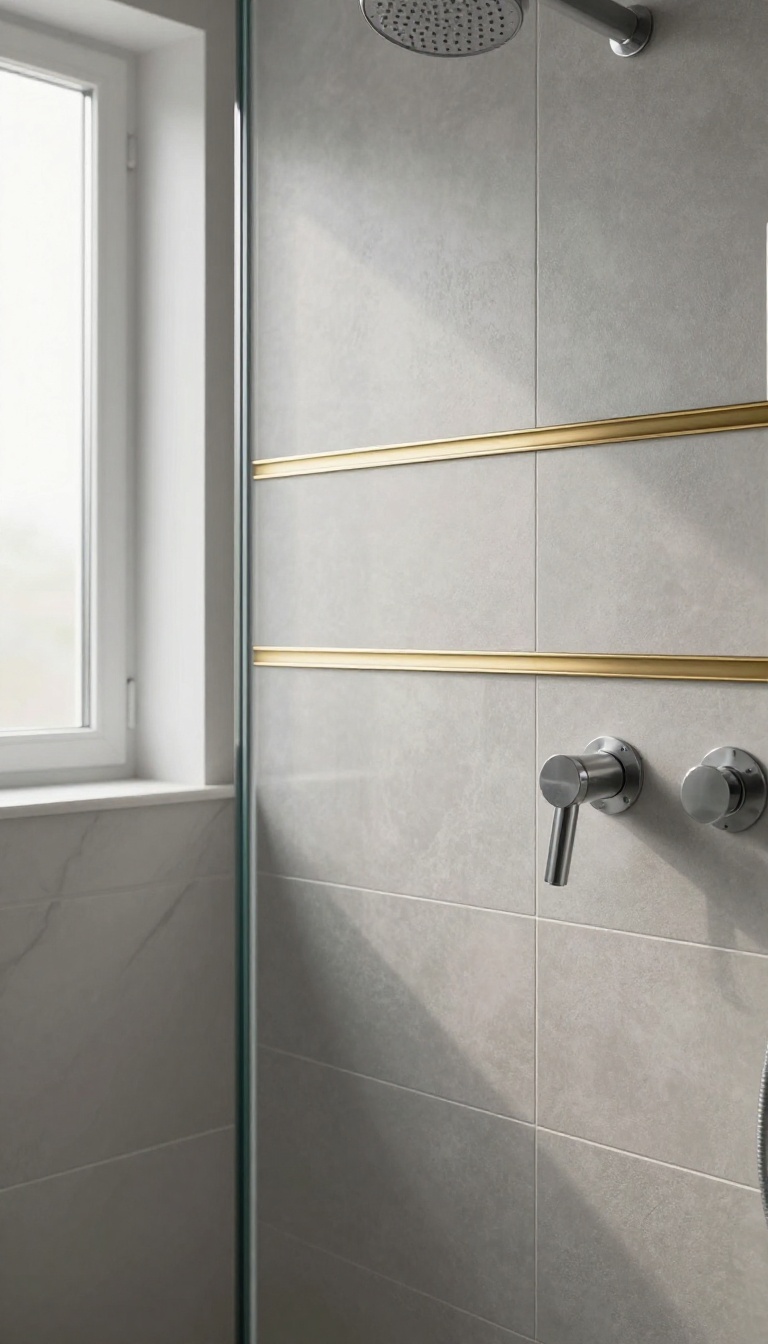
Sometimes the smallest detail makes the biggest impact. A mixed-material border can transform a straightforward tile layout into something that feels bespoke and intentional. It's a way to add contrast and definition without overhauling your entire design.
Why Borders Work
Borders act as visual anchors, breaking up large expanses of tile and preventing the eye from getting lost. They also create a natural transition point, whether you're separating a wet area from a dry one or simply adding a decorative band at eye level. The key is to choose a material that complements your main tile without competing with it.
Metal Accents For A Sleek Look
Thin metal strips—brass, nickel, or blackened steel—are a popular choice for a modern, refined edge. They can be used as a single line or as a repeated accent, and they pair beautifully with large-format porcelain or marble. The metallic sheen catches the light and adds a subtle glow that feels luxurious.
Glass And Stone For Texture
If you prefer a softer, more organic feel, consider a border of glass tiles or natural stone. Glass adds a hint of translucency and color, while stone brings in earthy texture and variation. Both options work well with neutral palettes and can be used to echo other elements in your bathroom, like a vanity countertop or a pebble floor.
10. Continuous Floor-to-Ceiling Tile
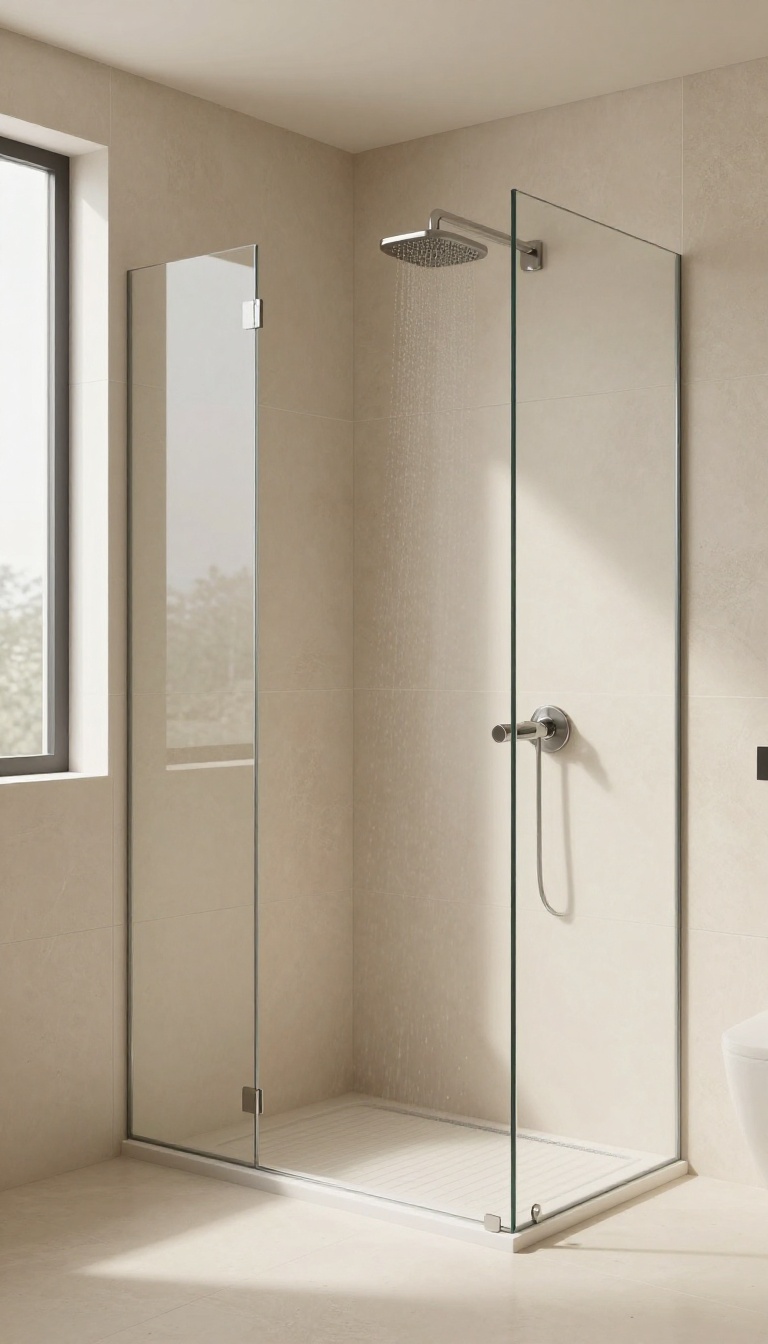
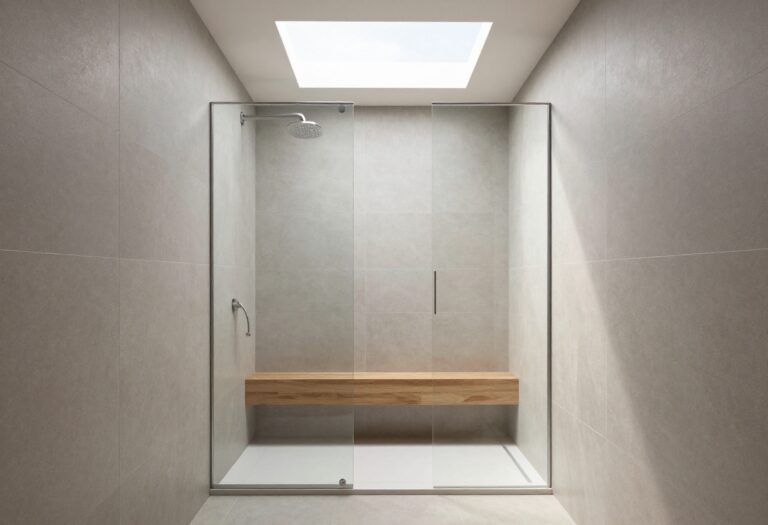
When you use the same tile from floor to ceiling without a break, something almost magical happens. The shower suddenly feels taller, wider, and more serene. This technique, often called continuous tiling, removes visual clutter and lets the material itself shine.
It's a bold move, but it doesn't have to be loud. In fact, the simplicity is what makes it so luxurious. By eliminating transitions and trim pieces, you create a clean, gallery-like backdrop that makes your shower feel like a high-end spa retreat.
The key to pulling off this look is choosing a tile that you love in every direction. Because the surface is uninterrupted, any variation in color or pattern becomes a feature, not a flaw. Large-format porcelain or natural stone in soft neutrals works beautifully, but don't be afraid to go darker for a moody, cocooning effect.
One of the biggest benefits is how it simplifies the design. With no accent strips or contrasting niches, the eye glides over the space without stopping. This makes even a small shower feel more open and less busy.
Plus, fewer grout lines mean less maintenance and a more seamless appearance overall.
Why It Works
Continuous tiling works because it tricks the eye into seeing more space. Without a visual break at the floor or ceiling, the walls appear to recede, making the shower feel larger than it actually is. It also creates a strong, cohesive look that pairs well with minimalist fixtures and frameless glass.
Best Tile Choices
Large-format porcelain tiles (24×48 inches or bigger) are ideal because they have fewer grout lines. Natural stone like marble or travertine adds organic texture, but requires more sealing. For a budget-friendly option, consider a matte porcelain that mimics the look of stone or concrete.
Installation Tips
To keep the seamless effect, use a leveling system and thin grout lines. Match the grout color to the tile as closely as possible. Plan your layout so that full tiles run from floor to ceiling, and avoid small cuts at the top or bottom.
Also, ensure your walls are perfectly flat before installation to prevent lippage.
FAQ
What is the best tile size for a small shower?
Large-format tiles (12×24 inches or larger) are ideal for small showers because they reduce grout lines, making the space feel bigger and cleaner.
Are matte tiles harder to clean than glossy tiles?
Matte tiles are actually easier to maintain because they hide water spots and soap scum better than glossy finishes. Just use a pH-neutral cleaner to avoid dulling the surface.
Can I mix different tile styles in one shower?
Absolutely. Mixing materials or patterns can add visual interest, but keep the color palette cohesive to maintain a seamless, high-end look.
How do I ensure a seamless look with large-format tiles?
Use rectified tiles (cut to exact dimensions) and have them installed with minimal grout lines. Also, choose a grout color that closely matches the tile to create a uniform surface.
What is the most durable tile for a shower?
Porcelain tile is highly durable, water-resistant, and available in many styles. It's a top choice for showers due to its low porosity and strength.
Conclusion
Choosing the right tile is a balancing act between aesthetics and practicality. Each of these ideas offers a path to a shower that feels both unique and effortlessly high-end. Remember to consider your space, lighting, and maintenance preferences as you decide.
Ultimately, the best tile is one that resonates with your personal style and stands up to daily use. With these concepts in mind, you're well on your way to creating a shower that feels like a private retreat. Happy tiling!