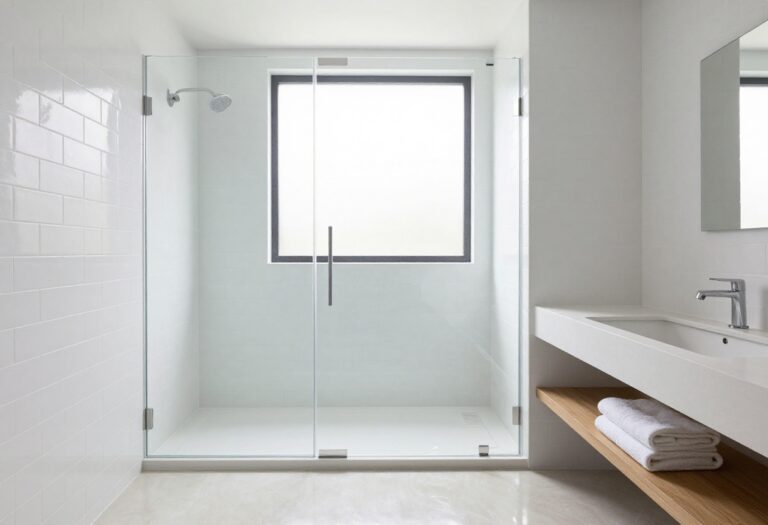
11 Practical Master Shower Ideas for a Crisp, Cohesive Setup
A crisp, cohesive shower setup is about more than just picking nice tiles—it's the small decisions that make the space feel intentional. From matching finishes to smart drainage, each choice adds to the overall calm.
You don't need a massive budget to get there, just a clear plan and a few practical upgrades. These 11 ideas focus on what actually works, whether you're remodeling or just refreshing.
Pick a couple that fit your space, and you'll notice the difference every time you step in.
1. Choose a Unified Finish for All Fixtures
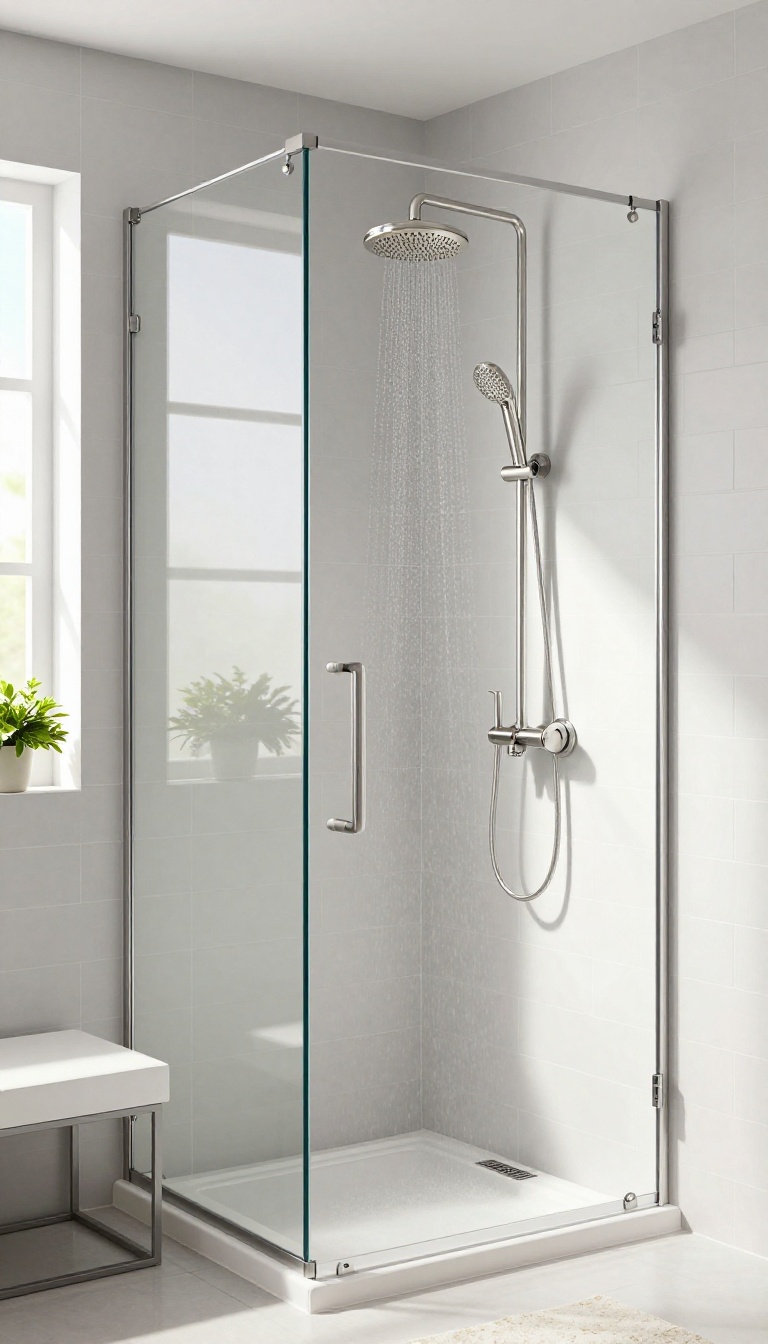
Metal finishes are like the accessories of your shower—they can tie everything together or clash if you're not careful. Mixing brushed nickel with chrome and oil-rubbed bronze might look eclectic in theory, but in practice it often reads as messy. The simplest way to get that crisp, cohesive look is to commit to one finish for every visible metal piece.
Start by taking stock of all the fixtures in your shower: the showerhead, the handle or knob, the diverter, the drain cover, and even the hooks or shelves you plan to mount. When they all share the same finish, your eye glides over the space without stopping to notice differences. It's a small decision that has a big impact on how polished the whole setup feels.
Why Finish Matters More Than You Think
Our brains are wired to look for patterns, and mismatched metals disrupt that natural scan. A unified finish creates a sense of order and calm, which is exactly what you want in a shower. Plus, it makes the space look more expensive without adding a cent to your budget.
Pick A Finish That Fits Your Style
Brushed nickel is a safe, warm choice that works with most palettes. Matte black adds a modern, dramatic edge. Chrome is classic and easy to clean.
Think about the overall vibe of your bathroom—do you want it to feel spa-like, industrial, or timeless? Let that guide your pick.
Don't Forget The Small Details
It's easy to overlook the drain cover or the screws on the handle, but they're part of the finish family too. If you're replacing fixtures, grab a matching drain cover and any exposed hardware. For a quick refresh, you can even use spray paint made for metal to update existing pieces—just make sure it's safe for wet areas.
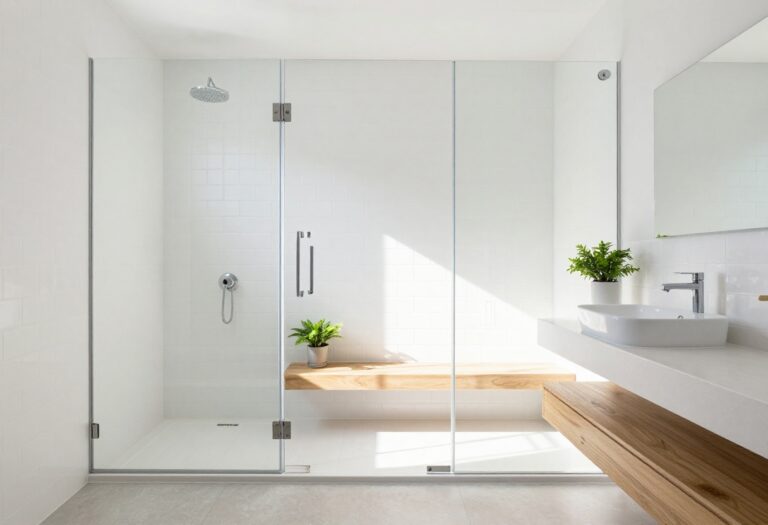
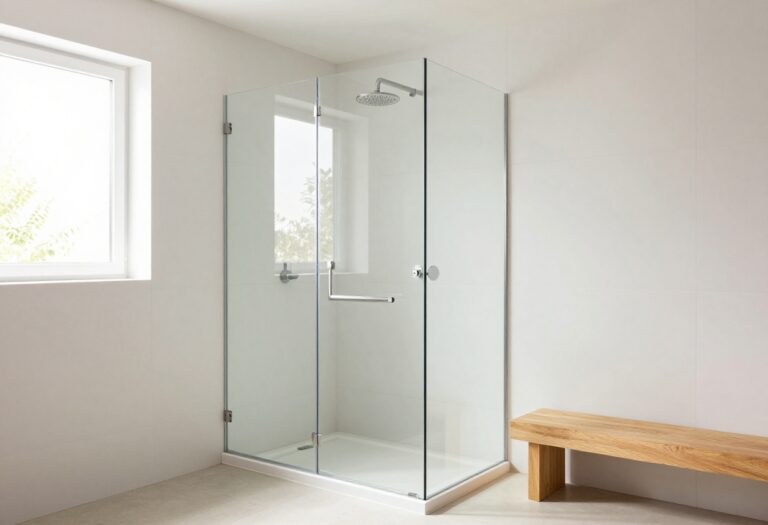
2. Install a Frameless Glass Enclosure
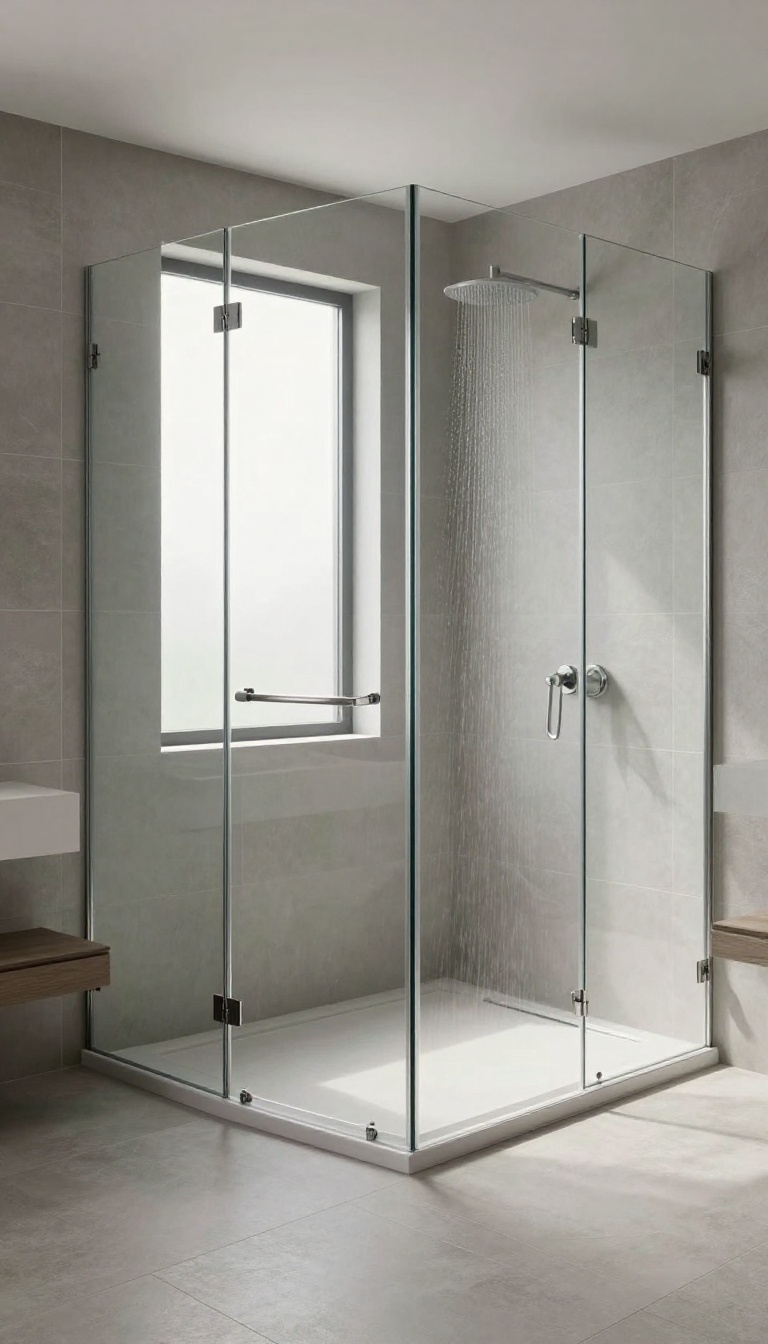
Frameless glass is the quiet upgrade that changes how your whole bathroom feels. It opens up the space, lets light move freely, and makes your tile work the star of the show. Plus, you'll say goodbye to those grimy tracks that collect soap scum and mystery grime.
A frameless glass enclosure does more than look sleek—it simplifies your routine. Without metal frames, there are fewer crevices for grime to hide, so cleaning is faster and less frequent. The lack of visual barriers also makes a small bathroom feel more spacious, and it shows off your tile and fixtures in a way framed doors just can't match.
Why Frameless Beats Framed
Framed doors have that bulky metal border that breaks up the sightline and collects grime. Frameless glass uses thicker tempered glass (usually 3/8 or 1/2 inch) with minimal hardware, so the view stays clear. You'll also avoid the sliding track that's a magnet for soap scum and hard water stains.
If you're after a clean, open look, frameless is the way to go.
What To Look For
When shopping, focus on the glass thickness and hinge quality. Choose tempered glass that's at least 3/8 inch thick for durability. Look for continuous hinges that support the door's weight without sagging, and a low-profile threshold or no threshold at all for a seamless floor.
Also, consider the glass finish—clear is classic, but frosted or textured options add privacy without losing light.
Installation And Maintenance Tips
Professional installation is recommended because frameless glass requires precise measurements and leveling. A pro will also ensure the glass is properly sealed to prevent leaks. Once installed, keep it spotless with a squeegee after each shower and a mild glass cleaner weekly.
Avoid harsh abrasives that can scratch the glass or damage the hinges.
3. Add a Built-In Niche for Shower Essentials
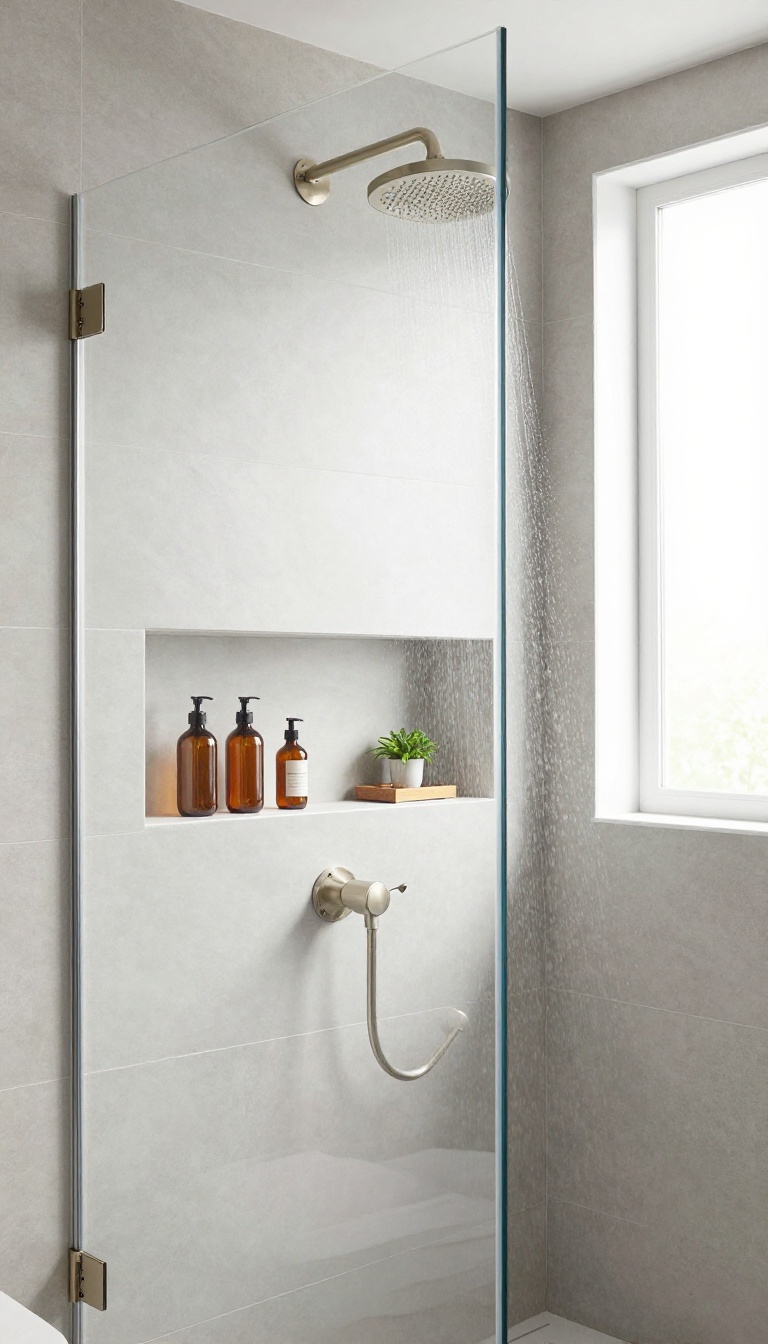
Tired of knocking over shampoo bottles every time you reach for soap? A built-in niche is the clean, permanent solution that keeps everything off the floor and neatly within arm's reach. Unlike bulky caddies that can rust or look cluttered, a recessed shelf blends into the wall for a streamlined look.
Why A Niche Beats A Caddy
Caddies hang from the showerhead or hook over the door, and they always seem to shift, wobble, or collect soap scum. A built-in niche is flush with the wall, so there's nothing to snag or clean around. It also frees up corner space and makes the shower feel more open.
Plus, you can customize the size and height to fit your exact bottles, so nothing sticks out awkwardly.
Choosing The Right Size And Placement
Think about what you actually use daily—shampoo, conditioner, body wash, maybe a razor. A single 12×12-inch niche works for most, but if you share the shower, consider two stacked or a larger one. Place it at chest height on the wall opposite the showerhead, so you're not reaching through the spray.
Avoid putting it on a load-bearing wall unless you're sure it's safe to cut into.
Styling And Finishing Touches
Match the niche's finish to your other fixtures—same tile, same trim, or a contrasting accent for a subtle pop. Add a slight slope to the bottom so water doesn't pool, and seal it well to prevent moisture issues. For a crisp, cohesive setup, use the same grout color and keep the edges clean.
A small ledge light can also make the niche feel like a design feature, not just storage.
4. Upgrade to a Rain Showerhead with a Handheld Combo
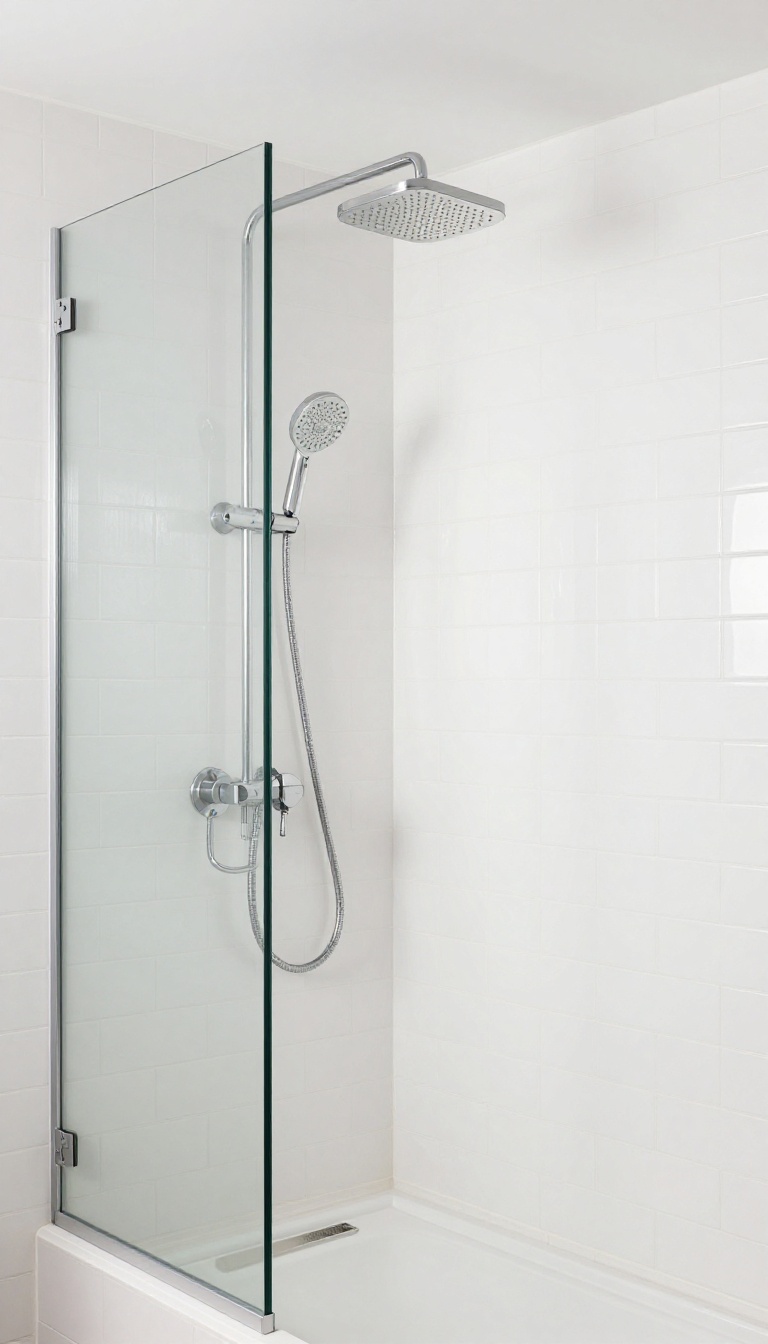
A rain showerhead instantly makes your shower feel like a spa, but it's not always the most practical for everyday tasks like rinsing off soap or cleaning the walls. That's where a handheld sprayer comes in handy. Pairing the two gives you the best of both worlds: a drenching rain experience and the flexibility to direct water exactly where you need it.
This combo is a game-changer for anyone who wants that luxurious rainfall effect without sacrificing function. The handheld attachment is perfect for washing your hair, rinsing off after a workout, or even cleaning the shower itself. Plus, it's a great option for families with kids or pets, making bath time easier and more enjoyable.
Why A Handheld Sprayer Matters
A handheld sprayer isn't just a backup—it's a daily workhorse. It lets you target water exactly where you need it, whether you're shaving your legs, rinsing shampoo out of your hair, or cleaning the corners of your shower. It also makes it easier to wash kids or pets, cutting down on the chaos of bath time.
And if you ever need to fill a bucket or rinse off muddy feet, the handheld is right there.
Choosing The Right Combo Unit
When you're shopping for a rain showerhead with a handheld, look for a model that offers both a fixed overhead spray and a detachable handheld with its own hose. Some come with a diverter valve that lets you switch between the two, while others allow you to use both at the same time. Make sure the handheld has a long enough hose (at least 60 inches) to reach all areas of your shower, and consider a model with multiple spray settings for extra versatility.
Installation And Placement Tips
If you're installing this combo yourself, check the water pressure first to ensure both outlets work well simultaneously. Mount the rain showerhead overhead, centered on your shower space, and position the handheld holder at a comfortable height for reaching. Ideally, place the handheld bracket on the opposite wall from the showerhead for easy access.
If you're not handy, a plumber can handle the installation in a couple of hours, and it's worth the investment for a seamless setup.
5. Use Large-Format Tiles for a Seamless Look
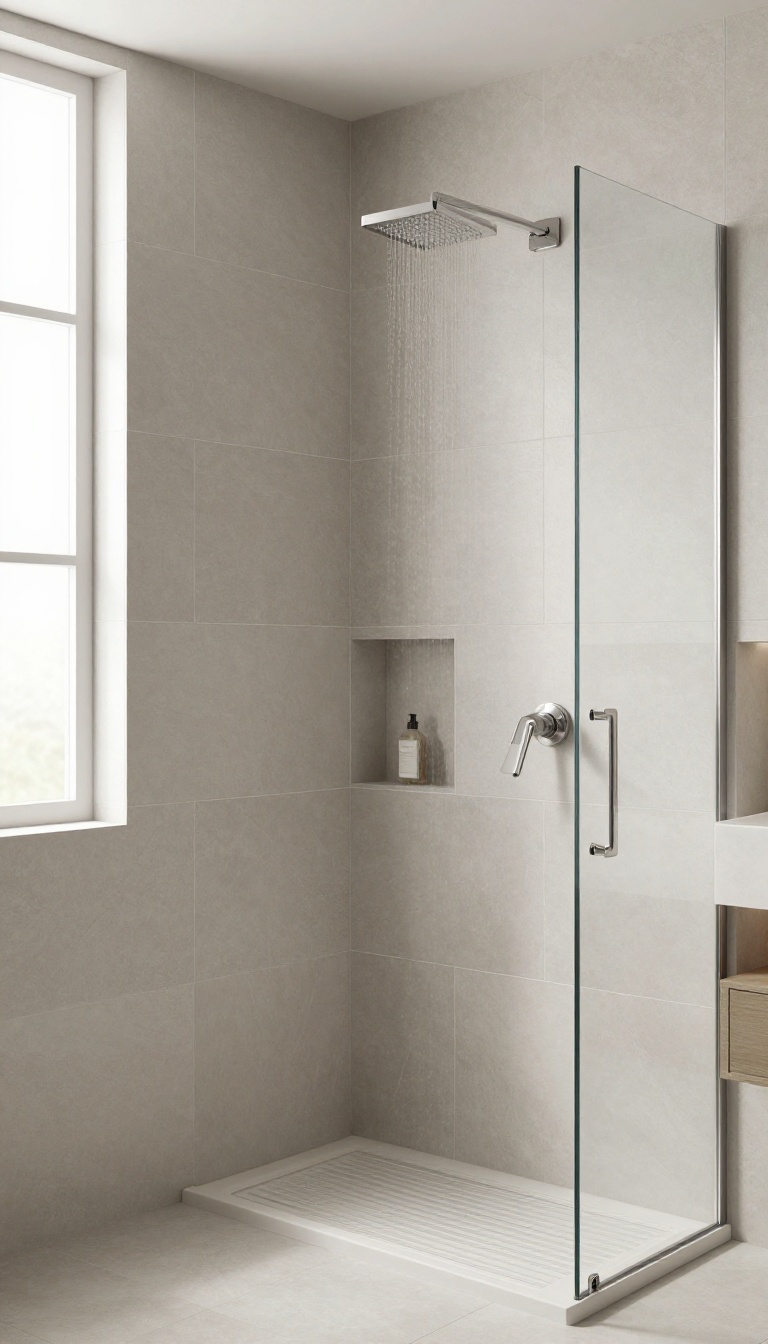
Grout lines are the unsung heroes of shower design—they hold everything together, but they also collect soap scum and demand constant scrubbing. Large-format tiles shrink those lines dramatically, giving your shower a sleek, uninterrupted surface that feels more like a spa and less like a chore. Plus, fewer grout lines mean fewer places for mold to hide, which is a win for both your eyes and your cleaning routine.
Large-format tiles (think 12×24 inches or bigger) are a game-changer for showers. They create a clean, modern aesthetic that instantly makes the space feel more expansive, even in smaller bathrooms. Because there are fewer joints, the visual flow is uninterrupted, which helps tie together other design elements like your fixtures and niche.
And let's be honest—less grout to scrub is a huge plus for anyone who values their weekends.
Why Fewer Grout Lines Matter
Grout is porous, which means it absorbs moisture and can become a breeding ground for mildew if not sealed properly. Large tiles reduce the total grout surface area, cutting down on maintenance and the risk of staining. They also create a smoother look that feels more premium, especially when paired with a matching grout color that blends seamlessly.
Choosing The Right Size And Layout
For most showers, 12×24 or 24×48 tiles work best. Consider a vertical stack or offset pattern to elongate the space and draw the eye upward. If your walls aren't perfectly flat, larger tiles can be tricky, so make sure your substrate is prepped properly.
A pro installer can handle this, but if you're DIYing, use a leveling system to avoid lippage.
Pairing With Other Elements
Large-format tiles give you a neutral backdrop that lets other features shine. Pair them with a slim-profile niche, a frameless glass enclosure, or a linear drain for a truly cohesive setup. Keep the grout color close to the tile tone for a monochromatic look, or go slightly darker for a subtle grid effect that adds depth without being busy.
6. Incorporate a Linear Drain for a Sleek Floor
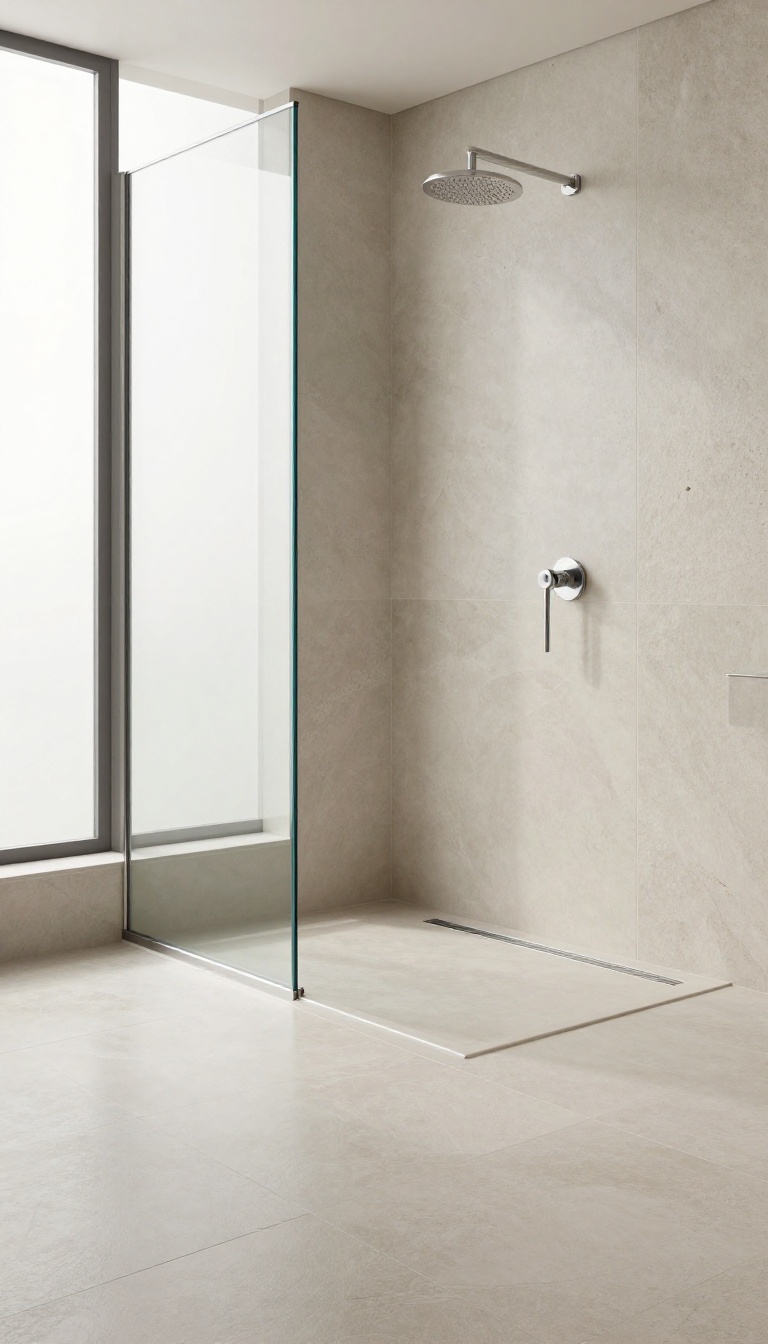
Drainage might not be the first thing you think about when designing a shower, but it's one of those details that can quietly make or break the whole look. Traditional center drains break up the floor with a visible grate and force you to slope tiles from every direction, which can feel busy and dated. A linear drain flips that idea by sitting along one edge, letting the floor stay flat and uninterrupted.
Linear drains are exactly what they sound like—long, narrow drains that run along one side of the shower floor. Instead of a square grate in the middle, you get a slim channel that blends into the tile. That simple change opens up a lot of design possibilities and solves some practical problems too.
Why Linear Drains Look Cleaner
Because the drain sits at the edge, the rest of the floor can be one continuous plane. No more awkward slopes converging at a central point. Tiles can be larger, grout lines are less noticeable, and the whole surface feels more like a wet room than a standard shower.
It's a subtle shift, but it makes the space look more custom and intentional.
Better Water Flow And Less Pooling
Linear drains are also more efficient at moving water. The long channel catches water along a wider area, so it drains faster and reduces puddling. You can even install them with a slight pitch in one direction, which is easier to walk on than a bowl-shaped floor.
That's a win for safety and comfort, especially if you have kids or older adults using the shower.
Design Flexibility And Tile Options
With a linear drain, you're not stuck with small mosaic tiles just to manage slopes. You can use large format tiles, natural stone, or even wood-look planks. The drain itself can be customized with different grates—stainless steel, brushed nickel, or even a tile insert that matches your floor.
That's a level of detail that makes the shower feel truly yours.
Installation Considerations
Linear drains do require a bit more planning during construction. The floor needs to be properly sloped toward the drain, and the drain body has to be set at the right height to work with your tile. It's not a DIY job for most people, but a good contractor can handle it.
The payoff is a shower that looks sleek and functions flawlessly for years.
7. Add a Shower Bench for Comfort and Function
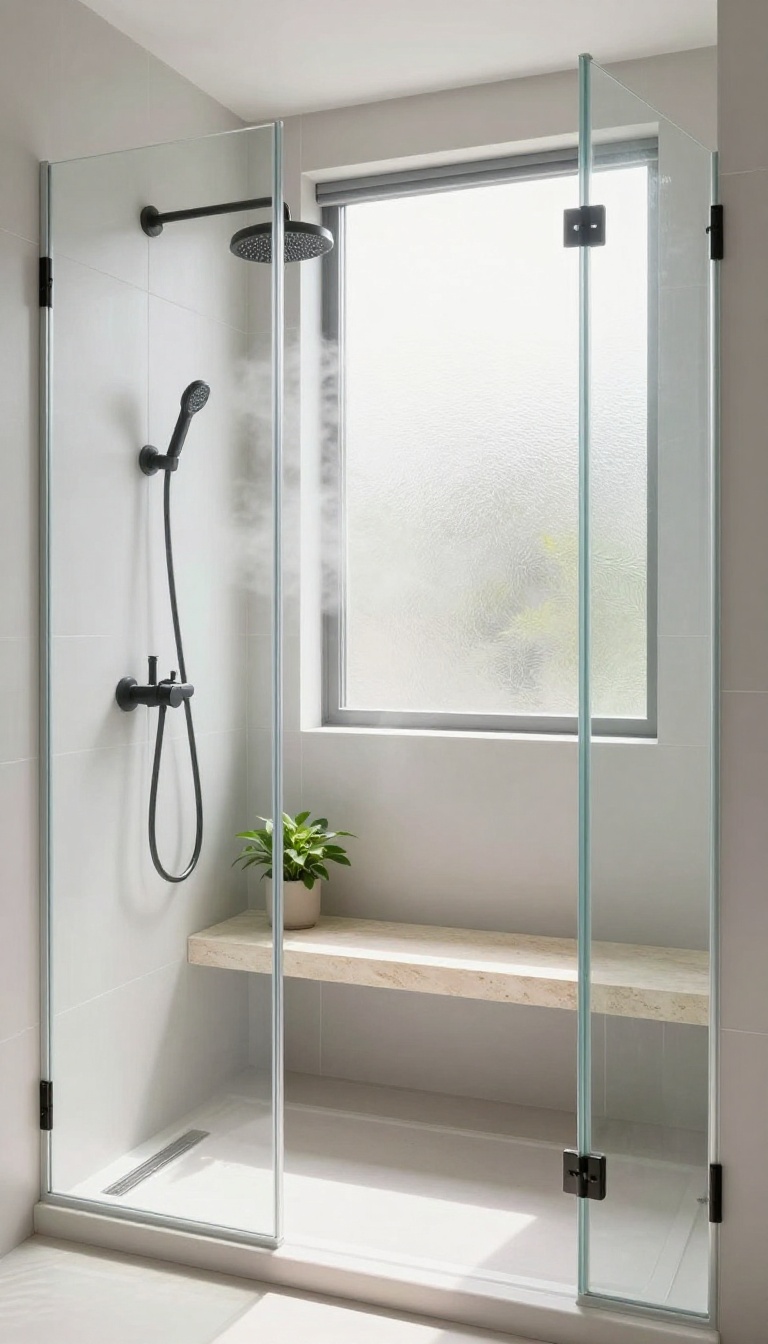
A shower bench might seem like a luxury, but it's one of those additions that makes your daily routine easier and more enjoyable. Whether you're shaving your legs, washing your feet, or just taking a moment to relax, having a place to sit changes how you use the space. Plus, it instantly adds a spa-like feel that makes your shower feel more intentional.
A shower bench isn't just for the elderly or those with mobility issues—it's for anyone who wants a more comfortable and functional shower. It gives you a spot to rest a foot while shaving, a place to sit and let conditioner soak in, or a perch for a quick rinse after a workout. And when you choose the right material and placement, it can also become a stylish focal point that ties your whole design together.
Built-in Vs. Freestanding: Which Works For You?
Built-in benches are usually tiled or stone and blend seamlessly with your shower walls. They're permanent, sturdy, and can be custom-sized to fit your space. Freestanding benches, like those made of teak or other water-resistant woods, are more flexible—you can move them around or take them out when you need extra room.
If you're remodeling, a built-in bench adds value, but if you're renting or want to change things up, a freestanding one is a smart choice.
Material Matters: Teak, Stone, Or Tile?
Teak is a classic choice because it's naturally water-resistant, warm underfoot, and doesn't get too slippery when wet. Stone benches, like marble or travertine, look luxurious but can be cold and heavy. Tile benches match your shower walls perfectly, but you'll need to make sure they're sloped slightly so water doesn't pool.
Think about maintenance too—teak needs occasional oiling, while stone and tile are easier to wipe down.
Placement And Size Tips
The best spot for a bench is usually along a wall opposite the showerhead, so you can sit and still be in the water stream. If your shower is small, opt for a corner bench or a narrow ledge that doesn't take up too much floor space. Aim for a depth of about 15 to 18 inches and a height similar to a chair (around 18 inches).
That's comfortable for most people and doesn't interfere with moving around.
Bonus: Use It As A Storage Spot
A bench can double as a shelf for shampoo, soap, and other shower essentials. You can place a small caddy on it or keep a few neatly stacked towels within reach. This helps reduce clutter and keeps everything organized, so you don't have to reach for products all the time.
Just make sure whatever you place there is water-safe and doesn't create a tripping hazard.
8. Install Proper Lighting with a Waterproof Rating
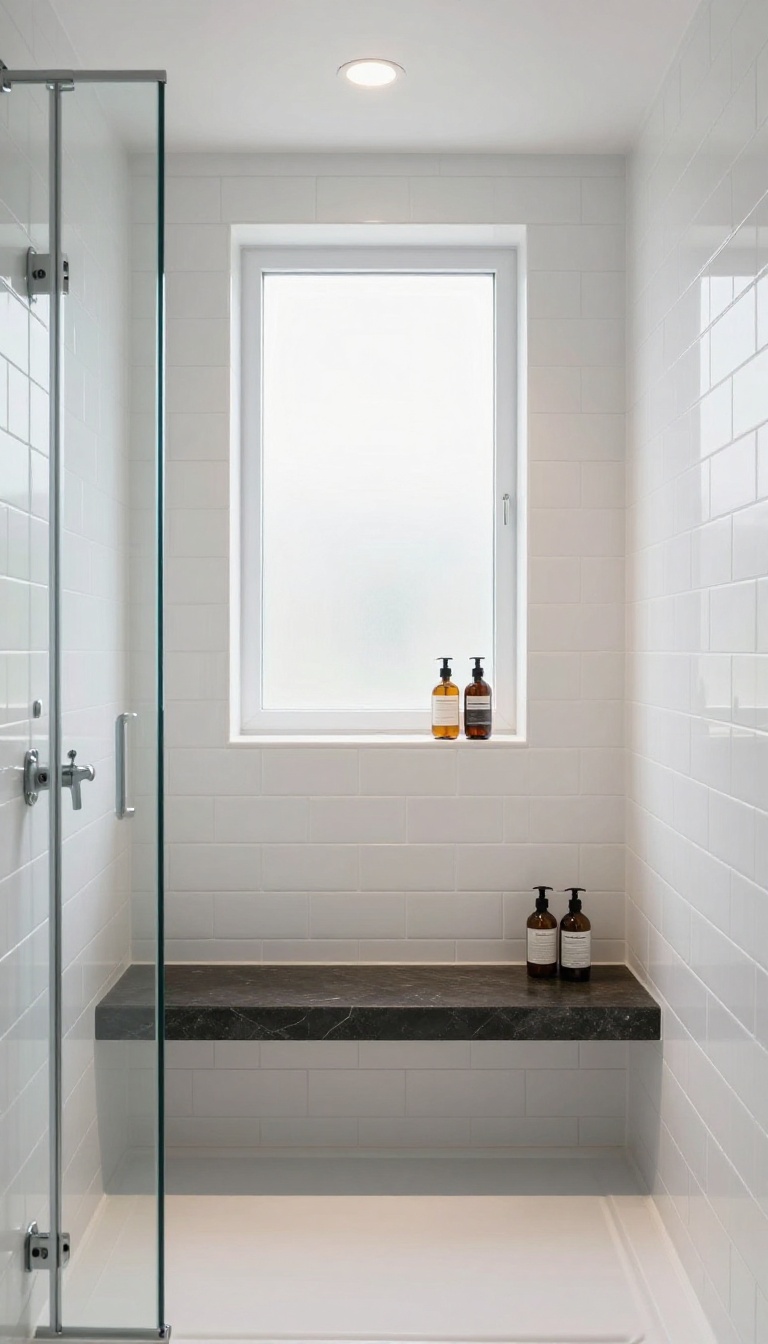
Lighting often gets overlooked in the shower, but it can completely change how the space feels. A dim, shadowy corner makes even a beautiful tile job look dull. The right fixtures brighten the area, make shaving or washing easier, and set the mood for a relaxing rinse.
Safety matters too. Water and electricity don't mix, so you need lights rated for wet zones. Look for an IP65 rating or higher—that means they're sealed against moisture and steam.
With the right placement and a warm or cool tone, your shower can feel crisp, clean, and inviting every time you step in.
When you're planning shower lighting, think about both function and atmosphere. You want enough light for tasks like shaving or cleaning, but not so harsh that it feels like a surgical suite. Recessed ceiling lights are a popular choice because they're sleek and don't intrude on the space.
Wall-mounted fixtures can add a softer, more decorative glow, especially if they're placed at eye level or lower. Don't forget about the shower niche or bench—those areas often get lost in shadow. A small, waterproof LED strip or a tiny spotlight can highlight your shampoo bottles and make the whole area feel more polished.
And if you have a glass enclosure, consider lighting from above or behind to reduce glare and create a more even spread.
Choose The Right Ip Rating
Not all waterproof lights are created equal. The IP rating tells you how well a fixture resists dust and water. For shower use, you want at least IP65, which means it's dust-tight and can handle low-pressure water jets from any direction.
IP67 is even better if you want to submerge them, but that's overkill for most showers. Check the packaging or spec sheet before you buy—don't assume a bathroom light is automatically shower-safe.
Pick The Right Color Temperature
The color of the light affects how the shower feels. Warm white (2700K–3000K) creates a cozy, spa-like vibe, while cool white (4000K–5000K) feels more energizing and crisp. For a master shower, warm white is usually the better choice—it's flattering and relaxing.
If you have a separate makeup or shaving mirror, add a cool white light there for accuracy. Many LED fixtures let you switch between temperatures, so you can adjust the mood anytime.
Place Lights To Avoid Shadows
A single overhead light can cast shadows on your face and body, making it hard to see what you're doing. Instead, use multiple fixtures spread across the ceiling or place wall lights on either side of the shower. This creates a more even light that reduces harsh shadows.
If you have a niche, add a small light inside it to highlight your products and keep the area from feeling like a dark hole.
9. Choose a Textured or Non-Slip Floor Tile
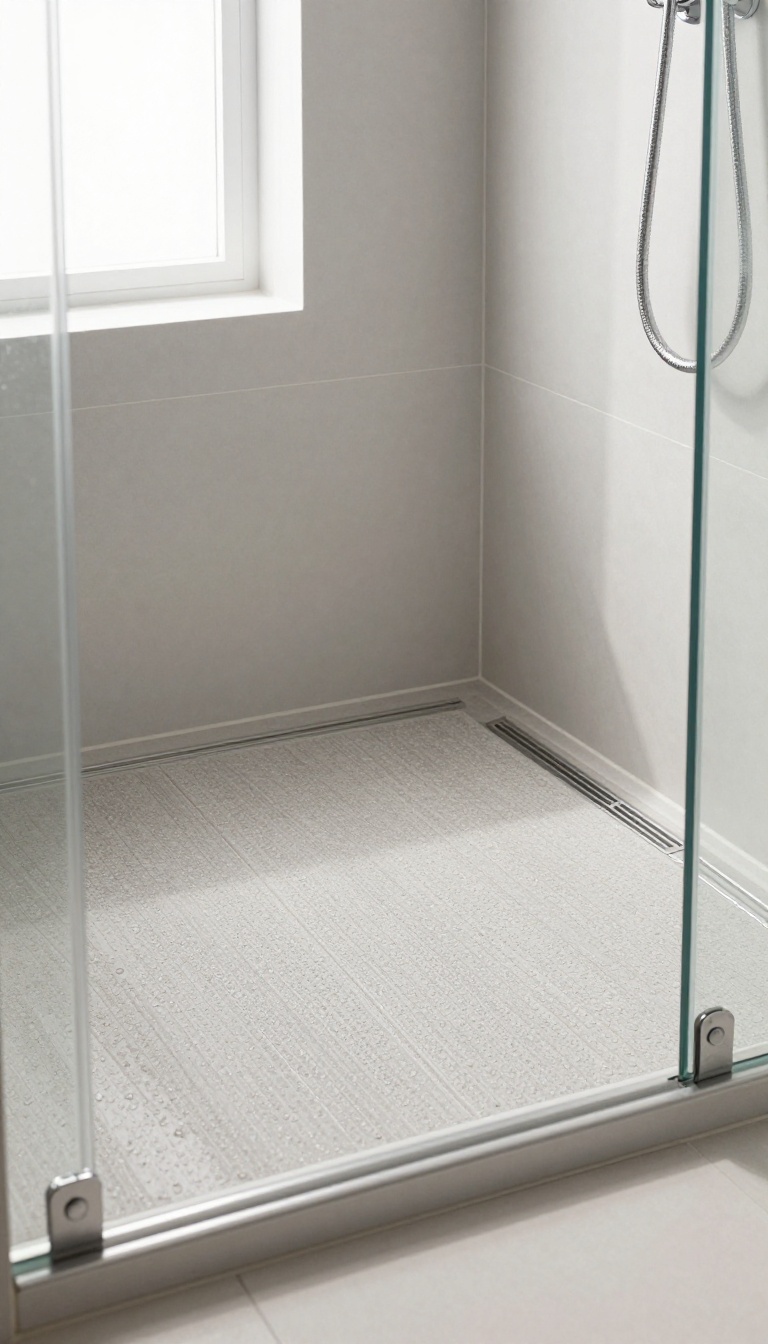
Slippery shower floors are a common hazard, especially when soap and water mix. But you don't have to sacrifice style for safety. Textured tiles or small mosaics offer grip that keeps you steady, and they come in a range of looks that fit any design.
When selecting floor tiles, look for a high coefficient of friction (COF) rating, ideally 0. 6 or higher. Pebble tiles, slate, and textured porcelain are excellent choices.
Small mosaics with lots of grout lines also increase traction. Avoid large, glossy tiles that become slick when wet.
Why Texture Matters
The texture creates friction underfoot, reducing the risk of slips. Even when wet, these tiles maintain grip. This is especially important for households with kids, elderly members, or anyone with mobility concerns.
Style Options That Work
You don't have to choose between safety and looks. Natural stone like travertine or slate adds earthy texture. Porcelain tiles that mimic wood or stone offer durability with a matte finish.
Hexagonal or penny tiles in a mosaic pattern bring vintage charm while providing grip.
Installation Tips
Ensure proper slope toward the drain to avoid standing water. Use a high-quality grout that resists mold. For extra safety, consider adding a non-slip treatment to existing tiles, but for new builds, choose the right tile from the start.
10. Add a Heated Towel Bar or Radiant Floor
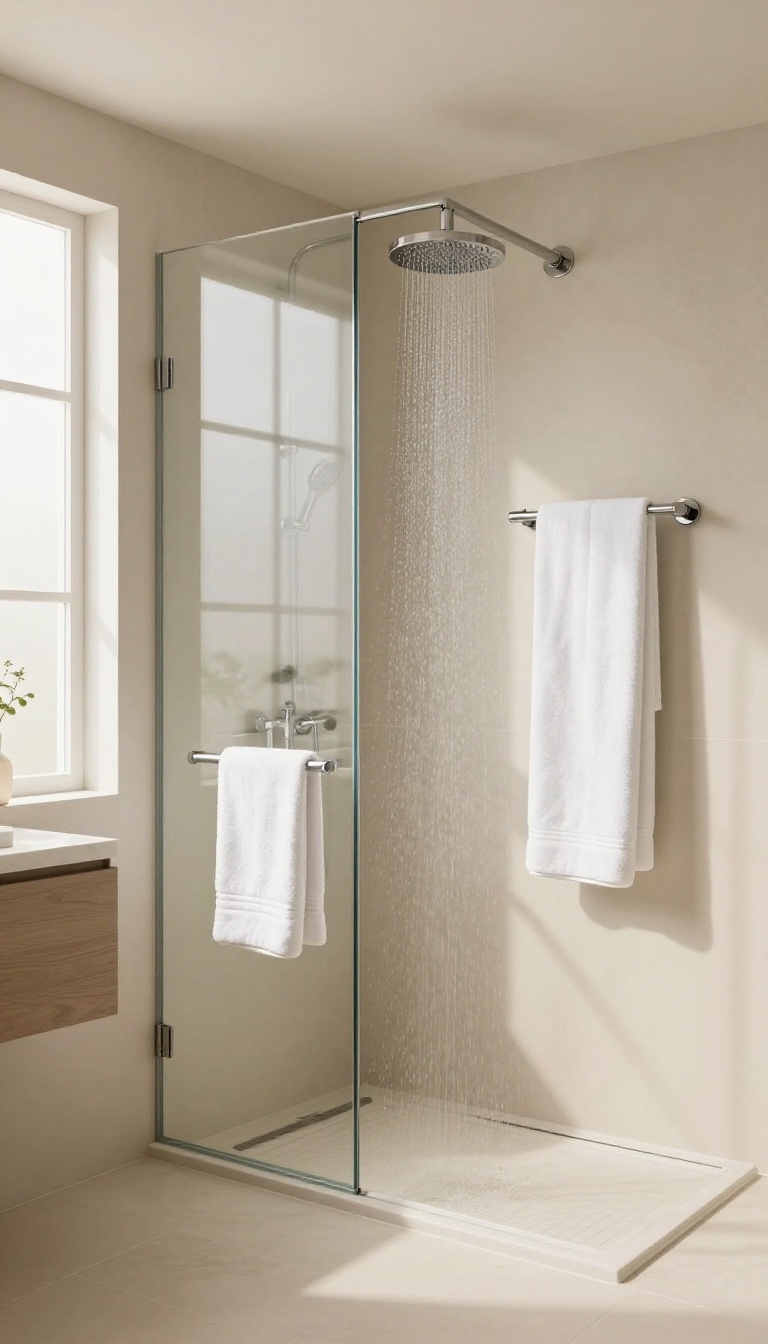
Stepping out of a warm shower into a cold bathroom is a shock to the system. Heated towel bars and radiant floor heating turn that abrupt transition into a gentle, cozy moment. These upgrades are more than just luxuries—they add real comfort and can even help dry towels faster, reducing mildew.
A heated towel bar or radiant floor isn't just about pampering—it's about making your shower experience feel complete. The warmth wraps around you as you dry off, and your feet stay toasty on chilly mornings. Plus, heated racks keep towels dry and fluffy, so they're ready for the next use.
Pick The Right Heated Towel Bar
Heated towel bars come in two main types: hardwired and plug-in. Hardwired versions are sleeker and can be integrated with your lighting or thermostat, while plug-in models are easier to install. Choose a size that fits your wall space and matches your other fixtures—stainless steel or brushed nickel works well with most modern showers.
Radiant Floor Heating Basics
Radiant floor heating uses electric mats or hydronic tubes beneath your tile. Electric systems are simpler to retrofit and heat up quickly, making them ideal for single bathrooms. Hydronic systems are more efficient for larger areas but require more complex installation.
Either way, a programmable thermostat lets you warm the floor before your morning shower.
Installation Considerations
If you're renovating, adding radiant floor heating is much easier before the tile goes down. For existing floors, you might need to raise the floor level or opt for a heated mat that can be installed over the current surface. Heated towel bars can be mounted on any wall, but make sure to locate studs and avoid plumbing lines.
Always hire a licensed electrician for hardwired connections.
11. Keep the Palette Simple with a Pop of Contrast
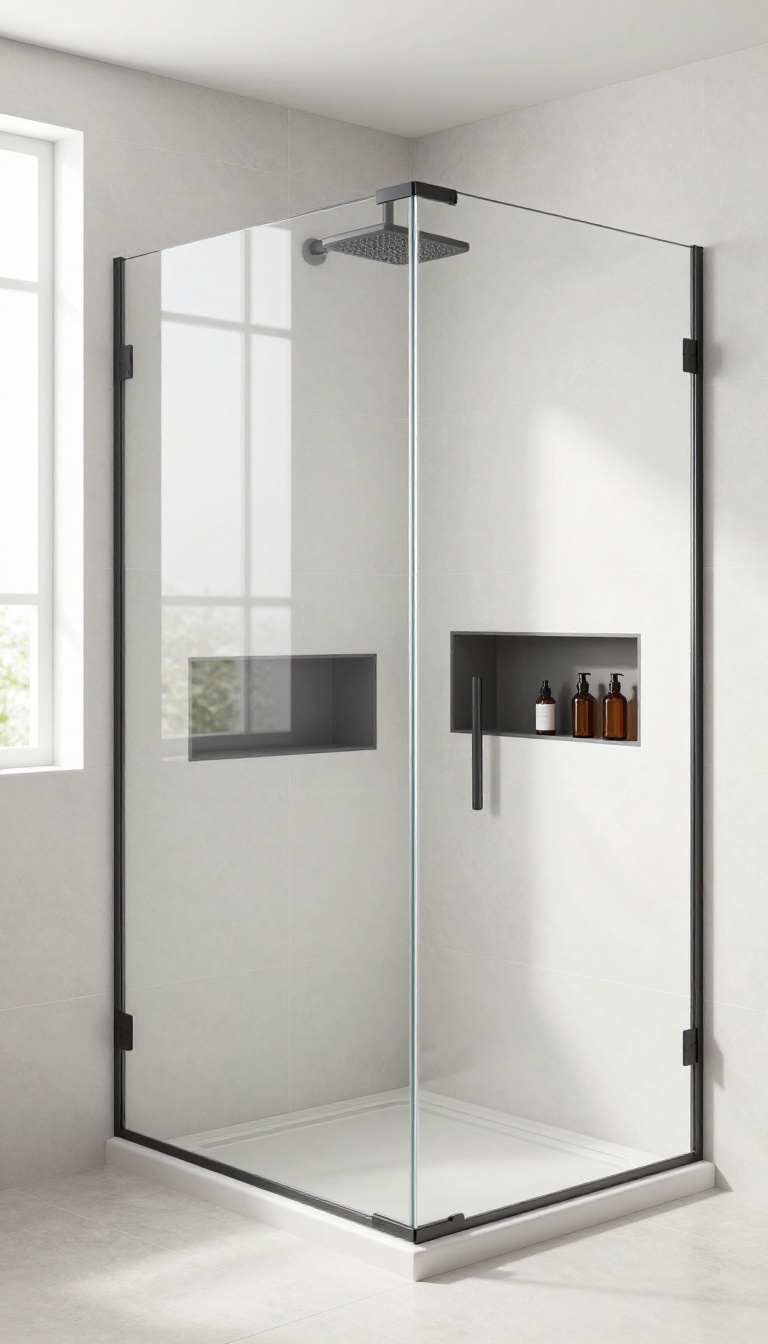
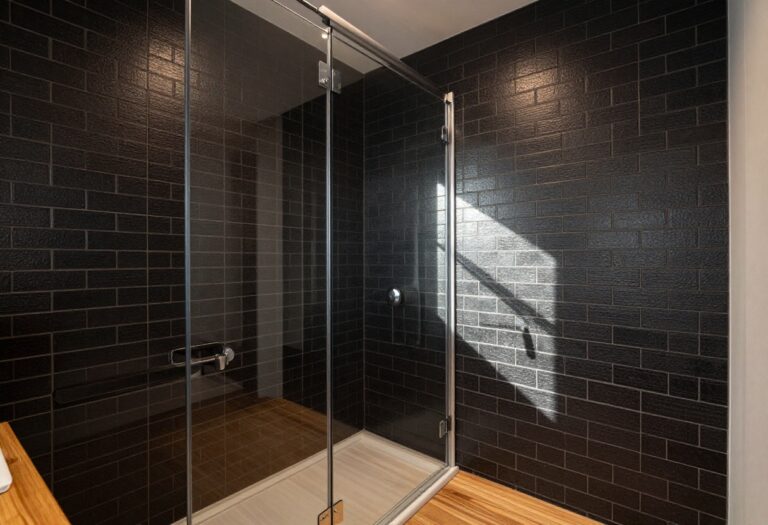
A neutral palette is the easiest way to make a shower feel calm and put-together. But all-white can feel a little flat. That's where a single contrasting element comes in—a dark niche, black trim, or a bold grout line adds just enough edge to keep the eye moving without turning the space chaotic.
The trick is to pick one element to stand out while everything else stays quiet. This creates a focal point and gives the room a sense of intention. You're not decorating; you're designing.
Why Neutrals Work
Neutral tiles—white, beige, light gray—reflect light and make the shower feel larger. They also give you flexibility to change accessories later. But without any contrast, the space can feel sterile.
That's why a single dark or bold accent is so effective.
Where To Add The Contrast
The most popular spot is the niche, since it's already a focal point. You can also use black or bronze trim around the glass, or a dark shower pan. Another option is a contrasting grout color—like charcoal with white tiles—to add subtle texture.
Keep It To One Element
The key is restraint. If you add a dark niche, keep the rest light. If you use black trim, skip the bold grout.
Too many contrasting elements will make the space feel busy and defeat the purpose. One pop is enough.
FAQ
What is the best material for a shower bench?
Teak is a top choice because it resists water, dries quickly, and looks warm. For a built-in option, use a solid surface or tile over a waterproof core.
How do I prevent soap scum on glass shower doors?
Use a squeegee after each shower and apply a glass protectant once a month. Also, consider a water softener if you have hard water.
Can I install a linear drain in an existing shower?
It's possible but usually requires redoing the shower floor and plumbing. It's easier during a full remodel, but a contractor can assess your situation.
What size should a shower niche be?
Aim for at least 12 inches wide and 12 inches tall, but adjust based on your tallest bottle. A depth of 3-4 inches is typical.
How can I make my shower look more expensive without a big budget?
Swap out fixtures for a matching finish, add a sleek shower curtain or glass door, and use large-format tiles on one accent wall. Small changes add up.
Conclusion
A crisp, cohesive shower setup is all about the small choices that work together. Pick one or two ideas that solve your biggest pain point—whether that's storage, lighting, or a cleaner look—and start there. You don't need to overhaul everything at once.
Once you see how a single tweak improves your daily routine, you'll likely want to keep going. Just remember to keep finishes and materials consistent so the space feels intentional. The goal is a shower that looks sharp and functions smoothly, every single day.