10 Easy Vertical Tile Shower Ideas with Calm, Cohesive Style
Vertical tile isn't just a layout choice—it's a design sleight of hand that makes ceilings feel higher and walls feel more expansive. When you run tiles upward, the eye follows the lines, creating a sense of calm and order that horizontal patterns often miss.
The best part? You don't need a huge budget or a contractor to make a big impact.
With a few smart choices, your shower can go from ordinary to spa-like in a weekend. Here are ten easy vertical tile ideas that blend simplicity with style, so you can refresh your space without the stress.
1. Classic Subway Tiles in a Vertical Stack
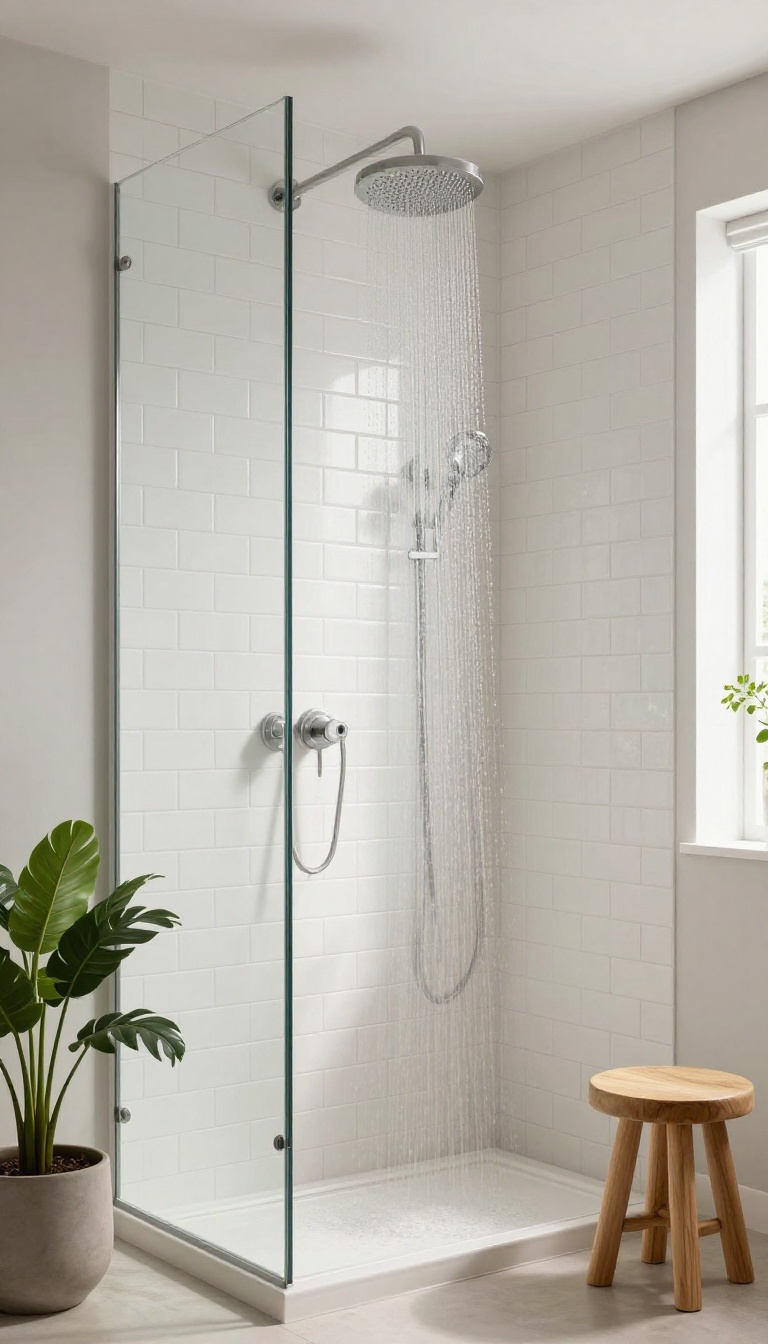
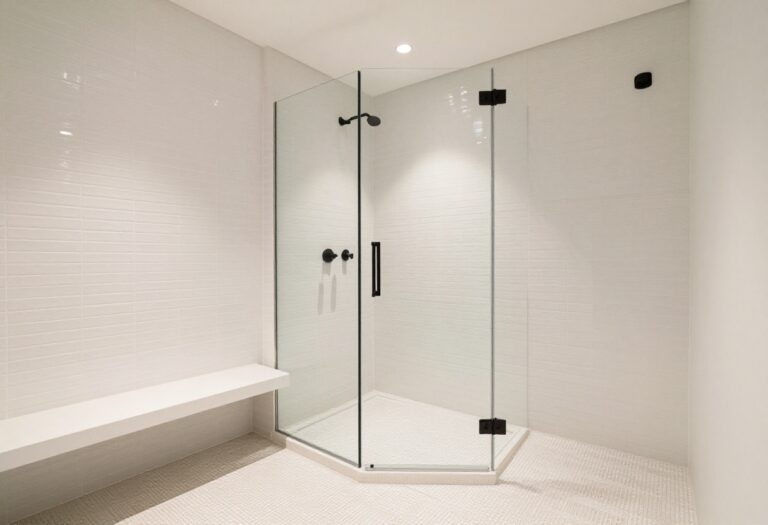
Subway tiles are a timeless favorite, but the usual brick layout can feel a bit predictable. Flipping them vertically changes the whole vibe—suddenly the walls appear taller and the shower feels more streamlined. It’s a simple switch that costs nothing extra but delivers a fresh, modern look.
Vertical stacking works with almost any subway tile size, but the classic 3×6 inch white tile is a safe bet for a clean, crisp aesthetic. The vertical lines draw the eye upward, making the shower feel more spacious and airy. Plus, the grout lines create a subtle texture that adds depth without overwhelming the space.
Why Vertical Stacking Works
The vertical orientation creates a sense of height, which is especially beneficial in bathrooms with lower ceilings. It also gives a more contemporary feel compared to the traditional offset pattern. The straight lines are visually calming and pair well with minimalistic fixtures and neutral color palettes.
Choosing The Right Grout
Grout color can make or break the look. For a seamless, monolithic appearance, match the grout to the tile color. If you want to emphasize the vertical lines, choose a contrasting grout—like dark gray or black—to make the pattern pop.
Just remember that lighter grout requires more maintenance to keep it looking clean.
Styling Around The Vertical Stack
To keep the focus on the vertical tiles, opt for simple fixtures and minimal accessories. A sleek rainfall showerhead and a glass enclosure let the tile shine. You can add a wooden stool or a few green plants for a spa-like touch without distracting from the clean lines.
2. Large-Format Porcelain Slabs for Seamless Calm
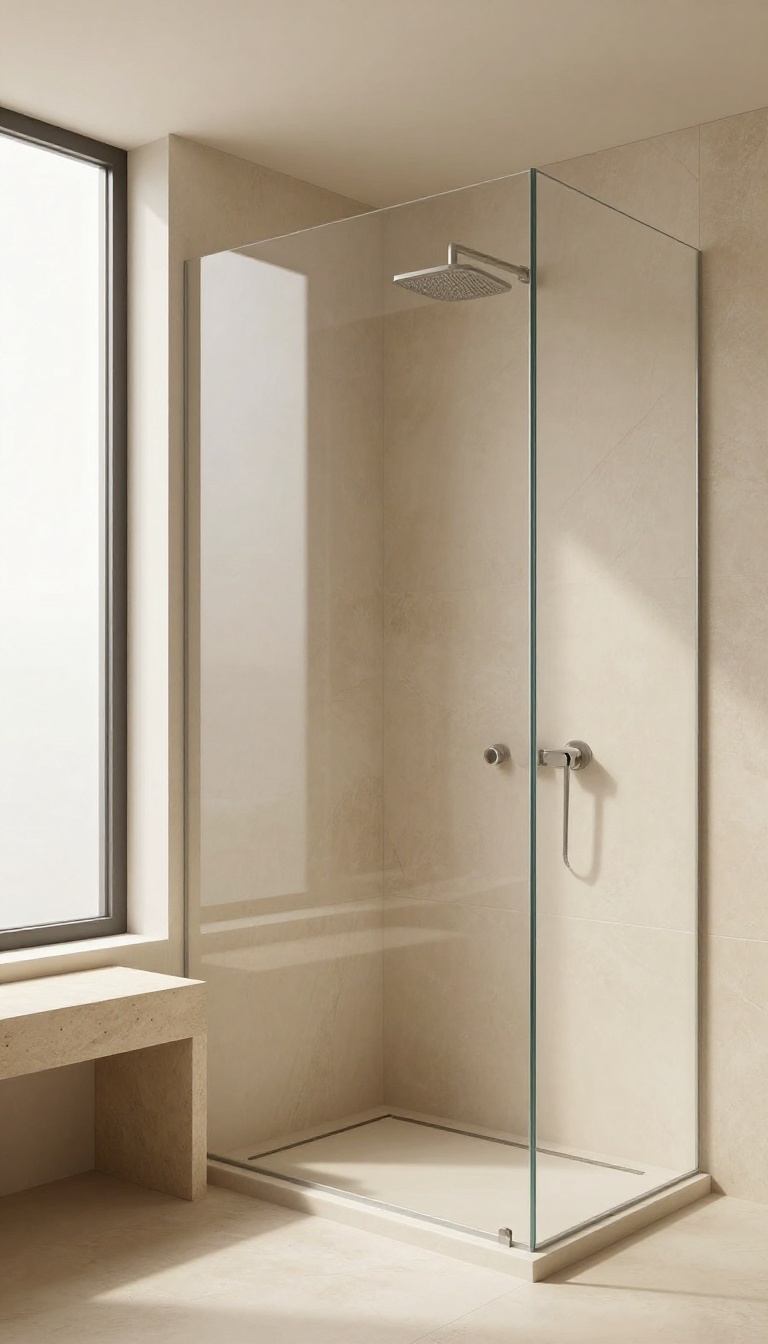
If you want a shower that feels like a quiet retreat, large-format porcelain slabs are a game-changer. These oversized tiles, often 24×48 inches or bigger, cut down on grout lines dramatically. The result is a smooth, continuous surface that feels almost monolithic—like a single piece of natural stone.
The magic of large slabs lies in their ability to visually expand the space. With fewer interruptions, the eye travels effortlessly, making the shower feel more open and serene. Plus, the minimal grout lines mean less maintenance and fewer places for soap scum to hide.
It's a practical choice that also delivers a high-end, spa-like aesthetic.
Why Vertical Orientation Works
Installing large slabs vertically—with the long edge running from floor to ceiling—amplifies the sense of height. The continuous lines draw the eye upward, making even a compact shower feel taller. This orientation also reduces the number of horizontal joints, which can visually widen the space.
It's a simple trick that pays off in both style and perception.
Choosing The Right Finish
For a calm, cohesive look, opt for a matte or subtle satin finish. High-gloss can reflect too much light and create a busy effect, while a soft matte absorbs light gently, adding to the tranquil vibe. Also, consider a rectified edge—these tiles are cut precisely, allowing for even thinner grout lines, which enhances the seamless appearance.
Color And Veining Considerations
Neutral tones like soft gray, warm beige, or creamy white are foolproof for a serene backdrop. If you prefer a bit of drama, choose slabs with subtle veining, but keep the pattern consistent across the installation to maintain flow. Avoid busy, high-contrast veining that can make the wall feel chaotic.
A gentle, linear movement in the stone will support the calm aesthetic you're after.
3. Vertical Herringbone with a Twist
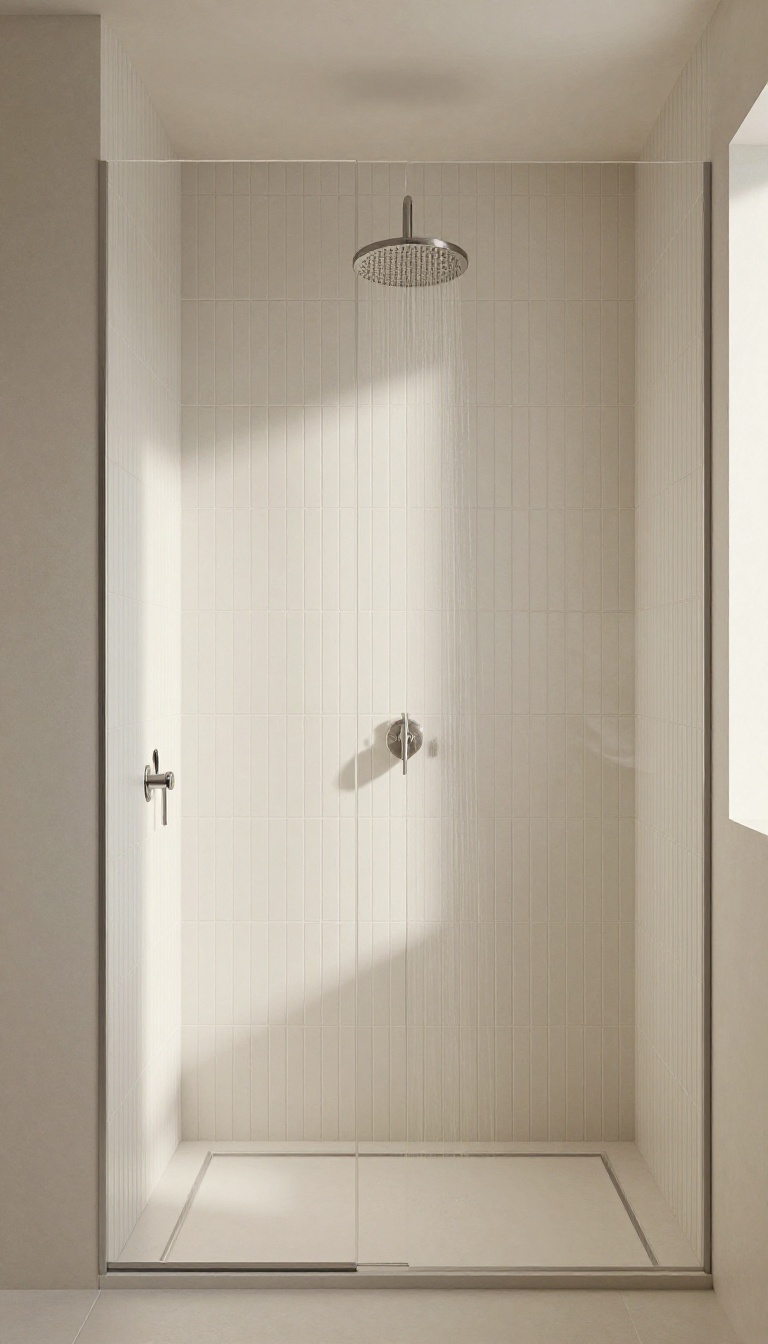
Herringbone is a classic pattern that instantly adds texture and interest, but the traditional diagonal layout can feel busy in a small shower. Flipping it vertical changes the whole vibe—the chevron lines run upward, drawing the eye to the ceiling and making the space feel taller and more serene. It's a fresh take on a familiar favorite that still feels timeless.
The key to this look is choosing the right tile size and color. Long, narrow tiles—think 3×12 or 4×12 inches—work best because they emphasize the vertical movement. Stick with matte finishes in soft, neutral tones like warm white, pale gray, or sandy beige to keep the calm, cohesive feel.
The pattern adds visual interest without shouting for attention, so it pairs beautifully with simple fixtures and minimal accessories.
Why Vertical Herringbone Works
Vertical herringbone is a smart choice for showers because it creates a sense of height and openness. The zigzag lines still add texture, but because they run up and down, they don't break the wall into horizontal chunks the way traditional herringbone can. That makes the space feel more expansive and less cluttered, which is exactly what you want in a relaxing shower.
Choosing The Right Tile
For the best effect, pick tiles that are at least twice as long as they are wide. Glossy finishes can work, but matte tends to feel more spa-like and hides water spots better. If you want a subtle twist, try a herringbone in a soft sage or dusty blue—just keep the grout color close to the tile to maintain that seamless, calm look.
Installation Tips To Keep It Easy
You don't need to be a pro to pull this off, but a few pointers help. Start from the center of the wall and work outward to keep the pattern balanced. Use tile spacers to keep the lines crisp, and consider a pre-mixed thinset for smaller jobs.
If you're unsure about cutting tiles at angles, a wet saw with a diamond blade makes clean cuts—just measure twice and cut once.
4. Textured Stone-Look Tiles for Organic Warmth
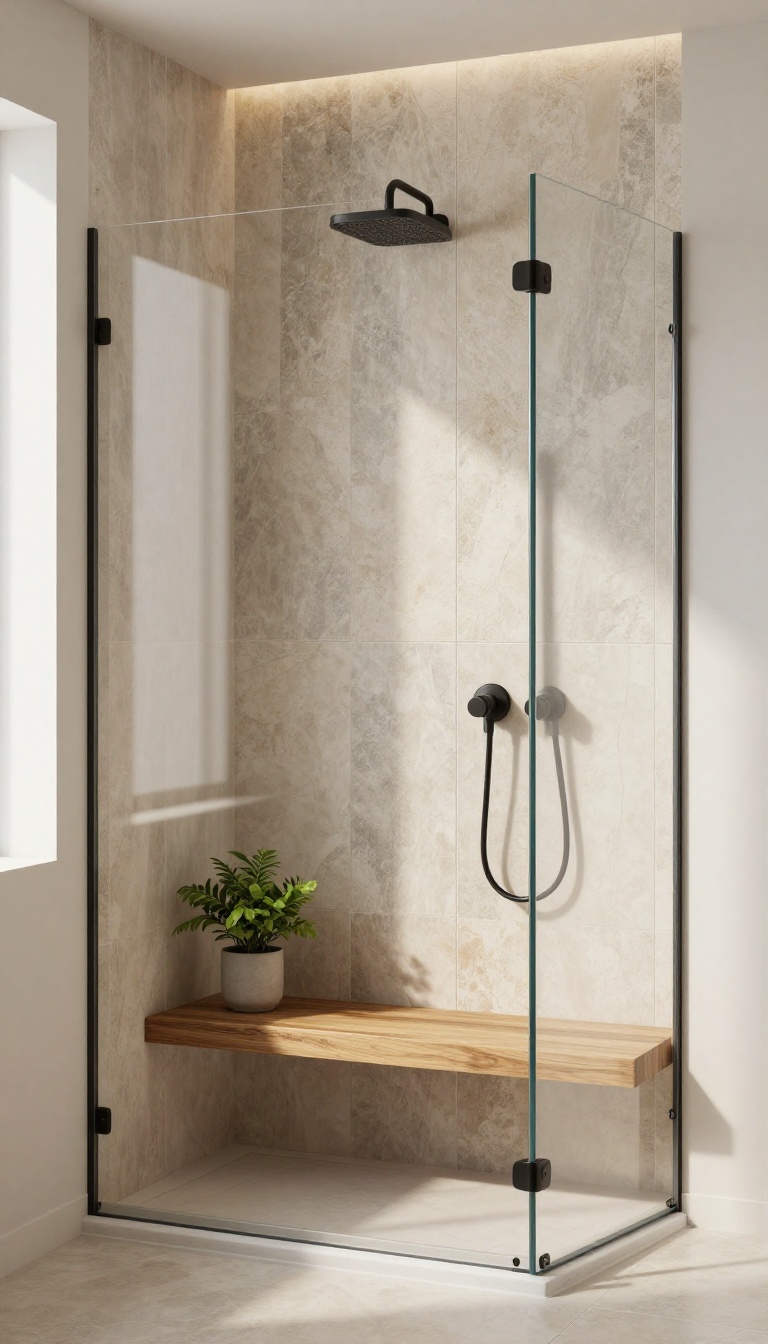
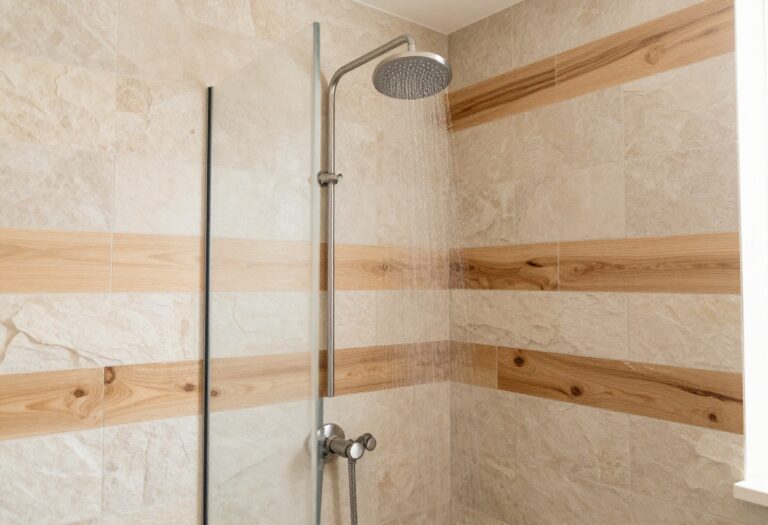
Stone-look tiles bring a grounded, earthy feel to any shower, and when set vertically they also make the space feel taller and more open. The subtle texture of these tiles adds depth without overwhelming the eye, creating a serene backdrop that pairs beautifully with natural wood accents or matte black fixtures. Whether you choose a travertine or slate-inspired finish, this approach delivers a calm, organic vibe that turns your daily routine into a mini escape.
Vertical installation of stone-look tiles emphasizes their natural veining and texture, drawing the eye upward and making the shower feel more expansive. The tactile surface adds a sensory layer that plain glossy tiles can't match, inviting you to slow down and enjoy the moment. Plus, the earthy tones—think warm beiges, soft grays, and muted browns—blend effortlessly with a variety of design styles, from modern farmhouse to minimalist spa.
Choosing The Right Texture
When selecting stone-look tiles, pay attention to the finish. Honed or matte surfaces feel softer and more natural, while a tumbled finish offers a slightly weathered look that hides water spots well. For a truly organic feel, opt for tiles with irregular edges or a slight variation in color—these imperfections make the wall look like real stone, not a printed replica.
Pairing With Natural Elements
To enhance the organic warmth, pair your stone-look tiles with natural materials like teak wood, bamboo, or even a pebble floor. A wooden bench or a small plant adds a touch of life, while warm-toned lighting (like LED strips with a soft amber glow) brings out the richness of the stone. Keep other surfaces simple—such as clear glass and brushed nickel—to let the texture shine.
Grout Color And Maintenance
Grout color can make or break the stone look. Choose a grout that closely matches the tile's base color to create a seamless, monolithic appearance, or go slightly darker for a more defined grid. Since textured tiles can trap soap scum, use a penetrating sealer and clean with a soft brush or sponge.
A squeegee after each use helps keep the texture looking fresh.
5. Glossy Vertical Tiles to Reflect Light
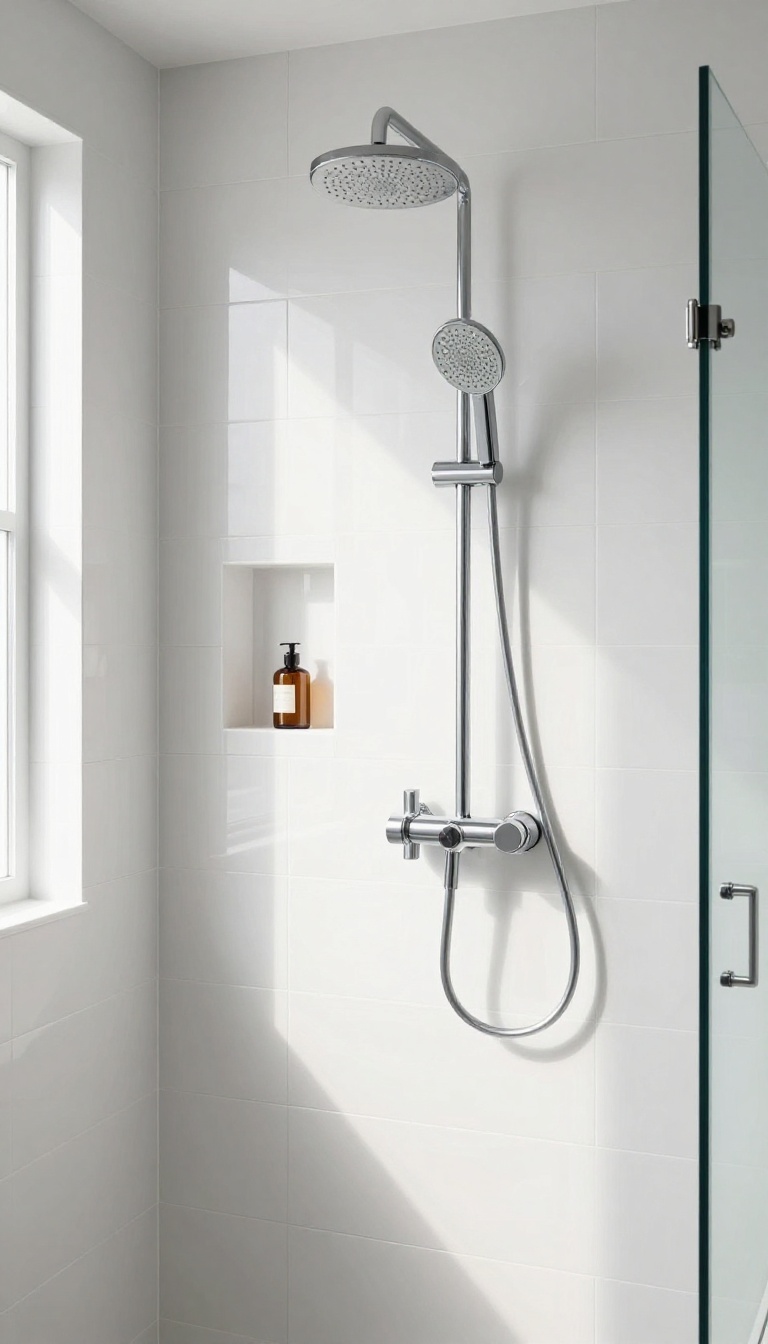
Light is a powerful tool in any bathroom, and glossy tiles are its best friend. When you lay them vertically, they not only draw the eye upward but also bounce light around the room, making even the most compact shower feel airy and expansive. The reflective surface adds a subtle sparkle that brightens the entire space without needing extra fixtures.
Choosing glossy vertical tiles is a smart move if you're working with a small or dimly lit shower. The combination of the vertical orientation and the shiny finish works double duty to enhance natural and artificial light. Plus, glossy tiles are easy to clean—a quick wipe and they're streak-free, keeping your shower looking fresh.
Why Glossy Works Wonders
Glossy tiles have a high-gloss finish that acts like a mirror, reflecting light across the room. This effect is amplified when the tiles are installed vertically, as the continuous lines guide the light upward, making the ceiling feel higher. The result is a brighter, more welcoming shower that feels larger than it actually is.
Best Glossy Tile Materials
Ceramic and porcelain tiles are the most common choices for a glossy look, and they come in a variety of colors and sizes. Glass tiles are another excellent option—they reflect light even more intensely and add a touch of luxury. For a budget-friendly alternative, consider high-gloss porcelain that mimics the look of marble or stone without the maintenance.
Installation And Maintenance Tips
When installing glossy vertical tiles, ensure the wall is perfectly flat to avoid any lippage that can catch the light and create shadows. Use a light-colored grout to keep the reflective effect seamless. To maintain the shine, clean with a mild, non-abrasive cleaner and a soft cloth.
Avoid harsh chemicals that can dull the finish over time.
6. Vertical Hexagon Tiles for a Modern Honeycomb
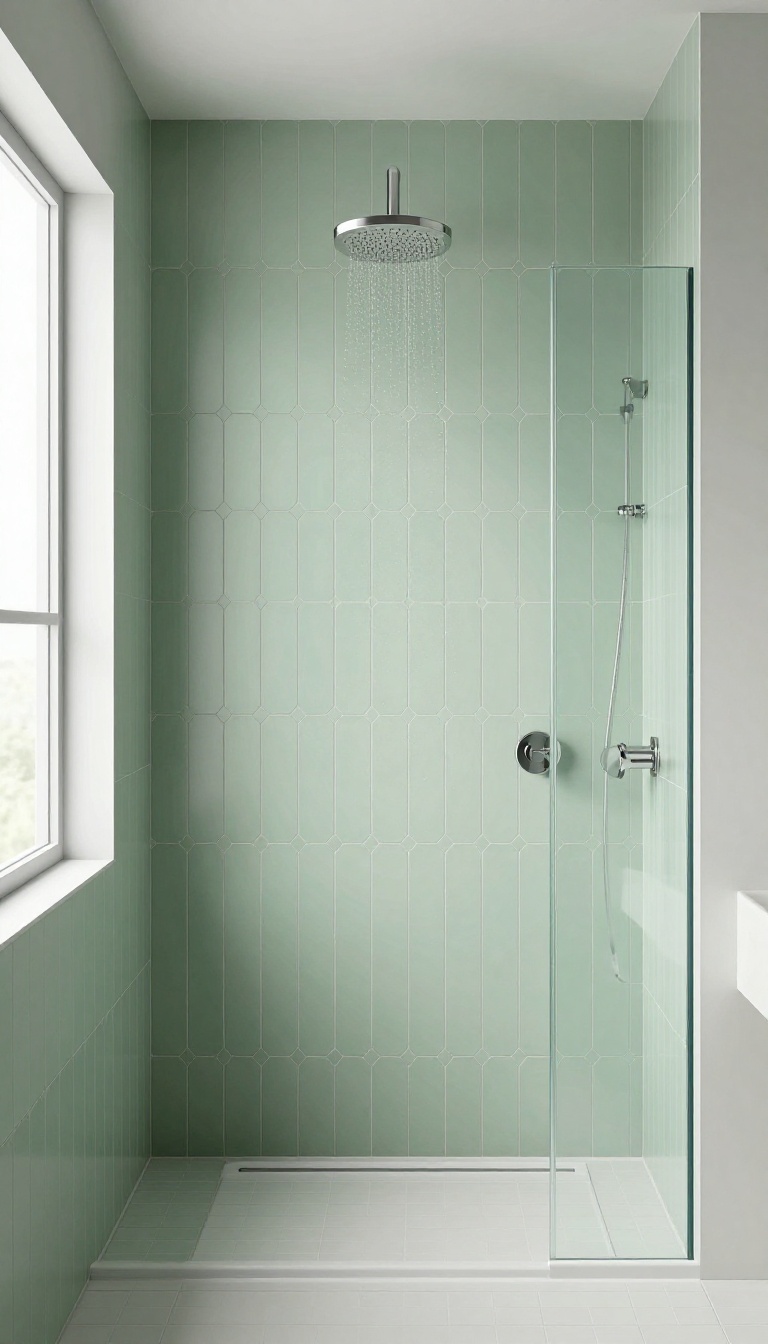
Hexagons have been a darling of tile design for years, but the standard horizontal grid can feel a bit expected. Flipping them vertically changes the entire vibe—suddenly, the pattern reads as bold and directional, drawing the eye upward and making the shower feel taller and more dynamic. It's a simple twist that adds a modern, geometric energy without going overboard.
Vertical hexagon tiles are a fresh take on a beloved classic. Instead of the usual honeycomb that sits flat, these tiles are installed with their long axis running up and down. That subtle shift creates a sense of movement and height, which is perfect for smaller showers or any space that could use a little visual lift.
The hexagonal shape still brings that playful, organic feel, but the vertical orientation makes it look more intentional and contemporary.
Choosing The Right Size And Color
Size matters when you go vertical with hexagons. Smaller hexagons (around 2 inches) create a busier, more textured look, while larger ones (4 to 6 inches) feel cleaner and more modern. For a calm, cohesive style, stick to a single color or a subtle tone-on-tone palette.
Soft whites, warm grays, or muted sage green keep the pattern from feeling too loud.
Layout And Grout Lines
The vertical layout works best when you keep the grout lines crisp and consistent. Use a grout color that blends with the tile to let the shape shine, or go slightly darker for a more defined geometric effect. A straight vertical stack (rather than a brick-like offset) gives the most seamless, modern look.
If you want a bit of play, you can stagger the vertical lines slightly, but keep it minimal to maintain that calm vibe.
Pairing With Other Elements
Vertical hexagons pair beautifully with simple fixtures and natural textures. Think matte black or brushed nickel hardware, a floating wood shelf, or a glass shower screen that doesn't compete with the tile. Keep the rest of the bathroom neutral so the tile becomes the focal point.
A recessed niche in the same tile keeps the flow uninterrupted.
7. Vertical Wood-Look Tiles for a Spa Vibe
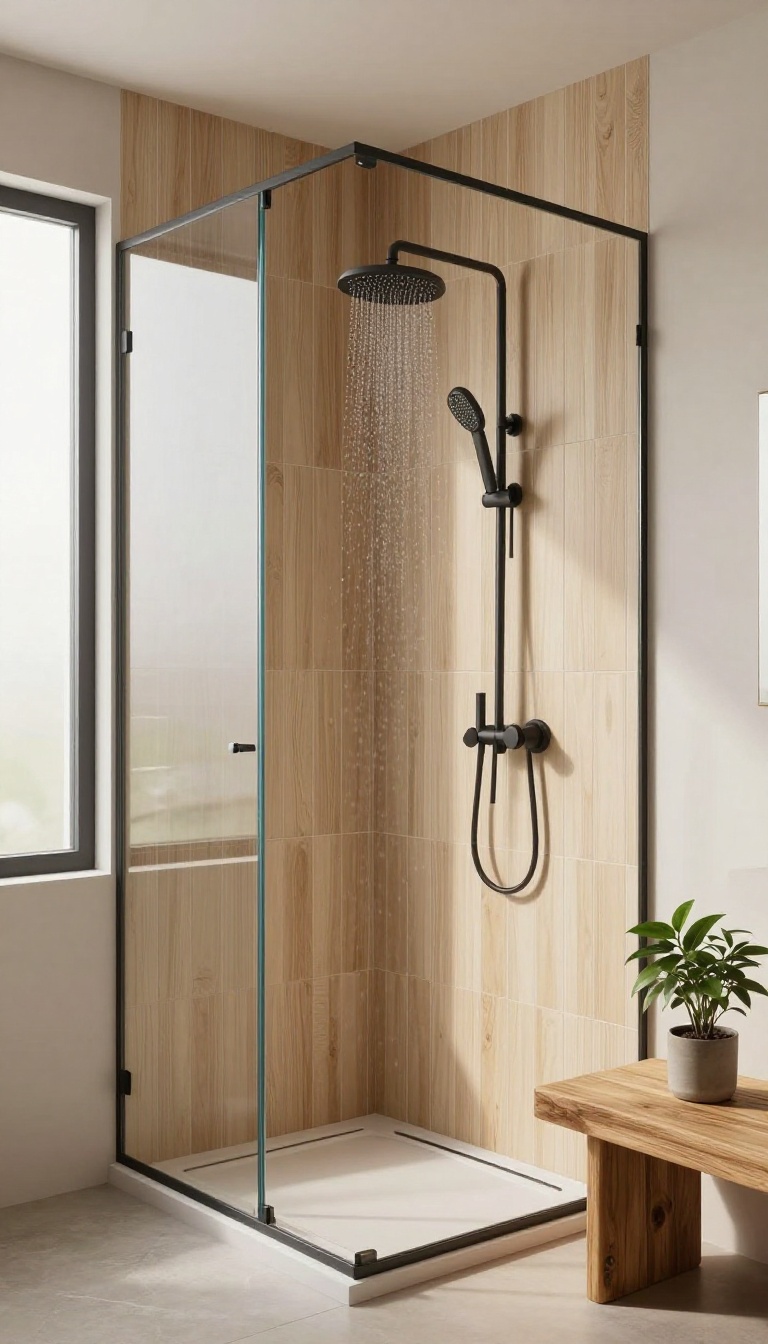
Wood and water usually don't mix, but wood-look porcelain tiles bring all the warmth of timber into your shower without the worry of warping or rot. When installed vertically, these tiles mimic the clean lines of board-and-batten siding, drawing the eye upward and making the shower feel taller and more serene. It's an easy way to wrap your space in a calm, organic texture that instantly evokes a high-end spa.
The trick to pulling off wood-look tile is choosing the right shade and finish. Lighter tones like oak or ash keep the space airy, while deeper walnut adds a cozy, intimate feel. Vertical installation enhances the natural grain, creating a seamless flow that feels both modern and timeless.
Pair them with matte black fixtures and plenty of greenery for a truly spa-like retreat.
Choosing The Right Wood-look Tile
Not all wood-look tiles are created equal. Look for porcelain with a matte or textured finish that mimics real wood grain. Rectified edges give a tighter grout line, which is essential for a clean, modern look.
Also, consider the plank width—narrower planks (around 6 inches) feel more traditional, while wider boards (8-10 inches) create a more contemporary vibe. Stick to a single tone for a cohesive, calm effect.
Installation Tips For A Seamless Look
Vertical installation is straightforward, but a few details matter. Use a level to ensure your first row is perfectly straight, and stagger the seams slightly—like real hardwood—to avoid a repetitive grid. Choose a grout color that blends with the tile to keep the focus on the wood grain.
For a truly seamless look, consider a large-format plank with minimal grout lines. If you're handy, this is a DIY-friendly project; if not, a pro can handle it in a day or two.
Styling Around The Wood-look Tile
To complete the spa vibe, keep the rest of the bathroom simple. Use a glass shower door to show off the tile, and add a teak bench or stool for a natural accent. Soft, warm lighting—like a dimmer on your overhead light—helps mimic the glow of a candlelit spa.
Keep accessories minimal: a few eucalyptus stems or a bamboo soap dish add organic texture without cluttering the space.
8. Vertical Mosaic Accent Strips for Subtle Detail
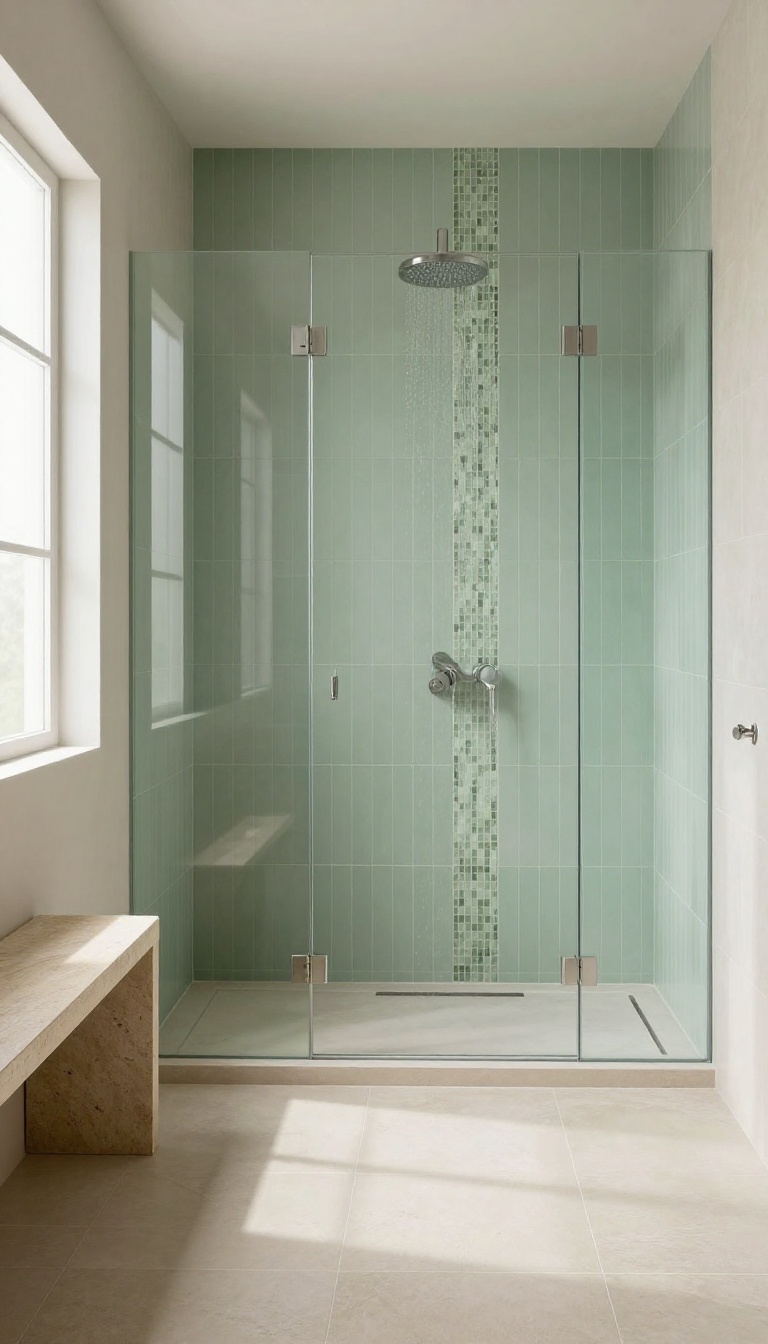
Sometimes the smallest touches make the biggest difference. A vertical mosaic strip can break up large-format tiles and add a hint of color or texture without stealing the spotlight. It’s a simple way to introduce personality while keeping the overall look calm and cohesive.
Placement That Flatters
Where you put the strip matters as much as the mosaic itself. A single vertical band behind the showerhead draws the eye upward and emphasizes height. For a more balanced feel, run two strips on either side of a niche or at the edges of the main wall.
Keep the strip width proportional to the tile size—usually 2 to 4 inches works well.
Color And Texture Choices
Mosaic strips come in endless materials, from glass to stone to porcelain. If your walls are neutral, a soft sage or dusty blue adds a gentle pop without feeling loud. For texture, a tumbled stone or matte ceramic strip brings subtle depth.
Stick to colors already present in the room—like the vanity or floor—to keep everything tied together.
Installation Tips For A Clean Finish
Mosaic sheets are easier to install than individual pieces, but they still need care. Use a notched trowel and press each sheet firmly to avoid lippage. Plan the strip’s position before you start, and cut tiles around it so the lines stay crisp.
If you’re not confident, a pro can handle it quickly—this is a small job that makes a big impact.
9. Vertical Marble Tiles for Timeless Elegance
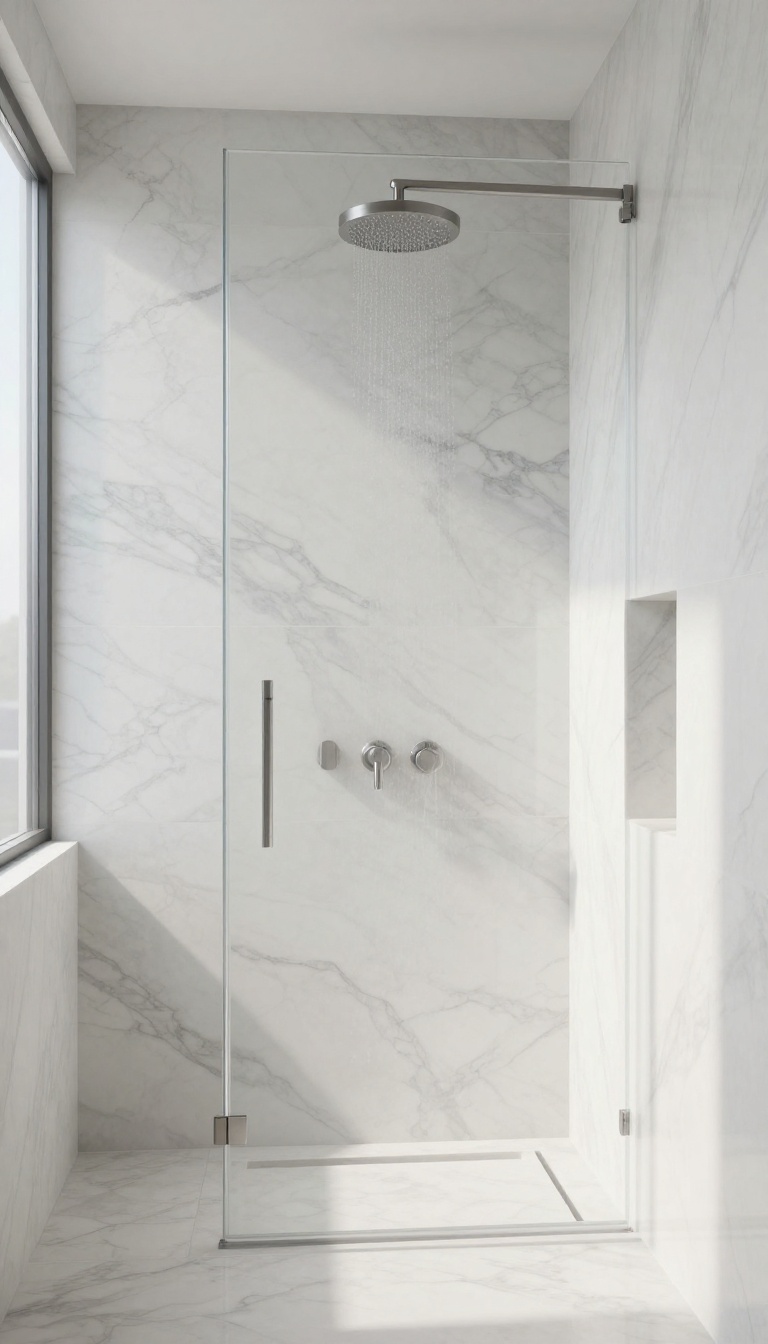
Marble has been a symbol of luxury for centuries, and when you lay it vertically, it brings a quiet sophistication that never goes out of style. The natural veining draws the eye upward, making your shower feel taller and more refined, while the cool, smooth surface adds a spa-like calm. Unlike busy patterns, marble's subtle movement keeps the space airy and uncluttered, even in a compact bathroom.
Marble tiles are a classic choice that can instantly elevate your shower's look. When installed vertically, they create a striking visual effect that enhances the sense of height and openness. The key is to choose the right finish and size to match your style and maintenance preferences.
Choosing The Right Marble Finish
Polished marble shines and reflects light, making the shower feel brighter and more spacious, but it can be slippery when wet. Honed marble has a matte, velvety finish that offers better traction and a more understated, modern look. For a balance of beauty and safety, consider a honed finish or use smaller tiles for more grout lines, which improve grip.
Large-format Slabs For A Seamless Look
Instead of traditional small tiles, large-format marble slabs or extra-large tiles (like 12×24 or 24×48 inches) minimize grout lines, creating a sleek, seamless appearance. This makes the shower feel more expansive and easier to clean. Vertical installation of these large pieces emphasizes the height even more, giving a dramatic, high-end feel without the busyness of many small joints.
Pairing With Fixtures And Accents
To let the marble shine, keep fixtures simple—brushed nickel or matte black work beautifully. Add a glass shower door instead of a curtain to show off the tile, and consider a recessed shelf with the same marble for a cohesive look. Warm wood accents, like a teak bench or mat, soften the cool stone and add a natural touch.
10. Vertical Color Blocking for a Bold Statement
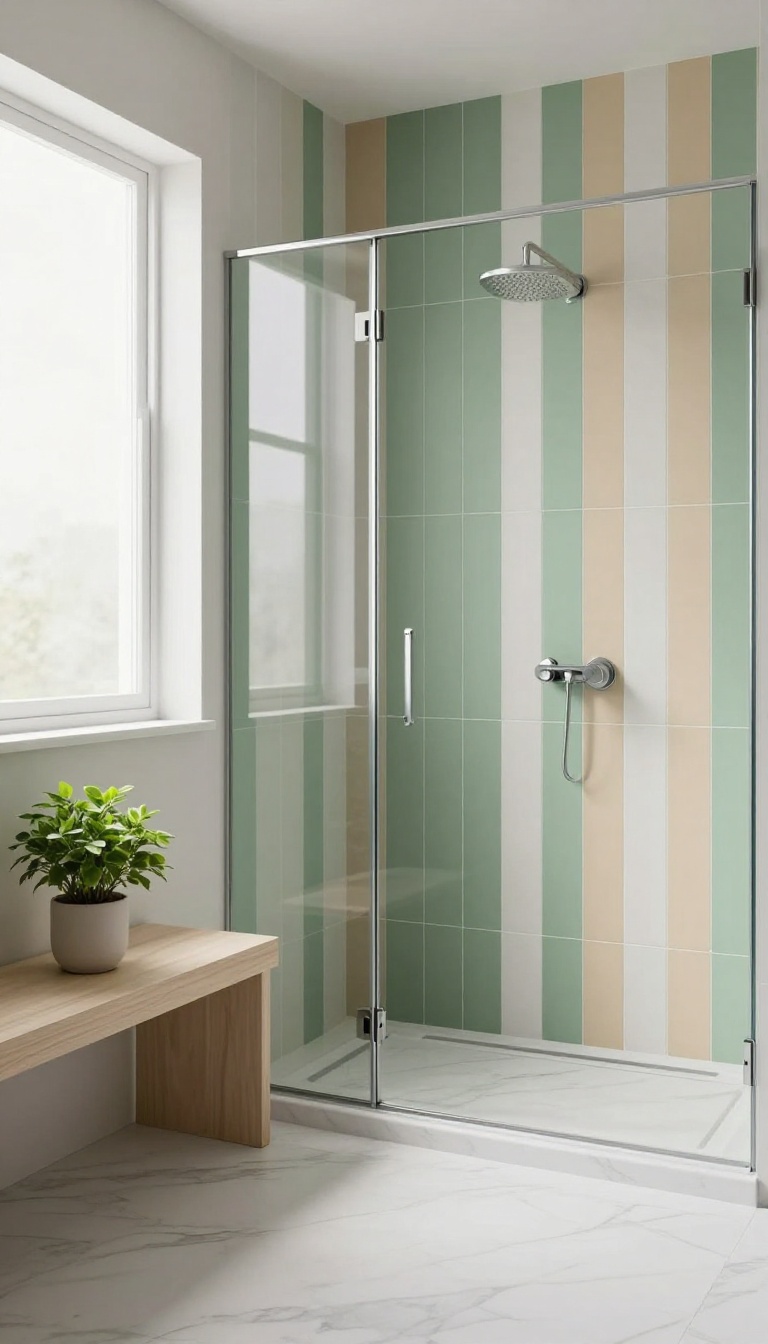
Color blocking isn't just for fashion—it's a powerful tool in tile design. When you run bold vertical bands of color up the shower wall, you create a striking, contemporary look that adds personality and depth. This approach breaks away from the monotony of single-tone walls and gives your shower a custom, artistic feel.
Vertical color blocking works because it draws the eye upward, emphasizing the height of the space while making a clear design statement. You can choose two or three complementary colors and arrange them in wide vertical stripes, or go for a more subtle effect with a single accent stripe. The key is to keep the colors cohesive so the overall look feels calm and intentional, not chaotic.
Choosing Your Palette
Start with a neutral base—like white, beige, or light gray—and pick one or two accent colors that complement it. Think of colors that appear together in nature, such as sage green and sandy beige, or soft blue and warm white. For a bolder look, try a deep navy or charcoal stripe against a light background.
Stick to matte or satin finishes to keep the style grounded and easy on the eyes.
Placement Strategies
You don't have to cover the entire wall with stripes. A single vertical band behind the shower bench or along the niche can create a focal point without overwhelming the space. Alternatively, alternate wide and narrow stripes for a more dynamic rhythm.
If you're working with a small shower, use just one accent stripe to add interest without making the room feel busy.
Grout And Transition Tips
Use a grout color that blends with your tiles to keep the stripes looking seamless. For sharp, clean lines, make sure the tiles are perfectly aligned and the grout lines are consistent. If you're mixing tile sizes, plan the layout carefully so the stripes align at the corners.
A professional installer can help, but with careful planning, this is a DIY-friendly project.
FAQ
Does vertical tile make a small shower look bigger?
Yes, vertical tile draws the eye upward, making the ceiling feel higher and the space more expansive, which can make a small shower appear larger.
What is the best tile size for a vertical layout?
Large-format tiles (like 12×24 inches) work well for vertical layouts because they minimize grout lines and create a cleaner, more seamless look.
Can I mix vertical and horizontal tile in the same shower?
Absolutely. Mixing orientations can add visual interest, but keep the same tile family or color palette to maintain a cohesive design.
Are vertical tiles harder to install?
Not necessarily. Installation is similar to horizontal, but it may require more cuts around fixtures. Hiring a professional ensures a flawless finish.
How do I clean vertical tile showers?
Regular wiping with a squeegee after use and occasional cleaning with a mild, non-abrasive cleaner will keep vertical tile looking fresh and grout lines clean.
Conclusion
Vertical tile is a simple yet powerful way to transform your shower into a calm, cohesive retreat. Whether you prefer classic subway or bold color blocking, there's an idea here to match your style and budget.
Start small with an accent strip or go all-in with large slabs—either way, you'll enjoy the visual lift and serene atmosphere. So grab your tile and get ready to see your shower in a whole new light.