15 Refined Shower Wall Niche Ideas with Easy, Elegant Design
A shower niche is more than a spot to hold shampoo; it’s a chance to elevate your bathroom’s look and function. But choosing the right design can feel overwhelming with so many options.
The key is to find a style that fits your space, your habits, and your taste without overcomplicating the build. These 15 ideas focus on practical solutions that look polished and intentional, whether you’re renovating or starting fresh.
Each one tackles a common problem—like clutter, awkward corners, or lack of shelf space—while keeping the design refined and easy to achieve.
1. Classic Tile-Trimmed Niche
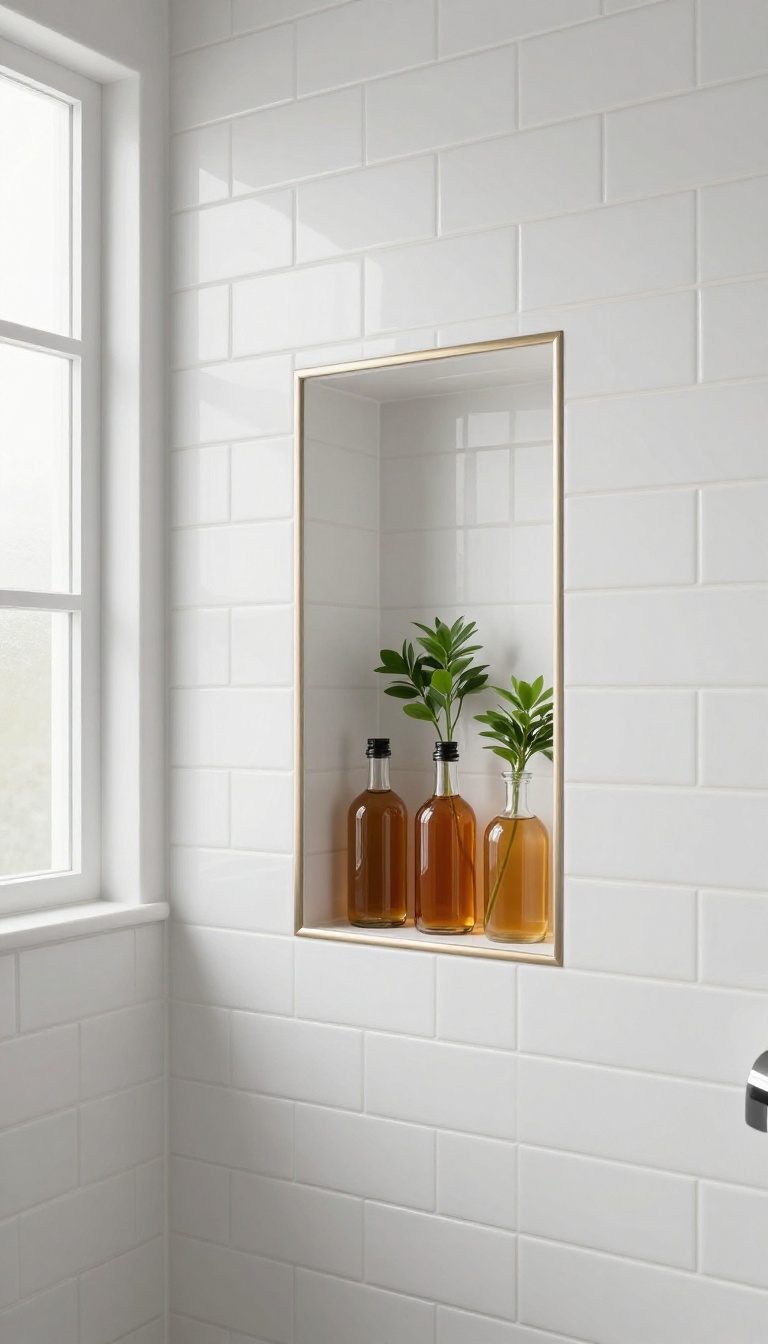
Sometimes the simplest approach is the most elegant. A classic tile-trimmed niche blends seamlessly into your shower wall, offering a clean, timeless look that never goes out of style. This design is all about harmony—matching the niche's interior tile to your main wall tile creates a unified surface, while a subtle trim adds just enough definition to make it feel intentional.
This niche is a workhorse: it's easy to clean, works with almost any tile style, and doesn't compete with the rest of your bathroom. Whether you choose a linear strip for bottles or a square cubby for everyday essentials, the classic tile-trimmed niche is a reliable choice that keeps your shower organized without sacrificing aesthetics.
Why It Works
The beauty of this design lies in its simplicity. By using the same tile as your shower walls, the niche visually disappears, making your space feel larger and less cluttered. The trim—often a pencil or bullnose edge—provides a crisp, finished look that protects the tile edges from chips and wear.
It's a low-maintenance option that doesn't require extra shelving or hardware.
Material And Finish Tips
For a truly seamless look, choose a tile that matches your wall in both color and finish. If you're using large-format tiles, consider a contrasting grout to subtly outline the niche. A metal trim, like brushed nickel or matte black, can add a modern touch, while a ceramic bullnose keeps things classic.
Avoid busy patterns inside the niche—simple is better for a clean, refined feel.
Placement And Size
Place the niche at a comfortable height—typically chest level—so you can easily reach your products. A single niche is usually enough, but if you have a large shower, two smaller niches can be more functional than one big one. Aim for a depth of about 3 to 4 inches to fit standard bottles without wasting space.
Work with your contractor to ensure the niche is properly sloped for drainage to prevent water pooling.
2. Corner Niche for Awkward Spaces
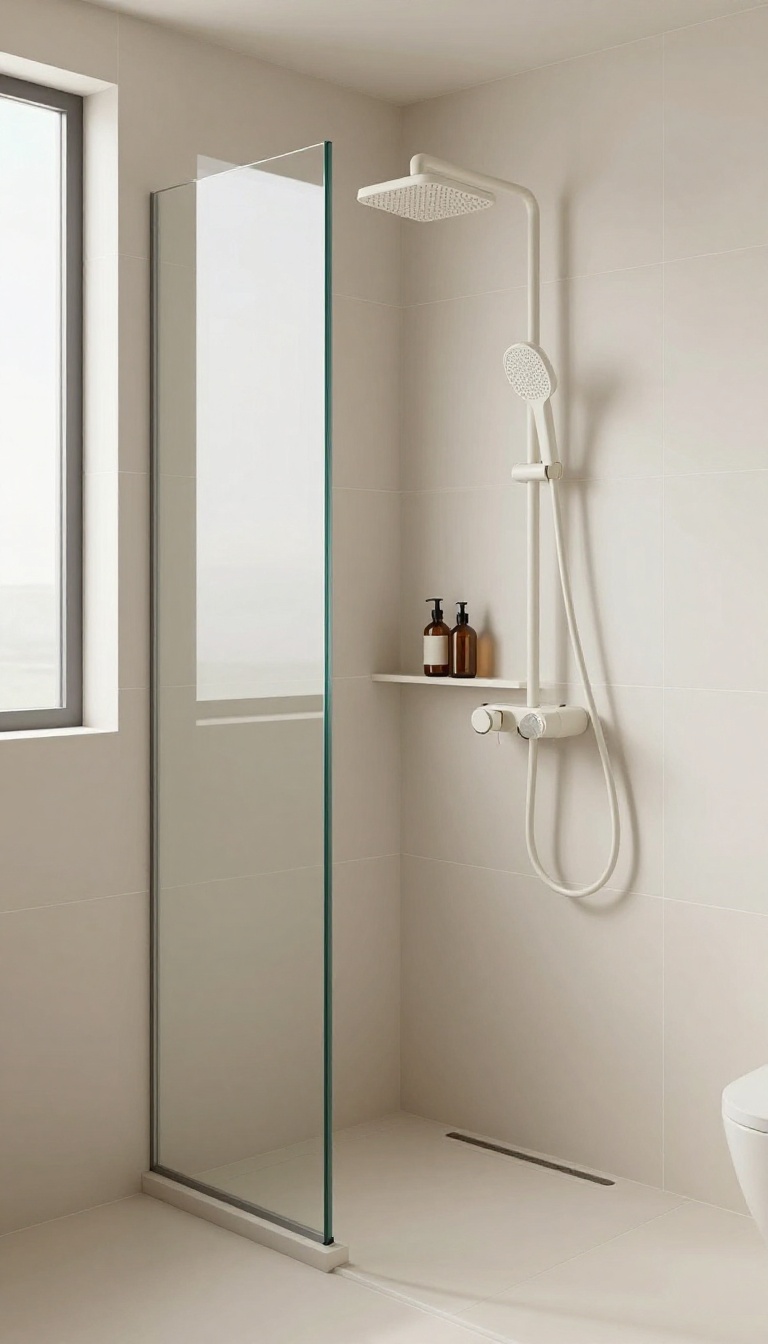
Corners often become dead zones in a shower, collecting soap scum and nothing else. A corner niche flips that wasted triangle into a functional shelf that tucks neatly out of the way. Whether you choose a curved insert or a sleek triangular ledge, this design works with the space instead of fighting it.
The beauty of a corner niche is that it doesn’t interrupt the main wall’s tile pattern or sightline. It slides into the angle, giving you storage without eating into the shower’s usable area. For smaller bathrooms, this can be a game changer—you get the convenience of a niche without sacrificing precious elbow room.
Why Corners Work So Well
Corners are naturally underused, so adding a niche there feels like a bonus. It keeps bottles and bars out of the main traffic zone, which is especially handy in compact showers. Plus, because the niche is set into the corner, it’s less likely to get bumped or knocked, so your products stay put.
Shape And Size Considerations
A triangular niche fits flush into the corner, while a curved option softens the lines and feels more organic. The size should match what you actually need—two shelves are usually plenty for a single user, but a family might want three. Just make sure the depth is enough for standard bottles without sticking out too far.
Tile And Finish Tips
To keep the niche looking seamless, use the same tile as the surrounding wall, or pick a contrasting accent tile for a subtle pop. A sloped base helps water drain instead of pooling, and a matching trim piece gives it a clean, finished edge. Avoid busy patterns inside the niche—it can make the space feel cluttered.
Installation And Lighting Ideas
If you’re building from scratch, position the niche at chest height or slightly lower so everything is easy to reach. Adding a small recessed light above the niche can highlight your products and make the shower feel more luxurious. For retrofits, a prefabricated corner niche is a simpler option that still looks custom.
3. Floating Glass Shelf Niche
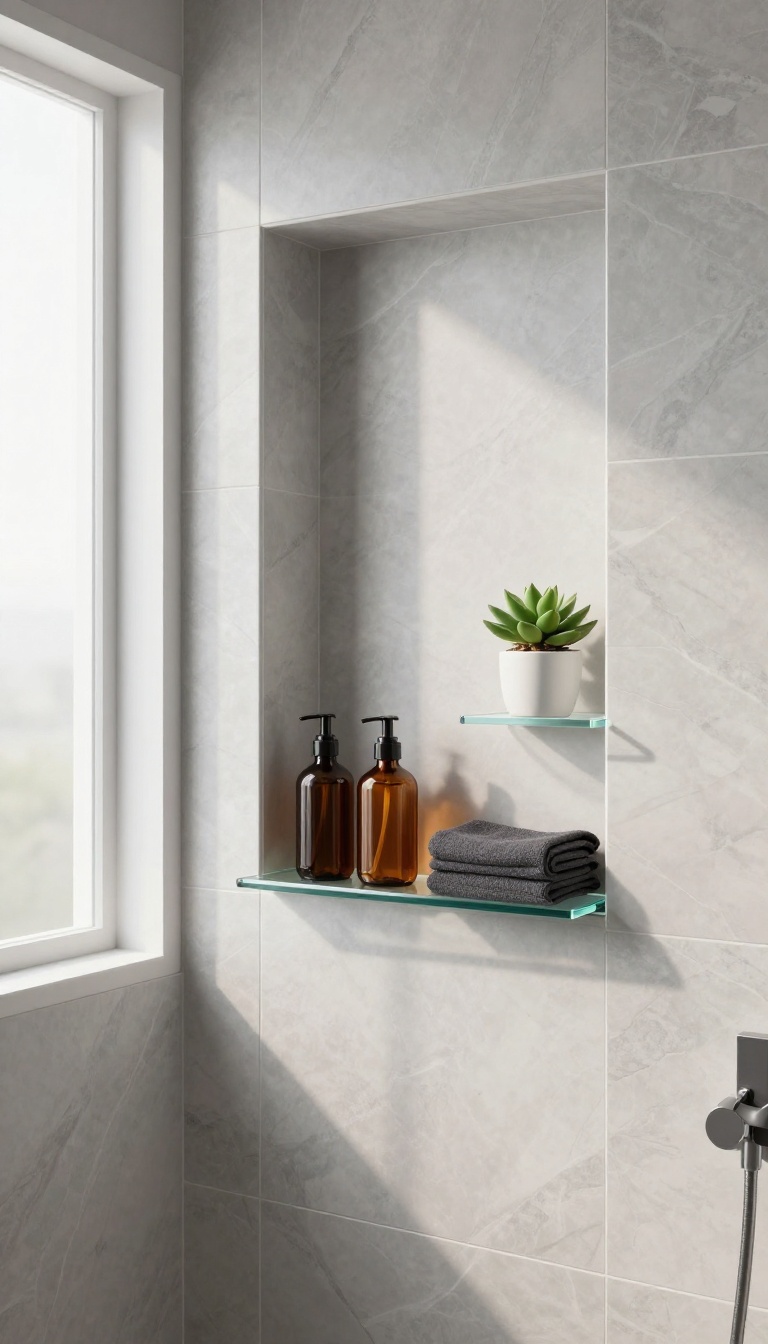
Stacking bottles in a single niche can quickly turn into a messy tower of half-empty containers. A floating glass shelf inside the niche solves that by adding a second level, so everything has its own spot. The transparent material keeps the niche feeling open, letting light pass through and making the shower appear larger than it is.
Integrating a glass shelf into your niche is a straightforward upgrade that brings both function and a touch of sophistication. The shelf can be custom-cut to fit any niche size, and the clear glass visually disappears, so your tile pattern remains the star. This design works especially well in smaller showers where you want to maximize storage without adding visual bulk.
Why Choose Glass
Glass shelves are moisture-resistant, easy to clean, and won't warp or rust like wood or metal. They also let you see all your products at a glance, so you never forget what's hiding behind a tall bottle. Plus, the sleek look pairs beautifully with both modern and traditional tile designs.
Installation Tips
For a seamless look, have the shelf cut to fit snugly inside the niche, with a small gap for expansion. Use tempered glass for safety and strength. For a truly floating effect, consider using hidden brackets or clips that hold the shelf from below, leaving the top edge completely clean.
Styling Your Shelf
Keep the shelf uncluttered by grouping items by use: everyday shampoo and body wash on the lower shelf, and smaller bottles or decorative items on the top. Use matching pump bottles or a small plant to add a touch of style without overwhelming the space.
4. Backlit Niche with LED Lighting
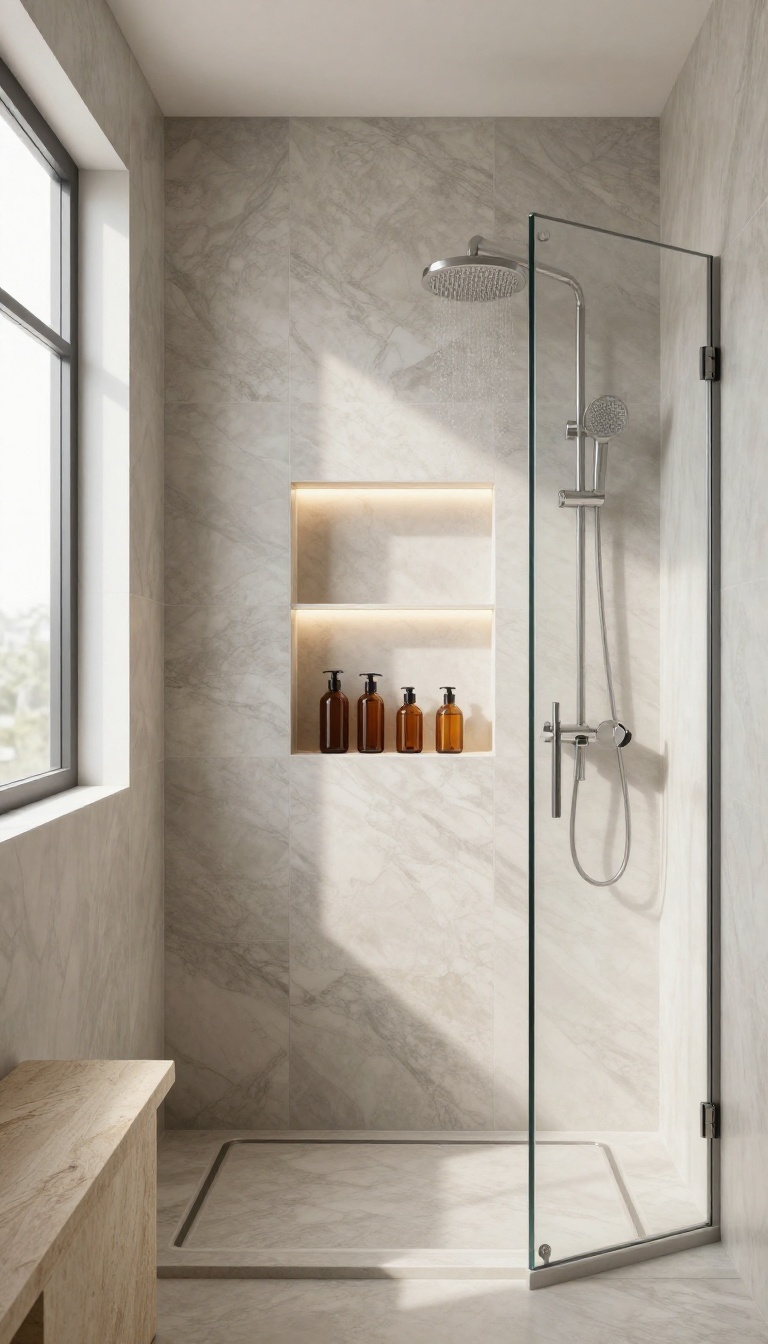
Dark corners in a shower can make even the nicest tile look dull. Adding LED lighting behind your niche changes that completely, turning a simple shelf into a soft focal point. It’s a small upgrade that brings a spa-like warmth to your daily routine.
Beyond looks, backlighting solves a practical problem: finding your shampoo in a dim shower. The glow makes products easy to spot, and it adds a layer of safety by improving visibility. Best of all, modern LED strips are waterproof and easy to install, so this idea is more achievable than you might think.
A backlit niche works by placing a waterproof LED strip behind the niche’s back panel or along its edges. The light shines through a translucent panel or reflects off the tile, creating a gentle halo effect. This design not only highlights your products but also adds depth to the wall, making the shower feel larger and more inviting.
When planning, think about the color temperature. Warm white (2700K–3000K) feels cozy and spa-like, while cool white (4000K–5000K) is crisper and more modern. You can also choose color-changing LEDs for a fun twist, but stick to a single hue for a refined look.
Placement matters too—centering the niche at eye level ensures the light is noticeable without being harsh. Installation is straightforward if you’re renovating: run the wiring before tiling and use a low-voltage transformer. For an existing shower, you can retrofit a niche with a slim LED profile that sits flush.
Just make sure everything is rated for wet areas and sealed properly to avoid moisture issues.
Warm Vs. Cool Lighting
The light tone sets the mood. Warm white creates a relaxing, amber glow that mimics candlelight—perfect for unwinding after a long day. Cool white feels more energizing and clinical, which suits a modern, minimalist bathroom.
If you’re unsure, warm white is the safer bet for a spa-like feel, but cool white works well if your tile has gray or blue undertones.
Placement And Visibility
Position the niche so the light isn’t directly in your eyes when you shower. A common spot is at chest height, angled slightly upward. This lights your products without glare.
Also, consider the showerhead’s spray—avoid placing the niche where water will constantly hit the light, even if it’s waterproof. A recessed niche on a side wall is usually ideal.
Waterproofing And Safety
Safety is non-negotiable. Use IP67-rated LED strips and a low-voltage (12V or 24V) transformer placed outside the wet zone. Seal all connections with heat-shrink tubing and silicone.
If you’re not confident with electrical work, hire a licensed electrician. The result is worth it—a glowing niche that’s both beautiful and safe.
5. Full-Height Niche for Tall Bottles
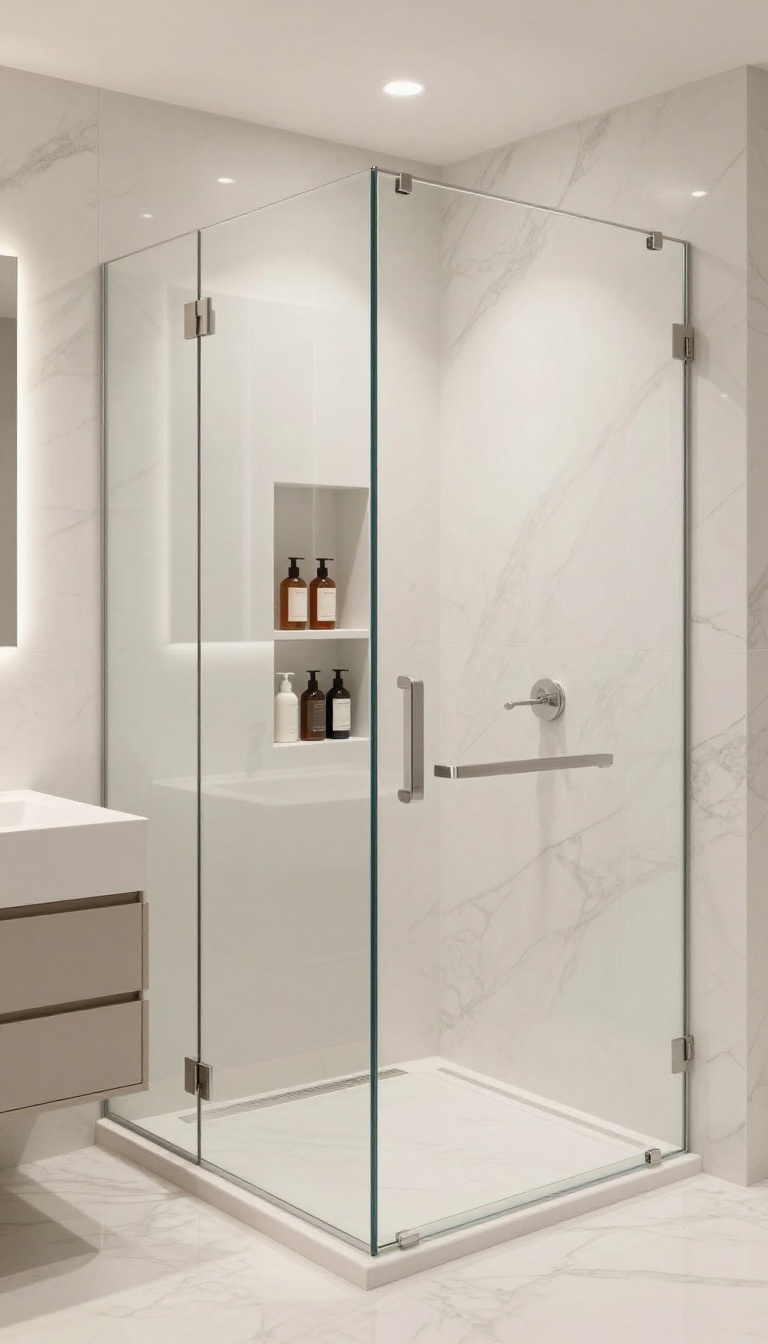
Tall bottles are a pain to store. They tip over, crowd the shelf, and often force you to bend down to grab them. A full-height niche solves this by giving you a dedicated vertical space that fits large containers upright, making everything easy to see and reach.
This design is all about using vertical space smartly. Instead of a standard square niche, you carve out a tall, narrow recess that runs from the floor or a lower shelf up to shoulder height or higher. It’s perfect for shower areas where you have tall shampoo bottles, body wash dispensers, or even cleaning supplies.
The key is to make it deep enough to hold bottles securely without them sticking out too far.
Why It Works
It keeps everything within arm’s reach without bending or stretching. You can see all your products at a glance, which reduces clutter and makes your shower feel more organized. Plus, it adds a sleek, architectural element to the tile design.
Planning The Dimensions
Measure your tallest bottle and add a few inches for clearance. A typical full-height niche might be 12 to 18 inches wide and 4 to 6 inches deep, extending from about 12 inches off the floor to around 5 feet high. You can also add a mid-height shelf to break up the space and hold smaller items.
Design And Finishing Tips
Use the same tile as the rest of the shower for a seamless look, or choose a contrasting tile to make the niche a focal point. Add a slight slope to the bottom shelf to prevent water pooling. Consider a frameless glass shelf if you want a lighter visual feel.
6. Double Niche with Center Divider
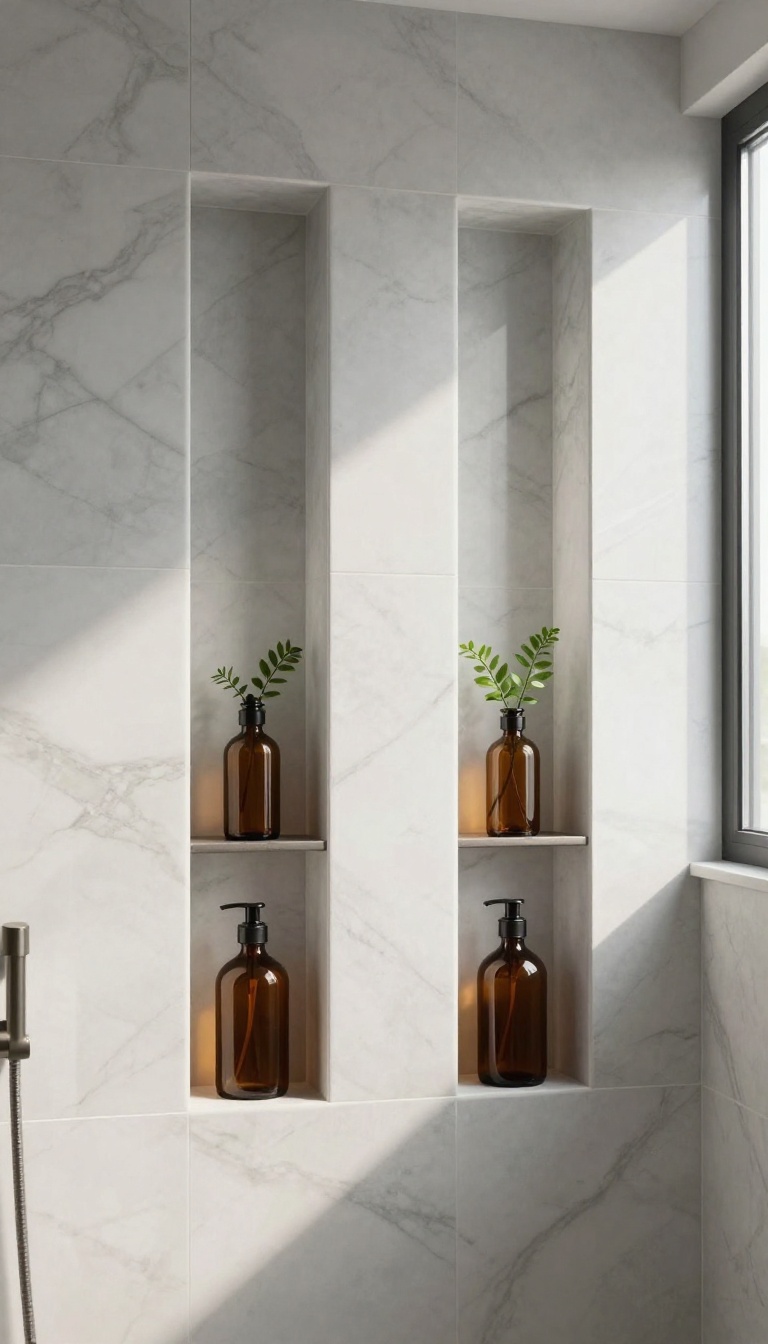
Sharing a shower often means sharing shelf space, which can lead to a jumble of bottles and a daily hunt for your own shampoo. A double niche with a center divider solves this neatly by giving each person their own dedicated zone. It’s a simple structural tweak that brings order and a touch of personal space to the busiest part of the bathroom.
The double niche is essentially two recessed shelves side by side, separated by a thin wall of tile or waterproof material. This built-in partition keeps products from mingling, so you can designate one side for your routine and the other for your partner or kids. The divider also adds visual interest, breaking up what could otherwise be a large, flat opening.
Why A Divider Works
The main benefit is organization without extra baskets or trays. Each compartment stays tidy because products don’t roll into each other. It also makes it easy to assign specific heights—one side for tall bottles, the other for smaller items—so everything is within reach.
For families, it cuts down on arguments over whose turn it is to move things around.
Design Options For The Divider
You can match the divider to the surrounding tile for a seamless look, or use a contrasting material like brushed metal or stone for a subtle accent. The divider can be full-height, reaching from top to bottom of the niche, or partial, leaving an open shelf above for larger items. Some people even add a small ledge on the divider for extra storage, though that’s optional.
Installation Tips
When planning the niche, make sure the divider is properly waterproofed and sealed, just like the rest of the recess. The width of each compartment should be based on what you typically store—measure your tallest bottle and add a little breathing room. It’s also wise to place the niche at a height that works for all users, often around chest level for easy access.
7. Niche with Built-In Soap Dish
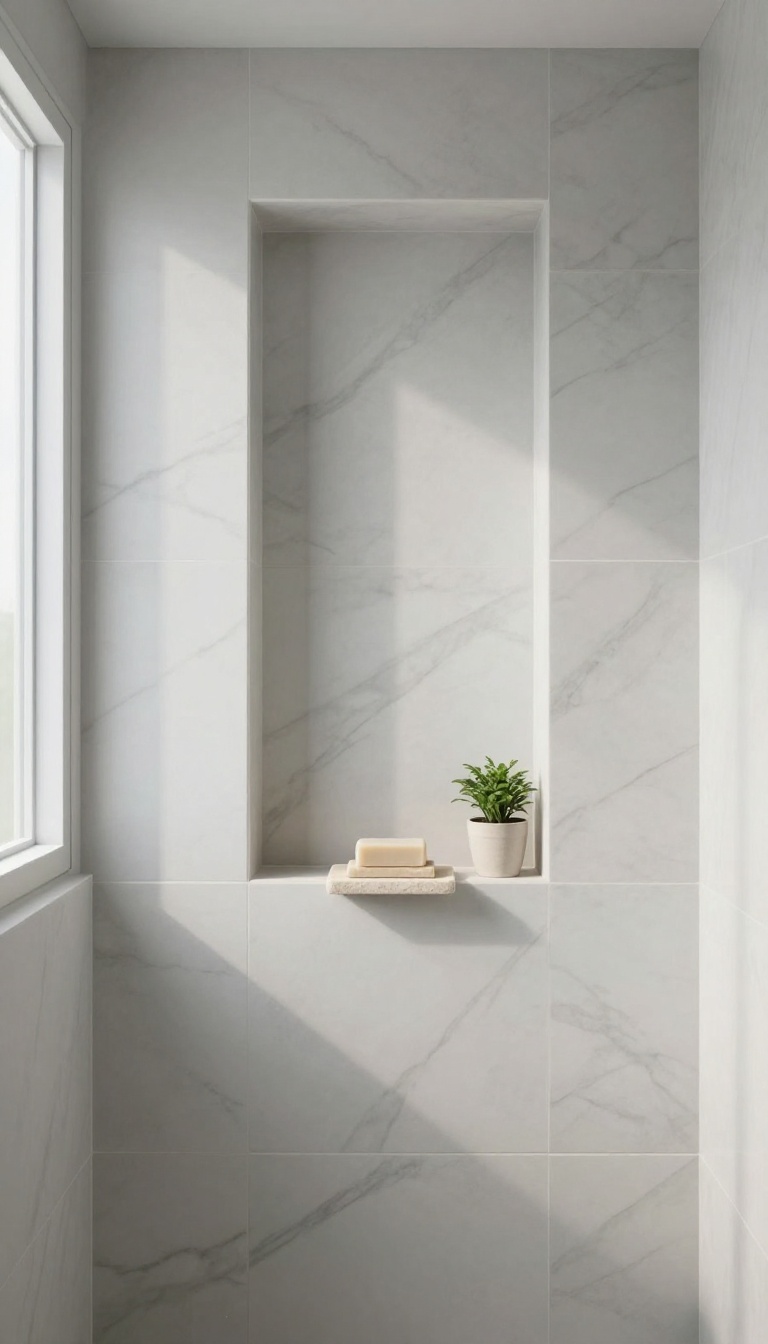
Tired of a soap dish that clogs or a caddy that rattles? A built-in soap dish within your niche is a sleek, practical upgrade. It keeps the soap dry and within easy reach, eliminating the need for extra hardware.
This simple addition makes your shower feel more custom and polished.
A built-in soap dish isn't just about convenience—it's about keeping your shower looking tidy. Without a separate caddy, you free up visual space and reduce clutter. The dish sits flush with the niche, so it doesn't interrupt the tile pattern.
Plus, it's easier to clean than a removable dish that collects grime underneath.
Design Options
You can choose a soap dish that matches your tile exactly for a seamless look, or go with a contrasting material like stone or metal for a subtle accent. Some designs are recessed into the niche floor, while others protrude slightly. Think about how much space you need—a single soap bar or a larger dish for a sponge and razor.
Placement Tips
Position the soap dish at a comfortable height, usually around chest level, so you can reach it without bending. Keep it away from the main water stream to prevent the soap from getting soggy. If you have a double niche, consider placing the dish on the lower shelf to keep the upper area clear for bottles.
Drainage And Maintenance
To avoid puddles, look for a dish with small drainage holes or a slight slope. This lets water run off and keeps the soap from sitting in moisture. For cleaning, a quick wipe with a squeegee or cloth after your shower is all it takes.
Since the dish is built in, there are no crevices for soap scum to hide.
8. Wood-Look Tile Niche
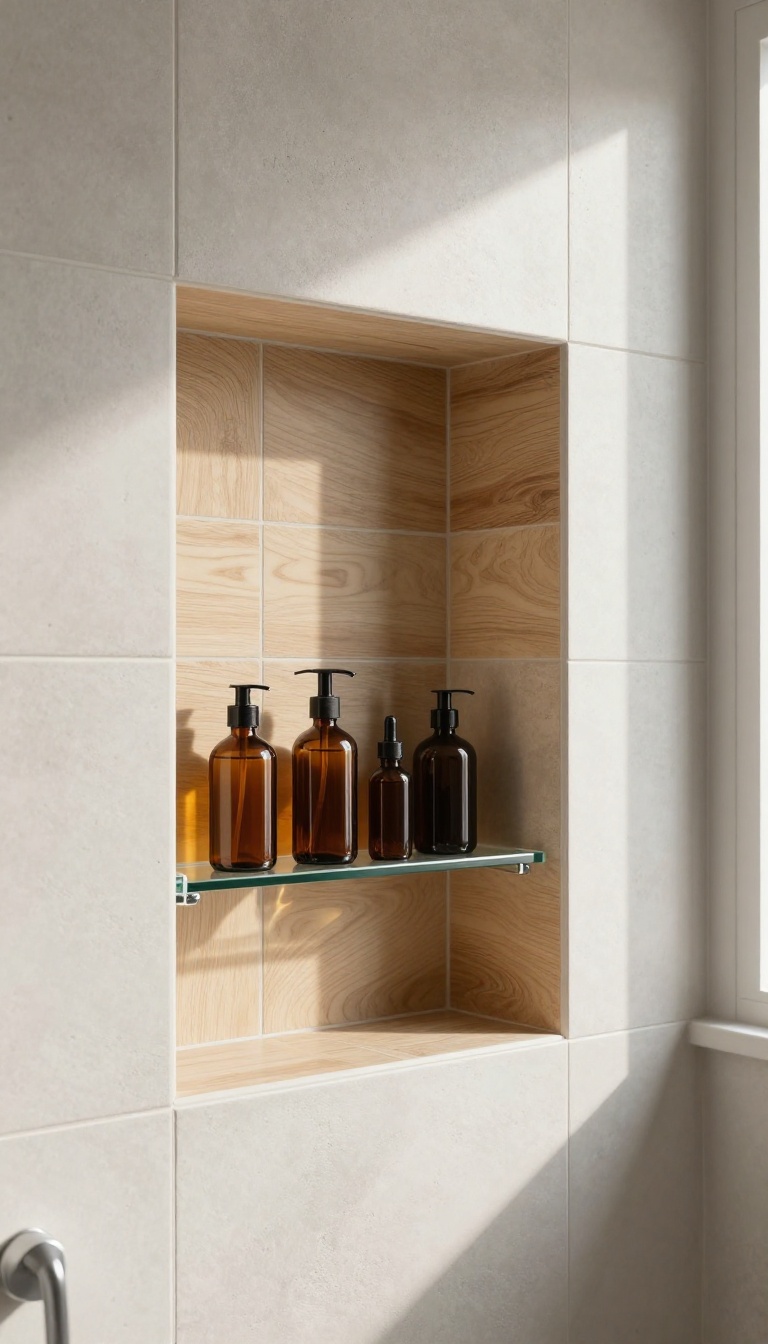
A shower niche lined with wood-look tile brings a touch of nature into an otherwise utilitarian space. It’s a simple swap that instantly warms up the room and adds a layer of texture you can see and feel. Plus, it solves the common problem of a sterile, all-white shower by introducing earthy tones that make the space feel more inviting.
This style works especially well in bathrooms with a spa-like or rustic theme, but it can also add a surprising contrast in modern, minimalist designs. The best part? You get the beauty of wood without the worry of moisture damage, since porcelain and ceramic tiles are completely waterproof and easy to maintain.
Why Wood-look Tile Works In A Wet Area
Real wood in a shower is a recipe for warping and mold, but wood-look tile gives you the same visual appeal with none of the risk. Porcelain and ceramic tiles are dense, non-porous, and resistant to moisture, so they hold up perfectly in a steamy environment. You also get the bonus of easy cleaning—just wipe down the tiles with a mild cleaner, and they look as good as new.
Choosing The Right Shade And Texture
The key is to pick a shade that complements your shower’s existing tile and fixtures. Lighter woods like oak or ash brighten the niche and make it feel airy, while darker woods like walnut add depth and drama. For a more authentic look, choose tiles with a matte finish and a slight grain texture—they mimic real wood so closely that guests will do a double take.
Pairing With Other Materials
Wood-look tile doesn’t have to stand alone. Pair it with a sleek glass shelf for a modern touch, or use a contrasting metal trim to define the niche’s edges. If your shower already has natural stone or concrete, the wood tone can soften the overall look and tie the elements together.
Just keep the rest of the niche simple so the wood stays the star.
9. Arched Niche for Softness
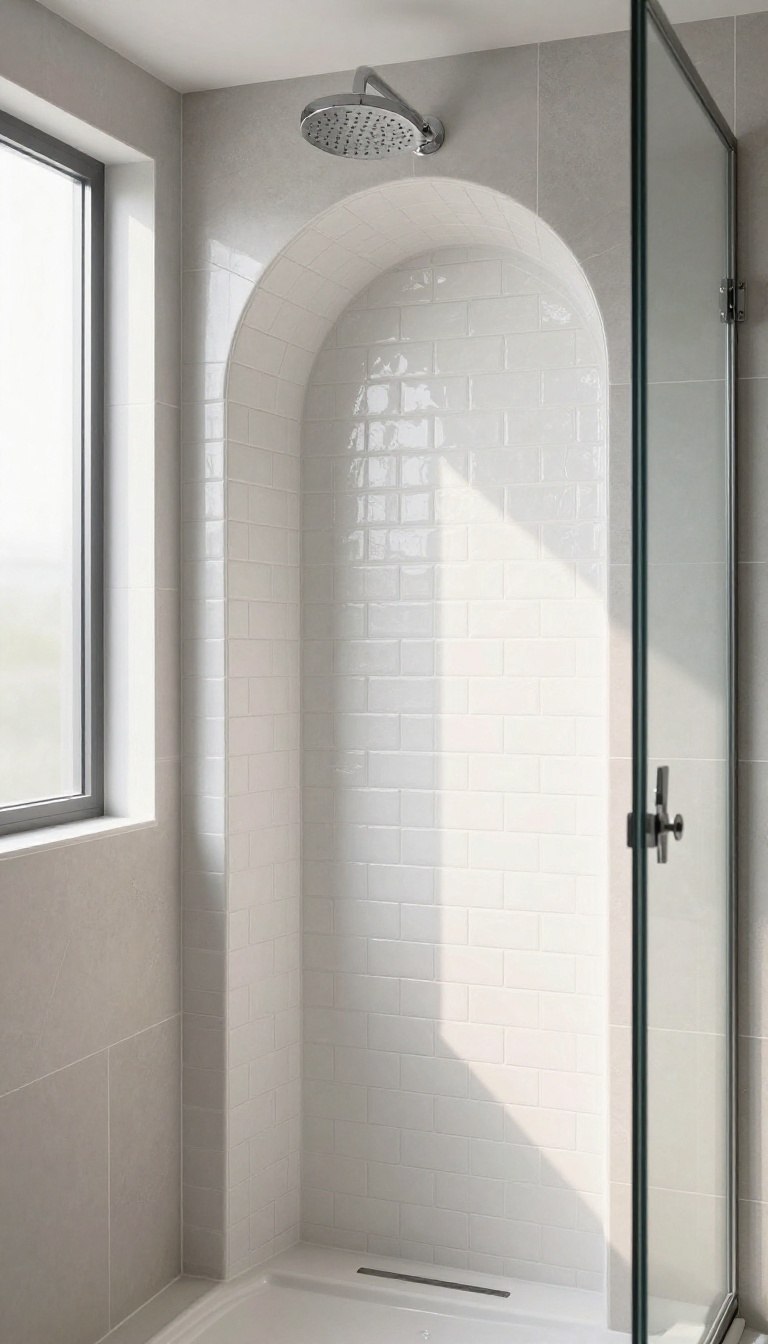
Sharp corners and straight lines dominate most shower designs, but an arched niche breaks that pattern with a gentle curve. It softens the overall look and adds a classic, almost timeless feel. Whether your bathroom leans traditional or modern, an arched opening can become a subtle focal point without trying too hard.
An arched niche is more than just a pretty shape; it changes how the shower feels. The curve draws the eye upward, making the ceiling seem higher and the space more open. It also pairs beautifully with a variety of tile styles, from subway to mosaic, and can be framed with trim or left flush for a seamless look.
The key is to keep the proportions balanced—too small and it looks like an afterthought, too large and it overwhelms the wall.
Why Arches Work
Arches have been used in architecture for centuries because they naturally convey grace and stability. In a shower, they break up the monotony of vertical and horizontal lines, adding visual interest without clutter. They also work well in both classic and contemporary settings, making them a versatile choice for any bathroom remodel.
Tile And Trim Options
The finish of your arched niche matters as much as the shape. For a seamless look, continue the same tile from the wall into the niche, using a bullnose or schluter edge to follow the curve. Alternatively, choose a contrasting tile or a metal trim to highlight the arch.
Small mosaic tiles are especially good at conforming to curved edges, while larger tiles may require more cutting.
Placement Tips
Think about where the arch will be most visible. A common spot is the center of the main shower wall, about shoulder height. You can also place it near the showerhead for easy access to products.
If you have a bench or a corner seat, an arched niche above it can create a lovely vignette. Just make sure it’s not too close to the edge of the wall, as the curve needs room to breathe.
10. Niche with Marble Accent
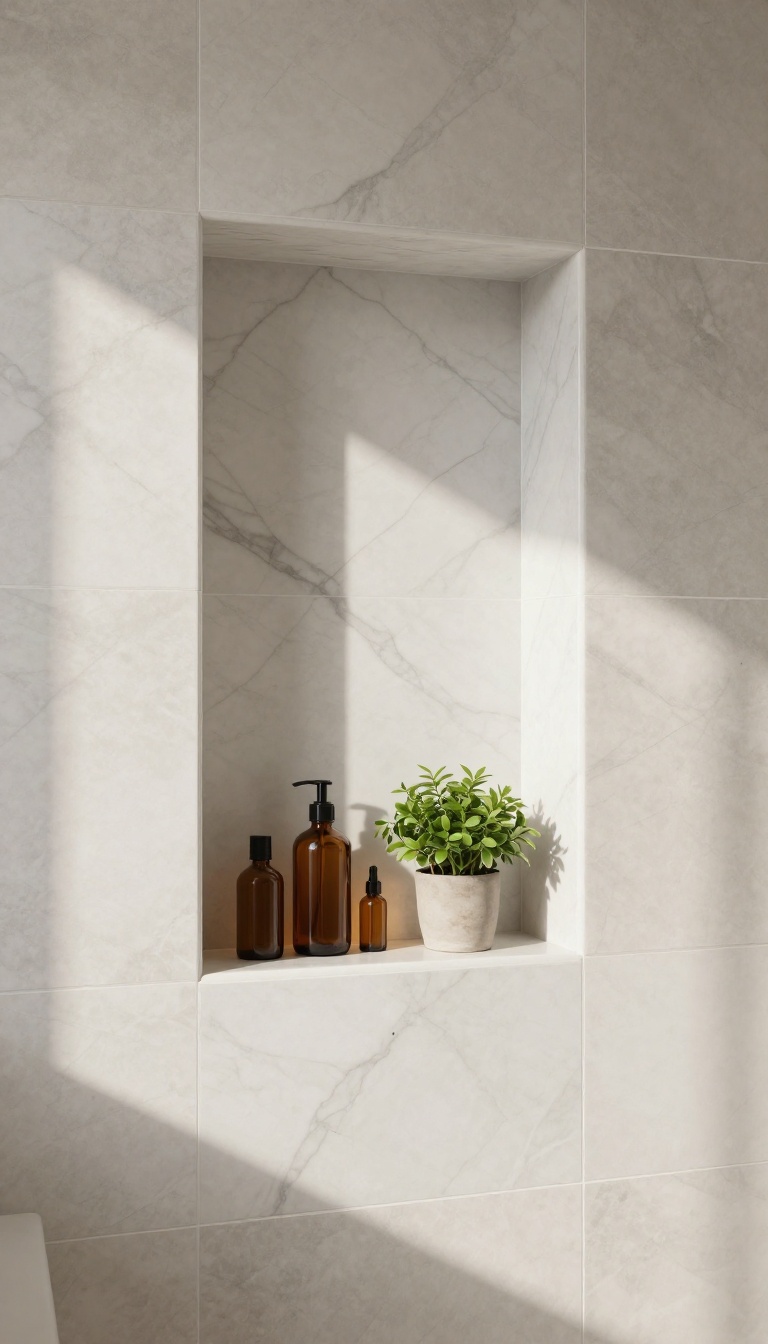
Marble has a way of making anything feel more expensive, and a shower niche is no exception. Lining the niche with marble or a marble-look tile creates a small but striking focal point that elevates the whole shower. It’s a simple upgrade that solves the problem of a plain, forgettable shower while adding a touch of luxury.
A marble accent niche works best when it contrasts with the surrounding tile. If your shower walls are neutral or solid, the marble will pop. If you already have marble walls, choose a complementary shade or a different finish for the niche to keep it distinct.
The key is to make the niche feel intentional, not accidental.
Choosing The Right Marble
You don’t have to splurge on real marble to get the look. Porcelain and ceramic tiles that mimic marble are durable, low-maintenance, and budget-friendly. If you do go with natural marble, be aware that it needs sealing and can etch with harsh cleaners.
For a wet area, a polished marble or a marble-look porcelain with a matte finish can be safer and easier to care for.
Placement And Size
Place the niche where it’s visible but not in the direct line of water spray. A common spot is on a side wall, about chest height. The niche should be large enough to hold your shower essentials but not so big that it overwhelms the wall.
A standard 12 by 12 inch niche works well, but you can adjust based on your needs.
Styling The Niche
Keep the styling simple to let the marble shine. Use a few matching bottles or a single plant to avoid clutter. If you have a shelf, consider adding a small teak wood accent for warmth.
The goal is to maintain a clean, spa-like feel.
11. Recessed Shelf with Towel Bar
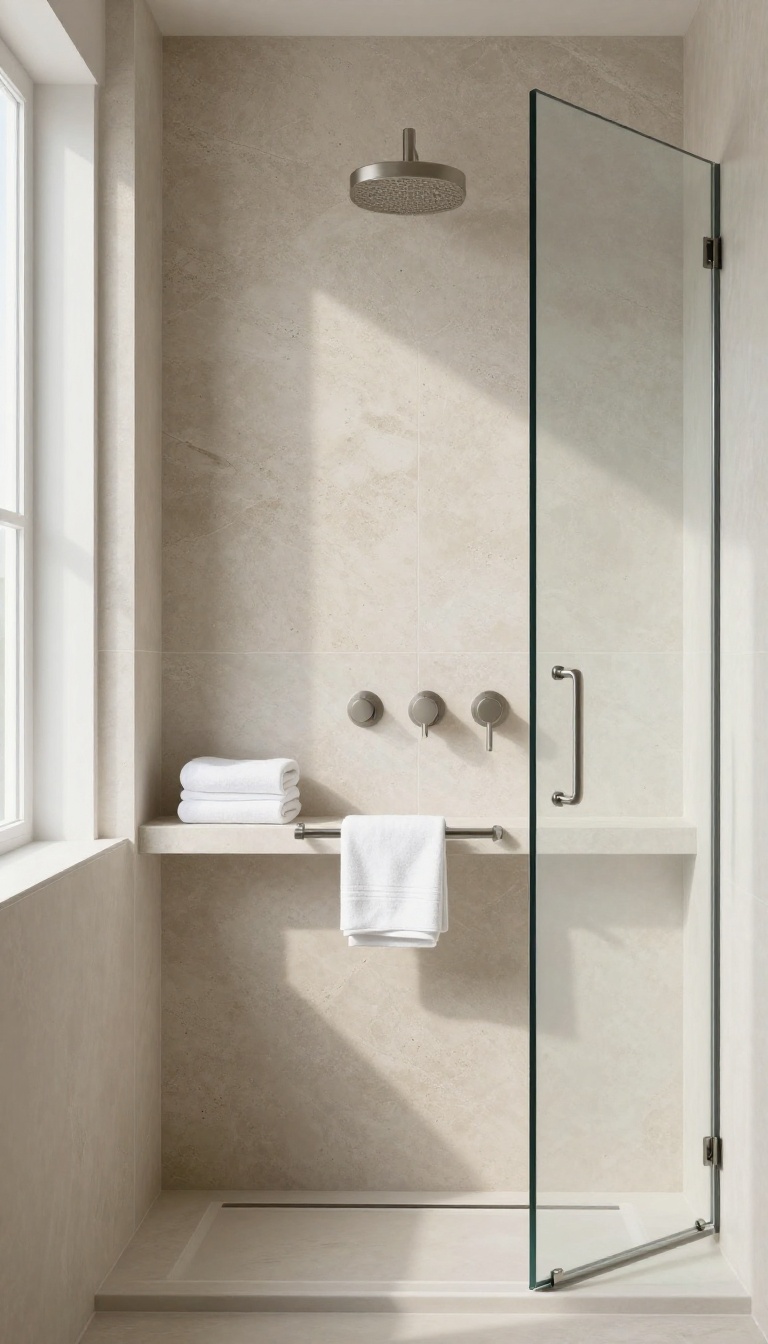
A recessed shelf with a towel bar is a clever two-in-one solution that keeps your washcloth or loofah within easy reach without cluttering the shower floor. It’s a small addition that makes a big difference in daily convenience, especially if you’re tired of balancing a wet cloth on the edge of a shelf or leaving it on a hook outside the shower. This idea combines storage and hanging space in one sleek, built-in unit that looks intentional and refined.
The key is to integrate the towel bar seamlessly into the niche design, either as a horizontal bar beneath the shelf or as a small hook on the side. This way, you get a dedicated spot for your essentials and a place to dry your cloth or loofah between uses. It’s a practical upgrade that feels custom without requiring a complex build.
Placement That Works
Think about where you naturally reach for a washcloth or loofah. A niche with a towel bar is best positioned at shoulder height or slightly lower, so you can grab it without stretching. If you’re adding it during a renovation, place it near the shower entrance or the side where you usually stand.
For a retrofit, you can install a smaller niche with a bar, but make sure it’s not in the direct line of water spray to keep the cloth from staying soaked.
Materials And Finishes
Match the towel bar to your faucet or shower trim for a cohesive look. Stainless steel and brushed nickel are popular choices that resist corrosion. If you prefer a warmer feel, brass or matte black add a stylish contrast.
For the niche itself, use the same tile as your shower walls or a contrasting accent tile to make it stand out. Just ensure the bar is securely anchored to the wall—especially if you’ll hang heavier items like a wet towel.
Small Details, Big Impact
Consider adding a slight slope to the shelf so water doesn’t pool, and make sure the bar is placed far enough from the shelf to allow easy hanging. You can also add a small lip on the shelf to keep bottles from sliding off. These tiny touches make the niche feel thought-out and keep it functional for years.
12. Niche with Adjustable Shelves
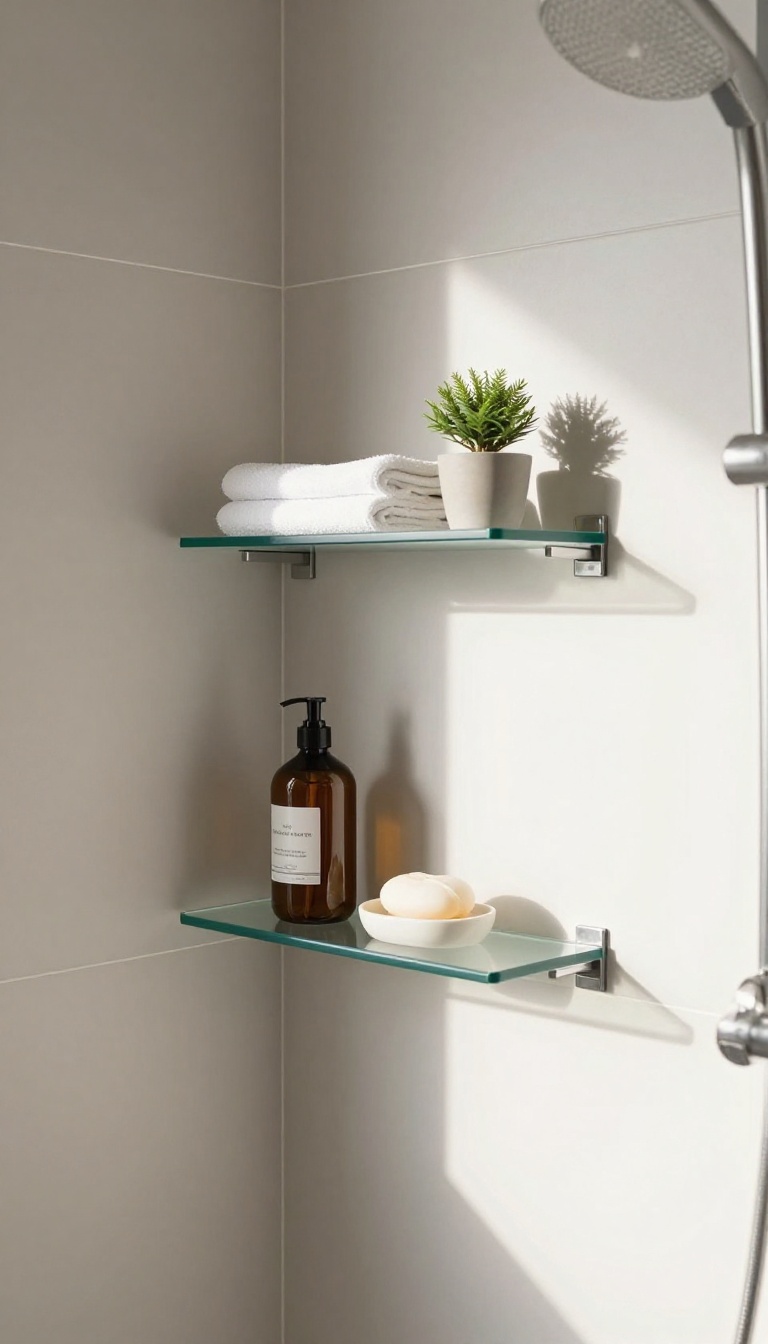
Fixed shelves inside a niche can be frustrating when your tallest bottle doesn’t fit or you’re left with awkward gaps. Adjustable shelving solves that by letting you change the height of each shelf to match what you actually use. It’s a simple upgrade that makes the niche work for you, not the other way around.
Adjustable shelves are a practical choice for anyone who likes to reorganize or swap out products often. Instead of being locked into one configuration, you can move shelves up or down in seconds, accommodating everything from a small soap dish to a tall shampoo bottle. This flexibility is especially handy in shared bathrooms where different people have different needs.
How It Works
Most adjustable niches use a series of small brackets or tracks mounted on the sides of the opening. The shelves rest on these supports, so you can lift them out and reposition them without any tools. Some systems use a simple peg-and-hole design, while others feature a rail that lets you slide shelves to any height.
Either way, the mechanism is discreet and doesn’t interfere with the clean look of the niche.
Materials That Work Best
Since the shelves are removable, you can choose materials that are both water-resistant and easy to clean. Tempered glass is a popular option because it’s sleek and doesn’t warp, but solid stone or sealed wood can also work if you prefer a warmer look. Just make sure the brackets are made from stainless steel or another rust-proof material to avoid corrosion in the humid shower environment.
Design Tips
To keep the niche looking polished, opt for shelves that match the surrounding tile or contrast subtly, like a lighter shade of the same stone. You can also use the adjustable feature to create a little extra space for a folded towel or a small plant, adding a touch of personality. If you’re worried about the brackets showing, choose a system with a low profile or install them on the sides so they’re less noticeable.
13. Minimalist Frameless Niche
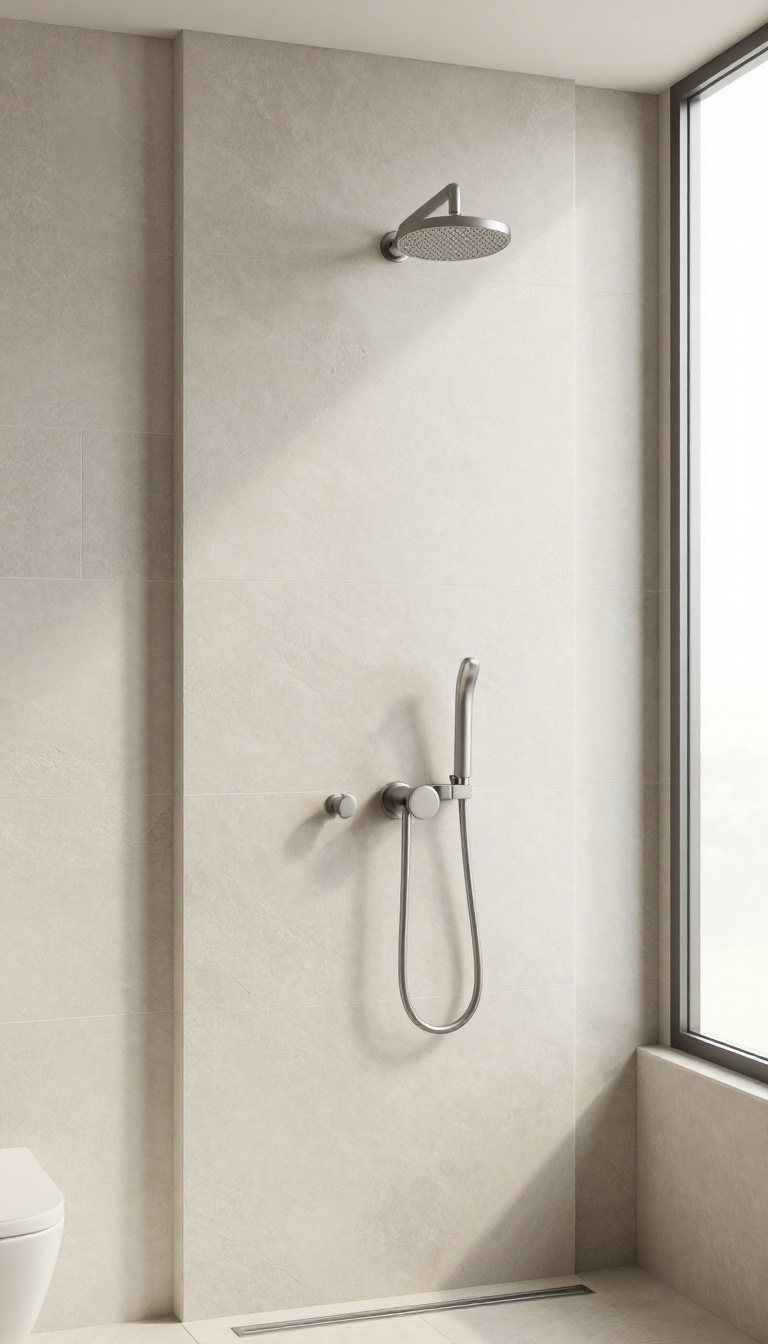
A frameless niche skips the trim and lets the tile flow right into the recess, creating a clean, uninterrupted surface. This design solves the problem of bulky edges that can collect grime or look dated. It’s a favorite in modern bathrooms where simplicity and precision matter.
The beauty of a frameless niche lies in what you don’t see—no metal edging, no contrasting border, just a smooth transition from wall to shelf. This approach works best with large-format tile or continuous stone, because fewer grout lines make the niche feel like a natural cutout rather than an add-on. The result is a sleek, almost invisible storage spot that keeps your shower looking airy and uncluttered.
Why Skip The Trim?
Trim around a niche often serves a practical purpose—it covers cut tile edges and prevents moisture from seeping behind the wall. But it can also create a visual break that interrupts the tile pattern. A frameless design eliminates that break, giving the niche a more integrated look.
It also reduces the number of surfaces you need to clean, since there’s no metal or plastic lip to collect soap scum.
Tile Selection Matters
To pull off a frameless niche, the tile choice is crucial. Large porcelain slabs or continuous stone panels are ideal because they can be cut cleanly and the edges can be polished or honed. If you’re using smaller tiles, you’ll need to plan the layout carefully so the cut edges align neatly with the niche opening.
A professional installer can help you achieve that seamless finish.
Installation Tips
The key to a frameless niche is waterproofing and precise cutting. The niche should be built with a slight slope toward the drain to prevent water pooling, and the edges should be sealed with a clear silicone or epoxy grout. Work with a contractor who has experience with this style, because the margin for error is small—any unevenness will be immediately noticeable.
14. Niche with Contrasting Color
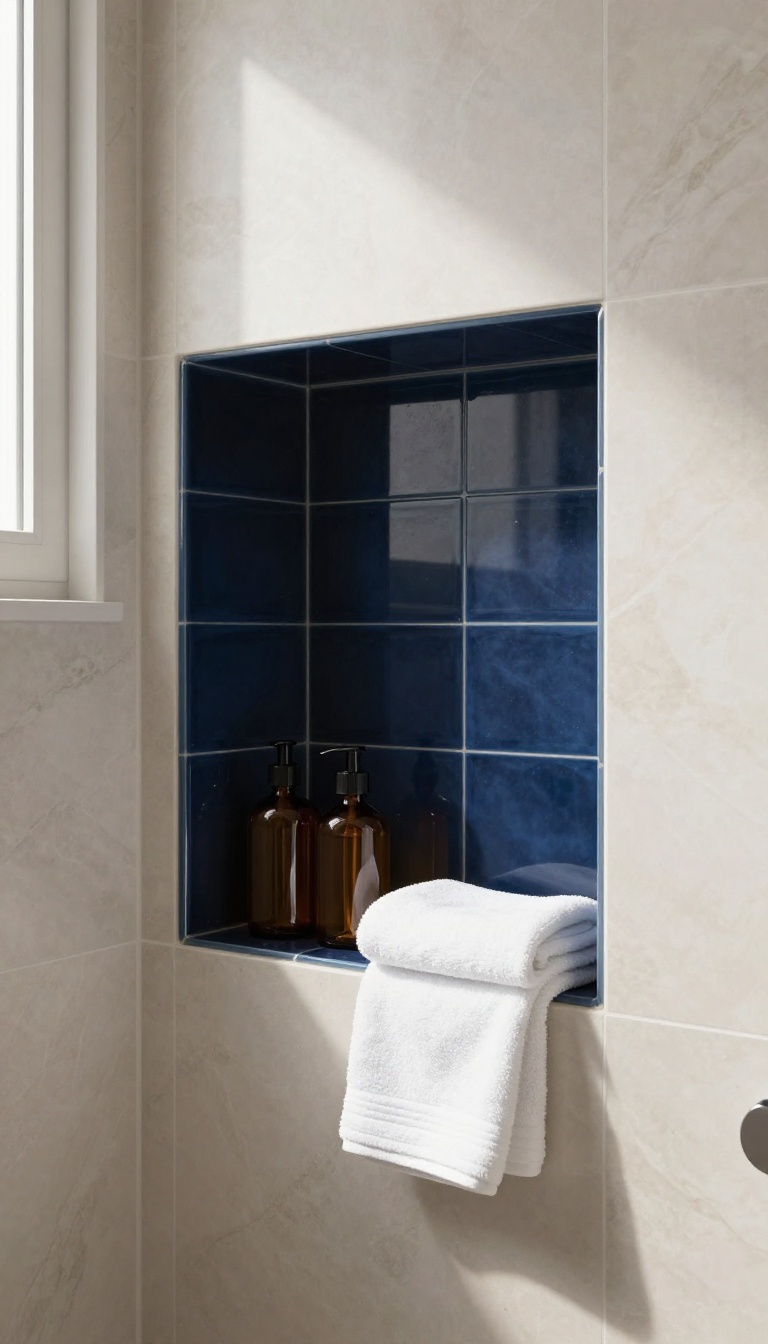
Sometimes all a shower needs is a little contrast to wake up the whole space. A niche in a bold or darker shade breaks up the monotony of uniform tile and gives your eye a natural focal point. It’s a simple move that adds depth and personality without a full redesign.
Choosing a contrasting color for your niche can be as subtle or as daring as you like. If your shower walls are light, go with a deep navy, charcoal, or even a soft black. If you’re feeling braver, a terracotta or emerald green can bring warmth and energy.
The key is to pick a shade that complements your existing tile and fixtures, not one that fights them.
Why Contrast Works
A contrasting niche does two things at once: it makes the storage area easy to spot, and it adds a designer touch that feels intentional. When the niche blends into the wall, it can look like an afterthought. But when it stands out, it becomes a feature you planned on purpose.
That visual pop also helps break up large expanses of tile, making the shower feel more dynamic and less flat.
Choosing The Right Shade
Start by looking at the colors already in your bathroom—your vanity, floor, or even a piece of art. Pick a shade that echoes one of those tones for a cohesive look. If your tile is neutral, almost any color will work.
For a more grounded feel, go with a darker version of your wall color. If you want a playful vibe, try a complementary color from the opposite side of the color wheel.
Finishing Touches
Once you’ve picked the color, think about the finish. A matte finish can look modern and soft, while a glossy finish will reflect light and make the niche feel larger. You can also use the same contrasting tile on the back wall of the niche and keep the trim the same as the surrounding tile.
That keeps the look clean and avoids overcomplicating the design.
15. Niche with Plant Shelf
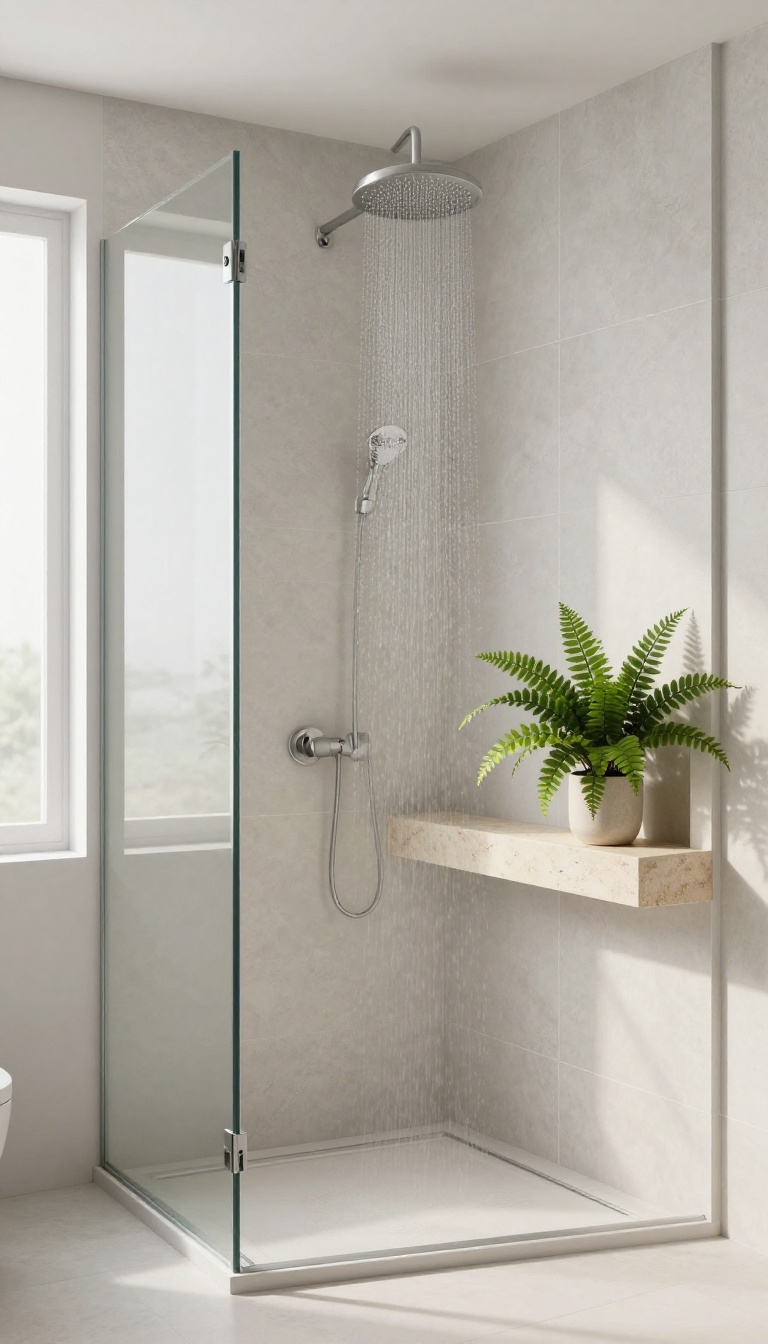
Adding a small shelf inside your shower niche for a humidity-loving plant is a simple way to bring life and color into the space. It turns a purely functional recess into a mini garden that thrives on the steam and moisture. This idea works especially well if you have a niche that’s deeper than usual or if you want to soften the hard edges of tile with something organic.
A plant shelf inside the niche is more than just a decorative touch—it’s a practical solution for those who love greenery but lack windowsill space. The constant humidity and indirect light in most showers create an ideal environment for ferns, orchids, or pothos. Plus, the plant adds a refreshing contrast to the typical sterile look of a bathroom, making your daily routine feel more spa-like.
Choosing The Right Plant
Not every plant will thrive in a shower, so pick species that love moisture and low light. Good options include Boston ferns, peace lilies, and certain orchids. Avoid cacti or succulents, which prefer dry conditions.
Also, consider the size—keep the plant compact so it doesn’t block your shampoo bottles or crowd the space.
Placement And Drainage
Position the shelf at a height that’s easy to reach for watering and maintenance, but not in the direct line of the showerhead to prevent overwatering. Ensure the shelf has a slight slope or a lip to catch excess water, and use a pot with drainage holes to avoid root rot. You can also add a small tray or pebbles to keep the area tidy.
Design And Material Tips
For a seamless look, use the same tile or stone as the rest of the niche for the shelf. If you want the plant to stand out, choose a contrasting material like wood or a metal bracket. Keep the shelf slim and unobtrusive so the plant remains the focal point.
Also, consider adding a small LED light above the niche to highlight the greenery and create a warm ambiance.
FAQ
What is the ideal size for a shower niche?
A standard niche is about 12 inches wide, 12-16 inches tall, and 3-4 inches deep. Adjust based on your products and wall space.
Can I add a niche to an existing shower?
Yes, but it requires cutting into the wall and waterproofing. It’s easier during a renovation, but a contractor can retrofit one if there’s access.
How do I prevent mold in a shower niche?
Ensure proper slope for drainage, use waterproof materials like tile or stone, and clean regularly. Good ventilation also helps.
What is the best material for a shower niche?
Porcelain or ceramic tile is durable and easy to clean. Natural stone like marble looks elegant but needs sealing. Glass shelves are also popular.
Do shower niches need a special waterproofing membrane?
Yes, the niche should be waterproofed with a membrane like Schluter-Kerdi or a liquid membrane to prevent moisture damage.
Conclusion
Choosing the right shower niche can feel like a small detail, but it makes a big difference in how your bathroom looks and works. Whether you go for a simple recessed shelf or a bold tiled feature, the goal is to blend function with your personal style.
Take your time to measure, pick materials that handle moisture well, and think about what you’ll actually store there. A well-planned niche adds convenience and a polished finish that you’ll appreciate every day.