15 Upholstery Chair Cleaning Tips for Spots and Dust
Your favorite armchair shouldn't look like a dust magnet or a crime scene. With the right techniques, you can erase spots and banish dust without damaging the fabric. These 15 tips turn everyday spills and grime into no-brainer fixes, using stuff you probably already have at home.
From blotting red wine to banishing pet odors, each method is tailored to a specific stain or fabric type. No guesswork, no harsh chemicals—just practical steps that keep your upholstery looking fresh longer.
Ready to rescue your furniture? Let's get cleaning.
1. Vacuum with the Right Attachment
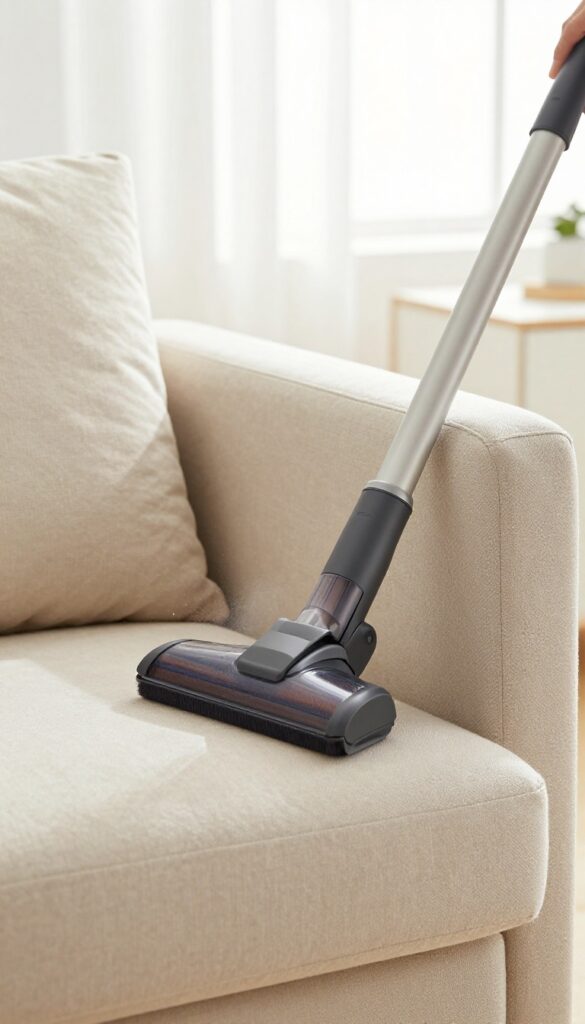
Most people grab the standard floor nozzle and call it a day. But that wide opening can actually push dust deeper into the fabric instead of lifting it out. The upholstery brush attachment is your best friend here—it's designed to gently agitate fibers while suction pulls debris away.
Start by removing any loose cushions and vacuuming both sides. Use slow, overlapping strokes in one direction, then repeat in the opposite direction to catch embedded grit. For crevices and seams, switch to the crevice tool to suck out crumbs and pet hair that settle in the cracks.
Why Direction Matters
Vacuuming in multiple directions is key. Fabric fibers don't all lay the same way, and dust can hide in the nap. By going back and forth, you dislodge particles that a single pass would miss.
Think of it like raking leaves—you need to rake from different angles to get them all.
Don't Forget The Back And Sides
It's easy to focus on the seat and armrests, but dust settles on the backrest and sides too. Give those areas equal attention. If your vacuum has adjustable suction, use a lower setting on delicate fabrics like velvet or linen to avoid pulling the fibers loose.
2. Blot Spills Immediately
Time is your enemy when a drink tips over or a pet has an accident. The longer a spill sits, the deeper it penetrates the fibers, making removal much harder. Acting within seconds can mean the difference between a quick fix and a permanent stain.
Grab a clean, white cloth or paper towel—colored ones can transfer dye. Press down firmly to absorb as much liquid as possible, working from the outside of the spill inward to prevent spreading. Repeat with fresh sections of the cloth until no more moisture transfers.
Never rub or scrub, as that grinds the stain into the fabric and can damage the texture. For thicker spills like sauce or mud, first scrape off any solids with a spoon or dull knife before blotting.
Why Rubbing Makes It Worse
Rubbing pushes the liquid deeper into the padding and spreads the stain over a larger area. It also frays the fibers, leaving a fuzzy or worn spot. Blotting lifts the liquid out instead of forcing it in.
The Right Cloth Matters
Use a white, lint-free cloth to avoid color transfer or leaving fibers behind. Old t-shirts or microfiber towels work well. Avoid patterned or dark fabrics that might bleed dye onto your upholstery.
3. Test Cleaners in a Hidden Spot
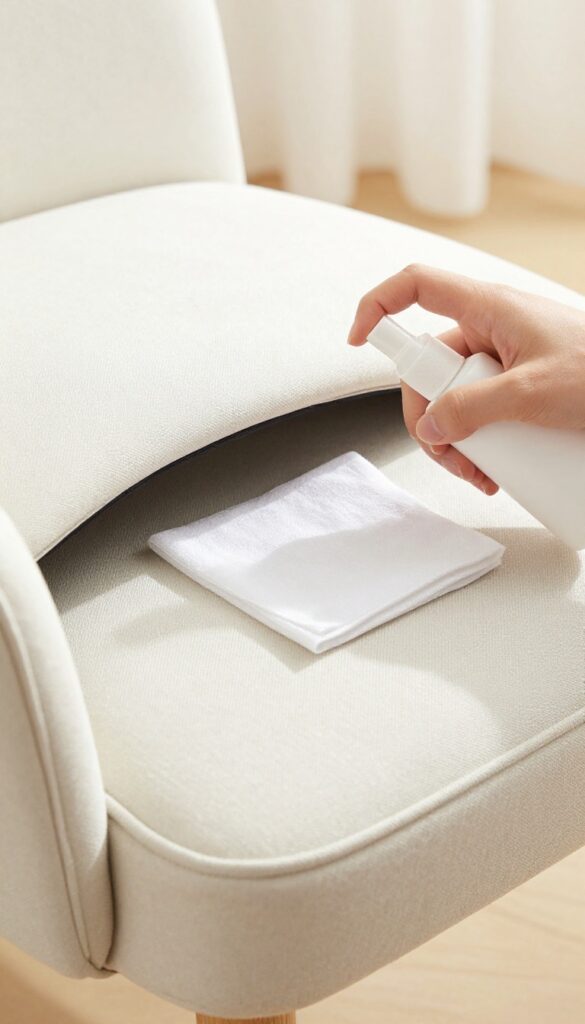
You might be tempted to grab the nearest spray and start scrubbing, but that's a gamble. Different fabrics react differently to cleaning agents, and what works on one chair could ruin another. A quick patch test takes two minutes and saves you from a costly mistake.
Why Testing Matters
Upholstery fabric can be delicate. Some cleaners cause fading, shrinking, or even discoloration that won't come out. Testing in a hidden spot—like under the cushion or behind the chair—lets you see how the fabric reacts before you treat a visible area.
How To Test Properly
Dampen a clean white cloth with your cleaning solution and blot the hidden area. Wait a few minutes, then check for any color transfer, bleeding, or texture change. If the cloth picks up dye or the fabric looks damaged, choose a different cleaner.
What To Do If The Test Fails
If your first cleaner fails the test, don't panic. Try a milder option like plain water or a solution of water and a tiny drop of dish soap. For stubborn spots, consider a professional cleaner or a product specifically labeled for your fabric type.
4. Use a DIY Vinegar Solution for Fresh Stains
White vinegar is a powerhouse when it comes to tackling fresh stains on upholstery. It's gentle enough for most fabrics but tough on spots, plus it naturally neutralizes odors. Best of all, you probably already have a bottle in your pantry.
When a spill happens, grab your vinegar solution fast. Mix equal parts white vinegar and water in a spray bottle. Lightly mist the stain—don't soak it.
Blot with a clean white cloth, working from the outside in to prevent spreading. Repeat until the spot lifts. The vinegar smell fades as it dries, taking odors with it.
Why Vinegar Works So Well
Vinegar's mild acidity breaks down many common stains like coffee, juice, and mud without harsh chemicals. It also kills bacteria and deodorizes, making it ideal for pet accidents or musty smells.
When To Skip This Method
Avoid vinegar on natural stone or delicate fabrics like silk and wool. Always test on a hidden area first. For stubborn stains, let the solution sit for 5–10 minutes before blotting.
Pro Tip For Stubborn Spots
Add a drop of dish soap to the vinegar mixture for extra grease-fighting power. Just don't oversuds—too much soap can leave a residue that attracts more dirt.
5. Baking Soda for Grease and Oil Spots
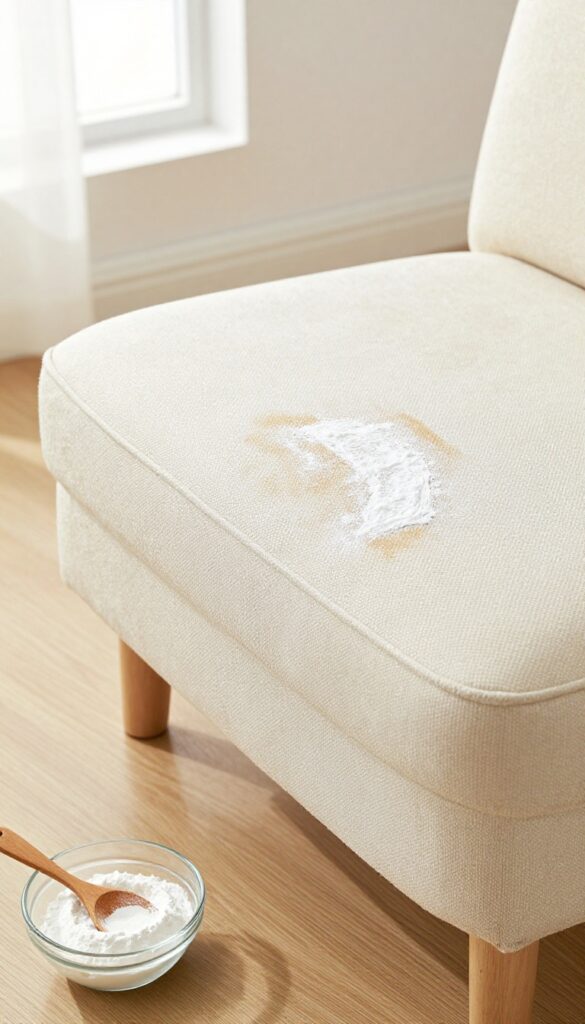
Grease and oil stains can be stubborn on upholstery, but baking soda is a simple, effective solution. It works by absorbing the oil before it sets deep into the fabric fibers. You likely already have a box in your pantry, making this a quick fix without harsh chemicals.
Sprinkle a generous layer of baking soda directly over the grease or oil spot. Let it sit for at least 15 minutes to allow the powder to soak up the oil. Then, vacuum thoroughly using an upholstery attachment.
For stubborn spots, mix baking soda with a little water to form a thick paste. Apply the paste to the stain, let it dry completely, then vacuum. This method works well on most fabrics, but always test on an inconspicuous area first.
Why Baking Soda Works
Baking soda is a mild alkali that helps break down grease molecules. Its porous structure also gives it a large surface area for absorbing liquids. This makes it ideal for lifting oil-based stains without scrubbing, which can damage fabric.
Step-by-step Application
First, blot any excess oil with a clean cloth. Then, cover the stain completely with baking soda. Let it sit for 15–20 minutes.
Vacuum the area, using a brush attachment to lift the powder. If the stain remains, make a paste of 3 parts baking soda to 1 part water, apply, and let dry before vacuuming again.
Tips For Best Results
Act quickly—fresh stains are easier to remove. Use a spoon or dull knife to scrape off any solid residue before applying baking soda. Avoid rubbing, as that can push the oil deeper.
For delicate fabrics like silk, test on a hidden area first to ensure no discoloration.
6. Dish Soap for Protein-Based Stains
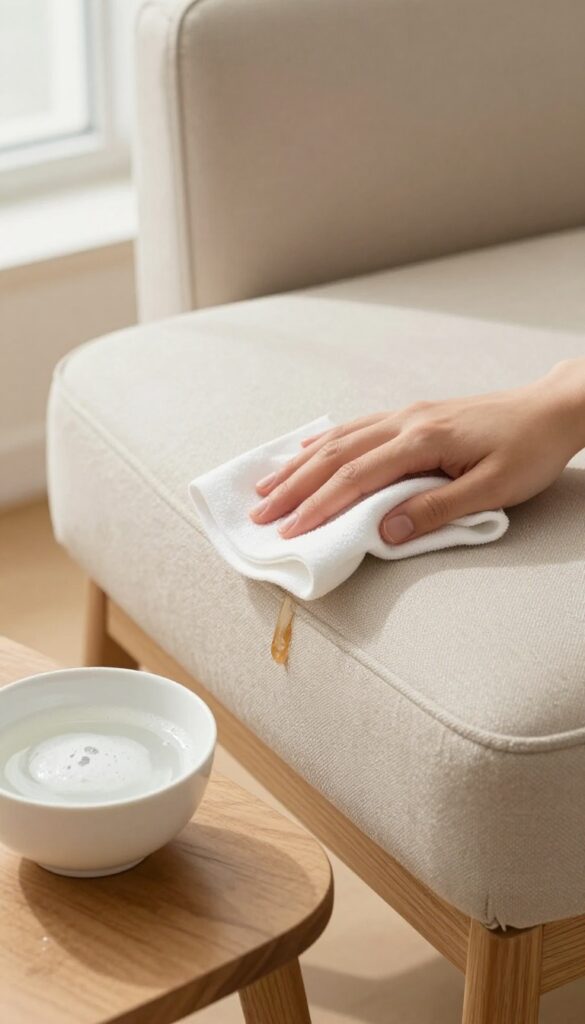
Protein stains like milk, blood, or food spills can set quickly if you use the wrong cleaner. Dish soap breaks down proteins without harsh chemicals, making it a gentle yet effective go-to. Here's how to use it right.
Why Dish Soap Works
Mild dish soap contains surfactants that lift protein molecules from fabric fibers. Unlike bleach or ammonia, it won't damage upholstery or set the stain further. Always choose a clear, dye-free dish soap for best results.
How To Apply It
Mix a few drops of dish soap with a cup of cool water. Dip a clean white cloth into the solution and blot the stain gently—don't rub. Work from the outside in to prevent spreading.
Rinse by blotting with a damp cloth dipped in plain water.
When To Avoid This Method
Avoid dish soap on silk, velvet, or antique fabrics unless you've tested a hidden area first. For set-in stains, you may need to repeat the process or follow with an enzyme cleaner.
7. Rubbing Alcohol for Ink and Marker
Ink and marker stains can feel like a permanent mistake, especially on light-colored upholstery. But rubbing alcohol is surprisingly effective at lifting them without damaging the fabric. The key is to act fast and use a gentle blotting motion, not scrubbing.
Rubbing alcohol works because it dissolves the ink's binding agents, allowing it to transfer to a cotton ball or cloth. It's safe for most synthetic and natural fabrics, but always test on a hidden spot first. This method works best for fresh stains, though it can also lighten older ones with repeated applications.
How To Apply Rubbing Alcohol
Dampen a cotton ball or clean white cloth with rubbing alcohol (70% or higher). Blot the stain gently—don't rub, which can spread the ink. The ink should start lifting onto the cotton.
Replace the cotton ball as it gets dirty and continue until no more ink transfers.
What To Do For Stubborn Stains
If the stain persists, let the alcohol sit for a minute before blotting again. For marker stains, you can also try placing a paper towel under the fabric (if possible) to catch the ink as it's drawn out. Finish by blotting with a damp cloth to remove any alcohol residue.
8. Steam Clean for Deep Dust Removal
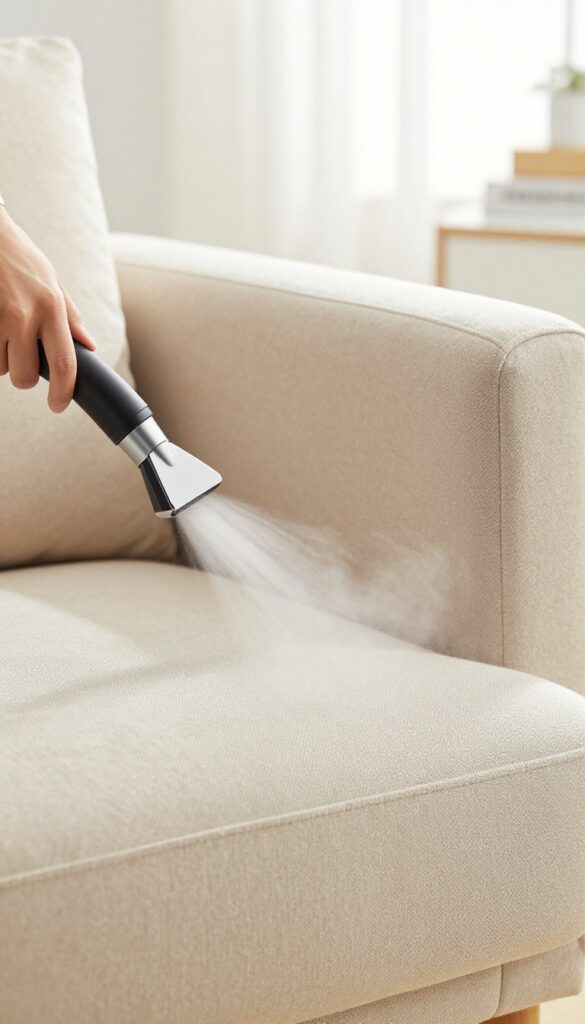
Regular vacuuming gets surface dust, but what about the stuff buried deep in the fibers? Over time, dust, allergens, and even dust mites settle into your upholstery, making it a hidden source of sneezes and musty odors. A handheld steamer can reach where vacuums can't, loosening embedded particles and killing dust mites on contact.
Steam cleaning isn't just for carpets—it's a game-changer for upholstery too. The high temperature (usually above 200°F) zaps dust mites and bacteria, while the steam vapor loosens dust trapped deep in the fabric. After steaming, a quick wipe with a microfiber cloth lifts away the loosened grime, leaving your chair fresher and cleaner.
Why Steam Beats Vacuuming Alone
Vacuuming only removes dust from the surface and top layers of fabric. Steam penetrates deeper, using heat and moisture to release particles that are stuck to fibers. It also sanitizes without chemicals, making it ideal for homes with allergies or pets.
How To Steam Upholstery Safely
Always check the fabric care tag first—steam is safe for cotton, linen, polyester, and most blends, but avoid it on velvet, silk, or delicate fabrics. Hold the steamer 4–6 inches away from the surface, moving in slow, overlapping passes. Don't saturate the fabric; a light mist is enough.
After steaming, blot the area with a clean microfiber cloth to absorb the released dust.
When To Steam Clean
Aim to steam your upholstery every 3–6 months, or more often if you have allergies or pets. It's also a great deep-clean step before tackling stubborn stains, as it opens up the fibers and loosens dirt. Just make sure the fabric dries completely before sitting on it.
9. Brush Fabric Regularly to Prevent Dust Buildup
Vacuuming does a solid job on surface dust, but it can miss the fine particles that settle deep into the weave. A quick brush-down between cleanings lifts embedded dust and pet hair before they grind into the fibers. This simple habit keeps your upholstery looking fresher day to day.
Use a soft-bristled brush or a lint roller to gently sweep the fabric in one direction. For velvet or microfiber, a dry sponge or a rubber brush works wonders to pull up dust without damaging the nap. Make this a weekly ritual, especially on chairs that get heavy use.
Choose The Right Brush For Your Fabric
Not all brushes are safe for all upholstery. A stiff brush can scratch delicate fabrics like silk or linen, while a soft-bristled brush is gentle on most synthetics and cottons. For velvet or chenille, use a dry sponge or a special upholstery brush with rounded tips.
Test on an inconspicuous spot first.
Brush In The Direction Of The Nap
Many fabrics have a nap—a directional texture that catches light differently. Brushing against the nap can create a patchy, worn look. Always brush in the same direction, following the natural grain of the fabric.
This lifts dust while keeping the surface uniform and smooth.
Combine With Vacuuming For Best Results
Brushing loosens dust, but vacuuming removes it. After brushing, go over the chair with the upholstery attachment on your vacuum. This two-step process ensures that dislodged particles don't settle back into the fabric.
For pet hair, a rubber brush followed by a vacuum with a pet-hair tool is especially effective.
10. Use a Dry Cleaning Solvent for Water-Sensitive Fabrics
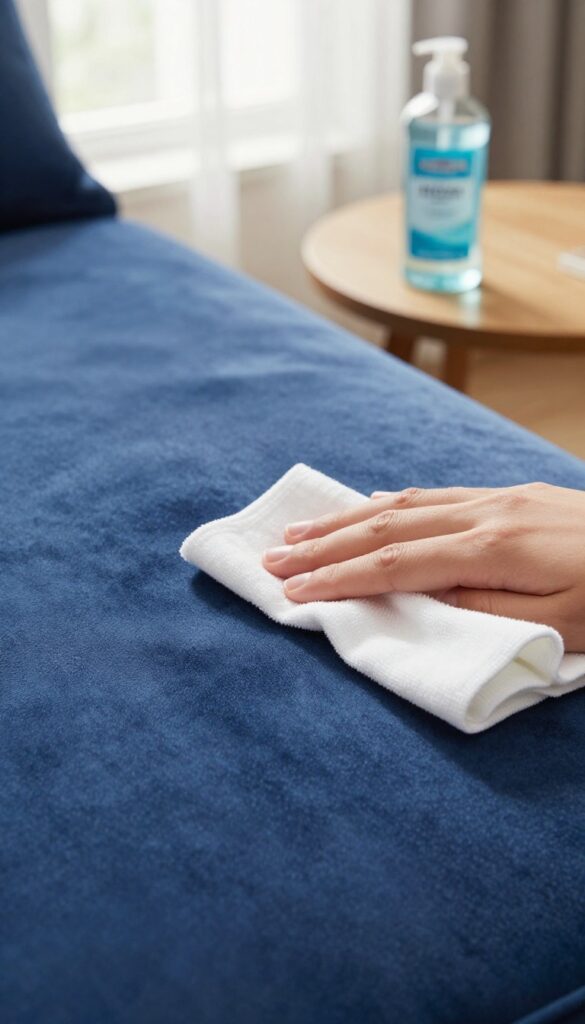
Velvet, silk, and other delicate upholstery fabrics hate water. Direct moisture can leave water rings, shrink the fibers, or ruin the texture. That's where dry cleaning solvent comes in.
It lifts stains without wetting the fabric, making it a lifesaver for high-end furniture.
Dry cleaning solvent is a chemical cleaner that evaporates quickly, leaving no residue. You can find it at hardware stores or online. Always test on a hidden area first to ensure colorfastness.
Apply a small amount to a clean white cloth, then blot the stain gently. Never pour solvent directly onto the fabric. Work from the outside of the stain inward to prevent spreading.
Blot until the stain transfers to the cloth. Repeat with a fresh section of cloth as needed. Once the stain is gone, let the area air dry completely.
The solvent evaporates fast, so you can use the chair within minutes.
Choosing The Right Solvent
Not all dry cleaning solvents are the same. Look for one labeled for upholstery or delicate fabrics. Avoid anything with harsh chemicals like perchloroethylene if you're sensitive to fumes.
A milder option is a hydrocarbon-based solvent, which is effective yet gentle. Always read the label and follow the manufacturer's instructions.
Blotting Technique Matters
The key is to blot, not rub. Rubbing can damage the fabric's nap or pile, especially on velvet. Use a light, dabbing motion with a clean cloth.
If the stain is stubborn, let the solvent sit for a few seconds before blotting. Change to a clean part of the cloth as soon as you see transfer.
Post-cleaning Care
After cleaning, brush the fabric gently with a soft-bristle brush to restore its texture. For velvet, brush in the direction of the nap. For silk, skip brushing and just fluff with your fingers.
Allow the area to air dry away from direct heat or sunlight. The solvent smell should dissipate quickly, but you can open a window for ventilation.
11. Cornstarch for Grease and Oil on Delicate Fabrics
Grease and oil stains are stubborn, but harsh chemicals can ruin delicate upholstery like velvet or silk. Cornstarch offers a gentle, effective solution. It absorbs oil without scrubbing or moisture, making it safe for fabrics that can't handle water.
When a grease spot appears, act fast. Sprinkle a generous amount of cornstarch directly onto the stain, covering it completely. Let it sit for at least an hour—overnight is even better for tough stains.
The powder will draw the oil out of the fibers. Afterward, vacuum thoroughly using an upholstery attachment. If any residue remains, repeat the process.
This method works wonders on butter, salad dressing, or hand lotion marks.
Why Cornstarch Works
Cornstarch is a natural absorbent. Its fine particles penetrate the fabric and pull grease molecules to the surface, where they bind to the powder. Unlike liquid cleaners, it won't spread the stain or saturate delicate fibers.
Best Fabrics For This Method
This technique is ideal for velvet, silk, rayon, and other fragile upholstery. Avoid using it on loosely woven fabrics where powder might get trapped. Always test on a hidden area first to ensure no discoloration.
Tips For Stubborn Stains
For set-in grease, gently warm the area with a hairdryer on low heat before applying cornstarch. This softens the oil, making it easier to absorb. You can also mix cornstarch with a little baking soda for extra odor control.
12. Shaving Cream for Set-In Stains
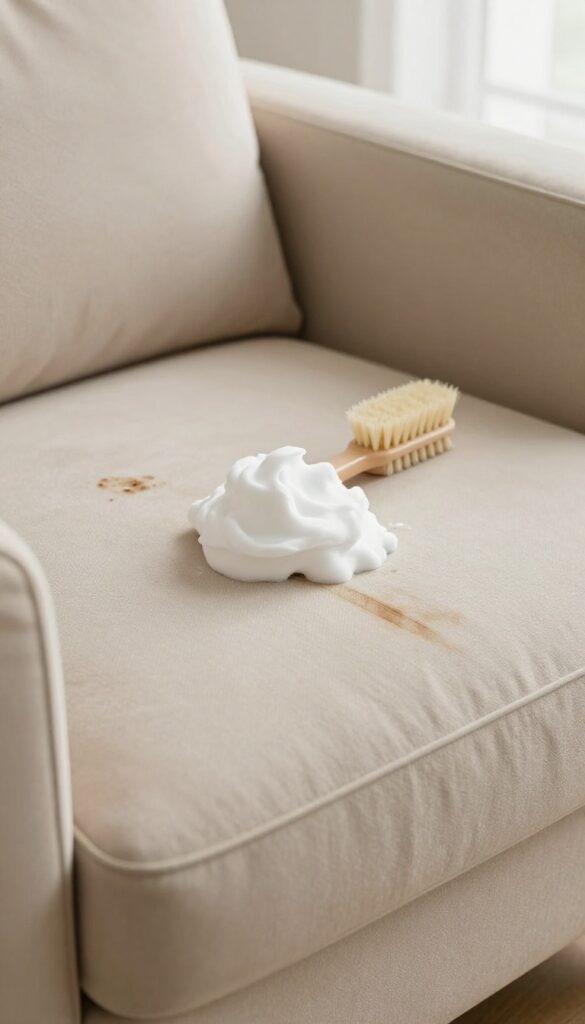
That mysterious stain that's been there for months? Shaving cream might be your unlikely hero. The foam—not gel—contains surfactants that break down oils and dyes without soaking the fabric.
It's gentle enough for most upholstery but tough on stubborn spots.
Shaving cream works because it's a mild detergent in foam form. It lifts stains without the harshness of bleach or ammonia. Best of all, you likely have a can in your bathroom right now.
Why Foam Beats Gel
Foam shaving cream is water-based and contains soap, while gel often has alcohol and oils that can set stains or leave residue. Stick with classic white foam—nothing with added moisturizers or scents if possible.
Step-by-step Application
Squirt a dollop of foam directly onto the stain. Use a soft-bristled brush or a clean cloth to gently work it into the fibers. Let it sit for 30 minutes—this gives the surfactants time to break down the stain.
Then blot with a damp cloth until the foam is gone.
Best Stain Types For This Method
This works wonders on old coffee, tea, juice, and even some ink stains. It's also great for mystery spots that have dried and set. Avoid using it on silk or antique fabrics—test on an inconspicuous area first.
Final Rinse And Drying Tips
After blotting, use a dry towel to press out excess moisture. Let the area air dry completely—avoid heat sources that could shrink or warp the fabric. Once dry, vacuum the spot to restore the texture.
13. Hydrogen Peroxide for Organic Stains
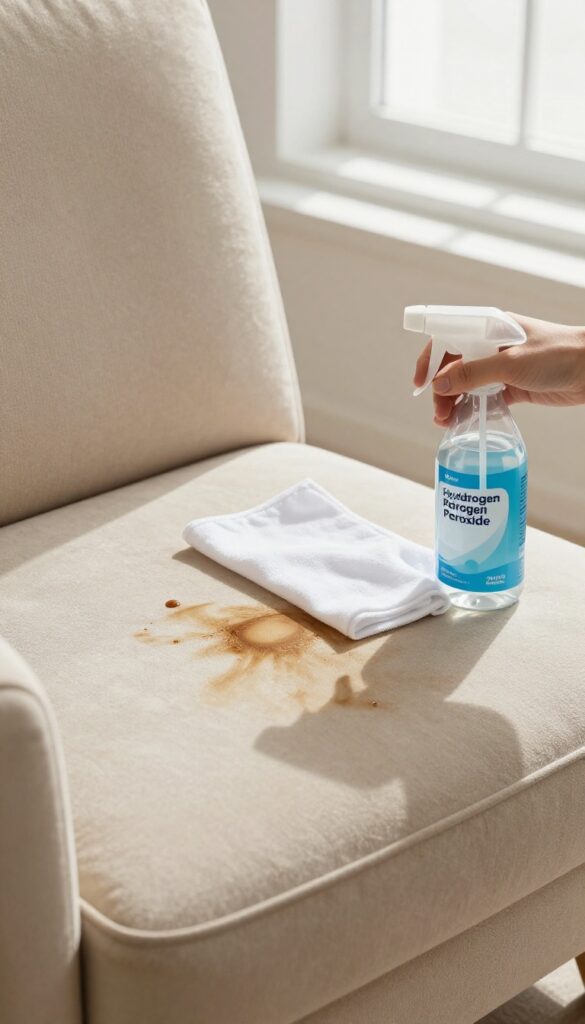
Coffee spills, red wine splashes, and grass stains can feel like permanent marks on your upholstery. But hydrogen peroxide can be your secret weapon against these organic stains. It works by breaking down the stain molecules without harsh bleaching, as long as you use it correctly.
Hydrogen peroxide is a mild bleach alternative that's safe for most fabrics when diluted properly. It's especially effective on protein-based stains like blood, sweat, and food spills. The key is to act fast and always test in an inconspicuous spot first.
Mix The Solution
Combine one part 3% hydrogen peroxide with one part water. Add a single drop of dish soap to help the mixture penetrate the fabric. Stir gently—don't shake, or you'll create too many bubbles.
Test Before Applying
Apply a small amount of the solution to a hidden area of the upholstery, like under a cushion or on the back. Wait 10 minutes and blot with a white cloth. If there's no color transfer or damage, you're good to go.
Blot The Stain
Dab the solution onto the stain using a clean white cloth. Work from the edges inward to prevent spreading. Blot, don't rub, and repeat until the stain lifts.
Rinse the area with a damp cloth afterward to remove any residue.
14. Use a Lint Roller for Quick Dust Pickup
Between deep cleans, dust and pet hair can make your upholstery look tired fast. A lint roller is a simple, no-mess tool that picks up surface debris in seconds. Keep one stashed near your favorite chair for a quick refresh before guests arrive or just to keep things looking tidy day to day.
A lint roller isn't just for clothes—it's a secret weapon for upholstery touch-ups. The adhesive sheets grab dust, hair, and crumbs without pushing them deeper into the fabric. It's especially handy for velvet, microfiber, and other textured materials where dust likes to hide.
Why It Works So Well
The sticky surface lifts particles rather than redistributing them like a dry cloth might. It's gentle enough for delicate fabrics yet effective on stubborn pet hair. Plus, you can use it on armrests, cushions, and even the back of the chair where dust settles unnoticed.
When To Reach For It
Use the lint roller for quick touch-ups between vacuuming sessions or right before guests come over. It's perfect for spot-treating high-contact areas like the seat and armrests. For a deeper clean, follow up with a vacuum upholstery attachment.
Pro Tips For Best Results
Roll in one direction to avoid pushing debris into the weave. Replace the sheet as soon as it loses stickiness. If you're out of refills, try a slightly damp microfiber cloth for a similar effect—just don't oversaturate the fabric.
15. Professional Cleaning Once a Year
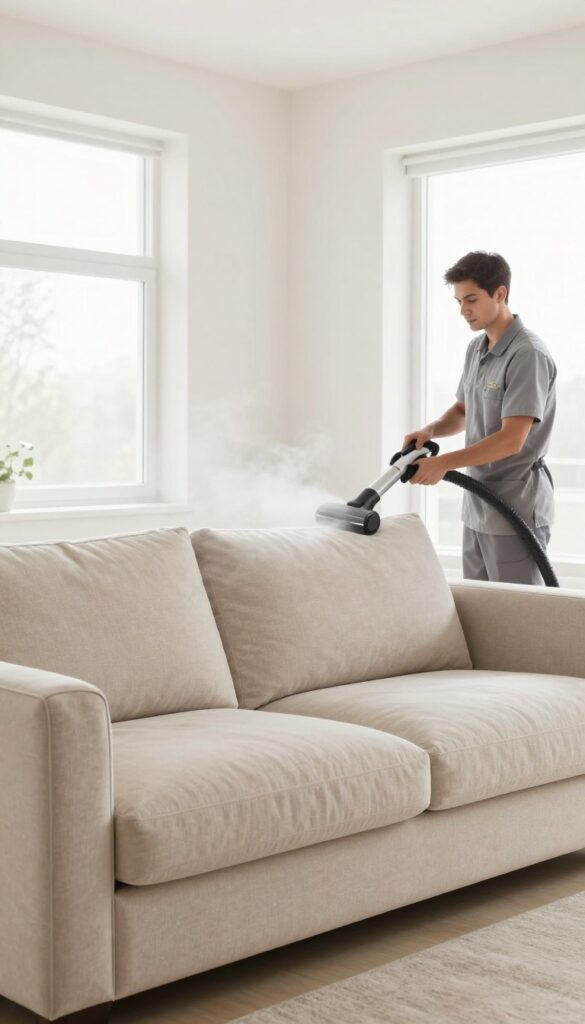
Even the most diligent DIY care can't replace a thorough professional deep clean. Over time, dust, allergens, and grime settle deep into the fibers, where your vacuum and spot treatments can't reach. An annual pro cleaning resets your upholstery, removing embedded dirt and reviving the fabric's original texture and color.
Think of it as a reset button for your furniture. Professional cleaners use industrial-grade equipment and specialized solutions that are safe for your specific fabric type. They can extract years of accumulated dust and allergens, which is especially helpful for households with allergies or pets.
Plus, they often apply a protective coating that makes future spot cleaning easier. The cost is modest compared to replacing worn-out upholstery, and it can extend your furniture's life by years.
When To Call The Pros
Schedule your deep clean once a year, ideally in spring or fall when you're already doing a seasonal refresh. If you have heavy-use furniture (like a family room sofa) or pets that shed, consider twice a year. Also call a pro after a major spill that you can't fully remove, or if you notice a lingering odor that won't go away.
What To Expect During A Professional Clean
Most services start with a fabric inspection to choose the right cleaning method. They'll pre-treat stains, then use hot water extraction (steam cleaning) or low-moisture methods depending on your fabric. The process takes a few hours, and you'll need to let the upholstery dry completely—usually 6-12 hours.
Some companies offer fast-drying options if you need to use the furniture sooner.
Choosing The Right Professional
Look for a certified technician with experience in upholstery cleaning—not just carpet cleaners who also do furniture. Check online reviews and ask about their process for delicate fabrics like silk or velvet. A reputable company will give you a clear quote upfront and won't pressure you into add-ons.
Always ask for a fabric protection treatment after the clean; it's worth the extra cost.
FAQ
Can I use bleach on upholstery?
No, bleach is too harsh and will discolor most fabrics. Stick to mild cleaners like vinegar or dish soap.
How often should I vacuum my upholstered chairs?
Vacuum at least once a week to prevent dust buildup. For high-traffic areas, twice a week is better.
What's the best way to remove pet hair from upholstery?
Use a lint roller or a damp rubber glove to gather pet hair. Vacuuming with a rubber brush attachment also works well.
Can I machine wash removable cushion covers?
Check the care label first. Many covers are machine washable on a gentle cycle, but air drying is recommended to prevent shrinkage.
How do I prevent dust from settling on upholstery?
Regular vacuuming and using a fabric brush or lint roller helps. Also, keep windows closed on windy days and use air purifiers.
Conclusion
Upholstery care doesn't have to be overwhelming. By rotating between quick dust removal and targeted spot treatments, you'll keep your chairs looking fresh without the stress. Consistency beats intensity every time.
Start with the tips that fit your daily routine, then layer in deeper cleaning as needed. Your chairs will reward you with years of comfortable, clean seating. And when life throws a stubborn stain your way, you'll know exactly what to do.