17 Cleaning Rugs Tips for Dirt, Odor, and Soft Fibers
Your rug takes a beating every day—dirt ground into fibers, spills that dry before you notice, and odors that linger long after the source is gone. But keeping it fresh doesn't require a professional cleaner or a cabinet full of harsh chemicals.
With a few smart techniques, you can tackle stains, neutralize smells, and protect even the softest wool or synthetic fibers.
These 17 tips cover everything from quick fixes to deep-cleaning routines, so your rug looks great and lasts longer.
1. Vacuum Both Sides for a Deeper Clean
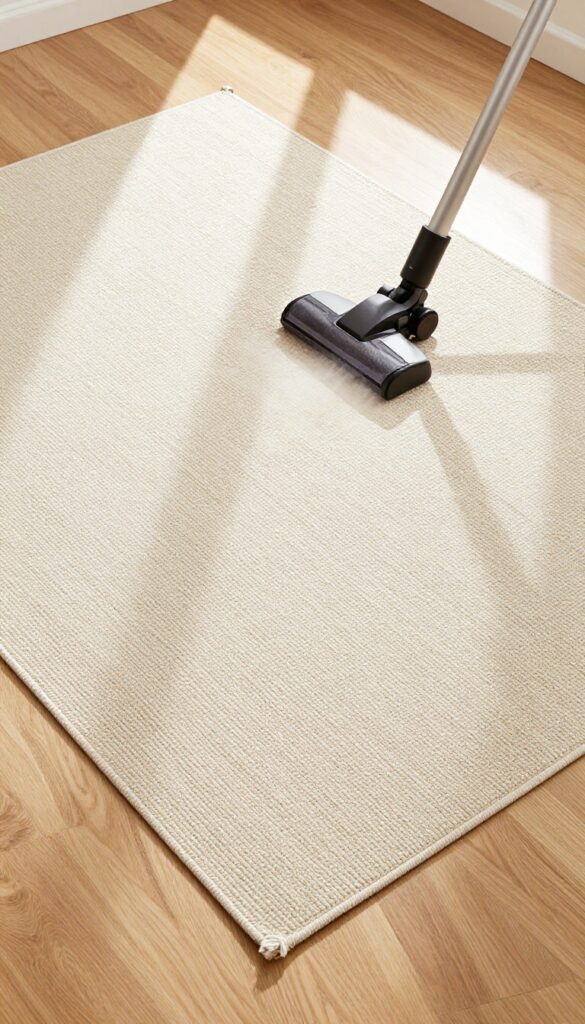
Most people only vacuum the top of their rug, but that leaves a lot of dirt trapped deep in the fibers. Over time, grit and dust work their way down to the backing, where they can grind against the fibers and cause premature wear. Flipping your rug over and vacuuming the underside dislodges that hidden debris, making your regular top-side cleaning much more effective.
Why The Underside Matters
The underside of your rug acts like a trap for fine particles that migrate through the pile. When you walk on the rug, you push dirt deeper, and it eventually settles against the backing. Vacuuming the underside every few weeks pulls out that abrasive grit before it can damage the fibers or the rug's foundation.
How To Do It Right
Start by moving any furniture off the rug. Roll or fold the rug carefully, then lay it flat on a clean surface. Use your vacuum's brush attachment on low suction to avoid pulling at the backing.
Work in straight lines, overlapping each pass. If your rug is too large to flip entirely, fold it in half and vacuum the exposed underside, then repeat for the other half.
How Often To Flip
For high-traffic areas, vacuum the underside once a month. For low-traffic rugs, every two to three months is fine. If you have pets or allergies, increase the frequency to every two weeks.
This simple habit can extend your rug's life by years.
2. Blot Spills Immediately, Don't Rub
When a spill happens, your first instinct might be to scrub it away fast. But rubbing is one of the worst things you can do—it pushes the liquid deeper into the fibers and spreads the stain. Instead, grab a clean cloth and blot gently to lift as much moisture as possible before treating the spot.
Blotting is the key to preventing permanent stains. The goal is to absorb the spill, not work it in. Use a white or light-colored cloth to avoid transferring dye, and press down firmly without scrubbing.
Repeat with a dry section of the cloth until no more liquid comes up. This simple step makes stain removal much easier later.
Why Rubbing Makes It Worse
Rubbing grinds the spill into the rug's fibers and backing, making the stain set deeper. It can also damage delicate fibers like wool or viscose, causing them to fray or lose their texture. Blotting, on the other hand, pulls the liquid upward into the cloth, keeping the rug's surface cleaner.
The Right Way To Blot
Start from the outside of the spill and work inward to prevent spreading. Use a fresh cloth for each blotting motion, and don't press too hard—you want to absorb, not soak the rug. For thicker spills, you can place a weighted cloth on top for a few minutes to draw out more moisture.
When To Treat The Stain
After blotting, assess the stain. If it's a water-based spill like coffee or juice, a mild detergent solution usually works. For oily stains, you might need a solvent.
But always blot first—treating a wet stain without blotting can push it deeper. Let the area dry completely before deciding if further treatment is needed.
3. Use Baking Soda to Neutralize Odors
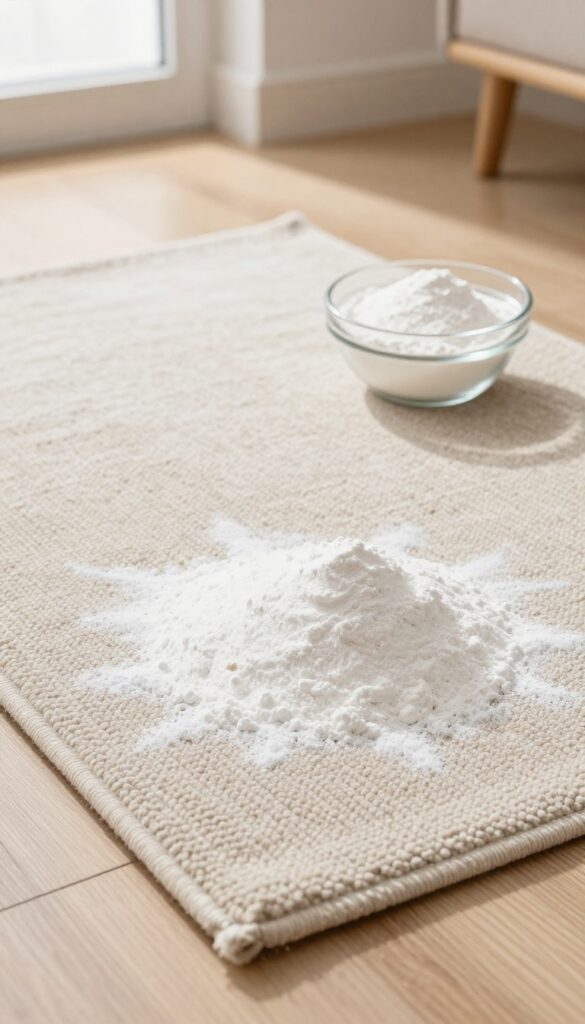
Odors get trapped deep in rug fibers, and sprays often just cover them up. Baking soda is a natural deodorizer that absorbs smells without adding any scent. It's cheap, safe for most fibers, and works on everything from pet accidents to musty basement rugs.
How To Apply Baking Soda
Start by vacuuming the rug to remove loose dirt. Then sprinkle a generous, even layer of baking soda over the entire surface. For high-traffic areas or spots with strong odors, use more.
Let it sit for at least 15 minutes, but for tough smells like pet urine or smoke, leave it overnight. The longer it sits, the more odor it absorbs.
Vacuum Thoroughly
After the baking soda has done its job, vacuum the rug slowly and thoroughly. Use a brush attachment or a beater bar if your vacuum has one. Make several passes in different directions to pull up all the powder.
If you see any residue, go over the area again. Your rug should smell fresh and clean.
Boost With Essential Oils (optional)
If you want a light scent, mix a few drops of your favorite essential oil (like lavender or lemon) into the baking soda before sprinkling. Stir well to avoid staining. This adds a pleasant fragrance while still neutralizing odors.
Test on a small area first to ensure the oil doesn't discolor the fibers.
4. Test Cleaning Solutions on a Hidden Spot First
You might be eager to tackle a stain, but not all rug fibers react the same way to cleaners. A solution that works wonders on one rug could bleach or discolor another. That's why a quick patch test is a smart habit to adopt before you go all in.
Before you apply any cleaner—homemade or store-bought—find a hidden area like under a sofa or in a closet. Dab a small amount of the solution on a white cloth and blot it onto the fibers. Wait a few minutes, then check for color transfer, fading, or any damage.
If the spot looks unchanged, you're good to go. If not, try a milder cleaner or dilute it further.
Why Patch Testing Matters
Different rug materials—wool, nylon, polyester, or natural fibers like jute—react differently to chemicals. Even water can cause bleeding in some dyes. A patch test saves you from turning a small stain into a permanent eyesore.
How To Perform A Patch Test
Mix your cleaning solution as directed. Dip a clean white cloth into it, then blot a small, hidden section of the rug. Let it sit for 5–10 minutes.
Blot dry with another cloth and inspect for any color change or texture damage. If all looks well, proceed with confidence.
What To Do If The Test Fails
If the test spot shows discoloration, stop and reassess. Try a different cleaner, dilute the original more, or consider a professional cleaning product designed for your rug type. Never force a cleaner that causes damage.
5. Shake Out Small Rugs Outdoors
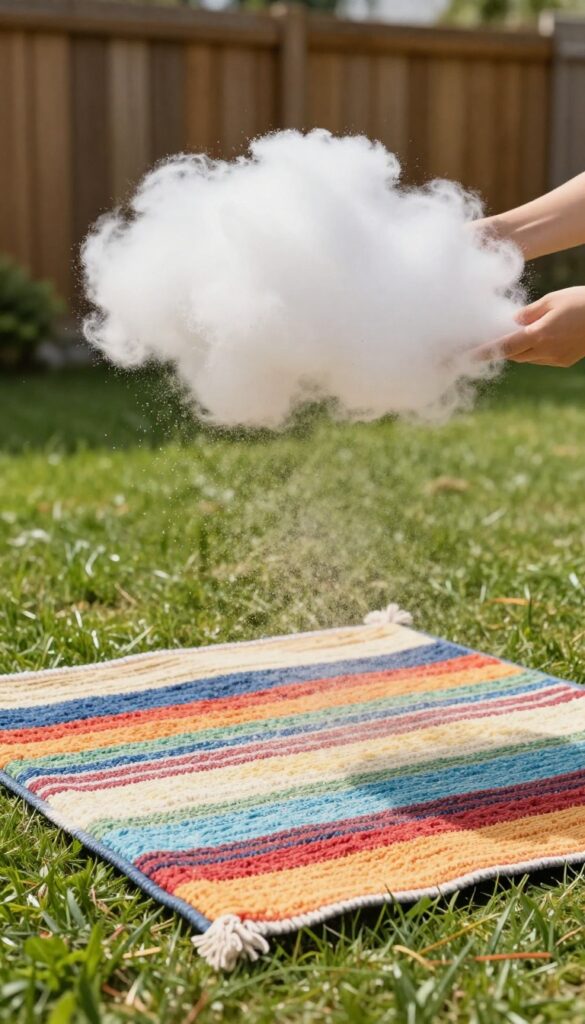
Before you even plug in the vacuum, take advantage of gravity and fresh air. For lightweight rugs, a vigorous shake or a few good whacks against a sturdy railing can dislodge more dirt than any machine. This simple step cuts down on the dust and debris that would otherwise get ground deeper into the fibers during vacuuming.
Why Shaking Works So Well
Loose dirt, pet hair, and crumbs sit on the surface or just below it. When you shake the rug, you create enough force to send these particles flying. It's especially effective for flatweave, cotton, or small synthetic rugs that don't have thick padding.
You'll be surprised how much dust comes out even if the rug looks clean.
The Right Technique
Take the rug outside on a dry, calm day to avoid dust blowing back into your home. Hold it by the corners and give it a few sharp shakes. For a more thorough job, drape it over a clothesline or railing and beat it with a broom handle or your hand.
Work from one end to the other, then flip and repeat. Wear a dust mask if you're sensitive.
When To Skip This Method
Avoid shaking antique, delicate, or fringed rugs—the stress can damage fibers or loosen the weave. Also skip this for heavy, thick-pile rugs that you can't lift easily. For those, stick with vacuuming and spot cleaning.
Shaking is best for small, lightweight rugs that you can handle without straining.
6. Use a Carpet Rake to Lift Matting
High-traffic areas like hallways and living room walkways often develop flattened, matted fibers that look tired and feel rough underfoot. A carpet rake—also called a grooming tool—can restore that plush texture without any chemicals or expensive equipment. It's a simple step that makes your rug look fuller and helps your vacuum pick up more deeply embedded dirt.
Carpet rakes have stiff, angled bristles designed to lift and separate compressed fibers. Running one over your rug in a gentle, back-and-forth motion fluffs up the pile, especially in spots where furniture legs or heavy foot traffic have pressed it down. This not only improves the rug's appearance but also exposes hidden dirt and debris so your vacuum can pull it out more effectively.
For best results, use the rake before vacuuming—it loosens the dirt and preps the fibers for a deeper clean.
Why Matting Happens
Matting occurs when fibers are repeatedly crushed under weight—footsteps, furniture, or even heavy rugs stacked on top of each other. Over time, the fibers lose their natural bounce and clump together, creating flat spots that trap dirt and make the rug look worn. Regular raking counteracts this by mechanically lifting the fibers and restoring their upright position.
How To Choose The Right Rake
Not all carpet rakes are the same. For delicate fibers like wool or silk, look for a rake with flexible, rounded metal tines or soft rubber bristles to avoid snagging. For synthetic rugs, a standard metal rake with stiff tines works fine.
Some rakes have a dual-sided head—one side for lifting fibers and the other for grooming—which adds versatility. Always test the rake on an inconspicuous area first to ensure it doesn't pull or damage the fibers.
Raking Technique For Best Results
Start at one edge of the rug and work in overlapping rows, using long, even strokes. Apply light to moderate pressure—enough to lift the fibers but not so hard that you bend or break them. For heavily matted areas, go over them several times in different directions.
After raking, vacuum thoroughly to remove the loosened dirt. Repeat this process weekly in high-traffic zones to maintain a fluffy, clean appearance.
7. Treat Pet Stains with Enzymatic Cleaners
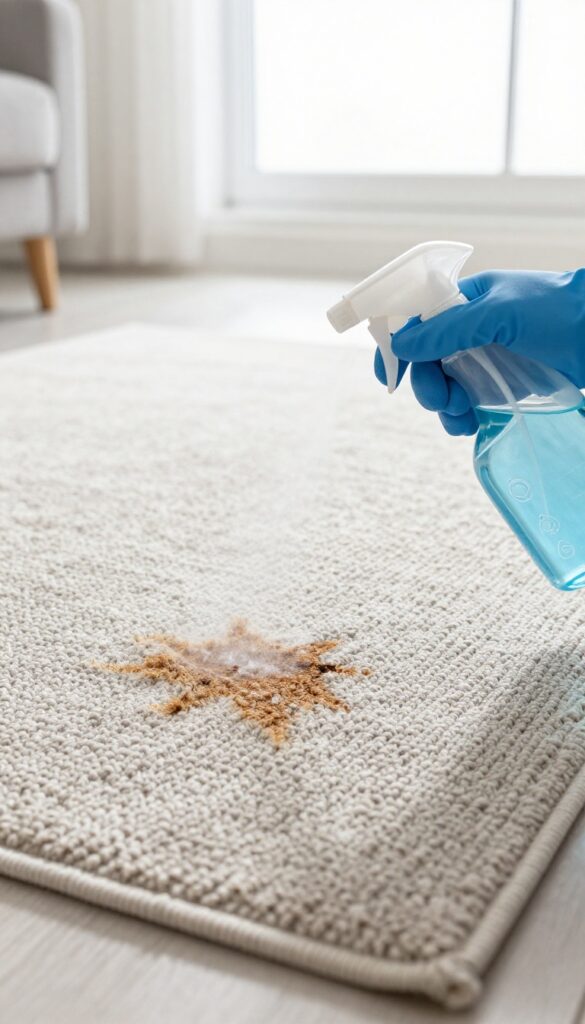
Pet accidents happen, and when they do, standard cleaners often fall short. Urine and vomit contain proteins that bond with rug fibers, causing lingering odors and yellowing stains. Enzymatic cleaners are your best bet because they break down those proteins at a molecular level, removing both the stain and the smell completely.
Avoid ammonia-based products—they can actually set the stain and attract pets to the same spot again.
Why Enzymes Work Better Than Bleach Or Vinegar
Enzymatic cleaners contain specific bacteria and enzymes that digest organic matter like urine, feces, and vomit. Unlike bleach, which can discolor fibers, or vinegar, which only neutralizes odors temporarily, enzymes go to the source. They literally eat the proteins, leaving your rug clean and odor-free without harsh fumes.
How To Apply For Best Results
Blot up as much of the mess as possible first. Don't rub—that pushes the stain deeper. Spray the enzymatic cleaner generously over the area, making sure it penetrates the fibers.
Let it sit for at least 10–15 minutes (longer for old stains). Then blot again with a clean cloth. For dried stains, pre-wet the area with water to reactivate the enzymes.
What To Avoid
Never use heat or steam cleaners on pet stains before treating them with enzymes. Heat can set the proteins, making the stain permanent. Also avoid ammonia-based products—they smell like urine to pets and encourage repeat accidents.
Stick with enzyme formulas labeled for pet stains.
8. Steam Clean for a Deep Refresh
Sometimes your rug needs more than a surface clean. Dirt, dust mites, and odors can settle deep into the fibers, and regular vacuuming just won't cut it. That's when steam cleaning—or hot water extraction—comes to the rescue.
Renting or buying a steam cleaner designed for rugs is a game-changer. The hot water and cleaning solution are forced into the fibers under pressure, then extracted along with the loosened grime. This method lifts embedded dirt and sanitizes the rug without relying on harsh chemicals.
It's especially effective for high-traffic areas and rugs that have never been professionally cleaned.
Rent Vs. Buy: What's Right For You?
If you only need to clean your rugs once or twice a year, renting a steam cleaner from a hardware store or grocery store is cost-effective. Many models are easy to use and come with attachments for upholstery. If you have multiple rugs or pets, buying a consumer-grade steam cleaner can pay off over time.
Look for one with a large water tank and a strong suction motor.
Prepping Your Rug For Steam Cleaning
Vacuum thoroughly first to remove loose dirt and debris. Check the care label—some natural fibers like jute or silk shouldn't get wet. For synthetic or wool rugs, test a small hidden area for colorfastness.
Move furniture out of the way and ensure good ventilation.
The Right Technique For Best Results
Fill the machine with hot water and the recommended cleaning solution. Work in slow, overlapping passes, going with the grain of the fibers. Avoid oversaturating; you want the rug damp, not soaking wet.
After cleaning, let it dry completely—open windows or use fans to speed up drying and prevent mold.
How Often To Steam Clean
For most households, steam cleaning once a year is sufficient. If you have pets, allergies, or heavy foot traffic, aim for every six months. Over-cleaning can wear out fibers, so stick to a schedule that balances freshness with rug longevity.
9. Dry Rugs Completely to Prevent Mold
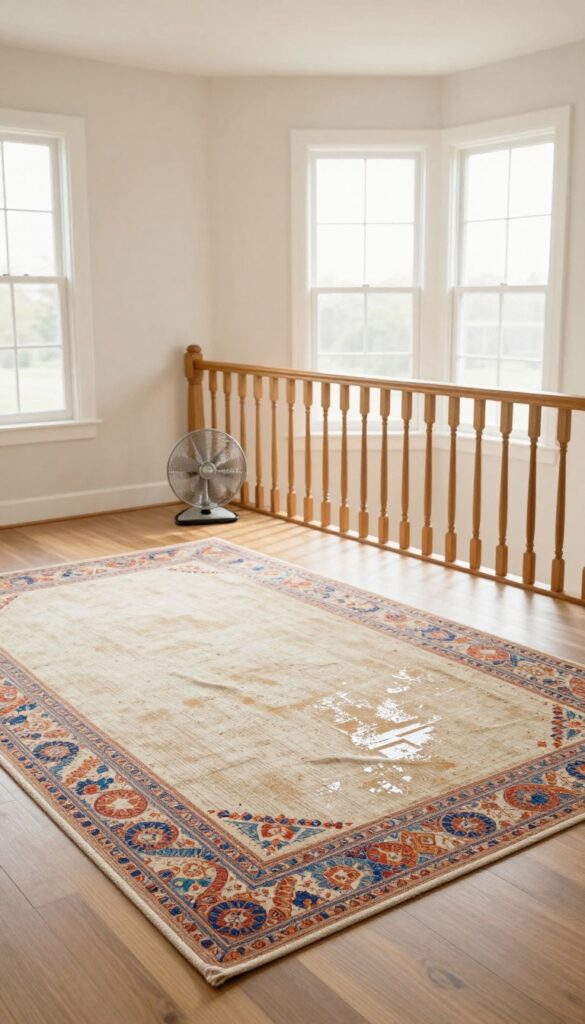
After any wet cleaning, the real work begins: drying. Even if your rug looks clean, moisture trapped deep in the fibers can lead to mold, mildew, and a musty smell that's hard to remove. Skipping this step is one of the most common mistakes people make.
Drying your rug thoroughly is non-negotiable. The longer it stays damp, the more likely bacteria and mold will grow. A fully dry rug not only smells fresh but also lasts longer, since moisture weakens fibers over time.
Speed Up Airflow
Place fans directly on the rug, pointing down to push air through the fibers. Open windows to create cross-ventilation. If you have a dehumidifier, run it in the room to pull moisture from the air.
Even on a sunny day, indoor drying can take 12–24 hours, so be patient.
Avoid Direct Sunlight For Some Rugs
While sunlight helps drying, it can fade colors in wool or antique rugs. If your rug is delicate, dry it in a shaded, well-ventilated area instead. Rotate the rug occasionally so both sides dry evenly.
Lift The Rug Off The Floor
If possible, hang the rug over a railing or a sturdy drying rack. This allows air to circulate underneath. For large rugs, prop them up with chairs or blocks so air can flow beneath.
Never leave a wet rug flat on the floor for more than a few hours.
Check For Dampness Before Putting Back
Before returning the rug to its spot, feel the backing and the fibers. If any area feels cool or damp, give it more time. A good test is to place a dry paper towel on the rug and press—if it sticks or feels wet, keep drying.
10. Rotate Rugs Regularly for Even Wear
Most people place a rug and forget about it—until one side looks faded and the other feels like new. Sunlight and foot traffic are relentless, and they don't hit every spot equally. Rotating your rug every few months is a simple habit that keeps colors uniform and fibers bouncy across the entire surface.
Rotating your rug every few months distributes foot traffic and sunlight exposure, preventing uneven fading and matting in high-use spots. It's a zero-cost maintenance step that extends your rug's life significantly.
Why Rotation Matters
Sunlight fades dyes over time, and heavy foot traffic compresses fibers. Without rotation, the side facing the window or the path to the sofa wears out faster. A 180-degree turn every three to six months balances the load, so no single area gets all the abuse.
How Often To Rotate
For rugs in sunny rooms or high-traffic zones, rotate every three months. In low-traffic or shaded areas, twice a year is enough. Mark your calendar or set a reminder when you change your smoke detector batteries—easy to remember and effective.
Rotation Tips For Different Rugs
Large area rugs may need two people to avoid bunching or tearing. For wool or delicate fibers, lift the rug completely rather than dragging it. If your rug is under furniture, use furniture sliders or lift one side at a time.
Rotating also lets you inspect the underside for moisture or pests.
11. Use a Rug Pad to Protect Fibers
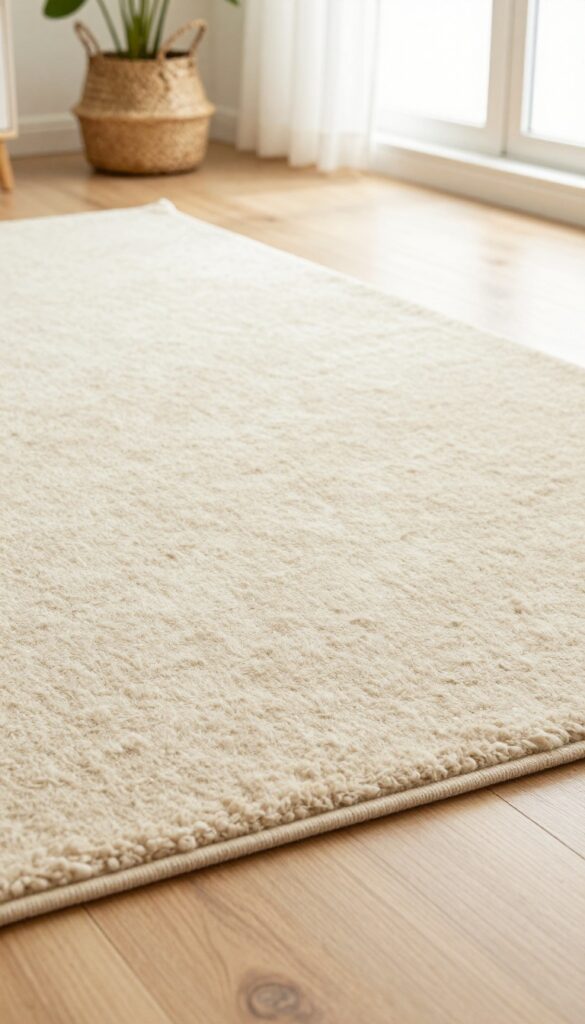
A rug pad might seem like an afterthought, but it's one of the smartest investments you can make for your rug's longevity. It cushions the rug against foot traffic, reduces friction that wears down fibers, and helps keep the rug in place. Plus, it adds a layer of padding that makes even thin rugs feel plush underfoot.
Rug pads do more than just prevent slipping. They absorb impact from footsteps, which reduces the crushing of fibers over time. This is especially important for high-pile or soft rugs that can flatten easily.
A good pad also lifts the rug slightly off the floor, allowing air to circulate underneath and preventing moisture buildup that leads to mold or mildew. When choosing a pad, look for one made of natural materials like felt or rubber, and make sure it's the right size—slightly smaller than your rug so it doesn't peek out.
Choose The Right Material
Not all rug pads are created equal. Felt pads offer thick cushioning and are great for delicate fibers like wool or silk. Rubber pads provide excellent grip and are ideal for rugs on hardwood or tile.
Avoid pads with PVC or recycled rubber that can discolor floors or off-gas chemicals.
Match The Pad To Your Floor Type
For hardwood floors, use a pad with a non-slip surface that won't scratch or stain. On carpet, a thinner pad works best to prevent bunching. Always check the manufacturer's recommendations for your specific flooring.
Trim The Pad To Fit
A pad that extends beyond the rug's edges is a tripping hazard and looks sloppy. Measure your rug and cut the pad about an inch smaller on all sides. This keeps the pad hidden and your rug lying flat.
12. Spot Clean with Dish Soap and Water
Not every stain calls for a commercial spot cleaner. In fact, most fresh spills respond beautifully to a simple solution you already have under your sink. Dish soap cuts through grease and grime without being harsh on fibers, making it a safe choice for wool, nylon, or polyester rugs.
The key is using it sparingly and following up with a rinse so no soap residue attracts more dirt later.
Mix The Right Ratio
Too much soap creates suds that are hard to rinse out. Start with just a few drops of mild dish soap—Dawn or a similar gentle brand works well—in a cup of warm water. Stir gently until the soap dissolves.
You want a barely soapy mixture, not a bubble bath.
Dab, Don’t Rub
Dip a clean white cloth or paper towel into the solution and dab the stain, working from the edges inward. Rubbing pushes the stain deeper into the fibers and can spread it. Blot gently until the stain transfers to the cloth.
Flip to a clean section of the cloth as needed.
Rinse And Blot Dry
After the stain lifts, dampen a fresh cloth with plain water and blot the area to remove any soap residue. Then press a dry towel firmly over the spot to absorb as much moisture as possible. Let the rug air dry completely before walking on it or replacing furniture.
13. Freeze Gum or Wax for Easy Removal
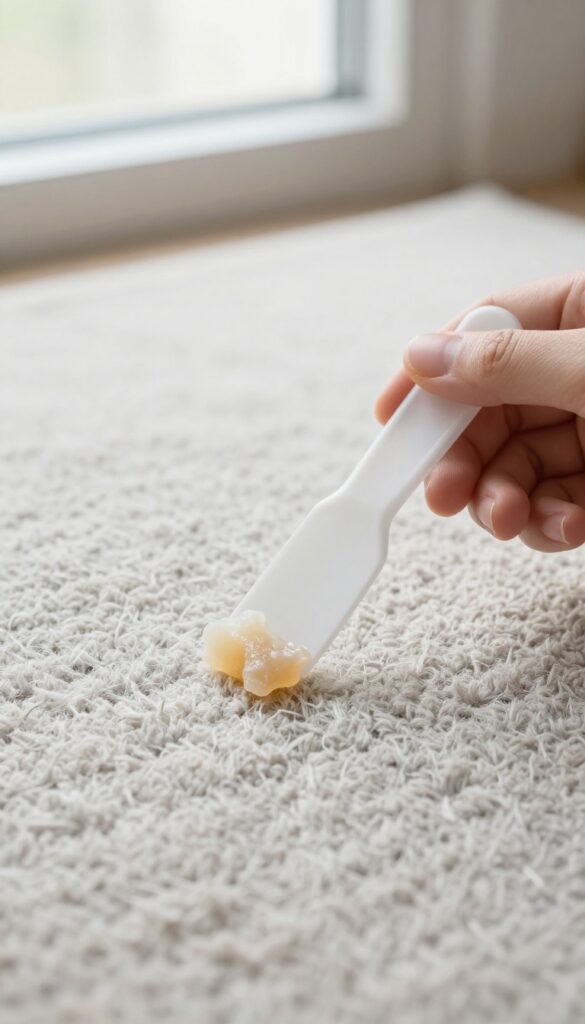
Stepping on gum or spilling candle wax on your rug can feel like a disaster. But before you reach for scissors or harsh solvents, try the freezer trick. Cold temperatures make these sticky substances brittle, so they pop right off without damaging the fibers.
This method works because gum and wax become hard and non-sticky when frozen. Once brittle, they break away cleanly instead of smearing deeper into the rug. It's gentle on all fiber types—synthetic, wool, or blends—and avoids the residue that chemical removers can leave behind.
How To Freeze Gum Off Your Rug
Grab a plastic bag filled with ice cubes or a gel ice pack. Place it directly on the gum and let it sit for 10–15 minutes. You'll know it's ready when the gum feels rock hard.
Then, use a dull knife or a plastic scraper to gently pry the gum loose. Work from the edges inward to avoid stretching the fibers. If any tiny bits remain, repeat the freezing for a few more minutes.
Removing Candle Wax The Same Way
Wax spills are trickier because they can soak into the fibers. Start by letting the wax cool completely—don't try to wipe it while it's hot. Then apply an ice pack for about 20 minutes until the wax is fully hardened.
Carefully scrape off as much as you can. For leftover wax between fibers, place a brown paper bag or a clean cloth over the area and run a warm iron over it. The heat will melt the wax, and the paper will absorb it.
What To Avoid During The Process
Never use a sharp blade or knife that could cut the rug fibers. Stick to a dull knife, a plastic putty knife, or even the edge of a credit card. Also, avoid using hot water or a hair dryer on gum—heat makes it stickier and harder to remove.
For wax, never pour cold water on a fresh spill; it can spread the wax deeper. Always test the ice pack on a hidden area first to make sure the cold doesn't affect the rug's color or backing.
14. Vacuum Slowly and in Multiple Directions
Speed is the enemy of a deep vacuum. When you rush, the suction barely skims the surface, leaving dirt buried deep in the pile. The trick is to slow down and let the vacuum head work its magic.
Most people vacuum in a single back-and-forth motion, but that only catches dirt aligned with that direction. By switching angles, you lift debris that's wedged between fibers from every side.
Why Speed Matters
A slow pass gives the suction time to pull embedded grit from the base of the fibers. Move the vacuum at about half your normal pace—think of it as a gentle stroll rather than a power walk.
The Multi-direction Method
Start with north-south strokes, then go east-west, and finish with diagonal passes in both directions. This crisscross pattern ensures you pick up dirt from all angles, especially in high-traffic areas.
How Often To Do This
For most rugs, a thorough multi-direction vacuum once a week is plenty. In busy spots like entryways, bump it up to twice a week. Always check the manufacturer's care tag first.
15. Use White Vinegar to Brighten Colors
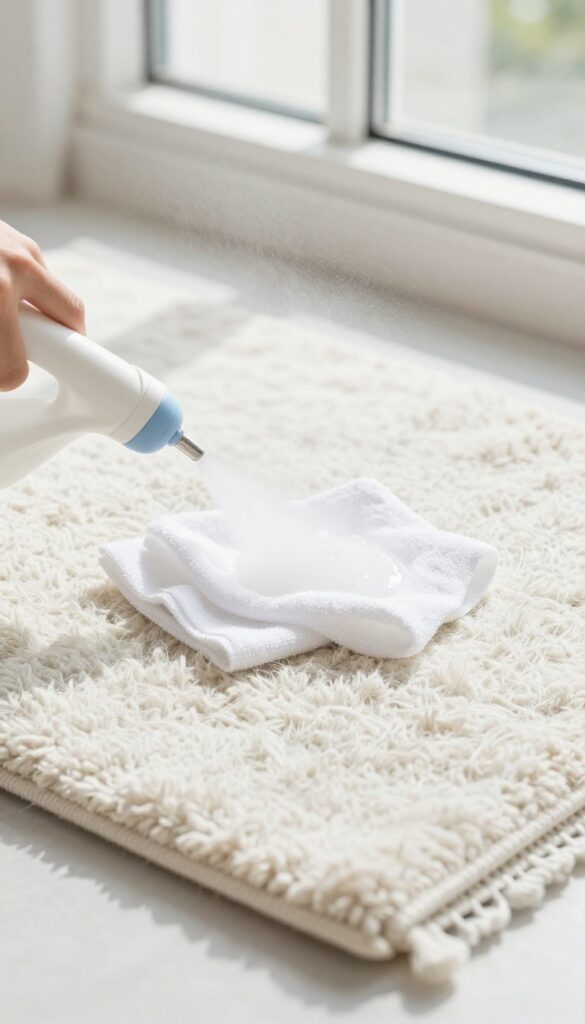
Over time, even the most vibrant rugs can start looking dull and washed out. Before you blame the rug or consider replacing it, try a simple vinegar rinse. White vinegar is a gentle, natural ingredient that helps lift residue and restore brightness without stripping dye.
Mix equal parts white vinegar and cool water in a spray bottle. Lightly mist the rug's surface—don't soak it. Let the solution sit for a minute, then blot with a clean cloth.
Follow up with a damp cloth rinse to remove any vinegar smell. Always test on a hidden spot first to ensure colorfastness.
Why It Works
Vinegar is mildly acidic, which helps break down alkaline residues from detergents and hard water. Those residues often make colors look flat. A vinegar rinse neutralizes them and reveals the original hue.
Best Rugs For This Method
This works well on wool, cotton, and synthetic rugs. Avoid using vinegar on silk or antique rugs with fragile dyes. Stick to a gentle pH-neutral cleaner for those.
A Quick Refresh Routine
For a full color boost, vacuum the rug first, then spray the vinegar solution evenly. Let it air dry completely. If the vinegar smell lingers, sprinkle baking soda over the rug, wait 15 minutes, and vacuum again.
16. Brush Wool Rugs with a Soft Bristle Brush
Wool rugs are luxurious but delicate. A quick vacuum isn't always enough to lift embedded dirt without damaging the fibers. That's where a soft bristle brush comes in—it's a gentle yet effective way to refresh your rug's appearance between deep cleans.
Why Soft Bristles Matter
Hard brushes can scratch and fray wool fibers, causing them to look worn over time. Soft bristles, like those on a horsehair brush, lift dirt without pulling or breaking the yarn. They also help restore the natural luster by aligning the fibers in one direction.
How To Brush Properly
Start by vacuuming to remove loose debris. Then, using a soft bristle brush, work in the direction of the pile—never against it. Use light, even strokes.
For high-traffic areas, a few extra passes can make a noticeable difference.
When To Brush Instead Of Vacuum
If your wool rug has fringe or a very delicate weave, brushing can be safer than vacuuming. It's also ideal for antique or hand-knotted rugs where suction might loosen fibers. Brush once a week to maintain that just-cleaned look.
17. Schedule Professional Cleaning Annually
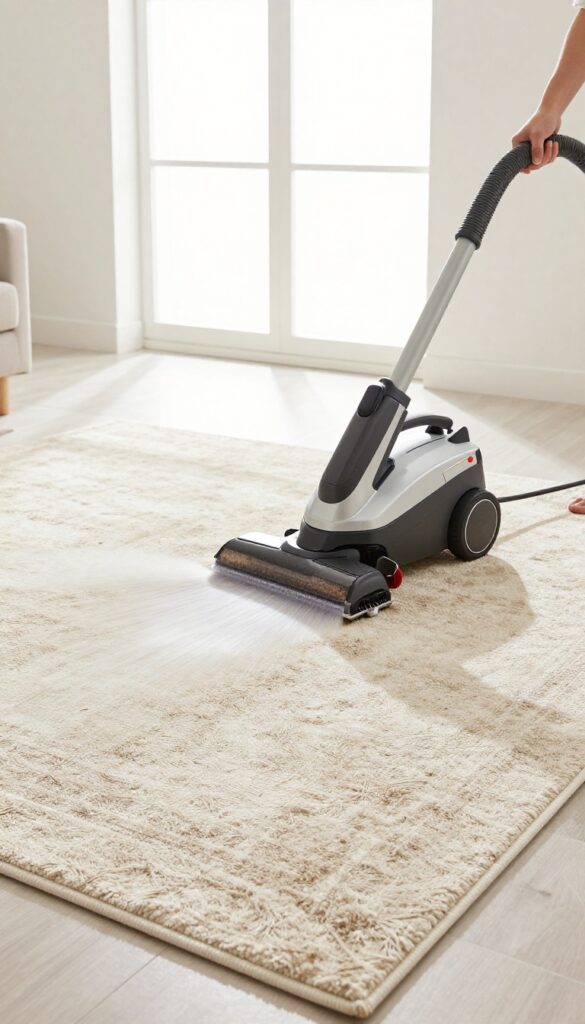
Even with the best at-home routine, some dirt and allergens settle deep into your rug's fibers. A professional cleaning once a year lifts that embedded grime and refreshes the pile in ways a vacuum or spot cleaner just can't match.
Why Professional Cleaning Matters
Over time, foot traffic grinds dust, pollen, and microscopic particles into the base of the rug. Regular vacuuming only reaches the surface. Professional equipment uses hot water extraction or steam cleaning to flush out deep-set debris, reducing allergens and reviving the rug's texture.
How Often Should You Go Pro?
For most homes, annual cleaning is enough. But if you have pets, kids, or high-traffic areas, consider twice a year. High-end wool or silk rugs may need gentler handling, so always check with your cleaner about the best method for your fiber type.
What To Expect During A Professional Clean
A good cleaner will first inspect for stains and pre-treat them. Then they use a truck-mounted or portable extractor to apply cleaning solution and rinse it out. The rug is left to dry thoroughly, usually within 6–12 hours.
Afterward, you'll notice brighter colors and a softer feel.
Tips For Choosing A Rug Cleaner
Look for certified professionals, like those from the IICRC (Institute of Inspection Cleaning and Restoration Certification). Ask about their process and whether they use eco-friendly products. Read reviews and request a quote upfront.
A reputable cleaner will also test for colorfastness before starting.
FAQ
How often should I vacuum my rug?
High-traffic areas should be vacuumed at least twice a week, while low-traffic rugs can be done weekly. Always vacuum both sides if possible.
Can I use bleach to clean my rug?
Avoid bleach—it can discolor and weaken fibers. Stick to mild detergents or natural solutions like vinegar and baking soda.
What's the best way to remove pet urine odor?
Use an enzymatic cleaner specifically designed for pet stains. Blot the area first, apply the cleaner, and let it sit as directed before blotting dry.
How do I keep my rug soft?
Regular vacuuming, using a carpet rake, and avoiding harsh chemicals help maintain softness. A rug pad also reduces friction that can roughen fibers.
Is steam cleaning safe for all rugs?
Not all rugs are steam-safe. Check the care label—wool and delicate fibers may shrink or get damaged. Test a small area first or consult a professional.
Conclusion
Keeping your rugs fresh doesn't have to be a chore. By tackling dirt promptly, neutralizing odors naturally, and treating delicate fibers with care, you can extend their life and beauty.
Pick a few of these tips that fit your routine and stick with them. Your rugs will thank you, and your home will feel cleaner and cozier every day.