23 Room Cleaning Tips for a Fresh, Calm, Organized Space
Your room should be a retreat, not a stress trigger. But when clutter piles up and dust settles in, it’s hard to feel at ease. The good news?
You don’t need a full renovation or hours of scrubbing to turn things around. Small, intentional changes make the biggest difference. Think of cleaning as a reset button for your space and your mind.
These 23 tips will guide you from chaos to calm, one manageable step at a time. Let’s start with the mindset shift: cleaning isn’t punishment—it’s self-care. Once you see it that way, the process becomes lighter and more rewarding.
1. Start with a 5-Minute Declutter Sprint

Sometimes the hardest part of cleaning is just getting started. That's where the 5-minute declutter sprint comes in. Set a timer, grab a laundry basket or trash bag, and quickly scan the room for anything that doesn't belong.
This isn't about deep organizing—it's about removing the obvious clutter that's weighing down your space and your mind.
The beauty of a declutter sprint is that it's low-pressure and high-reward. In just five minutes, you can clear surfaces, toss trash, and gather items that need to go to another room. This quick win creates instant visual order and gives you the momentum to keep going.
It's like a warm-up for your cleaning session, making the rest of the tasks feel less daunting.
What To Grab During Your Sprint
Focus on the low-hanging fruit: empty water bottles, old receipts, stray socks, magazines you've already read, and anything that's clearly out of place. Don't get bogged down by sentimental items or things that require a decision—just grab the obvious stuff. The goal is speed, not perfection.
Where To Put The Clutter
Have a designated spot for your haul: a trash bag for disposables, a donate box for items in good condition, and a "relocate" basket for things that belong in another room. This way, you're not just moving clutter around; you're actually removing it from the space. After the sprint, take two minutes to put the relocate basket items where they go.
Why Five Minutes Works
Five minutes is short enough to avoid overwhelm but long enough to make a visible difference. It's a commitment that's easy to keep, even on your busiest days. Plus, that initial burst of progress often sparks the motivation to tackle a deeper clean.
You might find yourself extending the timer once you see how good it feels.
2. Clear Surfaces First
Flat surfaces are magnets for random items—mail, keys, chargers, and that one thing you swear you'll put away later. Before you know it, your nightstand looks like a junk drawer exploded. The fix is simple: strip everything off and start fresh.
When every surface is cluttered, your brain registers chaos. By clearing them completely, you hit a visual reset button. Then you get to decide what truly belongs there.
It’s not about minimalism for its own sake—it’s about making your space work for you, not against you.
Start With A Tray Or Basket
Designate a small tray or catch-all for daily essentials like your phone, glasses, or a book. This keeps the surface tidy while still having the stuff you actually use within reach. Everything else needs a home elsewhere.
Wipe Down While You’re At It
Since the surface is already bare, take 30 seconds to dust or wipe it clean. A quick pass with a microfiber cloth makes the space feel fresh and prevents buildup. It’s a tiny effort that pays off every time you look at it.
The One-touch Rule For New Items
Whenever something lands on a cleared surface, ask yourself: does it belong here? If not, put it away immediately. This habit stops clutter from creeping back in and keeps your surfaces clear for good.
3. Make Your Bed Immediately
There's a reason why so many productivity and organization experts swear by this one simple habit. Making your bed first thing in the morning is like putting on a clean shirt—it instantly changes how the room feels. You walk back in after brushing your teeth and the space already looks more put together.
It's a small win that sets a positive tone for the rest of your day.
The Two-minute Transformation
Pulling up the duvet and smoothing out the pillows takes less than two minutes. But the visual impact is huge. A made bed anchors the room and makes everything else look tidier by comparison.
Even if the rest of the room is a little messy, the bed acts as a calm centerpiece.
A Psychological Reset
Completing this one task first thing gives you a sense of accomplishment. It's a small commitment that signals to your brain: "I'm taking care of my space. " That mindset carries over into the rest of your cleaning routine—and even into your work or daily tasks.
Trick Yourself Into Tidying
Once the bed is made, you're less likely to toss clothes or clutter onto it. That neat surface becomes a visual reminder to keep other surfaces clear too. It's a gentle nudge, not a rule, but it works surprisingly well.
4. Use the 'One-Touch' Rule for Trash
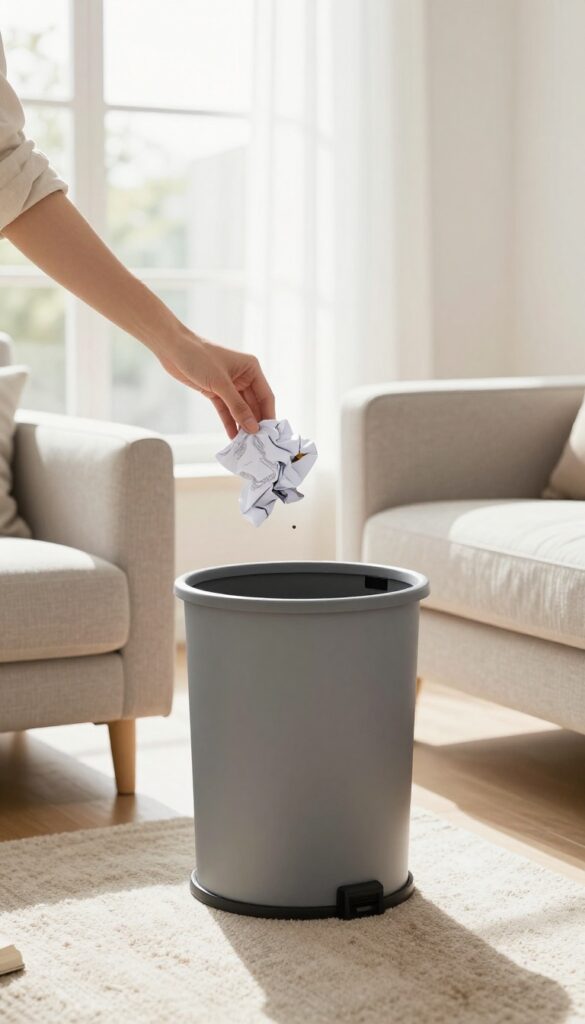
Trash has a way of multiplying when you let it sit. You pick up a wrapper, set it on the counter to toss later, and suddenly there's a pile. The one-touch rule stops that cycle cold: when you touch an item of trash, you immediately put it where it belongs—the bin.
This isn't about being strict; it's about saving yourself future work. Every time you set trash down, you create a decision you'll have to make again. By handling it once, you eliminate that second step and keep surfaces clear.
Why Piles Form
It's not laziness—it's the gap between intention and action. You mean to throw it away, but you get distracted. The one-touch rule closes that gap by making disposal automatic.
How To Make It Stick
Keep a trash can within arm's reach in every room. If you have to walk across the house to toss something, you're more likely to set it down. A small bin by your desk, nightstand, and couch makes the rule effortless.
The Ripple Effect
Once you start using the one-touch rule for trash, you'll naturally apply it to other clutter. Mail, dirty dishes, clothes—anything that needs to be put away gets handled immediately. Your space stays cleaner with less mental effort.
5. Dust from Top to Bottom
Dusting seems simple, but doing it in the wrong order can double your work. If you start with the floor and then hit the ceiling fan, you're just redistributing dust onto a surface you already cleaned. The trick is to work from high to low so gravity works for you, not against you.
Start with ceiling fans, light fixtures, and the tops of tall furniture. Then move to mid-level surfaces like shelves and window sills. Finish with baseboards and floors.
This method ensures that any dust that falls during the process lands on areas you haven't cleaned yet, so you only have to do each surface once.
Gather Your Dusting Tools First
Before you start, grab a microfiber duster, an extendable handle for high spots, and a damp cloth for sticky residue. Microfiber traps dust instead of spreading it around. Having everything in hand keeps you from stopping mid-task.
Don't Forget The Hidden High Spots
Ceiling corners, door frames, and the tops of cabinets collect dust you rarely see. Use an extendable duster or a vacuum with a brush attachment. These spots make a big difference in air quality and overall freshness.
Work In Sections, Not All At Once
If your room is large, break it into quadrants. Dust one section from top to bottom before moving to the next. This prevents you from feeling overwhelmed and ensures every area gets proper attention.
6. Vacuum Under Furniture Regularly
Out of sight, out of mind—until you slide a chair back and a tumbleweed of dust rolls out. Under furniture is prime real estate for hidden grime, and ignoring it lets allergens and dirt build up over time. A quick monthly sweep makes a surprising difference in both air quality and the overall freshness of your room.
Vacuuming under furniture doesn't have to be a back-breaking chore. With a few simple tricks, you can keep those hidden zones clean without rearranging your entire room every week.
Use The Right Attachments
Your vacuum's crevice tool and brush attachment are your best friends here. The crevice tool reaches tight gaps behind nightstands and under dressers, while the brush attachment gently lifts dust from baseboards and furniture legs. Switching to these attachments takes seconds but makes the job far more effective.
Move Furniture On A Schedule
Set a reminder to slide larger pieces like beds and sofas away from the wall every one to three months. This prevents dust from settling into permanent layers and gives you a chance to spot anything that's rolled underneath—like lost socks or pet toys. If your furniture is heavy, use furniture sliders to make the task effortless.
Don't Forget Low Clearance Spots
Some furniture sits so low to the ground that a standard vacuum head won't fit. For these, try a dust mop or a microfiber cloth attached to a ruler. Alternatively, a thin, flexible vacuum attachment designed for tight spaces can slide right under.
A quick pass every few weeks keeps dust bunnies from forming.
7. Wipe Down Light Switches and Doorknobs
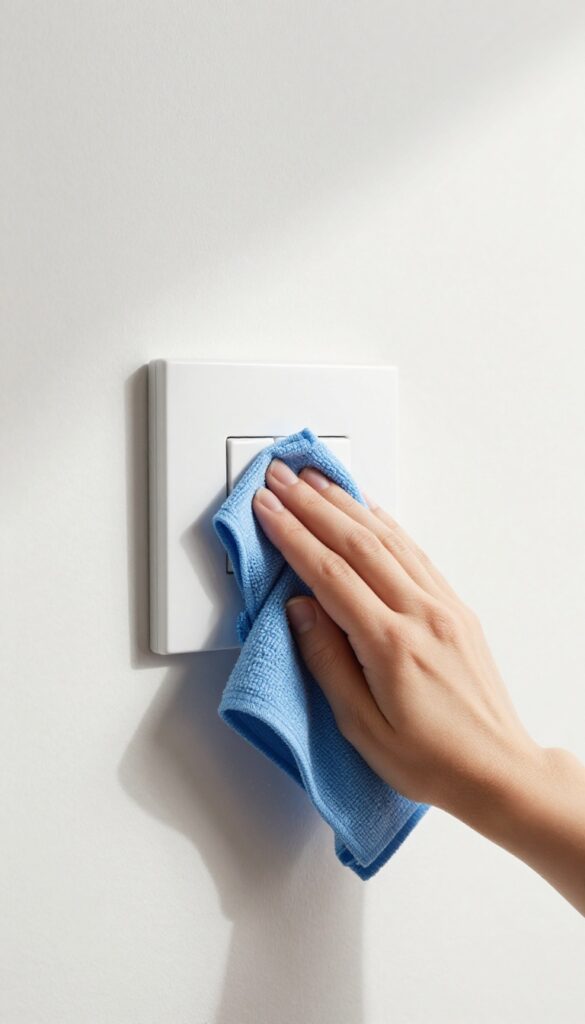
We touch light switches and doorknobs dozens of times a day without a second thought. Over time, these high-traffic spots collect oils, dust, and germs. A quick wipe during your cleaning routine keeps them fresh and reduces the spread of bacteria.
Don't overlook these small surfaces—they're some of the dirtiest spots in any room. A disinfectant wipe or a cloth with all-purpose cleaner is all you need. Make it a habit to include them in your weekly cleaning, and you'll notice a subtle but real difference in how clean the room feels.
Why They Get So Grimy
Think about how often you flick a switch or turn a knob, especially after touching other surfaces. Oils from your hands build up, and dust clings to the residue. In high-use rooms like the bathroom or kitchen, these spots can harbor surprising amounts of bacteria.
The Right Way To Clean Them
Use a microfiber cloth or a disinfectant wipe—no need for harsh scrubbing. For light switches, spray the cloth first, not the switch, to avoid moisture seeping into the electrical components. Wipe the plate and the surrounding wall area for a thorough clean.
How Often To Do It
Aim for once a week as part of your regular cleaning. In sick season or if you have kids, bump it up to every few days. It takes less than a minute per room, so it's an easy win for a healthier space.
8. Use a Lint Roller on Lampshades
Lampshades are dust magnets. The fabric grabs particles out of the air, and before you know it, your soft glow looks dingy and dull. Wiping them down can be tricky—wet cloths leave water spots, and dry dusters just push the dirt around.
A lint roller solves this in seconds.
Roll it gently over the shade from top to bottom. The adhesive picks up dust, pet hair, and lint without damaging the fabric. No bending, no scrubbing, no special tools.
It’s especially effective on pleated or textured shades where dust hides in crevices.
Why Lint Rollers Work Better Than Cloths
Dust clings to fabric via static and tiny fibers. A dry cloth redistributes dust into the air, while a damp cloth can stain or shrink certain materials. Lint rollers trap dust directly on the adhesive sheet, removing it completely.
Plus, you can toss the dirty sheet and move on.
Best Technique For Different Shade Materials
For fabric shades (cotton, linen, silk), use light pressure and roll in one direction to avoid fraying. For paper or parchment shades, use an even lighter touch—too much pressure can tear them. For hardback shades, a lint roller still works, but a microfiber cloth might be faster.
How Often To Do It
A quick once-over every two weeks keeps lampshades looking fresh. If you have pets or live in a dusty area, weekly is better. The whole process takes under a minute per shade, so it’s easy to add to your regular cleaning rotation.
9. Organize Cords with Binder Clips
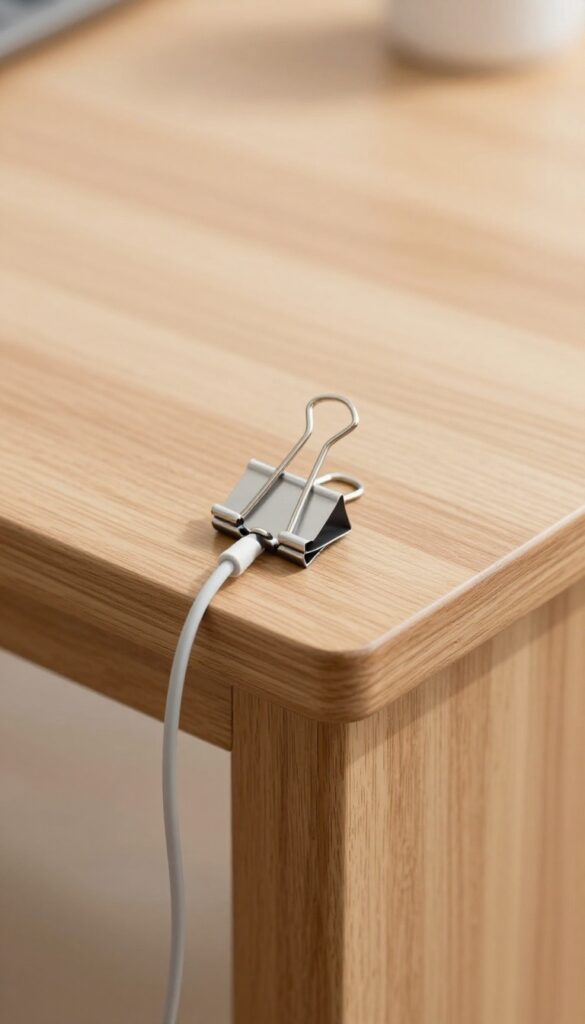
Cords have a way of turning a clean desk into a tangled mess. One simple fix: binder clips. They’re cheap, easy to find, and work like magic to keep cables in place.
Clip them to the edge of your desk or nightstand, then run the cord through the metal loops. Your space instantly looks neater, and you can actually find the right charger when you need it.
Binder clips are a versatile tool for cord management. They attach to desks, shelves, or nightstands, holding cables securely off the floor. This prevents tangling and makes cleaning easier.
Plus, you can label clips for different devices, so you never grab the wrong cord again.
Clip To Desk Edges
Attach a medium-sized binder clip to the edge of your desk, about an inch from the corner. Run the cord through the metal loops. This keeps charging cables within reach but off the work surface.
For multiple cords, use several clips spaced a few inches apart.
Label Your Cords
Write the device name on a small piece of tape and stick it to the binder clip. Or use colored clips for different devices—blue for phone, green for laptop. No more guessing which cord belongs to what.
Tame Nightstand Tangles
Clip a binder clip to the side of your nightstand, then thread your phone charger through it. The cord stays put and won’t fall behind the furniture. You can also use a clip to hold earbuds or a watch charger.
10. Keep a Laundry Basket for 'Homeless' Items
You know those random things that end up on your desk, nightstand, or counter because they have no real home? They pile up fast and make any room feel chaotic. The fix is simpler than you think: grab a laundry basket and designate it as a temporary holding zone for all those homeless items.
This one trick stops clutter from spreading and buys you time to sort things out later.
A laundry basket works perfectly because it's large, easy to move, and signals that these items are in transition. When you see something out of place, toss it in the basket instead of leaving it on a surface. At the end of the day or week, go through the basket and find permanent homes for each item.
Over time, you'll notice fewer things end up in the basket as you create dedicated spots for them.
Why It Works
The basket acts as a visual and physical boundary. Instead of clutter spreading across multiple surfaces, it's contained in one spot. This reduces visual noise and makes the room feel instantly tidier.
Plus, having a designated place for 'miscellaneous' items removes the decision fatigue of where to put them in the moment.
How To Use It Effectively
Place the basket in a convenient but not obtrusive spot, like a corner of the room or inside a closet. Make it a rule: if you pick up an item and don't know where it goes, it goes in the basket. Set a weekly reminder to sort through the basket.
As you find permanent homes for items, you'll gradually reduce the number of homeless things.
What To Avoid
Don't let the basket become a permanent dumping ground. If it stays full for weeks, you're just hiding clutter. Also, avoid using it for trash or items that need immediate action, like dirty dishes or laundry.
Keep its purpose clear: temporary storage for things that need a home.
11. Rotate Seasonal Decor and Clothes
Your space changes with the seasons, but your decor and wardrobe don’t have to stay the same all year. Rotating items based on the time of year keeps your room feeling fresh and relevant. It also clears out visual clutter by hiding things you don’t need right now.
When you store off-season clothes and decorations, you instantly free up closet and shelf space. This makes your daily environment less busy and more calming. Plus, bringing out seasonal pieces feels like a mini refresh without buying anything new.
Set Up A Rotation System
Designate a storage bin or area for each season. Label them clearly so you can swap items in under an hour. Keep only the current season’s decor and clothing accessible.
Declutter Before You Store
Before packing away winter coats or holiday ornaments, take a moment to decide if you still love and use them. Donate or discard anything worn, broken, or out of style. This prevents storage from becoming a dumping ground.
Make The Swap A Ritual
Treat the seasonal rotation as a small ceremony. Play music, light a candle, and enjoy the process. It turns a chore into a mindful practice that signals a new chapter.
12. Use Drawer Dividers for Small Items
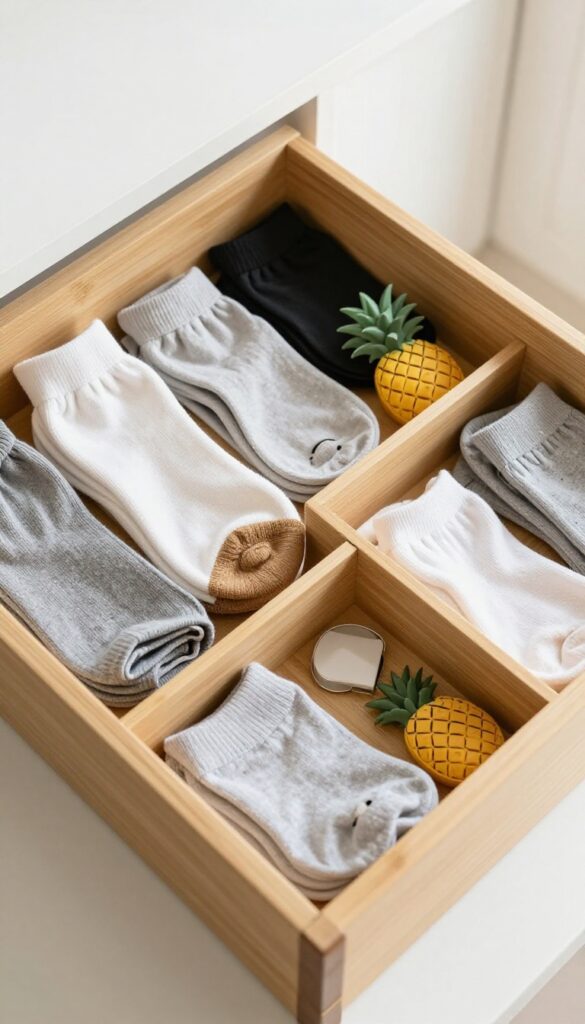
Drawers are often the final frontier of clutter. Socks, accessories, office supplies, and random bits and bobs get tossed in, and soon you're digging for that one matching earring or a charging cable. Drawer dividers solve this by giving every small item a designated spot.
The beauty of drawer dividers is that they turn chaos into order without any extra effort. Once you set them up, maintaining the system is automatic. No more rummaging or dumping everything out to find what you need.
Choose The Right Dividers
Not all dividers are created equal. For deep drawers, use adjustable bamboo or plastic dividers that can expand to fit. For shallow drawers, felt or silicone trays work well.
Measure your drawer dimensions before buying, and consider removable dividers so you can reconfigure later.
Categorize Before You Organize
Empty the drawer completely. Group items by type: socks, underwear, accessories, or pens, sticky notes, chargers. Then assign each category to a section of the drawer.
This prevents overlap and makes it easy to find things at a glance.
Maintain The System
The hardest part is keeping it tidy. Make it a habit to return items to their designated divider after use. If you notice a category overflowing, consider a larger section or a separate container.
A quick weekly reset keeps the drawer from devolving back into chaos.
13. Clean Windows for Natural Light
There's something about sunlight streaming through clean glass that instantly lifts a room. Streak-free windows don't just improve the view—they flood your space with natural light, making it feel larger, fresher, and more open. It's one of those small tasks with a huge payoff.
Let's be honest: dirty windows are easy to ignore. But once you clean them, you'll wonder why you waited so long. The difference is immediate and dramatic.
Here's how to get it right without the frustration.
Pick The Right Tools
Skip the paper towels—they leave lint and streaks. Instead, grab a squeegee, a microfiber cloth, and a bucket of warm water with a few drops of dish soap. For stubborn grime, add a splash of white vinegar.
A soft scrub brush helps with corners and frames.
Master The Technique
Work from top to bottom so drips don't mess up clean spots. Use the squeegee in a smooth S‑curve, wiping the blade after each pass. If you don't have a squeegee, a microfiber cloth works—just dry immediately to avoid streaks.
For outdoor windows, tackle them on a cloudy day to prevent soap from drying too fast.
Don't Forget The Screens And Tracks
Dusty screens block light, so vacuum them gently with a brush attachment. Wash them with soapy water and rinse. Window tracks collect grime—use a small brush or an old toothbrush to scrub them clean.
A vacuum with a crevice tool works wonders for loose dirt.
14. Freshen Upholstery with Baking Soda
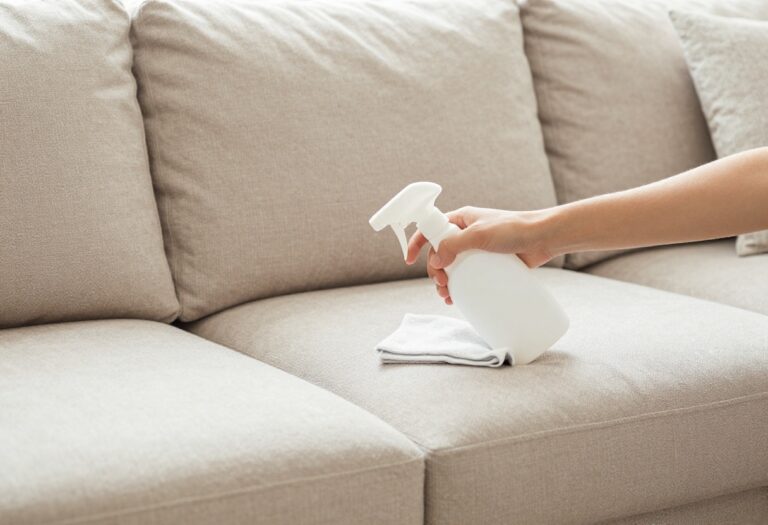
Fabric sofas and chairs absorb odors over time—pet smells, cooking fumes, everyday living. Before you reach for chemical sprays, try baking soda. It’s a gentle, effective deodorizer that works without harsh ingredients.
Just sprinkle, wait, and vacuum. Your upholstery will smell fresher without any synthetic fragrances.
Baking soda is a natural odor neutralizer, not just a cover-up. It absorbs and traps odor molecules, then releases them when vacuumed. This method is safe for most fabrics, but always test on a hidden area first.
Plus, it’s cheap and non-toxic, making it ideal for homes with kids or pets.
How To Apply
Remove any cushions and vacuum the surface to pick up loose dirt. Evenly sprinkle a thin layer of baking soda over the fabric. Use a sieve or shaker for even distribution.
Let it sit for at least 15 minutes—longer for strong odors, even overnight. Then vacuum thoroughly with the upholstery attachment.
Boosting The Freshening Effect
Add a few drops of essential oil to the baking soda before sprinkling. Lavender or lemon work well for a light, natural scent. Mix thoroughly to avoid clumps.
You can also combine baking soda with a pinch of ground cinnamon or dried herbs for a subtle seasonal aroma.
Spot Cleaning Stains First
If your upholstery has visible stains, treat them before deodorizing. Blot spills immediately, then use a mild soap solution or a fabric-safe stain remover. Let the area dry completely before applying baking soda.
This ensures the baking soda can focus on odors, not trapped moisture.
15. Wipe Baseboards with a Dryer Sheet
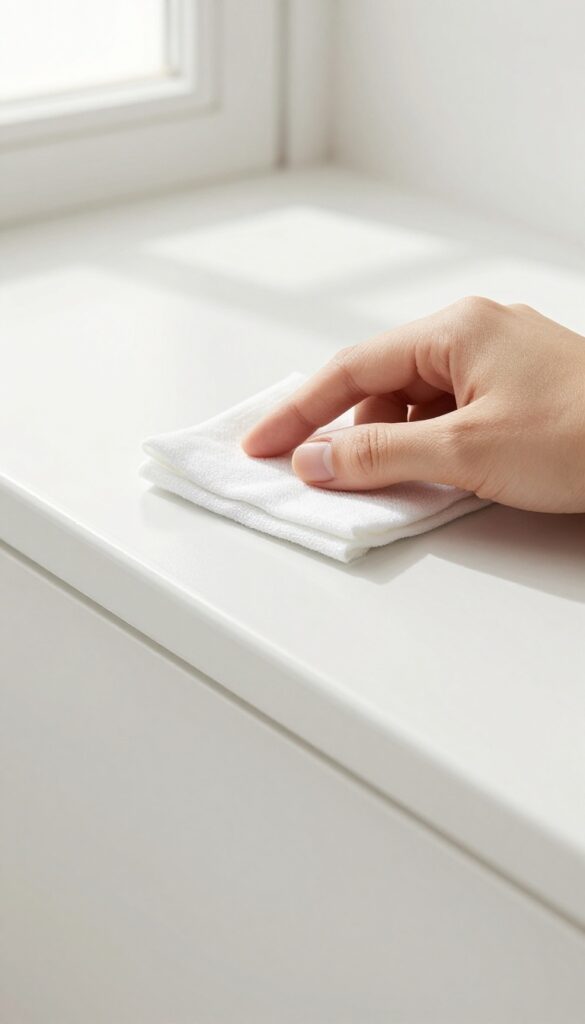
Baseboards are one of those spots you forget about until you run a finger along them and come up with a clump of dust. They collect grime from floor cleaning, foot traffic, and everyday air. But you don't need a special spray or a ton of elbow grease to keep them clean.
A used dryer sheet is surprisingly effective for baseboards. The fabric softener coating helps lift dust and dirt without scratching the paint. Plus, it leaves a light fresh scent and creates a thin layer that repels dust for a while.
It's a quick wipe that makes a visible difference, especially in rooms with white or light-colored trim.
Why Dryer Sheets Work
Dryer sheets are designed to reduce static and soften fabrics. That same anti-static property attracts and holds dust particles, making them easy to wipe away. The waxy coating also leaves a residue that helps prevent dust from settling as quickly next time.
How To Do It
Use a sheet that's already been through the dryer—it still has enough softener left. Run it along the top edge and face of the baseboard. For stubborn spots, a slightly damp sheet works better.
Toss it when it gets dirty and grab a fresh one. No need for extra cleaners.
Where Else To Use Them
This trick works on other dusty surfaces too: window sills, blinds, ceiling fan blades, and even the tops of door frames. Just avoid using them on glass or mirrors, as the residue can leave streaks.
16. Use a Squeegee on Carpets for Pet Hair
Pet hair can be stubborn, clinging to carpet fibers even after multiple vacuum passes. A squeegee—yes, the same one you use on windows—pulls hair out with satisfying efficiency. The rubber blade creates static that lifts hair from deep within the carpet, gathering it into easy-to-collect clumps.
It’s quick, cheap, and oddly therapeutic.
Why A Squeegee Works Better Than A Vacuum
Vacuum brushes often push hair deeper or miss it entirely. A squeegee’s firm rubber edge drags hair to the surface without tangling. The static charge generated by the friction grabs loose strands and even embedded fur.
It’s especially effective on low-pile carpets and rugs where vacuums struggle.
How To Use A Squeegee On Carpet
Start with a clean, dry squeegee. Work in small sections, pulling the blade toward you in long, steady strokes. You’ll see hair gather into rolls or lines.
After each pass, wipe the blade clean with a paper towel or shake the hair into a trash bin. For best results, go over the area in multiple directions.
Pair With A Vacuum For A Deep Clean
After squeegeeing, vacuum as usual. The squeegee loosens hair so the vacuum can pick it up more easily. This combo reduces the number of vacuum passes needed and keeps your machine’s filters cleaner longer.
It’s a simple one-two punch for pet owners.
17. Keep a Small Trash Can Handy
A tiny bin near your desk or bedside makes it easy to toss trash immediately, preventing piles. It's one of those small tweaks that has a big impact on daily clutter. You'll be surprised how much cleaner your space stays when you don't have to walk across the room to throw something away.
When a small trash can is within arm's reach, you're more likely to use it. That means fewer crumpled papers, empty snack wrappers, and used tissues accumulating on surfaces. It's a simple habit that keeps your room looking tidy with minimal effort.
Choose The Right Size And Style
Look for a bin that's compact enough to fit on your desk or nightstand without taking up too much space. A sleek, minimalist design blends in and doesn't scream 'trash can. ' Consider a lidded option if you want to hide unsightly waste or control odors.
Place It Where You Actually Need It
Think about your daily routines. If you often snack at your desk, put a bin there. If you tend to toss receipts or mail on your nightstand, place one nearby.
The goal is to make tossing trash as convenient as possible.
Empty It Regularly To Avoid Overflow
A small bin fills up fast, so get into the habit of emptying it every few days. Set a reminder if needed. This prevents trash from spilling over and keeps the area fresh.
Plus, it's a quick task that takes less than a minute.
18. Wash Bedding Weekly
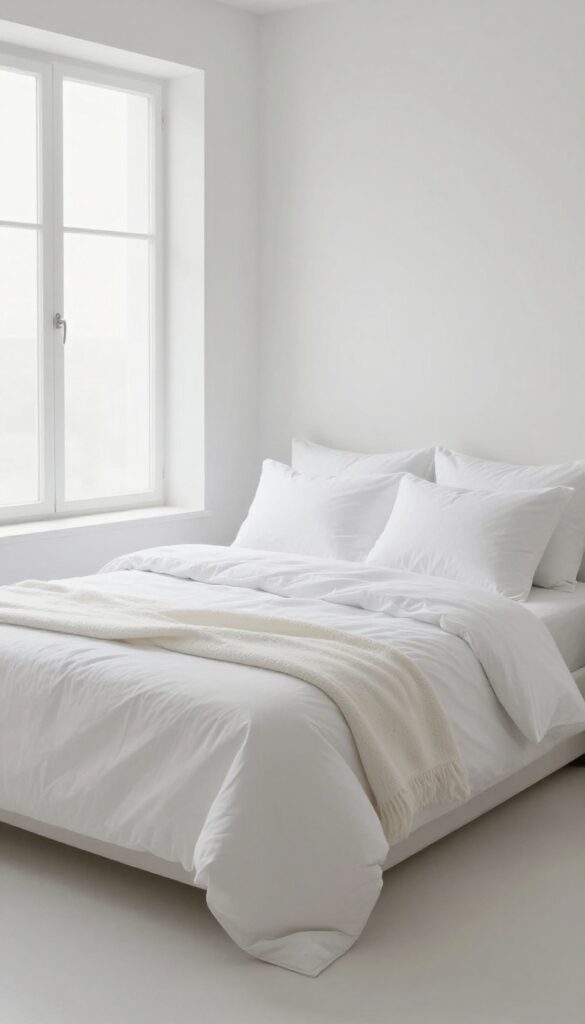
Your bed is the centerpiece of your room, and clean sheets make an instant difference. Weekly washing removes sweat, dust mites, and allergens that build up fast. It’s one of the simplest ways to keep your space feeling fresh and inviting.
Why Weekly Matters
You spend about a third of your life in bed, so it gets dirty quickly. Dead skin cells, body oils, and dust mites accumulate even if you shower before bedtime. Washing sheets once a week prevents that buildup and keeps your sleep environment healthy.
How To Make It Easy
Pick a set day—Sunday morning or Wednesday evening—and stick to it. Use a warm or hot water cycle to kill dust mites and remove allergens. Have two sets of sheets so you can swap one while the other is in the wash.
Don’t Forget Pillowcases And Duvet Covers
Pillowcases need washing just as often as sheets, maybe more if you have acne-prone skin. Duvet covers can go every two to four weeks, but weekly is better if you have allergies. Wash pillows themselves every three to six months.
The Fresh-sheet Feeling
There’s nothing like climbing into freshly laundered sheets. That clean scent and smooth texture instantly make your room feel more serene. It’s a small habit with a big payoff for your mood and sleep quality.
19. Use Vertical Storage for Floor Space
When floor space is limited, the walls become your best friend. Vertical storage—shelves, hooks, and over-door organizers—lifts clutter off the ground and gives your room an instant sense of openness. It’s a simple shift that makes cleaning easier and your space feel twice as large.
Mount floating shelves above desks or beds for books, plants, or display items. Install hooks behind doors for bags, robes, or hats. Over-door shoe organizers can hold cleaning supplies, accessories, or small gadgets.
The key is to keep frequently used items accessible while freeing up prime real estate on the floor.
Floating Shelves That Work
Choose sturdy shelves that match your decor. Use them for daily essentials like a lamp or phone charger, not just decoration. Keep them tidy with small baskets or trays to prevent visual clutter.
Hooks And Hangers Everywhere
Place hooks on the back of doors, inside closets, or on empty wall sections. They’re perfect for coats, bags, jewelry, or even a laundry bag. This keeps items off chairs and floors.
Over-door Organizers
Clear plastic or fabric organizers with pockets are great for shoes, toiletries, or craft supplies. They make use of dead space and keep items visible and easy to grab.
20. Deep Clean One Zone at a Time
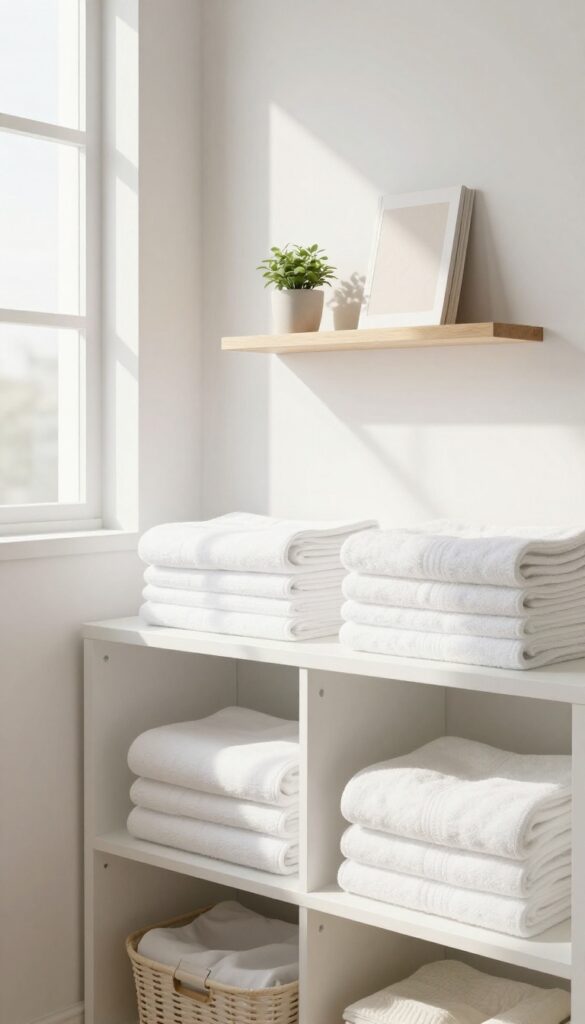
Looking at a whole messy room can feel overwhelming, like you need to finish everything right now. That pressure often leads to burnout before you even start. The trick is to shrink your focus to just one small zone—a closet, a corner, or even a single shelf.
Pick Your Zone
Choose a spot that bothers you the most or is small enough to finish in 15 minutes. It could be the top of your dresser, the nightstand, or a cluttered corner. The smaller the zone, the easier it is to start and complete.
Clear Everything Out
Remove every item from that zone and place them on the floor or a nearby surface. This gives you a blank slate and lets you see exactly what you're working with. Wipe down the empty surface before putting things back.
Sort And Decide
As you return items, sort them into three piles: keep, relocate, and toss. Only put back what belongs in that zone. Relocate items that have wandered from their home, and discard anything broken or unused.
Finish And Move On
Once the zone is clean and organized, step back and appreciate it. Don't jump to the next zone right away—give yourself a break. Over time, completing one zone per day adds up to a fully fresh room without the stress.
21. Add a Small Plant for Freshness
Bringing a bit of nature indoors does more than just look good. A small plant can purify the air, boost your mood, and add a calming touch to your room. And no, you don't need a green thumb to keep it alive.
Plants are natural air filters, absorbing toxins and releasing oxygen. They also add a pop of life to any corner, making the space feel more vibrant and serene. Even one small pot can shift the energy of a room.
Choose Low-maintenance Varieties
Snake plants, pothos, and ZZ plants are nearly impossible to kill. They thrive on neglect, needing only occasional watering and indirect light. Perfect for beginners or anyone who forgets to water.
Placement Matters
Set your plant where you'll see it daily—on a nightstand, desk, or shelf. Avoid drafty windows or dark corners. A spot with bright, indirect light works for most easy-care plants.
Pair With A Decorative Pot
A simple pot in a neutral color or natural material like terracotta complements any decor. Make sure it has drainage holes to prevent root rot. A saucer underneath protects your surfaces.
22. Use Scent Strategically
A room that smells good instantly feels cleaner and more inviting. Scent has a powerful effect on your mood and perception of space. By choosing one or two calming fragrances, you can create a spa-like atmosphere without any extra effort.
A subtle essential oil diffuser or candle can make the room feel spa-like. Stick to one or two scents to avoid overwhelming the senses. Lavender promotes relaxation, while citrus can energize.
Place the diffuser or candle on a stable surface away from clutter to keep the focus on the aroma.
Pick Your Signature Scent
Choose a scent that aligns with the mood you want. For calm, go with lavender, chamomile, or sandalwood. For freshness, try lemon, peppermint, or eucalyptus.
Avoid mixing too many fragrances—one or two is enough to create a cohesive experience.
Placement Matters
Put your diffuser or candle near the entrance of the room or by your bed. This way, the scent greets you when you walk in and lingers while you sleep. Keep it away from windows or fans that might disperse the fragrance too quickly.
Safety And Simplicity
If using candles, never leave them unattended. Opt for natural soy or beeswax candles with essential oils. For a low-maintenance option, use a reed diffuser or a few drops of essential oil on a cotton ball tucked behind a picture frame.
23. End with a 2-Minute Reset
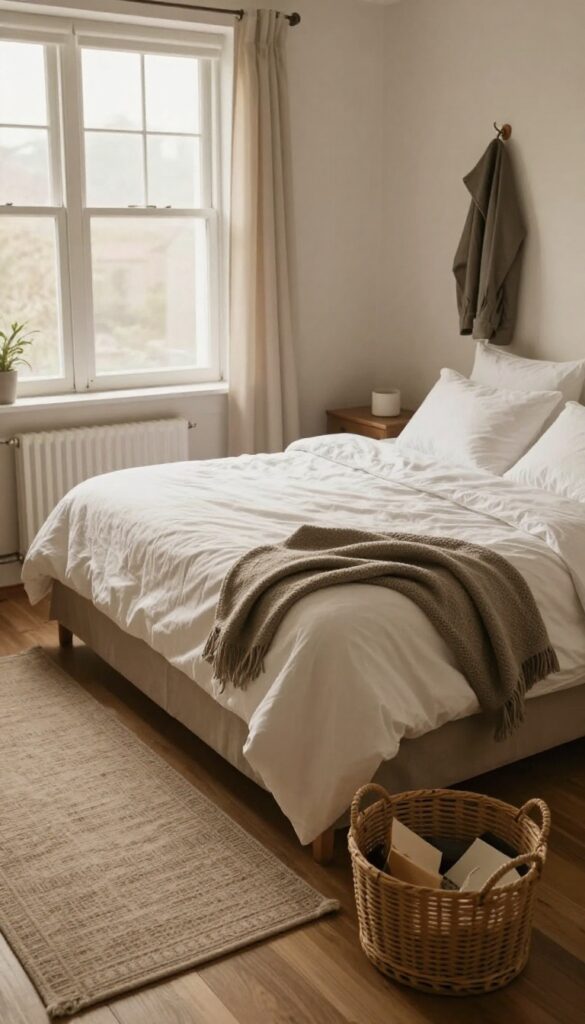
You've cleaned, decluttered, and organized. But the real magic happens when you make a tiny habit stick. The 2-minute reset is the secret to keeping your room fresh without constant effort.
It's not about perfection—it's about consistency.
Before you leave the room, take just two minutes to put things back in place. Fluff a pillow, hang up a jacket, toss trash, straighten a rug. This simple ritual prevents mess from accumulating and saves you from future deep cleans.
It's like brushing your teeth for your room—quick, easy, and incredibly effective.
Why Two Minutes Works
Two minutes is short enough to feel doable, even when you're tired. It's not a chore—it's a habit. Over time, this tiny investment keeps your room consistently tidy without the overwhelm of a full cleaning session.
Think of it as a closing shift for your space.
How To Make It Stick
Pair the reset with something you already do, like leaving the room. Set a timer if needed. Focus on high-impact areas: the bed, the floor, and surfaces.
Keep a small basket for items that need to go elsewhere. The goal is to leave the room looking better than when you entered.
The Long-term Payoff
This habit builds momentum. A tidy room feels calmer, and you'll spend less time on big cleanups. It also trains your brain to notice and address clutter early.
After a week, you'll wonder how you ever lived without it.
FAQ
How often should I deep clean my room?
Aim for a deep clean every 2-4 weeks. This includes moving furniture, washing curtains, and scrubbing baseboards.
What's the best way to keep my room organized daily?
Spend 5-10 minutes each evening tidying up. Put away items, make the bed, and clear surfaces.
How can I clean my room if I'm short on time?
Focus on high-impact tasks: make the bed, clear clutter, and dust surfaces. Even 10 minutes can make a difference.
What cleaning products are essential for a room?
All-purpose cleaner, microfiber cloths, a vacuum with attachments, and a duster. Baking soda and vinegar handle most stains.
How do I maintain a clean room with pets?
Vacuum frequently, use a squeegee for pet hair, wash pet bedding weekly, and keep a lint roller handy.
Conclusion
A truly fresh room isn't about perfection—it's about creating a space that feels good to be in. Start with just a few of these tips that fit your routine, and let the calm build naturally over time. You don't need to overhaul everything at once.
Small, consistent actions are what turn a cluttered room into a peaceful retreat. Pick what works for you, and remember that the goal is progress, not perfection. Your calm, organized space is closer than you think.