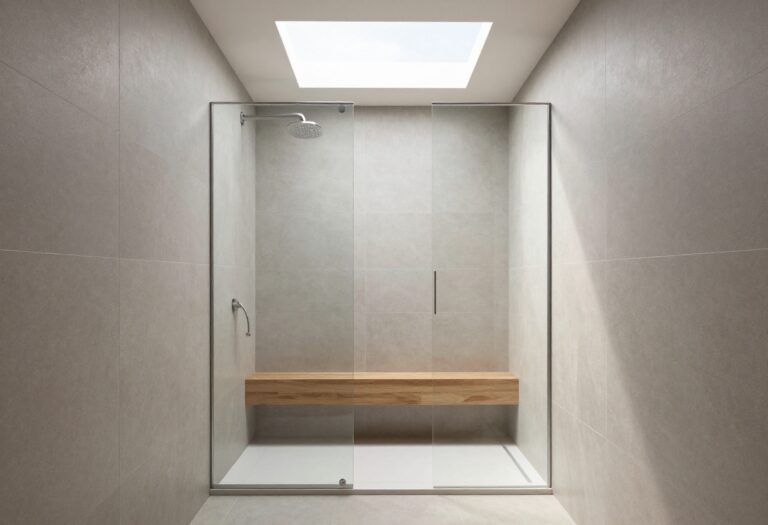
11 Modernized Shower Stall Ideas for a Crisp, Custom Finish
Shower remodels often stall on the same old choices—basic tile, dated fixtures, and a layout that feels anything but custom. But modernizing your stall doesn't have to mean a full gut job or a designer budget.
Small, smart upgrades like peel-and-stick tile, matte black hardware, or a linear drain can completely shift the look and feel. These 11 ideas focus on crisp, practical details that bring a fresh, tailored finish to your space.
From budget-friendly swaps to statement pieces, each one tackles a specific upgrade you can actually pull off.
1. Peel-and-Stick Tile: High Style, Low Commitment
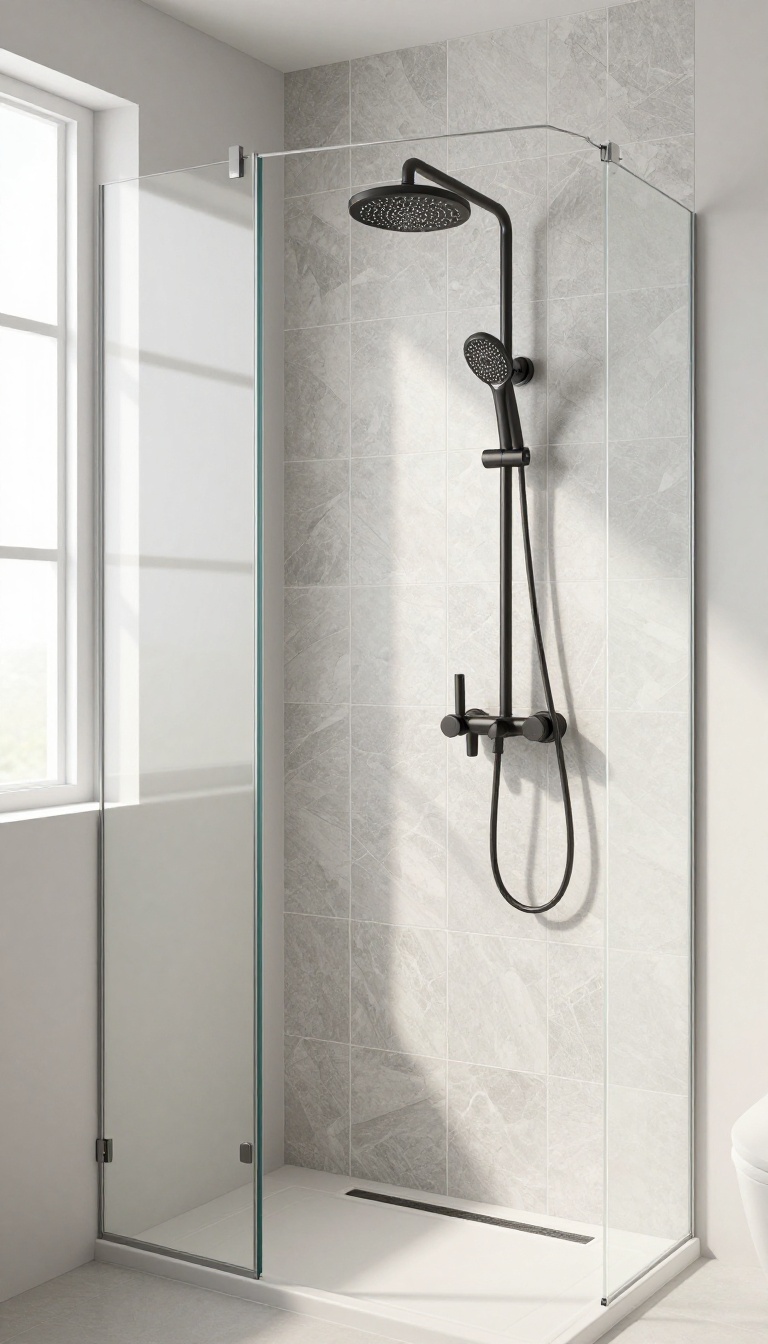
Peel-and-stick tile has come a long way from the flimsy vinyl squares of the past. Today's versions mimic the look of real stone, ceramic, or even handmade zellige, but they go up in hours and come off without a fight. That makes them perfect for renters, first-time upgraders, or anyone who wants a crisp refresh without the mess of grout and mortar.
The biggest win with peel-and-stick tile is how forgiving it is. You can test a pattern, change your mind, and reposition a sheet without any permanent damage. Plus, the cost is a fraction of real tile, so you can splurge on a higher-end look without the splurge on your credit card.
Whether you cover the whole shower surround or just an accent strip, the effect can be surprisingly polished.
Pick The Right Material
Not all peel-and-stick tiles are created equal. Look for vinyl or PVC-based options that are specifically rated for wet areas. Avoid paper-backed products that can warp or peel when exposed to constant moisture.
Stick to brands that advertise waterproof or water-resistant properties, and check the thickness—thicker tiles tend to look more substantial and hide wall imperfections better.
Prep The Surface Like A Pro
The secret to a lasting peel-and-stick install is surface prep. Clean the wall thoroughly with a degreaser, then wipe down with rubbing alcohol to remove any residue. Fill any dents or holes with spackle and sand smooth.
If your wall is glossy or textured, a quick coat of primer can help the adhesive grab. The smoother the base, the better the tiles will stick and the more seamless they'll look.
Style It Like Real Tile
Don't just slap the tiles on in a grid. Use a level and a straight edge to keep lines true, and consider a staggered or herringbone pattern for extra visual interest. Mixing two complementary colors—like a soft white and a warm beige—can mimic a high-end custom layout.
Finish the edges with a waterproof caulk or trim piece to give it a built-in feel.
2. Frameless Glass Panels for a Seamless Look
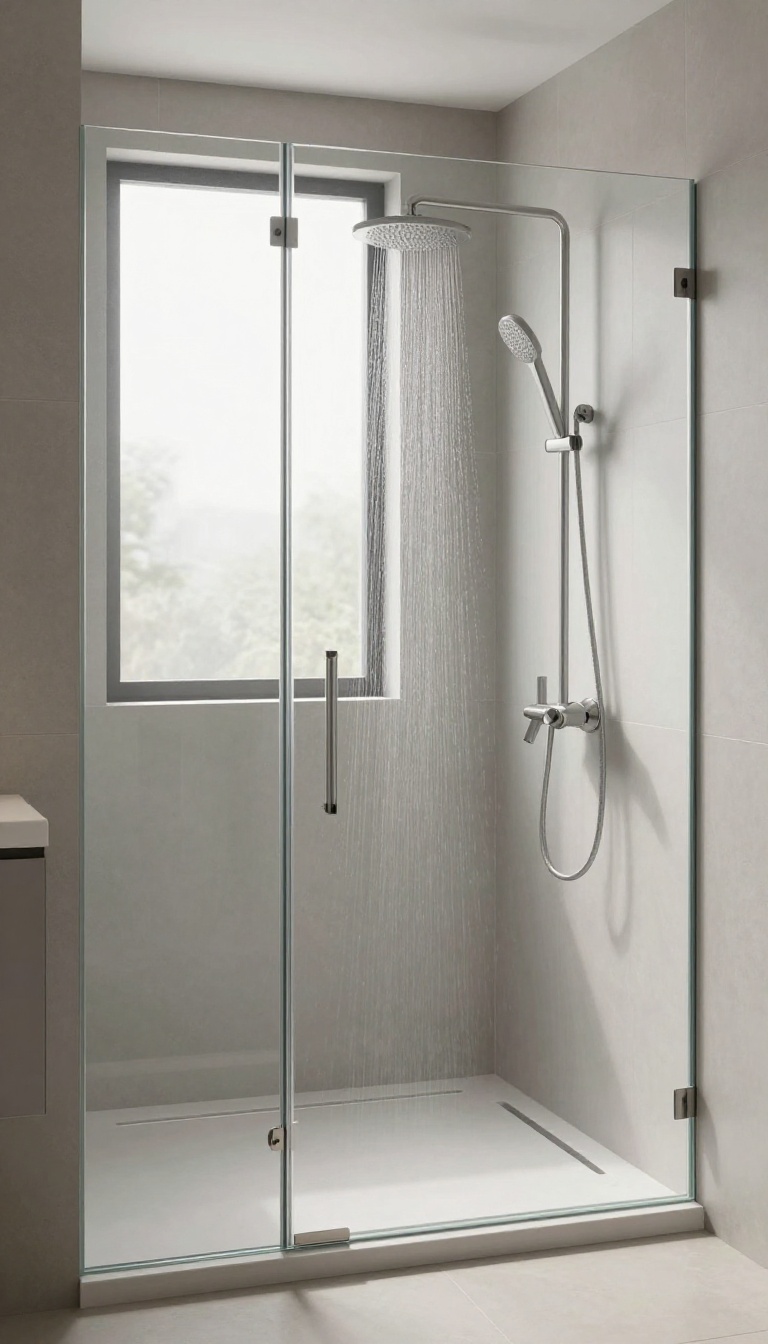
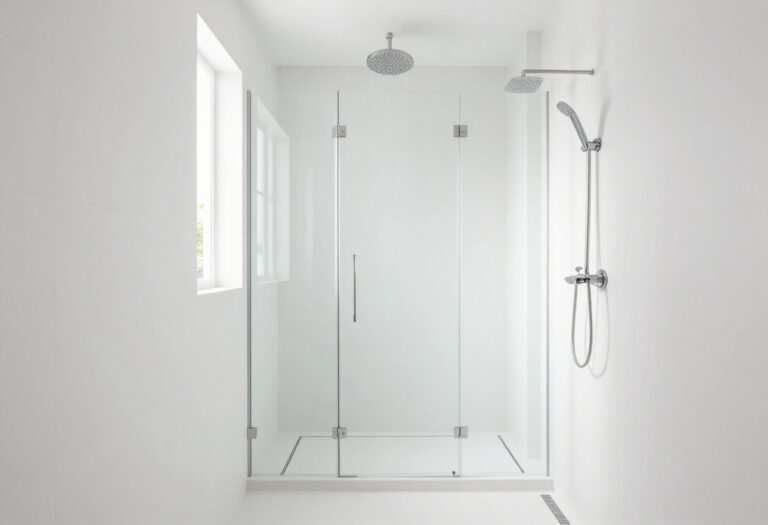
A dated curtain or a bulky framed door can make even a nice shower feel closed off. Swapping it for a frameless glass panel opens up the space, lets in natural light, and gives your bathroom a clean, high-end feel. It's one of those upgrades that instantly reads as custom, without requiring a full renovation.
Frameless glass panels have a way of making a small bathroom feel bigger and brighter. Because there's no frame to break the line of sight, the eye travels uninterrupted from tile to tile, which makes the whole room feel more cohesive. Plus, they're easier to clean—no tracks or metal edges to scrub grime out of.
Why Frameless Beats Framed
Framed doors often come with aluminum or plastic borders that collect soap scum and hard water stains. Frameless panels use thicker tempered glass (usually 3/8" to 1/2") and minimal hardware, so there are fewer places for grime to hide. The lack of a frame also means you can show off your tile work—whether it's a bold pattern or a sleek large-format slab.
Choosing The Right Glass Thickness
Thicker glass feels more substantial and premium, but it also costs more and requires sturdier hinges. For most residential showers, 3/8" glass is a solid balance of durability and price. If you have a larger opening or want a truly luxurious feel, go with 1/2" glass.
Just make sure your walls and floor can support the extra weight.
Installation Tips And Considerations
You'll need a perfectly level and plumb opening for a frameless panel to function properly. That often means hiring a professional, especially if you're dealing with out-of-square walls. Also, plan for a slight gap at the bottom to allow water to flow toward the drain—usually around 1/4 inch.
And don't forget a towel bar or grab bar integrated into the glass for safety.
3. Rainfall Showerhead with a Handheld Combo
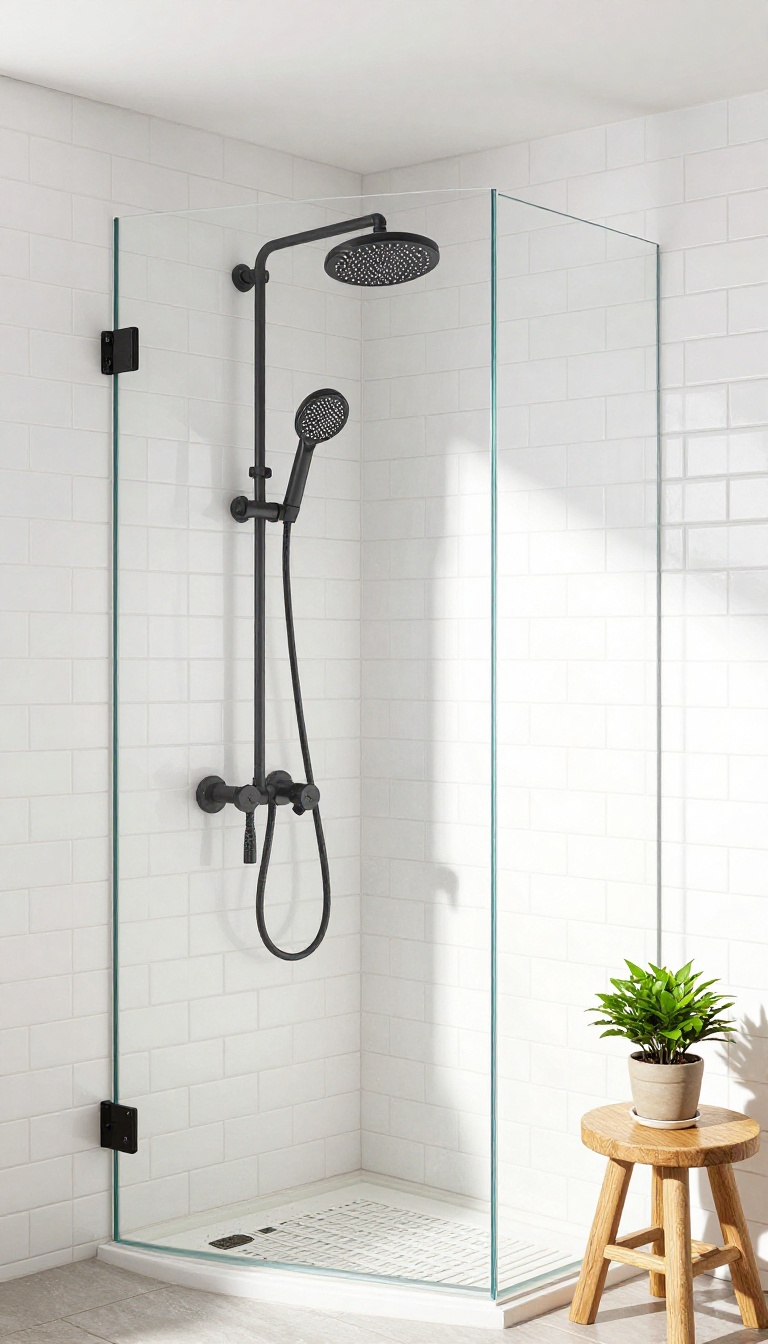
A rainfall showerhead instantly changes the whole vibe of your shower. That wide, gentle cascade feels like standing under a warm summer downpour, and it turns a basic routine into something you actually look forward to. But if you go all-in on rainfall only, you lose the convenience of a handheld for rinsing off, cleaning the stall, or washing the dog.
The fix is a combo setup that gives you both.
Pairing an overhead rainfall head with a separate handheld sprayer gives you the best of both worlds. You get that immersive, spa-like coverage when you want it, plus the flexibility to target specific areas or direct water exactly where you need it. It's a simple upgrade that doesn't require a major remodel—just a new fixture or a diverter valve.
And the payoff is huge: every shower feels more custom and tailored to how you actually use the space.
Why Two Heads Beat One
A rainfall head alone can feel restrictive. You have to stand right under it to get wet, and it's not great for rinsing shampoo out of long hair or cleaning the corners of the stall. A handheld solves those problems in seconds.
You can move it around, adjust the spray pattern, and reach every part of your body without contorting. Plus, it makes cleaning the shower itself way easier—just spray down the walls and floor.
How To Choose The Right Combo
Look for a rainfall head with a diameter between 8 and 12 inches—that's the sweet spot for good coverage without overwhelming a standard stall. For the handheld, check the hose length and spray settings. A hose around 60 inches gives you plenty of reach, and multiple spray patterns (like massage or mist) add versatility.
Also, consider the finish: matte black or brushed nickel can tie into your overall bathroom design.
Installation Tips And Considerations
If you're replacing an existing showerhead, the swap is usually straightforward. You'll need a diverter valve to run both heads independently, or you can opt for a single unit that includes both. Check your water pressure first—if it's low, you might need to upgrade to a higher-flow model or install a pressure-boosting pump.
And don't forget the ceiling height: a rainfall head needs at least 7 feet of clearance so you don't have to duck.
4. Built-In Niches for Storage and Style
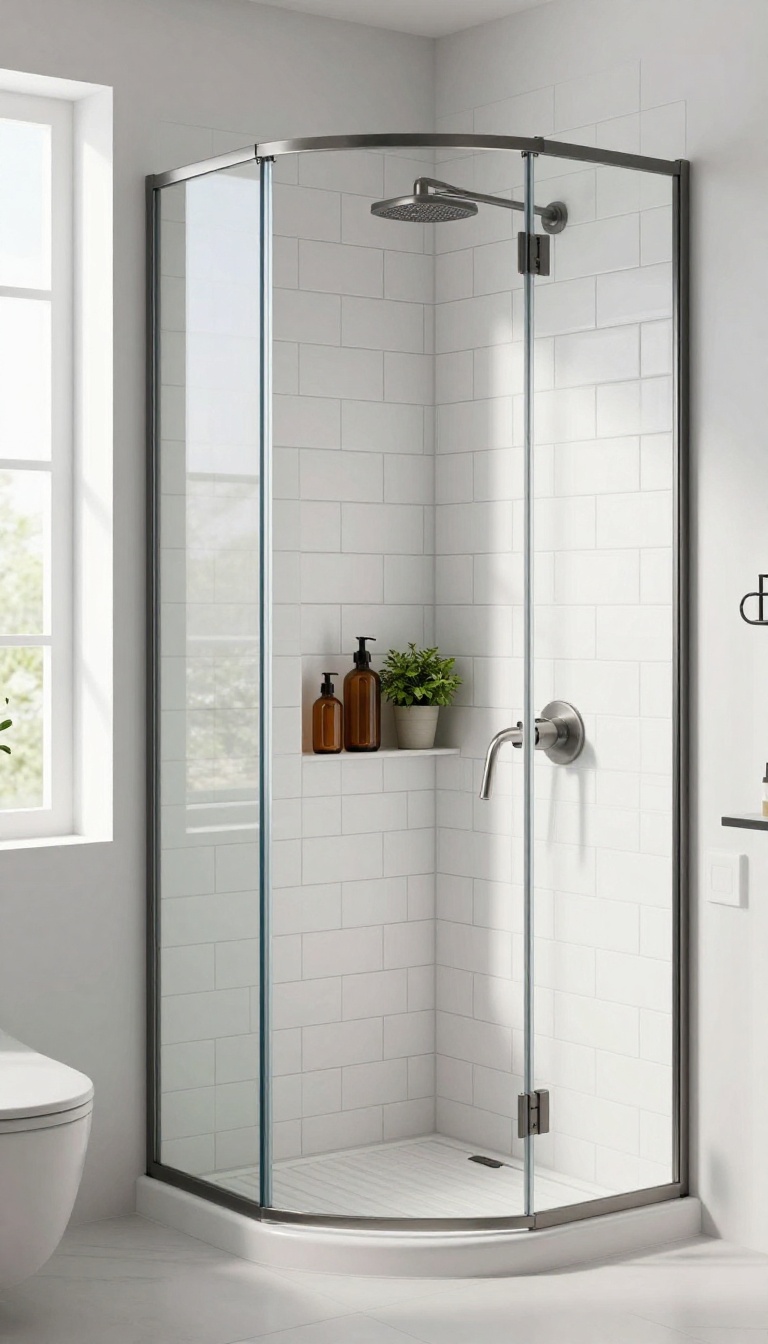
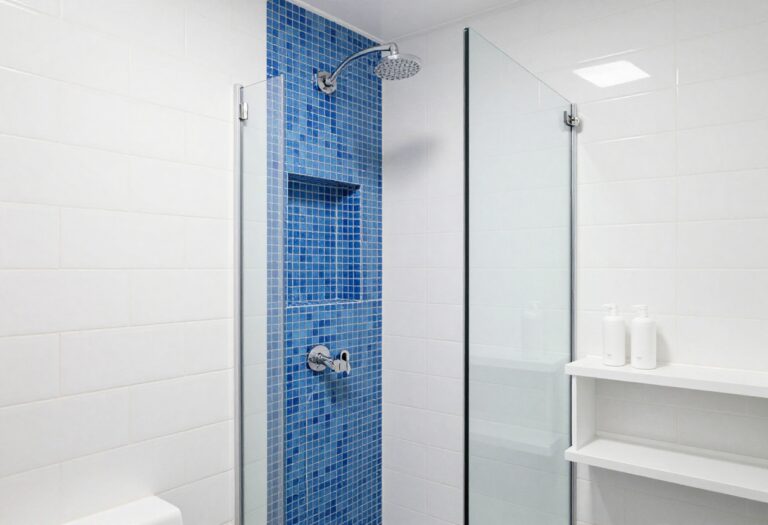
Reaching for a slippery bottle perched on the corner of a tub or a caddy that's always falling over gets old fast. A built-in niche solves that by giving you a permanent, recessed shelf that's both practical and polished. It's one of those details that feels custom because it is—you choose the size, shape, and placement to fit your shower perfectly.
Built-in niches are more than just a spot to stash your shampoo. They keep the floor clear, reduce clutter, and add a touch of architectural interest. Whether you're planning a full remodel or just refreshing your space, a niche can be added during a tile install or even as a DIY project with the right materials.
Plus, with so many design options, you can make it look like it was always part of the plan.
Sizing And Placement
Think about what you'll store—tall bottles, small jars, razors—and size the niche accordingly. A good rule is to make it at least 12 inches high and wide enough to hold your largest bottle. Place it at chest height or slightly below, and keep it away from the showerhead's direct spray to avoid water pooling.
If you're tiling, align the niche with the tile grout lines for a seamless look.
Tile And Finish Options
The niche is a chance to add a pop of contrast or blend in seamlessly. Use the same tile as the walls for a subtle, integrated look, or go bold with a contrasting color or pattern. A niche with a decorative tile back, like a mosaic or a marble slab, becomes a focal point.
You can also add a small ledge or a lip to prevent water from dripping out.
Diy Vs. Professional Installation
Adding a niche isn't always a weekend project. If you're comfortable with framing and waterproofing, you can build one yourself using pre-fabricated niche kits. But if you're not confident, it's worth hiring a pro—waterproofing is critical to avoid leaks and mold.
A professional will ensure proper slope and sealing, giving you peace of mind.
5. Bold Grout Colors to Make Tile Pop
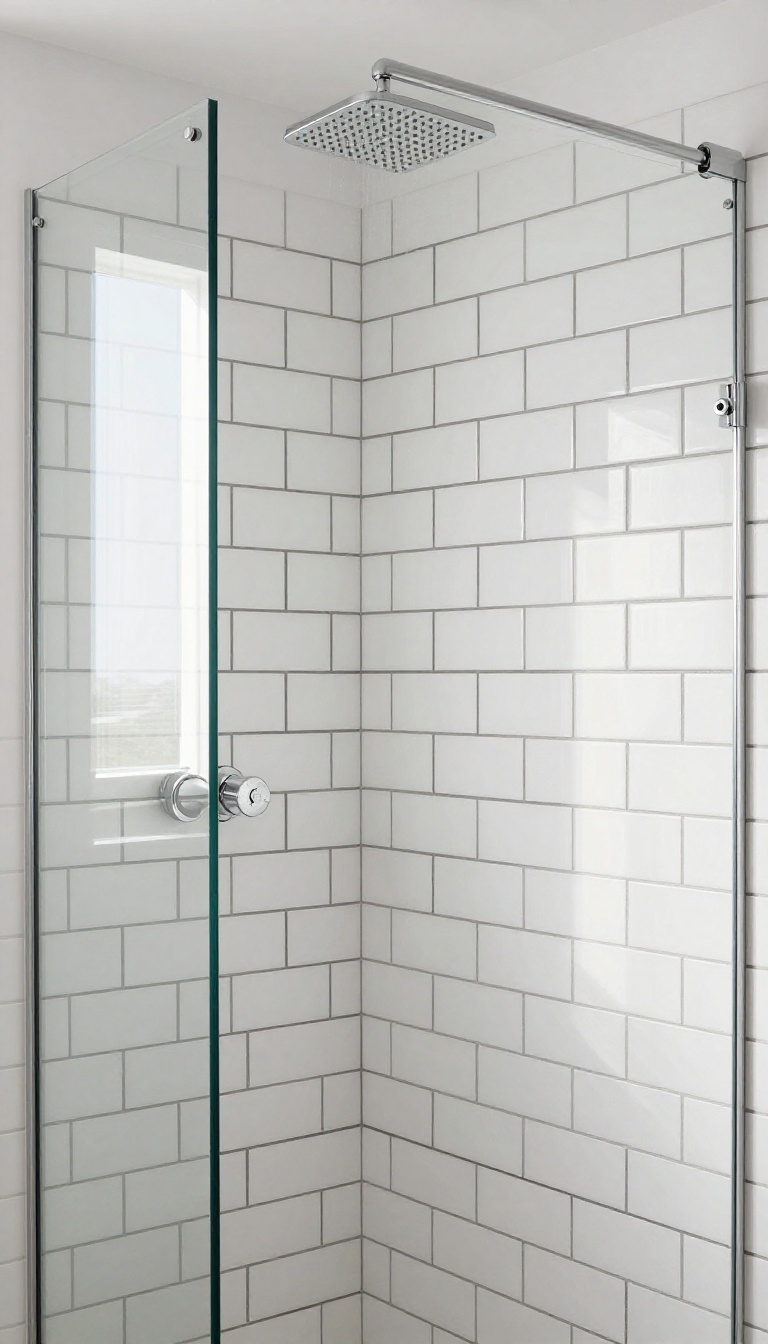
White grout is the default for a reason—it's safe and neutral. But it can also wash out your tile and leave the whole shower feeling a little flat. Switching to a bold grout color is one of the cheapest, easiest ways to add instant contrast and a custom touch.
The trick is picking a shade that complements your tile rather than fights it. Charcoal with white subway tile is a classic, while navy can add a subtle nautical vibe. Even a warm terracotta or deep green can make a neutral tile feel intentional and fresh.
When you choose a bold grout, you're essentially drawing a grid across your shower walls. That can be a great thing—it emphasizes the tile pattern and gives the space a more graphic, modern look. But it also means the grout lines become a design element, so you want to pick a color that feels deliberate.
Start by thinking about the overall mood you're after. Dark grout like charcoal or espresso adds drama and hides dirt well, which is a huge plus in a shower. Lighter bold colors, like a dusty blue or sage, keep things airy but still add personality.
If you're feeling adventurous, a bright yellow or coral can turn a simple tile layout into a statement. Before committing, test your grout color on a spare tile or an inconspicuous area. Grout dries lighter than it looks in the tube, so it's worth the extra step.
Also, consider the size of your tiles—smaller tiles mean more grout lines, so the color will have a bigger visual impact.
Choosing The Right Grout Shade
Match the bold grout to a secondary color in your bathroom, like a vanity or a piece of art. For example, if you have a navy vanity, navy grout ties the whole room together. If you're going for a more neutral look, charcoal is a safe bet that works with almost any tile.
Warm tones like beige or taupe can soften a stark white tile, while cool tones like gray or blue add a crisp, clean feel.
Grout Types And Maintenance
Epoxy grout is your best friend for a shower. It's stain-resistant, doesn't need sealing, and holds up to moisture and cleaning products. Sanded grout is another option, but it's more porous and can be a pain to keep clean.
If you're using a bold color, epoxy is worth the extra cost—it keeps the color true and makes maintenance a breeze.
Diy Vs. Pro Grouting
Regrouting a shower is a doable weekend project if you're comfortable with basic tiling. You'll need to remove the old grout, clean the joints, and apply the new grout carefully. But if you're working with large tiles or a complex layout, a pro can ensure a clean, even finish.
The cost is usually worth it for a high-impact change like this.
6. Matte Black Fixtures for a Modern Edge
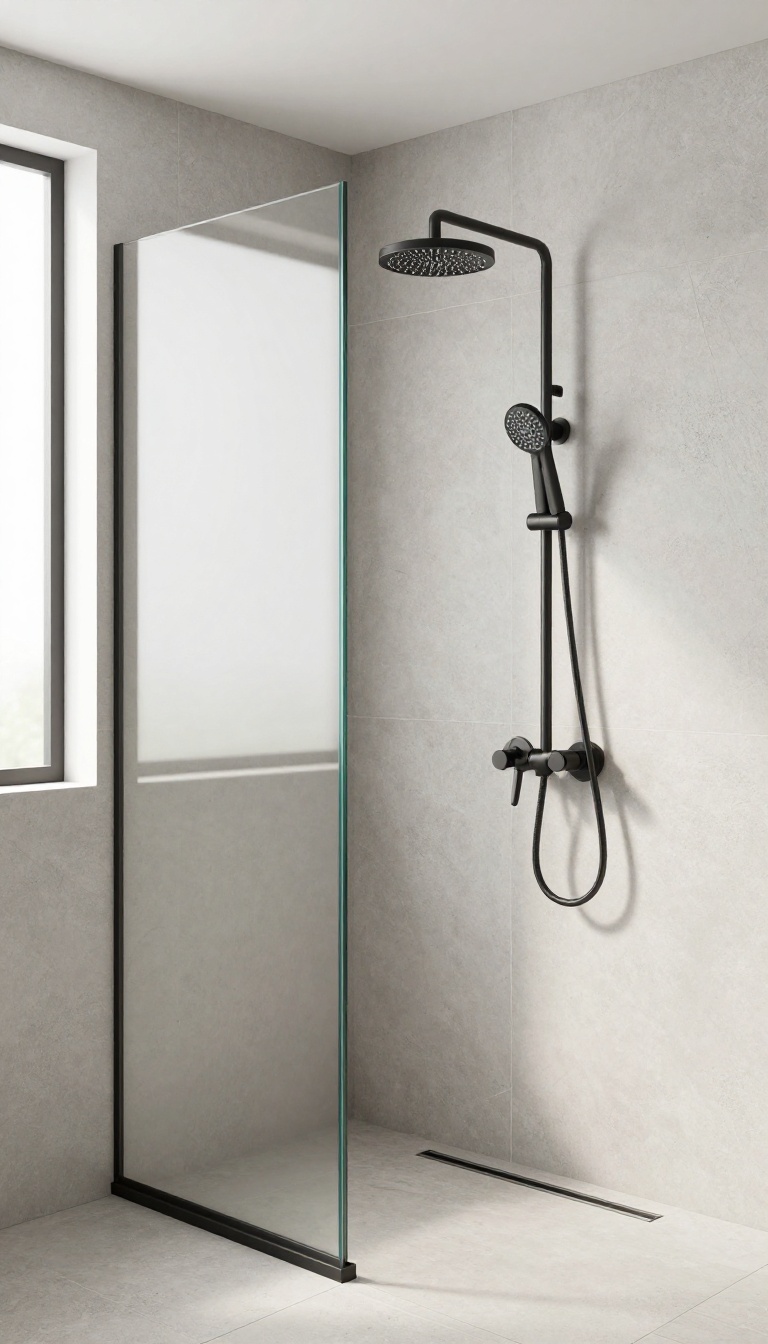
Chrome and brass have their place, but they can also make a shower feel a little dated. If you want a quick, high-impact change, swapping your faucet and showerhead to matte black is a game-changer. It’s a small detail that instantly sharpens the whole look, giving your stall a crisp, contemporary edge without a major renovation.
Matte black fixtures work with almost any tile color—white, gray, or even bold patterns—and they hide water spots and fingerprints way better than shiny finishes. The best part? You don’t have to replace everything at once.
Start with the showerhead and faucet, then add matching accessories like a soap dish or towel bar to tie it all together.
Why Matte Black Works
Matte black doesn’t reflect light, so it absorbs glare and lets the tile and other textures shine. It also adds a subtle, masculine feel that pairs well with natural stone, wood-look tile, or even classic subway tile. Unlike polished chrome, it doesn’t show every smear, so it stays looking clean longer.
Mixing Finishes Without Clashing
You might worry about mixing black with other metals, but it’s actually easier than you think. The trick is to pick one dominant finish for the main fixtures and use black for accents. For example, keep a brushed nickel faucet but add a matte black showerhead and handle.
Or go all-in with black and add a touch of brass for a trendy, high-contrast look.
Installation Tips
Swapping fixtures is a DIY-friendly project if you have basic plumbing skills. Just turn off the water, remove the old fixtures, and screw on the new ones. If you’re unsure, a plumber can do it in under an hour.
Make sure to buy fixtures with a matte black finish that’s baked on or powder-coated—those hold up better against chipping.
7. Linear Drain for a Sleek, Minimalist Floor
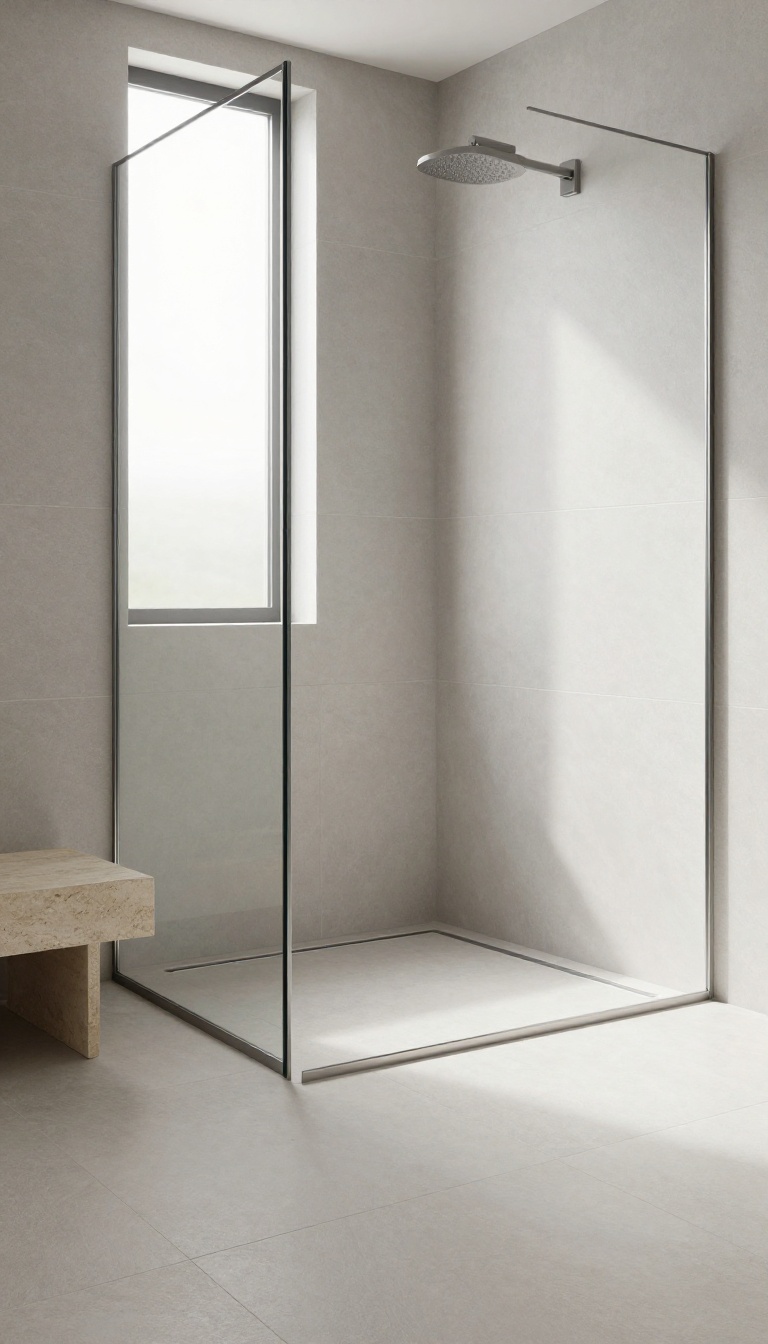
The drain is one of those details you don't think about until it's staring at you from the center of the floor. A traditional round drain often breaks up the tile pattern and creates a slight slope that's hard to ignore. Swapping it for a linear drain along the wall changes the entire geometry of the shower floor.
A linear drain sits flush against the wall or edge, allowing the floor to slope gently in one direction. That means you can use larger tiles or even continuous slabs without the awkward cuts and multiple slopes. The result is a clean, uninterrupted surface that feels more like a wet room than a standard stall.
It also makes the shower easier to clean since water flows in a straight line, and there's no recessed basin to scrub around.
Why It Looks So Much Cleaner
With a center drain, you're forced to slope the floor from all four corners, which often leads to lippage and uneven grout lines. A linear drain lets you create a single, gentle pitch toward the wall. That flat look is what gives high-end spas their minimalist vibe.
Plus, you can run the same tile from the floor up the wall without a visual break, making the space feel bigger and more seamless.
Installation And Tile Options
You'll need to plan for a slight slope during the pre-slope or mortar bed, so it's best to work with a pro if you're not confident. But the payoff is worth it. You can use large format tiles, porcelain planks, or even natural stone with minimal cutting.
The linear drain itself comes in various lengths and finishes—stainless steel, brushed nickel, or matte black—so you can match it to your fixtures.
Practical Perks Beyond Looks
This isn't just about aesthetics. A linear drain can be placed at the entrance to catch water before it escapes, which is great for curbless showers. It also handles high water flow better than a point drain, so you won't get puddling.
And cleaning is easier—just pop off the grate and wipe out any hair or debris. It's a small change that makes daily use feel more refined.
8. Textured Wall Panels for a Spa Vibe
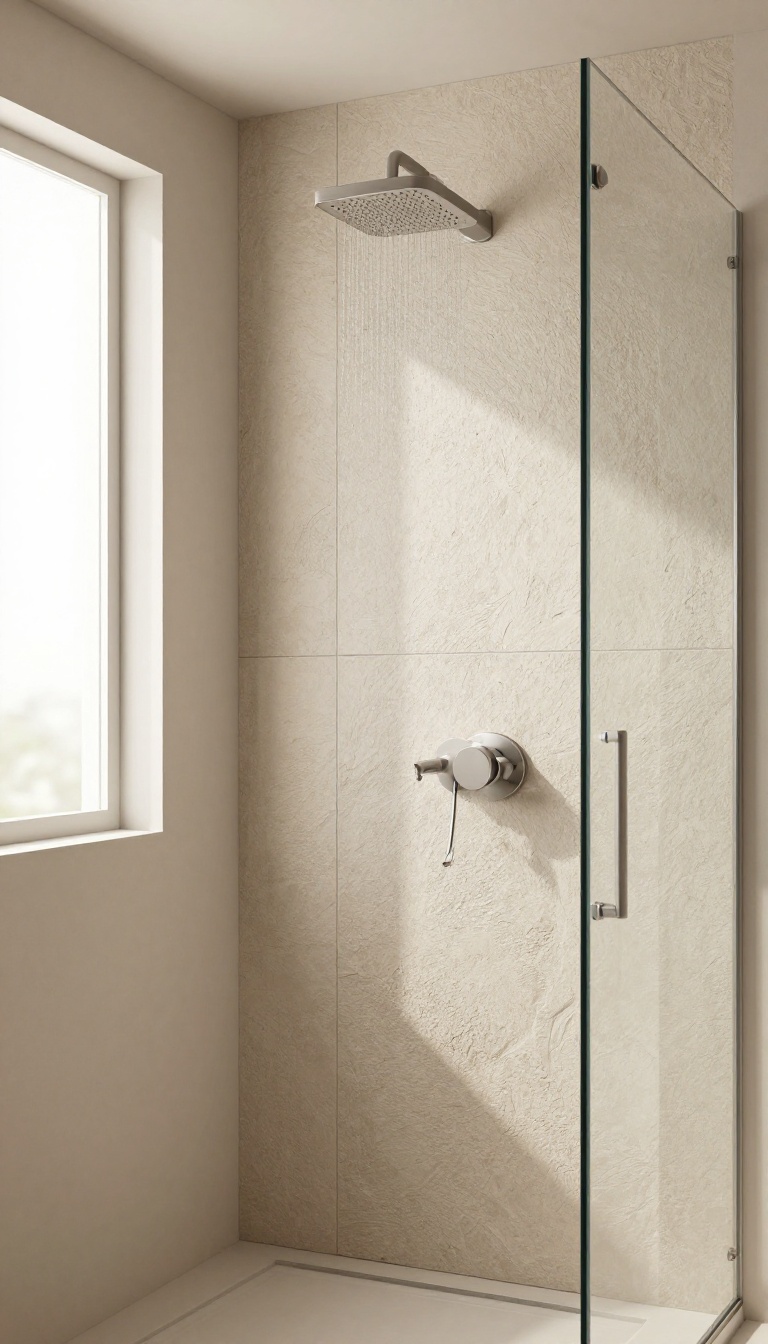
Smooth, glossy tile is classic, but it can also feel a little cold and sterile. If you're after that warm, organic spa feel without the upkeep of real wood or stone, textured wall panels are the answer. They're a smart, modern swap that brings depth and character to your shower stall.
Waterproof wall panels with a wood-look or stone texture are a total game-changer. You get the rich, natural aesthetic without worrying about moisture damage, sealing, or constant maintenance. Plus, they're a breeze to clean and naturally resist mold and mildew, which is a huge win in a damp environment.
The panels go up quickly over existing tile or drywall, making them a practical weekend project that instantly upgrades the whole room.
Why Textured Panels Beat Real Wood And Stone
Real wood in a shower is a maintenance nightmare—it warps, stains, and needs regular sealing. Natural stone is porous and requires special care to avoid etching and staining. Textured panels give you the same visual warmth and tactile feel, but they're engineered to handle constant moisture without a second thought.
They're also lighter and easier to install, so you can achieve that high-end look without the heavy structural support or the hefty price tag.
Picking The Right Texture And Pattern
When you're choosing panels, think about the overall vibe you want. A wood-look panel with a subtle grain brings a cozy, Scandinavian feel, while a slate or travertine texture adds a more rugged, earthy touch. Go for larger panels with fewer seams to keep the look seamless and modern.
And don't forget to check the finish—matte tends to hide water spots better than glossy, which is a practical detail you'll appreciate.
Installation Tips For A Flawless Finish
The key to a professional-looking result is proper prep. Make sure the existing wall is clean, dry, and free of any loose material. Use a good waterproof adhesive and seal all edges and joints with a high-quality silicone caulk.
Take your time with the first panel—if it's straight, the rest will follow. And always cut panels with a fine-tooth saw or a scoring tool to avoid chipping the edges. It's a straightforward job, but a little patience goes a long way.
9. Smart Shower Systems with Digital Controls
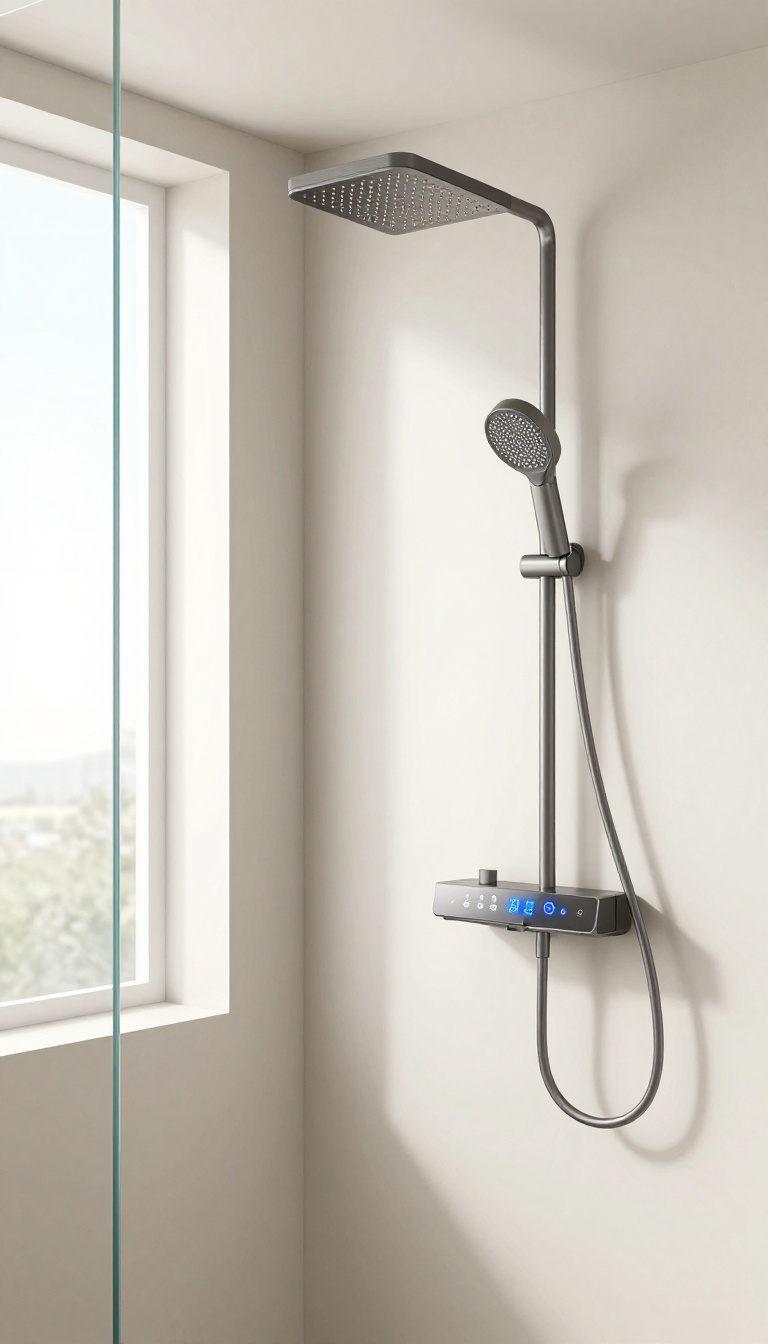
Stepping into a shower that's already at your perfect temperature feels like a small luxury. Digital control panels bring that kind of convenience to your daily routine, letting you set exact heat and water flow with the touch of a button. It's a modern upgrade that also adds real value to your home.
Smart shower systems replace traditional knobs with sleek digital interfaces. You can program presets for different users, so everyone gets their ideal shower without fiddling. Many models also let you control the shower remotely via an app, so you can start warming up the water before you even step in.
It's a practical, futuristic touch that fits right into a crisp, custom finish.
What To Look For
When shopping for a digital system, focus on temperature accuracy and flow control. Look for models with a clear display and intuitive buttons. Some systems offer thermostatic valves that keep water at a steady temp, even if someone flushes a toilet.
Also, check if the panel is wireless or needs wiring—this affects installation.
Installation Considerations
Adding a digital control panel often requires a power source and may need a professional plumber or electrician. If you're remodeling, it's easier to run the wiring before the walls are closed. For a simpler retrofit, consider a battery-powered panel that communicates wirelessly with the valve.
Always check local codes and hire a pro if you're not comfortable with electrical work.
Budget And Value
Smart shower systems range from a few hundred to over a thousand dollars, depending on features and brand. While it's a bigger upfront cost, it can increase home resale value and reduce water waste by letting you set exact flow rates. If you're on a budget, start with a digital thermostatic valve that offers basic presets, then add app control later.
10. Glass Block Windows for Privacy and Light
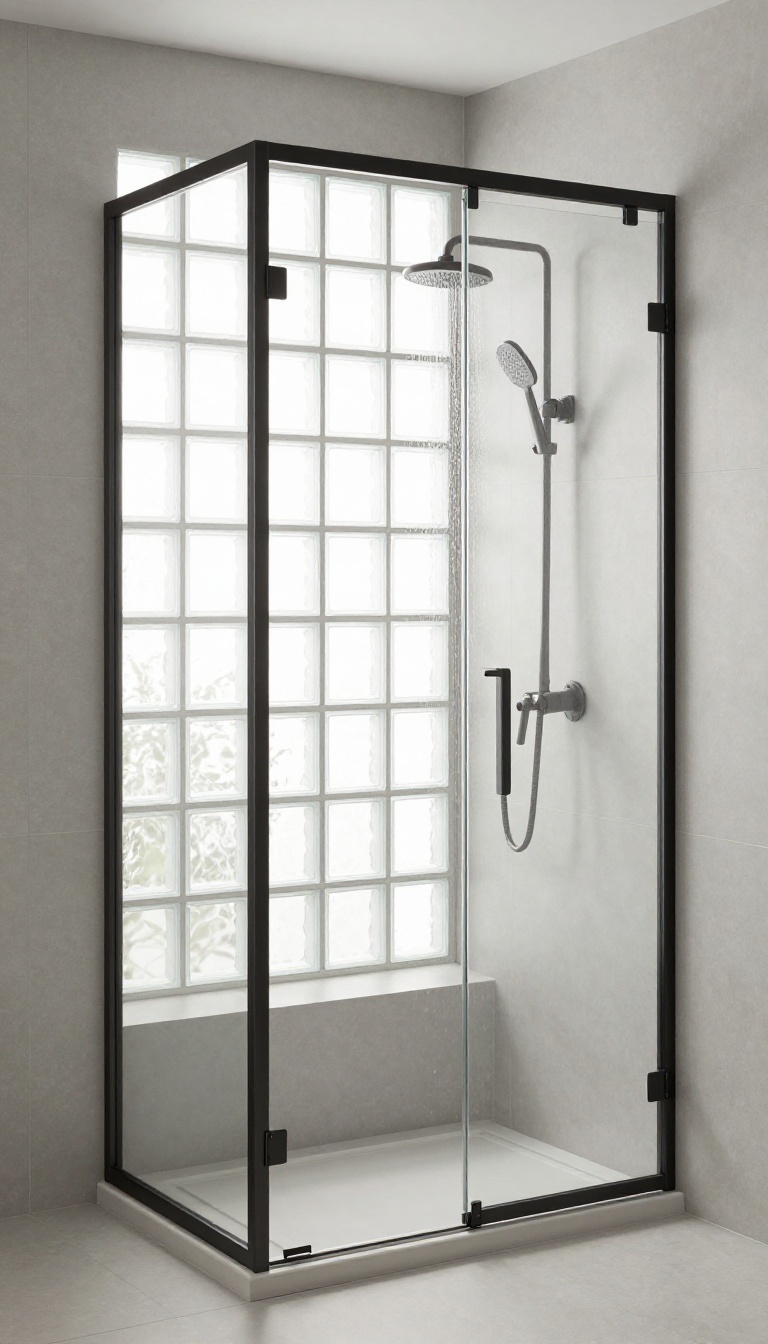
Natural light can make a shower feel twice as spacious, but exterior walls usually mean sacrificing privacy. Glass block windows solve that by letting sunlight pour in while keeping the view completely obscured. They're a classic choice that feels fresh again, especially with modern framing and finishes.
Glass blocks aren't the bulky, dated squares you might remember. Today's versions come in sleeker profiles, with options for clear, frosted, or textured glass. They're also energy-efficient and easy to clean, making them a practical upgrade for any shower with an exterior wall.
Why Glass Blocks Work In Showers
Glass blocks are inherently water-resistant and won't warp or rot like wooden frames. They provide excellent insulation, keeping the shower warmer in winter and cooler in summer. Plus, they're virtually maintenance-free—just wipe them down with a squeegee after use.
Design Options For A Modern Look
Choose from square, rectangular, or even curved blocks to match your style. For a crisp, contemporary feel, pair them with a dark or matte black frame. You can also mix frosted and clear blocks to create a custom pattern that adds visual interest without sacrificing privacy.
Installation And Considerations
While DIY kits exist, professional installation is recommended to ensure proper waterproofing and structural support. Check local building codes for window requirements in wet areas. Also, consider the placement—a window above eye level maximizes light while keeping the view blocked.
11. Curbless Entry for Accessibility and Style
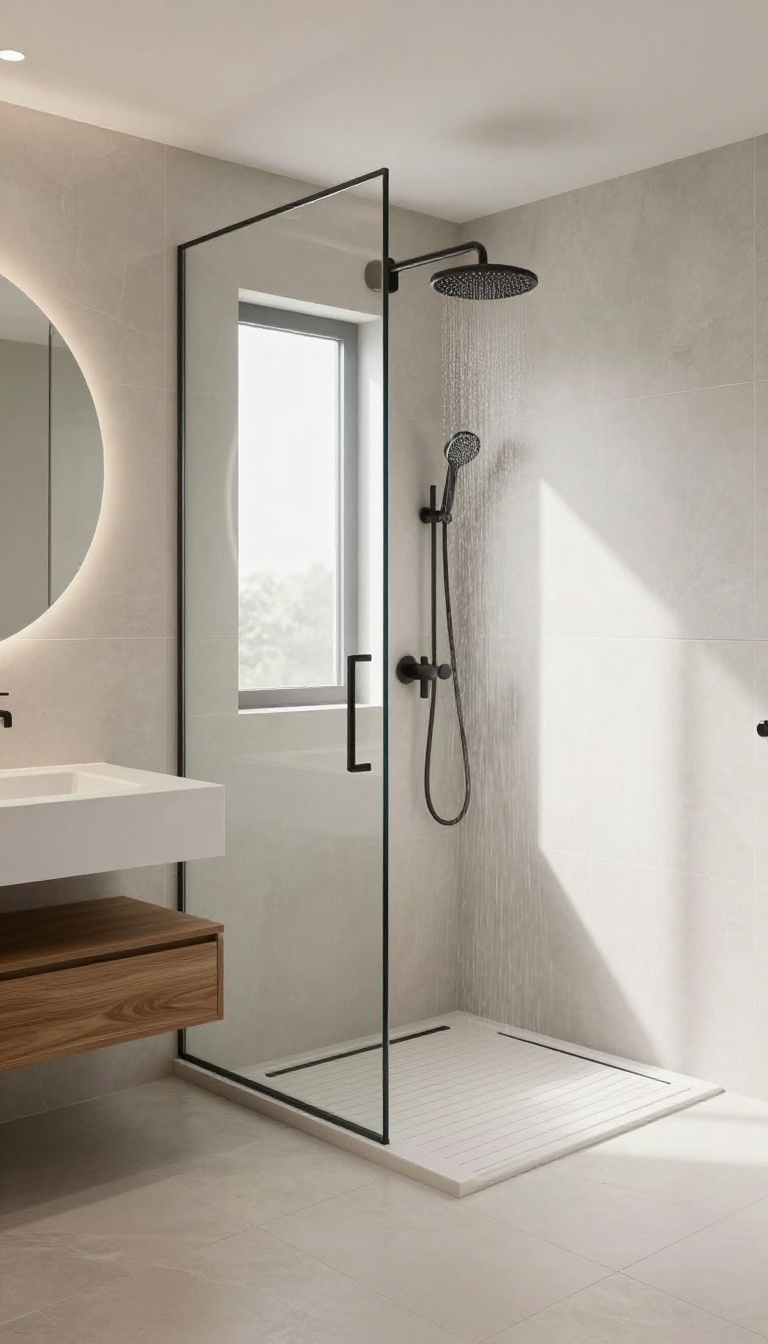
The traditional shower curb is a trip hazard and a visual barrier. Removing it creates a seamless transition that feels open and modern, while also making the shower accessible for everyone, from kids to aging family members. This design choice not only looks crisp but also adds practical value to your bathroom.
A curbless shower, also known as a zero-threshold shower, eliminates the step between the bathroom floor and the shower area. This creates a sleek, continuous surface that makes the space feel larger and more luxurious. It’s a popular choice in modern and contemporary designs, but it can work in any style if executed well.
The key is proper planning to ensure waterproofing and drainage, so the water stays where it belongs.
Why Go Curbless?
The biggest advantage is accessibility. With no step to navigate, you can walk straight in, making it safer for people with mobility issues or those using wheelchairs. It also eliminates a common trip hazard for everyone.
Beyond practicality, the seamless look is visually appealing—it creates a clean, open line that makes the bathroom feel more spacious and spa-like.
Key Installation Considerations
Proper waterproofing is non-negotiable. The entire shower area needs a waterproof membrane that extends beyond the shower footprint, and the floor must slope gently toward the drain. A linear drain is often used, placed along the wall or at the entrance, to manage water flow effectively.
You’ll also need to plan the subfloor height—it may need to be lowered to accommodate the slope without creating a step elsewhere.
Design Ideas To Make It Shine
Use the same tile on the bathroom floor and shower floor to enhance the seamless look. Add a glass partition instead of a full enclosure to maintain the open feel. Consider a niche in the wall for toiletries to keep the space clutter-free.
For a touch of luxury, install a rainfall showerhead or a handheld sprayer for flexibility.
FAQ
What is the most budget-friendly way to modernize a shower stall?
Peel-and-stick tile and updating fixtures like the showerhead or faucet are the most cost-effective. You can also regrout or paint existing tile for a fresh look.
Can I install a rainfall showerhead myself?
Yes, if you have basic plumbing skills. Most rainfall heads are designed to replace your existing showerhead, but you may need to adjust the pipe height or arm.
How do I clean and maintain a glass shower door?
Use a squeegee after each use to prevent water spots. For deeper cleaning, a mixture of vinegar and water works well. Avoid abrasive cleaners that can scratch the glass.
Are built-in niches difficult to add to an existing shower?
Adding a niche requires cutting into the wall and waterproofing, so it's best done during a remodel. However, you can install a surface-mounted shelf as an alternative.
What is the best material for shower wall panels?
Acrylic and fiberglass panels are durable and easy to clean. For a more natural look, consider waterproof versions of wood or stone-look panels, but ensure they are rated for wet areas.
Conclusion
Modernizing your shower doesn't mean a full gut job or a huge budget. Small, deliberate choices—like swapping in a sleek panel or upgrading the tile layout—can give the whole space a crisp, custom feel without the headache. Start with the one idea that solves your biggest annoyance, and build from there.
Pick finishes that handle moisture well and match your daily routine, and you'll have a shower that looks sharp and works even better. Choose what fits your space, and enjoy the upgrade.