15 Walk-In Bathroom Shower Ideas for a Clean, Polished Space
A walk-in shower should feel effortless—both to use and to clean. But the difference between a functional stall and a truly polished space often comes down to the details you choose before the tile goes in.
From drainage to door hardware, small decisions add up to a big impact. The good news is you don't need a massive budget to get a high-end look.
These 15 ideas focus on practical upgrades that make your shower feel open, modern, and easy to maintain. Whether you're planning a full remodel or just tweaking a few features, there's something here to help you create a clean, inviting space.
1. Go Curbless for a Seamless Look
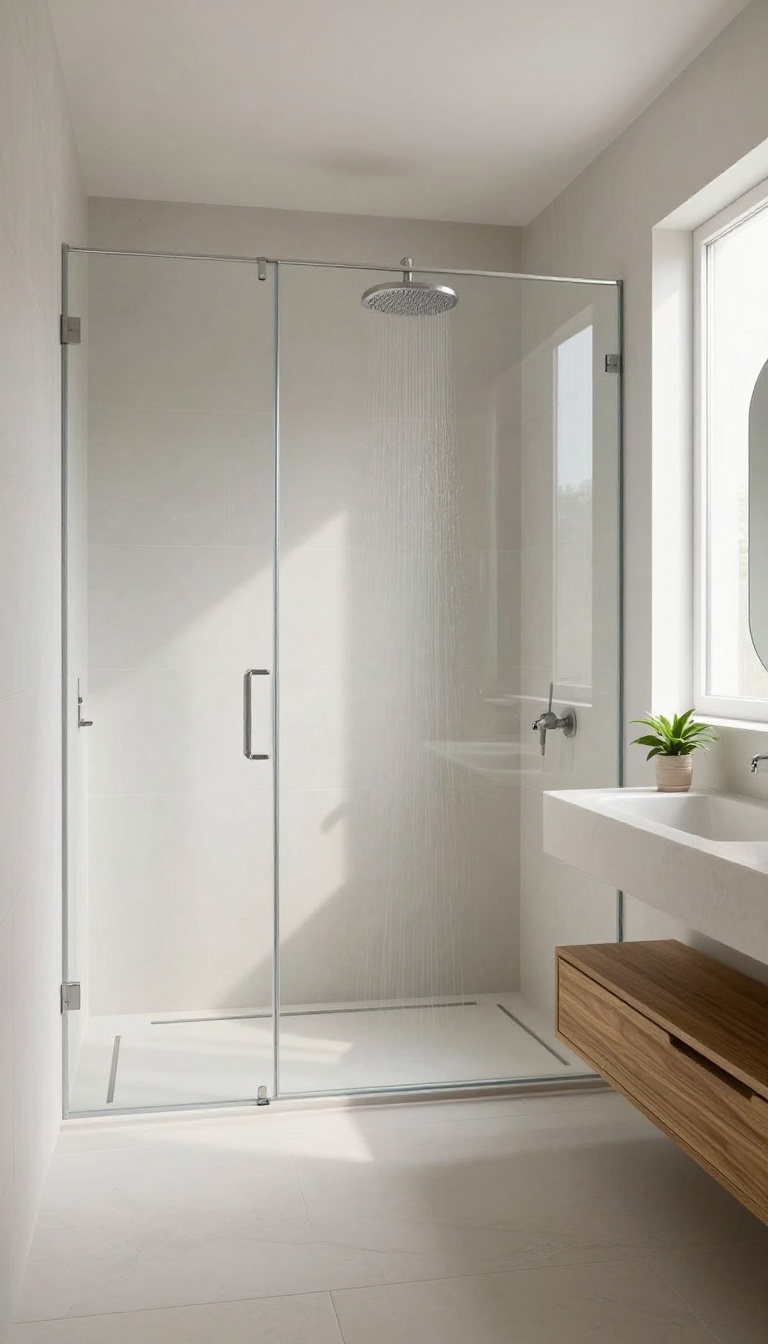
One of the quickest ways to make a walk-in shower feel modern and spacious is to ditch the curb entirely. A curbless design creates a smooth, continuous floor from the bathroom into the shower, which instantly opens up the room and makes cleaning a breeze—no more awkward lip to trap dirt and grime. Plus, it’s a thoughtful feature if you’re planning to age in place or want to make your home more accessible for everyone.
Removing the barrier between the shower and the rest of the bathroom does more than just look sleek. It eliminates a common tripping hazard, which is a big win for households with kids, older adults, or anyone who’s ever stubbed a toe on a traditional threshold. And because there’s no ledge to collect soap scum or mildew, you’ll spend less time scrubbing and more time enjoying the space.
The key is to make sure your floor has the proper slope toward the drain, so water doesn’t wander where it shouldn’t.
What To Know About Floor Slope
A curbless shower relies on precise floor sloping to keep water contained. Typically, the shower floor is angled about 1/4 inch per foot toward the drain, but the transition from the bathroom floor needs to be subtle. You’ll want to work with a contractor who understands linear drains and waterproofing to ensure the water flows correctly without creating a noticeable dip outside the shower.
Choosing The Right Drain
The drain you pick can make or break the seamless look. A linear drain—installed along the back wall or at the entrance—creates a clean, minimal line and works beautifully with large-format tiles. A center drain is another option, but it requires more slope from all sides, which can make the floor feel less flat.
Think about your tile layout and choose a drain that complements the overall design.
Tile Transitions That Flow
To really sell the seamless effect, carry the same tile from the bathroom floor into the shower. Large porcelain or stone tiles are ideal because they minimize grout lines and make the space look more expansive. If you want a slight visual separation, you can use a contrasting tile just inside the shower, but keep it flush with the main floor for that continuous feel.
2. Use Large-Format Tiles for Fewer Grout Lines
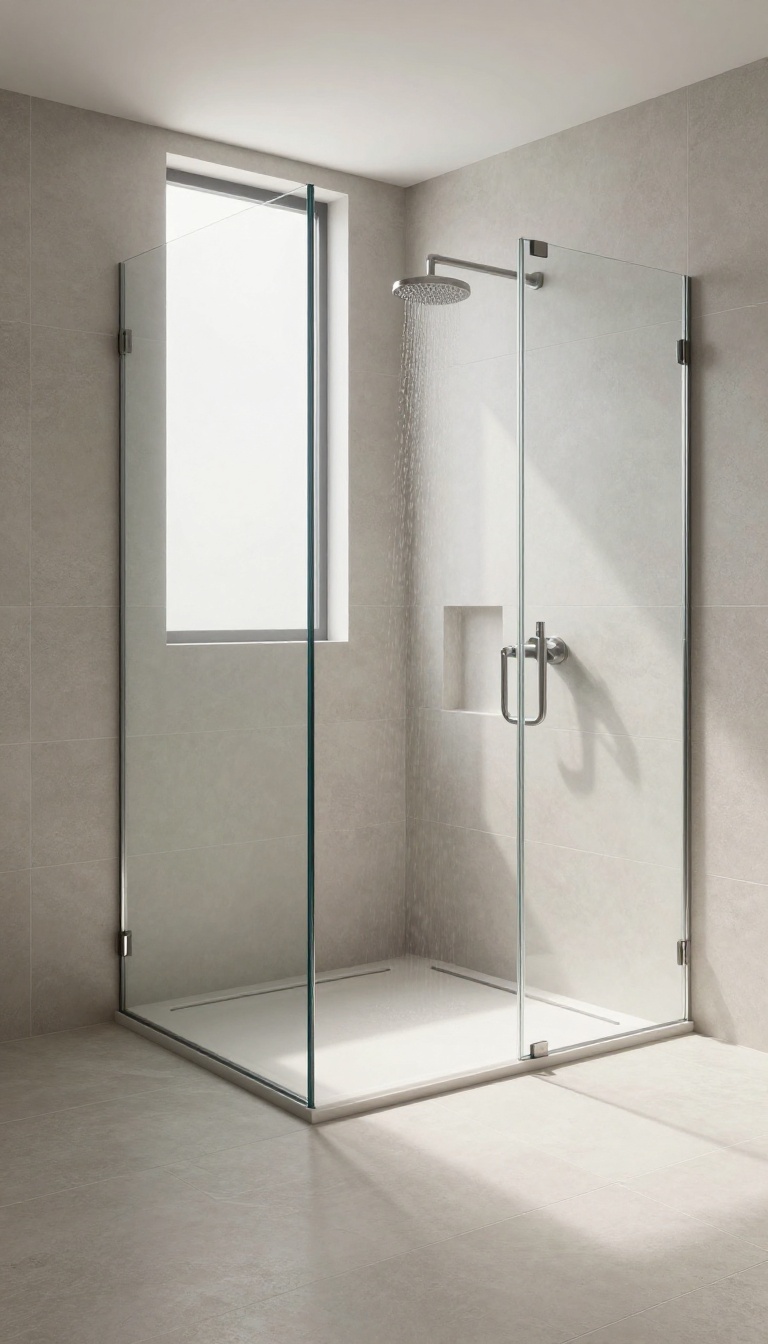
Tiny tiles might look charming in a magazine, but in a walk-in shower they mean a lot of grout—and a lot of scrubbing. Large-format tiles flip that script by covering more wall in fewer pieces, which cuts down on maintenance and gives the whole space a cleaner, more seamless look. Beyond the practical side, bigger tiles also work wonders visually.
They make the shower feel more open and less busy, which is exactly what you want if your goal is a calm, polished bathroom.
When you choose large-format tiles, you're not just picking a style—you're making a smart choice for everyday living. Fewer grout lines mean less surface area for soap scum and mildew to gather, so cleaning takes half the time. And because the eye isn't interrupted by a grid of small lines, the shower looks more expansive and serene.
Large tiles also pair beautifully with modern walk-in designs, especially when you run them from floor to ceiling. The continuous surface creates a sleek, almost spa-like backdrop that makes the rest of your bathroom feel more put-together.
Why Bigger Is Better
Think about it: every grout line is a tiny ledge where dirt likes to hide. With large-format tiles, you have far fewer of those ledges, which means less scrubbing and less chance of staining. Plus, the larger surface area shows off the tile's color and texture more fully, so you get a richer, more consistent look.
Best Tile Sizes And Materials
For a walk-in shower, tiles that are 12×24 inches or larger are a solid choice. Porcelain and ceramic are popular because they're durable and water-resistant. If you want a natural stone look, large-format marble or travertine can be stunning, but they need a bit more care.
Stick with matte or subtle textured finishes to keep the space feeling clean and slip-resistant.
Installation Tips For A Seamless Look
To get that polished, uninterrupted appearance, ask your installer to use a leveling system and keep grout lines as thin as possible. Also, consider running the tiles continuously from the shower floor up to the ceiling—this eliminates awkward cut lines and makes the whole area feel taller. If you're tiling a niche or bench, use the same large tiles to keep the design cohesive.
3. Install a Frameless Glass Enclosure
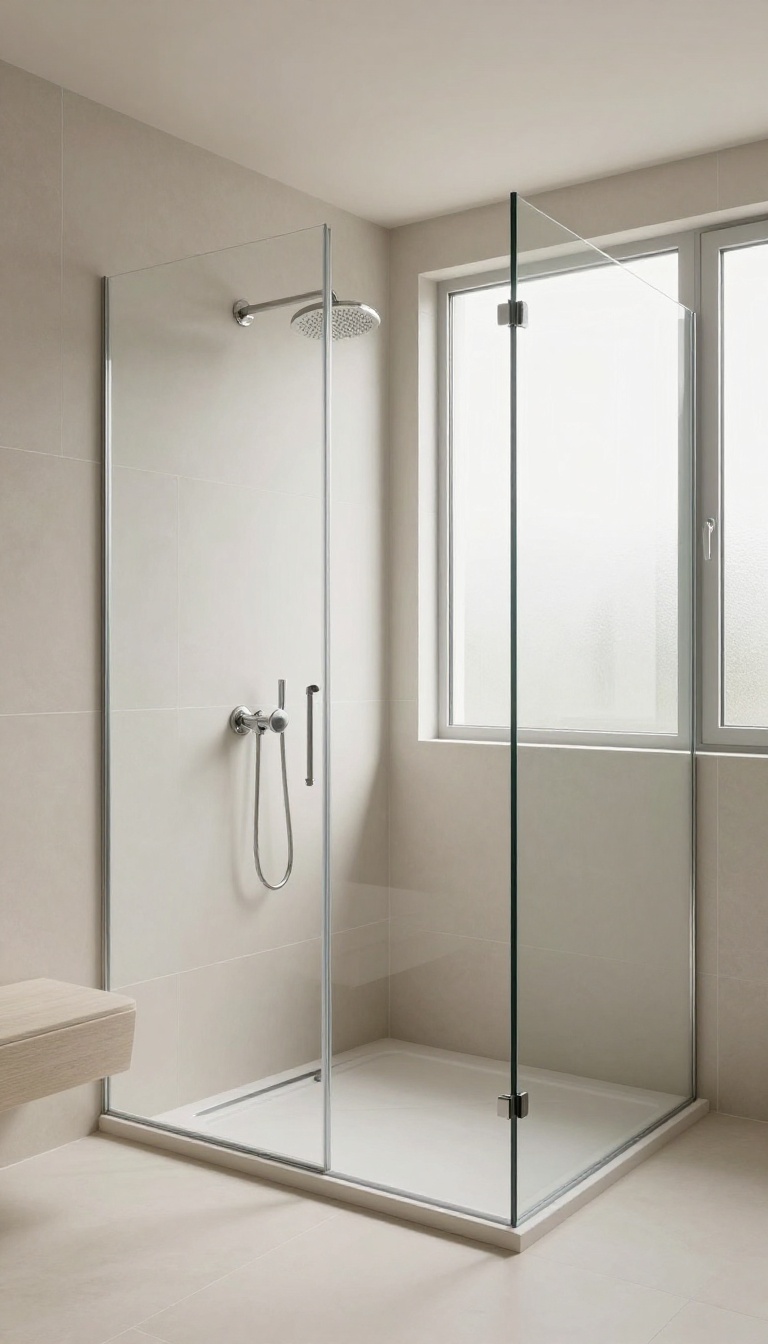
Frameless glass doors or panels can completely change how a walk-in shower feels. Without bulky metal frames, the glass becomes nearly invisible, letting your tile work take center stage. It’s a look that instantly reads as upscale, yet it’s more practical than you might think.
A frameless glass enclosure uses thick tempered glass (usually 3/8 or 1/2 inch) held together with minimal hardware. Because there’s no frame to catch soap scum or water, cleaning is a breeze—just a quick wipe with a squeegee keeps it sparkling. Plus, the open sightlines make even a smaller bathroom feel larger and airier.
Why Frameless Beats Framed
Framed doors often have metal tracks and hinges that trap grime and can rust over time. Frameless designs eliminate those problem areas, so maintenance is simpler. You also get a clean, uninterrupted view of your shower’s interior, which is a big win if you’ve invested in beautiful tile or a striking niche.
Choosing The Right Glass
Clear glass shows off your tile but requires regular wiping to stay spotless. If you want less upkeep, go with a lightly textured or frosted glass that hides water spots. For safety, make sure the glass is tempered and meets local building codes.
Also, consider the thickness—thicker glass feels more solid and premium, but it’s heavier and may need stronger hinges.
Installation And Cost Considerations
Frameless enclosures are custom-cut to fit your opening, so they’re not a DIY weekend project for most people. Professional installation is recommended to ensure a watertight fit and proper support. Expect to pay more than a framed unit—prices often range from $1, 000 to $3, 000 depending on glass type, hardware, and complexity.
But many homeowners find the polished look and easy maintenance worth the investment.
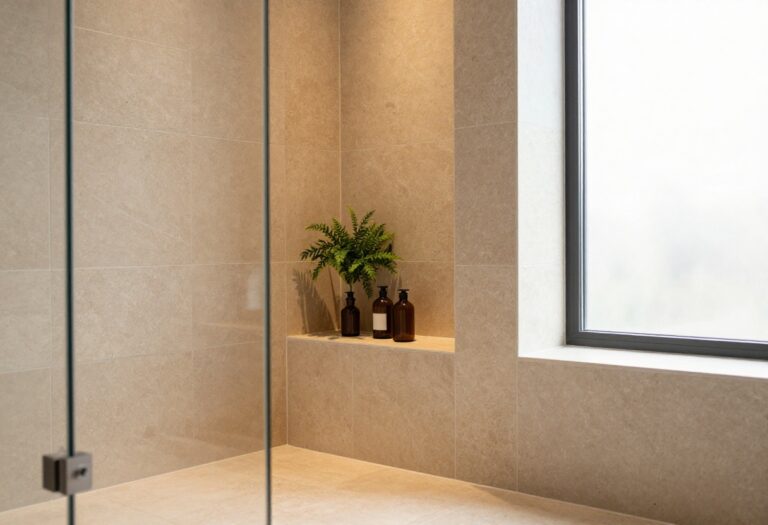
4. Add a Built-In Niche for Storage
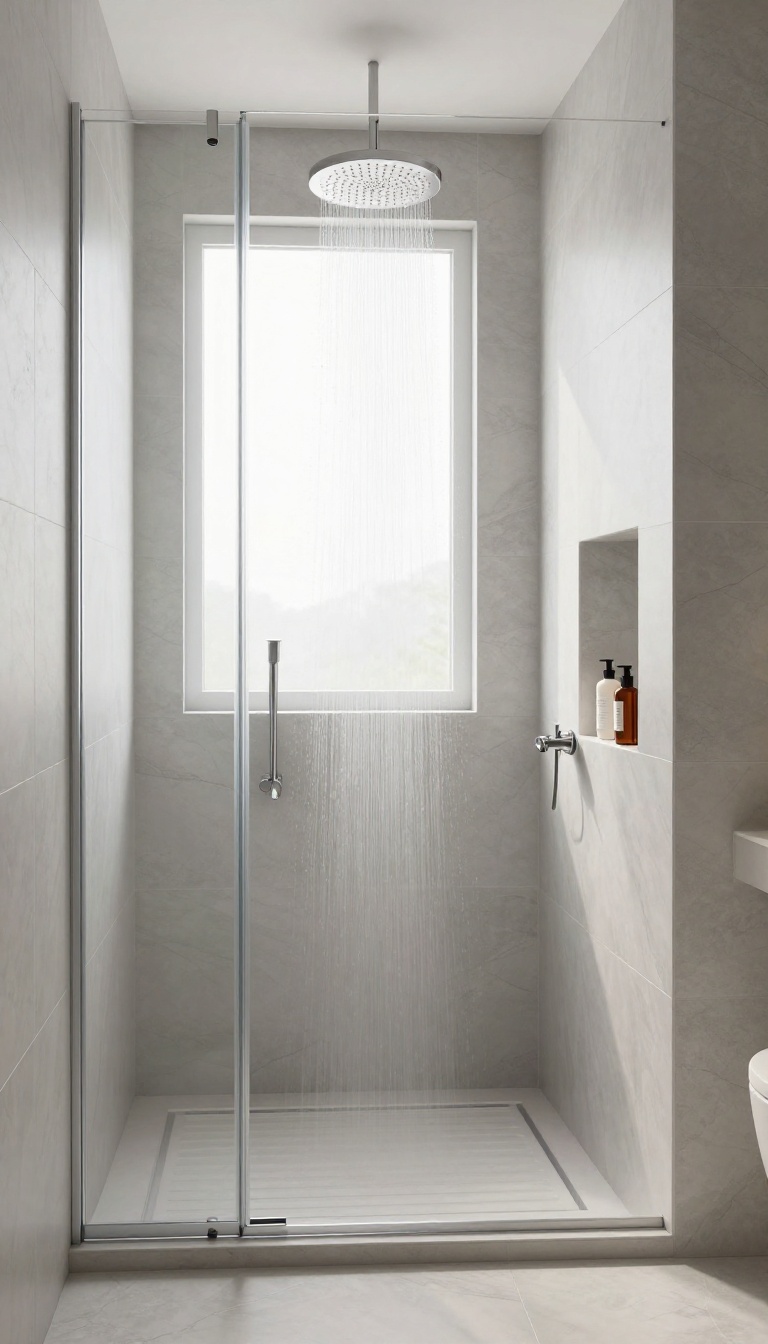
Tired of knocking over shampoo bottles every time you reach for the soap? A built-in niche solves that problem before it starts. This recessed shelf keeps your essentials neatly tucked into the wall, so they're off the floor and out of the way.
It's one of those smart details that makes your shower feel more organized and your daily routine smoother.
A niche isn't just about storage—it's about creating a cleaner, more intentional look. Without bottles cluttering the floor or hanging from caddies, your shower instantly feels more spacious and easier to wipe down. Plus, you can customize the size and placement to fit exactly what you need, from a single bottle to a full lineup of products.
Whether you're building from scratch or renovating, adding a niche is a straightforward upgrade that pays off every single day.
Choose The Right Size And Placement
Think about what you'll actually store in the niche. A standard 12 by 12 inch square works for most bottles, but if you use tall shampoo bottles or bulk sizes, go bigger. Place it at a height that's easy to reach—typically around chest level—and consider adding a second niche lower down for items like razors or washcloths.
The key is to avoid making it too deep, which can collect water and grime. A depth of 3 to 4 inches is usually enough to hold products without sticking out too far.
Pick Materials That Match Your Shower
Your niche should blend seamlessly with the rest of your shower. If you're using large-format tiles, you can have the niche lined with the same tile for a cohesive look. For a contrasting accent, choose a different tile or a solid surface like quartz or marble.
Just make sure the material is waterproof and easy to clean. Avoid porous stones that can stain, and opt for a slight slope on the bottom shelf so water doesn't pool.
Consider A Shower Caddy Alternative
If you're not ready for a full built-in, a corner caddy or a tension pole caddy might seem like an easier fix. But these often rust, collect soap scum, and look cluttered. A niche eliminates those issues entirely.
It's a permanent solution that's always in style and requires no extra hardware. Plus, you can add a small shelf inside the niche for extra organization, like a dedicated spot for loofahs or face wash.
Don't Forget About Lighting
A niche can become a focal point if you add a small LED light inside. This not only makes it easier to see your products but also adds a touch of luxury to your shower. Recessed lighting above the niche works well, or you can install a waterproof strip light along the edge.
Just make sure any electrical work is done by a professional and meets local codes.
5. Choose a Matte Black or Brushed Nickel Fixture Finish
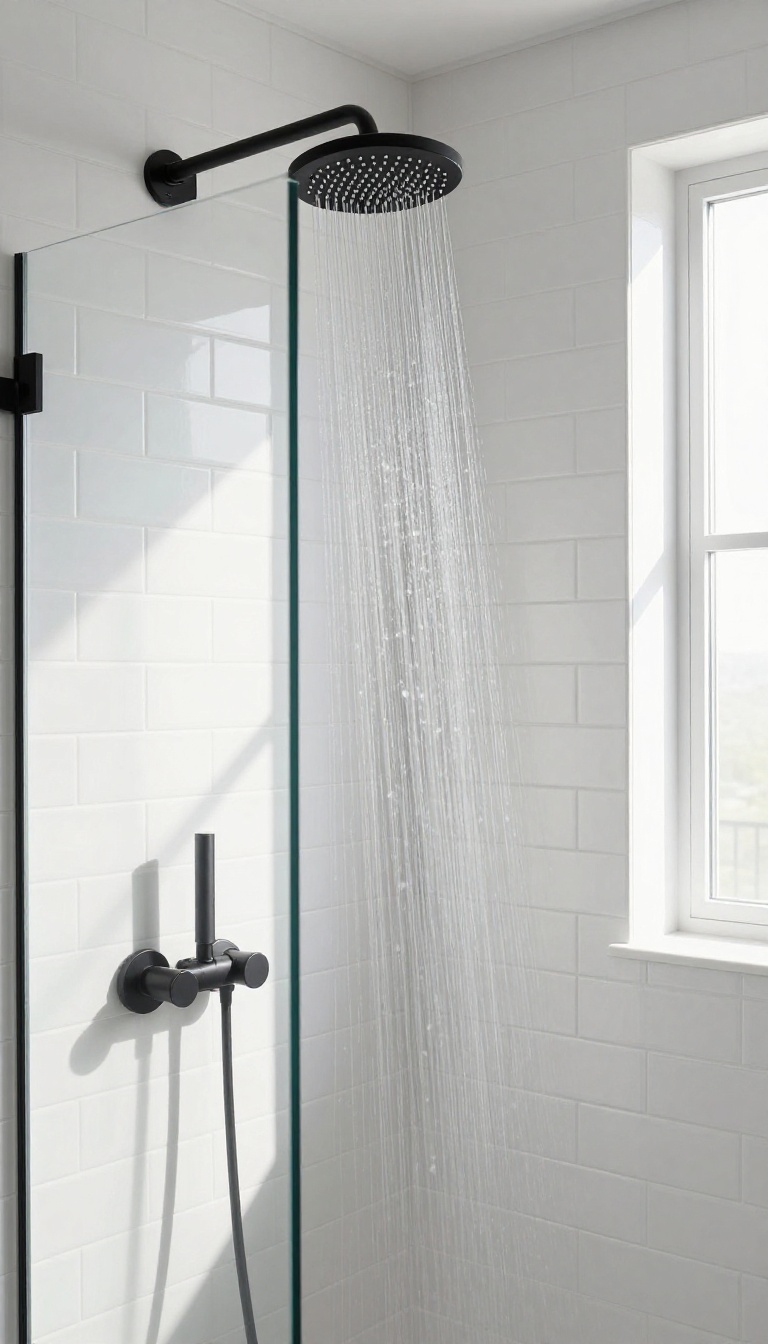
Shiny chrome fixtures are classic, but they show every water spot and smudge. If you want a cleaner look with less upkeep, matte black or brushed nickel is the way to go. These finishes are more forgiving and add a subtle, modern touch that ties the whole shower together.
Matte black and brushed nickel are two of the most popular finishes for bathroom fixtures today, and for good reason. They resist fingerprints and water spots far better than polished chrome, meaning less time wiping down after every shower. Plus, they bring a sophisticated, designer feel that works with both contemporary and traditional spaces.
Why These Finishes Stay Cleaner Longer
Polished chrome has a mirror-like surface that instantly shows water spots, soap scum, and fingerprints. Matte black and brushed nickel have a textured or satin finish that hides those everyday marks. You’ll still need to wipe them occasionally, but they stay looking fresh much longer between cleanings.
Mixing Finishes Without Clashing
You don’t have to match every metal in your bathroom perfectly. Matte black looks great with brass or copper accents, while brushed nickel pairs well with chrome or stainless steel. The key is to keep the dominant finish consistent—like using matte black for your showerhead and faucet, then adding a black-framed glass door for a cohesive look.
A Quick Style Upgrade That’s Easy To Swap
Swapping out your shower fixtures is one of the simplest ways to update the space without a full remodel. If you’re not ready to commit, start with just the showerhead and handles. It’s a small change that can make a big difference in the overall feel of your bathroom.
6. Incorporate a Rain Shower Head
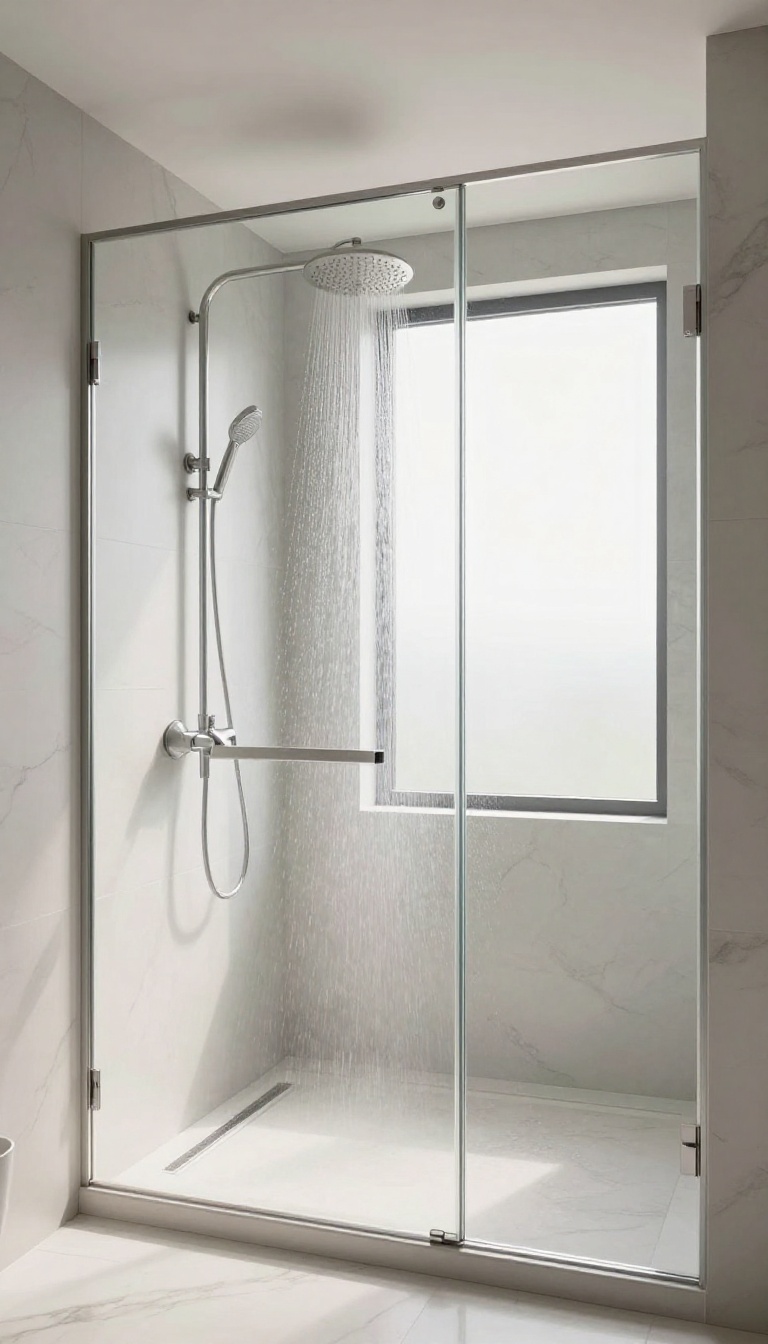
Swapping a standard showerhead for a rain-style one instantly changes the feel of your walk-in shower. The wide, overhead spray mimics rainfall, creating a soothing experience that turns a quick rinse into a mini retreat. Beyond the luxury factor, rain shower heads streamline your cleaning routine because they lack the small nozzles and crevices that trap grime.
Rain shower heads come in various sizes and styles, so you can pick one that fits your shower's proportions and your personal taste. They mount directly to the ceiling or extend from the wall with an arm, giving you flexibility in placement. Many models also include adjustable flow settings, letting you switch from a gentle drizzle to a more invigorating spray.
Choosing The Right Size
The size of the rain head matters more than you might think. A larger diameter (10 inches or more) covers more of your body, so you don't have to move around to get wet. But in a compact walk-in shower, a huge head can feel overwhelming.
Measure your shower's footprint and ceiling height before buying. For most standard stalls, a 8- to 12-inch head works well. If you have a spacious shower, consider a 16-inch model for that true spa-like coverage.
Mounting Options
You'll need to decide between a ceiling-mounted or wall-mounted rain head. Ceiling mounts look sleek and create a seamless waterfall effect, but they require access to the plumbing above. Wall-mounted versions with a long arm are easier to retrofit and still give you that overhead spray.
Think about your existing plumbing layout and whether you're comfortable with a more involved installation. If you're not sure, a professional can help you choose the best option.
Material And Finish
Rain shower heads are available in a range of finishes, from polished chrome to matte black or brushed nickel. Consider the rest of your bathroom fixtures and choose a finish that complements them. Stainless steel and brass are durable and resist corrosion, while plastic models are budget-friendly but may not last as long.
Look for a head with a rubber face or silicone nozzles that are easy to wipe clean—mineral buildup won't clog them as easily.
Pressure And Flow Considerations
Because rain heads spread water over a wider area, they can reduce water pressure compared to a standard showerhead. If your home has low water pressure, you might need a model with a pressure-boosting feature or a larger supply line. Check the flow rate (measured in gallons per minute) to ensure it meets your needs.
Many modern rain heads are designed to deliver a satisfying spray even with standard home pressure.
7. Use a Linear Drain for a Flat Floor
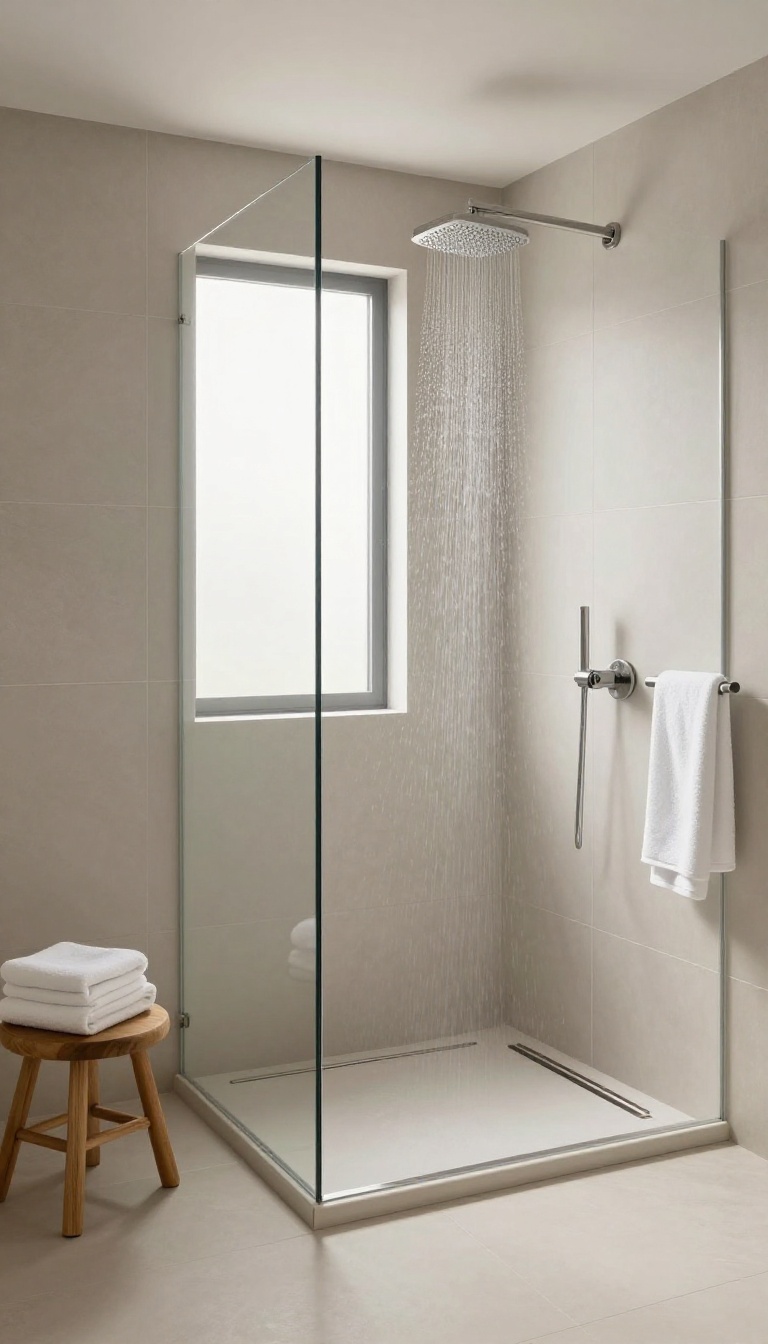
For a walk-in shower that feels truly seamless, the floor often tells the story. Traditional center drains require a slope from all sides, which can make a curbless entry tricky. A linear drain changes that by sitting flush along one edge, letting the entire floor stay level.
Linear drains are a favorite in modern bathroom design for good reason. They allow for a completely flat shower floor, which is essential if you're aiming for a curbless, barrier-free entry. Instead of a noticeable slope, the floor gently pitches toward a single long channel, making the space feel more open and accessible.
Plus, they're surprisingly easy to maintain—the grate lifts out for quick cleaning, and because the channel is wider, it handles high water flow without pooling. If you're tired of standing in a puddle or want to simplify your cleaning routine, a linear drain is a smart upgrade.
Why A Level Floor Matters
A flat floor isn't just about looks—it's about comfort and safety. With a traditional drain, you often have to step over a small curb or deal with a noticeable slope. A linear drain lets you walk straight in, which is a game-changer if you have mobility concerns or just want a more open feel.
It also makes the shower feel larger because there's no visual break between the wet and dry areas.
Choosing The Right Linear Drain
Not all linear drains are created equal. Look for one with a removable trap for easy cleaning and a finish that matches your fixtures. Stainless steel is durable and modern, while brushed nickel can blend with warmer tones.
The drain's length should be at least as long as the shower's width to handle water flow effectively. If you're tiling, pick a drain with a tile-insert grate to keep the floor looking continuous.
Installation Tips For A Seamless Look
The key to a flawless linear drain is proper installation. Make sure the drain is set at the correct height so the tile meets it flush—this prevents tripping and looks cleaner. Your contractor will need to slope the floor slightly toward the drain, but the overall effect is still much flatter than a traditional setup.
Also, consider placing the drain along the back wall or at the entrance to avoid standing on it while showering.
8. Pick a Textured or Patterned Tile for the Floor
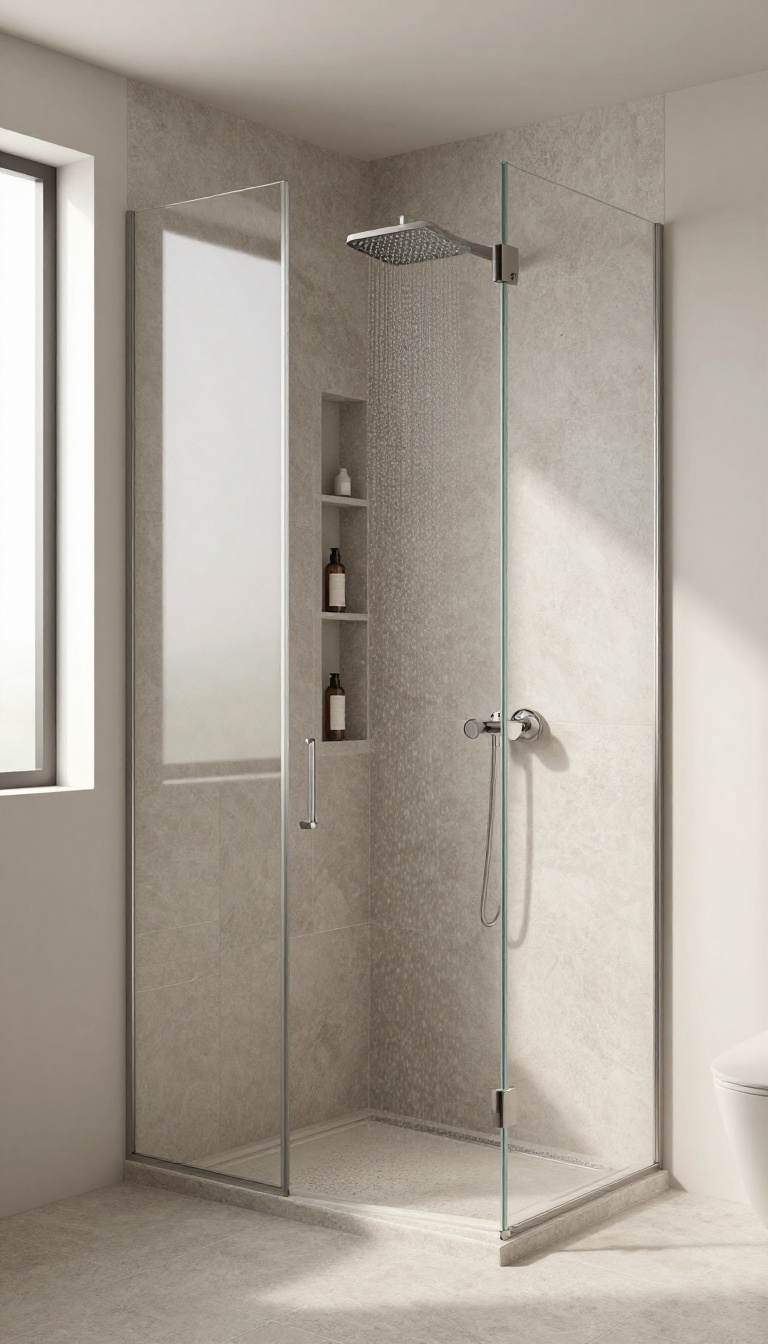
Flooring often gets the least attention in a shower, but it’s the surface your feet touch every single day. A smooth, glossy tile might look stunning in the showroom, but once it’s wet, it becomes a hazard. Textured or patterned tiles solve that problem while adding a layer of design that plain white subway tile just can’t match.
Beyond safety, these tiles are incredibly forgiving. They hide soap scum, water spots, and the occasional stray hair much better than their polished counterparts. And because they come in so many styles—from subtle matte finishes to bold geometric patterns—you can still get the exact look you want without sacrificing practicality.
Why Texture Beats Gloss
Glossy tiles are notorious for becoming slick when wet, especially if you use soap or shampoo that leaves a film. Textured tiles, whether they have a natural stone finish, a matte glaze, or a raised pattern, provide extra grip underfoot. This is a simple upgrade that can prevent slips and falls, making your shower safer for everyone in the house.
Texture also does wonders for maintenance. The tiny ridges and imperfections break up the surface, so water doesn’t form large, streaky puddles. Soap scum and hard water stains are less noticeable, meaning you won’t feel the need to scrub after every single shower.
It’s a small change that makes daily upkeep much easier.
Patterns That Hide And Enhance
If you’re worried that textured tiles will look too busy, consider a subtle pattern instead. A delicate geometric design, a soft herringbone layout, or even a tone-on-tone mosaic can add visual interest without overwhelming the space. Patterns are great at disguising dirt and grime between cleanings, so your floor stays looking fresh longer.
Another trick is to use a patterned tile on the floor and keep the walls plain. This anchors the shower and gives it a defined look, while the simpler walls keep the space feeling open and airy. You get the best of both worlds: a floor that’s practical and a shower that feels designed.
Choosing The Right Material
Not all textured tiles are created equal. Porcelain and ceramic tiles with a matte or textured finish are durable, water-resistant, and easy to clean. Natural stone like slate or travertine offers a beautiful, organic texture, but it requires sealing and more maintenance.
If you love the look of stone but want something lower-maintenance, look for porcelain that mimics the texture. Also, pay attention to the tile’s slip rating. Look for a coefficient of friction (COF) of 0.
6 or higher for wet areas. Many manufacturers list this, and it’s worth checking before you buy. A little research now can save you from a slippery situation later.
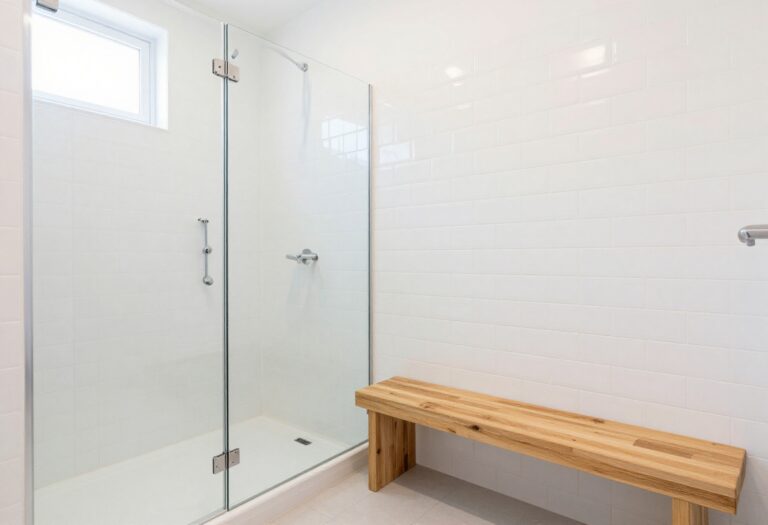
9. Add a Shower Bench or Seat
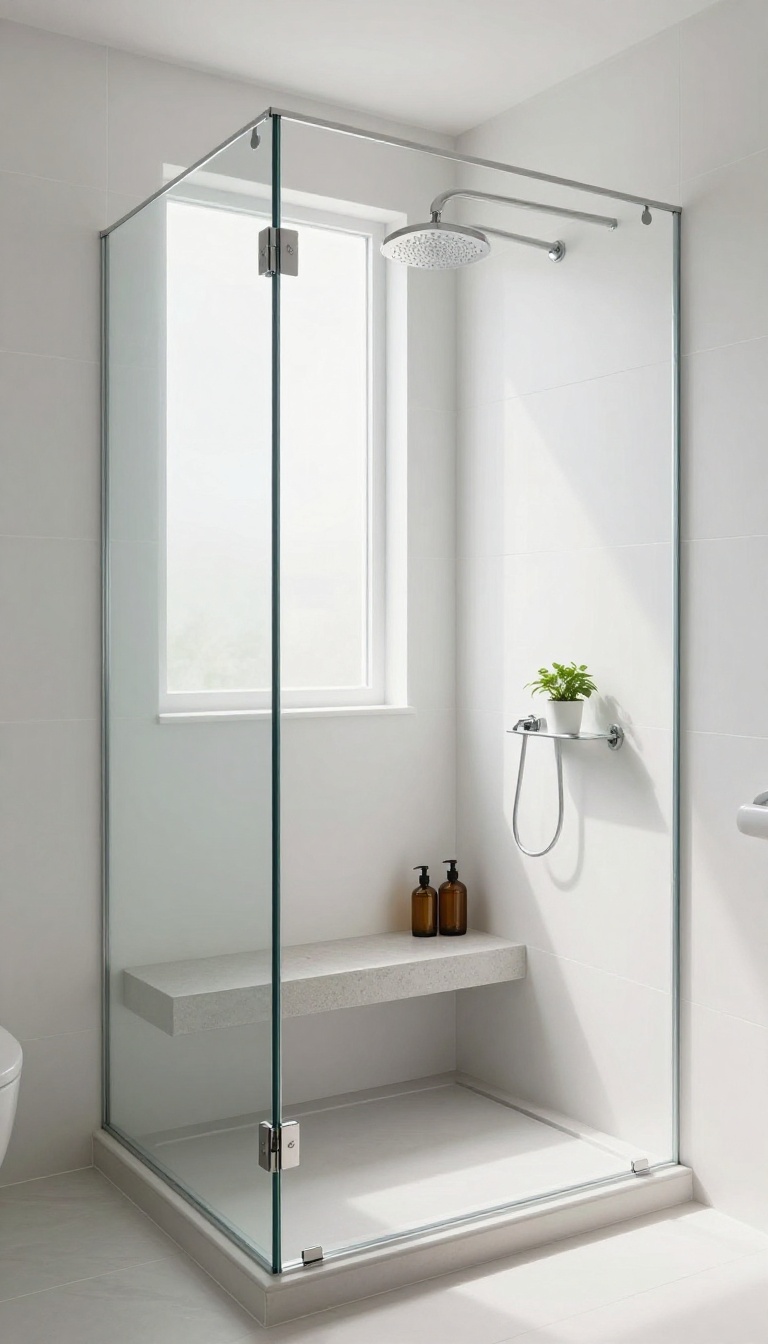
A built-in bench can turn a quick rinse into a more comfortable experience. It gives you a spot to sit while shaving your legs or just letting the warm water wash over you after a long day. Plus, it’s a handy ledge for keeping toiletries within arm’s reach without cluttering the floor.
Benches aren’t just for luxury spas—they’re a practical addition to any walk-in shower. When you choose the right material and placement, a bench can make your shower feel more open and intentional. Here’s how to pick one that works for your space and routine.
Why Add A Bench?
A bench is a game-changer if you like to shave, exfoliate, or just take a moment to relax. It also gives you a safe place to sit if you ever need extra support. And when you’re not using it, the bench can hold shampoo bottles, soap, or a loofah, keeping the shower floor clear and clean.
Choosing The Right Material
Solid surface materials like quartz or Corian are non-porous and resist mold and soap scum, making them a breeze to wipe down. Tile is another popular option, but keep grout lines minimal—large-format tiles or a single slab reduce the places where grime can hide. Avoid wood or natural stone unless you’re prepared for regular sealing and maintenance.
Placement And Size Tips
Think about how you’ll use the bench. If it’s mainly for shaving, place it near the showerhead and at a height that lets you sit comfortably. A corner bench can save space, while a full-length bench along one wall doubles as a shelf.
Make sure the bench is at least 15 inches deep so you can sit without feeling cramped.
Built-in Vs. Portable
A built-in bench looks seamless and can be designed to match your shower’s style, but it’s a permanent fixture. If you’re renting or want flexibility, a teak or plastic bench can be moved around and removed for cleaning. Just make sure it has good drainage and non-slip feet to stay safe.
10. Install a Handheld Shower Wand
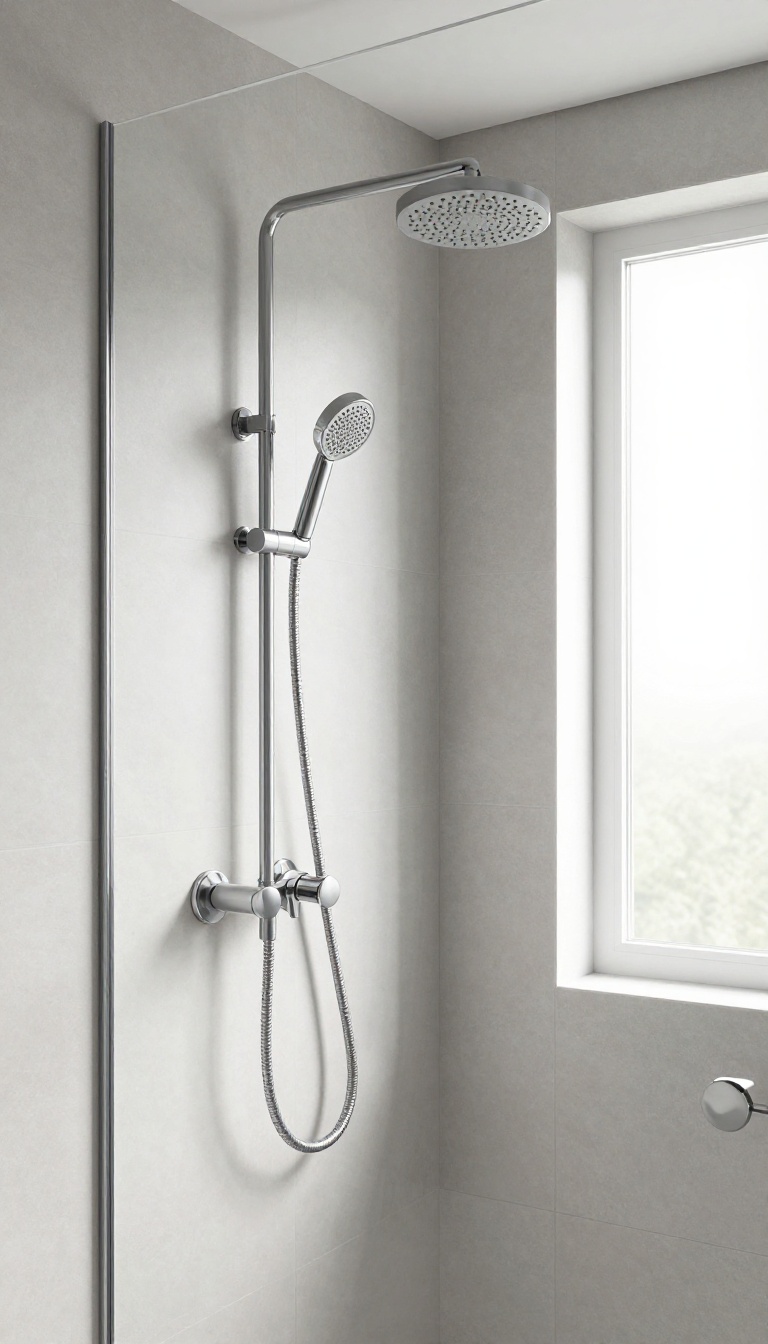
A handheld shower wand is one of those upgrades you don't realize you need until you have one. It makes cleaning the shower itself faster, rinsing off muddy dogs easier, and helping kids wash their hair far less awkward. Plus, it's a relatively simple addition that can be installed in most existing setups without a full remodel.
The beauty of a handheld wand lies in its flexibility. You can direct water exactly where you need it, whether that's a low corner of the shower floor or a squirmy toddler's back. Many models come with multiple spray settings, from a gentle mist to a focused jet, so you can adjust the flow for different tasks.
And when it's not in use, it docks neatly on a slide bar or holder, keeping your shower looking tidy.
Why It Makes Cleaning Easier
Let's face it—scrubbing shower walls and floors is nobody's favorite chore. With a handheld wand, you can rinse away soap scum and shampoo residue right after use, preventing buildup. You can also reach into corners and along the base without bending or stretching.
It's a practical tool that keeps your walk-in shower looking polished between deep cleans.
Choosing The Right Wand
When picking a handheld shower wand, look for a model with a long, flexible hose (at least 60 inches) so you can move it freely. A slide bar with an adjustable holder is a nice touch, letting you set the height for different users. Also, consider a wand with a pause button—it saves water when you're soaping up or scrubbing.
And don't forget to match the finish to your other fixtures for a cohesive look.
Installation Tips
Most handheld wands can be installed in under an hour with basic tools. If you're replacing an existing fixed showerhead, you'll simply unscrew it and attach the new wand's diverter or hose. For a more integrated look, you might opt for a wall-mounted slide bar that replaces your current shower arm.
Just be sure to apply plumber's tape to the threads to prevent leaks, and test the connections before sealing the wall.
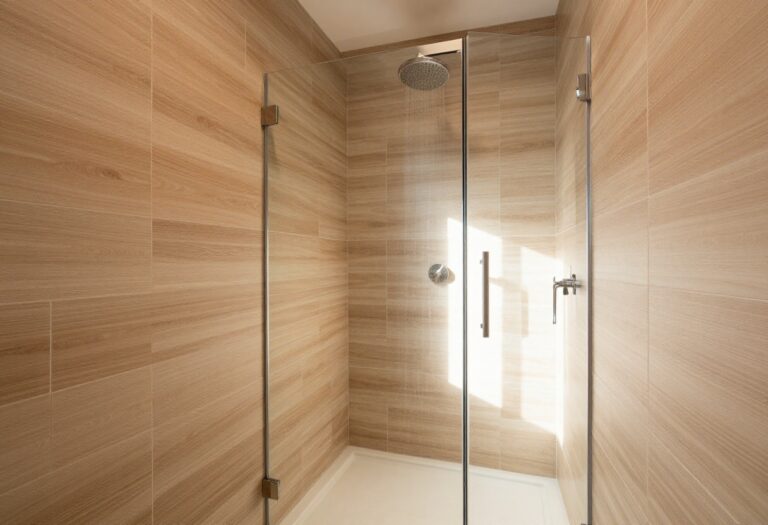
11. Use a Single Sheet of Waterproof Panel
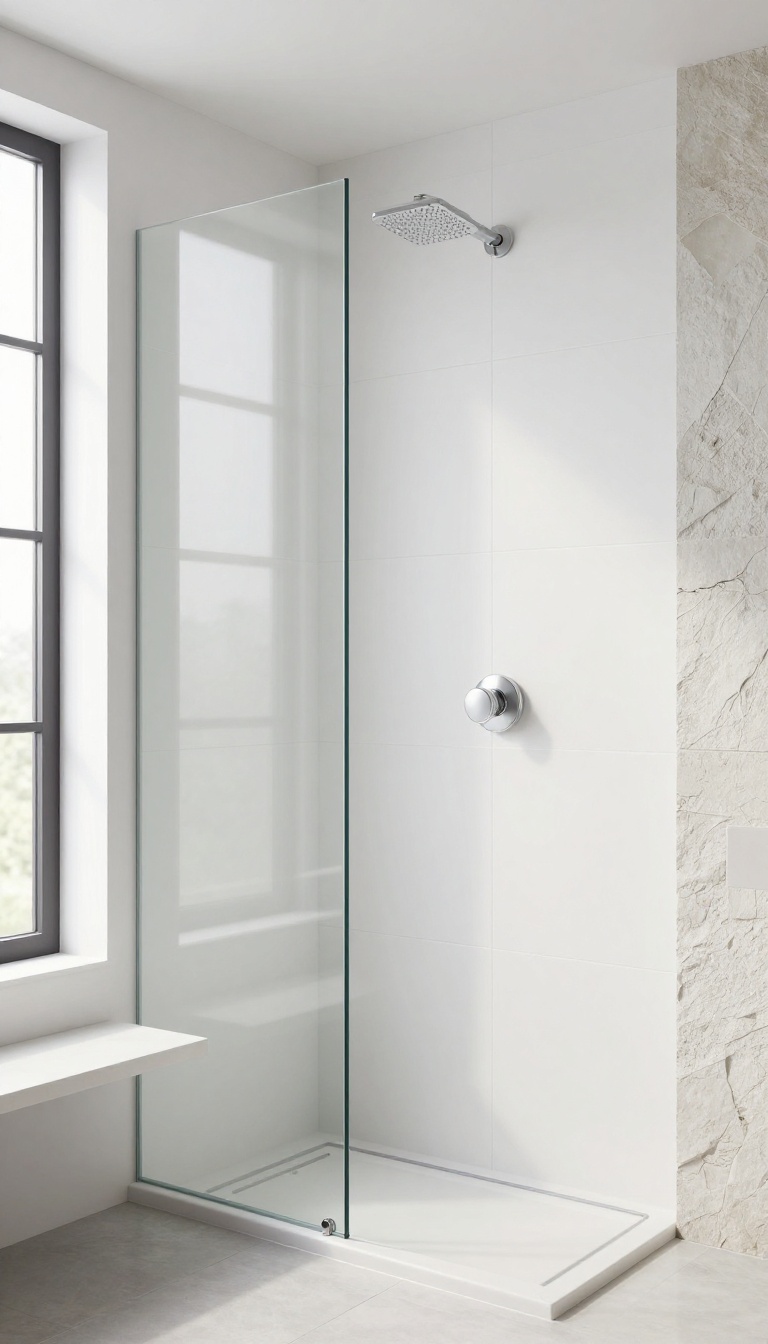
Grout lines are often the first place mold and mildew take hold, turning a clean shower into a constant scrubbing project. If you're tired of that upkeep, a single sheet of waterproof paneling might be the answer. These large-format panels, made from acrylic or solid surface materials, cover your shower walls without a single seam or grout line.
Beyond the obvious cleaning benefits, panels bring a sleek, modern look that feels almost custom. Because they come in large sizes, they install quickly, often over existing tile or drywall with the right adhesive. You get a smooth, continuous surface that feels more like a spa than a typical tiled shower.
Why Skip The Grout?
Grout is porous, so it absorbs moisture and soap scum, making it a magnet for mildew. Even with sealants, it can discolor and crack over time. A solid panel eliminates those weak points entirely.
You won't have to worry about scrubbing lines or resealing annually—just a quick wipe-down keeps it spotless.
Installation Made Simple
Most panels are designed for DIY-friendly installation. You measure, cut with basic tools, and adhere them to the wall using construction adhesive or a specialized mounting system. Some even come with interlocking edges for a watertight fit.
This cuts down on labor costs and gets your shower back in service faster than a traditional tile job.
Design Options That Impress
Panels aren't just plain white. They come in a range of finishes, including matte, gloss, and even textured stone looks. You can find panels that mimic marble, concrete, or subtle geometric patterns.
That means you don't sacrifice style for practicality. Choose a finish that complements your bathroom's palette and enjoy a high-end appearance without the high-end maintenance.
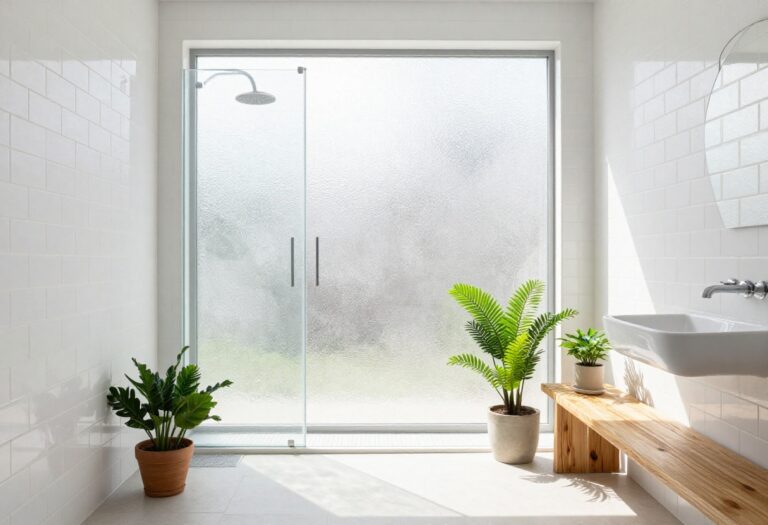
12. Incorporate a Frosted Glass Section for Privacy
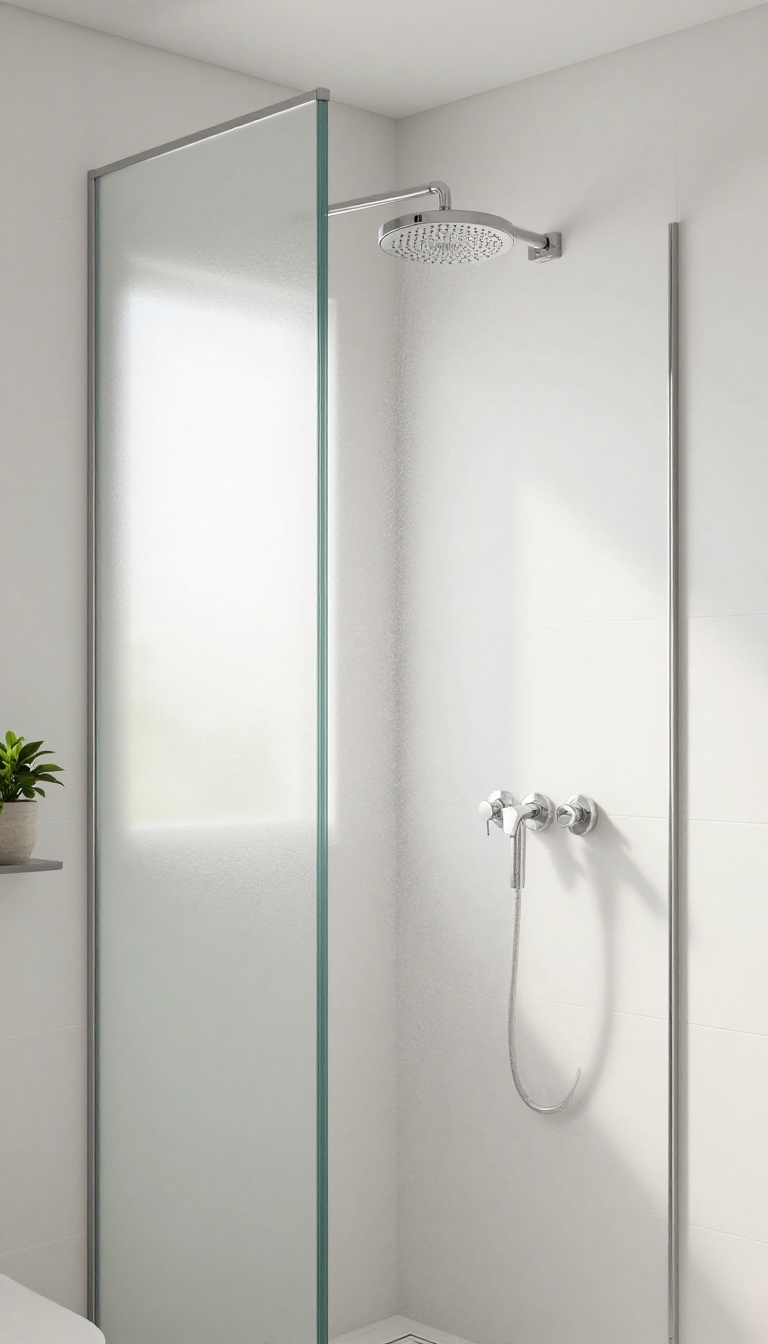
Privacy in a walk-in shower can be tricky, especially if your bathroom shares a wall with a window or you're designing a shared space. Clear glass looks sleek but leaves little to the imagination. Frosted glass steps in as a stylish middle ground—it blurs the view without darkening the room or making it feel closed off.
Frosted glass is more than just a privacy hack. It also hides water spots and soap scum far better than transparent panels, which means less frequent wiping and a cleaner look between deep cleans. And because it diffuses light, it softens harsh glare while still letting natural brightness flow through.
If you're torn between an open feel and some seclusion, a frosted section—whether it's the full panel or just a band—gives you the best of both worlds.
Where To Place Frosted Glass For Maximum Effect
Think about sightlines before you decide how much frosting you need. If the shower is directly across from the door, a fully frosted panel offers total privacy. But if the only exposure is a small window or a hallway pass-by, a frosted strip at eye level might be enough.
You can also frost just the lower half to block views from seated positions while keeping the upper area clear for light. Measure your sightlines from outside the shower to pinpoint exactly where frosting matters most.
Frosted Glass Styles That Still Look Modern
Frosted doesn't have to mean flat or boring. Acid-etched glass gives a smooth, matte finish that feels contemporary. Patterned options like rain, line, or dot textures add subtle visual interest without screaming for attention.
If you want a touch of elegance, go for a gradient effect that starts clear at the top and fades to frosted near the bottom. Each style keeps the shower feeling open and airy while providing the privacy you need.
Maintenance Tips For Frosted Glass
Frosted glass is lower maintenance than clear, but it still needs some care. Use a squeegee after each shower to prevent mineral buildup, and clean weekly with a mild glass cleaner or a vinegar-water solution. Avoid abrasive pads that can scratch the frosted finish.
For tough spots, a soft cloth with a bit of baking soda works wonders. With regular care, your frosted glass will stay looking crisp and new for years.
13. Add Recessed Lighting or a Skylight
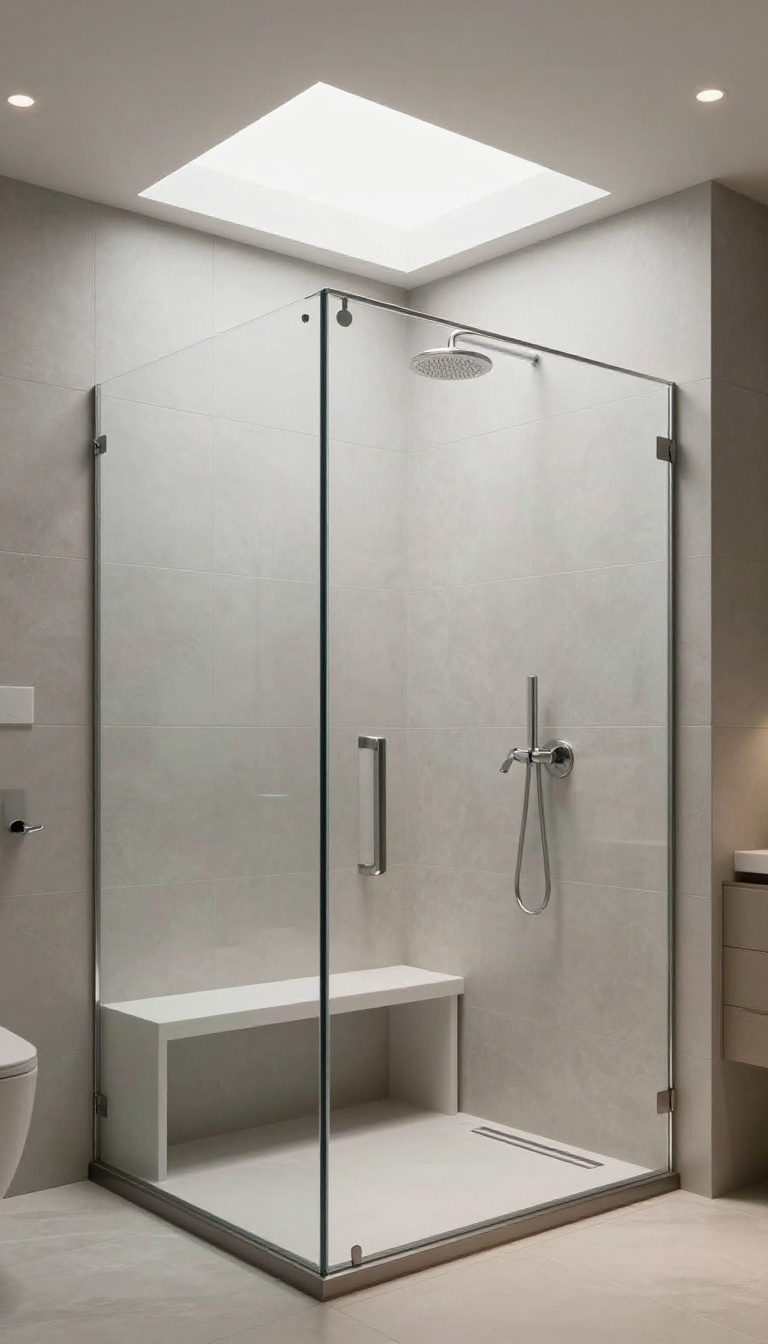
Lighting sets the mood in any bathroom, but it’s especially important in a walk-in shower where you want a clean, airy feel. Recessed lights or a skylight can brighten the space without adding visual clutter, and they’re easy to keep clean. Unlike bulky fixtures that collect dust and moisture, these options sit flush or overhead, making them both practical and polished.
Good lighting makes a shower feel clean and inviting. It also helps you see what you’re doing, whether you’re shaving or just rinsing off. Recessed lights or a skylight can brighten the space without adding visual clutter, and they’re easy to keep clean.
Why Recessed Lighting Works
Recessed lights are installed into the ceiling, so there’s no fixture to wipe down or worry about. They provide even, shadow-free illumination that makes the shower feel larger and more open. Choose wet-rated or damp-rated fixtures to ensure they’re safe for shower use, and consider dimmable options to adjust the mood.
The Skylight Advantage
A skylight brings in natural light that can make your shower feel like a spa retreat. It’s especially nice in bathrooms without windows. Modern skylights come with built-in shades and moisture sensors, so you can control light and ventilation easily.
Just make sure to install it properly to avoid leaks.
Placement And Design Tips
For recessed lights, place them directly above the shower area or slightly toward the wall to avoid harsh shadows. If you’re adding a skylight, position it so it doesn’t create glare on glass doors or mirrors. Pair either option with a light-colored ceiling to maximize brightness.
14. Choose a Neutral Color Palette with a Pop
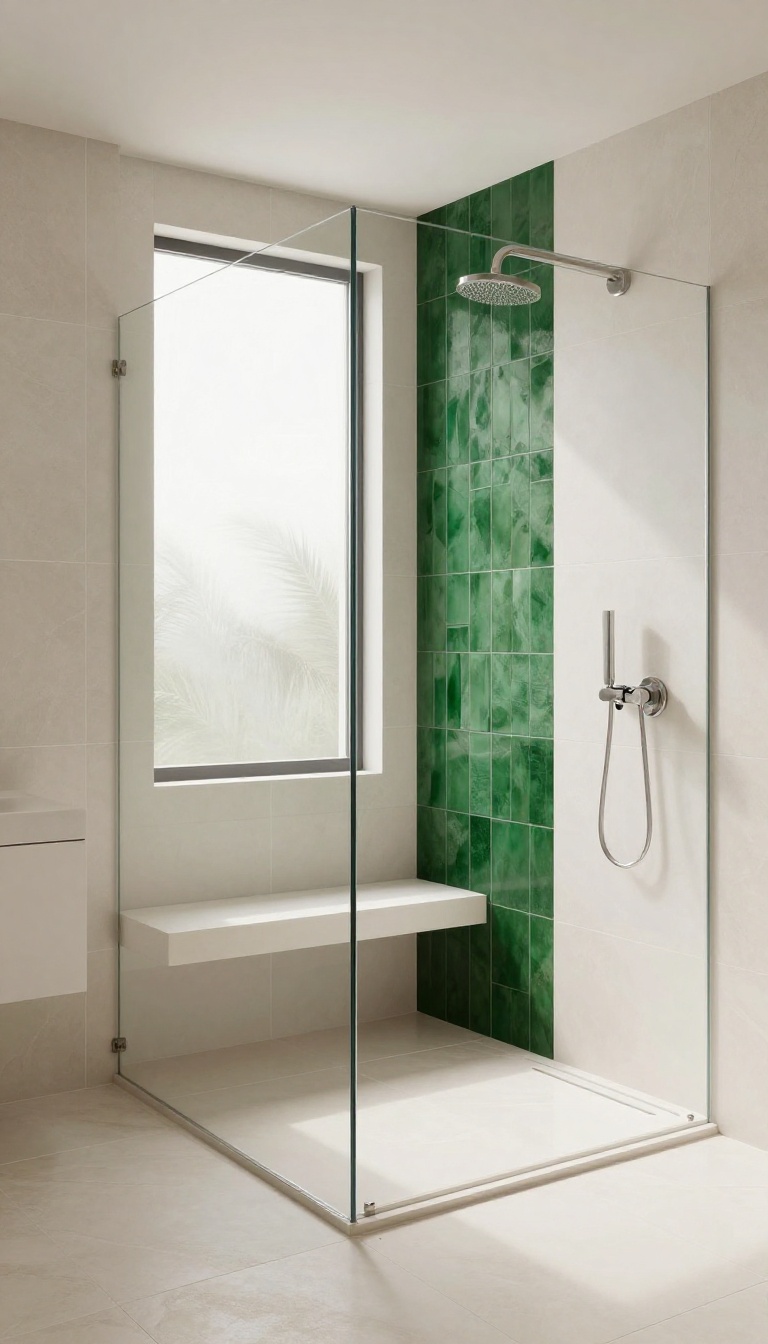
A neutral palette keeps your walk-in shower looking clean and timeless, but it can veer into bland territory if you're not careful. The trick is to let soft whites, warm beiges, or cool grays form the base, then introduce one unexpected accent that draws the eye without overwhelming the space.
Sticking with a neutral base makes the shower feel open and airy, and it also gives you flexibility if you ever want to change the accent later. A single pop of color—whether it's a bold tile stripe, a painted niche, or a vibrant bench—adds personality and prevents the design from feeling sterile. The key is restraint: one accent element is enough to make the space feel intentional and polished.
Pick Your Neutral Base
Start with large-format tiles in white, soft gray, or warm beige. These tones reflect light and make the shower feel bigger. Use the same tile on the walls and floor for a seamless look, or choose a slightly darker shade on the floor to hide soap scum.
Avoid busy patterns in the main field—save those for the accent.
Add The Pop
Your pop can be a vertical strip of colorful mosaic tile behind the showerhead, a painted recessed shelf, or even a bold-colored bench. Deep navy, emerald green, or terracotta work well with neutral bases. If you're not ready to commit to tile, a colorful teak or resin bench adds function and a splash of color.
Balance And Placement
Place the accent where it gets noticed but doesn't dominate. A single wall of color at the back of the shower creates a focal point, while a colorful niche at eye level adds interest without breaking the budget. Keep the rest of the fixtures (faucets, showerhead, drain) in the same finish—brushed nickel or matte black—to tie everything together.
15. Keep It Minimal with a Floating Vanity Nearby
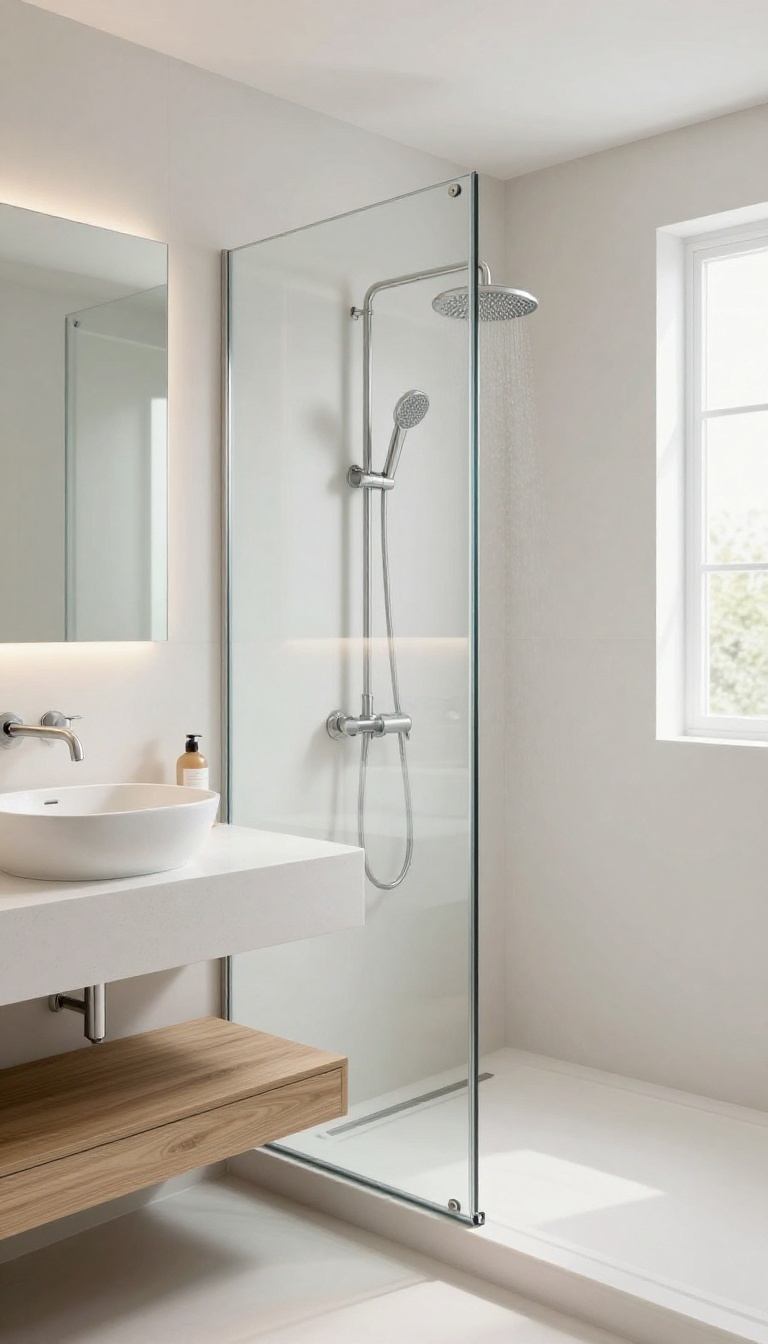
A walk-in shower thrives on openness, and nothing kills that vibe faster than a bulky vanity hogging the floor. Floating vanities solve this by mounting to the wall, leaving a clean gap underneath that visually extends the space. They also make cleaning a breeze—no more contorting around baseboards or toe kicks to reach dust bunnies.
Why Floating Works With Walk-ins
Walk-in showers are all about removing barriers, and a floating vanity carries that same philosophy into the rest of the bathroom. By lifting the vanity off the floor, you eliminate the visual weight that standard cabinets bring. The gap underneath creates a continuous sightline from the shower floor to the bathroom floor, making the whole room feel larger and more connected.
Plus, if you have heated floors, the open space lets warmth circulate better.
Choosing The Right Height And Material
Comfort is key when picking a floating vanity height. Standard vanities sit around 32 inches, but you can adjust based on who uses the bathroom most. Pair the vanity with materials that echo your shower's finishes—like a quartz countertop that matches your shower bench or a wood tone that ties into your flooring.
For a truly seamless look, consider a wall-mounted faucet that frees up counter space and makes wiping down the surface a one-swipe job.
Storage Tricks Without The Bulk
Just because the vanity floats doesn't mean you have to sacrifice storage. Use drawers instead of cabinets to keep items organized and easily accessible. Add a tall, narrow linen tower nearby for towels and toiletries, or install open shelving above the vanity for everyday essentials.
The key is to keep the area under the vanity completely clear—that's what gives the room that airy, uncluttered feel.
Lighting And Mirror Placement
To make the floating vanity and walk-in shower feel like a cohesive zone, think about lighting. Install a linear LED strip under the vanity to create a soft glow that highlights the open space. Place a large mirror above the vanity that reflects light from the shower area, making the whole bathroom feel brighter.
If privacy isn't an issue, a frameless glass shower panel lets the vanity and shower share visual space, tying the design together.
FAQ
What is the best flooring for a walk-in shower?
Textured porcelain or ceramic tile with a high slip resistance is ideal. Large-format tiles reduce grout lines, and a linear drain allows for a flat, curbless floor.
How do I keep a walk-in shower clean?
Use a squeegee after each use to remove water, choose materials with minimal grout like large tiles or panels, and install a handheld showerhead for easy rinsing. Regular cleaning with a mild spray helps prevent soap scum.
Do walk-in showers need a door?
Not necessarily. A doorless walk-in shower can work if the space is large enough to prevent water splashing, but a frameless glass panel or door helps contain water and adds a polished look.
Are walk-in showers more expensive than traditional tub-showers?
Costs vary. A basic walk-in shower can be comparable, but features like custom glass, tile, or curbless designs can increase the price. However, they can add value to your home and save space.
What is the best material for a walk-in shower bench?
Solid surface materials like quartz or acrylic are durable, non-porous, and easy to clean. Tile benches with minimal grout are also an option, but they require more maintenance.
Conclusion
A walk-in shower can feel just as polished as a traditional enclosed one when you focus on the details that matter. Whether you choose a curbless entry for accessibility or a sleek linear drain for a seamless look, these ideas help you balance function with a clean aesthetic.
Start with the changes that solve your biggest pain point, whether that's water splashing or visual clutter, and build from there. With the right layout and materials, you'll create a bathroom that feels open, easy to maintain, and genuinely yours—no shower curtain required.