13 Polished Pool Shower Ideas for Comfortable Days Outside
A quick rinse after a swim can make or break your pool day. But a basic shower head bolted to the side of the house doesn't exactly invite you to linger.
The right pool shower turns a practical necessity into a small luxury you actually look forward to. Think about the details that make a shower feel good: warm water, a steady stream, a place to set your towel, and a surface that doesn't scorch your feet.
When you bring those comforts outside, you extend your time by the water and keep the mess out of your home. From simple upgrades to full-on outdoor spa setups, these 13 ideas focus on what works.
1. Install a Warm-Water Mixing Valve
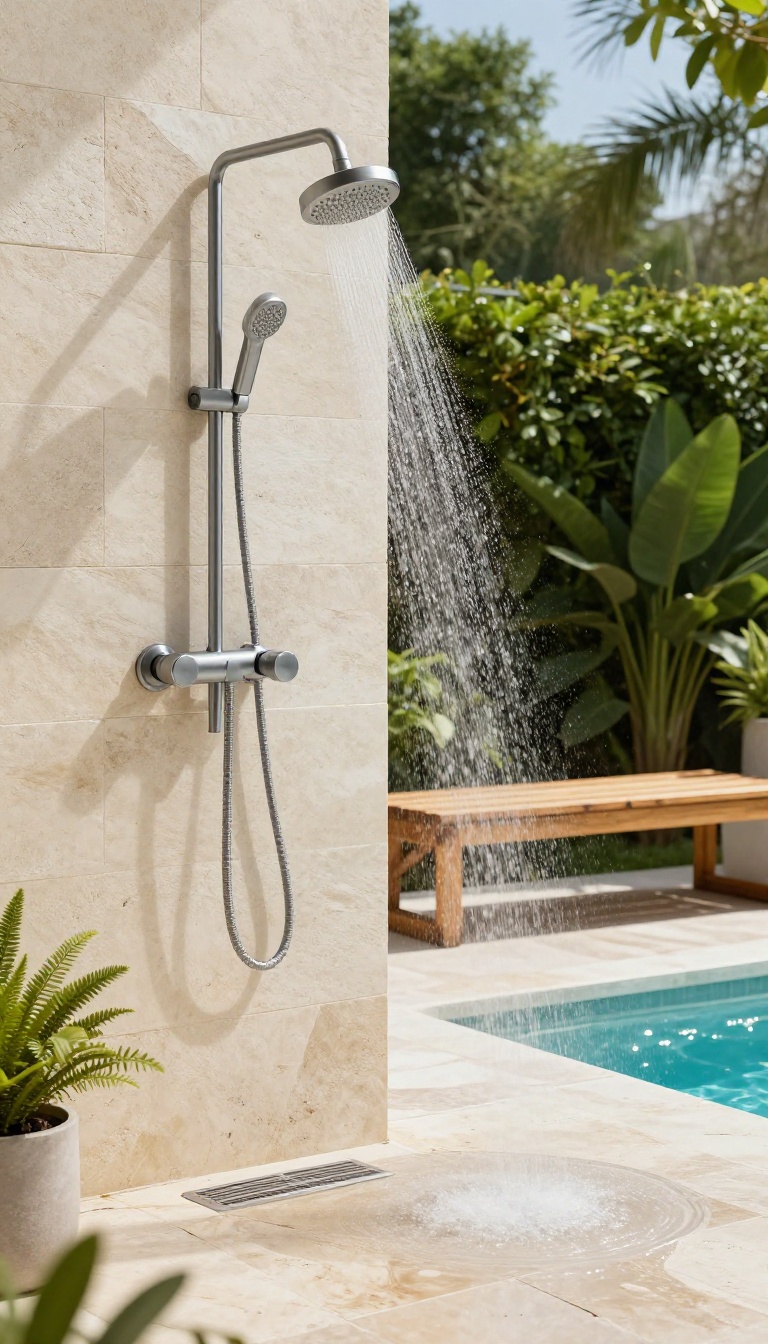
One of the simplest ways to upgrade your outdoor shower is to control the water temperature. A mixing valve blends hot and cold water to give you a comfortable, consistent temperature. No more shocking cold showers after a swim—just a gentle rinse that feels good on sun-warmed skin.
A mixing valve is a small plumbing device that connects to your hot and cold water lines. It allows you to set a desired temperature, and it automatically adjusts the flow to keep it steady. This is especially nice on hot days when the cold water from the hose can be freezing, or when you want a warm rinse to wash off chlorine without stepping inside.
Why You Need It
Without a mixing valve, your outdoor shower is at the mercy of whatever temperature comes out of the ground. In summer, that can be painfully cold. With a mixing valve, you can dial in a comfortable temperature and even adjust it as the day heats up.
It's a small investment that makes a big difference in comfort.
Installation Basics
If you're handy with plumbing, you can install a mixing valve yourself. It requires access to your hot and cold water lines, and you'll need to mount the valve near the shower. If you're not comfortable with DIY, a plumber can do it quickly.
The valve typically fits behind the wall or on the pipe leading to your shower head.
Choosing The Right Valve
Look for a valve with a pressure-balancing feature to prevent sudden temperature changes. Also, consider a model with a shut-off valve so you can turn off the water without affecting the rest of your house. Some valves come with a built-in anti-scald function, which is a good safety feature if you have kids.
2. Choose a Foot Shower for Quick Rinses
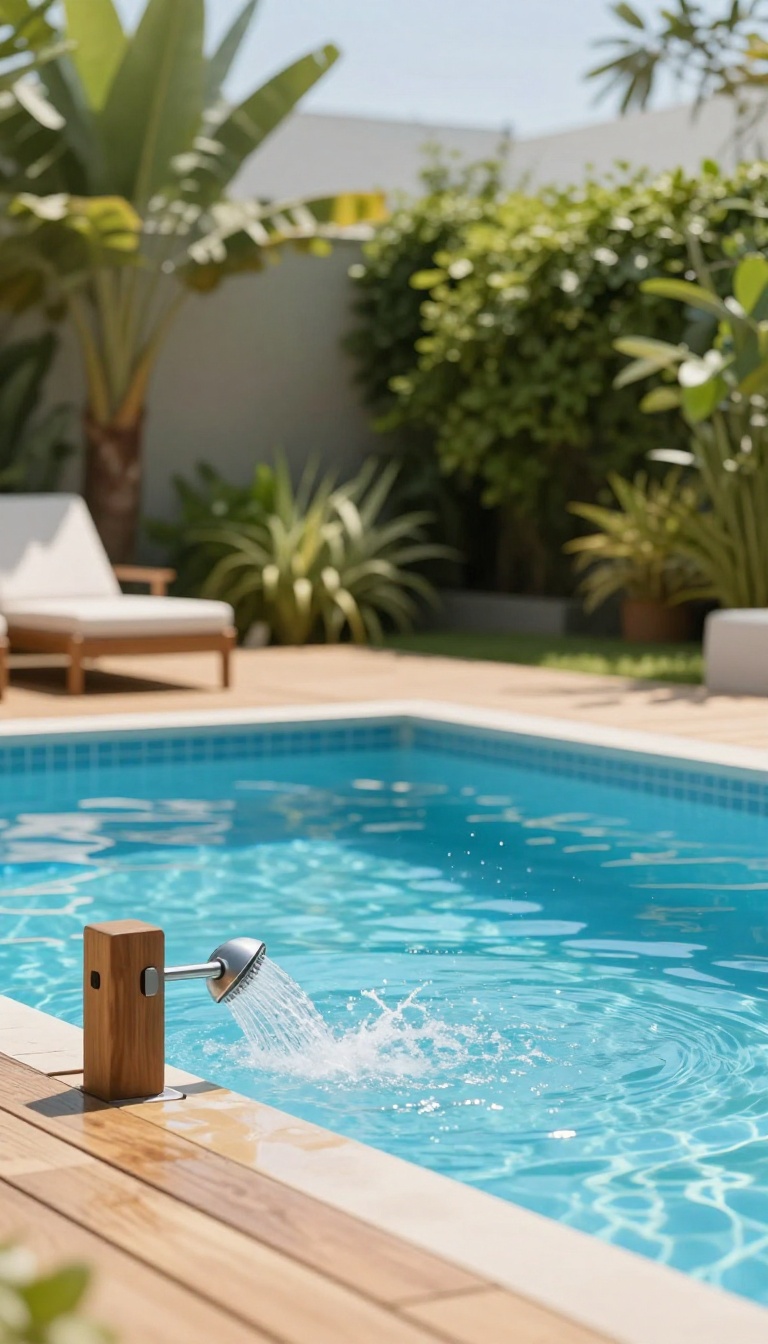
A foot shower is one of those small upgrades that pays off every single time you use the pool. It’s mounted low, so you can rinse off sand, grass, and grit before your feet ever touch the deck. That means less dirt tracked into the house and fewer scratchy surprises underfoot when you’re walking barefoot around the pool.
The beauty of a foot shower is in its simplicity. You don’t need a full outdoor shower setup or a plumber to install one. Many models attach directly to a garden hose or an existing outdoor spigot, and they cost a fraction of what a full shower would run.
Plus, they’re perfect for quick rinses after a swim or before heading inside.
Why A Foot Shower Makes Sense
Think about all the times you step out of the pool and immediately feel sand or grass sticking to your feet. A foot shower lets you rinse those off in seconds, keeping the pool deck cleaner and your feet more comfortable. It also helps reduce the amount of dirt and debris that ends up in your pool, which means less time skimming and more time swimming.
Where To Mount It
Placement is key. Mount the foot shower near the pool exit or at the entrance to your deck, so it’s the first thing you hit after getting out. You want it low enough that you can step under the spray without bending over too much, but high enough to keep the nozzle clear of puddles.
A height of about 18 to 24 inches from the ground works well for most people.
Easy Installation Options
If you’re handy, you can hardwire a foot shower into your existing plumbing. But for most people, a hose-attached model is the way to go. These come with a simple bracket that screws into a wall or post, and they connect to a standard garden hose.
Some even have a foot pedal or a push-button valve, so you don’t have to fumble with a knob while your hands are wet.
3. Add a Towel Hook and Drying Rack Nearby
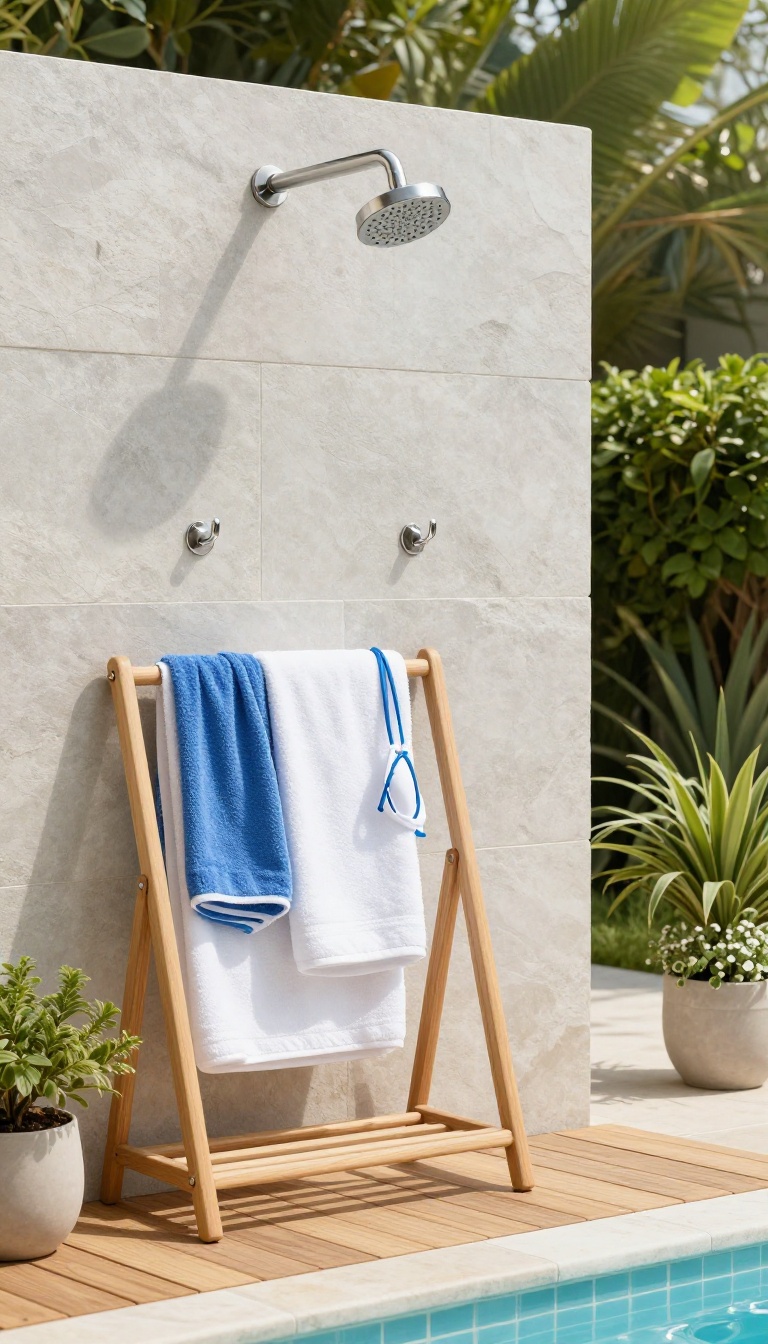
Nothing kills the post-swim buzz like hunting for a towel while dripping water across the patio. A few well-placed hooks and a compact drying rack solve that problem before it starts. This setup keeps your space tidy and makes the shower area feel more like a deliberate part of your outdoor living space.
When you step out of the pool, the last thing you want is a wet walk back to the house. By placing hooks and a rack within arm's reach of the shower, you cut down on mess and make the whole routine smoother. It's a small change, but it makes a big difference in how often you actually use the outdoor shower.
Pick The Right Hooks
Choose rust-resistant materials like stainless steel or marine-grade plastic. Look for hooks with a deep curve so towels don't slip off in the wind. If you have kids, mount hooks at two different heights—low enough for them to reach, high enough to keep towels off the ground.
Positioning For Convenience
Place hooks just outside the splash zone but close enough that you can grab a towel without stepping out of the shower. A spot near the exit works best. If your shower is against a wall, mount a small rack above the showerhead for swimsuits and goggles.
Keep It Drying-friendly
Airflow is key to preventing mildew. Choose an open design that allows air to circulate around wet items. A foldable wooden or metal rack can be tucked away when not in use.
Make sure the area gets some sun during the day to speed up drying.
4. Use Weather-Resistant Materials for Durability
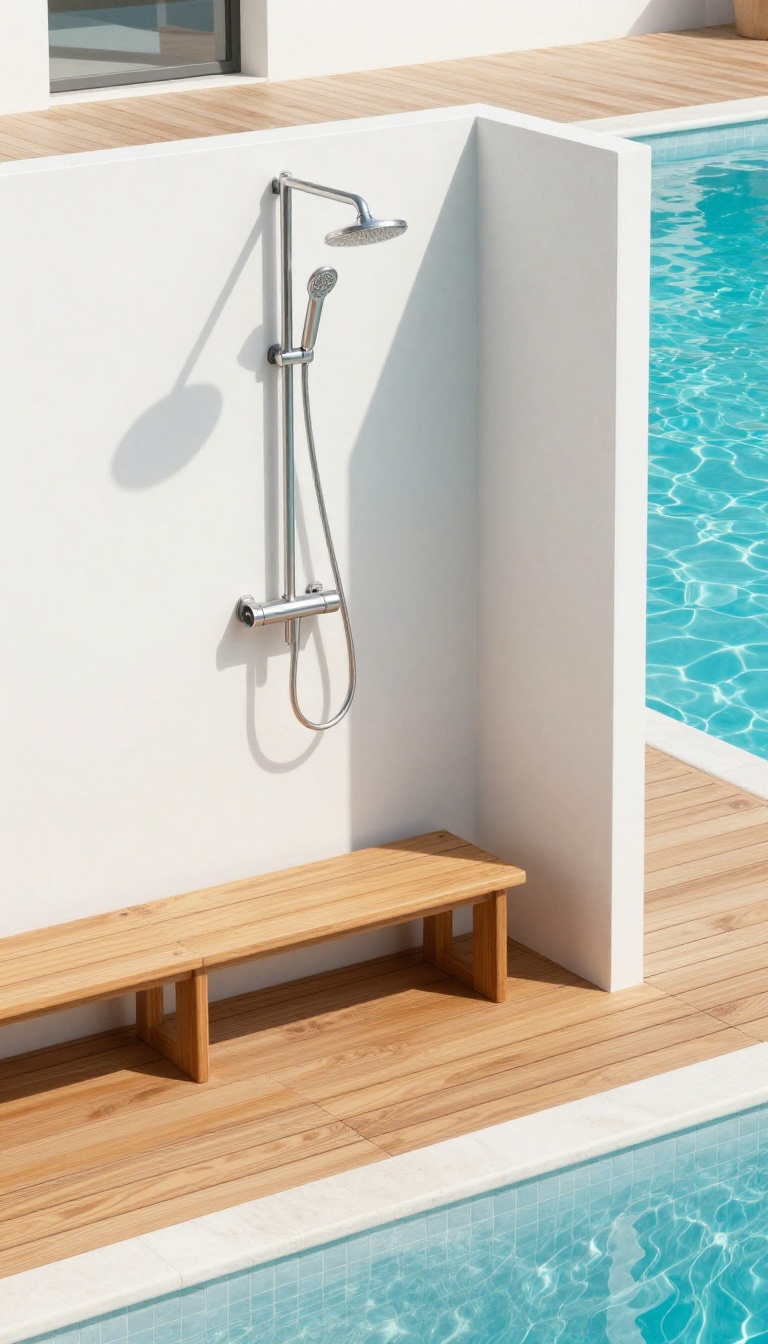
Outdoor showers take a beating. Sun, rain, chlorine, and salt can wreck cheap fixtures fast. But picking the right materials from the start means your shower looks sharp and works well for years, even with zero fuss.
It's not about spending a fortune—it's about choosing things that are built to live outside.
When you're planning a pool shower, think beyond the first summer. Materials that can't handle the elements will fade, rust, or crack before you know it. That's why pros lean on stainless steel, teak, and powder-coated aluminum.
These stand up to moisture and UV rays without constant upkeep. Plus, they keep that polished look you want by the pool.
Stainless Steel For Fixtures And Hardware
Stainless steel is the go-to for shower heads, valves, and brackets. It resists rust and corrosion from chlorine and saltwater. Look for marine-grade 316 stainless if your pool is saltwater.
It costs a bit more but handles the harsh stuff like a champ. Brushed or matte finishes hide water spots and fingerprints, so they stay looking clean.
Teak For Flooring And Benches
Teak is a natural choice for outdoor showers. It's dense, oily, and naturally water-resistant. It won't splinter, and it feels warm underfoot.
Plus, teak ages to a nice silver gray if you leave it untreated, or you can oil it to keep that honey tone. A teak grate or bench adds a spa-like touch that's also practical.
Powder-coated Aluminum For Panels And Frames
If you're building a shower enclosure or privacy screen, powder-coated aluminum is a smart pick. It's lightweight, won't rust, and the coating comes in colors that resist fading. It's also easy to clean—just hose it down.
This material gives you a sleek, modern look without the heavy maintenance of wood or plain steel.
5. Incorporate a Privacy Screen or Fence
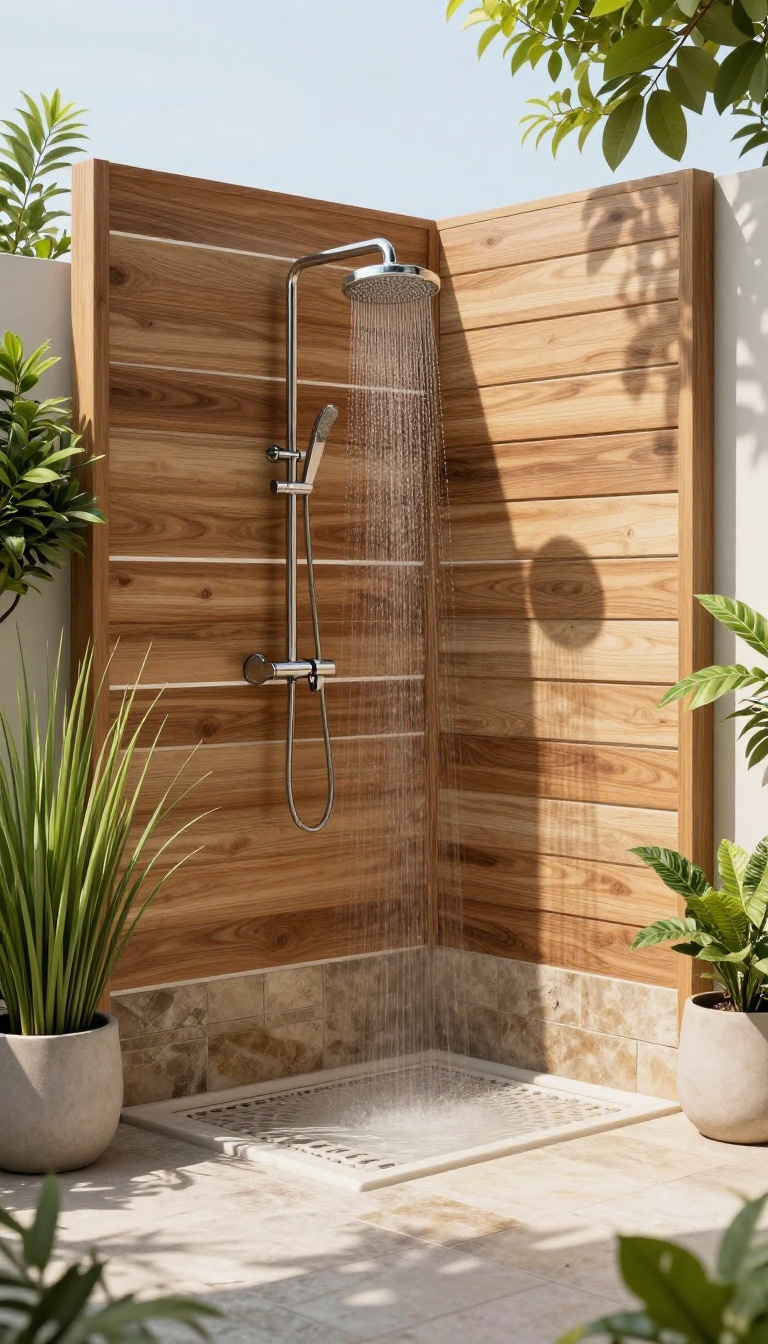
A shower in the open can feel a bit exposed, especially if neighbors or passersby are close. Adding a privacy screen or fence not only blocks unwanted views but also creates a cozy, enclosed nook that feels more like a private spa. It's a simple change that makes a big difference in how comfortable and relaxed you feel while rinsing off.
Privacy doesn't have to mean a full wall. A well-placed screen or fence can shield you from sight without making the area feel closed in. You can choose from natural options like tall grasses or hedges, or go with a more structured look using wood, metal, or composite panels.
The key is to position it so it blocks sightlines from the house, street, or neighbor's yard, while still allowing air to flow and light to filter through.
Pick The Right Material
Wood slats offer a warm, natural look and can be stained to match your deck or fence. Metal screens with laser-cut patterns add a modern touch and provide partial visibility. For a softer, more organic feel, consider a living privacy screen of tall shrubs or ornamental grasses.
Each material has its own maintenance level, so think about how much time you want to spend on upkeep.
Think About Placement And Height
Place the screen or fence to block the most direct line of sight from neighboring windows or the street. The height should be tall enough to cover your shoulders and torso when you're showering, but not so tall that it blocks breezes or makes the space feel cramped. A height of 6 feet is usually sufficient, but you might need more if your shower is on an elevated deck.
Add A Touch Of Style
Your privacy screen can double as a design feature. Use a bold color to make a statement, or add a planter box on top for trailing vines. You can also hang hooks on the inside for towels and robes, turning the screen into a functional part of your shower area.
Just make sure any materials you use are weather-resistant and won't warp or fade in the sun.
6. Add a Rain Shower Head for a Spa Feel
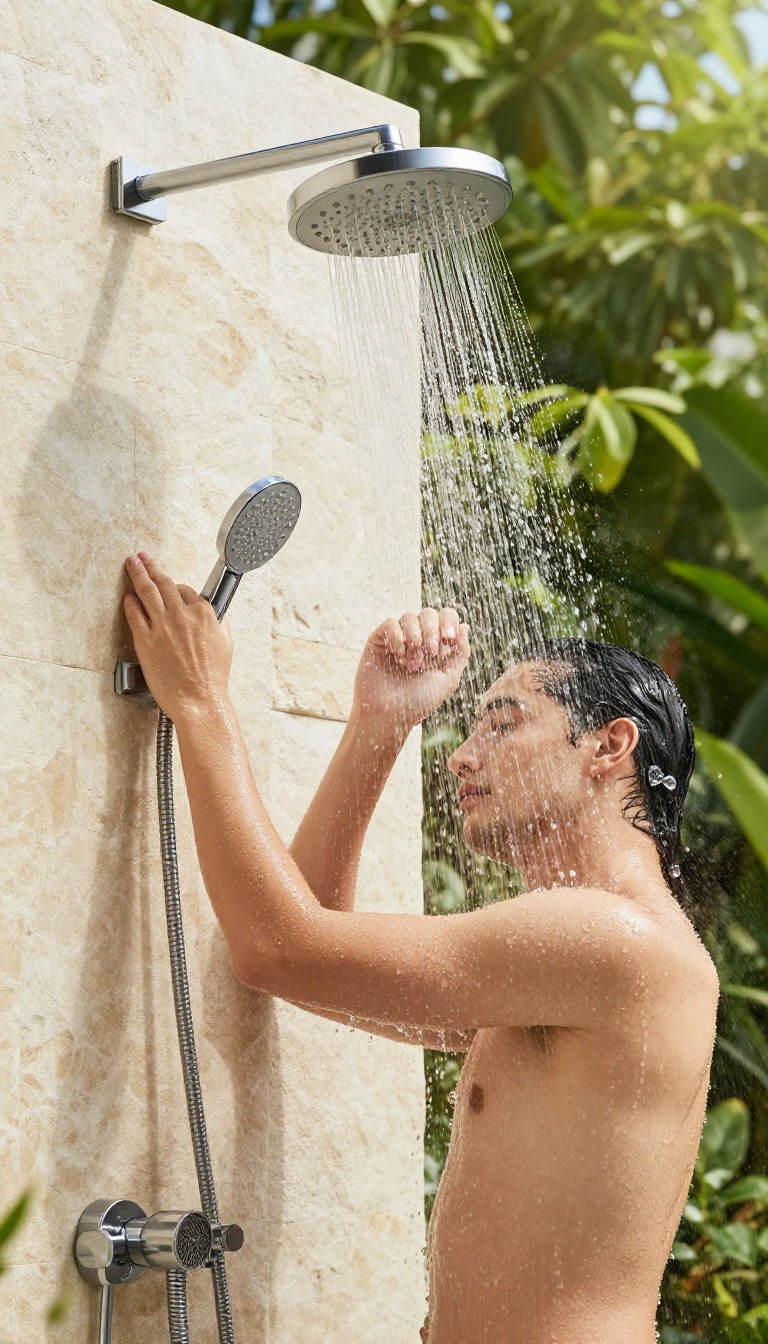
A rain shower head transforms an ordinary outdoor rinse into a soothing experience. The wide, gentle spray mimics natural rainfall, making you feel like you're standing under a warm summer shower. It's a simple swap that adds a touch of luxury without a major renovation.
Unlike standard nozzles that blast water in a narrow stream, rain heads distribute water evenly over a larger area. This means less splashing and a more calming effect. You'll find yourself lingering a bit longer, and that's exactly the point.
Upgrading to a rain shower head is one of the most effective ways to enhance your outdoor shower's comfort. The broad coverage and soft droplets create a spa-like atmosphere, turning a quick rinse into a mini retreat. Plus, the installation is straightforward, making it an accessible project for most homeowners.
When choosing a rain shower head for outdoor use, consider the material and finish. Look for options made from corrosion-resistant materials like stainless steel or brass with a powder-coated finish to withstand the elements. Also, check the flow rate and water pressure compatibility to ensure a satisfying experience.
With the right choice, you'll enjoy a refreshing and luxurious rinse every time.
Why A Rain Shower Head Feels Different
The magic lies in the water flow. Rain shower heads use a larger face with many small nozzles, which breaks the water into fine droplets. This creates a gentle, even spray that feels like actual rain, rather than a harsh jet.
The sensation is more relaxing and less startling, especially when you're transitioning from the pool's cool water. It also helps rinse off shampoo and soap more thoroughly because the water covers more surface area.
What To Look For In An Outdoor Rain Head
Durability is key. Since your shower lives outdoors, choose a rain head made from materials that resist rust and UV damage. Stainless steel and brass are excellent choices.
Also, consider the size—a 10 to 12 inch diameter provides a comfortable coverage area. Check the flow rate to ensure it works well with your water pressure; some models have built-in flow restrictors that can be removed if needed. Finally, look for a model with an anti-clog design to prevent mineral buildup from hard water.
Installation Tips For A Seamless Upgrade
Replacing your existing shower head is usually a simple DIY task. Start by turning off the water supply and removing the old head. Clean the threads on the pipe and wrap them with plumber's tape to ensure a watertight seal.
Screw on the new rain head and tighten it by hand, then use a wrench for a final snug fit—but avoid over-tightening. If you're installing a ceiling-mounted rain head, you may need a professional to handle the plumbing and structural support. For a wall-mounted version, an adjustable arm can help you position it at the perfect angle.
7. Build a Pebble or Stone Floor for Traction
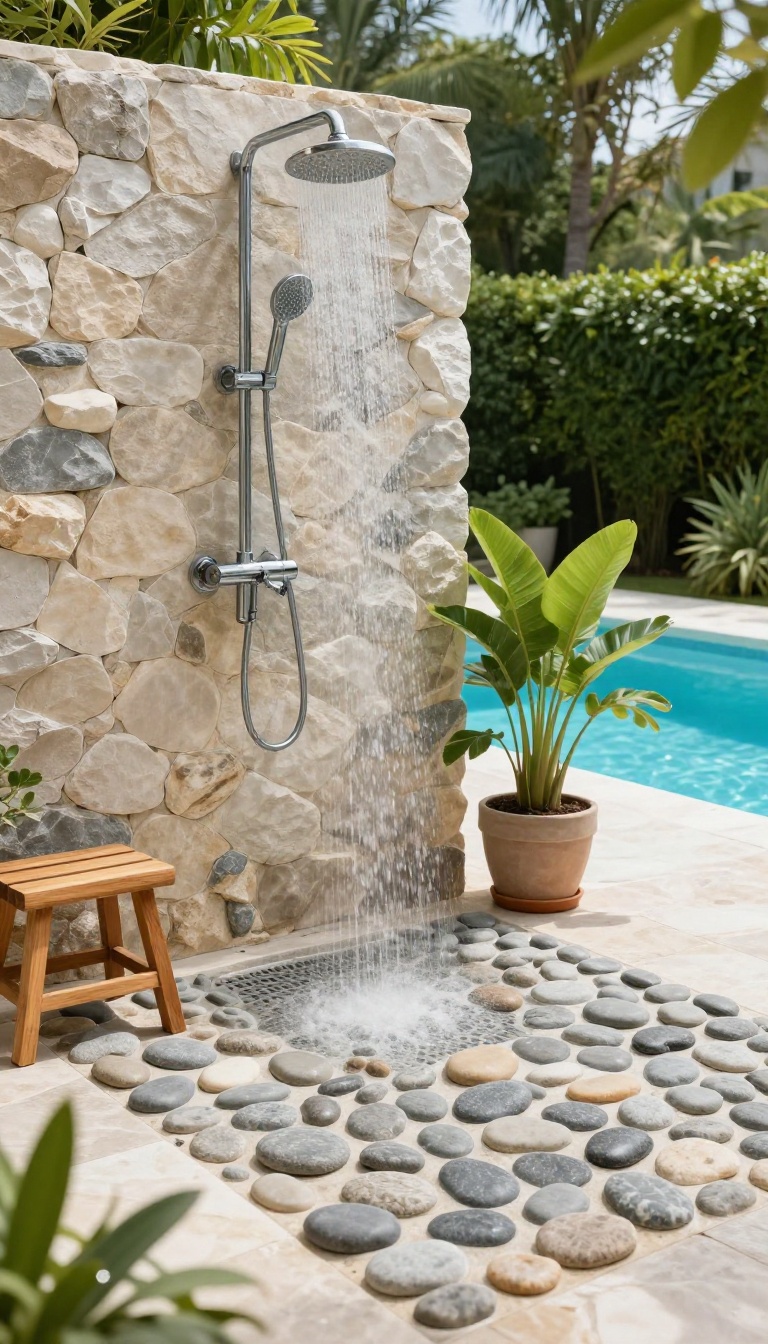
Slippery shower floors are a real hazard, especially when soap and water mix with smooth tile or concrete. A pebble or textured stone floor solves that problem while adding a natural, earthy vibe to your outdoor space. It feels like a mini foot massage every time you step in, and it blends seamlessly with poolside landscaping.
Choosing the right flooring for your outdoor shower isn't just about looks—it's about safety and comfort. Pebble or stone surfaces provide excellent traction even when wet, reducing the risk of slips. Plus, they handle weather extremes well and require minimal upkeep.
Here’s how to make it work for your setup.
Why Pebble Floors Are A Smart Choice
Smooth surfaces become dangerously slick when wet, but pebbles and natural stone have texture that grips your feet. This makes them ideal for pool showers where water is constant. They also stay cooler than dark concrete under the sun, so you won't burn your soles on a hot day.
And because they're porous, water drains quickly, leaving less standing water for algae or mildew.
Installation Tips For A Durable Surface
You can lay pebble tiles over an existing concrete pad or create a new bed with a mortar base. For a seamless look, choose river stones or pebble mats that come in sheets. Make sure the surface has a slight slope toward a drain so water doesn't pool.
Seal the grout to prevent staining and make cleaning easier. If you’re handy, this is a doable weekend project; otherwise, hire a pro to ensure proper drainage.
Styling Ideas To Match Your Backyard
Pebble floors work with almost any design style. For a tropical feel, use large, smooth river stones in earthy tones. For a modern spa look, opt for uniform pebble tiles in gray or charcoal.
Pair with a teak wood bench and bamboo accents for a resort vibe, or keep it rustic with natural boulders and native plants nearby. The goal is to create a seamless transition from shower to pool area.
8. Include a Built-In Bench or Ledge
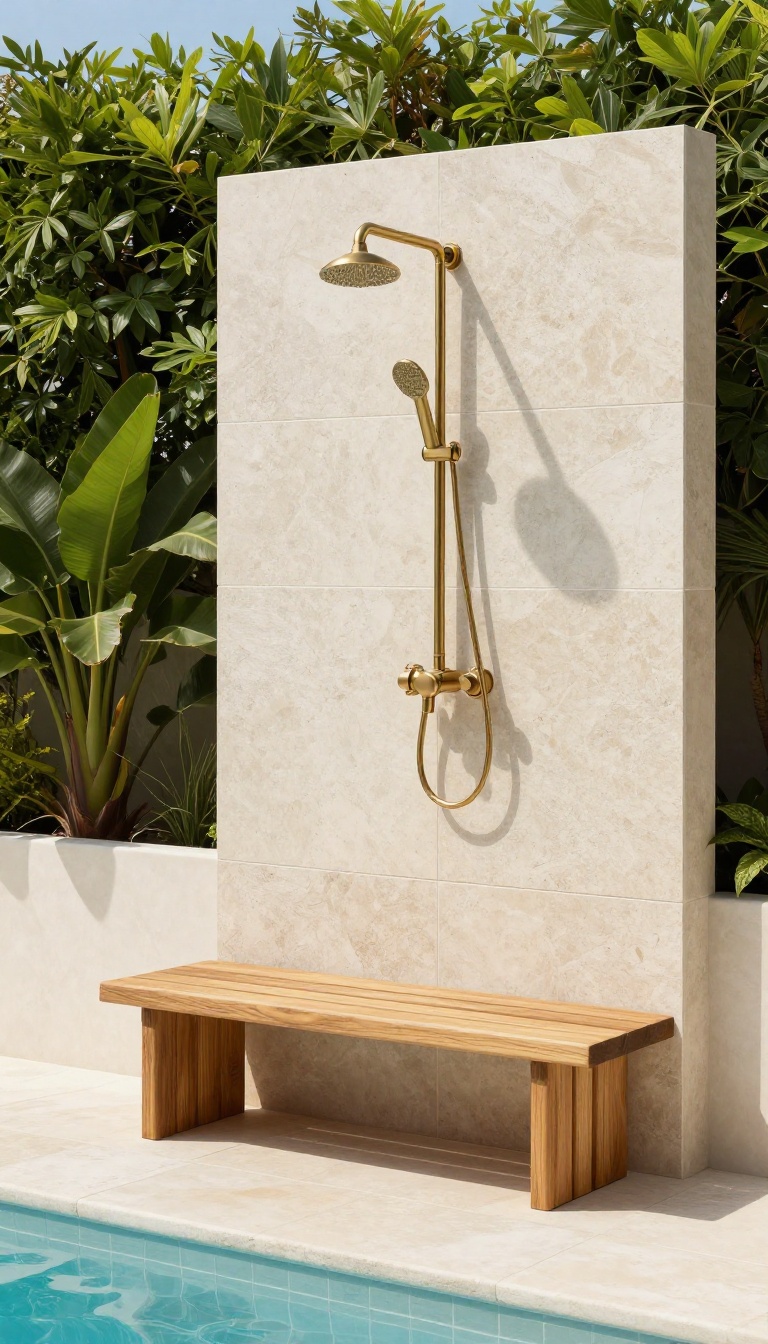
A quick rinse after a swim often means balancing on one foot while you scrub off sunscreen or shave your legs. That balancing act gets old fast, especially when you're already tired from a long day in the water. A built-in bench or ledge changes the whole experience.
It gives you a stable place to sit or prop a leg, making those post-swim chores feel less like a chore and more like a moment to decompress. Plus, it adds a touch of permanence and polish to your outdoor shower area.
A built-in bench or ledge isn't just a nice-to-have—it's a practical addition that makes your pool shower safer and more comfortable. Whether you're rinsing off after a swim, washing sandy feet, or just enjoying the warm water, having a place to sit or rest a leg is a game changer. Here's how to make the most of this feature in your own backyard.
Choose The Right Height And Depth
The bench should feel natural to sit on, so aim for a seat height of around 18 to 20 inches—similar to a standard chair. Depth matters too: about 16 to 18 inches gives you enough room to sit comfortably without taking up too much floor space. If you're planning to use the ledge for leg shaving, a slightly higher ledge (around 24 inches) works better.
That way, you can rest your foot without bending over awkwardly.
Pick Materials That Handle Moisture
Since the bench will be constantly exposed to water and weather, choose materials that resist mold, mildew, and slipping. Treated teak, cedar, or composite decking are popular choices because they hold up well outdoors and provide a bit of traction. If you're building a concrete or tile bench, make sure the surface has a textured finish or add non-slip strips.
Smooth, polished surfaces become dangerously slippery when wet.
Integrate Storage Or A Towel Hook
A built-in bench can double as a storage spot. Consider adding a small shelf underneath for shampoo bottles, soap, or a dry towel. You could also attach a couple of hooks to the side or back of the bench for hanging robes or swimsuits.
These little touches keep everything within reach and make the shower area feel organized and intentional.
Think About Drainage And Cleaning
Water will pool on the bench if it doesn't slope slightly toward the drain. Build a gentle angle (about 1/4 inch per foot) so water runs off easily. Also, leave a small gap between the bench and the wall to prevent water from getting trapped and causing damage.
For easy cleaning, choose materials that can be hosed down or wiped off without fuss. Avoid porous surfaces that soak up soap scum or hard water stains.
9. Install a Handheld Shower for Flexibility
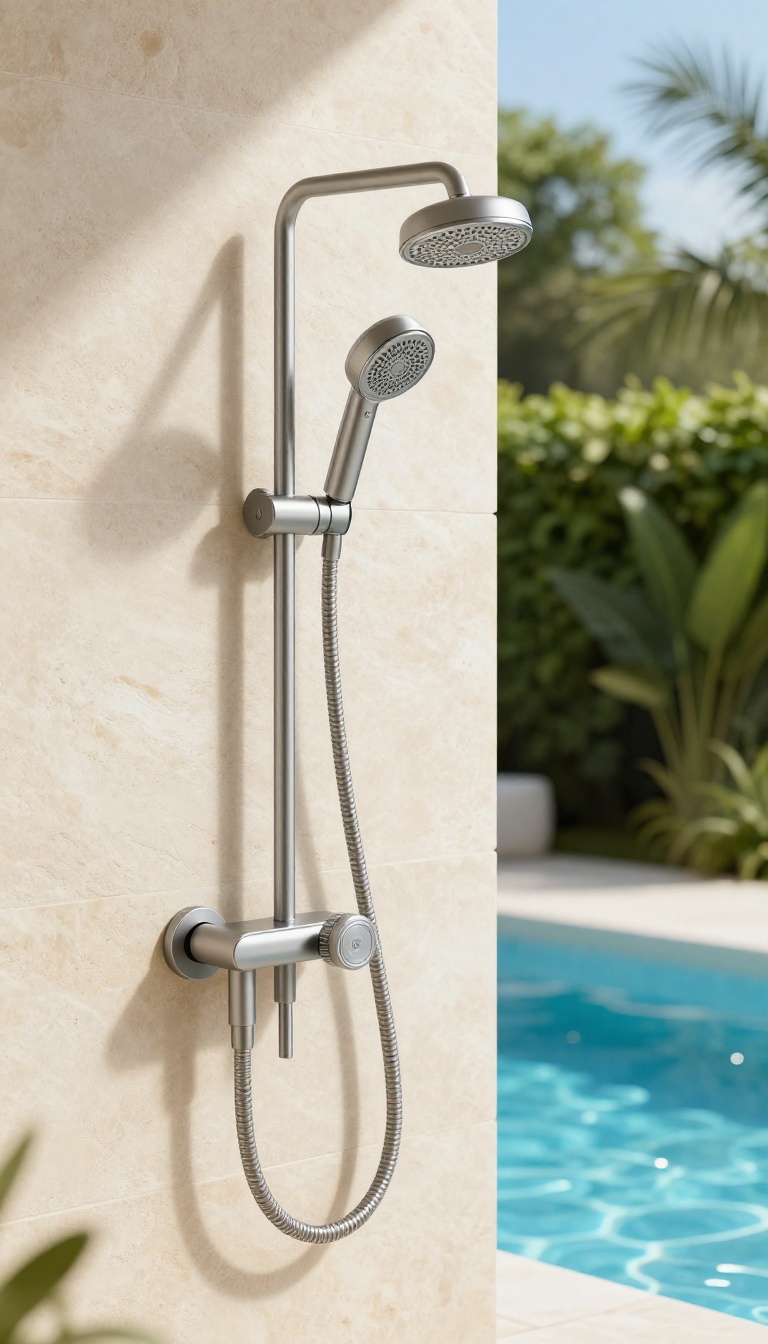
Sometimes you don't need a full rainfall experience—you need to aim a stream of water exactly where it's needed. A handheld shower gives you that control, making rinses quicker and more practical for busy pool days. Whether you're washing off sandy feet, giving the dog a quick rinse, or helping the kids get the suds out of their hair, a handheld unit simplifies the whole process.
It's a smart, space-saving upgrade that works well for almost any outdoor setup.
A handheld shower is all about convenience. Mounted on a bracket or a flexible hose, it lets you move the water where you need it, without requiring a full-body rinse every time. This makes it especially useful for targeted cleaning, like hosing off muddy knees or rinsing swimsuits before they come inside.
It's also a great option if you have limited wall space or want to keep the area looking clean and uncluttered. Many models come with adjustable spray settings, so you can switch from a gentle mist for kids to a stronger jet for rinsing off equipment or pets. Best of all, you don't need to rip out your existing shower to add one.
Many handheld units can be installed as a simple replacement or added alongside a fixed head, giving you both options without a major renovation.
Why A Handheld Shower Makes Sense
The biggest advantage is control. Instead of standing under a fixed spray, you can direct water to specific parts of your body or gear. That's a game-changer when you're dealing with gritty sand that clings to ankles or sunscreen that's stubborn on the back of your neck.
It's also easier on kids and pets. You can keep the water low and gentle while you rinse them off, without forcing them to stand under a strong overhead stream. This reduces the stress for everyone involved and makes the whole post-swim routine faster.
Choosing The Right Handheld Model
Look for a model with a long, flexible hose—at least five or six feet—so you can reach all the way to the pool edge or a nearby seating area. A hose with a kink-resistant design will last longer and stay easy to maneuver. Spray settings matter too.
A shower head with multiple modes, like a mist, massage, or jet, gives you flexibility for different tasks. Also check the mounting bracket: it should hold the head securely when not in use but release easily when you need to pull it down.
Installation Tips For A Smooth Setup
Installing a handheld shower is a manageable DIY project for most people. You'll need to connect it to your existing outdoor water supply, which often means cutting into a pipe or using a diverter valve if you're adding it to an existing shower. If you're not comfortable with plumbing, a pro can handle it quickly.
Make sure to use outdoor-rated materials, like brass or stainless steel, to withstand the elements. Also, consider adding a shut-off valve on the handheld so you can stop the water flow without turning off the main supply.
10. Add a Soap Dish and Shampoo Holder
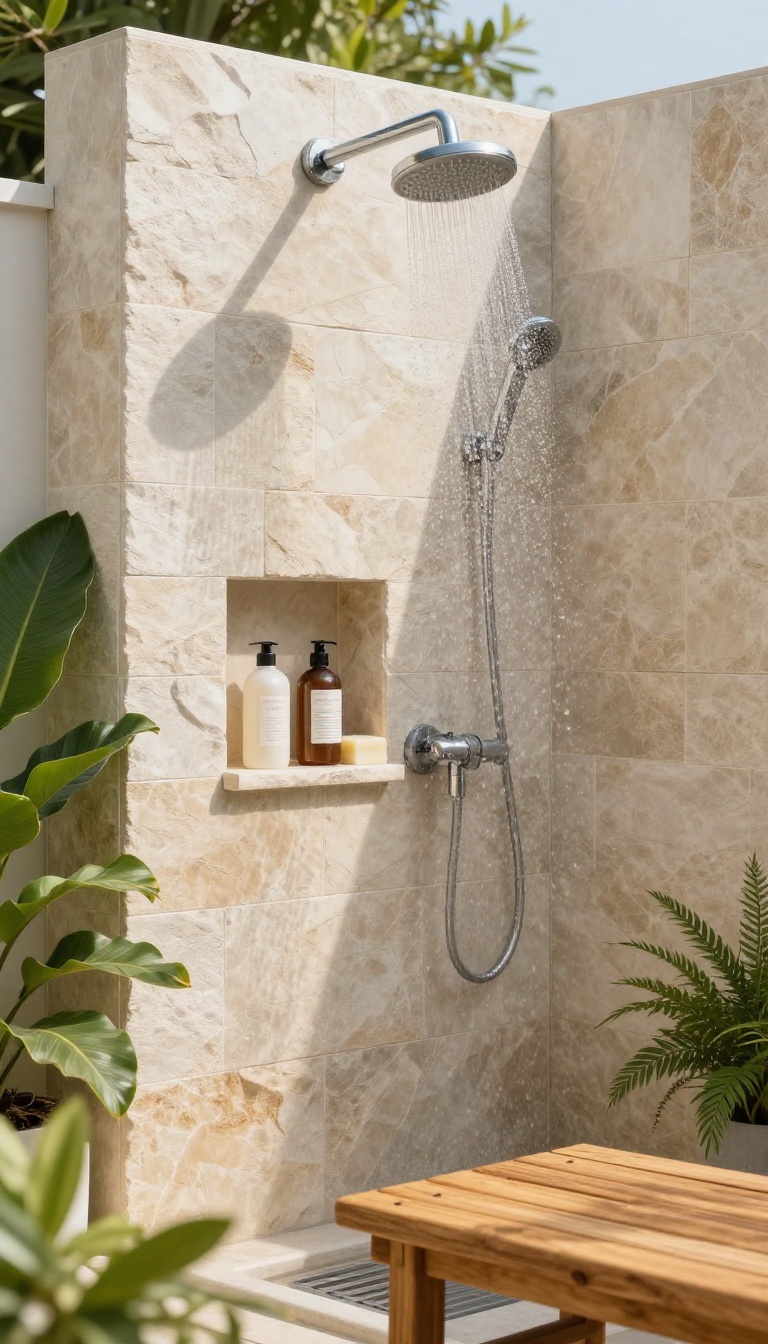
Nothing kills the convenience of an outdoor shower faster than fumbling for a bottle of shampoo that's slid off the ledge. A dedicated spot for your soap and hair care keeps everything tidy and within reach. It's a simple addition that makes the whole routine feel more organized.
When you're rinsing off after a swim, the last thing you want is to juggle bottles or bend down to pick up a fallen bar of soap. A built-in soap dish or a hanging caddy solves that problem neatly. You can find options that match your shower's style, from sleek stainless steel to weather-resistant teak.
Even a simple adhesive shelf can do the trick if you're renting or prefer not to drill into tiles.
Built-in Niches Vs. Hanging Caddies
If you're designing a new shower or doing a remodel, a built-in niche is a seamless choice. It keeps everything flush with the wall and eliminates any visual clutter. For an existing setup, a hanging caddy that hooks over the shower head or attaches to the wall is an easy upgrade.
Look for rust-proof materials like plastic, resin, or coated metal to handle constant moisture.
Material Matters: What Lasts Outdoors
Outdoor elements can be tough on accessories. Stainless steel is durable but can get hot in direct sun. Teak wood looks great and handles moisture well, but it needs occasional oiling.
High-quality plastic or resin is lightweight and won't corrode. Choose something that can handle UV rays and rain without fading or cracking.
Placement And Accessibility
Think about where you naturally reach when you're in the shower. A soap dish at shoulder height works well for most people. If you're using a caddy, position it so it doesn't interfere with the water flow.
Make sure it's easy to clean and doesn't collect water, which can lead to mold or soap scum.
11. Create a Hot and Cold Water Setup with an Outdoor Heater
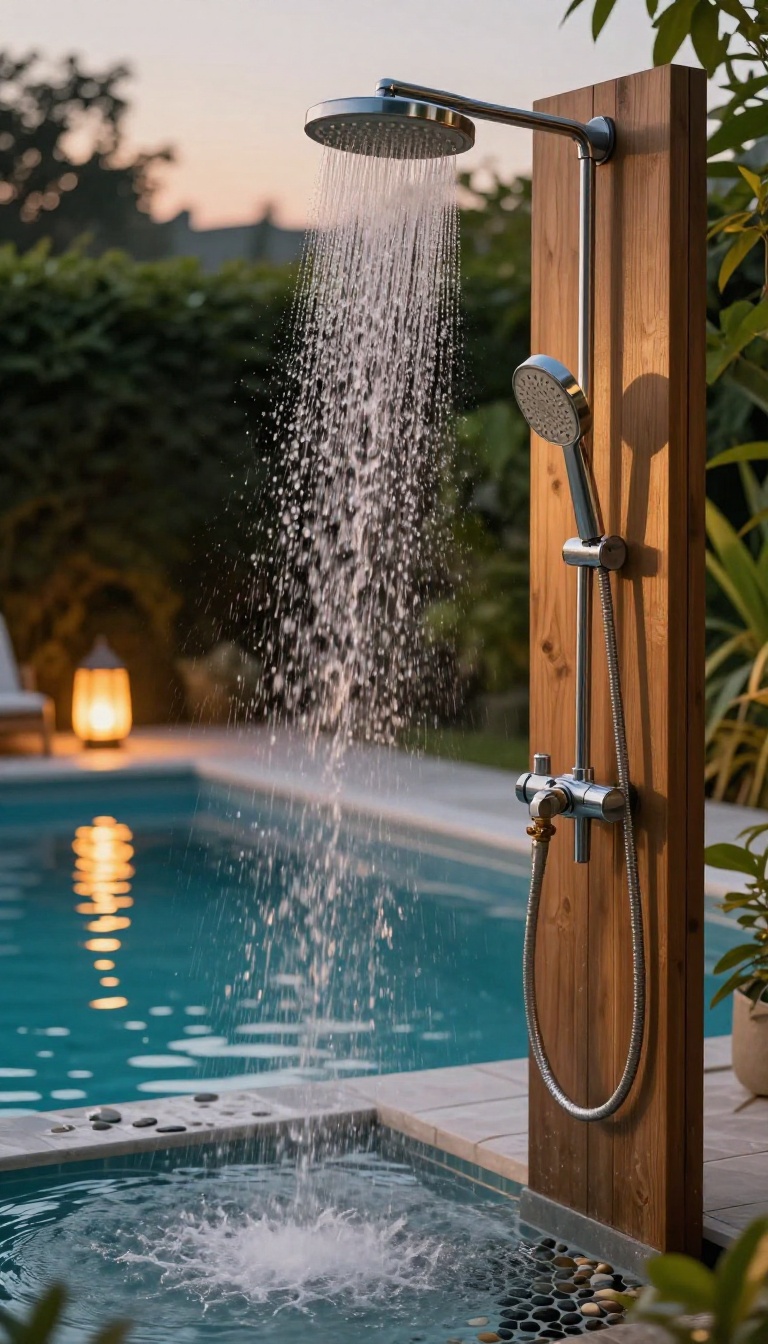
Warm water can turn a chilly evening swim into a cozy ritual, but most outdoor showers only offer cold. An outdoor water heater changes that, giving you control over temperature no matter the season. It's a step up from basic DIY, yet the comfort it adds makes the effort worthwhile.
Installing a heater for your pool shower means you can enjoy a warm rinse after a swim, even when the air is cool. You'll need to consider the type of heater, placement, and how it connects to your existing plumbing. With the right setup, you'll have a shower that works year-round, adding value to your outdoor space.
Pick The Right Heater Type
Tankless water heaters are popular for outdoor showers because they heat water on demand, saving energy when you're not using the shower. Electric models are easier to install if you have access to power, while gas units provide higher flow rates. Consider your climate and usage—if you live in a colder area, a more powerful heater might be necessary to raise the water temperature sufficiently.
Installation And Placement Tips
Place the heater close to the shower to minimize heat loss in the pipes, but keep it sheltered from direct rain and snow. A small roof or enclosure can protect the unit. You'll also need to ensure proper ventilation for gas heaters and follow local building codes.
Hiring a licensed plumber or electrician is often wise, especially for gas lines or complex electrical work.
Mixing Valves For Safety And Comfort
To avoid scalding and get a consistent temperature, install a thermostatic mixing valve. This device blends hot and cold water to a set temperature before it reaches the showerhead. It's a small addition that makes a big difference in safety, especially if children or elderly family members use the shower.
Maintenance And Winter Care
Outdoor heaters need regular maintenance to stay efficient. Check the unit for debris, clean the inlet filter, and inspect for corrosion. In freezing climates, you'll need to drain the system and possibly shut off the heater to prevent damage.
Some units have built-in freeze protection, but it's best to be prepared.
12. Add a Motion-Activated or Foot-Pedal Valve
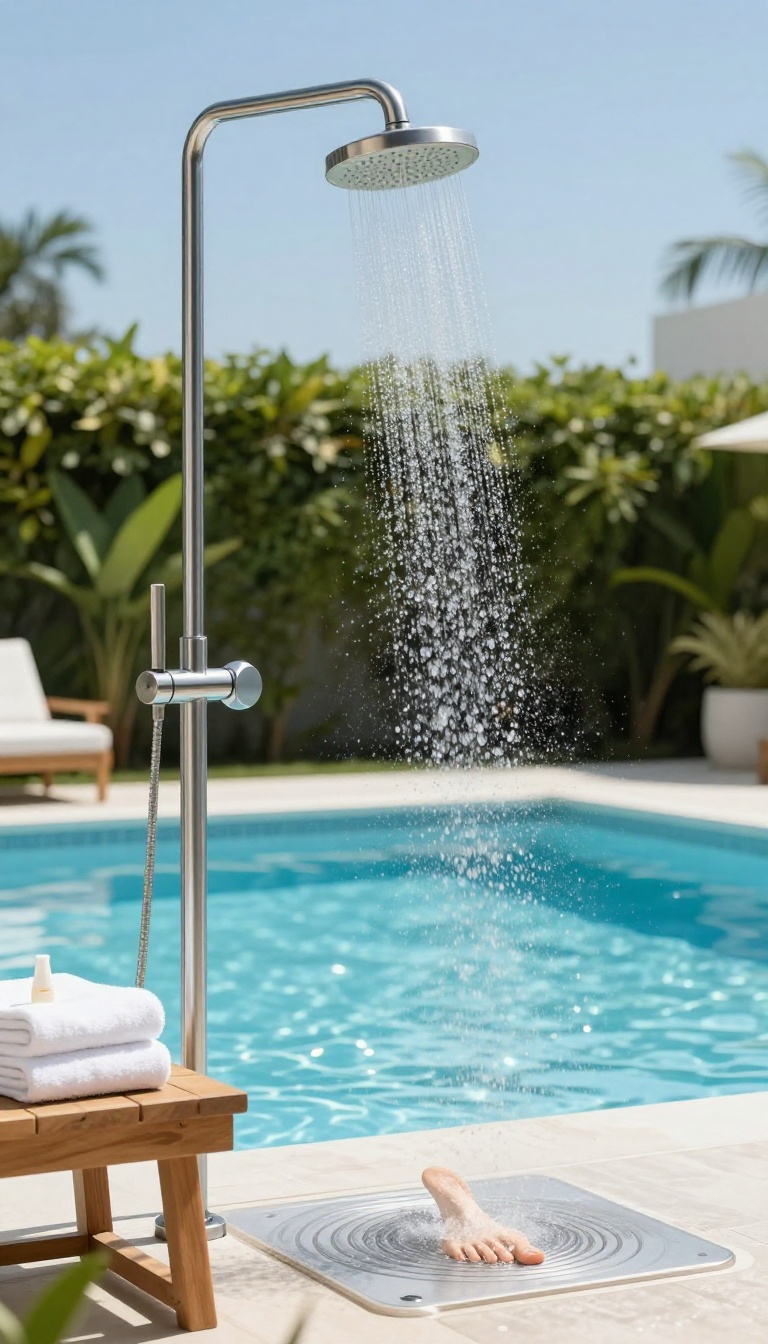
There’s nothing worse than arriving at the shower with your hands full of pool toys, sunscreen bottles, or a wriggling kid, only to realize you need a free hand to turn on the water. A motion-activated or foot-pedal valve solves that instantly. You step up, wave a hand or press a pedal, and water flows exactly when you need it—no juggling required.
Plus, these valves are smart about water usage, shutting off automatically when you step away, which is a win for both your water bill and the environment.
Hands-free controls aren’t just a convenience—they’re a game-changer for anyone who’s ever tried to rinse off after a long pool day. With a motion sensor, you can trigger the water with a simple sweep of your hand, even when you’re holding a towel or a dripping swimsuit. Foot pedals are equally handy, letting you control the flow with a gentle press while keeping your hands free for scrubbing or shampooing.
Both options cut down on wasted water because they stop the flow the moment you’re not in range or step off the pedal. That means less water running down the drain while you lather up or reach for a towel. And because you’re not touching a handle with gritty, sandy hands, you also keep the valve cleaner and reduce wear and tear over time.
Motion Sensors: Hands-free Convenience
Motion-activated valves use an infrared sensor to detect when someone is standing in front of the shower. As soon as you approach, the water turns on automatically, and it shuts off when you step away. This is perfect for families with kids who forget to turn off the water or for anyone who likes a truly touch-free experience.
Look for models with adjustable sensitivity and a timer so you can set how long the water runs after you leave—some even have a manual override for those times you want a longer rinse.
Foot Pedals: Simple And Reliable
Foot-pedal valves are a classic choice for outdoor showers because they’re mechanical, durable, and easy to install. You press the pedal with your foot to start the water, and it stays on only while you hold it down. That might sound limiting, but it’s actually a great way to conserve water—you naturally use only what you need.
Pedals are also ideal for showers with low water pressure since they don’t rely on sensors that might be finicky. Plus, they’re easy to operate even when your hands are covered in soap or sunscreen.
Installation And Placement Tips
Whether you choose motion or pedal, think about where you’ll mount the sensor or place the pedal. For motion sensors, position them at chest height so they reliably detect you without being set off by passing leaves or pets. For foot pedals, place them on a flat, stable surface near the shower entrance, and make sure they’re protected from the elements if they’re not weatherproof.
Most valves connect to a standard garden hose or 1/2-inch pipe, but you might need an adapter. If you’re not comfortable with plumbing, a quick call to a handyman can save you time and ensure a leak-free setup.
13. Finish with a Decorative Outdoor Shower Curtain
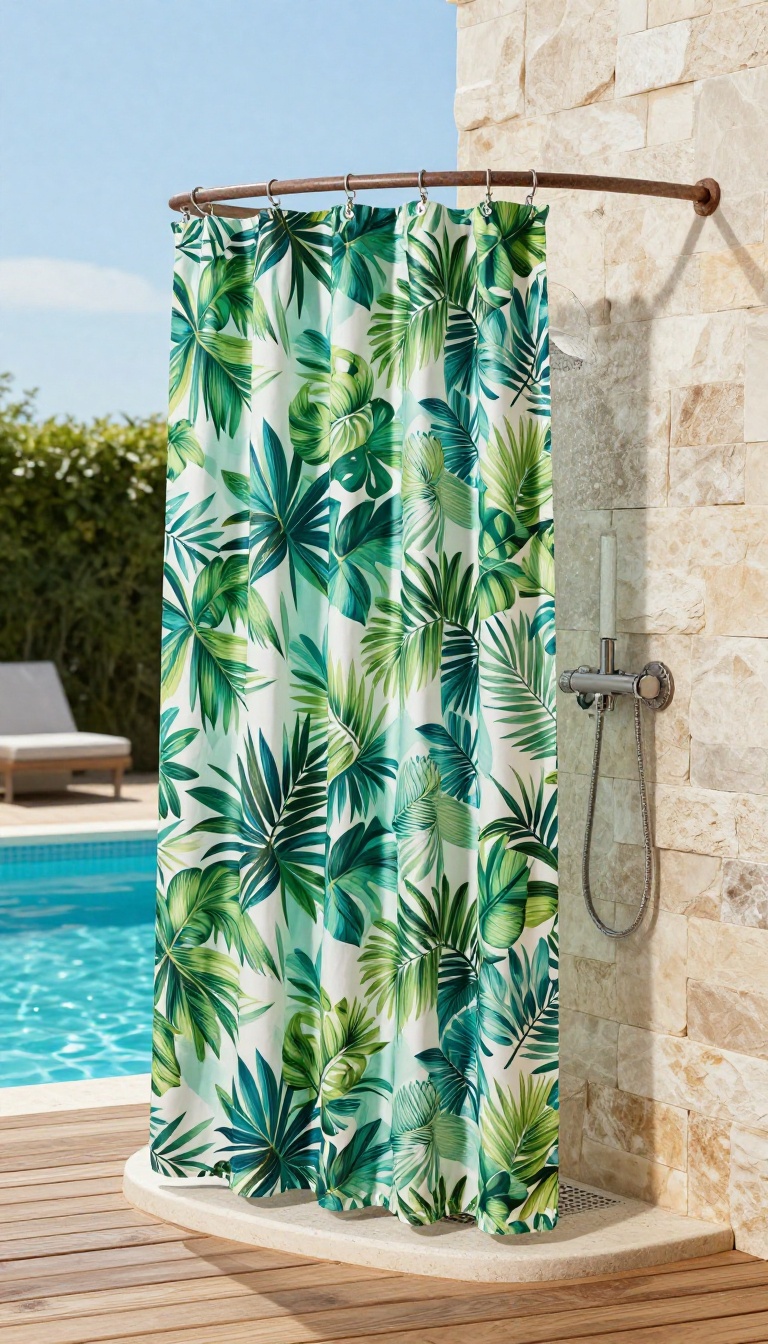
An outdoor shower curtain does more than keep water off the deck—it adds color, privacy, and a finished look to your poolside space. Many people skip this simple addition, thinking it will look flimsy or get ruined by weather. But with the right fabric and hardware, a curtain can be both practical and stylish, making your shower feel like a deliberate part of your outdoor design.
Choosing the right curtain starts with material. Look for quick-dry fabrics like polyester or treated canvas that resist mold and mildew. Avoid heavy cotton, which stays damp and can develop a musty smell.
For privacy, a curtain with a weighted hem stays in place even on breezy days. You can also use a double rod to hang both a liner and a decorative outer curtain, giving you flexibility and an extra layer of style. Installation is straightforward.
Use a rust-proof curtain rod or a tension rod designed for outdoor use. Make sure the curtain hangs far enough from the shower head to avoid sticking to your body when wet. Add hooks or rings that slide smoothly, and consider a curved rod to create more interior space.
When it comes to style, let your curtain complement your existing poolside decor. Tropical prints, nautical stripes, or solid earth tones all work well. You can even rotate curtains seasonally for a fresh look.
The curtain also helps define the shower area, making it feel like a separate, intentional space rather than an afterthought.
Fabric And Weather Resistance
The best outdoor shower curtains are made from quick-dry, water-resistant materials like polyester, nylon, or specially treated outdoor fabric. These resist fading from UV rays and won't develop mildew as quickly as natural fibers. Look for curtains labeled 'mildew-resistant' or 'outdoor-safe. ' If you live in a humid climate, consider a mesh top panel for extra airflow, which helps the curtain dry faster and reduces moisture buildup.
Installation And Hardware
Use a rust-proof rod—stainless steel or aluminum with a weather-resistant finish—to avoid corrosion. A tension rod works well if your shower area has two solid walls, but for a freestanding setup, you may need a ceiling-mounted or wall-mounted rod. Make sure the rod is installed at a height that allows the curtain to hang just above the floor, preventing water from pooling underneath.
Use rust-resistant hooks or rings that slide easily to avoid snags.
Design And Privacy
A curtain adds instant privacy, especially if your shower is near a fence line or visible from neighbors. Choose a pattern or color that ties into your poolside palette—bright tropical prints for a fun vibe, or neutral tones for a spa-like feel. For extra coverage, use a liner inside the decorative curtain.
You can also add a tieback to hold the curtain open when not in use, keeping the space airy and inviting.
FAQ
What is the best material for an outdoor pool shower?
Stainless steel is a top choice for outdoor showers because it resists rust and corrosion from water and chlorine. For flooring, textured stone or teak wood offers durability and slip resistance. Always look for materials rated for outdoor use.
Do I need a hot water heater for an outdoor pool shower?
Not necessarily. Many people use cold water for a quick rinse, especially in warm climates. If you want warm water for comfort or cooler days, you can install a tankless water heater or a mixing valve connected to your home's hot water supply.
How can I make my pool shower more private?
You can add a privacy screen, a fence, or even tall plants like bamboo or hedges around the shower area. A simple outdoor shower curtain is another easy and affordable option that also adds style.
What is the ideal height for a pool shower head?
The ideal height depends on the tallest users, but a common range is between 6 to 7 feet. For a foot shower, place the head about 12 to 18 inches above the ground. Adjustable options can accommodate different heights.
How do I prevent mold and mildew on my outdoor shower?
Choose materials that resist moisture, like stainless steel and teak, and ensure proper drainage. Regularly clean the shower area and allow it to dry completely. Using a squeegee after each use can also help prevent buildup.
Conclusion
A well-designed pool shower doesn't just rinse off chlorine—it adds to the whole experience of being outside. Small touches like warm water, a place to hang your towel, or a textured floor can make a big difference in how comfortable and inviting your pool area feels.
Start with the ideas that fit your space and budget, and build from there. Whether you go for a simple upgrade or a full outdoor spa setup, the goal is to make every post-swim moment feel easy and enjoyable.