11 Walk-In Shower Floor Tile Ideas for a Calm, Cohesive Look
Choosing the right floor tile for a walk-in shower is about more than looks—it’s about creating a safe, slip-resistant surface that ties the whole bathroom together. With so many materials, sizes, and patterns available, it’s easy to feel overwhelmed. But the perfect tile can transform your shower into a spa-like retreat.
A calm, cohesive look starts underfoot. The floor sets the tone for the entire space, so it’s worth getting it right.
Whether you prefer natural stone, sleek porcelain, or something unexpected, there’s an option that balances beauty and function. Here are 11 walk-in shower floor tile ideas that solve common problems—like slipping, grout maintenance, and visual chaos—while helping you achieve that serene, unified aesthetic you’ve been dreaming of.
1. Textured Pebble Tiles for Natural Slip Resistance
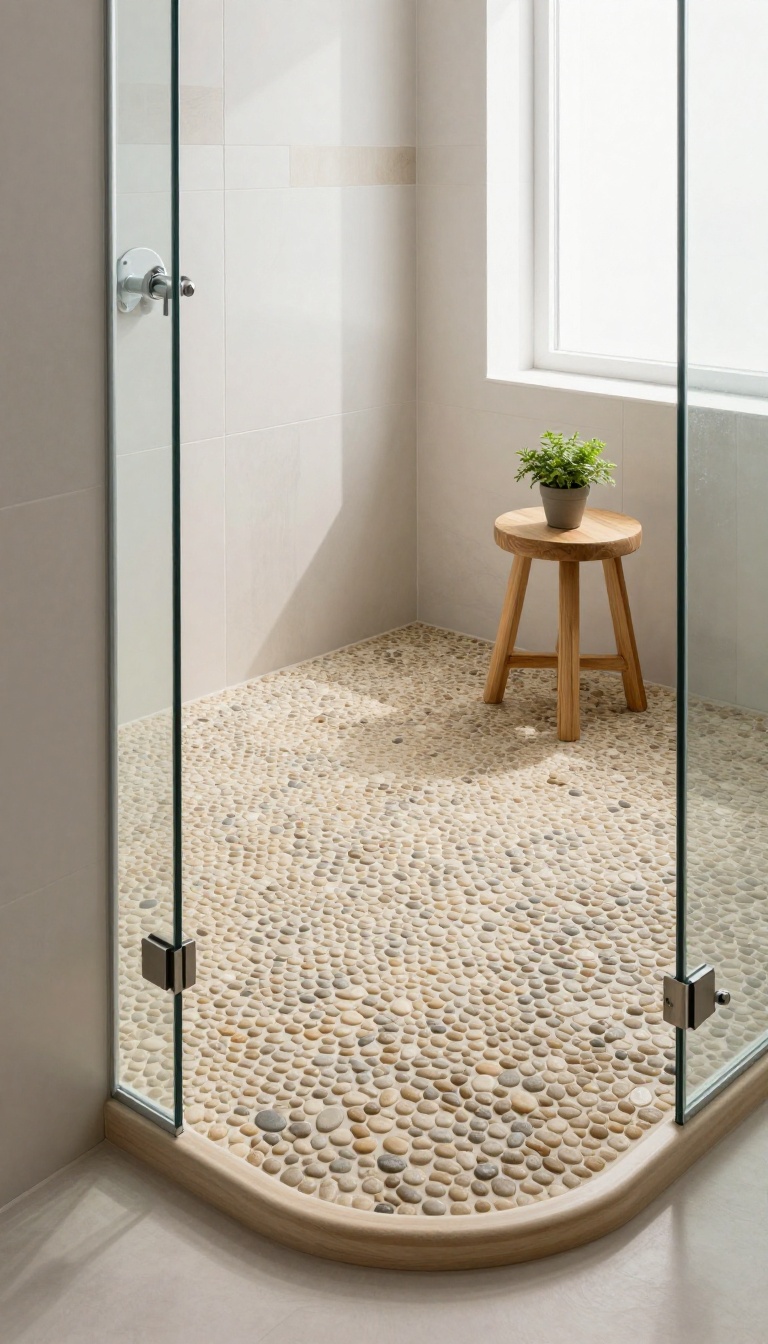
If you want a shower floor that feels like a gentle foot massage every time you step in, pebble tiles are a fantastic choice. These small, rounded stones set in mesh sheets create a naturally textured surface that provides excellent traction, even when wet. They're not just practical—they bring an earthy, organic vibe that instantly makes a bathroom feel more grounded and serene.
Pebble tiles are a clever way to solve the slippery floor problem without sacrificing style. The uneven surface of the stones gives your feet something to grip, which is especially important in a walk-in shower where water tends to spread. Plus, the natural look pairs beautifully with neutral palettes, wood accents, and greenery, helping you achieve that calm, cohesive aesthetic you're after.
Why Pebble Tiles Are A Safe Bet
The main reason people choose pebble tiles is safety. The textured surface provides natural slip resistance, which is crucial in a shower. Unlike smooth porcelain or marble, pebbles give your feet a bit of traction, reducing the risk of falls.
They're also comfortable to stand on—the rounded stones offer a subtle massaging effect that feels surprisingly pleasant during a long shower.
Design Tips For A Cohesive Look
To keep the look calm and cohesive, stick to a single color family—like warm beige, soft gray, or river rock tones. You can use pebble tiles on the entire floor or create a border with larger format tiles to define the space. Pair them with simple white or light gray wall tiles to let the texture shine without overwhelming the room.
Installation And Maintenance Realities
Pebble tiles come in mesh-backed sheets, which makes installation easier, but the grout lines can be tricky to clean because of the uneven surface. Sealing the grout is a must to prevent staining and mold. With proper sealing, they're quite durable and can last for years.
Just be prepared for a little extra effort when scrubbing—a soft brush works best to get into all the nooks and crannies.
2. Large-Format Porcelain for a Seamless, Low-Grout Look
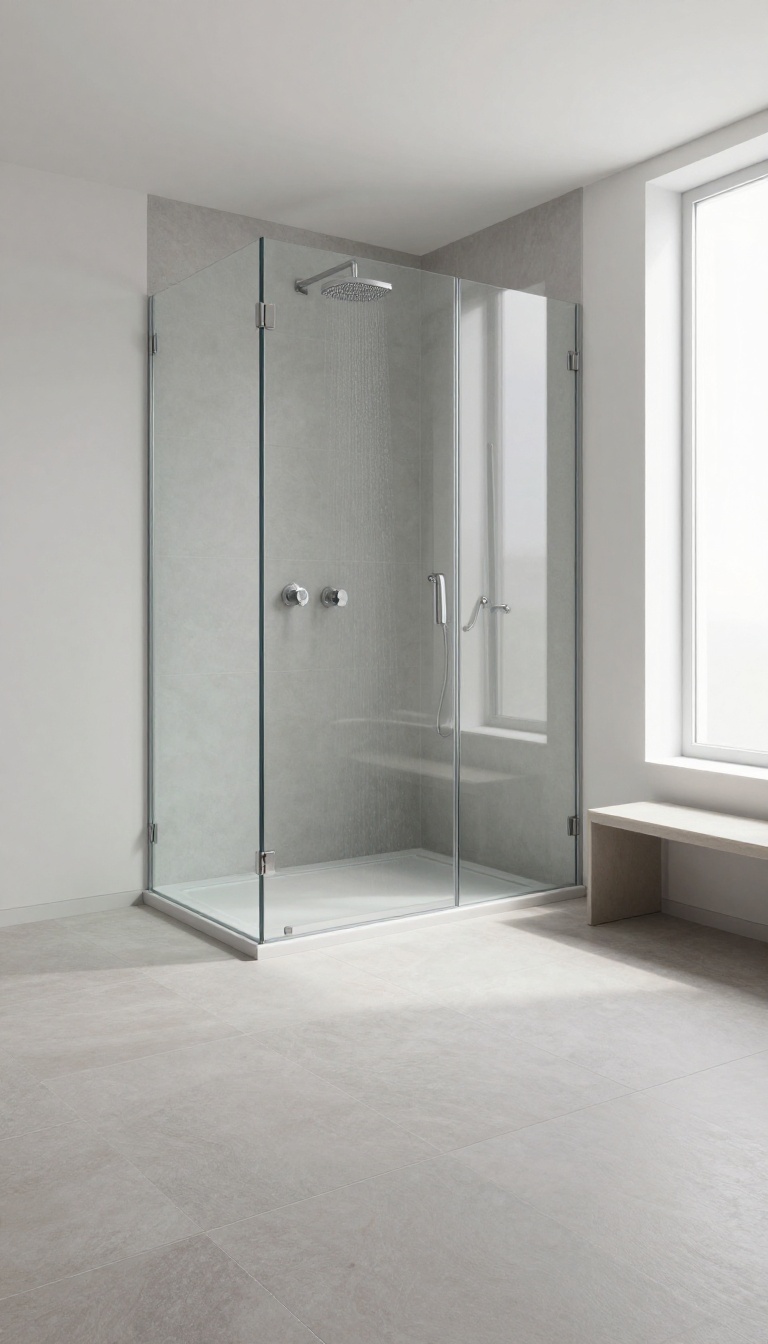
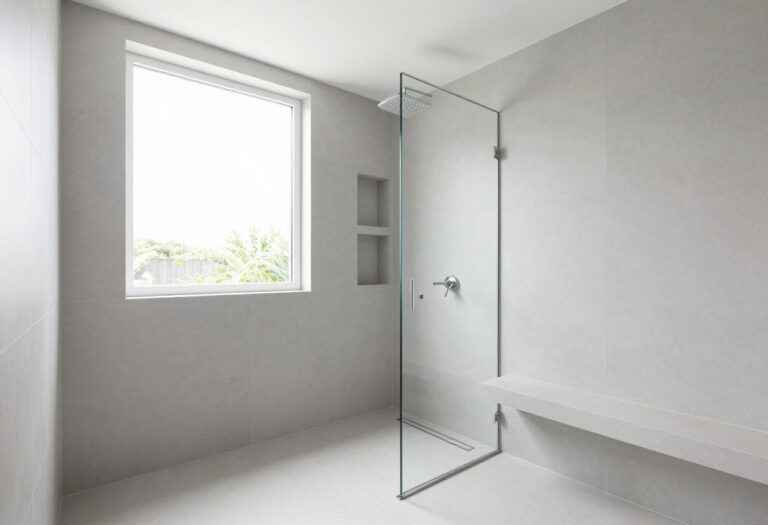
If you're tired of scrubbing grout lines, large-format porcelain tiles are a game-changer. The bigger the tile, the fewer the joints, which means less maintenance and a cleaner, more open feel. In a walk-in shower, this translates to a calm, uncluttered surface that lets the rest of the bathroom breathe.
Large-format tiles, typically 12×24 inches or larger, create a smooth, continuous floor that feels almost monolithic. The minimal grout lines not only make cleaning a breeze but also reduce the places where mold and mildew can hide. Plus, the soft matte finish of many porcelain options provides excellent slip resistance without sacrificing style.
Why Bigger Tiles Work In Showers
Fewer grout lines mean fewer places for soap scum and dirt to accumulate. Large tiles also create a more seamless visual flow, making a small shower feel more spacious. And because porcelain is dense and low-porosity, it stands up beautifully to constant moisture.
Choosing The Right Finish And Texture
For safety, look for a matte or textured finish rather than a glossy one. Many large-format porcelains come with a subtle slip-resistant surface that still feels smooth underfoot. You can also opt for a rectified edge, which allows for even tighter grout lines—almost invisible.
Installation Tips For A Flawless Look
Large tiles require a perfectly level substrate to avoid lippage (where one edge sticks up). Make sure your installer uses a leveling system and back-buttering each tile for full adhesion. Also, choose a grout color that closely matches the tile to enhance the seamless effect.
3. Hexagon Mosaic with a Twist: Small Tiles, Big Style
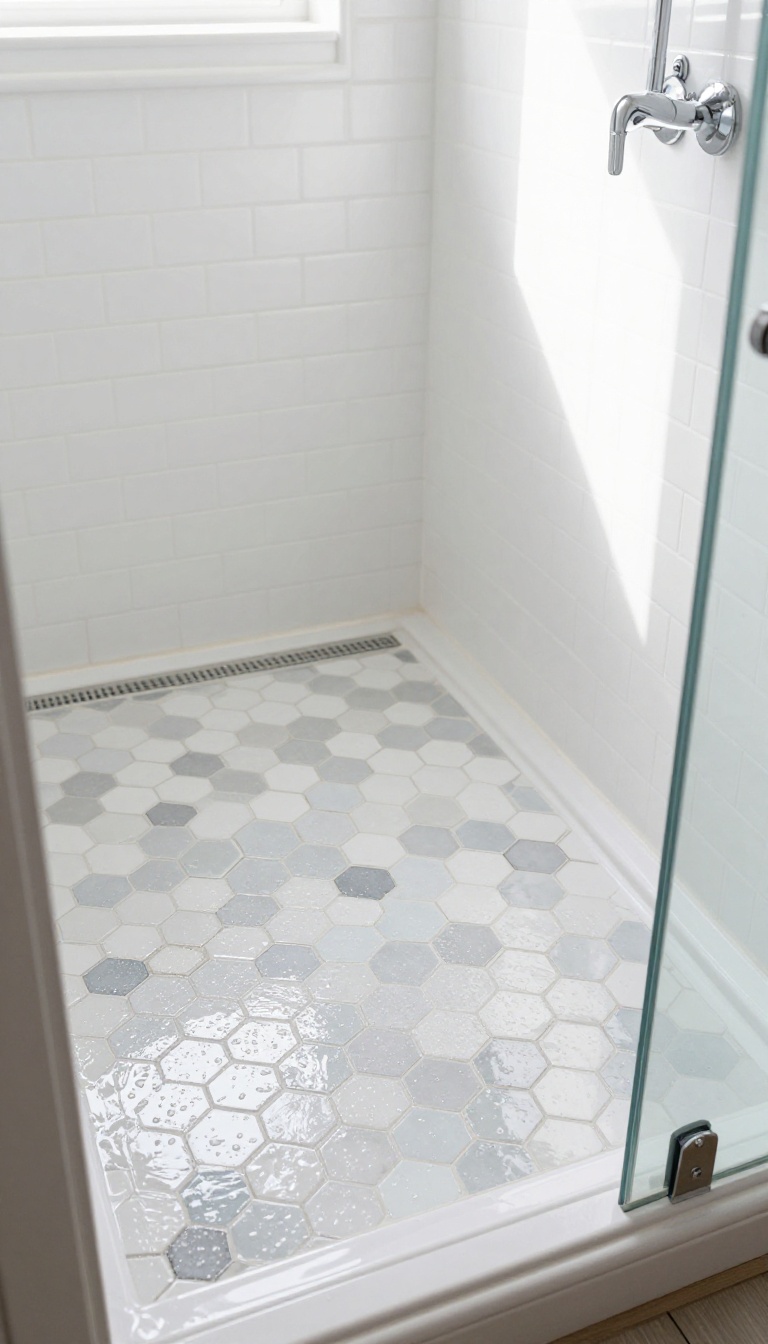
Hexagon mosaics are a timeless pick for shower floors, and for good reason: they offer plenty of grip and a look that feels both classic and current. But the real magic happens when you play with color placement. Instead of a uniform grid, try a subtle gradient that shifts from light to dark across the floor.
That small twist adds depth and interest without making the space feel busy or chaotic.
Choosing hexagon tiles in a single shade keeps things calm and cohesive, letting other elements in the bathroom shine. If you want a bit more personality, a gentle blend of two or three tones in the same color family creates a soft, watercolor-like effect that feels custom and serene. Either way, the small tile size means more grout lines, which actually helps with slip resistance—a big win for a shower floor.
Pick A Palette That Flows
Stick with one color for a seamless look that visually expands the space. Whites, warm grays, and soft beiges are popular choices that match almost any bathroom style. If you want a touch of contrast, choose a grout shade slightly darker than the tile to define each hexagon without drawing too much attention.
Try A Soft Gradient Effect
For a more dynamic feel, arrange hexagon tiles in a gradient that goes from light at the shower entrance to darker near the drain. This adds depth and a subtle sense of movement. You can achieve this by mixing several shades of the same hue and letting your installer blend them randomly or in a deliberate pattern.
Keep the transition gentle—abrupt shifts can feel jarring.
Mind The Grout Lines
Because hexagon mosaics have many small joints, grout maintenance matters. Use a high-quality, stain-resistant grout and seal it properly. Also, opt for a grout color that blends with the tiles to keep the overall look smooth.
If you prefer a more defined pattern, a contrasting grout can highlight the hexagon shapes, but it may require more frequent cleaning.
4. Wood-Look Planks for Warmth Without the Worry
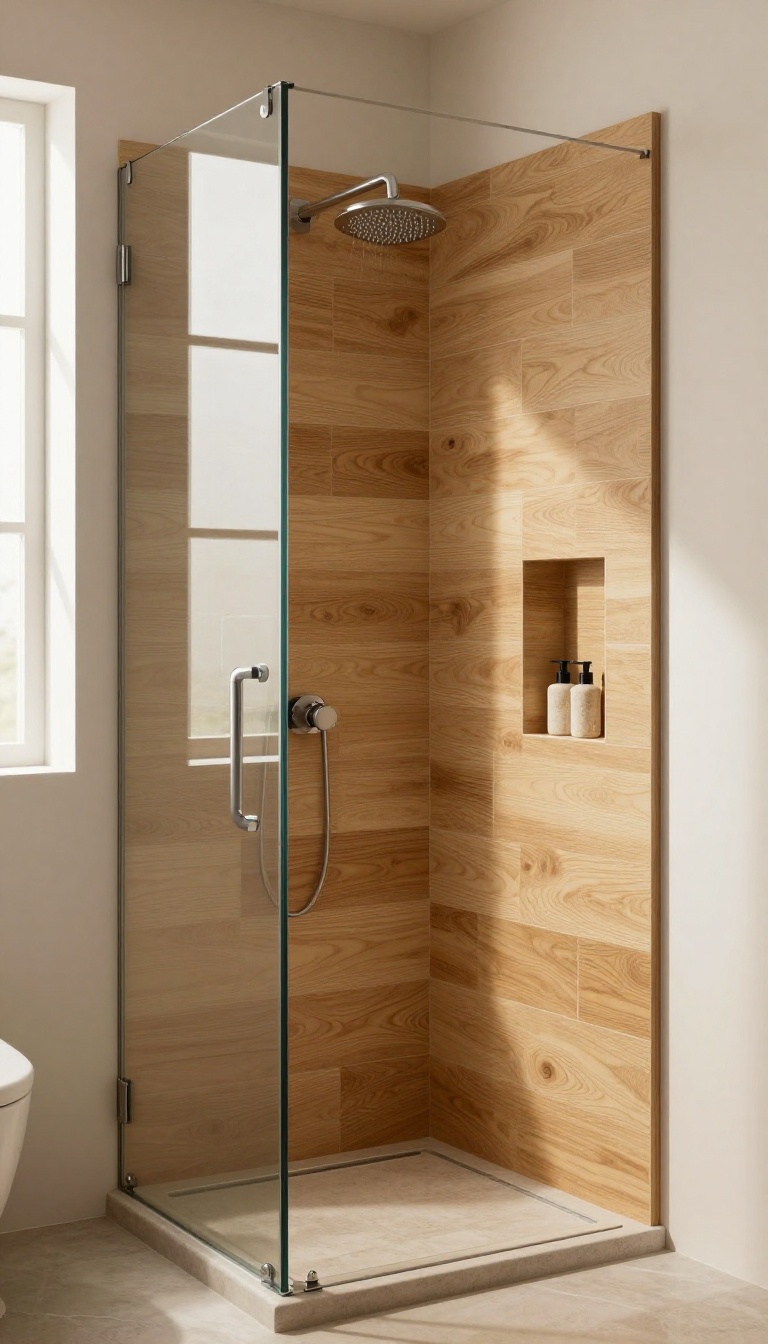
Ever stepped into a shower and wished it felt more like a cozy sauna? Wood-look porcelain planks deliver that warm, organic vibe without the upkeep of real wood. They’re waterproof, durable, and surprisingly slip-resistant when you choose the right texture.
Wood-look tiles have come a long way. Today’s designs mimic natural oak, walnut, or teak with remarkable realism, including grain patterns and subtle color variations. The key is selecting planks with a matte or textured finish to ensure traction underfoot.
These tiles bring a sense of calm and connection to nature, making your shower feel like a private retreat.
Choosing The Right Shade
Light woods like ash or maple brighten a small shower and make it feel airy. Darker woods, such as walnut or ebony, add drama and warmth, but they can make a compact space feel smaller. Consider your bathroom’s natural light and overall palette.
A medium-toned wood often strikes the perfect balance, complementing both white fixtures and earthy accents.
Plank Size And Layout
Longer planks (like 6×36 inches) can make the shower floor appear larger and reduce the number of grout lines. A staggered or offset pattern mimics traditional hardwood flooring and adds visual interest. For a more contemporary look, try a herringbone or chevron layout, but keep in mind that more cuts mean more waste and higher installation cost.
Grout And Maintenance
Use a grout color that blends with the tile to create a seamless, continuous surface. Lighter grout can highlight the wood grain, while darker grout hides dirt and adds contrast. Because porcelain is non-porous, you won’t need to seal it, and cleaning is as simple as wiping with a mild detergent.
Just avoid abrasive scrubbers that could dull the finish.
5. Subtle Marble for a Touch of Luxury
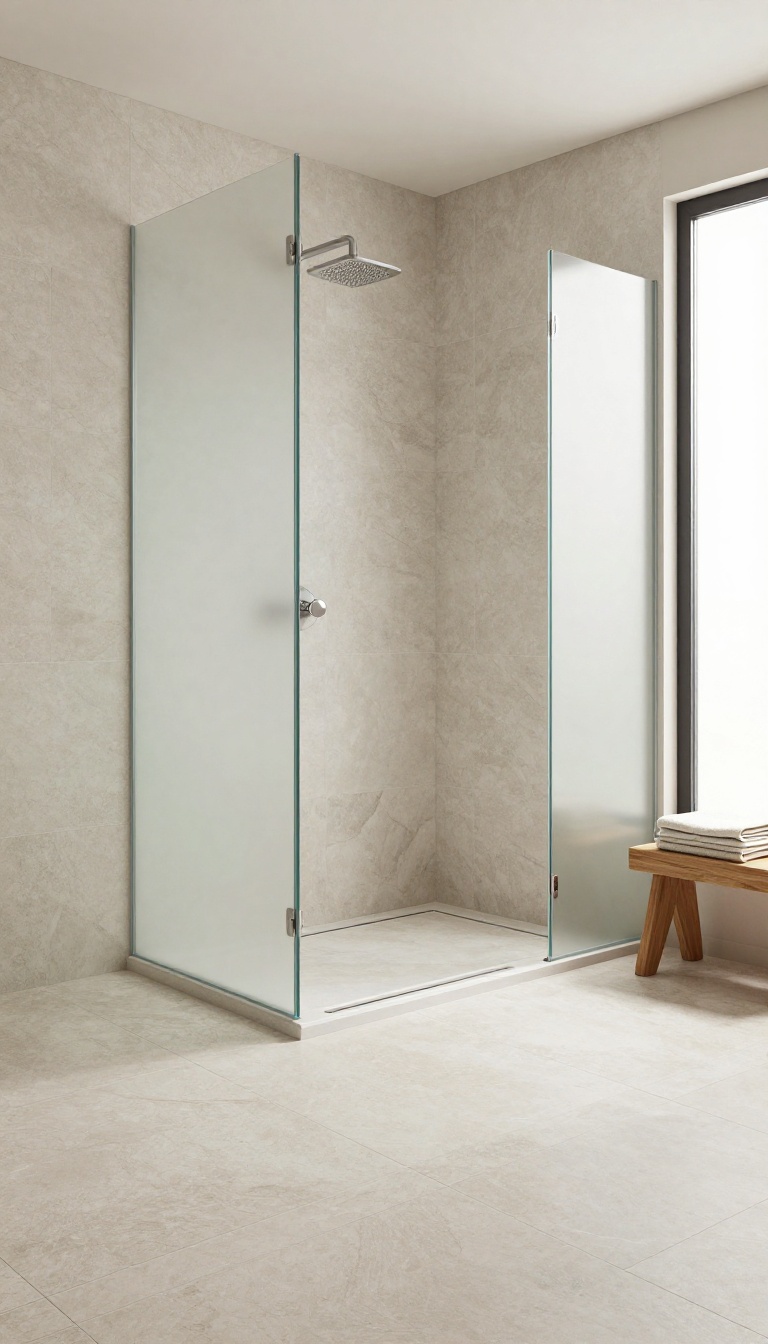
Marble has a way of making everything feel more refined, and in a walk-in shower, it can turn an everyday routine into a quiet ritual. But marble doesn't have to shout—subtle, honed finishes keep the look understated while still delivering that high-end vibe. The key is choosing the right format and finish so it stays practical for a wet area.
When you think marble, you might picture glossy, polished surfaces that look slippery and high-maintenance. But honed or matte marble offers a softer, more tactile surface that's actually safer underfoot. Plus, it hides water spots and soap scum better than its shiny counterpart, making it a smart choice for a shower floor.
Why Larger Tiles Work Better
Large marble tiles, like 12×24 or even 24×24, mean fewer grout lines. That not only looks cleaner and more seamless but also gives you less surface area to scrub. In a walk-in shower, this creates a calm, continuous expanse that feels more spacious and spa-like.
Pairing With A Linear Drain
A linear drain is the perfect partner for marble. Instead of a traditional center drain that interrupts the pattern, a linear drain sits along one edge, allowing the tiles to run uninterrupted. This sleek setup enhances the luxurious feel and makes the floor easier to slope for proper drainage.
Textured Finishes For Safety
Even though honed marble is less slippery than polished, you can boost traction further with a textured or flamed finish. Some marble tiles come with a subtle, non-slip surface that still looks smooth but provides extra grip. If you're worried about slips, look for marble that's been rated for floor use in wet areas.
6. Geometric Patterns to Anchor the Space
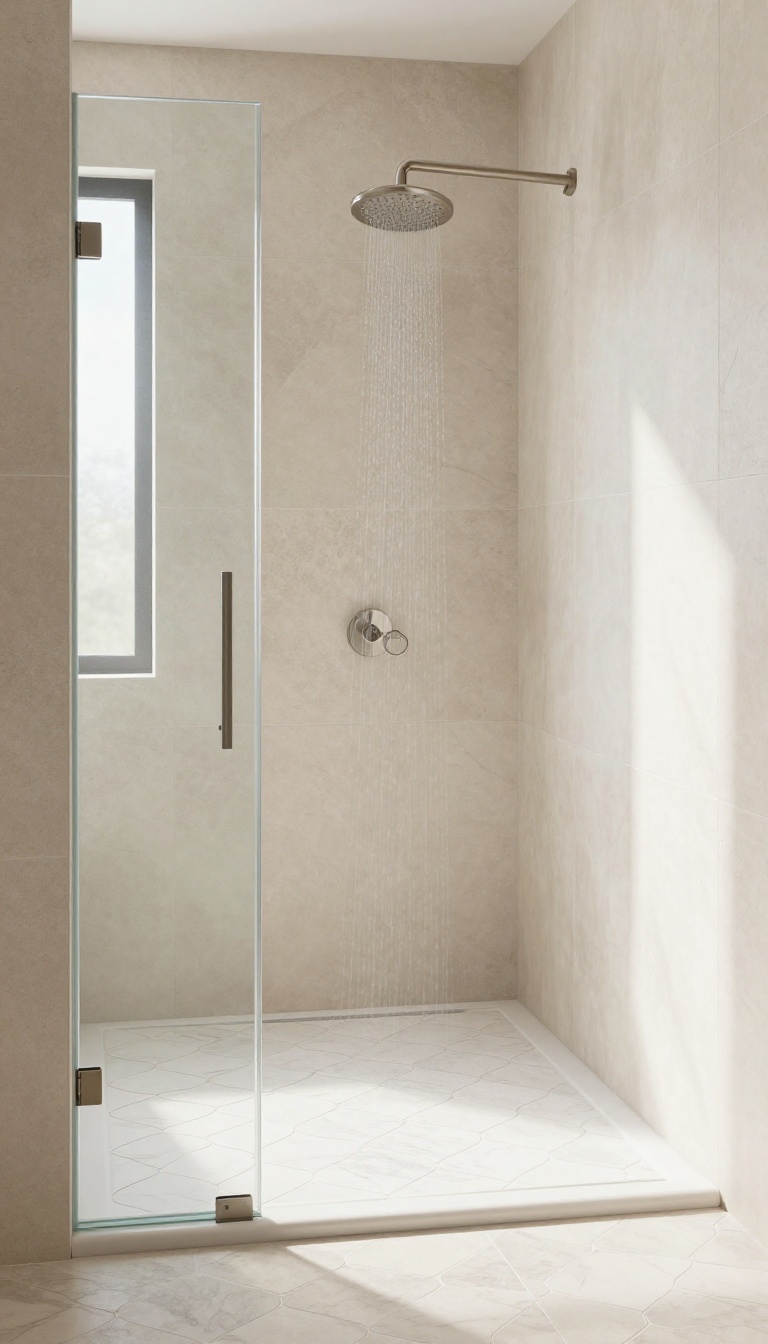
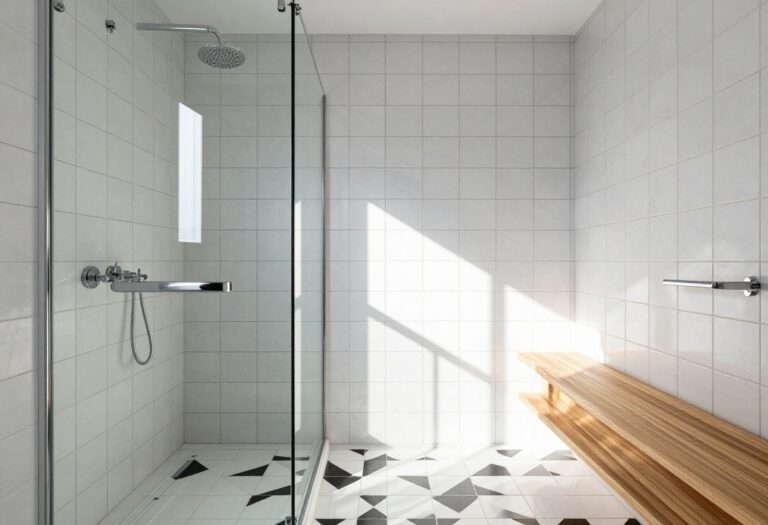
Sometimes a shower floor needs to do more than just blend in—it needs to make a statement. Geometric tiles, like arabesque or fish-scale shapes, bring a bold visual rhythm that instantly draws the eye. When used thoughtfully, they anchor the space without overwhelming it.
The trick is balance. Let the pattern be the star, and keep the surrounding palette calm and neutral. This way, the floor adds character while the rest of the bathroom stays serene and cohesive.
Geometric tiles are having a moment, and for good reason. They inject personality and movement into a walk-in shower, turning a purely functional area into a design feature. But choosing the right pattern and finish requires a bit of strategy to ensure both style and safety.
Start by considering the scale of the tile relative to your shower floor. Large geometric shapes can make a small space feel more open, while smaller mosaics offer better traction and flexibility around curves and drains. Also, think about how the pattern will align with your grout lines—contrasting grout can emphasize the shape, while matching grout creates a more seamless look.
Finally, don't forget about texture. A matte or textured finish is essential for a wet environment, as it provides slip resistance without sacrificing the visual appeal of the pattern. With the right choice, your shower floor can become the most memorable part of the bathroom.
Why Geometric Tiles Work In Showers
Geometric tiles break away from the ordinary square or rectangle, adding a layer of visual interest that instantly elevates the space. Their repeating shapes create a sense of order and rhythm, which can actually feel calming when the rest of the room is kept simple. Plus, the varied surfaces of patterns like arabesque or fish-scale naturally help with slip resistance, especially when combined with a matte glaze.
Choosing The Right Pattern And Scale
The pattern you choose sets the overall vibe. Arabesque tiles offer a classic, almost Moroccan feel, while fish-scale (or scallop) tiles bring a playful, coastal touch. Hexagons and triangles lean more modern and graphic.
For scale, think about your shower's size: larger patterns can overwhelm a compact floor, while tiny mosaics might get lost in a spacious shower. A medium-sized tile often works best for a balanced look.
Pairing With Neutral Surroundings
To keep the overall look calm and cohesive, let the geometric floor be the hero. Choose neutral colors for the walls, vanity, and fixtures—think soft whites, warm grays, or natural wood tones. This contrast allows the floor pattern to pop without creating visual chaos.
Also, keep accessories minimal so the eye is drawn to the floor's design.
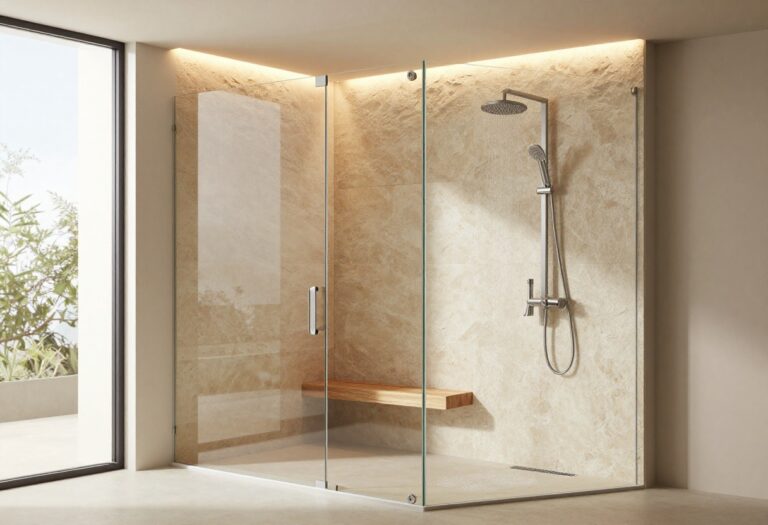
7. Neutral Stone Look for a Spa-Like Vibe
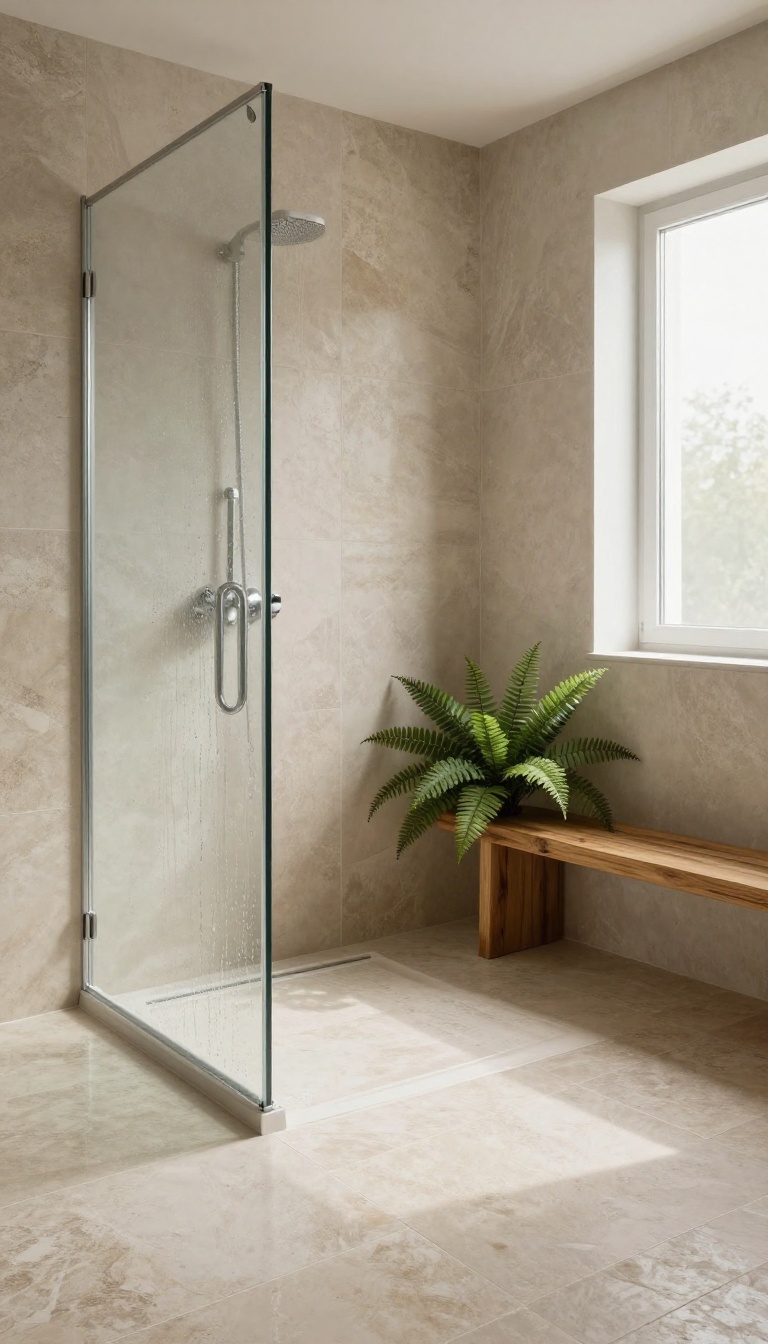
There's something about stone-look tiles that instantly quiets the mind. They bring the texture and warmth of natural rock without the upkeep, making them a favorite for showers designed to feel like a retreat. Soft grays, warm beiges, and gentle taupes mimic the subtle variations of real stone, creating a calm, organic foundation that pairs beautifully with wood accents and a few green plants.
Stone-look tiles are a smart choice for walk-in showers because they hide soap scum and water spots remarkably well. The subtle color shifts and matte finishes disguise everyday residue, so the floor looks fresh with less effort. Plus, the neutral palette makes it easy to layer in other textures—think teak benches, linen curtains, or a eucalyptus bundle—without visual chaos.
Why Stone-look Works In Showers
Porcelain and ceramic tiles that mimic stone are more than just pretty—they're practical. They offer better slip resistance than polished stone, and they don't require sealing like natural travertine or slate. The subtle texture provides grip underfoot, which is crucial in a wet environment.
And because the colors are muted, they don't compete with the rest of the bathroom for attention.
Choosing The Right Shade
Stick to a narrow range of tones—like warm greige or soft mushroom—to keep the look cohesive. Avoid high-contrast veining or busy patterns that can make a small shower feel chaotic. Instead, opt for large-format tiles with a gentle, stone-like texture.
This reduces grout lines and creates a smoother visual flow, which adds to the serene vibe.
Pairing With Natural Elements
The beauty of a neutral stone floor is how well it plays with other materials. A teak wood stool or mat brings warmth and contrast, while trailing plants like pothos or ferns add life. Consider a brushed nickel or matte black fixture to keep the look grounded.
The result is a shower that feels like a private spa, where every element works together in quiet harmony.
8. Penny Tiles for Retro Charm and Durability
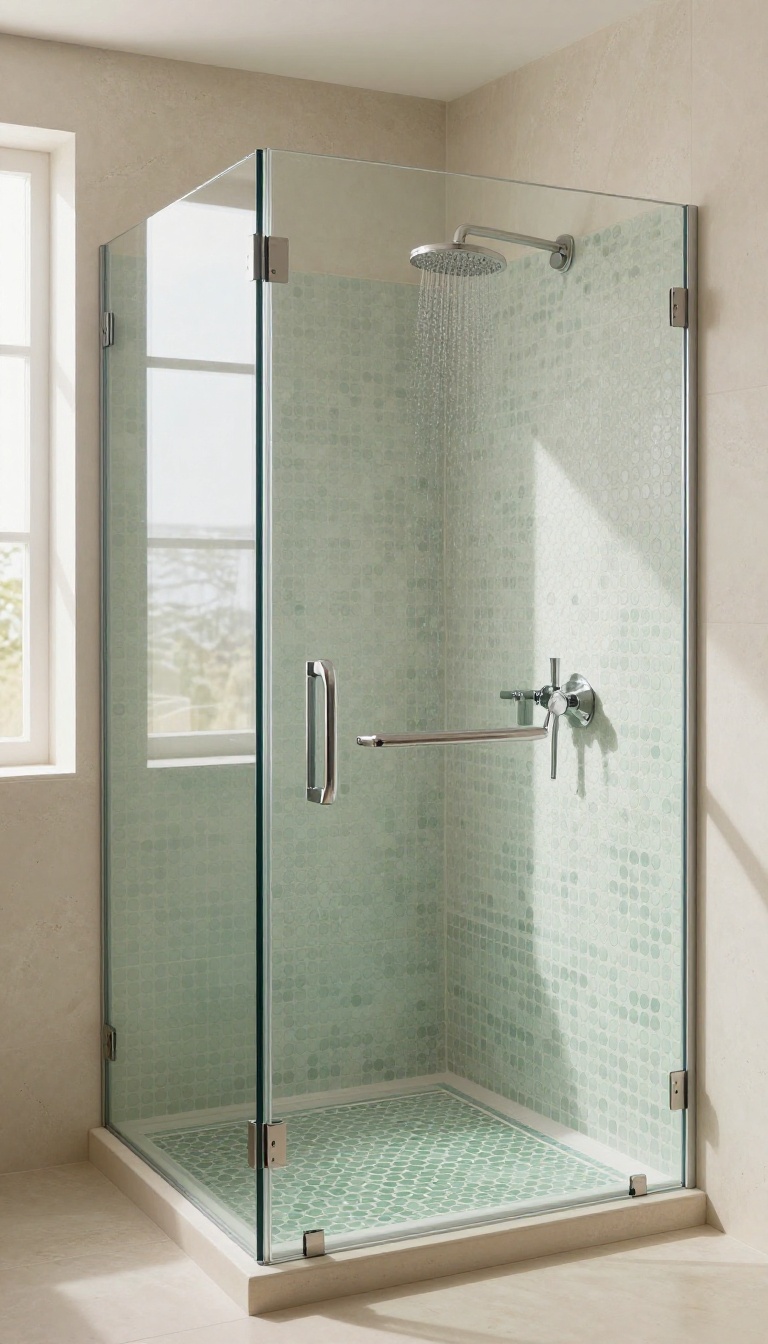
Penny tiles—those small, round mosaics that look like coins—bring a playful yet polished energy to a walk-in shower. They’re a classic choice that doesn’t feel dated, thanks to a wide range of colors and finishes. Beyond their charm, the tiny circles create natural texture underfoot, which helps with grip without sacrificing style.
If you want a floor that feels both nostalgic and fresh, penny tiles are a smart pick.
Penny tiles have been around for over a century, and they’re still going strong—and for good reason. The small, rounded pieces create a surface that’s easy to clean and gentle on bare feet. They also offer excellent slip resistance because the grout lines form a subtle grid that adds traction.
Whether you go with classic white, soft sage, or a bold navy, penny tiles can anchor your shower with a calm, cohesive vibe. Plus, they’re durable enough to handle daily use, making them a practical choice that doesn’t skimp on personality.
Why Penny Tiles Work In Showers
The key to penny tiles’ success in a wet area is their size and shape. Because they’re small and round, they create a lot of grout lines, which naturally increase slip resistance. That means you get a safer floor without needing a rough texture that feels harsh underfoot.
The even spacing also makes the surface feel smooth and uniform, which helps keep the visual noise low—exactly what you want in a calm shower.
Color And Pattern Ideas
One of the biggest perks of penny tiles is the color range. You can keep it serene with soft whites or warm greys, or add a subtle pop with muted blues or greens. If you’re feeling bolder, try a checkerboard layout or a gentle gradient that fades from light to dark.
The round shape also lets you create curves or borders that contrast with square tiles on the wall, adding interest without overwhelming the space.
Grout And Maintenance Tips
Because penny tiles have so many grout lines, keeping that grout clean is important. Choose a grout color that blends with the tile to minimize visual clutter, or go for a contrasting shade to highlight the pattern. Sealing the grout regularly will help prevent staining and moisture damage.
And when you’re installing, make sure the tiles are set evenly to avoid lippage—those tiny edges can be a trip hazard if they’re not flush.
9. Linear Drain with a Single Tile Run for Clean Lines
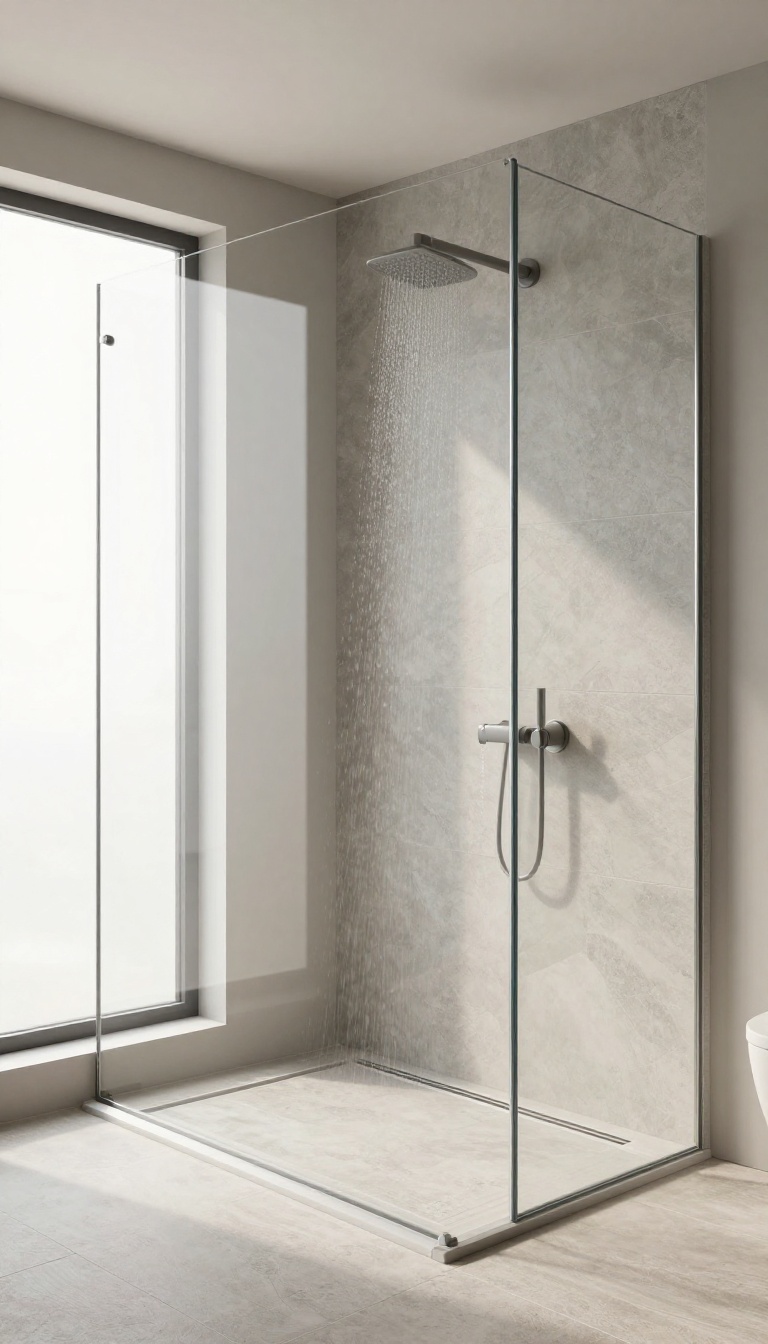
A linear drain is a game-changer for a walk-in shower, especially when you pair it with a single run of long, narrow tiles. The continuous lines draw the eye toward the drain, creating a sleek, uninterrupted surface that feels both modern and calm. This approach minimizes visual clutter and makes the shower feel more spacious, even in compact bathrooms.
The beauty of this idea lies in its simplicity. Instead of breaking up the floor with multiple tile sizes or patterns, you let one tile style carry the entire space. The linear drain sits flush with the floor, so the tiles can run right into it without interruption.
The result is a clean, architectural look that complements any design style—from minimalist to industrial.
Why It Works
A linear drain creates a subtle slope that’s barely noticeable, so you can use larger tiles without worrying about awkward angles. Long, narrow tiles—like planks or subway shapes—extend the visual length of the shower, making it feel larger than it is. Plus, fewer grout lines mean less maintenance and a more seamless appearance.
Tile Choices That Shine
Porcelain planks are a popular choice because they’re durable, water-resistant, and come in wood-look or stone-look finishes. Ceramic subway tiles laid in a running bond also work beautifully. For a truly seamless look, consider large-format tiles cut to size, but keep in mind that they may need extra care during installation to ensure proper drainage.
Installation Tips
Work with a professional who understands linear drain systems. The drain needs to be set at the correct height, and the tile should be cut precisely to fit around it. A slight slope—about 1/4 inch per foot—is still necessary, but with a linear drain, you can slope the floor in just one direction, which simplifies the layout and keeps the tile lines straight.
10. Contrasting Border for a Defined Edge
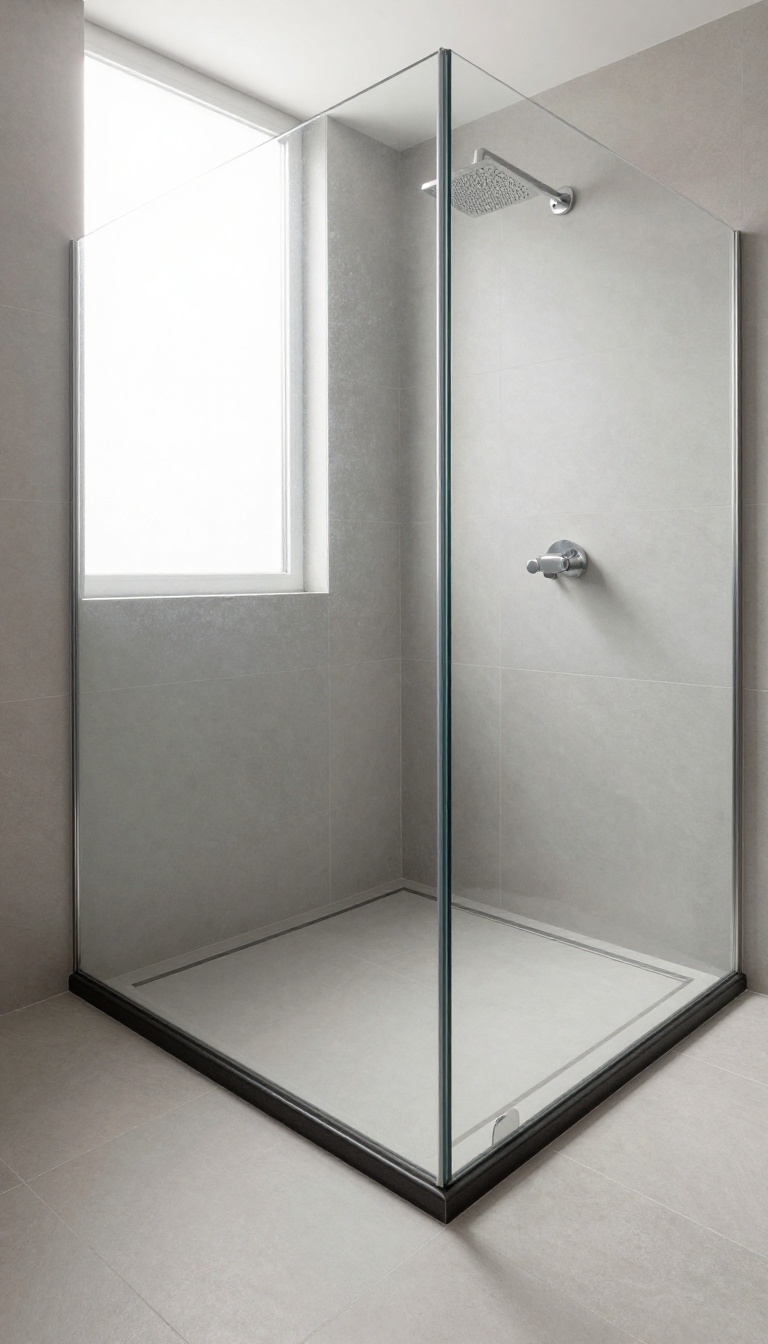
Sometimes the simplest addition makes the biggest impact. A contrasting border around your shower floor does more than just look sharp—it gives the space a clear, intentional boundary. When your floor tile blends too seamlessly with the walls, the shower can feel a bit flat.
Adding a border in a darker or complementary tone creates a visual anchor that grounds the design and makes the whole area feel custom.
Why A Border Works
A contrasting border acts like a frame for your shower floor. It draws the eye to the edges and helps define the space, especially in larger bathrooms where the shower might otherwise feel like an afterthought. This technique is particularly effective with simple, solid-color tiles—think large format porcelain or classic subway tile.
The border adds just enough visual interest without overwhelming the calm, cohesive vibe you're going for.
Choosing The Right Contrast
When picking a border color, think about what will complement your existing tile and fixtures. A dark charcoal border against a light gray or white floor creates a crisp, modern look. For a warmer feel, consider a rich bronze or taupe that picks up tones from your vanity or hardware.
You don't want the border to scream for attention—it should feel like a natural extension of your design. A good rule of thumb is to use a shade that's a few steps darker or lighter than your main tile.
Materials And Installation Tips
You can achieve a border with a variety of materials—porcelain, natural stone, or even a metal listello. Porcelain is durable and easy to maintain, while marble adds a touch of luxury. If you're working with a contractor, make sure they measure carefully so the border lines up cleanly at the corners.
For a subtle effect, use a border that's the same thickness as your floor tile. If you want a more pronounced look, a slightly raised listello can add texture, but be mindful of slip resistance.
11. Mixed Textures: Combining Smooth and Rough Finishes
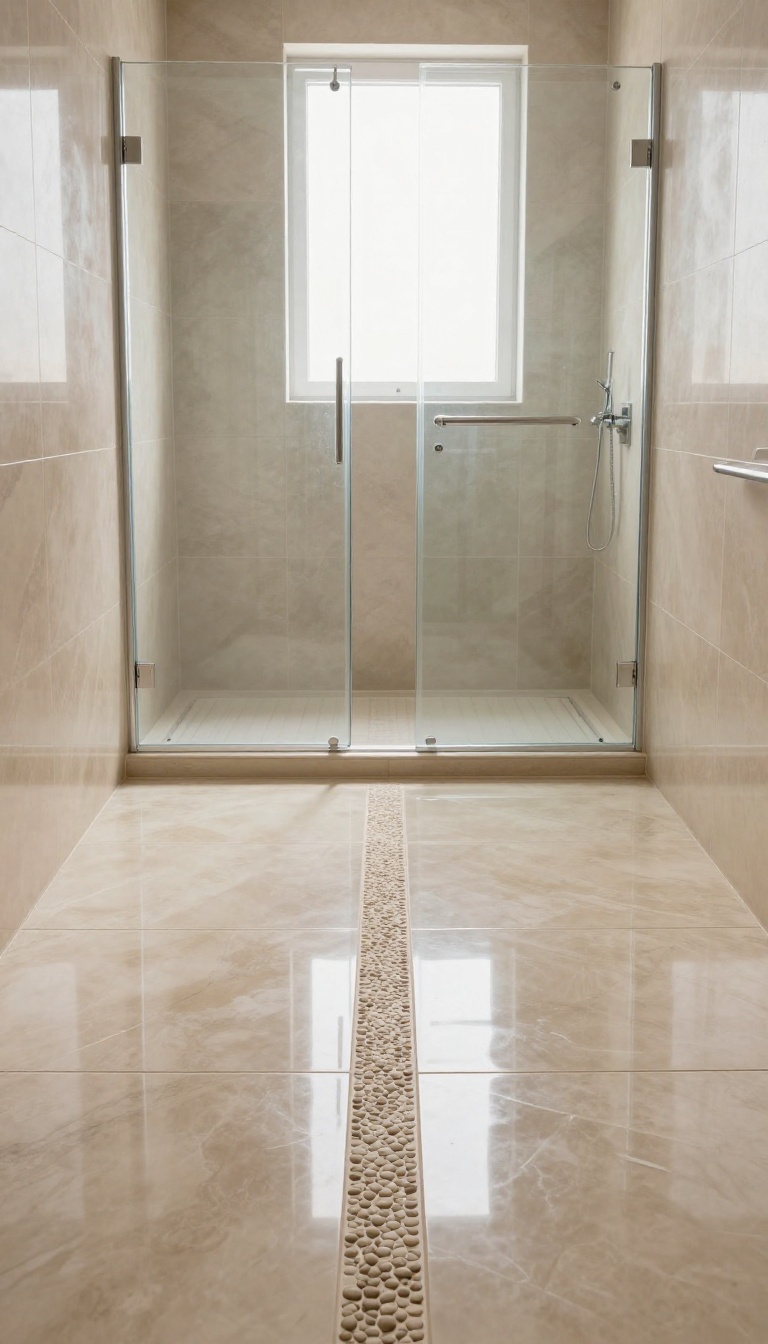
Texture is the quiet hero of bathroom design. When you mix smooth and rough finishes on the shower floor, you create a sensory experience that feels intentional and grounded. The contrast isn't just about looks—it's about function, too.
Blend large-format porcelain tiles with a narrow strip of textured mosaic in the main walking area. The smooth tiles keep the space feeling open and easy to clean, while the mosaic adds grip exactly where your feet land. This combo gives you the best of both worlds: a calm, cohesive palette with a subtle tactile surprise.
Why This Works
The visual calm comes from keeping the color palette consistent—think warm beige or soft gray. The rough strip becomes an accent, not a distraction. Functionally, the textured mosaic provides slip resistance in the wet zone, while the smooth tiles make the rest of the floor easy to wipe down.
How To Pull It Off
Use large-format tiles (like 12×24 inches) for the main floor, then install a 4-inch-wide strip of pebble or hexagon mosaic along the shower's center path. Keep the grout color the same throughout to unify the look. If you're working with a linear drain, place the mosaic strip directly above it for a seamless transition.
Material Pairings That Work
Try matte porcelain with natural stone mosaics, or glazed ceramic with slate-look tiles. Avoid mixing two glossy finishes—the contrast won't be as noticeable. Also, make sure the rough tiles are rated for floor use and have a high coefficient of friction (COF) to ensure safety.
FAQ
What is the best tile for a walk-in shower floor?
The best tile is one that is slip-resistant, durable, and easy to clean. Textured porcelain, pebble tiles, and matte-finish ceramic are popular choices because they offer good traction and require minimal maintenance.
Should I use large or small tiles on a shower floor?
Small tiles (like mosaics) conform better to slopes and provide more grout lines for traction, but they require more cleaning. Large tiles have fewer grout lines, making them easier to clean, but they need a perfectly level floor and a linear drain to avoid puddling.
How can I make a small walk-in shower feel larger?
Use large-format tiles in a light color, minimize grout lines, and choose a seamless glass enclosure. A linear drain and continuous tile from floor to wall also help create a more open, airy feel.
What tile finish is safest for a shower floor?
A matte, textured, or honed finish is safest because it provides better slip resistance than polished or glossy tiles. Look for tiles with a high coefficient of friction (COF) rating, especially when wet.
Can I use wood-look tile in a shower?
Yes, wood-look porcelain or ceramic tile is an excellent choice for showers. It offers the warm appearance of wood but is waterproof, durable, and easy to maintain, making it perfect for wet areas.
Conclusion
Choosing the right floor tile for your walk-in shower is a balance of safety, style, and practicality. Whether you lean toward natural pebbles, sleek large-format tiles, or warm wood-look planks, each idea here helps you create a calm and cohesive space that feels both inviting and functional.
Remember to prioritize slip resistance and ease of cleaning, but don’t be afraid to let your personality shine through. With the right tile, your shower can become a daily retreat that adds value to your home and peace to your routine.