17 House Cleaning Tips for a Faster Whole Home Reset
A full-house reset doesn't have to take all day. With the right strategies, you can cut your cleaning time in half and still get impressive results. These 17 tips focus on efficiency—working smarter, not harder—so you can reclaim your weekend.
From the 10-minute declutter sprint to the two-direction vacuum method, each trick targets the biggest dirt and clutter with minimal effort. You'll learn how to keep a cleaning caddy on every floor, speed-clean bathrooms with just a spray and wipe, and banish kitchen grease using simple pantry staples.
No more marathon cleaning sessions or feeling overwhelmed by the mess. Start with one tip, then stack them together for a faster, fresher home that practically cleans itself.
1. Start with a 10-Minute Declutter Sprint
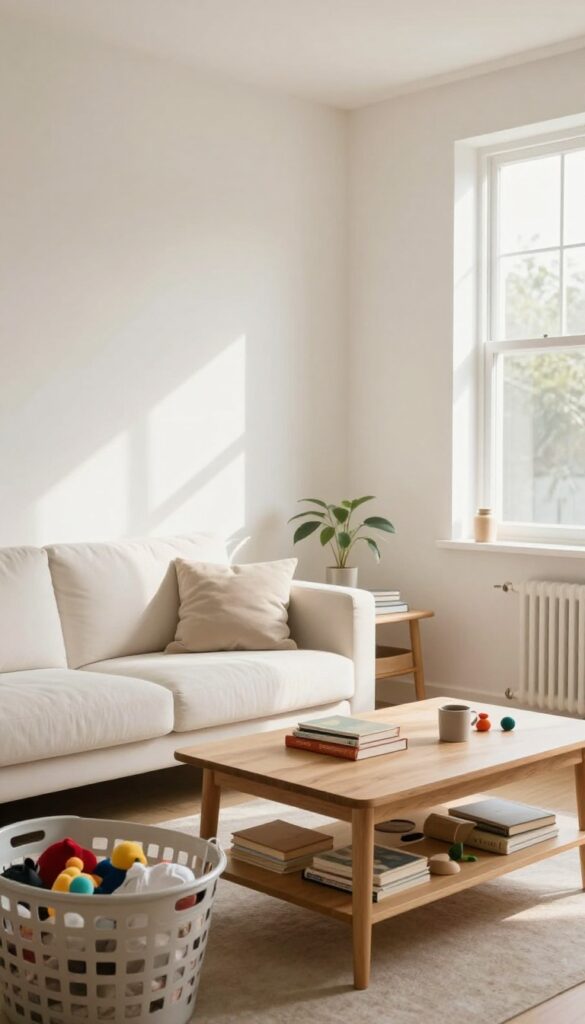
Cleaning is way harder when your surfaces are buried under mail, toys, and random stuff. That's why the fastest whole-home reset begins not with a spray bottle, but with a quick declutter. Give yourself just ten minutes to race around the house and put things back where they belong.
You'll be amazed how much easier vacuuming, dusting, and wiping become when the clutter is out of the way.
A 10-minute declutter sprint is the ultimate warm-up for your cleaning session. It clears the visual noise and lets you focus on actual dirt, not just mess. Plus, it builds momentum—once you start moving, it's easier to keep going.
Don't overthink it: grab a laundry basket for items that don't have a home, and deal with them later. The goal is to clear surfaces, not organize every drawer.
Why It Works So Well
Clutter is a distraction. When your counters are covered, you can't wipe them down, and you end up moving things around instead of cleaning. By removing the clutter first, you expose the real grime and make every following step more efficient.
Plus, the timer keeps you from getting sidetracked—you're just racing the clock, not making perfect decisions.
How To Do It Without Getting Stuck
Set a timer and start in the room with the most visible clutter. Grab anything that doesn't belong and quickly put it in its proper spot. Don't stop to tidy a drawer or rearrange a shelf—just move items to their correct rooms.
If something has no home, toss it in a basket and deal with it after the sprint. The key is speed, not perfection.
Make It A Daily Habit
Doing a 10-minute declutter sprint every day keeps the mess from piling up. Try it right before bed or first thing in the morning. Over time, you'll notice your whole home stays tidier with way less effort.
It's the one cleaning trick that pays off immediately and keeps paying.
2. Work Top to Bottom, Left to Right
Gravity is your friend when you clean—if you let it work for you. Dust and debris always fall downward, so starting high and working your way down prevents you from having to re-clean surfaces. Moving left to right in each room also ensures you cover every inch without backtracking.
Start With Ceiling Fans And High Shelves
Ceiling fans collect a surprising amount of dust on their blades. Use an extendable duster or a microfiber cloth on a pole to wipe them down before moving to shelves, picture frames, and the tops of cabinets. This way, any dust that falls lands on areas you haven't cleaned yet.
Work Down To Furniture And Floors
After tackling the high spots, dust and wipe down furniture, countertops, and windowsills. Then vacuum or sweep the floors last. This order saves you from dusting after you've already cleaned the floor, which would just kick up more particles.
The Left-to-right Rule Keeps You On Track
In each room, pick a starting point on the left wall and work your way around clockwise. This systematic approach means you never miss a corner or end up cleaning the same spot twice. It's especially helpful for large rooms or when you're feeling distracted.
3. Use the Power of Microfiber Cloths
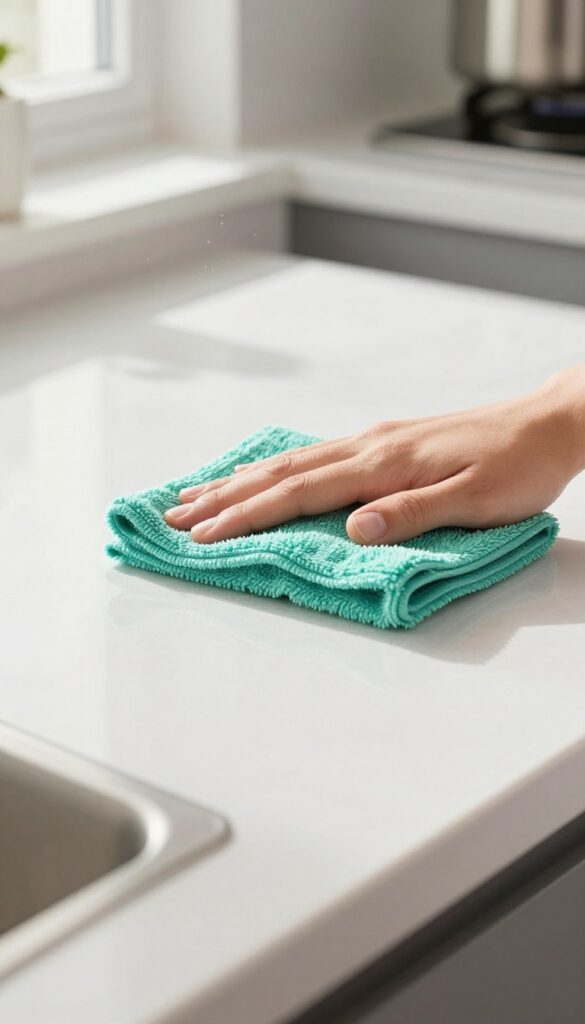
If you're still using paper towels or old rags, you're making cleaning harder than it needs to be. Microfiber cloths are a game-changer because they trap dust and dirt rather than pushing them around. They're reusable, cheap, and can cut your cleaning time in half.
Microfiber cloths work by using static electricity and split fibers to grab particles instead of just moving them. Use them dry for dusting—they'll pick up dust without needing any spray. For wiping surfaces like countertops or mirrors, dampen the cloth slightly.
The fibers loosen grime and absorb moisture without leaving streaks. You can wash and reuse them hundreds of times, making them eco-friendly and cost-effective.
Why Microfiber Works Better
Unlike cotton or paper, microfiber has millions of tiny fibers that act like hooks to trap dust, pollen, and bacteria. When dry, the static charge attracts particles. When damp, the fibers split open to absorb liquid and lift grease.
This means you clean more in one pass, so you're not going over the same spot repeatedly.
How To Use Them For Dusting
For dusting, keep a dry microfiber cloth handy and wipe surfaces from top to bottom. The cloth will hold the dust until you shake it out or wash it. No need for furniture polish—just the cloth alone does the job.
For electronics or delicate items, use a clean, dry cloth to avoid scratching.
Using Them Damp For Surfaces
Dampen a microfiber cloth with water (or a mild cleaner) for wiping counters, stovetops, bathroom fixtures, and mirrors. Wring it out well so it's just slightly wet. The cloth will pick up grime and leave surfaces streak-free.
For glass, follow up with a dry microfiber cloth for a perfect shine.
Care Tips To Make Them Last
Wash microfiber cloths separately from cotton or linty fabrics to avoid clogging the fibers. Use mild detergent and skip fabric softener—it coats the fibers and ruins their effectiveness. Air dry or tumble dry on low.
With proper care, a good microfiber cloth can last for hundreds of washes.
4. Master the One-Room-at-a-Time Rule
It's tempting to wipe the kitchen counter, then dash to the bathroom to scrub the toilet, then run back to the kitchen to finish the dishes. But that zigzag approach actually makes cleaning take longer. When you bounce between rooms, you waste time moving supplies, reorienting yourself, and losing momentum.
The smarter move is to pick one room and stay there until it's completely done. This simple shift in strategy cuts down on decision fatigue and gives you a clear finish line for each space.
Focusing on a single room until it's spotless creates a visible win that motivates you to keep going. You'll also avoid the frustration of a half-cleaned house where nothing feels finished. Here's how to put the one-room rule into practice without getting sidetracked.
Gather Everything You Need First
Before you start a room, grab all the supplies you'll need: all-purpose cleaner, glass spray, microfiber cloths, scrub brush, vacuum, and any specialty products. Carry them in a caddy or a small bucket. This prevents the classic excuse of "I need to go get the glass cleaner"—which leads to a detour through the kitchen and suddenly you're reorganizing the pantry.
Keep your tools close, and you'll stay locked in.
Work Top To Bottom, Left To Right
Within the room, follow a systematic path. Start at the highest surfaces (ceiling fans, top shelves, curtain rods) and work your way down to baseboards and floors. Then move left to right across the room.
This ensures dust and debris fall onto areas you haven't cleaned yet, so you're not re-dirtying finished spots. It also creates a rhythm that makes the process feel automatic.
Declutter Before You Clean
A quick 5-minute declutter pass sets you up for success. Grab a laundry basket and toss in anything that doesn't belong: mail, toys, clothes, random gadgets. Return those items to their proper homes or set the basket aside for later.
With surfaces clear, you can actually wipe, scrub, and vacuum without moving piles around. This single step cuts cleaning time by nearly half.
Celebrate The Finish Line
Once a room is fully clean—surfaces wiped, floors vacuumed, mirrors streak-free—step back and take a moment. That sense of completion is powerful. It signals your brain that progress is real and motivates you to tackle the next room.
If you're short on time, even finishing one room is a win. Tomorrow you can do the next. Over a week, you'll have a whole-house reset without a single marathon session.
5. Keep a Cleaning Caddy for Each Floor
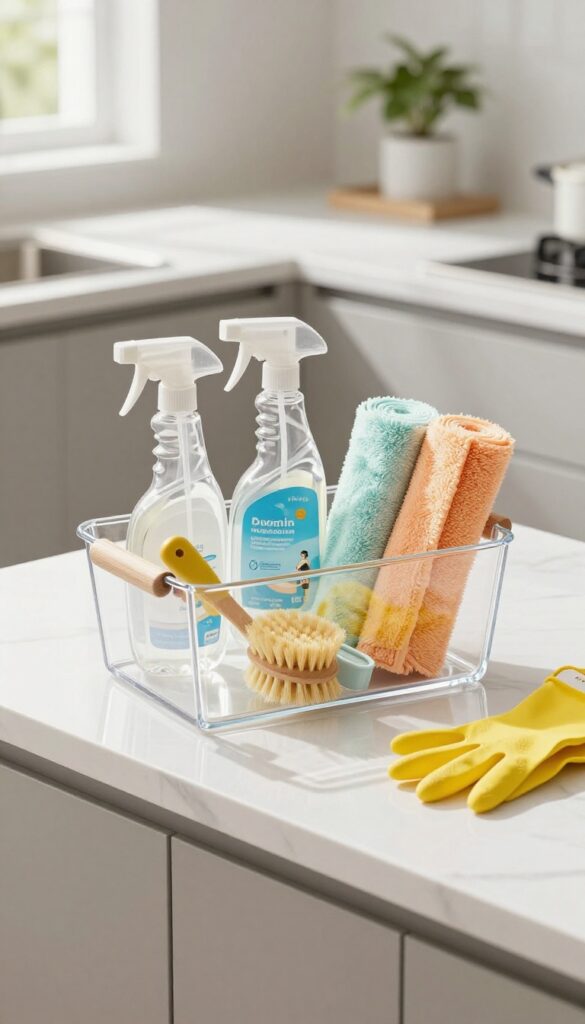
Running up and down the stairs for a spray bottle or a fresh cloth eats up time and momentum. A dedicated cleaning caddy on each floor solves that problem instantly. Stock it with the essentials—all-purpose cleaner, glass cleaner, microfiber cloths, a scrub brush, and gloves—and you'll never have to interrupt your flow again.
The beauty of a floor-specific caddy is that it keeps you in the zone. When you're cleaning the living room, you don't need to hunt for the glass cleaner in the kitchen. Everything is right there in a portable tote you can carry from room to room.
This simple system saves at least 10 minutes per cleaning session and makes the whole process feel smoother.
What To Put In Your Caddy
Start with the basics: an all-purpose cleaner for most surfaces, a dedicated glass cleaner for mirrors and windows, and a pack of microfiber cloths in different colors (one for dusting, one for wet cleaning). Add a scrub brush for tough spots, a pair of rubber gloves, and maybe a small squeegee for shower doors. Keep it lean—you don't want a caddy so full it's heavy to carry.
Where To Store Each Caddy
The best spot is somewhere central and easy to grab. On the main floor, tuck the caddy under the kitchen sink or in a hall closet. Upstairs, keep it in a linen closet or on a shelf in the bathroom.
If you have a basement, store a third caddy near the laundry area. The goal is to make it effortless to pick up and start cleaning.
How To Maintain Your Caddies
Once a month, check each caddy and restock anything running low. Toss used or stained cloths and replace them with fresh ones. If you notice a cleaner is almost empty, refill it before you need it.
A little upkeep ensures your caddies are always ready to go when you are.
6. Speed-Clean Bathrooms with a Spray-and-Wipe Method
Bathrooms are often the most dreaded room to clean, but they don't have to be. The spray-and-wipe method turns a 30-minute chore into a 15-minute breeze. The trick is letting the cleaner do the hard work while you tackle the toilet.
Start by spraying your all-purpose cleaner or glass cleaner on mirrors, countertops, faucets, and shower doors. Let it sit for a minute—this loosens grime and soap scum. While it dwells, scrub the toilet bowl and wipe down the exterior.
Then, grab a microfiber cloth and wipe everything in one pass: mirrors first, then counters, then fixtures. No back-and-forth, no re-spraying. You'll be done before you know it.
Why Letting It Sit Works
Most cleaners need contact time to break down dirt. Spraying and immediately wiping wastes product and effort. By waiting 60 seconds, you let the chemicals dissolve soap scum, toothpaste splatters, and hard water spots.
That means less elbow grease and a streak-free shine.
The Right Order Matters
Always start with the cleanest surface (mirrors) and end with the dirtiest (toilet). This prevents cross-contamination and keeps your cloth from spreading germs. Use a separate cloth for the toilet if you prefer, but the spray-and-wipe method still applies—spray, wait, then wipe.
Tools That Make It Faster
A good microfiber cloth is non-negotiable. It picks up grime without lint and dries quickly. Keep a spray bottle of diluted all-purpose cleaner in each bathroom so you don't have to carry one around.
Add a toilet brush with a built-in holder for the bowl cleaner, and you're set.
7. Tackle Kitchen Grease with Vinegar and Baking Soda
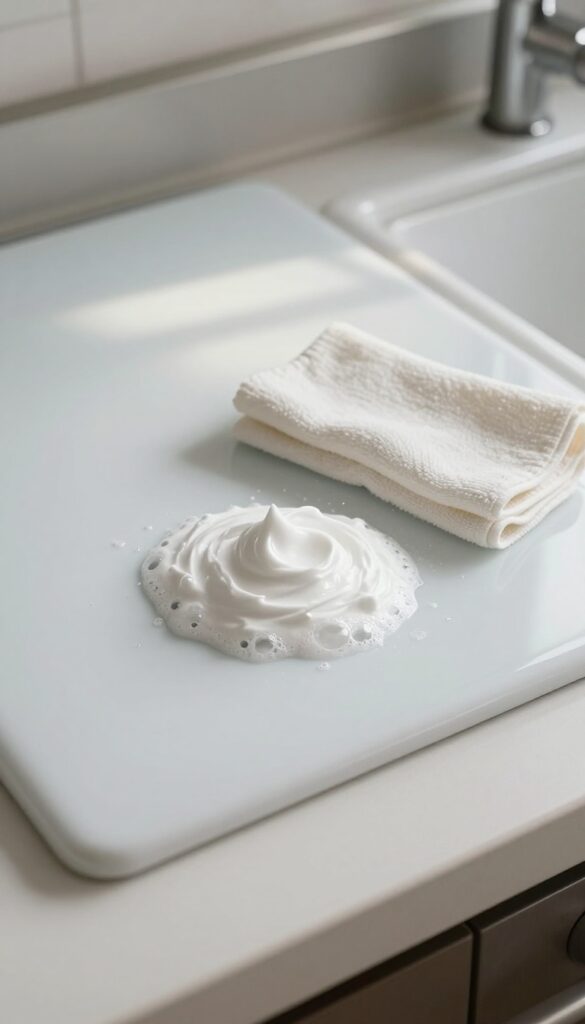
Grease buildup on stovetops and oven doors can feel like a losing battle, especially after a week of cooking. But you don't need harsh chemicals to cut through that sticky layer. A simple paste made from baking soda and vinegar does the job fast—and it's probably already in your pantry.
The fizzy reaction lifts grime while the baking soda acts as a gentle abrasive. No scrubbing for minutes on end, no toxic fumes. Just apply, let it work, and wipe away.
It's one of those tricks that makes you wonder why you ever bothered with store-bought sprays.
To make the paste, mix three parts baking soda with one part white vinegar until it forms a spreadable consistency. Apply it to cool surfaces—stovetop burners, oven glass, or range hood filters—and let it sit for 10 to 15 minutes. The fizzing helps loosen baked-on grease.
Then, wipe with a damp microfiber cloth. For stubborn spots, a gentle scrub with a non-abrasive sponge finishes the job. This method works best on ceramic, glass, and stainless steel.
Avoid using it on aluminum or unsealed cast iron, as the acidity can damage the finish. For extra tough grease on oven racks, you can let the paste sit longer or add a splash more vinegar to reactivate the fizz.
Why This Combo Works So Well
Baking soda is a mild alkali that reacts with acids like vinegar to produce carbon dioxide bubbles. Those bubbles help lift grease particles from surfaces, making them easier to wipe away. The fine grit of baking soda also provides gentle scrubbing power without scratching most finishes.
It's a chemical-free, non-toxic alternative that's safe around food and pets.
Step-by-step Application
Start by removing loose debris from the stovetop or oven door. Mix the paste and apply a thick layer over greasy areas. Let it sit for 10–15 minutes—longer for heavy buildup.
Use a damp cloth to wipe off the paste, rinsing the cloth frequently. For stuck-on spots, scrub gently with a soft sponge. Finally, buff the surface dry with a clean cloth for a streak-free shine.
Tips For Best Results
Always test on a small hidden area first, especially on colored or coated surfaces. Avoid letting the paste dry completely, as it becomes harder to remove. If you're cleaning an oven window, apply the paste to both sides and let it sit before wiping.
For range hood filters, soak them in hot water and vinegar after applying the paste to loosen grease before scrubbing.
8. Use a Squeegee on Shower Doors Daily
Hard water stains and soap scum are stubborn enemies of clean shower doors. The good news? A quick 30-second habit can keep them at bay.
Grab a squeegee and run it over the glass after every shower—it's that simple. This small step prevents minerals and residue from bonding to the surface. You'll avoid the dreaded weekly scrub session and keep your shower looking crystal clear with almost no effort.
A daily squeegee routine is the easiest way to maintain spotless shower doors. Here's how to make it stick and why it works so well.
Why It Works
Water contains minerals like calcium and magnesium that leave white spots when they dry. Soap scum combines with these minerals to form a stubborn film. By removing water immediately, you eliminate the chance for deposits to form.
The squeegee's rubber blade also lifts away soap residue before it hardens.
Make It A No-brainer Habit
Keep a squeegee inside the shower or hang it on a hook near the door. After you turn off the water, give the glass a quick once-over—top to bottom, then side to side. It takes less than 30 seconds.
If you forget, don't stress; just do it when you remember. Consistency matters more than perfection.
Bonus: Clean The Squeegee Too
Rinse the squeegee blade with hot water after each use to prevent soap buildup on the rubber. Replace the blade every few months if it starts to leave streaks. A clean squeegee means a clean door.
9. Dust Blinds and Vents with a Dryer Sheet
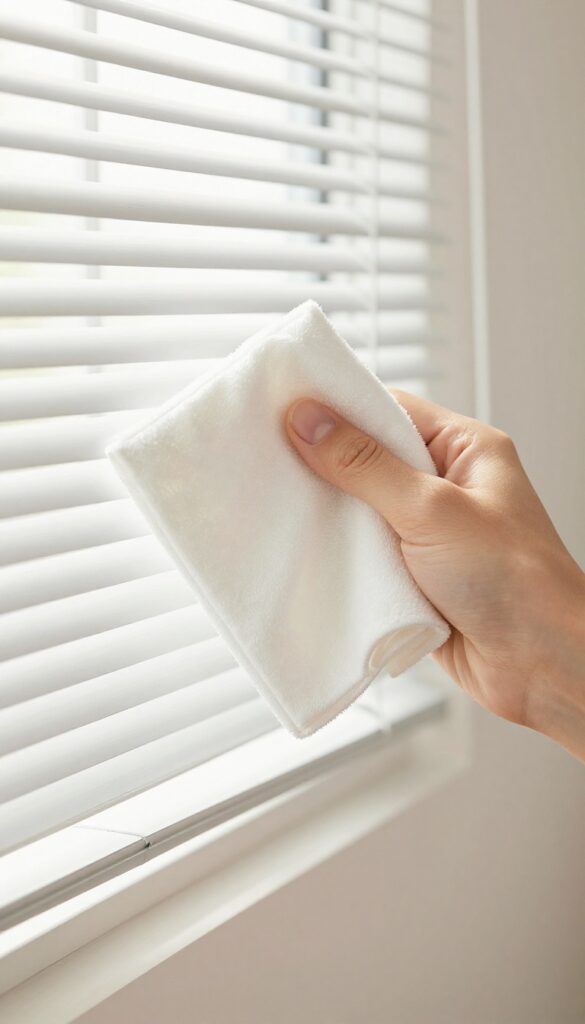
Blinds and air vents are dust magnets that often get ignored because they're tedious to clean. But a simple dryer sheet can make the job faster and more effective. The anti-static properties help lift dust instead of just pushing it around, and they leave a fresh scent behind.
Why Dryer Sheets Work So Well
Dryer sheets are designed to reduce static cling in the dryer, and that same property works wonders on dust. When you wipe blinds or vents with a dryer sheet, the dust sticks to the sheet rather than flying into the air or settling back down. Plus, the sheet leaves a thin residue that repels dust for a few days, meaning you won't have to clean as often.
How To Dust Blinds Efficiently
Close the blinds flat so they form one solid surface. Take a used or new dryer sheet and grip the slats between your thumb and fingers, then slide along the length. For vertical blinds, work from top to bottom.
Flip the sheet over as it gets dirty. This method cleans both sides of each slat in one pass, cutting your time in half.
Tackling Air Vents Without The Mess
Turn off your HVAC system before you start so dust doesn't blow around. Remove the vent cover if possible and wipe it down with a dryer sheet. For wall or ceiling vents you can't remove, wrap a dryer sheet around a butter knife or a thin spatula and slide it between the slats.
The sheet grabs dust without scratching the paint.
A Quick Freshening Trick
After dusting, rub a fresh dryer sheet lightly over the surface of the blinds or vents. This leaves a light, pleasant scent that can make the whole room smell cleaner. It's a small step that adds a nice finishing touch to your cleaning routine.
10. Vacuum in Two Directions for Deeper Clean
Most people vacuum in a single direction—usually back and forth in straight lines. But that misses a surprising amount of dirt, especially in high-traffic areas where debris gets ground deep into the fibers. A simple tweak can make your vacuuming far more effective without any extra time.
By vacuuming both horizontally and vertically, you lift dirt from multiple angles. The first pass loosens surface debris, while the second pulls up what's been trapped deeper. This double-pass method works especially well on carpets and rugs in living rooms, hallways, and entryways.
For best results, use slow, overlapping strokes and adjust your vacuum height for the carpet pile.
Why Two Directions Matter
Carpet fibers are woven in a way that traps dirt in different orientations. Vacuuming one direction only grabs what's lying on top of the fibers. The crosswise pass agitates the fibers and releases grit that's been pushed down by foot traffic.
It's like brushing your hair from two angles—you get a more thorough clean.
High-traffic Areas First
Focus on spots where people walk most: hallways, living room pathways, and stairs. These areas accumulate the most embedded dirt. Start with a horizontal pass, then go vertical.
You'll see a noticeable difference in the vacuum's dust bin or bag—and your carpet will feel fluffier underfoot.
Tips For Best Results
Use a vacuum with a rotating brush or beater bar for carpets. Slow down your pace—rushing leaves dirt behind. Overlap each pass by a few inches to avoid streaks.
For extra stubborn spots, make a third pass at a diagonal angle. This technique adds only a minute or two to your routine but significantly improves cleanliness.
11. Freshen Upholstery with a Fabric Refresher Spray
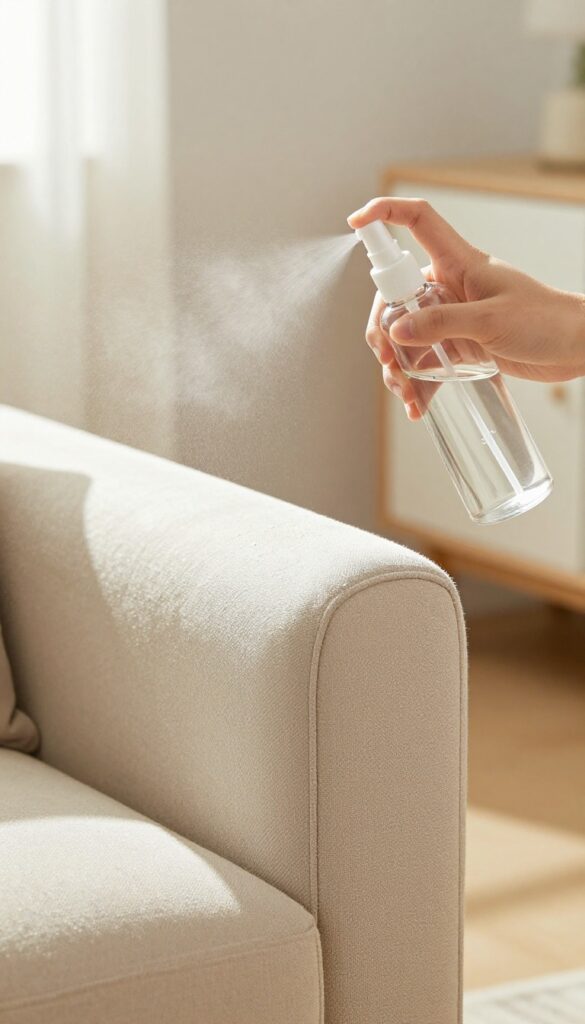
Upholstery and curtains soak up odors from cooking, pets, and daily life. Instead of hauling cushions to the dry cleaner or waiting for a deep clean, a simple DIY fabric spray can keep everything smelling fresh between washes. It takes just two minutes and costs pennies per use.
The Simple Recipe
Fill a spray bottle with 1 cup of distilled water. Add 10–15 drops of your favorite essential oil—lavender, lemon, or tea tree work well. Shake gently to combine.
That's it. No alcohol, no vinegar smell, just a light, natural scent.
How To Apply
Hold the bottle about 8 inches from the fabric. Mist lightly in a sweeping motion—don't soak the material. Focus on areas that get the most use: armrests, headrests, and the center of couch cushions.
For curtains, spray from the top down. Let them air dry for a few minutes.
Important Safety Check
Always test on a hidden spot first, like the back of a cushion or behind a curtain panel. Some fabrics, especially silk or velvet, can water-spot. If the test spot dries without a mark, you're good to go.
Reapply weekly for continuous freshness.
12. Clean Windows with Newspaper for a Streak-Free Shine
Windows can be one of the most frustrating surfaces to clean—no matter how hard you try, streaks and lint seem to appear out of nowhere. The secret to crystal-clear glass is probably sitting in your recycling bin: old newspaper. Unlike paper towels or microfiber cloths, newspaper doesn't leave behind fibers or lint, and its texture is perfect for buffing away grime without scratching.
Combined with a simple vinegar-water solution, this old-school trick delivers professional-level results in minutes.
Why Newspaper Works Better
Newspaper is made from wood pulp that's been pressed and dried, giving it a slightly abrasive texture that lifts dirt without scratching glass. The ink (especially black ink) contains a small amount of carbon, which acts as a mild polishing agent. Plus, newspaper is highly absorbent, so it soaks up the cleaning solution quickly and dries fast, preventing water spots.
Paper towels, on the other hand, often contain binders and softeners that leave behind lint and streaks.
The Perfect Diy Window Cleaner
Skip the store-bought sprays with harsh chemicals and ammonia. Mix equal parts white vinegar and warm water in a spray bottle. For extra grease-cutting power, add a drop of dish soap.
Shake gently to combine. This solution is non-toxic, cheap, and incredibly effective at dissolving grime, fingerprints, and hard water spots. Spray it directly onto the glass, not the newspaper, to avoid oversaturation.
The Right Technique For Streak-free Results
Crumple a sheet of newspaper into a loose ball—you want it fluffy, not tight. Start at the top of the window and work your way down in overlapping S-curves. This pattern prevents drips and ensures even coverage.
Wipe in one direction (horizontal on one side, vertical on the other) so you can spot any missed streaks. Flip or replace the newspaper as it becomes damp. Finish by buffing the edges with a dry crumpled sheet for a flawless shine.
Pro Tips For Tough Spots
For stubborn dried-on gunk, spray the area and let the solution sit for 30 seconds before wiping. Use a fresh piece of newspaper for each window to avoid transferring dirt. On sunny days, clean windows on the shady side of the house—direct sunlight dries the solution too fast, leaving streaks.
If you prefer a squeegee, use newspaper to wipe the blade clean between passes.
13. Use a Lint Roller on Lampshades and Fabric Shades
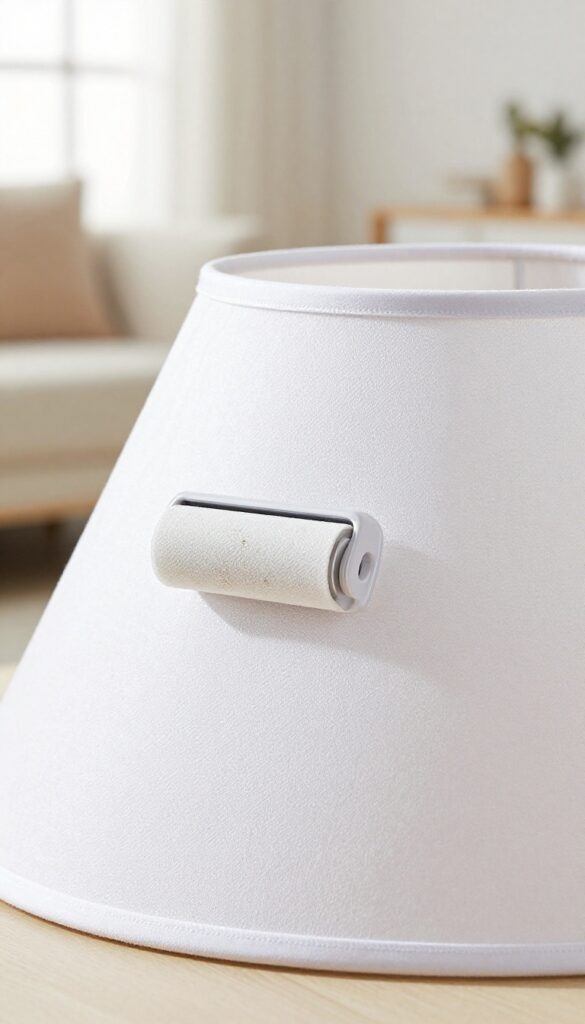
Lampshades and fabric blinds are dust magnets that often get neglected because they're tricky to clean. Vacuuming with a brush attachment works, but it can be awkward and time-consuming, especially on delicate or pleated surfaces. A lint roller offers a faster, gentler solution that picks up dust without any risk of damage.
Keep a lint roller in your cleaning caddy or near your window treatments. When you notice dust building up, simply roll it over the fabric surface in overlapping strokes. The adhesive sheets grab dust, hair, and lint instantly, leaving lampshades and blinds looking fresh.
This method works especially well on textured or ribbed shades where dust clings stubbornly.
Why The Lint Roller Wins
Unlike a duster that can redistribute dust into the air, a lint roller traps it securely. It's also much quieter than a vacuum, so you can clean during a nap or while watching TV. Plus, you avoid the hassle of dragging out the vacuum just for one or two shades.
Best Practices For Delicate Fabrics
For silk or very thin shades, test the lint roller on a small hidden area first to ensure the adhesive doesn't pull at the fibers. Use a fresh sheet for each shade to avoid redepositing dust. For pleated or accordion-style blinds, roll with the folds rather than against them.
When To Combine With Other Methods
If a shade is heavily soiled or greasy (like in a kitchen), start with a lint roller to remove loose dust, then spot-clean with a damp microfiber cloth. For lampshades, follow up with a quick wipe of the bulb and base for a complete refresh.
14. Disinfect High-Touch Surfaces Daily
Germs love the spots your hands love most. Light switches, doorknobs, remote controls, and faucet handles are touched dozens of times a day but rarely get cleaned. Making a quick wipe-down part of your daily reset keeps bacteria from spreading and makes your home feel genuinely fresh.
Think about how many times you flip a light switch or grab a door handle. Now think about the last time you actually cleaned them. High-touch surfaces are the main pathway for germs in your home, so hitting them daily is one of the highest-impact moves you can make.
It takes less than two minutes and stops colds and flu from circulating through your family.
What Counts As High-touch
Focus on the obvious: light switches, doorknobs, cabinet pulls, faucet handles, toilet flush levers, remote controls, phone chargers, and appliance buttons. Don't forget less obvious spots like the edge of your laptop, the back of your phone case, and the top of your nightstand. These are all germ highways.
The Right Tools For The Job
Keep a small basket of disinfectant wipes or a spray bottle with a microfiber cloth in each main room. That way you can grab and go without hunting for supplies. For electronics like remotes and phones, use a 70% isopropyl alcohol wipe or a screen-safe disinfectant.
Avoid bleach-based wipes on screens—they can damage the coating.
Make It A Habit, Not A Chore
Tie the wipe-down to something you already do daily. For example, while your coffee brews in the morning, wipe the kitchen switches and cabinet pulls. Right before you sit down to watch TV, give the remote and nearby light switches a quick pass.
Stacking the habit onto an existing routine makes it feel automatic.
Don't Forget Shared Spaces
Bathrooms and kitchens are obvious, but also hit the entryway light switch, the garage door opener, and any shared devices like tablets or game controllers. If you have kids, include their backpack zippers and lunchbox handles. A daily two-minute circuit through these spots keeps the germ load low without any heavy scrubbing.
15. Make Your Bed First Thing
There's a reason so many productivity experts swear by making your bed each morning. It's a small win that takes under two minutes, yet it instantly transforms the look of your bedroom. More importantly, it sets a productive tone for the rest of your cleaning session.
Once that first task is done, you'll feel motivated to keep going.
Making your bed is the perfect opening move for a whole-home reset. It creates a visual anchor of order in the room that often feels the most personal and chaotic. Plus, a made bed prevents dust and pet hair from settling on your sheets, so your bedding stays fresher longer.
This simple habit can save you time on laundry and make your bedroom look hotel-ready every day.
The Two-minute Rule In Action
If you're short on time, don't worry about hospital corners or fluffing every pillow. Just pull the flat sheet and comforter up, smooth out major wrinkles, and arrange your pillows. The goal is a neat appearance, not perfection.
Once you see how quickly it transforms the room, you'll be hooked.
A Visual Cue For The Rest Of Your Day
Your brain registers a made bed as a signal that the space is under control. That feeling of accomplishment can carry over into the next cleaning task, whether it's wiping down counters or vacuuming the living room. It's a psychological trick that costs nothing but pays off in momentum.
16. Use a Timer to Stay on Track
Ever find yourself spending an hour on one room because you got distracted by a closet you wanted to reorganize? A timer keeps you honest. By setting a strict limit for each space, you train your brain to focus on the essentials and ignore the rabbit holes.
The timer method works because it creates artificial urgency. When you know you only have 15 minutes for the living room, you don't stop to fluff every pillow or alphabetize the bookshelf. You grab the duster, hit the high-traffic zones, and move on.
The goal isn't perfection—it's progress. And once you see how much you can accomplish in a short burst, you'll wonder why you ever cleaned without one.
Set Realistic Time Blocks
Start with 10–15 minutes per room. Kitchens and bathrooms might need 20, while a hallway or entryway can be done in 5. Adjust based on your home's size and how dirty each area gets.
The key is to challenge yourself without causing panic.
Use A Phone Timer Or Smart Speaker
You don't need a fancy app. Just say, "Hey Siri, set a 15-minute timer for the kitchen, " and go. The audible alarm is your cue to wrap up and move on.
If you finish early, great—use the extra minutes for a quick vacuum pass or to wipe down a mirror.
Beat The Clock With A Reward
Turn it into a game. For every room you finish within the time limit, give yourself a small treat—a sip of coffee, a quick stretch, or a sticker on a chart. The positive reinforcement makes the next room feel less like a chore.
17. End with a Fresh Scent
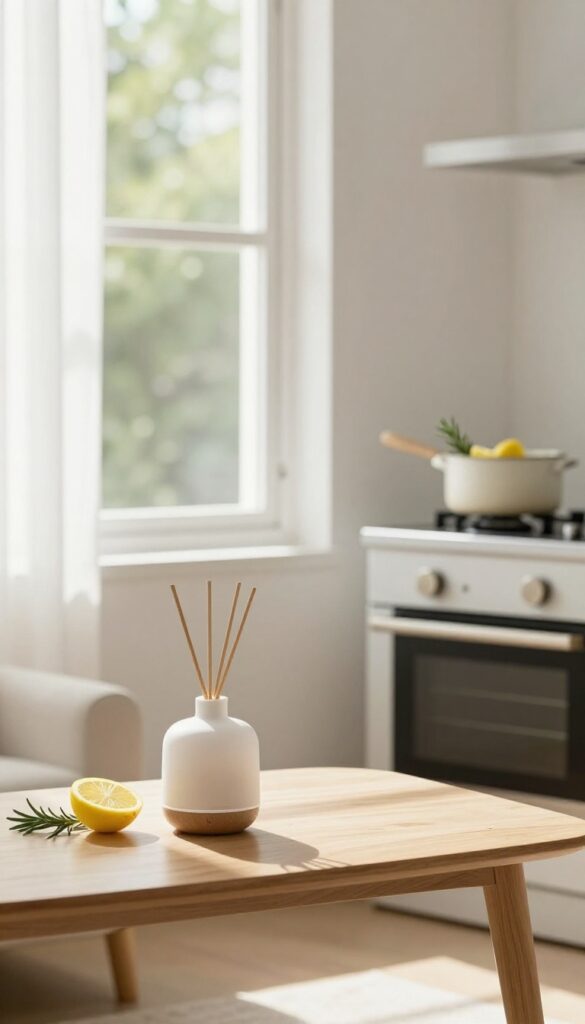
The final step in your whole home reset is all about the senses. After all that scrubbing and tidying, a pleasant aroma signals that the work is done and the space is truly clean. It's a simple psychological trick that makes your home feel more inviting.
Why Scent Matters
Your nose knows when a room is clean. A fresh scent reinforces the visual results of your hard work, making the space feel complete. It also masks any lingering odors from cleaning products or musty corners.
Easy Ways To Freshen The Air
Open windows for a few minutes to let stale air out and fresh air in. Or simmer a pot of water with lemon slices, rosemary, and vanilla extract on the stove. The gentle steam will scent your whole house naturally.
You can also use a diffuser with essential oils like lavender or peppermint.
Avoid Overpowering Scents
Stick with light, natural fragrances. Heavy artificial air fresheners can feel cloying. The goal is a subtle freshness that says "clean, " not "perfume counter.
"
FAQ
How often should I do a whole home reset?
A whole home reset is ideal once a week for maintenance, but you can do a lighter version every few days to keep things manageable.
What's the best order to clean a house?
Start with decluttering, then clean top to bottom (ceilings to floors) and room by room. Finish with floors and a final freshening.
How can I make cleaning faster?
Use a caddy with all supplies, work in focused time blocks, and prioritize high-impact areas like kitchens and bathrooms first.
Do I need special products for a fast reset?
Not necessarily. All-purpose cleaner, microfiber cloths, and a good vacuum are enough. Vinegar and baking soda handle most tough spots.
How do I keep my home clean longer after a reset?
Adopt daily habits like making the bed, wiping counters after use, and doing a 5-minute evening tidy. These small actions maintain the reset.
Conclusion
These 17 tips prove that a faster home reset doesn't require a full day of scrubbing. Small, intentional actions—like cleaning top to bottom or using a timer—can cut your cleaning time in half. Pick the strategies that fit your routine and drop the rest.
The goal isn't perfection, it's a cleaner home with less effort. Start with one or two tips today, and watch how quickly they become habits that save you time.