20 Deep Cleaning House Checklist Ideas for Every Room
Deep cleaning isn't the same as your weekly tidy-up. It's the scrub behind the fridge, the dust on top of the cabinets, and the grime that builds up in places you rarely look. But a full-house deep clean can feel overwhelming without a plan.
That's where a room-by-room checklist helps. Instead of guessing where to start, you work through each space methodically. This list covers 20 specific tasks across every room in your home, so nothing gets skipped.
You don't need to do it all in one day. Pick a room, check off the tasks, and move on. Over a week or two, your whole house will feel fresh again.
1. Kitchen: Degrease Cabinet Doors and Handles
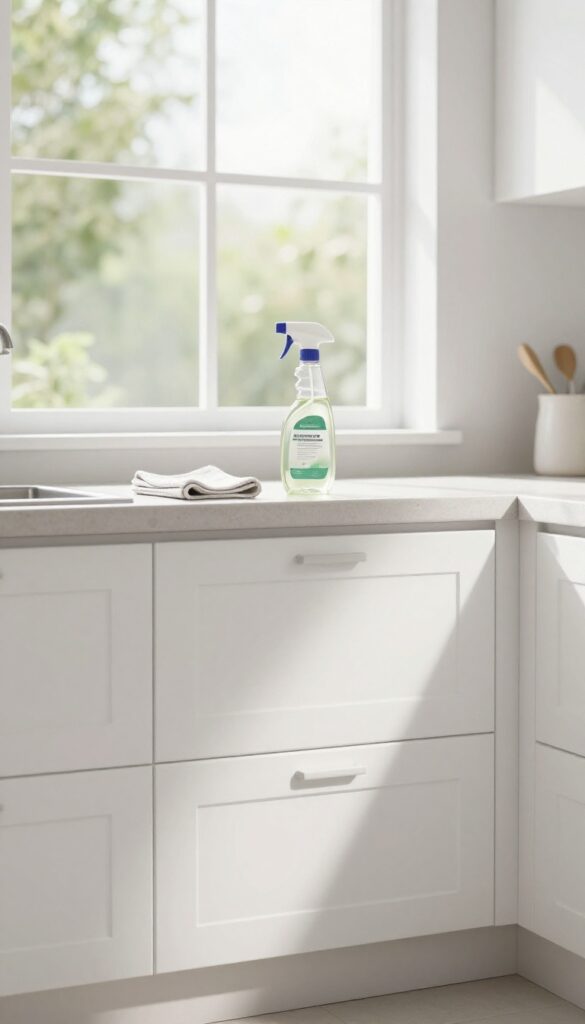
Kitchen cabinets take a beating. Every time you cook, grease and steam settle on the surfaces, creating a sticky film that attracts dust. Over time, that buildup becomes tough to remove.
Giving your cabinet fronts and handles a proper degreasing makes the whole kitchen look cleaner and feel fresher.
Start by removing any loose dust from the cabinet surfaces with a microfiber cloth. Then mix a solution of warm water and a few drops of dish soap, or use a dedicated degreasing cleaner. For stubborn grease, a 50/50 mix of white vinegar and water works well.
Wipe down each door front, paying special attention to areas around the handles. Don't forget the tops of cabinets—they collect a surprising amount of dust and grease. Use a step stool to reach them safely.
Finally, wipe handles with the same solution, then dry everything with a clean cloth to prevent water spots.
Choose The Right Cleaner
Not all cleaners are safe for every cabinet finish. For painted or laminate cabinets, stick with mild dish soap and water. For wood cabinets, a gentle wood cleaner or vinegar solution is better.
Avoid harsh chemicals or abrasive sponges that can damage the finish. Test any new cleaner on a small hidden area first.
Work Top To Bottom
Start with the upper cabinets and work your way down to the lower ones. This way, any drips or dust fall onto surfaces you haven't cleaned yet. Clean the handles last, as they get touched the most and can re-grime the doors if done out of order.
Don't Skip The Hardware
Cabinet handles and knobs collect grease and bacteria from hands. Remove them if possible and soak in warm soapy water for a few minutes. Scrub with an old toothbrush to get into crevices, then rinse and dry completely before reattaching.
2. Kitchen: Deep Clean the Oven and Stovetop
The oven and stovetop see a lot of action, but they rarely get the deep scrub they deserve. Burnt-on food and grease can build up over time, affecting performance and even causing smoke or smells. Tackling these two appliances will make your kitchen feel brand new.
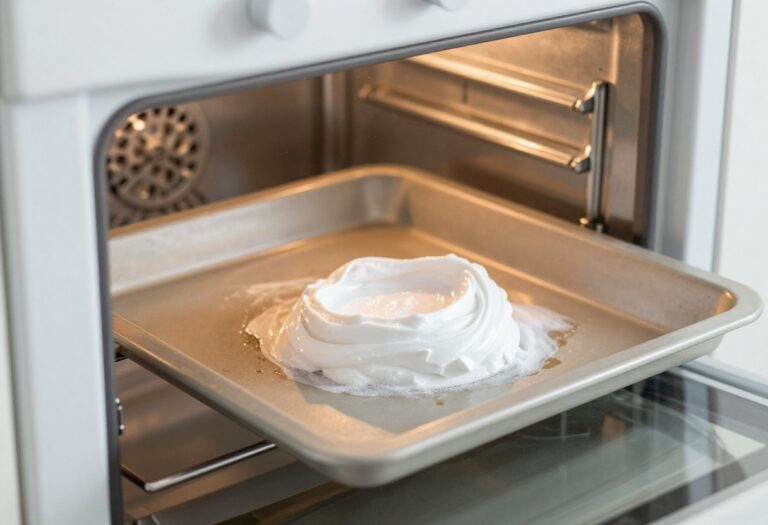
Start by removing oven racks and soaking them in hot, soapy water. While they soak, make a paste of baking soda and water and spread it over the interior surfaces, avoiding the heating elements. Let it sit overnight, then wipe away the paste with a damp cloth.
For stubborn spots, spray a little white vinegar to reactivate the baking soda. Rinse thoroughly. For the stovetop, remove burner grates and caps.
Soak them in degreasing dish soap, then scrub with a non-abrasive pad. Wipe the stovetop surface with a degreaser or a mixture of vinegar and water. Dry everything completely before reassembling.
Oven Rack Soak
Fill your sink or a large tub with hot water and add a few squirts of dish soap. Submerge the racks completely. Let them soak for at least an hour, or overnight for heavy buildup.
Scrub with a stiff brush or sponge, then rinse and dry.
Baking Soda Paste Application
Mix ½ cup baking soda with a few tablespoons of water to form a spreadable paste. Wear gloves and apply the paste to all interior oven surfaces, avoiding heating elements. Let it sit for 12 hours or overnight.
The paste will dry and crack, which is normal.
Stovetop Burner Care
Remove burner grates, caps, and any drip pans. Soak them in hot, soapy water with a degreaser. Scrub gently with a non-abrasive pad to avoid scratching.
For gas stoves, clean the burner holes with a toothpick to ensure even flame.
3. Kitchen: Scrub the Sink and Garbage Disposal
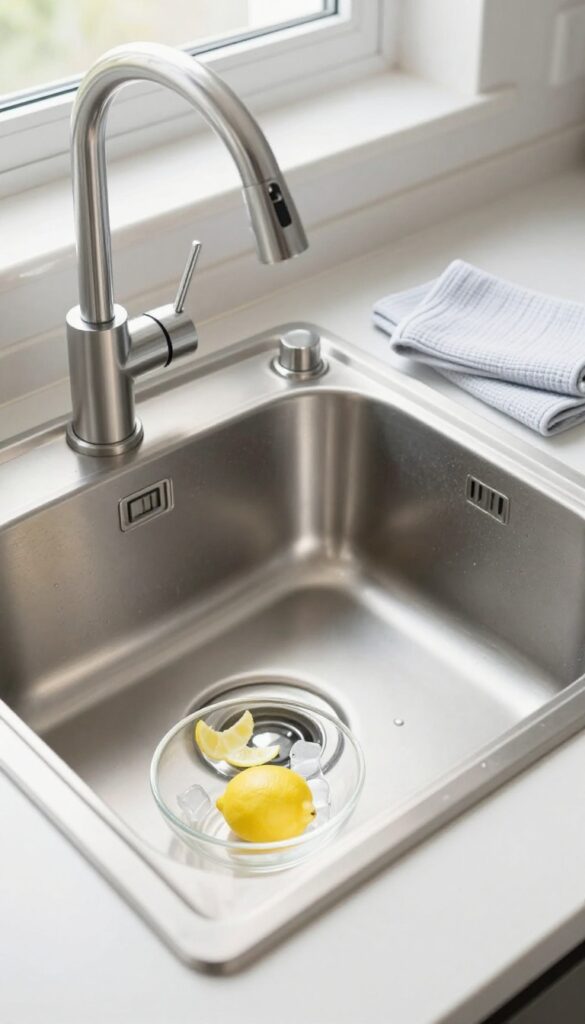
The kitchen sink and garbage disposal handle a lot of grime. Over time, food residue and bacteria build up, leading to odors and dull surfaces. A targeted deep clean here makes a big difference in how fresh your kitchen feels.
Start by clearing the sink of dishes and debris. Sprinkle a generous layer of baking soda over the wet surface, then scrub with a sponge or soft brush. Focus on the basin, drain, and faucet base.
Rinse thoroughly with hot water. For the garbage disposal, drop in a handful of ice cubes and lemon peels. Run cold water and turn on the disposal until the ice is ground up.
The ice helps sharpen the blades, while lemon peels deodorize and freshen. Finish by wiping the exterior of the faucet and handles with a microfiber cloth to remove water spots.
Why Baking Soda Works Best
Baking soda is mildly abrasive, so it lifts stuck-on grime without scratching stainless steel or porcelain. It also neutralizes odors, leaving your sink smelling clean. For extra stubborn stains, make a paste with water and let it sit for 10 minutes before scrubbing.
Garbage Disposal Maintenance Tips
Avoid putting fibrous foods like celery or potato peels down the disposal, as they can jam the blades. Monthly ice cube treatments keep blades sharp. For a deeper clean, pour a cup of white vinegar and a cup of baking soda down the drain, let it fizz for 10 minutes, then flush with hot water.
Don't Forget The Drain Strainer
Remove and scrub the drain strainer or stopper separately. Soak it in a solution of hot water and dish soap to loosen debris. Use an old toothbrush to clean the crevices.
Reinstall once dry to prevent mold and mildew buildup.
4. Kitchen: Wipe Down Inside the Refrigerator
The refrigerator is one of the hardest-working appliances in your kitchen, but it's easy to forget about the spills and crumbs hiding on the shelves. A deep clean not only makes it look better but also helps your food stay fresh longer. Set aside an hour to tackle this task, and you'll be surprised how much better the whole kitchen feels.
Start by removing everything from the fridge—food, shelves, drawers, and any removable parts. Check expiration dates as you go and toss anything that's past its prime or looks questionable. Wash the removable parts in warm, soapy water, then let them air dry completely.
Wipe down the interior with a mild cleaner or a mixture of vinegar and water, paying extra attention to corners and seals. Once everything is dry, put the shelves and drawers back, and organize the food before returning it.
Clear Everything Out
Pull out all items, including condiments, leftovers, and produce. This gives you a chance to see what you have and what needs to go. Use a cooler or insulated bag to keep perishables cold while you work.
Clean Removable Parts
Take out shelves, drawers, and bins. Wash them in the sink with warm water and mild dish soap. For stubborn stains, let them soak for a few minutes.
Rinse and dry thoroughly before reassembling.
Wipe Down Interior Surfaces
Use a sponge or cloth with a gentle cleaner—avoid harsh chemicals that could leave residue. Don't forget the door seals and the back wall. A toothbrush can help reach tight grooves.
Organize And Restock
Before putting food back, group similar items together. Use clear bins for small items like yogurt or cheese. Label leftovers with dates so you know what to use first.
This step keeps your fridge tidy longer.
5. Bathroom: Descale Showerhead and Faucets
Hard water stains and mineral buildup can make your bathroom fixtures look dull and reduce water flow. Descaling them is a simple step that restores shine and performance. This task takes minimal effort but makes a big visual difference.
Start with the showerhead. Fill a plastic bag with white vinegar, secure it over the showerhead with a rubber band or zip tie, and let it soak for an hour. Remove the bag and run the water for a minute to flush out loosened deposits.
For faucets, dip a cloth in vinegar and wrap it around the spout and handles. Let it sit for 15 minutes, then wipe clean. Use an old toothbrush to reach crevices.
Rinse with water and dry with a soft cloth to prevent new spots.
Why Vinegar Works Best
White vinegar is mildly acidic, which dissolves calcium and lime deposits without harsh chemicals. It's safe for most metal finishes, but avoid prolonged soaking on brass or gold-plated fixtures. For stubborn buildup, heat the vinegar slightly before soaking.
Preventing Future Buildup
After descaling, wipe fixtures dry after each shower to reduce mineral deposits. Install a water softener if your home has hard water. A weekly quick wipe with a microfiber cloth keeps them shiny longer.
What About The Shower Arm?
If water still trickles, the shower arm inside the wall may have buildup. Unscrew the showerhead and use a small brush to clean the arm threads. For severe clogs, remove the arm and soak it in vinegar overnight.
6. Bathroom: Clean Grout and Tile
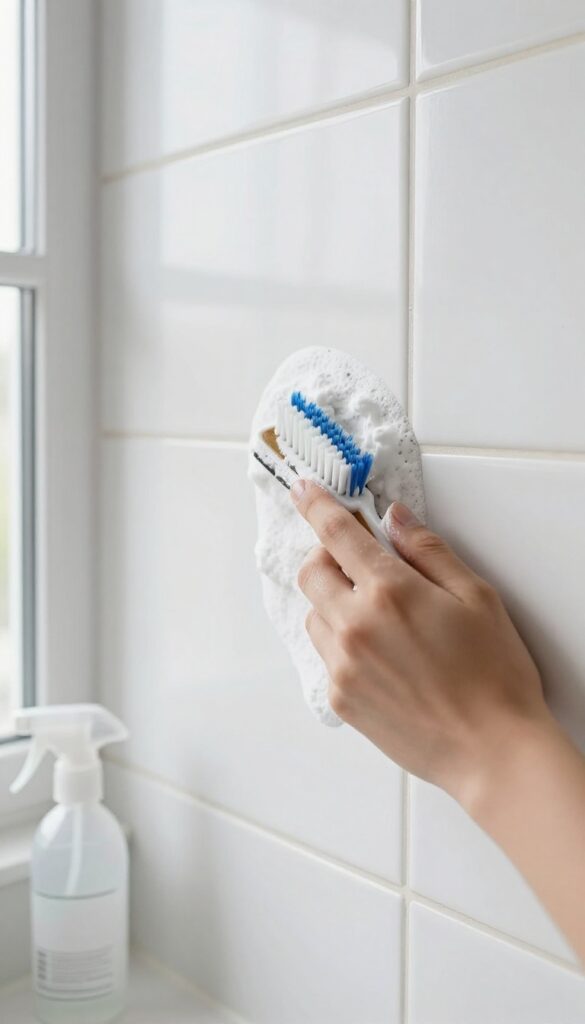
Grout lines are magnets for soap scum, mildew, and dirt. Over time, that white grout turns gray or even black. A deep clean restores it without needing to regrout.
The trick is using simple household ingredients that break down grime without harsh fumes.
Make A Baking Soda Paste
Mix baking soda with just enough water to form a thick paste. Spread it over the grout lines with an old toothbrush or a small brush. Let it sit for 10 minutes so it can start lifting the grime.
Scrub And Activate With Vinegar
Scrub the paste into the grout using the toothbrush. Then spray white vinegar over the area. The fizzing reaction helps loosen stubborn dirt.
Let it bubble for a few minutes, then rinse with warm water.
Tackle Stubborn Stains
For grout that's still discolored, use a commercial grout cleaner or a mixture of hydrogen peroxide and baking soda. Apply, scrub, and rinse. A grout sealer after cleaning helps prevent future stains.
7. Bathroom: Wash Shower Curtain and Liner
Your shower curtain and liner take a beating from soap scum, hard water, and mildew. They might look okay from a distance, but up close, they're often grimy. Washing them is a quick win that makes the whole bathroom feel fresher.
Remove the curtain and liner and toss them in the washing machine with a cup of white vinegar and your regular detergent. Use warm water and a gentle cycle. Once the cycle finishes, hang them back up immediately—don't let them sit in the washer or they'll wrinkle and may develop mildew.
For plastic liners, you can also wipe them down with a vinegar solution if machine washing isn't an option.
What You'll Need
White vinegar, mild detergent, washing machine, and a place to hang the curtain right after. If your curtain has metal grommets, check the care label—some can rust.
Step-by-step
Remove hooks or rings. Place curtain and liner in the washer. Add detergent and 1 cup of vinegar.
Run a warm gentle cycle. Hang immediately to dry. For stubborn mildew spots, pre-treat with a paste of baking soda and water.
How Often To Do This
Aim for once a month. If you notice mildew or soap scum building up sooner, increase the frequency. A clean liner also helps prevent mold from spreading to your tiles.
8. Bathroom: Disinfect Toilet Exterior and Base
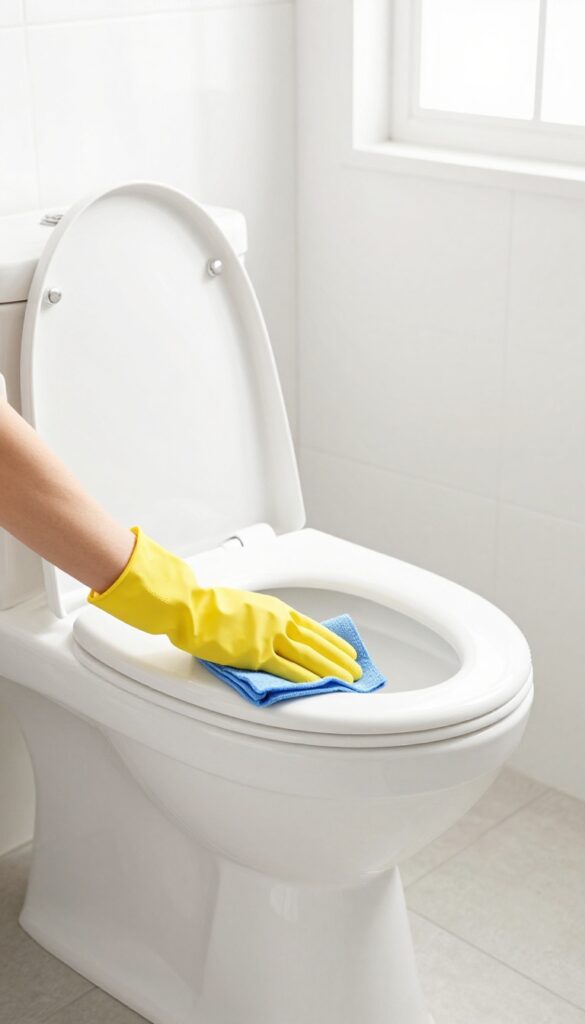
The toilet exterior is a high-touch surface that often gets overlooked during regular cleaning. A deep clean means going beyond the bowl to disinfect every outside surface, especially the base and behind the bowl where grime and bacteria hide. This task takes just a few minutes but makes a big difference in bathroom hygiene.
Start by spraying a disinfectant cleaner all over the exterior of the toilet, including the tank, lid, base, and the floor area around the base. Pay special attention to the flush handle and the hinge area where the seat attaches. Let the disinfectant sit for the recommended dwell time (usually 3-5 minutes) to kill germs effectively.
Then wipe everything down with a clean microfiber cloth, using a separate cloth for the handle to avoid cross-contamination. For the base, get down on your hands and knees to reach the back and sides where dust and urine splashes accumulate. Finish by wiping the floor around the toilet with a disinfectant wipe or spray.
Why The Exterior Matters
Many people focus on the bowl but forget that the outside collects bacteria from flushing and everyday use. The flush handle is one of the germiest spots in the bathroom, and the base can develop a ring of grime if not cleaned regularly. Disinfecting the exterior reduces the spread of illness-causing germs and keeps the toilet looking fresh.
Tools And Products To Use
Use a bathroom disinfectant spray that kills 99. 9% of germs, or make a DIY solution with bleach and water (1 part bleach to 10 parts water). Microfiber cloths are ideal because they trap dirt and don't leave lint.
Keep a separate cloth just for the toilet to avoid spreading bacteria to other surfaces. For hard-to-reach areas, an old toothbrush or a small scrub brush works well.
Step-by-step Process
First, remove any items on the tank or lid. Spray the entire exterior, starting from the top and working down. Let it sit.
Then wipe the tank, lid, and sides with a cloth. Next, clean the flush handle with a disinfectant wipe or spray. Finally, tackle the base: spray generously, scrub with a brush if needed, and wipe clean.
Don't forget the floor area directly around the base.
Frequency And Maintenance Tips
For a deep clean, do this task once a month. In between, wipe down the exterior weekly with a disinfectant wipe to keep it fresh. If you have young children or someone sick in the house, increase frequency to every few days.
A quick daily spray and wipe of the handle and seat can also help maintain cleanliness.
9. Living Room: Vacuum Upholstery and Under Cushions
Your living room couch sees daily use, but how often do you actually clean it? Dust, crumbs, pet hair, and even allergens settle deep into the fabric and between cushions. Regular vacuuming keeps it looking fresh and extends its life.
This task goes beyond a quick once-over. You’ll remove cushions, reach every crevice, and even flip cushions to balance wear. It’s a simple step that makes a big difference in how your living room feels.
Start by removing all cushions from the couch. Use a vacuum with an upholstery attachment to go over every surface—seat, back, and arms. Pay special attention to crevices where crumbs and dust collect.
If your couch has a removable cover, check the care label and wash it if possible. Next, flip the cushions if they are reversible. This helps even out sagging and wear, keeping your couch comfortable longer.
For non-reversible cushions, rotate them front to back. Finally, vacuum the base of the couch and underneath the cushions before replacing everything.
Why Vacuuming Upholstery Matters
Upholstery traps dust mites, pet dander, and pollen—common allergens that can affect your indoor air quality. Regular vacuuming reduces these particles, making your living room healthier. It also prevents dirt from grinding into fabric fibers, which can cause premature wear and fading.
Tools You’ll Need
A vacuum with an upholstery brush attachment is ideal. If you have a crevice tool, use it for tight spaces. For stubborn pet hair, a rubber squeegee or a lint roller works wonders.
A soft brush can loosen embedded dirt before vacuuming.
Step-by-step Process
- Remove all cushions and set them aside. 2.
Vacuum the entire couch surface with the upholstery attachment. 3. Use the crevice tool along seams and between cushions.
- Flip or rotate cushions as needed. 5.
Vacuum the underside of cushions and the couch base. 6. Replace cushions and do a final light pass.
10. Living Room: Dust Blinds and Curtain Rods
Blinds and curtains are dust magnets that often get ignored during routine cleaning. Over time, they collect allergens, pet dander, and grime that can affect indoor air quality. Giving them a proper deep clean makes the whole room feel fresher and brighter.
Start With The Blinds
Close the blinds flat so you can access both sides. Use a microfiber cloth or a lambswool duster to wipe each slat from top to bottom. For stubborn dust, spray a little all-purpose cleaner on the cloth—never directly on the blinds.
If the blinds are very dirty, take them down and rinse them in the shower with warm water and mild soap, then let them dry completely before rehanging.
Tackle The Curtains
Check the care label first. Most curtains can be vacuumed with a brush attachment to remove loose dust. For washable curtains, toss them in the machine on a gentle cycle with cold water and mild detergent.
Hang them back up while still slightly damp to avoid wrinkles. For dry-clean-only fabrics, a fabric-safe upholstery attachment works wonders.
Don't Forget The Rods And Hardware
The curtain rod and brackets collect dust and sometimes greasy residue from cooking or candles. Wipe them down with a damp microfiber cloth. If the rod is telescopic, extend it slightly to clean the overlapping sections.
Also, check the finials and any decorative rings—they can be wiped or washed depending on the material.
11. Living Room: Clean Electronics and Cords
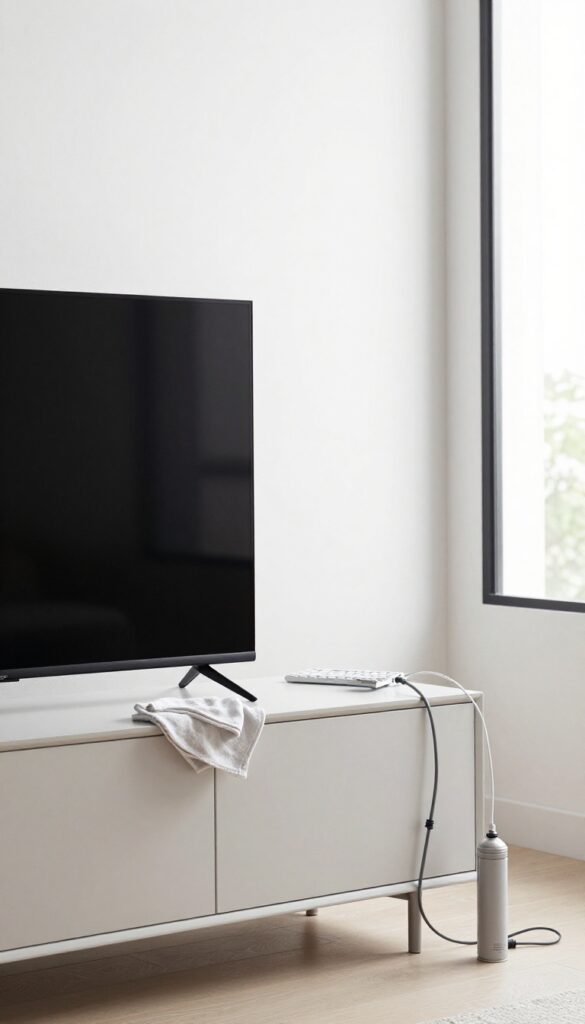
Your living room electronics collect dust, fingerprints, and grime faster than you'd think. Screens, vents, and keyboards harbor dirt that can affect performance and air quality. Plus, tangled cords make the space feel messy even after a good vacuum.
This section walks you through cleaning your devices and taming the cable chaos.
Start by unplugging everything—TV, gaming consoles, speakers, and any other electronics. This prevents damage and lets you access every surface safely. Use a dry microfiber cloth to gently wipe screens and glossy surfaces; never spray liquid directly on electronics.
For vents and keyboards, a can of compressed air blasts dust out of crevices. Finish by wiping down remotes and controllers with a slightly damp cloth (just water or a mild electronics-safe cleaner).
Dust Screens And Surfaces
TVs, monitors, and other screens attract dust and fingerprints. Use a soft, lint-free microfiber cloth—dry for dust, slightly damp for smudges. Avoid paper towels or rough fabrics that can scratch.
For glossy TV bezels and speaker grilles, the same cloth works wonders. Don't forget the top and back of the TV, where dust bunnies hide.
Clean Vents And Keyboards
Electronics vents get clogged with dust, reducing airflow and causing overheating. Use compressed air in short bursts to clear out vents on TVs, game consoles, and receivers. For keyboards, turn it upside down and shake loose debris, then use compressed air between keys.
Wipe keycaps with a microfiber cloth slightly dampened with isopropyl alcohol for a deeper clean.
Neaten Cords And Cables
Tangled cords make any room look cluttered. Unplug all devices and use zip ties, velcro straps, or cord clips to bundle cables neatly. Run cords along baseboards or behind furniture with adhesive cable clips.
Label both ends of each cord with a piece of tape and a marker so you know what's what next time you need to unplug something.
12. Living Room: Wash Windows and Window Sills
Windows are the eyes of your living room, but they collect dust, smudges, and grime over time. Clean glass lets in more light and instantly brightens the space. Window sills and tracks often trap dirt and moisture, so giving them attention prevents buildup and mold.
Start by removing any debris from the sill and tracks using a vacuum or a stiff brush. Mix a solution of warm water and a few drops of dish soap. Use a squeegee or a microfiber cloth to clean the glass in a top-to-bottom motion to avoid streaks.
For the sills, wipe them down with a damp cloth, then dry thoroughly to prevent moisture damage. Don't forget the tracks—use an old toothbrush to scrub corners, then wipe clean.
Tools And Supplies
You'll need a bucket, warm water, dish soap, a squeegee or microfiber cloth, a soft brush or toothbrush, and a dry cloth. For stubborn spots, add a splash of white vinegar to the solution.
Step-by-step Cleaning
- Dust or vacuum sills and tracks. 2.
Wash glass with soapy water. 3. Squeegee from top to bottom, wiping the blade after each pass.
- Wipe sills and tracks with a damp cloth, then dry. 5.
Clean tracks with a brush to remove grime.
Preventing Future Grime
Wipe sills dry after rain or condensation. Apply a thin layer of car wax to the tracks to help dirt slide off. Clean windows every few months to keep them sparkling.
13. Bedroom: Flip and Vacuum Mattress
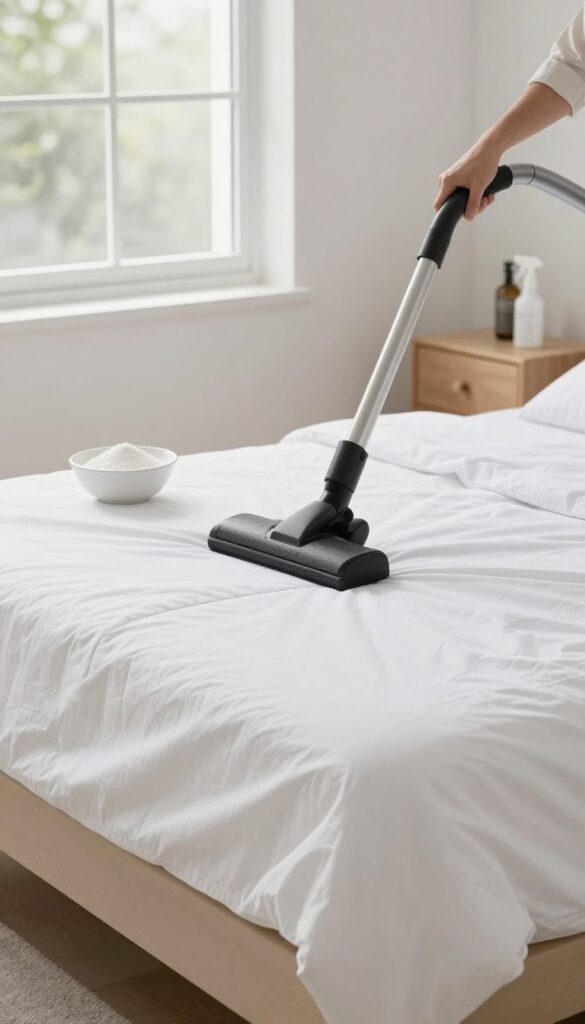
Your mattress works hard every night, absorbing sweat, dead skin cells, and dust mites. Over time, this buildup can affect your sleep quality and even trigger allergies. A thorough mattress cleaning is a deep-cleaning task that pays off in better rest and a fresher bedroom.
Start by stripping all bedding and washing it in hot water. Use your vacuum's upholstery attachment to go over the entire mattress surface, paying extra attention to seams and crevices where debris hides. Sprinkle a thin layer of baking soda over the mattress and let it sit for at least 15 minutes to absorb odors and moisture.
Vacuum again thoroughly to remove all powder. If your mattress is flippable or rotatable, now is the perfect time to do that for even wear.
Why Baking Soda Works
Baking soda is a natural deodorizer that neutralizes acidic odors without harsh chemicals. It also helps lift embedded dirt, making it easier to vacuum away. For extra freshness, you can add a few drops of essential oil to the baking soda before sprinkling.
How Often To Do This
A deep vacuum and deodorize should happen every three to six months. If you have allergies or pets, consider doing it more often. Flipping or rotating your mattress every six months extends its life and prevents sagging.
Don't Forget The Box Spring
While you're at it, vacuum the box spring or foundation. Use the crevice tool to get into corners and along the edges. This helps reduce dust mites and allergens that can migrate up to your mattress.
14. Bedroom: Wash Bedding and Pillows
Your bed is a sanctuary, but it also collects sweat, skin cells, and dust mites over time. Washing your bedding regularly is key to a fresh and healthy sleep environment. This task goes beyond just the sheets—pillows and duvets need attention too.
Strip And Sort
Start by removing all bedding: sheets, pillowcases, duvet cover, and any mattress protectors. Sort them by fabric type and color. Wash whites separately to prevent color bleeding, and check care labels for temperature recommendations.
Wash In Hot Water
For most bedding, hot water (130°F or higher) is best to kill dust mites and bacteria. Use a gentle detergent and add a half-cup of baking soda to boost cleaning power. If your sheets are delicate, opt for warm water instead.
Pillow Care
Check the care tag on your pillows—most synthetic and down pillows can be machine washed. Wash two pillows at a time to balance the load, using a gentle cycle and mild detergent. Add an extra rinse cycle to remove all soap residue.
Dry Thoroughly
Tumble dry bedding on high heat until completely dry to prevent mildew. For pillows, toss in a couple of clean tennis balls or dryer balls to fluff them up. Make sure there are no damp spots before putting them back on the bed.
15. Bedroom: Clean Under the Bed
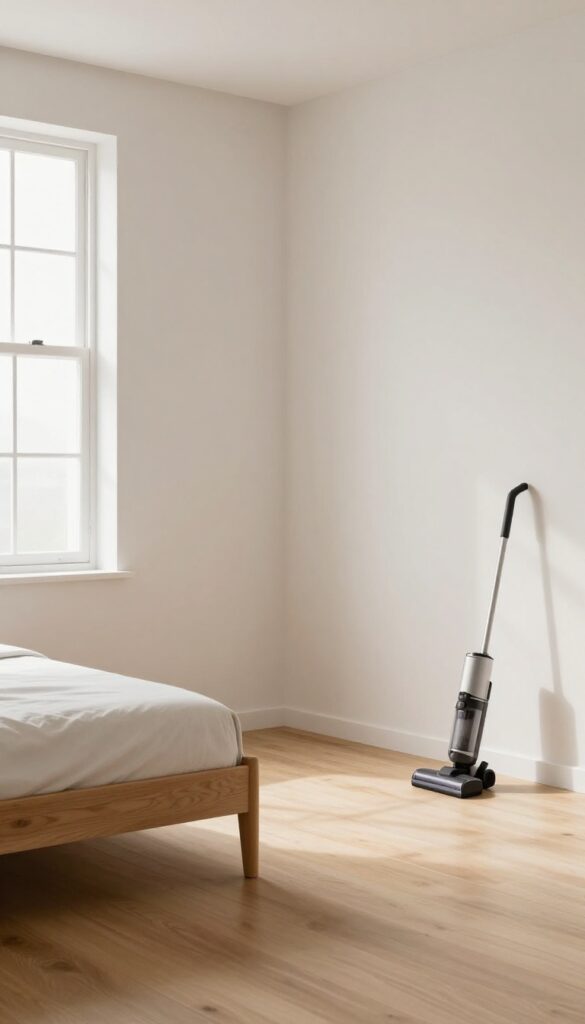
The space under your bed is a prime hiding spot for dust bunnies, lost socks, and even pet toys. It's easy to forget about because you don't see it daily, but it can seriously affect your bedroom's air quality. Giving this area a proper clean makes your whole room feel fresher.
Start by moving the bed if possible, or use a long-handled duster to reach deep underneath. Vacuum or sweep the floor thoroughly, paying attention to corners. Wipe down the bed frame legs and any casters.
If you store items under the bed, pull them out, dust them off, and consider using sealed plastic bins instead of open boxes to minimize dust collection.
Clear The Clutter First
Before you can clean, you need to see what's there. Pull out everything stored under the bed—shoes, bins, forgotten items. Sort through them and decide what to keep, donate, or toss.
This makes the actual cleaning much easier and gives you a chance to declutter.
Vacuum Or Sweep Thoroughly
Use a vacuum with a crevice tool or a handheld vacuum to reach into corners and along baseboards. If you have hardwood floors, a microfiber mop works great. For carpets, go over the area multiple times to lift embedded dust.
Don't forget to vacuum the underside of the bed frame itself.
Wipe Down The Bed Frame
Dust and grime accumulate on the legs and rails of your bed frame. Use a damp cloth with a mild cleaner to wipe them down. Pay extra attention to any joints or hardware where dust tends to build up.
This step also helps prevent scratches on your flooring.
16. Bedroom: Organize Closet Shelves and Drawers
Closet shelves and drawers often become dumping grounds for items you rarely use. When was the last time you actually emptied them out and started fresh? Taking everything out gives you a chance to wipe down surfaces and reassess what you truly need.
This task not only tidies up but also makes your morning routine smoother.
Start by removing every single item from the shelves and drawers. Use a microfiber cloth and all-purpose cleaner to wipe down all surfaces, including corners and edges. Then sort everything into three piles: keep, donate, and toss.
Be honest about what you actually wear or use. For the keep pile, fold clothes neatly using the KonMari method or roll them for easy visibility. Use drawer dividers to separate socks, underwear, and accessories.
On shelves, group similar items together—like sweaters on one shelf, jeans on another. Consider adding small bins or baskets for items like belts, scarves, or workout gear. Labeling bins can help everyone in the household maintain the system.
Finally, return items to their designated spots and resist the urge to overstuff. A well-organized closet makes getting dressed faster and less stressful.
Empty And Wipe Down
Pull everything off the shelves and out of the drawers. Vacuum any dust or debris, then wipe all surfaces with a damp cloth and a gentle cleaner. Pay attention to corners and edges where grime hides.
Let everything dry completely before putting items back.
Sort Ruthlessly
Create three piles: keep, donate, and toss. Ask yourself if you've worn or used each item in the past year. If not, it's probably time to let it go.
Be strict—this is your chance to declutter. For items in good condition, bag them for donation. Anything stained or worn out goes in the trash.
Organize With Dividers And Bins
Use drawer dividers to separate small items like socks, underwear, and accessories. On shelves, stack folded clothes vertically so you can see everything at a glance. Add small bins or baskets for belts, scarves, or hats.
Labeling each bin helps keep the system intact.
17. Hallways and Entry: Wipe Baseboards and Door Frames
Hallways and entryways are high-traffic zones that collect dust, dirt, and scuffs. Baseboards, door frames, and switch plates often get overlooked during routine cleaning. A thorough wipe-down makes a huge difference in how fresh and polished the space feels.
Start by dusting or vacuuming baseboards to remove loose debris. Then, use a damp microfiber cloth or a sponge mop with a mild cleaner to wipe them down. Pay extra attention to corners and edges where grime builds up.
For door frames, work from top to bottom, and don't forget light switches and outlet covers, which can be wiped with a slightly damp cloth. Dry everything with a clean cloth to prevent water spots or streaks.
Gather The Right Tools
You'll need a microfiber cloth, a bucket of warm water with a few drops of dish soap, and a dry cloth. A sponge mop can speed up baseboard cleaning, and a small brush helps reach tight corners. Avoid harsh chemicals that might damage paint or finishes.
Work Top To Bottom
Start with door frames, then move to baseboards, and finish with light switches and outlet covers. This prevents dust from falling onto already cleaned areas. Use a step stool for high spots, and change your water if it gets dirty.
Tackle Stubborn Marks
Scuff marks on baseboards or door frames can be removed with a magic eraser or a paste of baking soda and water. Test on an inconspicuous area first. For painted surfaces, gentle pressure is key to avoid removing the paint.
18. Hallways and Entry: Clean Light Fixtures and Ceiling Fans
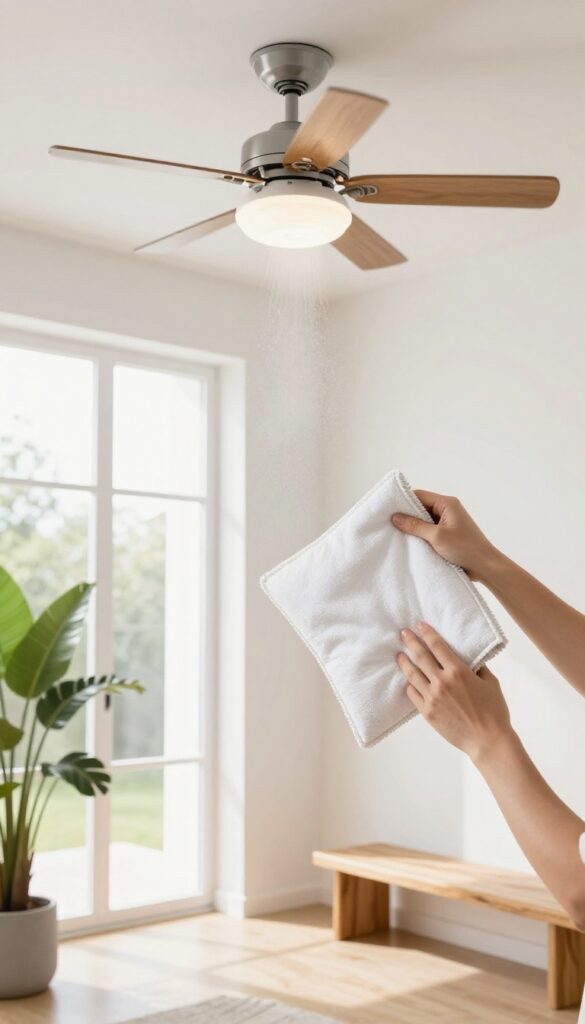
Light fixtures and ceiling fans in hallways and entryways are dust magnets because they're often left untouched during regular cleaning. Over time, that dust layer dims the light and can even affect air quality. Giving them a proper deep clean makes a noticeable difference in brightness and freshness.
Start by turning off the power at the switch or breaker to avoid any accidents. Use a sturdy step stool or ladder to reach high fixtures safely. For ceiling fans, the pillowcase trick is a game-changer: slide a clean pillowcase over each blade, then pull it back to trap the dust inside.
Wipe down the motor housing and pull chains with a microfiber cloth. For glass globes or shades, remove them carefully and wash in warm, soapy water. Let them air dry completely before reattaching.
Don't forget to wipe down the light switch plates and any nearby walls that may have collected dust or fingerprints.
Dust Light Fixtures First
Use a microfiber cloth or a duster with an extendable handle to reach high fixtures. Work from top to bottom so dust falls onto areas you haven't cleaned yet. For chandeliers or intricate fixtures, a soft brush attachment on your vacuum can help loosen dust before wiping.
Ceiling Fan Blades: The Pillowcase Method
Slide a clean pillowcase over each fan blade, then pull it back toward you. The dust stays inside the case instead of falling onto the floor or furniture. Wipe any remaining residue with a damp cloth.
Repeat for all blades, and don't forget the pull chain and light kit if your fan has one.
Wash Glass Shades And Globes
Remove glass covers carefully and soak them in warm water with a few drops of dish soap. Use a soft sponge to scrub away grime, then rinse and dry with a lint-free cloth. Reattach only when completely dry to avoid water spots or damage.
19. Home Office: Disinfect Keyboard and Mouse
Your keyboard and mouse are among the most touched surfaces in your home, yet they rarely get a proper clean. Over time, crumbs, skin oils, and bacteria build up between the keys and on the mouse buttons. A quick wipe isn't enough—you need to get into the crevices to truly deep clean them.
Start by unplugging your keyboard and mouse (or turning them off if wireless). For the keyboard, turn it upside down and gently shake out any loose debris. Then, dip a cotton swab in rubbing alcohol and carefully run it between each key.
For the mouse, use a disinfectant wipe to clean all surfaces, including the scroll wheel and sensor. Let everything air dry completely before plugging back in.
Why This Matters
Studies have shown that keyboards can harbor more bacteria than a toilet seat. Regular cleaning reduces germ transfer and keeps your workspace hygienic, especially if you eat at your desk.
Tools You'll Need
Cotton swabs, rubbing alcohol (70% isopropyl), disinfectant wipes, and a can of compressed air (optional for stubborn crumbs). Avoid using bleach or harsh chemicals that could damage the keys.
Pro Tips
For mechanical keyboards, you can remove keycaps for a deeper clean. Just snap them off with a keycap puller, soak in warm soapy water, and scrub gently. Let them dry fully before reattaching.
20. Home Office: Organize Cables and Paper Clutter
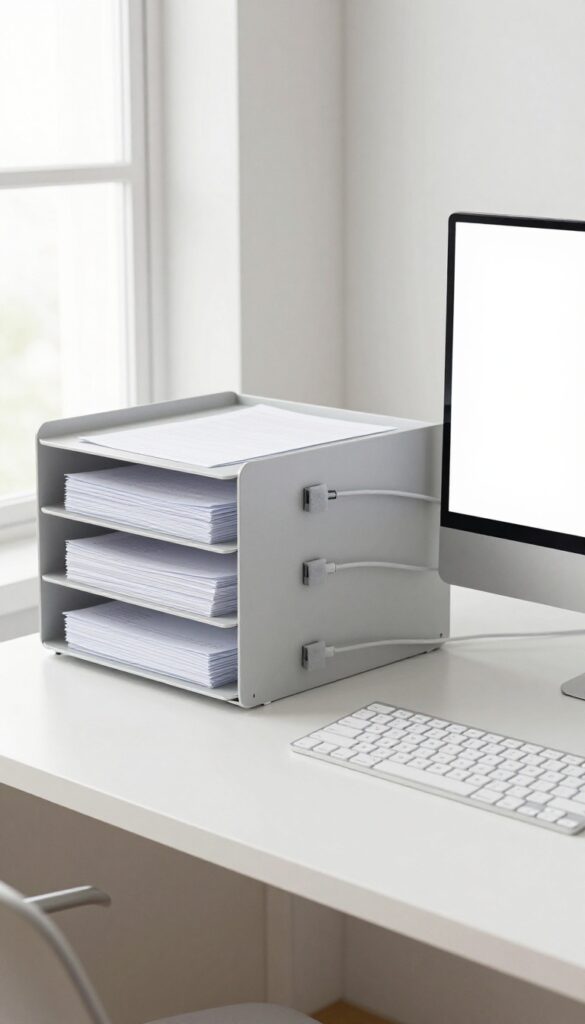
A cluttered home office can kill your focus and make deep cleaning feel pointless. Cables tangle, papers pile up, and dust settles on every surface. This section helps you tackle the two biggest offenders: cords and documents.
Tame The Cable Chaos
Start by unplugging everything. Label each cable with a small tag or piece of masking tape, then bundle them with Velcro ties. Use cable clips or a sleeve to keep them together behind your desk.
This not only looks cleaner but makes future unplugging a breeze.
Paper Purge And Sort
Gather all loose papers from your desk, drawers, and shelves. Shred anything with personal info you don't need. Recycle old drafts, receipts you've already filed, and expired warranties.
For current documents, use a simple tray system: one for action items, one for reference, and one for filing.
Wipe Down Every Surface
Don't forget the desk surface, monitor stand, keyboard tray, and mouse pad. Use a microfiber cloth with a gentle cleaner. Dust can build up on monitor bezels and the back of your computer tower, so give those a once-over too.
A clean workspace feels more inviting and helps you stay productive.
FAQ
How often should I deep clean my house?
Most homes benefit from a deep clean every 3 to 6 months. High-traffic areas or homes with pets may need it more often, like every 2 to 3 months.
What's the difference between deep cleaning and regular cleaning?
Regular cleaning focuses on surface-level tasks like sweeping, dusting, and wiping counters. Deep cleaning targets hidden dirt, grime, and buildup in places like behind appliances, inside cabinets, and on baseboards.
Can I deep clean my house in one day?
It's possible but challenging for a whole house. Break it into room-by-room sessions over a week to avoid burnout. Focus on one or two rooms per day.
What cleaning supplies do I need for deep cleaning?
Basic supplies include all-purpose cleaner, vinegar, baking soda, microfiber cloths, a scrub brush, a vacuum with attachments, and a squeegee. For specific tasks, you might need a degreaser or grout cleaner.
How do I deep clean without harsh chemicals?
Use natural alternatives like vinegar, baking soda, lemon juice, and castile soap. They work well for most tasks and are safe for families and pets.
Conclusion
Deep cleaning doesn't have to be a dreaded weekend project. By breaking it down into manageable tasks for each room, you can tackle the grime that regular cleaning misses without feeling overwhelmed. Start with the areas that bother you most, or work through the list in order.
Either way, your home will feel noticeably fresher, and you'll have a clear plan for next time. Keep this checklist handy, and deep cleaning becomes just another routine.