25 Home Cleaning Tips for Fresh and Tidy Living Spaces
You don't need a cleaning crew or fancy products to keep your home fresh and tidy. Small daily habits—like making your bed or wiping the sink after each use—make a bigger impact than marathon cleaning sessions. The key is consistency, not intensity.
These 25 tips focus on simple, low-effort actions that fit into any routine. From your kitchen to your car, each idea targets a specific area to help you maintain a clean space without feeling overwhelmed.
Ready to make cleaning feel less like a chore and more like second nature? Let's get started.
1. Make Your Bed Every Morning
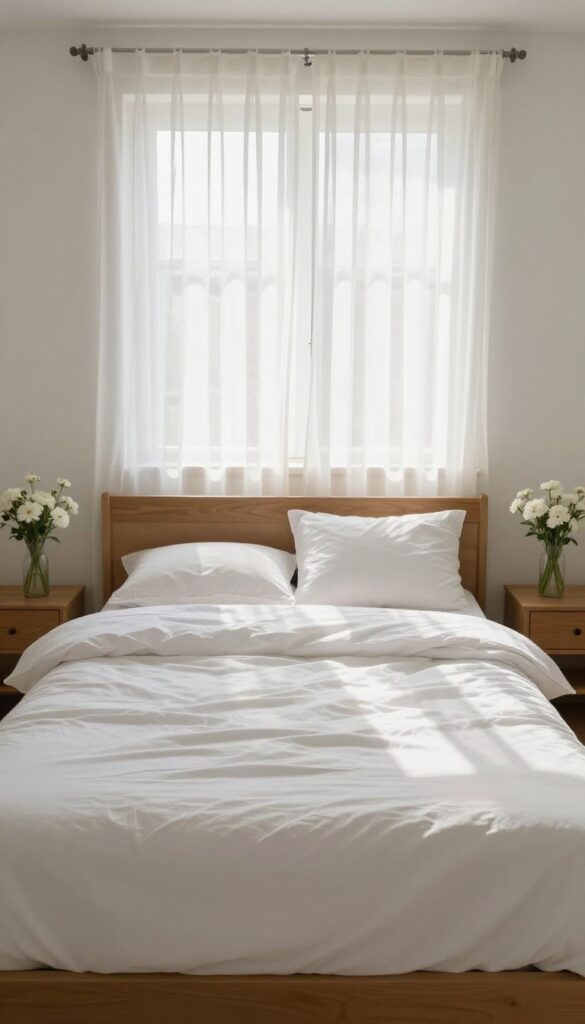
Starting your day by making the bed might seem trivial, but it sets a productive and tidy tone for the hours ahead. A neatly made bed instantly transforms a messy bedroom into a more organized space, and it only takes about two minutes. This small win early in the morning can motivate you to keep other areas of your home clean throughout the day.
Making your bed is the simplest habit to kick off a clean home routine. It reduces visual clutter and makes your bedroom feel more spacious and calm. Plus, when your bed is made, you're less likely to toss clothes or bags onto it, which helps maintain that fresh look.
Try to do it right after you get up, before you start your morning coffee or check your phone. It becomes automatic after a few days.
Why It Works
A made bed is a psychological trigger. It signals that the day has started and that you're in control of your space. Studies show that people who make their bed daily report higher productivity and a greater sense of well-being.
It's a low-effort, high-impact habit that costs nothing.
How To Do It Quickly
Don't overthink it. Pull the flat sheet and blanket up, fluff the pillows, and smooth out wrinkles. If you have a duvet, just shake it out and fold it neatly.
The goal is a tidy appearance, not military precision. Use a fitted sheet that stays put to save time.
Make It A Family Rule
Encourage everyone in the household to make their own bed. For kids, turn it into a game or a morning checklist. When the whole family participates, the entire house feels more organized.
Plus, it teaches responsibility and builds good habits early.
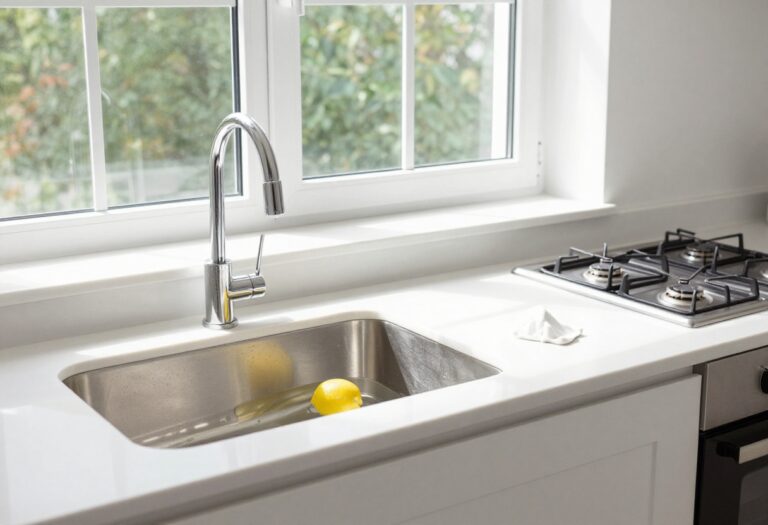
2. Wipe Down Sinks After Each Use
Sinks are one of the most used surfaces in any home, yet they often get neglected until they look grimy. A quick wipe after each use takes just seconds but saves you from scrubbing later. This habit keeps sinks looking fresh and reduces the buildup of soap scum, toothpaste, and water spots.
Keep a microfiber cloth by the sink. A quick wipe after brushing teeth or washing hands prevents soap scum and water spots. This simple habit keeps your sink looking clean and reduces the need for deep cleaning.
Why It Works
Soap residue and hard water minerals bond to surfaces over time, creating stubborn stains. Wiping while the surface is still wet removes these before they set. Microfiber cloths trap particles without scratching, making them ideal for daily use.
How To Make It A Habit
Store a clean microfiber cloth in a small caddy or hook near each sink. After using the sink, take two seconds to wipe the basin and faucet. Encourage family members to do the same by keeping the cloth accessible and visible.
Bonus Tips
For extra shine, use a drop of dish soap on the cloth once a week. Replace cloths every few weeks to avoid bacteria buildup. If you have a stainless steel sink, wipe in the direction of the grain to prevent streaks.
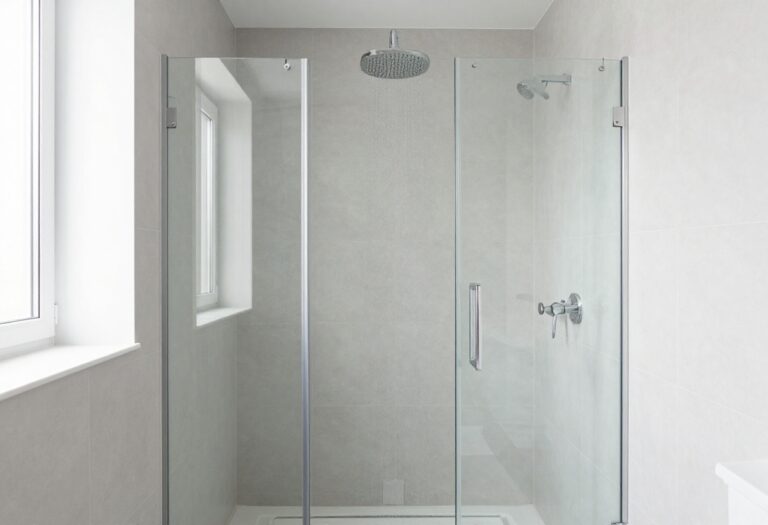
3. Use a Squeegee on Shower Walls
A squeegee is one of the simplest tools for keeping your shower clean. After every shower, a quick pass over the walls removes water droplets that cause mildew and hard water stains. It takes less than a minute and saves you from scrubbing later.
Hard water and soap scum build up fast when moisture sits on shower surfaces. A squeegee wipes away the water before it dries, preventing mineral deposits and mold growth. It's a low-effort habit that keeps your shower looking fresh without harsh chemicals.
Why It Works
When water evaporates, it leaves behind minerals and soap residue. That's what creates those cloudy stains and mildew spots. By removing the water immediately, you stop the process before it starts.
It's a preventive measure that tackles the root cause.
Best Squeegee For The Job
Look for a squeegee with a rubber blade and a hook for hanging. Keep it inside the shower so it's always handy. A 12-inch blade works well for standard tiles.
Replace the blade when it gets worn for streak-free results.
How To Make It A Habit
Hang the squeegee at eye level so you see it after each shower. Make it part of your post-shower routine—before you even step out. After a week, it will feel automatic.
Pair it with a quick spray of daily shower cleaner for even better results.
4. Clean as You Cook
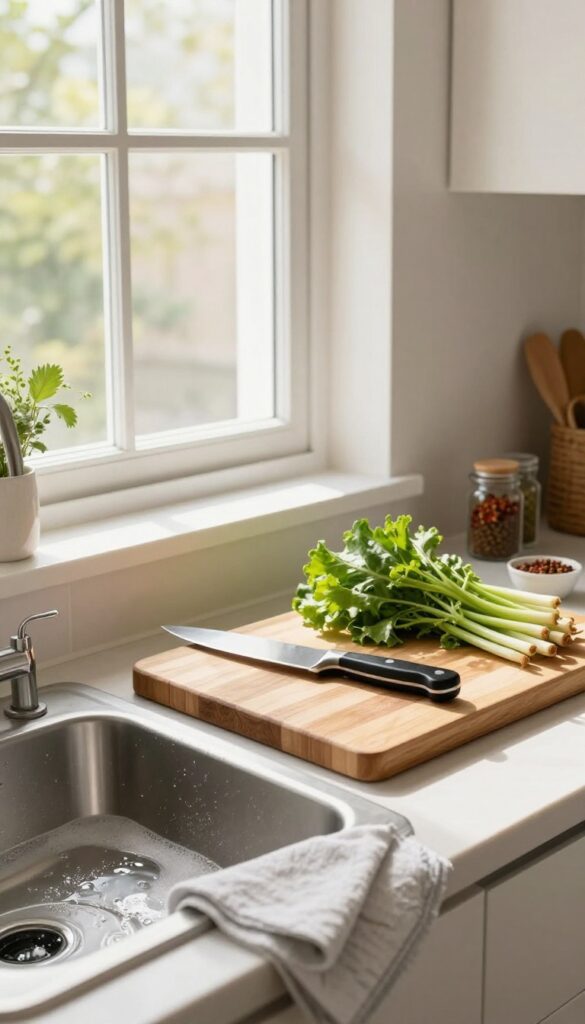
Cooking often leaves a trail of mess, but you can flip that by cleaning as you go. While your sauce simmers or pasta boils, you have small windows of time to wash dishes, wipe counters, and put away ingredients. This habit turns a chaotic kitchen into a tidy one by the time dinner is served.
The trick is to treat cooking like a workflow. Start by filling the sink with warm, soapy water before you begin. As you finish using a bowl or knife, drop it in.
When you have a moment, wash it. This prevents a pileup of greasy pans and sticky spoons. Also, wipe spills immediately—dried-on food takes more effort.
Finally, return spices, oils, and pantry items to their spots as you go. You'll end with a clean kitchen and a clear mind.
Prep Your Sink For Quick Cleanup
Before you start cooking, fill your sink with hot, soapy water. That way, you can drop dirty utensils and small bowls in right away. A quick scrub during a simmer break leaves them clean and ready to reuse.
Wipe As You Go
Keep a damp cloth or sponge nearby. Whenever you spill something or finish cutting veggies, wipe the counter. It takes seconds and stops sticky residue from building up.
Put Away Ingredients Immediately
After you measure out spices or pour oil, return them to the cabinet or pantry. This keeps your counter clutter-free and prevents you from hunting for items later.
5. Keep a Trash Bag in Your Car
Your car can quickly become a dumping ground for wrappers, receipts, and random junk. A simple fix is to keep a small trash bag handy. It takes seconds to toss things in and makes a huge difference in keeping your vehicle tidy.
Mount a small bag on the back of a seat or in the door pocket. Use a reusable cloth bag or a plastic grocery bag. Empty it every week when you fill up gas or run errands.
This habit prevents clutter from piling up and saves you from a big cleanup later.
Choose The Right Bag
Pick a bag that's easy to access and replace. A small, sturdy bag works best—not too big that it gets in the way, but big enough to hold a week's worth of trash. Reusable bags are eco-friendly, but disposable ones are fine too.
Set A Weekly Reminder
Make it a routine to empty the bag every week. Link it to a regular activity like getting gas or going grocery shopping. This keeps the habit consistent and your car fresh.
Keep It Handy
Place the bag where you can reach it easily from the driver's seat. That way, you'll use it instead of tossing trash on the floor. A hook on the back of the headrest or a clip on the center console works well.
6. Vacuum High-Traffic Areas Daily
Entryways and hallways see the most foot traffic, which means they collect dirt, dust, and debris faster than any other part of your home. A quick daily vacuum pass keeps that grime from settling deep into carpet fibers or scratching hard floors. It’s a small habit that makes a big difference in how clean your home looks and feels.
Focus your daily vacuuming on the areas where people walk most—front door entry, mudroom, main hallway, and kitchen path. Use a cordless stick vacuum or a lightweight canister for quick grab-and-go cleaning. If you have a robot vacuum, schedule it to run during low-traffic times.
This routine prevents dirt from spreading to other rooms and reduces how often you need a deep clean.
Why High-traffic Areas Need Daily Attention
Dirt and grit act like sandpaper on carpet fibers and hardwood finishes. When left alone, they wear down surfaces and create dull patches. Daily vacuuming lifts particles before they embed, preserving the look and lifespan of your flooring.
It also cuts down on allergens tracked in from outside.
Best Tools For A Quick Daily Pass
A cordless stick vacuum is ideal because it’s always ready and easy to grab. Look for one with a brush roll that works on both carpet and hard floors. Robot vacuums are great for hands-off daily maintenance, especially if you have pets.
For tight corners and edges, a small handheld vacuum or a dustpan and brush can finish the job.
How To Build The Habit
Keep your vacuum in a convenient spot near the high-traffic areas, like a closet or corner in the hallway. Set a daily reminder on your phone or pair it with an existing habit—like vacuuming while your morning coffee brews. After a week, it will feel automatic.
Even two minutes a day is enough to keep dirt from piling up.
7. Use Microfiber Cloths for Dusting
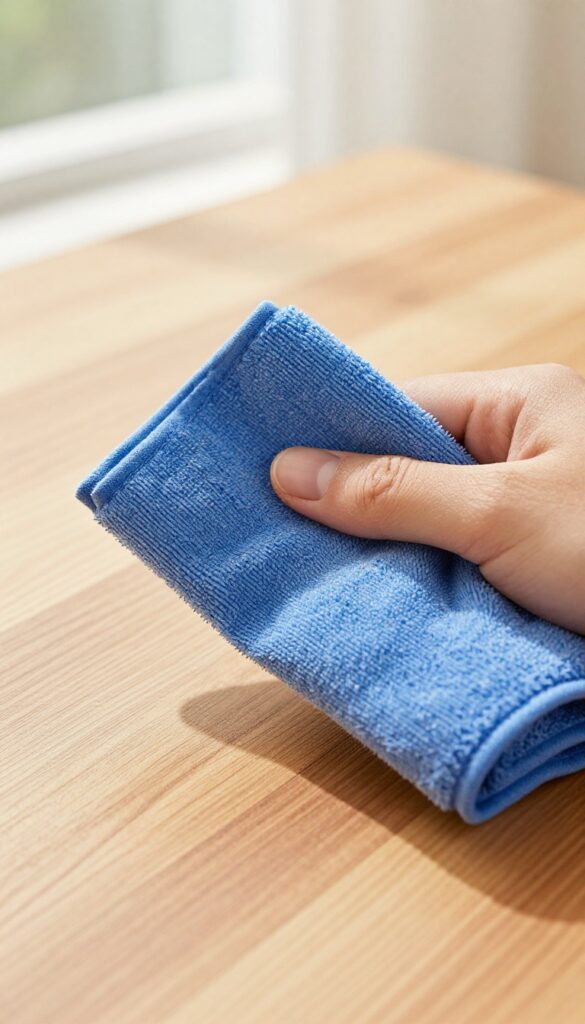
Dusting can feel like a losing battle—you swipe a rag across a surface, and the dust just flies elsewhere. That's where microfiber cloths come in. Their unique fibers trap dust particles instead of pushing them around, making your cleaning more effective and less messy.
Microfiber cloths are a game-changer for dusting because they use static electricity to attract and hold dust, dirt, and allergens. Unlike cotton rags that just redistribute dust, microfiber grabs it and locks it in until you wash the cloth. This means less airborne dust and fewer sneezes.
Plus, they're reusable and washable, so you cut down on waste and save money over time.
Dampen For Electronics
Electronics like TV screens, computer monitors, and laptops are notorious for attracting dust. Dry dusting can scratch delicate surfaces, but a slightly damp microfiber cloth picks up dust without leaving streaks or causing damage. Just wring it out well so it's barely moist, then gently wipe screens and keyboards.
The microfiber's gentle texture won't scratch, and the dampness helps lift stubborn grime.
Perfect For Blinds
Blinds are a dust magnet, and cleaning each slat individually is tedious. A microfiber cloth makes quick work of them. Close the blinds flat, then wipe each slat with a damp microfiber cloth.
The fibers grab dust from both sides at once, so you can clean a whole window's worth of blinds in minutes. For vertical blinds, work from top to bottom to avoid spreading dust.
Care And Longevity
To keep your microfiber cloths effective, wash them separately from cotton items to prevent lint transfer. Use mild detergent without fabric softener, as softener clogs the fibers and reduces their static charge. Air dry or tumble dry on low heat.
With proper care, a good microfiber cloth can last for hundreds of washes.
8. Clean Your Dishwasher Monthly
Your dishwasher works hard every day, but it also needs a little TLC. Over time, grease, food particles, and soap scum build up inside, leading to odors and less effective cleaning. A monthly deep clean keeps it running smoothly and your dishes sparkling.
The simplest method is to run an empty cycle with a cup of white vinegar placed on the top rack. The vinegar breaks down mineral deposits and cuts through grease. For extra freshness, sprinkle baking soda on the bottom of the dishwasher before starting a short rinse cycle.
This two-step process is cheap, chemical-free, and surprisingly effective.
Why Monthly Cleaning Matters
Skipping dishwasher maintenance can lead to clogged spray arms, foul smells, and even mold growth. A clean dishwasher not only performs better but also extends the appliance's lifespan. Plus, it ensures your dishes come out truly clean, not just rinsed.
Step-by-step Vinegar Clean
Start by removing any debris from the filter and drain. Place a dishwasher-safe cup filled with white vinegar on the top rack. Run a hot water cycle.
The vinegar will circulate and dissolve buildup. After the cycle ends, wipe down the door seals and edges with a damp cloth.
Baking Soda Boost
For stubborn odors or residue, follow the vinegar cycle with a baking soda treatment. Sprinkle a cup of baking soda across the bottom of the dishwasher. Run a short hot water cycle.
Baking soda neutralizes smells and helps loosen any remaining grime.
9. Deodorize Carpets with Baking Soda
Carpets trap odors from pets, cooking, and daily traffic. Instead of masking smells with synthetic sprays, baking soda offers a natural solution. It absorbs and neutralizes odors without leaving any chemical residue or strong fragrance.
Sprinkling baking soda on your carpets is a quick, cost-effective way to keep them fresh. Let it sit for at least 15 minutes—or longer for stubborn smells—then vacuum thoroughly. For best results, do this weekly in high-traffic areas.
Why Baking Soda Works
Baking soda is alkaline, which helps it neutralize acidic odor molecules. It's gentle on fibers and safe for pets and kids. Unlike commercial powders, it won't leave a sticky buildup that attracts dirt.
How To Apply For Maximum Effect
Start by vacuuming the carpet to remove loose debris. Sprinkle a thin, even layer of baking soda over the area. For extra odor-fighting power, mix in a few drops of essential oil like lavender or lemon.
Let it sit for 15–30 minutes, then vacuum again using slow, overlapping passes.
When To Use A Deeper Treatment
For set-in smells, leave the baking soda on overnight. You can also sprinkle it on upholstery or mattresses. If odors persist, consider a steam clean after the baking soda treatment to lift deeper grime.
10. Use a Lint Roller on Lampshades
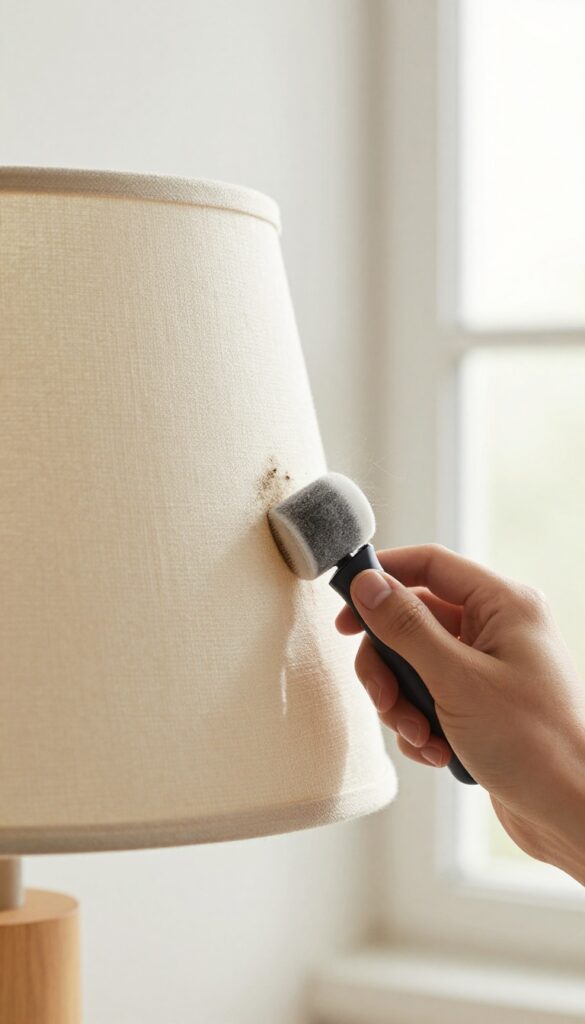
Fabric lampshades are dust magnets, but wiping them with a cloth often pushes dust deeper into the fibers or leaves lint behind. A lint roller solves this in seconds. It lifts dust, pet hair, and cobwebs without any scrubbing or moisture.
Keep one near your cleaning supplies and give each shade a quick roll every week.
Why It Works So Well
The adhesive sheets grab particles that a dry cloth would just redistribute. Fabric shades have texture that traps dust, and a lint roller's tacky surface pulls it out effectively. It's also gentle—no risk of fraying or crushing the fabric.
How To Do It Right
Start at the top of the lampshade and roll downward in straight lines, overlapping each pass slightly. Use a fresh sheet after every few rolls to maintain stickiness. For pleated or ruffled shades, roll with the folds, not against them.
Bonus: Use It On Other Fabric Surfaces
Lint rollers aren't just for lampshades. They work great on fabric headboards, chair cushions, throw pillows, and even the fabric lining of drawers. Keep one in your car for quick upholstery touch-ups.
11. Clean Your Washing Machine Every Few Months
Your washing machine works hard to keep your clothes fresh, but it can get pretty grimy itself. Over time, detergent residue, fabric softener, and dirt build up inside, leading to musty smells and even mold. A quick clean every few months keeps it running smoothly and your laundry smelling great.
Why It Matters
A dirty washing machine can transfer odors and bacteria onto your clothes. Mold and mildew thrive in the damp, dark drum, especially in front-loaders. Regular cleaning prevents these issues and extends the life of your machine.
How To Clean It
The easiest method: run an empty hot cycle with two cups of white vinegar or a washing machine cleaner. For front-loaders, wipe the rubber gasket and door seal after each use to prevent mold. Also, leave the door open between loads to let the drum dry out.
Don't Forget The Dispensers
Detergent and fabric softener drawers can get clogged with gunk. Remove them (if possible) and soak in hot water with vinegar. Scrub with an old toothbrush, then rinse and replace.
This simple step keeps your machine efficient and odor-free.
12. Keep a Small Trash Can in Every Room
Ever notice how trash seems to accumulate on countertops, desks, and nightstands? That's usually because the nearest bin is too far away. Placing a small trash can in every room solves this instantly.
You'll find yourself tossing wrappers, tissues, and junk mail immediately instead of setting them down "for later. "
The convenience of a nearby bin reduces clutter and makes cleanup a no-brainer. Choose compact cans that fit your space—think slim rectangles for bathrooms, small round ones for bedrooms, and discreet options for home offices. Empty them regularly to prevent overflow and odors.
A quick daily or every-other-day round keeps things fresh.
Choose The Right Size And Style
Look for cans that blend in with your decor but are large enough to hold a day's worth of waste. For bathrooms, a 2-3 gallon can works well. Bedrooms and offices can use 4-6 gallon cans.
Avoid oversized bins that encourage letting trash pile up.
Make Emptying Part Of Your Routine
Tie emptying small cans to another daily habit, like taking out the kitchen trash or before you go to bed. This prevents overflow and keeps odors at bay. Use liners for easy removal—unscented bags work best to avoid clashing with room scents.
Placement Tips For Maximum Use
Put cans where trash naturally accumulates: next to the toilet, under the desk, beside the nightstand, and near the kitchen island. Keep them visible but not obtrusive. If space is tight, consider wall-mounted or under-sink options.
13. Use a Toothbrush for Grout and Corners
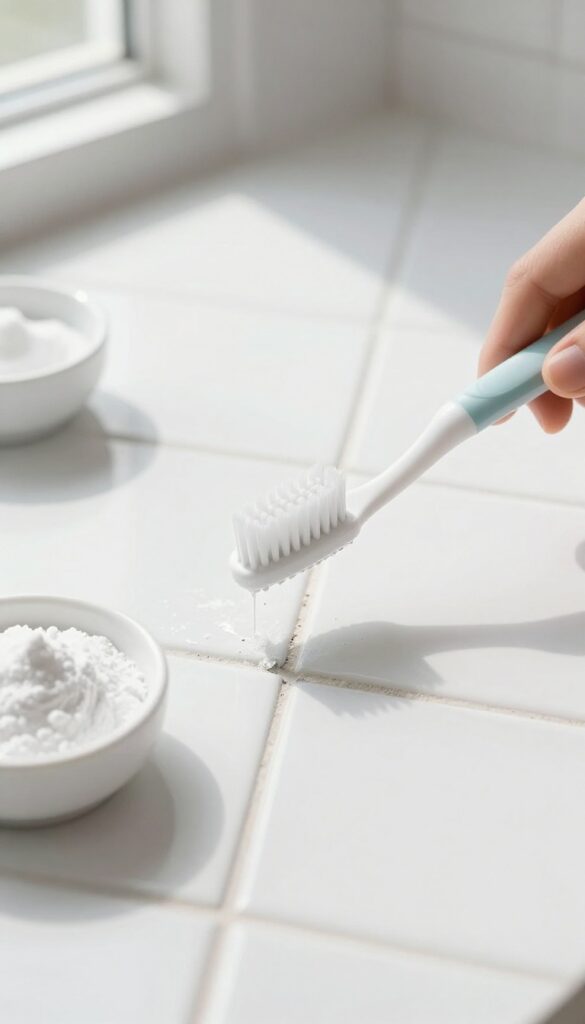
An old toothbrush is one of the best tools for reaching those tight, awkward spots that sponges and cloths just can't get into. Grout lines, faucet bases, and the corners of window tracks collect grime over time, and a toothbrush's small bristles can scrub them clean without damaging surfaces. Pair it with a simple paste of baking soda and water for a gentle but effective cleaner.
Using a toothbrush for detailed cleaning is a cheap and effective way to maintain a fresh home. The small head allows you to target narrow spaces with precision, while the bristles can dislodge stuck-on dirt. This method works especially well in bathrooms and kitchens where moisture and debris build up quickly.
Make A Baking Soda Paste
Mix three parts baking soda with one part water to form a thick paste. Apply it to the grout or corner you want to clean, let it sit for five minutes, then scrub with the damp toothbrush. The mild abrasiveness of baking soda lifts stains without scratching tiles or metal.
Target Faucet Bases And Sink Corners
Faucet bases and sink corners often collect hard water stains and soap scum. Dip the toothbrush into the paste and scrub around the base of the faucet and along the edges of the sink. Rinse with water and wipe dry for a spotless finish.
Clean Window Tracks And Sliding Door Channels
Window tracks and sliding door channels are notorious for trapping dust and debris. Use a dry toothbrush first to loosen the dirt, then vacuum it up. For sticky residue, apply a little baking soda paste and scrub before wiping clean.
14. Rotate and Fluff Your Pillows
Pillows take a beating every night—flattening, collecting dead skin cells, and trapping dust mites. But a simple routine of fluffing and rotating can keep them supportive and fresh much longer. It takes seconds and makes a noticeable difference in both comfort and cleanliness.
Fluffing your pillows daily redistributes the filling, preventing permanent clumps and flat spots. Rotating them weekly ensures even wear, so one side doesn't get all the sweat and oils. This habit also helps reduce dust mite buildup, since mites thrive in undisturbed, moist environments.
For best results, fluff in the morning before making the bed, and rotate when you change your sheets.
Why Fluffing Matters
When you sleep, your head compresses the pillow fibers. Over time, they stay compressed, leading to a lumpy, unsupported pillow. Fluffing breaks up those compressed areas and restores loft.
It also aerates the pillow, letting trapped moisture escape—which discourages dust mites and mildew.
How To Rotate Properly
Rotating means swapping the pillow's position—head to foot, or flipping it over. If your pillow is two-sided (one side cooler, one warmer), flip it to use both sides evenly. For bed partners, swap pillows between sides of the bed weekly so wear is balanced.
Mark the pillow with a small fabric pen or safety pin to track which side is up.
When To Replace Pillows
Even with regular fluffing and rotating, pillows have a lifespan. If your pillow no longer springs back after fluffing, or you wake up with neck pain, it's time for a new one. Most pillows last 1–2 years.
A good test: fold the pillow in half—if it doesn't unfold on its own, replace it.
15. Clean Your Fridge Coils Annually
Your fridge works hard 24/7, but those coils behind or underneath it are often forgotten. When dust builds up, the compressor has to run longer and harder, which wastes energy and can shorten the appliance's life. A quick vacuum session once a year keeps things running smoothly and quietly.
Cleaning the coils is one of those tasks that takes ten minutes but pays off all year. You don't need any special skills—just a vacuum with a brush attachment and maybe a coil cleaning brush for stubborn grime. Start by unplugging the fridge (safety first), then locate the coils.
They're usually on the back or behind a grille at the bottom. Gently vacuum away the dust, being careful not to bend the fins. If you have pets, you might need to do this every six months.
Afterward, plug it back in and enjoy a slightly lower electric bill.
Why It Matters
Dirty coils force your fridge to work overtime. According to energy experts, cleaning them can improve efficiency by up to 30%. That means your fridge uses less electricity, lasts longer, and keeps food at a consistent temperature.
It's a small effort with real benefits.
How To Do It Right
Unplug the fridge and pull it away from the wall if needed. Use a vacuum with a crevice tool to remove loose dust. For caked-on dirt, a coil brush (available at hardware stores) works wonders.
Be gentle—the fins are fragile. Once clean, push the fridge back, leaving a few inches of space behind for airflow.
When To Call A Pro
If your coils are caked with grease or pet hair that won't budge, or if the fridge still runs hot after cleaning, consider a professional cleaning. Also, if you have a built-in fridge, accessing coils may require a technician. Otherwise, this is a safe DIY task.
16. Use a Dryer Sheet to Dust Baseboards
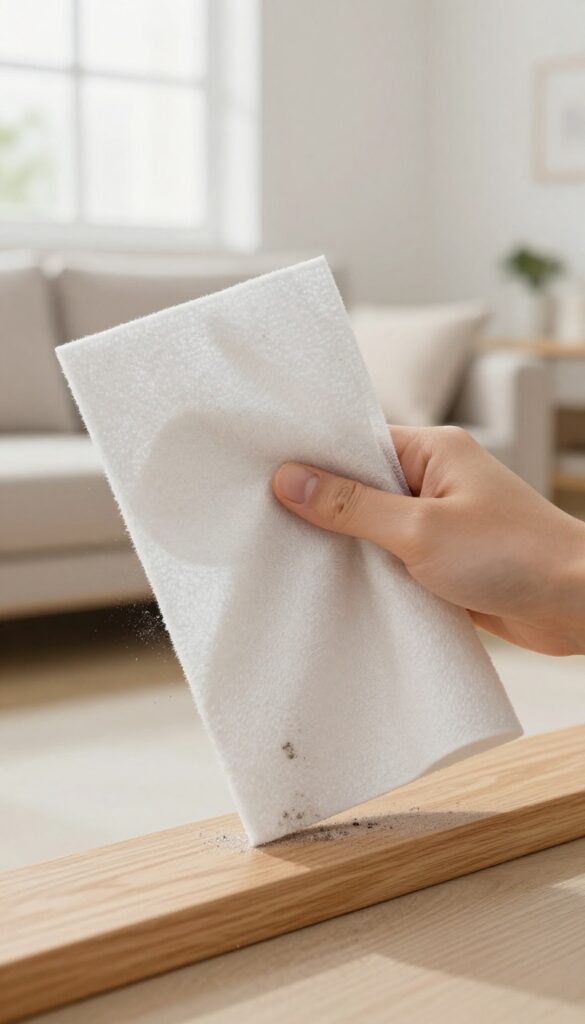
Baseboards and blinds are notorious dust magnets, but they don't have to be a pain to clean. A used dryer sheet—the one you'd normally toss—can make quick work of dusting these surfaces while leaving behind a light, fresh scent. It's a simple swap that saves time and reduces waste.
Dryer sheets are designed to reduce static, which makes them excellent at attracting and holding dust rather than just pushing it around. This means you can dust baseboards and blinds without sending particles flying into the air. Plus, the anti-static properties help repel future dust, keeping those surfaces cleaner for longer.
Just grab a used sheet (or a new one if you prefer) and run it along the top edge of your baseboards, then down the front. For blinds, close them flat and wipe each slat in one smooth motion. The sheet will pick up dust and lint easily, and you can flip it over as needed.
When you're done, toss it—no rinsing or washing required.
Why Dryer Sheets Work So Well
The secret is the fabric softener coating. As you wipe, the sheet's fibers grab dust particles while depositing a thin, static-reducing layer. This not only cleans but also helps prevent dust from settling back quickly.
It's the same reason they work on baseboards, blinds, and even electronics screens.
How To Dust Baseboards Efficiently
Start at one end of a room and work your way around. Use a long-handled duster for high baseboards, or simply bend down with a sheet in hand. For stubborn spots, lightly dampen the sheet with water.
The combination of moisture and the sheet's texture lifts caked-on grime without damaging paint.
Bonus Uses For Used Dryer Sheets
Don't toss them after one use. Used sheets still have plenty of dust-attracting power. Use them to wipe down ceiling fan blades, light fixtures, or even the tops of picture frames.
They're also great for removing soap scum from shower doors or polishing chrome fixtures.
17. Soak Stovetop Grates in Ammonia
Stovetop grates take the brunt of spills and splatters, and scrubbing them by hand is a pain. But there's a nearly effortless method that breaks down baked-on grease overnight. All you need is a plastic bag, some ammonia, and a bit of patience.
Place your greasy grates in a large, sealable plastic bag. Pour about a quarter cup of household ammonia into the bag, then seal it shut. Let it sit overnight—the fumes will loosen every bit of grime.
In the morning, remove the grates, rinse them thoroughly with water, and wipe clean. No scrubbing required. Just be sure to work in a well-ventilated area and keep the bag away from pets and kids.
Why Ammonia Works So Well
Ammonia is a powerful degreaser that reacts with the oils and carbonized food on your grates. The sealed bag traps the fumes, creating a mini chemical reaction that dissolves grease without elbow grease. It's the same principle behind oven self-cleaning cycles, but much gentler on metal.
Safety Tips For Using Ammonia
Always wear gloves and work in a well-ventilated space—open a window or turn on the exhaust fan. Never mix ammonia with bleach or other cleaners, as it creates toxic fumes. After soaking, rinse grates thoroughly with hot water to remove any residue before putting them back on the stove.
What If You Don't Have Ammonia?
You can substitute with a paste of baking soda and dish soap, or use a commercial oven cleaner. But for heavy buildup, nothing beats ammonia. If you're sensitive to strong smells, try placing the bag outside or in a garage overnight.
18. Clean Your Ceiling Fan Blades with a Pillowcase
Ceiling fan blades are dust magnets, and cleaning them usually means a cloud of dust raining down on your floor or furniture. But there's a clever trick that keeps the mess contained: use a pillowcase. It's quick, easy, and leaves no trace behind.
Slide a pillowcase over each blade, then pull it back off. The dust gets trapped inside the pillowcase instead of falling everywhere. This method works best with a standard pillowcase that fits snugly over the blade.
Do one blade at a time, and shake the pillowcase outside or over a trash can when you're done.
Why It Works So Well
The fabric of the pillowcase creates friction that lifts dust off the blade, while the closed end catches it all. No need for sprays or extra tools—just a pillowcase you'd wash anyway. It's also gentle on the fan's finish, unlike some abrasive cloths.
Step-by-step In Under A Minute
Start with the fan off. Hold the pillowcase open with both hands and slide it over one blade until the blade tip reaches the seam. Gently pull the pillowcase back toward you, letting the dust fall inside.
Repeat for each blade. That's it—no ladder required if your fan is low enough, but a step stool helps for high ceilings.
Bonus Tips For Best Results
Use a microfiber pillowcase for extra dust attraction. If blades are very greasy (like in a kitchen), lightly dampen the pillowcase with water or a mild cleaner. Wash the pillowcase afterward to keep it ready for next time.
19. Use a Magic Eraser on Scuff Marks
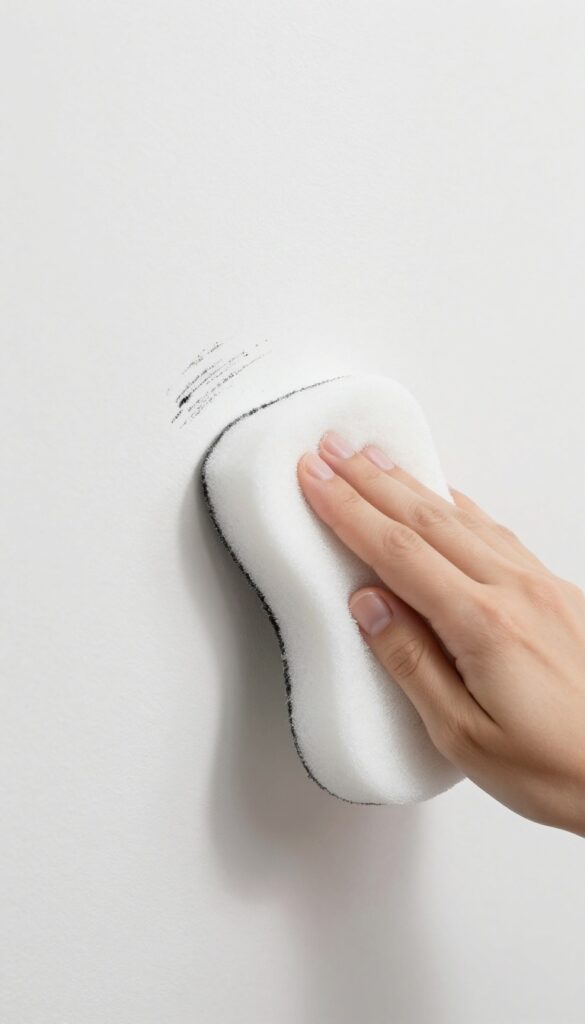
Scuff marks appear out of nowhere—on walls, baseboards, and even your favorite pair of sneakers. Instead of reaching for harsh chemicals or scrubbing until your arm hurts, grab a melamine foam sponge (commonly known as a Magic Eraser). It works like an eraser on a pencil mark, lifting scuffs without any extra effort.
These sponges are made of melamine foam, which acts like ultra-fine sandpaper when wet. They tackle scuffs, crayon marks, and stubborn grime on a variety of surfaces. Just dampen the sponge, squeeze out excess water, and gently rub the mark.
The sponge will crumble slightly as it works—that's normal. For tough scuffs, apply a bit more pressure, but test on an inconspicuous area first, especially on painted walls or glossy finishes.
Where To Use Magic Erasers
Walls and baseboards are the most obvious targets. But don't stop there—use them on scuffed shoes (especially white sneakers), scuffed floors (like vinyl or laminate), and even on appliances to remove stubborn fingerprints. They also work wonders on bathtub rings and sink stains.
Tips For Best Results
Always start with a damp sponge—not soaking wet. Gently rub in one direction to avoid damaging the surface. For painted walls, test a small area first, as the sponge can remove paint if you rub too hard.
Replace the sponge once it starts to crumble or lose its effectiveness. And never use a Magic Eraser on non-stick cookware or delicate surfaces like polished marble.
Safety And Storage
Keep Magic Erasers out of reach of children and pets. They are not toxic, but they can be a choking hazard. Store them dry in a cool place.
After use, rinse the sponge thoroughly and let it air dry; you can reuse it several times until it falls apart.
20. Disinfect Light Switches and Door Handles
Light switches and door handles are among the most touched surfaces in any home, yet they often get overlooked during routine cleaning. These high-contact points can harbor bacteria and viruses, making them a hotspot for germ transfer. A quick weekly wipe-down can significantly reduce the spread of illness and keep your home healthier.
Why They Matter
Think about how many times a day you flip a light switch or grab a door handle. Now multiply that by everyone in your household. These surfaces are touched by clean and dirty hands alike, and they rarely get cleaned between uses.
Studies have shown that light switches and door handles can harbor more germs than a toilet seat, simply because they aren't disinfected as often.
The Right Way To Clean
You don't need anything fancy—just a disinfectant wipe or a cloth with a spray disinfectant. Make sure the surface stays wet for the contact time listed on the product label (usually a few minutes) to effectively kill germs. For light switches, wring out the wipe first to avoid liquid seeping into the switch plate.
Door handles can be wiped down completely, including the back side and any knobs or levers.
Make It A Habit
Tie this task to something you already do weekly, like taking out the trash or vacuuming. Keep a pack of disinfectant wipes under the sink or in a caddy so they're easy to grab. A quick once-over on all light switches and door handles takes less than five minutes and can make a big difference in your home's overall cleanliness.
21. Clean Your Garbage Disposal with Ice and Salt
Your garbage disposal works hard, but it can get smelly and grimy over time. Instead of harsh chemicals, try a simple trick using ice and salt. It's quick, effective, and you probably have both ingredients in your kitchen right now.
Why Ice And Salt Work
Ice cubes are firm enough to knock off stuck-on food particles and grease buildup. When combined with coarse salt, they create a scrubbing action that scours the blades and interior walls. The salt also acts as a mild abrasive and deodorizer, helping to neutralize odors without leaving a chemical residue.
How To Do It Right
Drop a handful of ice cubes into the disposal, then add about a tablespoon of salt. Turn on the cold water and run the disposal for 30 to 60 seconds. The cold water keeps any grease solid so it can be chopped up and flushed away.
After that, let the water run for another 15 seconds to rinse everything down the drain.
Bonus Tips For Freshness
For extra freshness, follow up with a few lemon or orange peels. The citrus oils leave a pleasant scent and help cut through lingering odors. Avoid using bleach or harsh drain cleaners, as they can damage the disposal's rubber seals and metal parts.
Stick to this ice and salt method once a week to keep your disposal running smoothly and smelling clean.
22. Use a Vinegar Solution for Glass and Mirrors
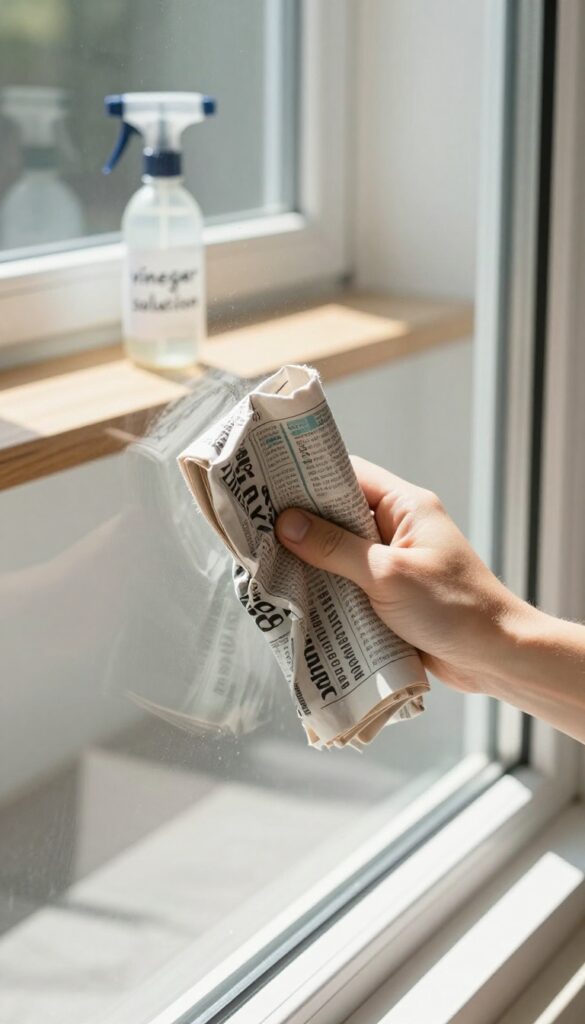
Glass and mirrors can be tricky—spray too much cleaner and you're left with streaks; wipe with the wrong cloth and lint sticks everywhere. A simple vinegar solution cuts through grime without harsh chemicals, and it costs pennies to make. The trick is in the application: use newspaper instead of paper towels for a crystal-clear finish.
Mix equal parts water and white vinegar in a spray bottle. Lightly mist the glass or mirror—don't soak it—then wipe immediately with crumpled newspaper. The ink acts as a mild abrasive and the newsprint won't leave lint.
For large windows, work in sections to avoid drying spots. If you're sensitive to the vinegar smell, let the solution sit for a few minutes before wiping; the odor dissipates quickly.
Why Newspaper Works Best
Newspaper has a slightly rough texture that lifts dirt without scratching glass. It also absorbs liquid evenly, reducing streaks. Microfiber cloths are a good second choice, but avoid paper towels—they often leave fibers and residue.
When To Skip The Vinegar
Vinegar is acidic, so avoid it on mirrors with silver backing that's exposed or damaged—it can corrode the metal. Also, don't use it on tinted windows or auto glass with a coating, as it may cause clouding. For those cases, stick to a dedicated glass cleaner.
Extra Shine For Stubborn Spots
For hard water spots or dried-on splatters, add a drop of dish soap to your vinegar solution. Wipe with a damp cloth first, then follow with the vinegar spray and newspaper. This two-step method removes residue without extra scrubbing.
23. Deep Clean Your Mattress Twice a Year
Your mattress works hard every night, absorbing sweat, dead skin cells, and dust mites. Over time, these buildup can affect your sleep quality and even trigger allergies. A simple deep cleaning routine twice a year keeps it fresh and extends its lifespan.
What You'll Need
Grab your vacuum with an upholstery attachment, a box of baking soda, and a clean, dry cloth. Optional: a few drops of essential oil to mix with the baking soda for a light scent.
Step-by-step Process
Start by stripping all bedding and washing it in hot water. Vacuum the entire mattress surface, paying extra attention to seams and crevices. Sprinkle a generous layer of baking soda over the mattress and let it sit for at least 2–3 hours (overnight is even better).
Then vacuum thoroughly to remove all powder.
Extra Tips For Stubborn Stains
For fresh stains, blot with a cloth and cold water, then treat with a mild detergent or hydrogen peroxide solution. Avoid soaking the mattress—dampness can lead to mold. Always let the mattress dry completely before remaking the bed.
How Often To Do This
Twice a year is the sweet spot—once in spring and once in fall. If you have allergies or pets, consider doing it every three months. Regular maintenance keeps your mattress smelling fresh and reduces allergens.
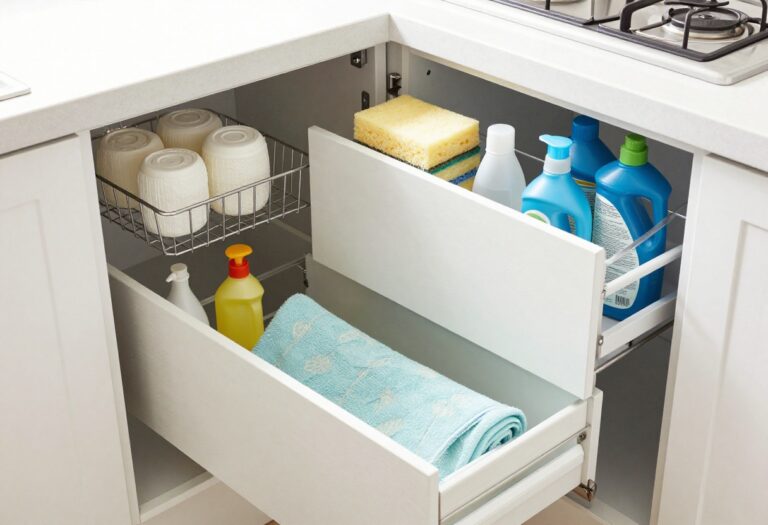
24. Organize Under the Sink with Bins
Under-sink cabinets often become a chaotic jumble of bottles, brushes, and leaky containers. Adding small bins or baskets transforms that mess into a tidy, accessible space. Not only does this make finding what you need faster, but it also contains spills before they spread to the cabinet floor.
Choose The Right Bins
Opt for sturdy, easy-to-clean plastic or wire bins. Measure your cabinet depth and height first—standard under-sink bins are about 10–12 inches deep. Clear bins let you see contents at a glance, while colored ones can hide clutter.
Look for bins with handles for easy pulling.
Group By Category
Sort supplies into logical groups: all-purpose cleaners, glass sprays, scrub brushes, sponges, and dishwasher pods. Use one bin for each category. This way, you grab the whole bin when tackling a specific task, and nothing gets lost in the back.
Prevent Leak Damage
Line the cabinet bottom with a waterproof mat or a plastic tray. Place the most leak-prone items—like bleach or dish soap—in a separate bin with a tight lid. Check monthly for drips and wipe bins clean to avoid sticky residue.
Maintain The System
Keep it simple: when you buy new supplies, put them in the right bin immediately. Every few months, pull everything out, wipe down the cabinet, and toss empty bottles. If a bin gets too full, consider adding another or switching to a larger size.
25. Create a 10-Minute Daily Tidy-Up Routine
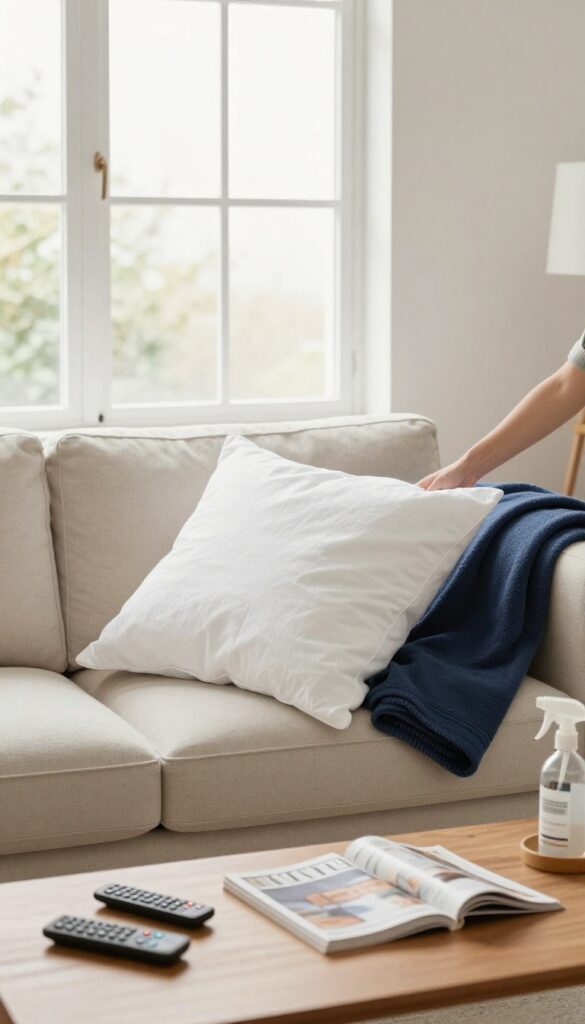
A quick daily reset can keep your home from spiraling into chaos. By dedicating just ten minutes each day to tidying up, you prevent clutter from piling up and maintain a fresh look without a big time commitment. This routine is flexible enough to fit into any schedule, whether you do it in the morning, after work, or right before bed.
The beauty of a 10-minute tidy-up is that it's short enough to not feel like a chore but effective enough to make a visible difference. Set a timer, put on some upbeat music, and focus on the areas that need the most attention. Over time, this habit becomes automatic, and your home will consistently feel more organized and welcoming.
What To Tackle First
Start with the most visible clutter: throw pillows that need fluffing, blankets to fold, and stray items like mail or remote controls that belong elsewhere. Quickly wipe down kitchen counters and the dining table with a microfiber cloth. These high-impact areas instantly make the room look tidier.
Speed-cleaning Techniques
Work from top to bottom and left to right to avoid backtracking. Use a caddy with all-purpose cleaner and a few cloths so you don't waste time gathering supplies. For floors, a quick sweep or vacuum of the main traffic paths takes just a couple of minutes and dramatically reduces dust and debris.
Making It A Habit
Anchor your tidy-up to an existing routine, like right after dinner or before your morning coffee. Use a timer to stay on track and resist the urge to deep-clean. Consistency is key—even on days when you're tired, a minimal tidy-up prevents the mess from growing and keeps your home feeling fresh.
FAQ
How often should I deep clean my home?
Aim for a deep clean every season—four times a year. Focus on areas like the oven, fridge, windows, and carpets.
What's the best natural all-purpose cleaner?
Mix equal parts white vinegar and water in a spray bottle. Add a few drops of essential oil for scent. It works on most surfaces except stone.
How can I make cleaning less overwhelming?
Break tasks into small chunks. Use a timer for 10-minute sessions, and focus on one room at a time. Consistency beats marathon cleaning.
What's the most effective way to remove pet hair?
Use a rubber squeegee or a damp microfiber cloth on furniture. A lint roller works well for smaller areas. Vacuum with a pet hair attachment.
How do I keep my home smelling fresh without artificial air fresheners?
Open windows daily for ventilation. Simmer citrus peels and cinnamon on the stove. Use baking soda to absorb odors in carpets and trash cans.
Conclusion
A fresh home doesn't require a full-day deep clean every week. Small, consistent habits—like wiping down surfaces after use or tackling one drawer at a time—add up to a space that feels good without burning you out. Pick a few tips that fit your routine and make them stick.
You don't need to do everything at once. Start where it feels easiest, and let the momentum carry you. Your home should support your life, not add to your stress.