15 Cleaning My Room Steps for a Quick Organized Reset
A messy room can drain your energy before you even start your day. But resetting your space doesn't require a full weekend deep clean. These 15 steps break the process into quick, focused actions that build momentum fast.
Start with the floor, end with fresh linens, and watch your room transform in under an hour. Each task targets the biggest visual clutter first, so you see progress immediately. No fluff, no perfectionism—just a practical system that works when you're short on time.
Ready to hit reset? Let's walk through the steps.
1. Clear the Floor
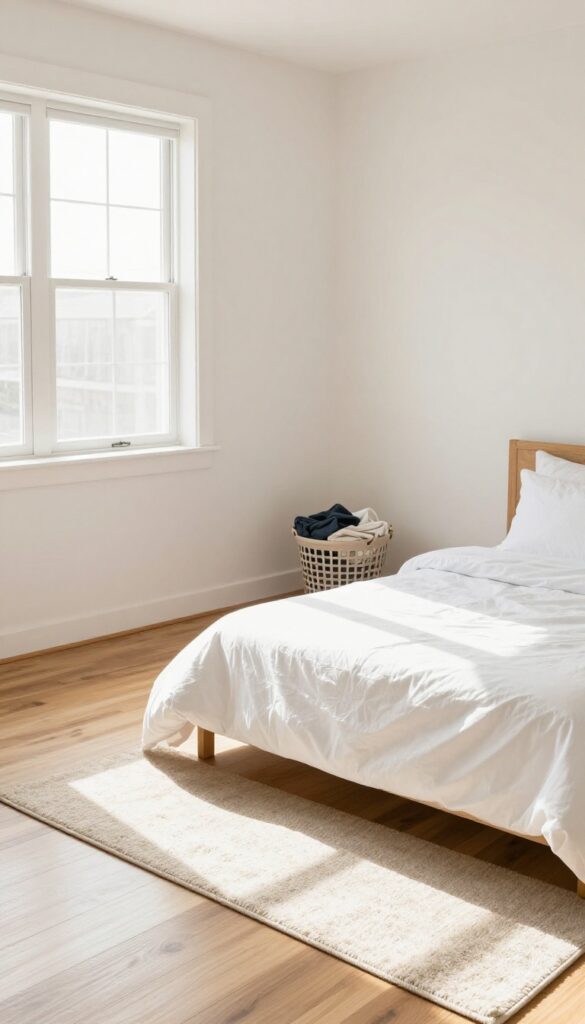
The floor is the largest surface in your room and the first thing your eyes hit when you walk in. By clearing it completely, you instantly remove the biggest source of visual chaos. This one move makes the whole space feel lighter and more open, giving you a psychological win right at the start.
Start by grabbing a laundry basket or empty box. Walk around the room and pick up everything that belongs on the floor: clothes, shoes, bags, books, random papers, and any stray items. Don't worry about sorting or organizing yet—just get it all off the ground.
Pile everything into the basket or a corner of the room if you don't have a container. The goal is to see bare floor, not to put things away perfectly. This step takes five minutes tops and sets the tone for the entire reset.
Why The Floor Matters Most
Clutter on the floor makes a room feel smaller and more chaotic than any other type of mess. Our brains register floor clutter as a tripping hazard and a sign of disorganization, which triggers stress. Clearing it gives you immediate relief and a sense of control.
What To Do With The Pile
Once everything is off the floor, you have two options: toss the pile into the hallway for now, or dump it on your bed. The bed method works well because you'll have to deal with it before you sleep, which forces you to put things away later. Either way, the floor stays clear.
A Quick Floor Refresh
After picking up, do a fast sweep or vacuum of the now-exposed floor. Even if you don't have time for a full clean, running a vacuum over the bare floor picks up dust and crumbs that were hiding under the clutter. It takes two minutes and makes the room feel fresh.
2. Strip the Bed
Your bed is the centerpiece of the room, and a messy pile of sheets and blankets makes everything feel chaotic. Stripping it down to the bare mattress takes seconds but instantly changes the whole vibe. Plus, that bare surface becomes a clear, open workspace for folding laundry or sorting items.
Why A Bare Bed Works
A made bed looks great, but a stripped bed is a signal that you're in reset mode. It removes the visual weight of rumpled fabric and creates a blank slate. You'll feel a small psychological shift—like the room is ready for a fresh start.
Gather And Go
Pull off everything: sheets, pillowcases, duvet cover, blankets, and any decorative pillows. Toss them directly into a laundry basket or pile by the door. Don't stop to sort or pre-treat stains—just get it off the bed.
You can deal with laundry later.
Air It Out
While the bed is bare, pull back the mattress protector if you have one and let the mattress breathe for a few minutes. This is a good time to check for any crumbs, dust bunnies, or lost items that have accumulated. A quick once-over with a lint roller or vacuum attachment keeps things fresh.
3. Gather All Trash

Trash is the easiest win in any room reset. It requires zero decision-making—just grab a bag and start collecting. Within minutes, you'll see a visible difference that fuels motivation to keep going.
Take a trash bag and circle the room, scanning surfaces, floors, and corners. Toss anything that's clearly waste: crumpled receipts, empty water bottles, broken pens, used tissues, and packaging. Don't pause to sort or second-guess—if it's trash, it goes.
This quick sweep removes visual noise and creates instant breathing room.
Why Trash First?
Trash has no sentimental value and requires no organizing skill. Clearing it first gives you a clean slate and a psychological boost. You're not deciding where to put things—you're just removing what doesn't belong.
This momentum carries into the next steps.
What Counts As Trash?
Be ruthless: old receipts, empty bottles, broken electronics, dried-out markers, junk mail, expired coupons, and any packaging you don't need. If you haven't touched it in weeks and it serves no purpose, bag it. Don't overthink—if it's obviously garbage, it's garbage.
Speed Over Perfection
Set a timer for five minutes and move fast. Don't stop to read old notes or check if a pen still works. The goal is to fill the bag, not to analyze every item.
Speed keeps you from getting sidetracked and builds momentum for the rest of the reset.
4. Put Away Out-of-Place Items
Those items that belong in the kitchen, living room, or office have a way of migrating into your bedroom. They sit on your nightstand, dresser, or floor, making the space feel cluttered even when everything else is tidy. Instead of running around the house right now, gather them all in one basket and deal with them later.
This step is about containment, not completion. By collecting out-of-place items into a single basket or bin, you clear surfaces and create a visual sense of order without breaking your cleaning momentum. The key is to not leave the room—resist the urge to return items one by one.
That can derail your focus and add extra steps. Once the basket is full, set it by the door and move on to the next step. You'll redistribute everything after the room reset is done.
Why A Basket Works
A basket acts as a temporary holding zone. It keeps you from getting sidetracked by trips to other rooms. Plus, seeing all the misfits in one place makes it easier to return them efficiently later.
Choose a basket or bin that's easy to carry—something like a laundry basket or a tote bag works perfectly.
What Counts As Out-of-place
Look for anything that doesn't belong in a bedroom: coffee mugs, books from the living room, phone chargers for the office, mail, toys, or gym gear. If it doesn't have a designated home in your room, it goes in the basket. Be honest—if you've been using your nightstand as a catch-all, now's the time to clear it.
Don't Overthink It
This step is fast by design. Scan each surface—dresser, nightstand, desk, floor—and grab items that stand out as misplaced. Don't sort or organize them yet.
Just toss them in the basket. The goal is to clear visual clutter, not to perfect your system. You'll sort and return everything once the room is fully reset.
5. Wipe Down Surfaces
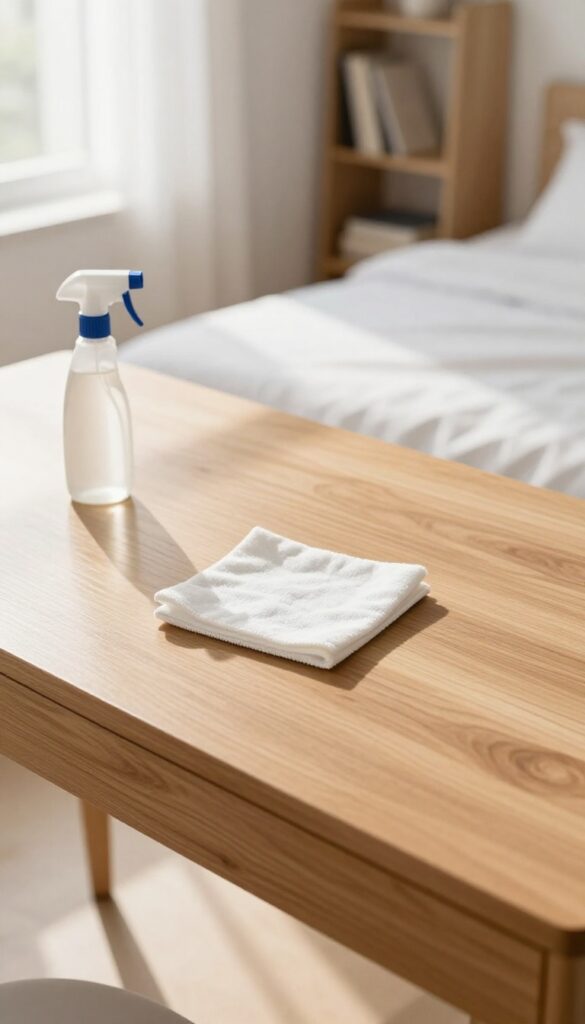
Once the floor is clear and the bed is made, it's time to tackle the horizontal surfaces. Desks, nightstands, dressers, and shelves collect dust, fingerprints, and random smudges faster than you think. A quick wipe-down instantly makes the whole room feel fresher and more put together.
Grab a microfiber cloth or a disinfecting wipe and work from top to bottom. Start with the highest shelves, then move to dresser tops, nightstands, and finally your desk. This prevents dust from falling onto already-cleaned areas.
Pay special attention to spots where you rest your hands or place electronics—those get grimy fast. Don't forget lamp bases, picture frames, and the tops of baseboards if they're within reach. A single pass is usually enough for a quick reset; you're not deep cleaning, just removing the visible layer of dust and grime.
Choose The Right Cloth
Microfiber is your best friend here. It traps dust instead of pushing it around, and it works dry or slightly damp. Avoid paper towels on glass or glossy surfaces—they leave lint and streaks.
If you're using a disinfecting wipe, make sure it's safe for the material you're cleaning (especially wood or laminate).
Don't Forget The Hidden Zones
The top of your monitor, the back of your phone charger stand, and the edges of your desk where crumbs collect—these spots get overlooked but make a big difference. A quick once-over on these areas takes thirty seconds and prevents that slightly grimy feeling.
Keep A Caddy Handy
Store a microfiber cloth and a small spray bottle of all-purpose cleaner under your sink or in a drawer. That way, you can grab them in seconds and do a surface wipe whenever you notice dust building up. No hunting for supplies, no excuses.
6. Dust Blinds and Windowsills
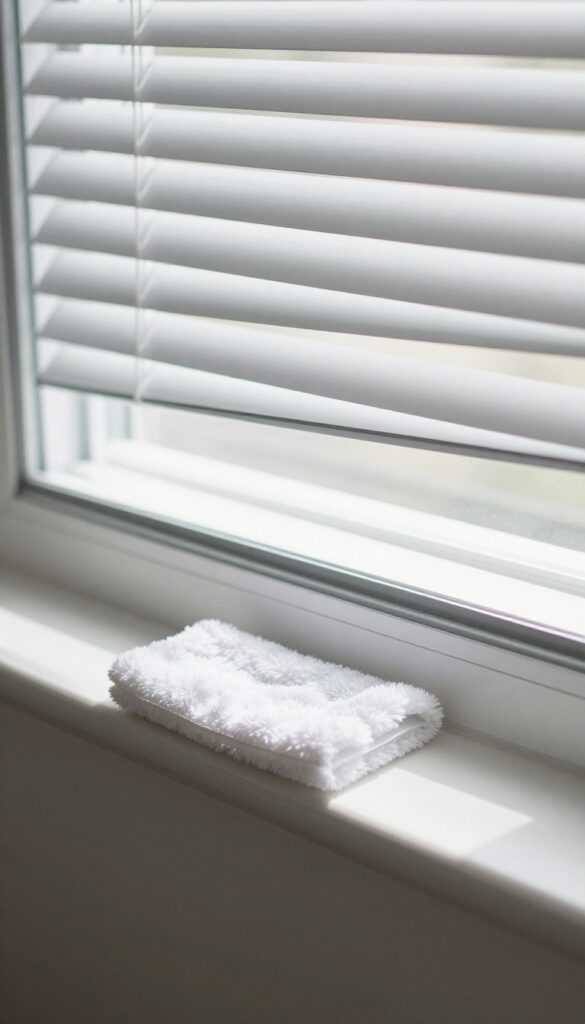
Windows are like the eyes of your room—when they're clean, the whole space feels brighter. But blinds and sills collect dust fast, especially if you live near a busy street or have pets. This step takes just a few minutes but makes a noticeable difference in air quality and appearance.
Close And Dust The Blinds
Start by closing the blinds so the slats are flat. Use a microfiber duster or a damp cloth to wipe each slat from top to bottom. If you have horizontal blinds, work in one direction to avoid spreading dust.
For vertical blinds, wipe each panel individually. This prevents dust from resettling and keeps the room feeling fresh.
Wipe Down Windowsills And Tracks
After the blinds, move to the windowsill. Use a damp cloth to wipe away dust, pollen, or any grime. For stubborn spots, a little all-purpose cleaner works well.
Don't forget the window tracks—they often hide dirt and cobwebs. A quick pass with a vacuum crevice tool or an old toothbrush can get into tight corners.
Check For Cobwebs And Smudges
Corners around windows are prime real estate for cobwebs. Use a long-handled duster or a broom wrapped with a cloth to reach high corners. Also, check the glass for smudges or fingerprints.
A streak-free glass cleaner will make the window sparkle, but even a dry microfiber cloth can remove light dust.
7. Tackle the Mirror and Glass
Mirrors and windows are the finishing touch that makes a room feel clean and bright. Even if the rest of the space is tidy, smudges and dust on glass surfaces can make everything look dull. This step takes just a couple of minutes but delivers an instant visual payoff.
Choose The Right Cleaner
You don't need anything fancy. A standard glass cleaner or a DIY mix of equal parts water and white vinegar works perfectly. Avoid ammonia-based products if you have tinted windows or delicate mirror frames.
Spray directly onto the surface, not onto the cloth, to prevent drips and overspray.
Wipe With The Right Cloth
Lint-free microfiber cloths are ideal. Paper towels can leave behind fibers and streaks. Use a dry cloth for the initial wipe, then follow up with a clean, dry section to buff away any remaining moisture.
Work in a zigzag or S-pattern to avoid missing spots.
Don't Forget The Frame And Edges
Dust and grime accumulate along mirror edges and window sills. Use a dry microfiber cloth or a small brush to clean these areas before spraying. For stubborn residue, a slightly damp cloth with a drop of dish soap works wonders.
A clean frame makes the whole glass look pristine.
8. Organize Your Nightstand
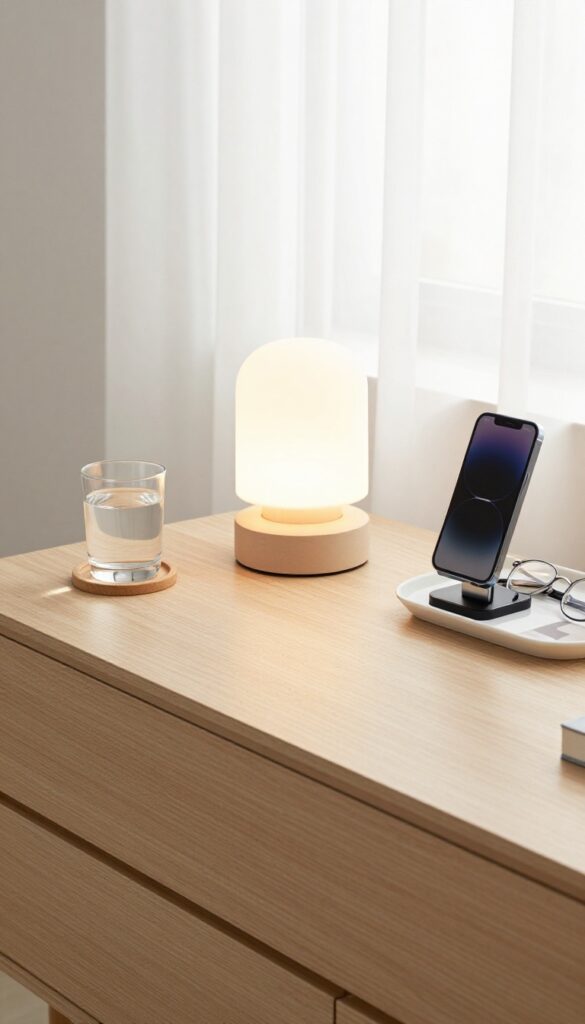
Your nightstand is a magnet for random items that accumulate while you sleep. By the end of the week, it's cluttered with water glasses, phone chargers, books, and maybe a snack wrapper or two. Streamlining this surface to just the essentials makes your bedroom feel instantly more peaceful.
Start by removing everything from the nightstand. Wipe it down, then place back only what you actually use before bed or first thing in the morning. A lamp, a book, a glass of water, and your phone charger are plenty.
Everything else—loose change, old receipts, random gadgets—needs a different home.
What Stays
Keep it minimal: a small lamp for reading, one book (not a stack), a coaster for your water glass, and a dedicated spot for your phone charger. That's it. If you use an alarm clock or a sleep mask, those can stay too, but be ruthless about anything that doesn't serve a nightly purpose.
What Goes
Old tissues, empty bottles, pens that don't work, and random mail have no place here. Create a small tray or dish for daily items like your watch or glasses, but don't let it become a catch-all. Everything else belongs in a drawer or another room.
Maintenance Trick
Make it a habit to clear your nightstand every morning when you make your bed. Take any trash or items that wandered in overnight and put them away. This takes thirty seconds and prevents clutter from piling up again.
9. Sort Through Your Desk
Your desk might be the most cluttered surface in the room. Papers, pens, chargers, and random knick-knacks pile up fast, especially if you work or study from home. Clearing it off takes just a few minutes but makes a huge difference in how focused you feel.
A clean desk isn't just about looks—it's about function. When everything has a home, you spend less time searching for things and more time actually getting stuff done. Let's break down the quickest way to tackle this zone.
Start With A Blank Slate
Clear everything off the desk and place it on the floor or bed. Wipe down the surface with a microfiber cloth or a disinfecting wipe. This gives you a fresh starting point and makes it easier to decide what actually belongs there.
Sort Papers Into Three Piles
Handle each piece of paper once. Create piles for action (bills to pay, forms to fill), filing (receipts, manuals, important documents), and recycling (junk mail, old notes, anything outdated). Shred sensitive documents if needed.
Corral Your Supplies
Gather all pens, pencils, highlighters, and markers. Test each one—toss anything that doesn't work. Place the keepers in a cup, jar, or organizer.
Do the same for sticky notes, paper clips, and other small items. Group like with like so you can grab what you need without digging.
Tame The Cables
Unplug and untangle any charging cables, USB cords, or headphone wires. Use cable ties, clips, or a small box to keep them organized. Only keep the cables you actually use regularly—store extras in a labeled bag or drawer.
10. Refresh Your Closet Door
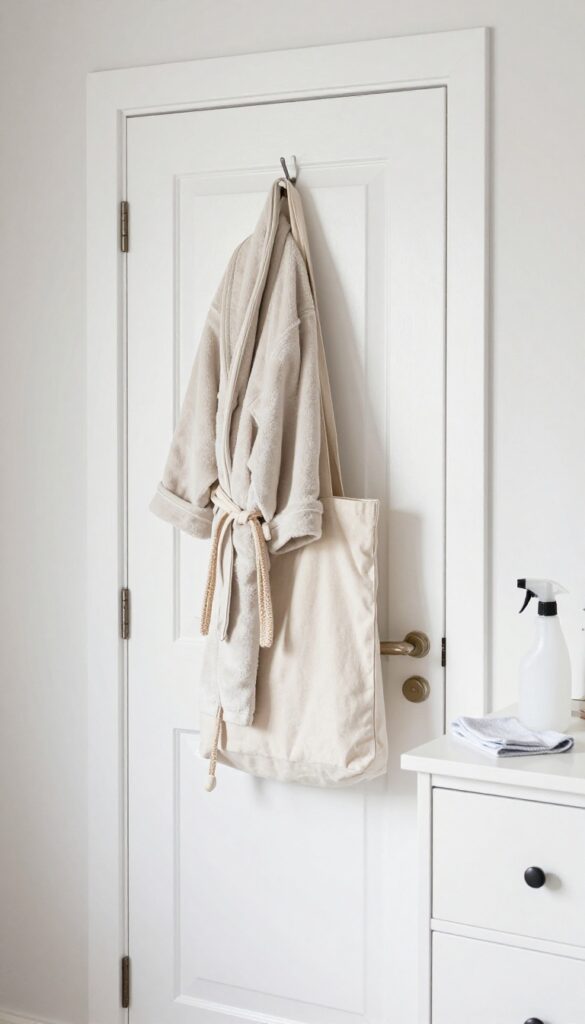
Your closet door is often the last thing you think about, but it's one of the first things you see when you walk into the room. A dirty or cluttered door can make the whole space feel messy, even if everything else is tidy. Giving it a quick wipe and organizing what's hanging on it takes just a few minutes and instantly lifts the room's vibe.
Wipe Down The Surface
Grab a microfiber cloth and a gentle all-purpose cleaner. Dust and fingerprints collect on closet doors, especially if they're white or glossy. A quick once-over removes the grime and makes the door look fresh.
Don't forget the handle and hinges—they gather dirt too.
Organize Hanging Items
If you use the door for hanging robes, bags, or accessories, take a moment to straighten them. Remove anything that doesn't belong, like old coats or random scarves. Group similar items together, and consider using over-the-door hooks for a neat arrangement.
A tidy door sets a calm tone for the entire room.
11. Vacuum or Sweep the Floor
With the floor finally clear of clutter, it's time to tackle the dirt and dust that settled while you were sorting. A thorough vacuum or sweep instantly lifts the freshness of the room. Don't rush this step—it's the foundation of that clean-room feeling.
Grab your vacuum or broom and start at the farthest corner, working your way toward the door. This ensures you don't track dirt over a clean area. Pay special attention to edges, under the bed, and behind furniture where dust bunnies hide.
If you have a vacuum with attachments, use the crevice tool for baseboards and corners. For hard floors, a microfiber mop after sweeping picks up fine dust. The result?
A floor that looks and smells clean, making the whole room feel lighter.
Don't Forget The Baseboards
Baseboards collect a surprising amount of dust and grime. While you're down there, give them a quick wipe with a microfiber cloth or a dusting wand. It takes just a minute but makes a noticeable difference in how polished the room looks.
Under The Bed And Furniture
These spots are prime real estate for dust bunnies and lost items. Move furniture slightly if you can, or use a long-handled duster to reach underneath. A clean under-bed area not only improves air quality but also makes the room feel more spacious.
Finish With A Fresh Scent
After vacuuming, consider a quick spritz of fabric refresher on carpets or a natural room spray. The combination of visual cleanliness and a light, pleasant scent signals to your brain that the reset is complete.
12. Make the Bed with Fresh Linens
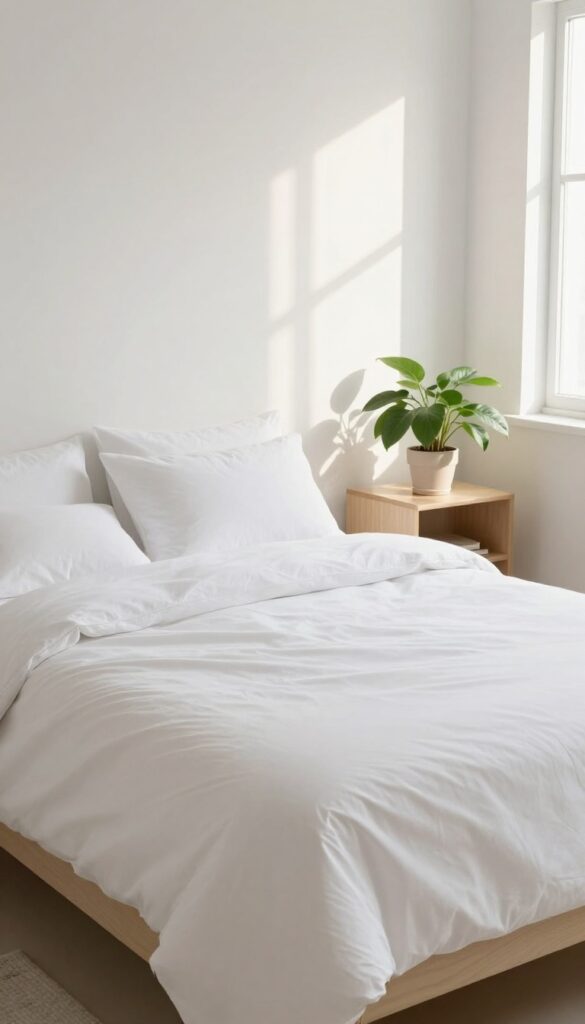
There’s something about climbing into a bed that’s been crisply made with clean sheets. It’s the final touch that signals the room reset is complete. A made bed instantly anchors the space, making everything around it look more intentional and tidy.
Start by stripping off the old sheets and tossing them in the laundry basket. Grab your freshest set—preferably one that’s been washed and folded, not just pulled from the dryer. Fitted sheet first, then the flat sheet, smoothing out any wrinkles as you go.
Fluff your pillows and arrange them neatly. Finally, lay the duvet or comforter evenly and fold the top edge back for a hotel-like finish. The whole process takes less than five minutes, but the visual payoff is huge.
Choose The Right Linens
Not all sheets are created equal. For a quick reset, stick with a set that’s easy to put on—deep pockets for thick mattresses, fitted corners that stay put. Cotton percale or sateen are breathable and look crisp.
Avoid overly wrinkled fabrics if you don’t plan to iron.
Layer For Comfort And Style
A well-made bed often has layers: a flat sheet, a lightweight blanket, then the duvet. This gives you options for temperature and adds visual depth. Fold the duvet down about a foot to expose the sheet and pillows, creating an inviting look.
Don’t Forget The Pillows
Fluff each pillow by punching the center and shaking it out. Arrange them from largest to smallest if you have multiple. Two standard pillows or one body pillow work fine.
The goal is symmetry and a plush, welcoming appearance.
13. Fluff and Arrange Pillows and Throws

Once the bed is made, the finishing touches are what make the room feel put together. Fluffing pillows and arranging throws adds that cozy, styled look without much effort. These small details signal that the space is cared for and ready to relax in.
Plump For Shape
Start with decorative pillows. Give each one a good fluff by squeezing and shaking it to redistribute the filling. This restores their shape and makes the bed look inviting.
For floor pillows or cushions, do the same to keep them looking fresh.
Layer With Intention
Place larger pillows in back and smaller ones in front for a layered look. If you have a throw, fold it neatly or drape it casually over the foot of the bed. The goal is balance—not too stiff, not too messy.
A simple fold or a loose drape both work.
Quick Check For Balance
Step back and see if the arrangement feels even. Adjust any pillows that are too far apart or clumped together. Symmetry isn't required, but a sense of order helps.
This step takes less than a minute and instantly elevates the room's vibe.
14. Add a Final Scent
You've put in the work—floors are clean, surfaces are clear, and the bed is made. Now it's time for that finishing touch that makes the whole room feel fresh. A pleasant scent signals to your brain that the cleaning is complete and the space is ready to enjoy.
Adding a light fragrance is the easiest way to cap off your cleaning session. It doesn't have to be strong or complicated—just a quick spritz of linen spray or a few minutes of a candle burning can do the trick. The goal is to create a sensory cue that tells you, 'This room is reset. '
Choose A Light, Clean Scent
Stick with scents that feel fresh and natural, like lavender, cotton, or citrus. Avoid heavy, cloying fragrances that might give you a headache. A simple linen spray works wonders—just a couple of spritzes on your pillows or curtains, and the room instantly smells laundered.
Keep It Quick And Safe
If you're using a candle, light it only for a few minutes while you put away your cleaning supplies. Never leave a burning candle unattended. For a safer option, use a reed diffuser or an essential oil spray.
The idea is a subtle scent, not an overpowering cloud.
15. Do a Quick Visual Scan
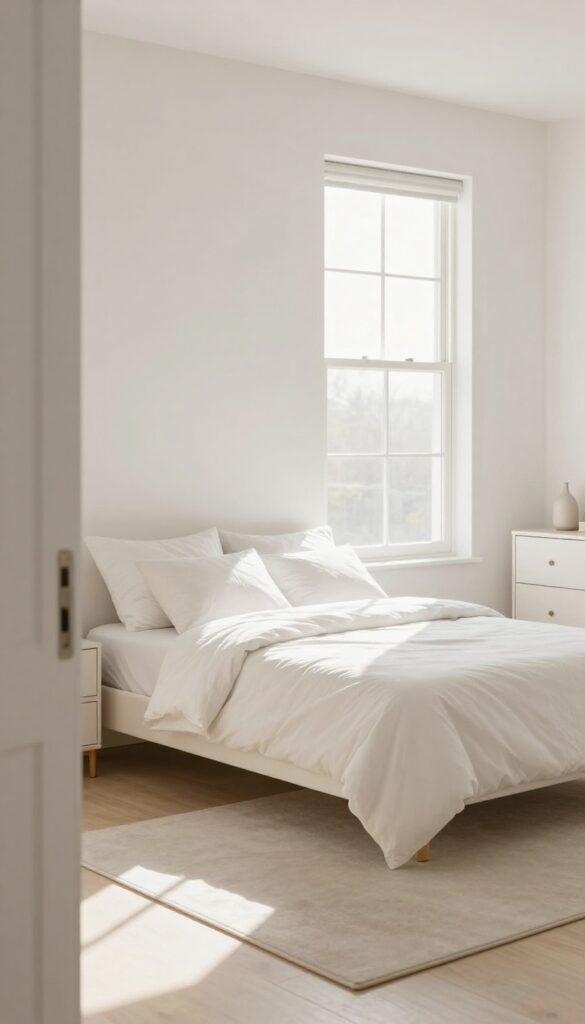
You've put in the work—floors are clean, surfaces are clear, and the bed is made. Now it's time for the final polish. A quick visual scan from the doorway helps you catch any small details that make the room feel truly finished.
This step is about training your eye to notice what's off, so you can adjust it in seconds.
Stand at the doorway and look around. Adjust anything that feels off—straighten a rug, close a drawer, or fluff a pillow. Enjoy your reset.
Train Your Eye
Your brain registers visual chaos even when you don't realize it. That crooked lampshade or slightly open cabinet door might seem minor, but fixing them signals to your mind that the room is complete. Spend 30 seconds scanning from left to right, top to bottom.
The 30-second Touch-up
You don't need to rearrange furniture or start a new project. Just reach out and correct anything that's askew. Push in a chair, align a stack of books, or rotate a rug that's bunched up.
Small tweaks have a big impact on the overall vibe.
Celebrate The Reset
Take a breath and appreciate what you've accomplished. This final scan isn't just about perfection—it's about acknowledging the effort you put in. A clean room feels good, and that feeling is the reward.
Step back, smile, and enjoy your space.
FAQ
How long does this room reset take?
Most people can complete these 15 steps in 30 to 45 minutes, depending on the room size and clutter level.
Do I need special cleaning products?
No. All-purpose cleaner, microfiber cloths, a vacuum, and glass cleaner are enough. You can use DIY solutions like vinegar and water.
Should I do this every day?
Not necessarily. This reset is designed for when your room feels overwhelming. A daily 5-minute tidy can maintain the results.
What if I don't have time for all 15 steps?
Focus on steps 1, 2, 5, 11, and 12. Those five will give you the biggest visual impact in the least time.
Can I adapt these steps for a child's room?
Absolutely. Involve the child in sorting toys and making the bed. Adjust the order as needed for safety and fun.
Conclusion
A quick room reset doesn't have to be a chore. These 15 steps are designed to be efficient and effective, giving you a space that feels calm and organized. The best part is that you can repeat this process anytime your room starts to feel chaotic.
Once you've done it a few times, it becomes a natural habit. Your room will thank you, and so will your peace of mind.