10 Small Corner Shower Ideas with Smart Proportions and Flow
Corner showers are the unsung heroes of small bathrooms. They tuck neatly into an unused nook, freeing up precious floor space for a vanity or a bit of breathing room. But a corner shower only works well when the proportions and layout are thought through carefully.
Get the flow right, and your morning routine feels effortless. Get it wrong, and you’re constantly bumping elbows or stepping out onto a wet floor.
These ten ideas focus on smart sizing, clever storage, and materials that make a compact space feel open and inviting. Whether you’re planning a full remodel or just tweaking a few details, these corner shower concepts will help you make the most of every square inch.
1. Curbless Entry for Seamless Access
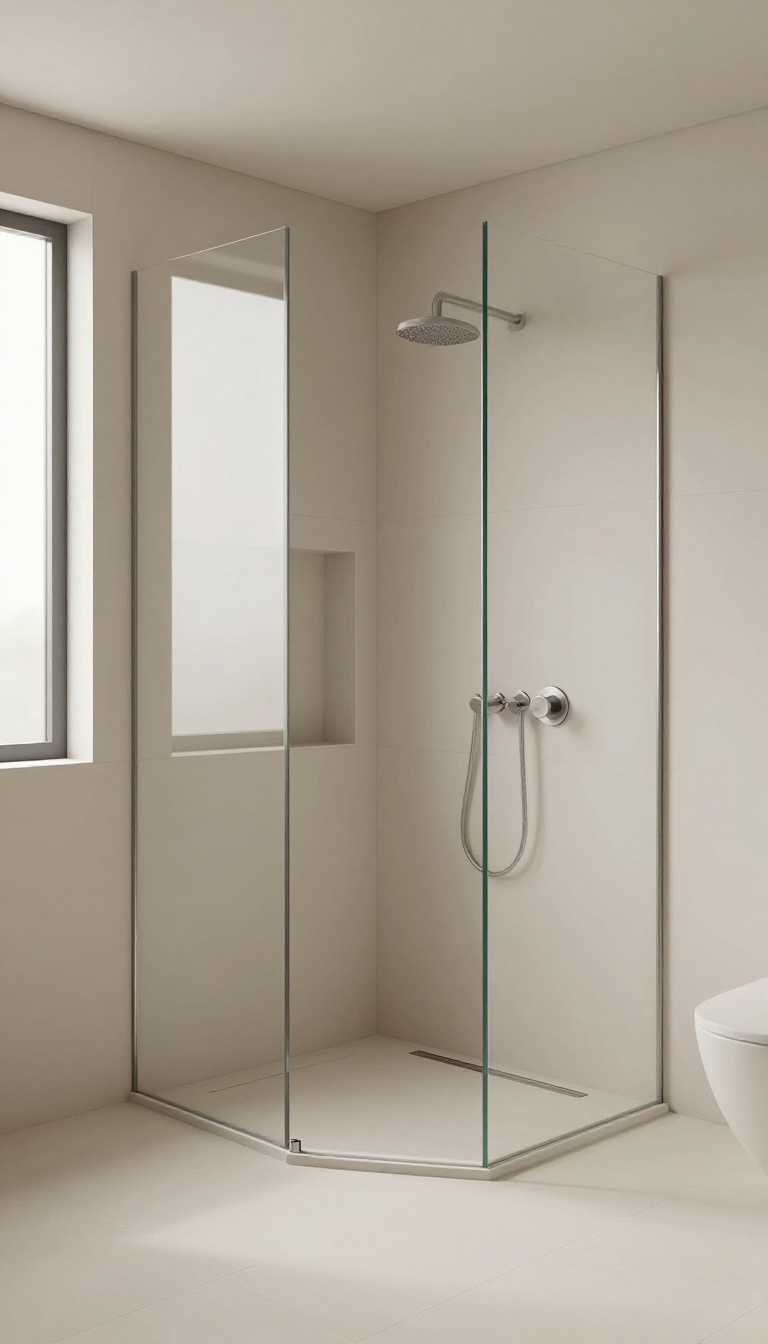
Stepping over a shower curb can feel like a hurdle first thing in the morning, especially when space is tight. A curbless entry removes that barrier completely, letting you walk straight in without any awkward foot lifting. It’s a design choice that instantly makes a small corner shower feel more open and connected to the rest of the bathroom.
The absence of a curb does more than just improve accessibility—it creates a continuous line from floor to shower, which tricks the eye into seeing more space. Water is managed with a subtle linear drain or a slight floor slope, so you don’t have to worry about puddles escaping. This minimalist approach pairs beautifully with large-format tiles that run uninterrupted from wall to wall, further enhancing the sense of flow.
Why It Works In A Corner
Corner showers often feel boxed in, but a curbless design opens up the visual boundary. Without a raised edge, the shower becomes an extension of the room rather than a separate compartment. This is especially effective in a corner, where two walls already define the space—eliminating the curb makes the footprint feel larger and less confined.
Drainage Solutions That Keep It Dry
A curbless shower relies on precise sloping and a high-quality drain to keep water where it belongs. Linear drains are a popular choice because they can be placed along the wall or at the entrance, creating a subtle trough that catches water before it spreads. Ensure the floor is sloped at least 1/4 inch per foot toward the drain, and consider a trench drain for a sleek, modern look.
Making It Work With Your Bathroom Layout
Before committing to a curbless design, check your subfloor and joist structure—you may need to recess the shower pan or adjust the floor height. If a full recess isn’t possible, a slightly raised platform with a gentle slope can still give you a step-free feel. Pair this with a glass panel or even a single fixed pane to keep the space open while controlling splash.
2. Sliding Glass Doors to Save Swing Space
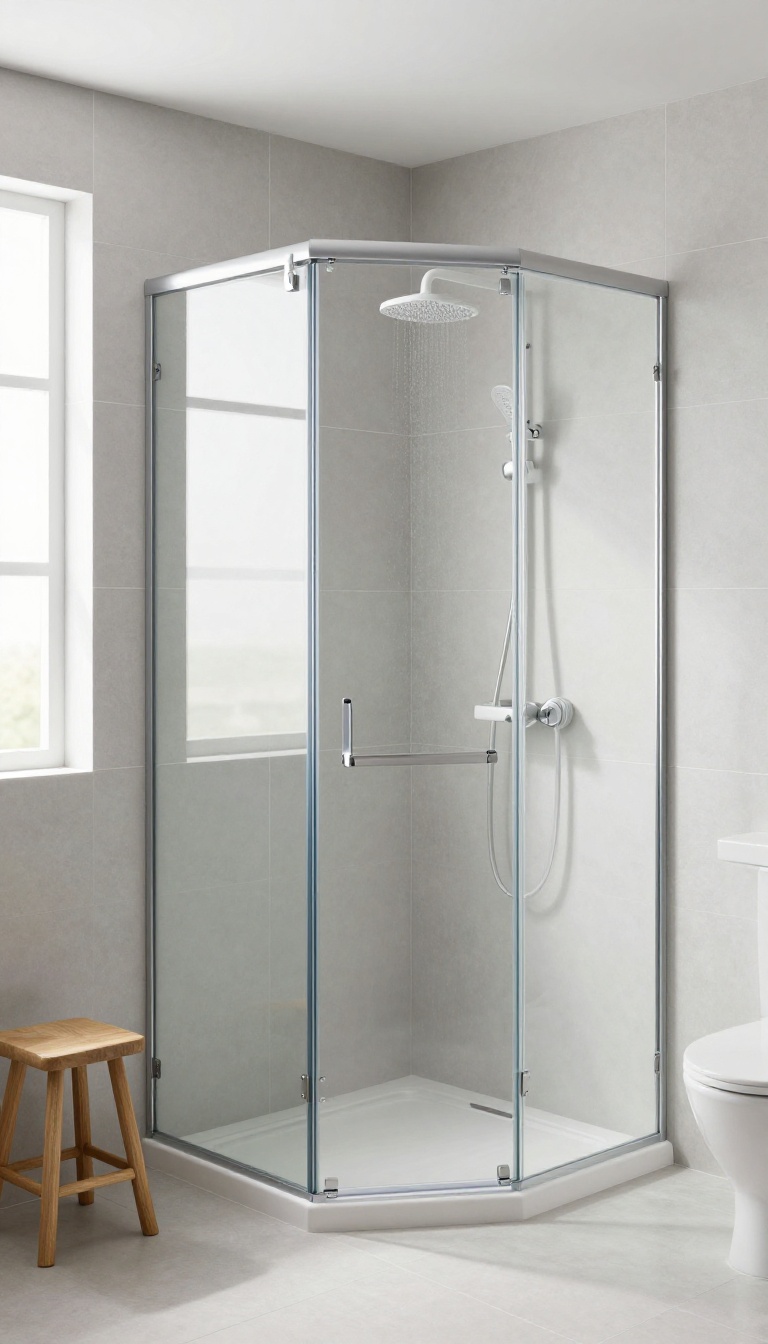
A hinged door might seem like the obvious choice, but in a tight corner, that arc of clearance can be a dealbreaker. Every time you open it, you lose a chunk of floor that could be used for a towel rack or just walking space. Sliding glass doors solve that by gliding along a track, so they don't need any extra room to swing open.
This simple swap does more than just free up square footage. It also creates a cleaner, more open look that makes the whole bathroom feel less boxed in. And with the right track and hardware, sliding doors can be just as watertight and easy to maintain as their hinged cousins.
When you're working with a corner shower, every inch counts. A swinging door can force you to stand back or shuffle sideways just to get in and out, which defeats the purpose of a compact layout. Sliding doors keep the entrance clear and the floor open, so you can step straight in without playing a game of limbo.
You'll also gain more usable wall space next to the shower. With no door swinging into the room, you can place a slim storage tower or a small stool right up against the glass. That's a practical win for a small bathroom where storage is often scarce.
Plus, sliding doors have a sleek, modern look that pairs well with almost any tile or fixture. The continuous glass panel lets light travel across the room, making the space feel larger and brighter. If you're worried about water escaping, choose a door with a bottom guide and a slight overlap to keep things dry.
Measure The Track Length First
Before you commit to a sliding door, measure the width of your shower opening carefully. Sliding doors typically need about 24 to 36 inches of track, but that varies by model. If your opening is too narrow, the door panels won't overlap properly, and you'll end up with gaps.
A quick check with a tape measure can save you from a costly mistake.
Pick The Right Glass Style
Clear glass is a popular choice because it makes the shower feel more open, but it does require regular wiping to keep water spots at bay. If you prefer more privacy or less maintenance, consider frosted or textured glass. Just keep in mind that textured glass can hide soap scum better, but it may also block more light.
Ensure A Watertight Seal
Sliding doors rely on a bottom track and sometimes a small sweep to keep water inside. Look for a model with a low-profile bottom guide that doesn't create a tripping hazard. Also, check that the door overlaps the fixed panel slightly on the inside so water can't sneak out.
A good seal means less time wiping up puddles after every shower.
3. Quadrant Shower Enclosure for a Compact Footprint
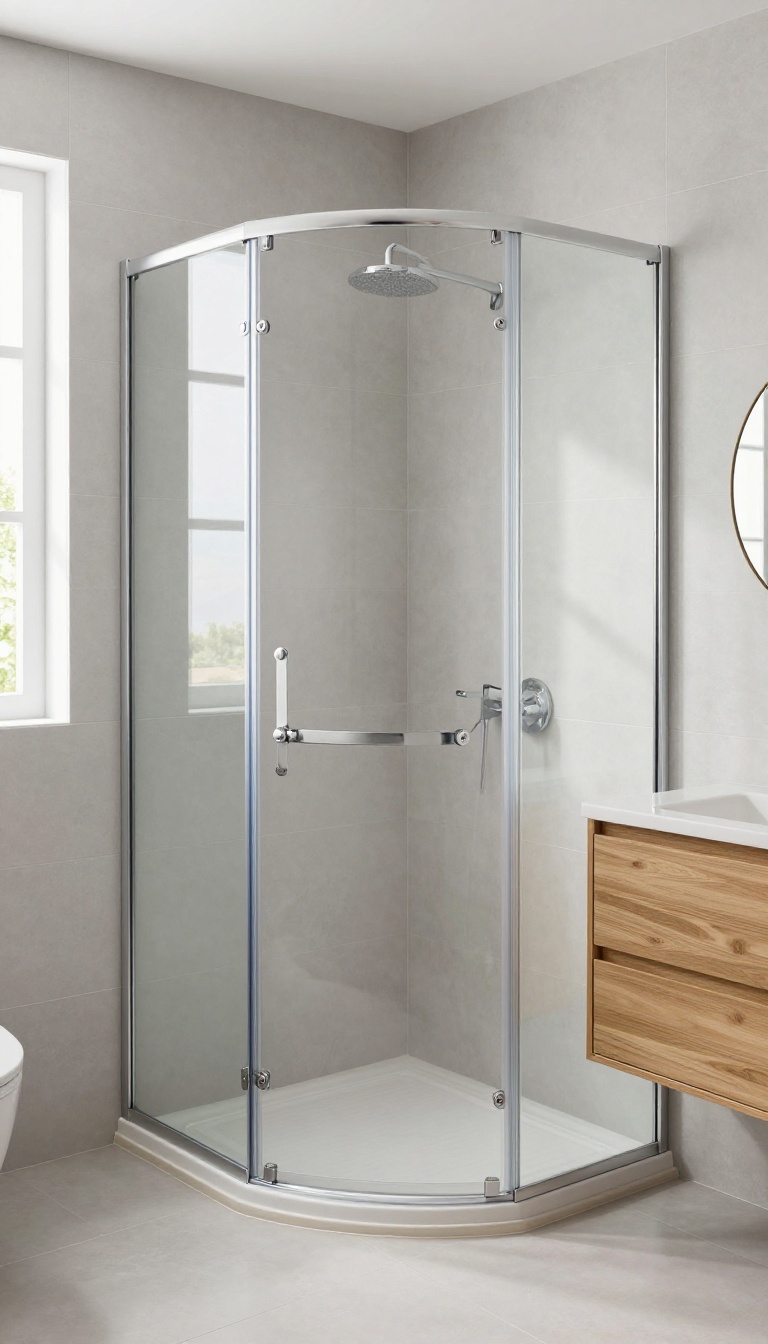
If your corner is tight, a quadrant shower enclosure might be the answer. Its curved front takes up less visual and physical space than a square or rectangular unit, making the bathroom feel larger. Plus, the rounded door glides smoothly, so you don't need to worry about clearance for a swing.
Why Quadrant Works In Corners
Quadrant showers are designed to fit neatly into a corner, with a curved front that protrudes less into the room. This shape maximizes the interior space, giving you more room to move without the bulk of a square enclosure. It's a smart choice for small bathrooms where every inch counts.
Choosing The Right Size
Look for a quadrant shower that's at least 36 inches wide to ensure comfortable movement. In tighter spots, a 32-inch model can still work if you're mindful of storage. Measure your corner carefully, and consider a model with a low-profile tray to make the space feel more open.
Door Options For Tight Spots
Sliding or folding doors are the best pick for quadrant showers because they don't need extra clearance. A sliding door glides along tracks, while a folding door collapses neatly. Both keep the shower compact and make entry easy, even in a cramped corner.
4. Built-In Niche for Shower Essentials
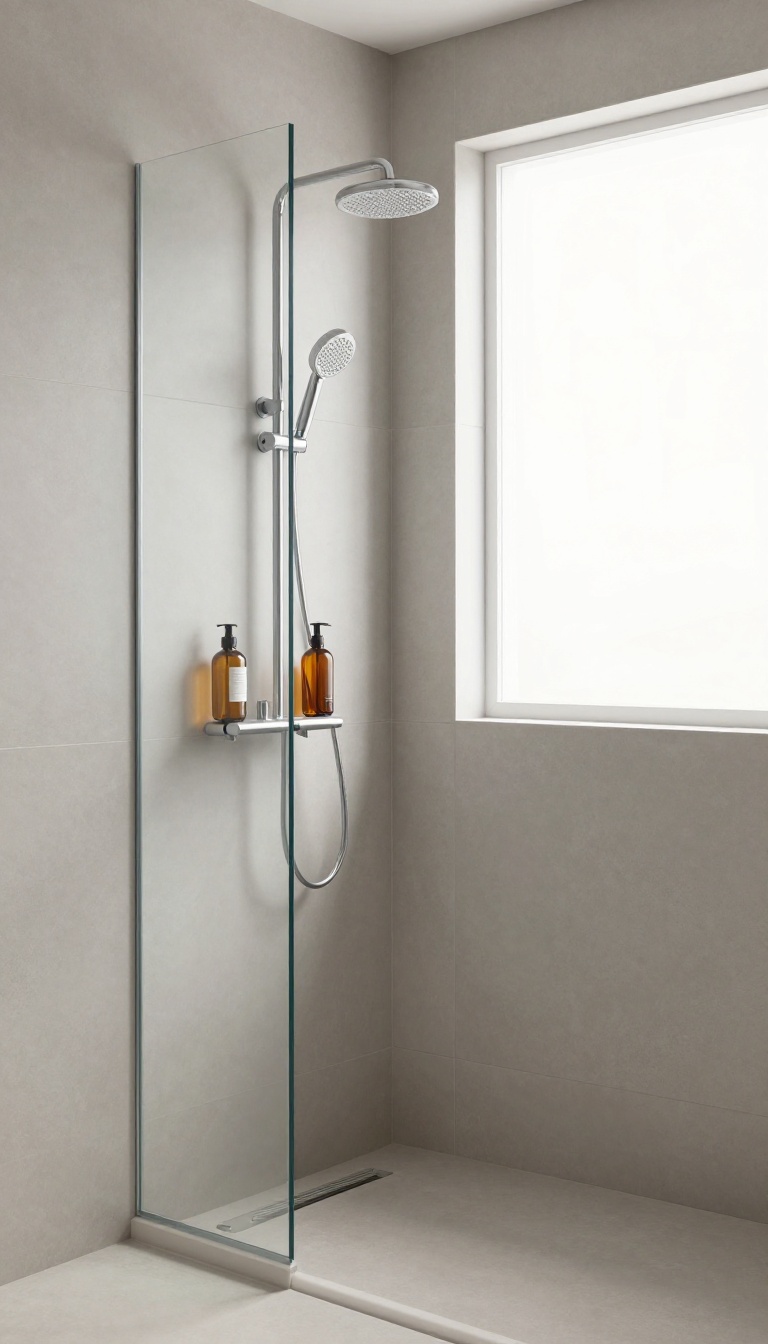
A recessed niche is one of those details that feels obvious once you see it. Instead of hanging a wire caddy or balancing bottles on a corner shelf, you carve out a neat pocket right in the wall. It keeps everything within reach but completely out of the way, which makes a big difference in a small shower.
In a compact corner shower, every inch counts. A built-in niche frees up floor and ledge space, cuts down on visual clutter, and makes your daily routine smoother. Plus, it adds a custom touch that looks intentional rather than added on.
Where To Place The Niche
The best spot is usually on the wall opposite the showerhead, about chest height. That way, you can grab shampoo without twisting or bending. If the corner is tight, consider placing the niche on the angled wall that faces you as you shower.
Just make sure it's not directly in the spray path, or water will pool on your products.
Sizing And Depth That Work
Aim for a niche that's at least 12 inches wide and 6 to 8 inches deep, which fits standard bottles without sticking out. If you can, make it taller than one bottle so you can stack items or store a larger pump. In a corner shower, a vertical niche can be a smart use of limited wall space, especially if you have a tall, narrow area to work with.
Materials And Finishing Touches
Match the niche to your shower wall material for a seamless look, or use a contrasting tile to make it a feature. If you're using large-format tiles, plan the niche placement so it doesn't create awkward cuts. A slight slope on the niche floor helps water drain out, and a waterproof membrane behind it is a must to prevent moisture issues.
5. Corner Bench for Comfort and Convenience
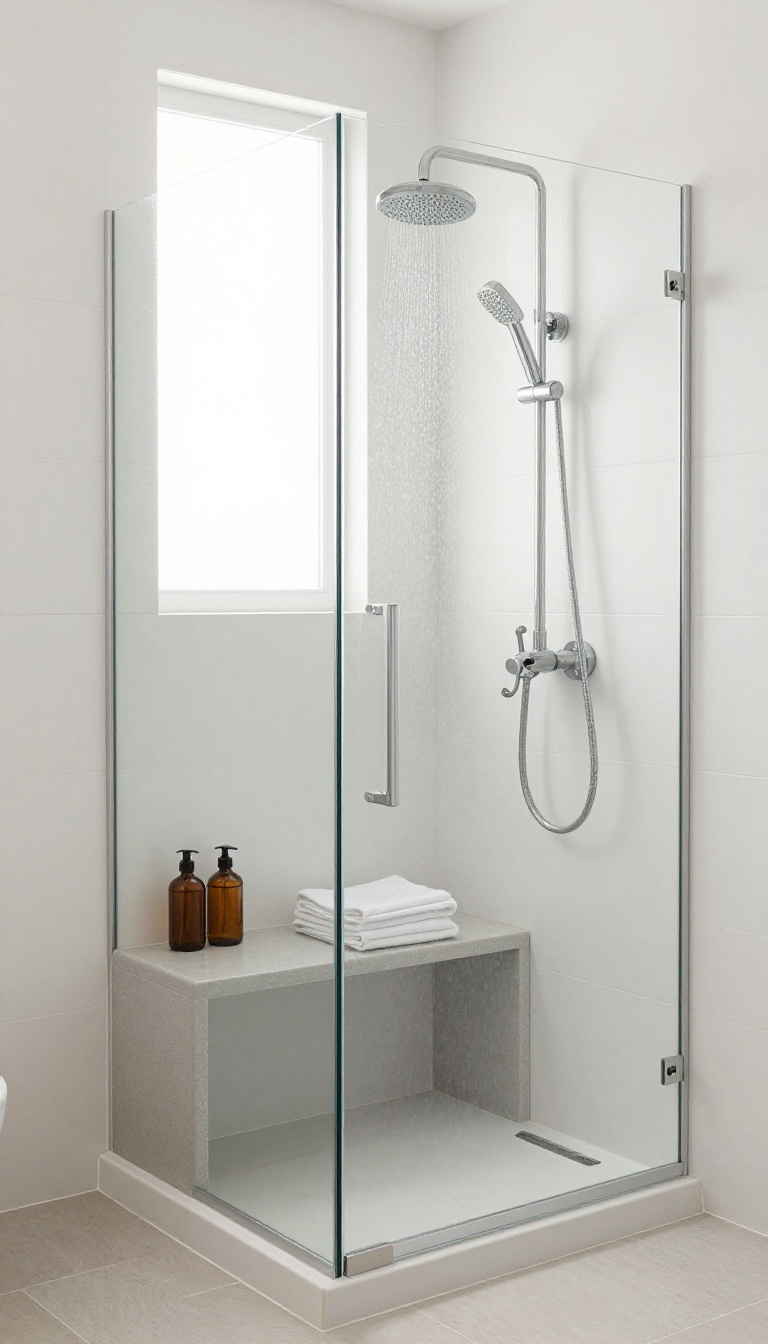
A built-in corner bench can transform your shower from a quick rinse station into a place you actually want to linger. It gives you a spot to sit while you shave your legs, wash your feet, or simply let the hot water work out the knots in your shoulders. But a bench isn't just about comfort—it's a clever way to add storage and function without cluttering up your limited floor space.
When you're working with a small corner shower, every element has to earn its keep. A bench does double duty: it offers a secure perch for tasks that need balance, and it creates a natural shelf for shampoo bottles, soap, and other shower essentials. Instead of installing a bulky caddy or a separate storage tower, you can keep everything within arm's reach on the bench itself.
Plus, a well-placed bench can improve the overall flow of your shower, making it feel more open and intentional.
Sizing And Placement That Feels Right
The key to a successful corner bench is proportion. A bench that's too deep will eat up valuable showering space, while one that's too shallow won't be comfortable to sit on. Aim for a depth of about 15 to 18 inches—enough to sit securely without cramping the shower.
As for placement, tucking it into the corner opposite the showerhead works best. That way, you can sit facing the spray or turn to let the water hit your back, all while keeping the main shower area open for movement.
Materials That Handle Water And Wear
Since a bench is a permanent fixture, you'll want materials that can handle constant moisture and daily use. Solid surface materials like quartz or cultured marble are popular because they're non-porous, easy to clean, and come in a range of colors. Natural stone, such as slate or travertine, adds a spa-like feel but requires regular sealing to prevent staining.
If you're on a budget, a tiled bench with a waterproof membrane underneath is a solid choice—just make sure the grout lines are sealed well to keep mold at bay.
Adding A Slim Ledge For Extra Storage
If a full bench feels like too much, consider a slim ledge instead. A narrow shelf that runs along one wall of the corner shower can hold a few essentials without taking up seating space. This option works well in very tight showers where every inch counts.
You can even angle the ledge slightly so water runs off easily, keeping your products dry and your shower looking tidy.
Making It Feel Like A Luxury Feature
A corner bench doesn't have to look utilitarian. With the right design touches, it can become the standout feature of your bathroom. Pair it with a rainfall showerhead for a spa-like feel, or add a small teak wood mat on top for a warm, natural texture.
If you're tiling the shower, use a contrasting tile or a different pattern on the bench to give it visual interest. And if you have the budget, consider adding a built-in niche above the bench for extra storage—it'll look like a custom installation and keep your shower organized.
6. Use Large-Format Tiles to Minimize Grout Lines
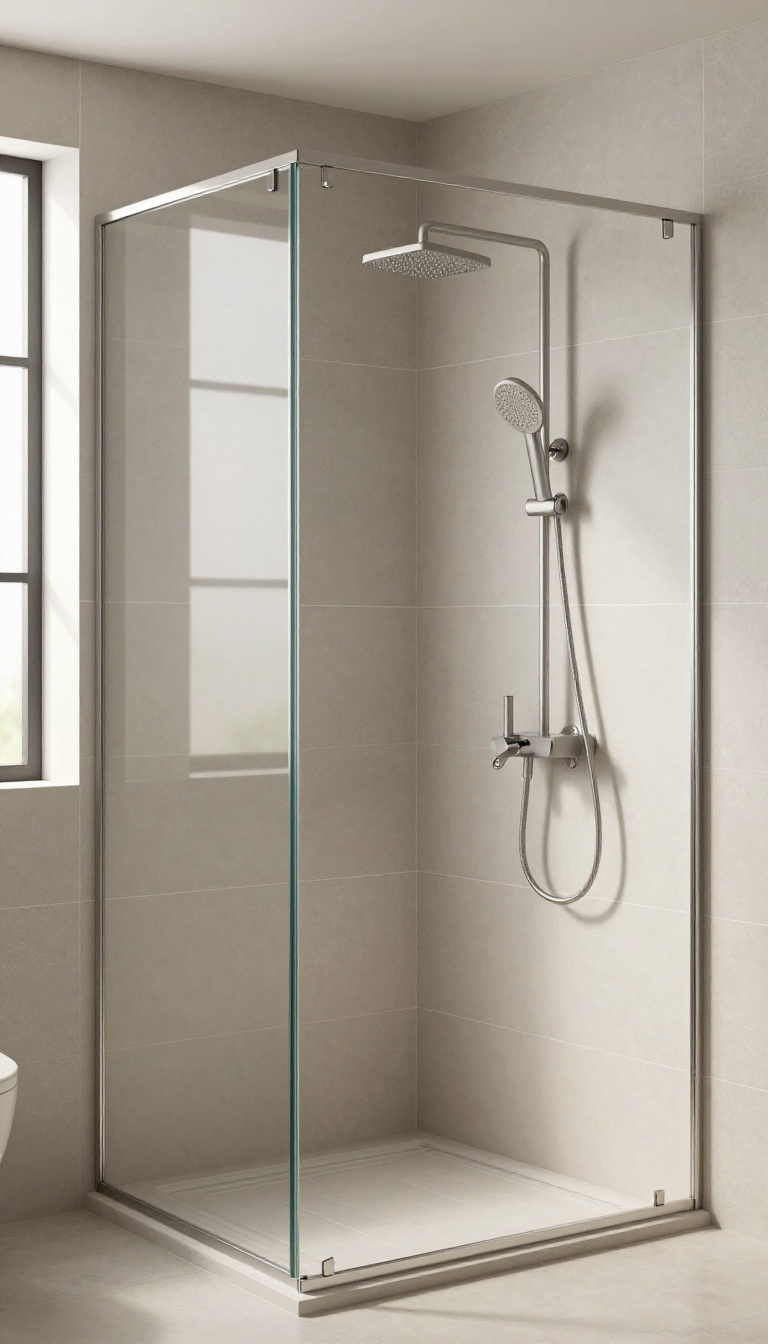
Grout lines are like visual noise in a small shower. The more there are, the busier the space feels. Large-format tiles cut down on that noise dramatically, creating a smoother, more seamless surface that makes your corner shower look bigger and more polished.
Plus, fewer grout lines mean less scrubbing—a win for anyone who'd rather spend their weekend doing anything else.
Why Bigger Tiles Work In Small Spaces
When you use large tiles, your eye sees fewer interruptions, so the wall reads as one continuous surface. That simplicity tricks the brain into perceiving more square footage. In a corner shower, where every inch counts, this optical illusion is your best friend.
Large tiles also reduce the number of corners and crevices where soap scum and mildew like to hide, making cleaning a breeze.
Choosing The Right Size And Finish
Go for tiles that are at least 12×24 inches, or even larger if your wall can handle it. Rectangular tiles laid horizontally can make a narrow shower feel wider, while vertical stacking adds height. Pick a matte or subtle textured finish to avoid glare and keep the space feeling calm.
Polished tiles can reflect light, but they also show water spots more easily.
Color And Layout Tips For Maximum Effect
Light, neutral tones—think soft whites, warm grays, or pale beige—reflect the most light and make the shower feel airy. If you want a bit of contrast, use a darker tile on one accent wall or a band of mosaic for interest without breaking up the visual flow. Keep the layout simple: a straight grid or a running bond pattern works best with large tiles.
Avoid busy patterns that can make the space feel chaotic.
7. Glass Block Walls for Light and Privacy
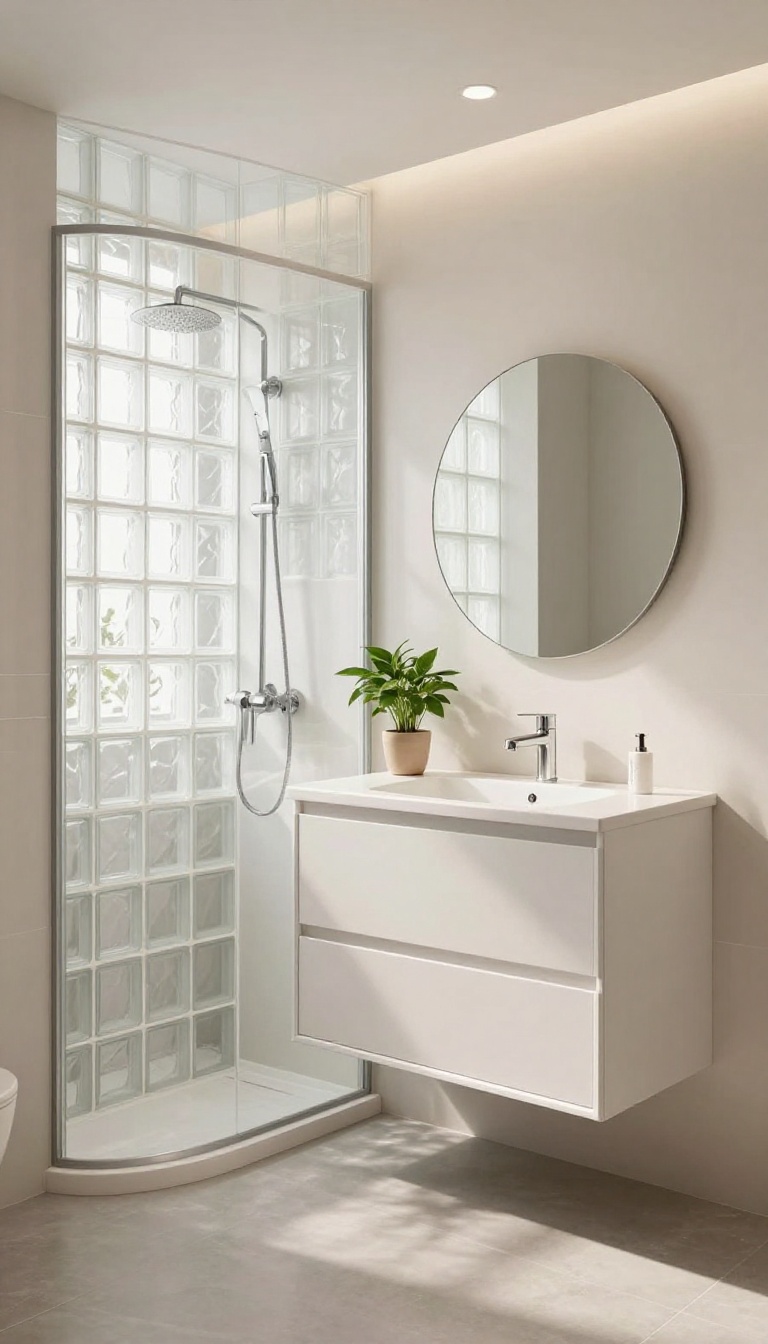
Glass block panels are a clever way to let daylight stream into a corner shower without sacrificing privacy. Instead of a solid wall or a clear glass door, these textured blocks diffuse light while keeping the view obscured. They can replace a partition or even form the shower enclosure itself, making the whole bathroom feel brighter and more open.
In a small bathroom, the corner shower often sits in the darkest part of the room. A glass block wall can change that by borrowing light from the rest of the space. The blocks scatter sunlight or overhead light, creating a soft glow that makes the shower feel less like a box.
They also add visual texture, giving the bathroom a touch of character without overwhelming the design.
Why Glass Blocks Work In A Corner
Glass blocks are thicker than standard glass, which helps with insulation and noise reduction. They are also strong and durable, making them a practical choice for a shower wall. In a corner layout, they can wrap around the shower to form two sides, or they can replace just one wall to let light from an adjacent window or doorway filter through.
This flexibility allows you to customize the shower's shape and size to fit your space perfectly.
Installation And Maintenance Tips
Installing glass blocks is a job best left to a professional, as it requires careful mortar work and waterproofing. The blocks need to be sealed properly to prevent moisture from seeping behind the wall. For maintenance, regular wiping with a squeegee and a mild glass cleaner keeps them looking clear.
Avoid abrasive cleaners that can scratch the surface. With proper care, glass block walls can last for decades without yellowing or clouding.
Design Variations To Consider
You can choose from clear, frosted, or patterned glass blocks to control the level of privacy and light. For a more modern look, consider blocks with a smooth finish; for a classic feel, go with a textured pattern. The mortar color also matters—white or light gray keeps the wall looking bright, while darker mortar adds contrast.
You might even integrate a few colored blocks as an accent to tie in with your bathroom's palette.
8. Ceiling-Mounted Shower Head for a Spacious Feel
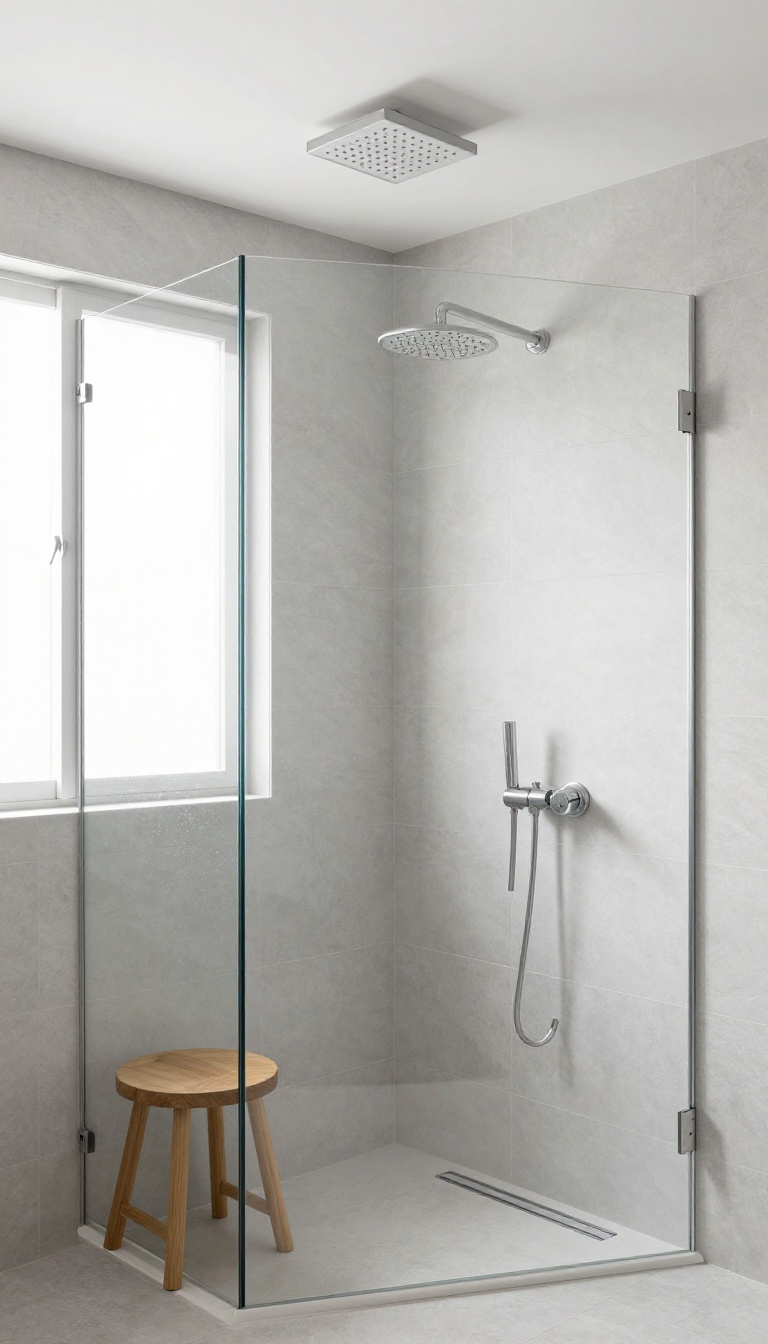
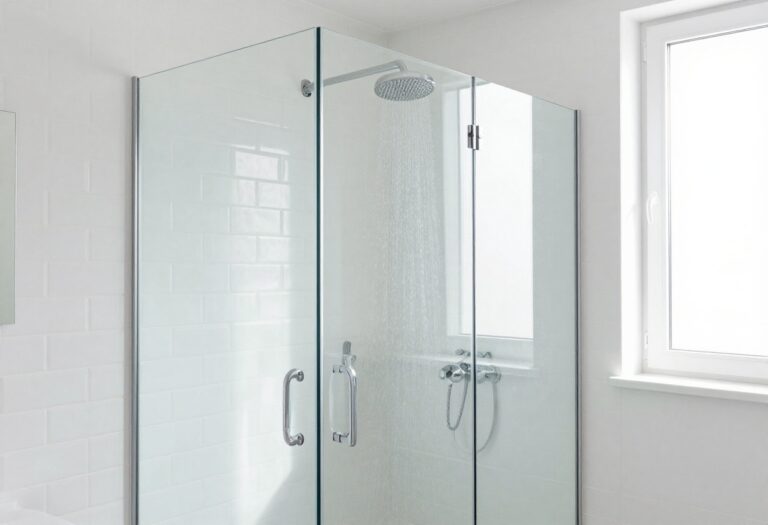
A rain shower head mounted on the ceiling does more than just look sleek—it changes how the whole space feels. With no protruding arm taking up visual space, the shower area seems larger and less cluttered. Plus, the gentle rainfall effect adds a touch of luxury that turns a quick rinse into a mini retreat.
When you’re working with a corner shower, every inch counts. A ceiling-mounted shower head frees up wall space that would otherwise be occupied by a traditional arm and head. That extra openness makes the shower feel more expansive, even if the footprint is small.
The streamlined look also pairs beautifully with frameless glass enclosures, letting the eye travel uninterrupted across the tiles and fixtures. But before you fall in love with the idea, check your water pressure. Rain shower heads typically need higher pressure to deliver that satisfying cascade.
If your home’s pressure is on the lower side, you might need a pressure-boosting pump or a model designed for low-flow systems. Also, think about drainage—make sure the floor slope directs water efficiently to the drain so you don’t end up standing in a puddle.
Sizing And Positioning
For a corner shower, position the shower head directly above where you’ll stand, usually centered in the shower space. A head with a diameter of 8 to 10 inches works well for most small showers without overwhelming the area. If you’re taller, mount it higher to avoid hitting your head, but keep it low enough that the water doesn’t lose warmth before reaching you.
Water Pressure And Flow Considerations
Ceiling-mounted rain heads often have a lower flow rate than handheld models, so check the gallons per minute (GPM) rating. If your water pressure is weak, look for a head with larger nozzles or one that uses air-infusion technology to create a fuller spray. Also, consider installing a pressure-balancing valve to maintain a consistent temperature.
Installation And Maintenance Tips
Proper installation is key. The shower arm needs to be securely anchored to a ceiling joist or blocking, so plan ahead during construction or remodeling. Use a drop-ear elbow and a swivel joint to allow slight adjustments.
For maintenance, clean the nozzles regularly to prevent mineral buildup, especially if you have hard water. A quick wipe with a cloth or a soak in vinegar can keep the spray even.
9. Corner Shower Caddy with Tension Poles
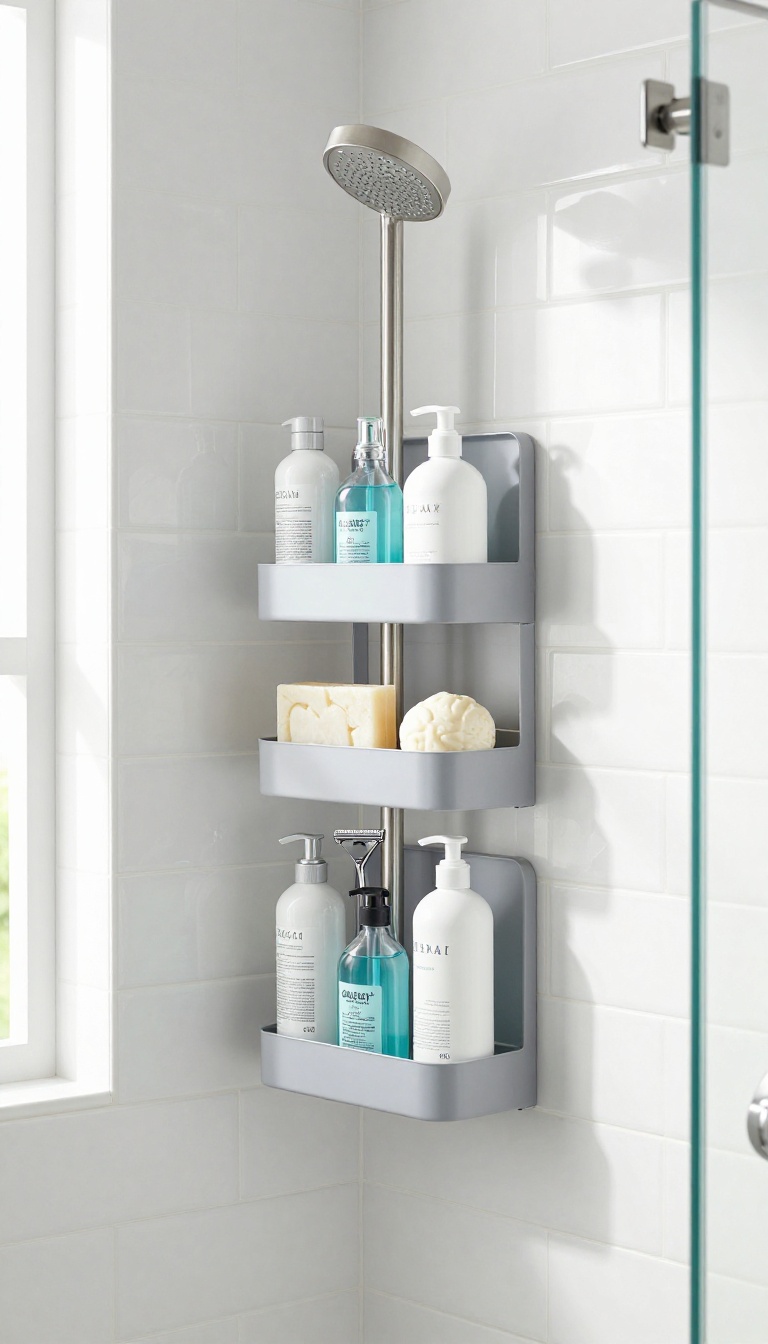
When you can’t drill into tile—whether you’re renting or just prefer to keep the walls intact—a tension pole caddy is a smart workaround. It stands in the corner, using vertical space to hold everything from shampoo to razors without touching the floor. You get a clutter-free shower that still keeps your essentials within easy reach.
Tension pole caddies are designed to fit snugly between the shower floor and ceiling, creating a stable storage unit that doesn’t require any permanent fixtures. They’re especially handy in corner showers because they can tuck right into the angled space, making use of an area that might otherwise go wasted. With multiple shelves and hooks, you can organize your products vertically, keeping the shower floor clear and reducing the chance of bottles toppling over.
Why Tension Poles Work In Corners
The corner is often an underutilized zone in a shower. A tension pole caddy takes advantage of that vertical strip without eating into your elbow room. Because it’s tension-mounted, you can position it at the exact height you need, and it won’t leave any marks when you remove it—perfect for renters or anyone who wants to keep their tile pristine.
Choosing The Right Material
Bathrooms are humid places, so rust is a real concern. Look for caddies made from rust-resistant materials like stainless steel, aluminum, or coated finishes. Powder-coated or anodized options tend to hold up well over time.
Avoid cheap plastic that can warp or discolor. A quality finish will keep the caddy looking fresh for years, even with daily use.
Placement Tips For Stability And Access
Position the caddy in the corner opposite the showerhead if you can, so it stays out of the direct spray and you don’t have to reach across the stream. Make sure the tension poles are fully extended and tightened to prevent slipping. If you’re worried about stability, choose a model with rubber pads at the ends—they grip better and protect your surfaces.
Maximizing Storage Without Overcrowding
Use the shelves wisely: put everyday items like shampoo and body wash on the middle shelves, and reserve the top for items you use less often. Hooks on the side can hold loofahs or washcloths. Avoid overloading the caddy—too much weight can make it wobbly.
Stick to the essentials, and you’ll keep the shower feeling open and organized.
10. Frameless Glass Panels for a Modern Look
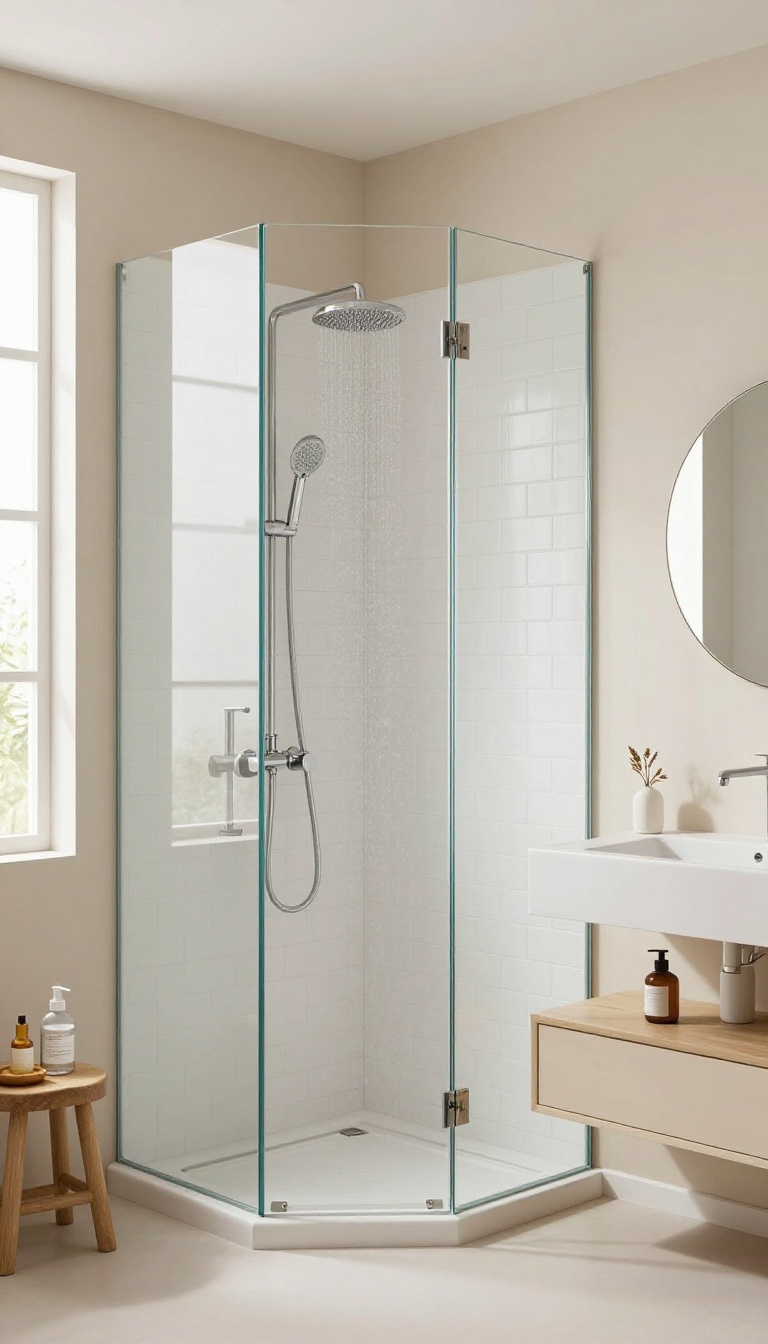
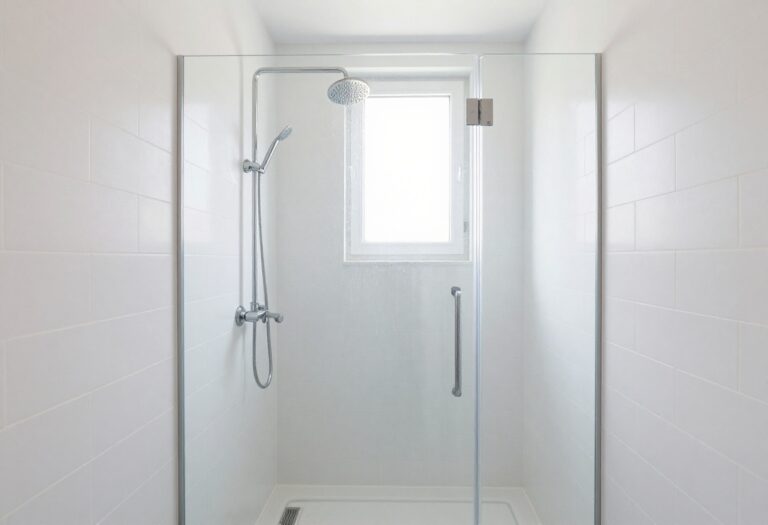
Frameless glass enclosures offer an unobstructed view of your beautiful tile work and make the bathroom feel more open. Without bulky metal frames, the shower blends seamlessly into the room. This minimalist approach is a popular choice for contemporary designs.
Frameless glass panels are a game-changer for corner showers, especially when you're working with limited square footage. By eliminating the visual clutter of metal frames, they let the eye travel freely, making the space appear larger than it actually is. Plus, the clean lines and transparent nature of the glass allow your tile and fixtures to take center stage, adding a touch of sophistication without overwhelming the room.
But frameless glass isn't just about looks—it's also about practicality. With fewer crevices and seams, cleaning becomes a breeze, and you won't have to worry about soap scum building up in hard-to-reach corners. And because the glass is typically thicker (around 3/8 to 1/2 inch), it feels sturdy and substantial, giving you confidence in its durability.
Of course, frameless glass does require some thoughtful planning. The lack of a frame means the glass must be precisely measured and installed to ensure a watertight seal. That's why it's worth hiring a professional who specializes in custom glass work.
They'll make sure everything fits perfectly and functions flawlessly, so you can enjoy your sleek new shower without any worries.
Why Frameless Works In Small Spaces
In a compact bathroom, every visual element counts. Traditional framed shower doors have thick metal borders that break up the sightline and can make the enclosure feel boxed in. Frameless glass, on the other hand, uses minimal hardware—just a few hinges and a handle—so the eye isn't distracted.
This openness helps the bathroom feel more spacious and airy, even if the physical footprint hasn't changed. Plus, the glass lets natural or ambient light pass through, brightening the entire room and preventing that closed-in feeling you might get with opaque or frosted panels.
Design Tips For A Seamless Look
To get the most out of frameless glass, pair it with a linear drain instead of a traditional center drain. This allows for a completely flat shower floor, which not only looks modern but also makes the space easier to clean. Choose a glass panel that extends from floor to ceiling for a dramatic, continuous line, or opt for a half-wall with glass above if you want a bit of privacy.
Also, consider using clear glass with a low-iron content—it has a slight blue tint that looks crystal clear, unlike standard glass which can have a greenish hue. And don't forget to select a sleek, minimal handle that complements your bathroom's style without adding unnecessary bulk.
Installation Considerations
Frameless glass is not a DIY weekend project. It requires precise measurements, tempered glass (which must be cut before tempering), and specialized hardware to support the weight. A professional installer will ensure that the glass is level, the hinges are properly aligned, and the seals are watertight.
They'll also advise on the right glass thickness based on the size of your opening and the layout of your shower. While the upfront cost might be higher than framed options, the long-term benefits—durability, easy maintenance, and timeless appeal—often make it a worthwhile investment.
FAQ
What is the minimum size for a corner shower?
Typically, a corner shower needs at least 36 inches by 36 inches of interior space to feel comfortable. However, some compact models can be as small as 32 inches, but that may feel cramped for larger individuals.
Are corner showers good for small bathrooms?
Yes, corner showers are an excellent choice for small bathrooms because they utilize an otherwise unused corner, freeing up floor space for other fixtures like a vanity or toilet.
What type of door is best for a corner shower?
Sliding or bypass doors are often best for corner showers in small bathrooms because they don't require extra clearance to swing open. Pivot doors can also work if there's enough space in front of the shower.
How can I make a small corner shower look bigger?
Use large-format tiles, light colors, and glass enclosures to create a sense of openness. Adding a niche for storage reduces clutter, and a curbless entry can make the floor space feel continuous.
Can I install a corner shower myself?
If you have plumbing and tiling experience, you can install a prefabricated corner shower kit. However, custom tile showers are more complex and may require professional help to ensure proper waterproofing and drainage.
Conclusion
A small corner shower can be a stylish and functional addition to any bathroom, provided you pay attention to proportions and flow. From curbless entries to clever storage solutions, these ideas help you maximize comfort and usability in a compact footprint.
Remember, the best design is one that fits your daily routine and makes the space feel larger than it is. With the right choices, your corner shower can become a favorite part of your home.