10 Large White Tile Shower Ideas with Calm, Cohesive Appeal
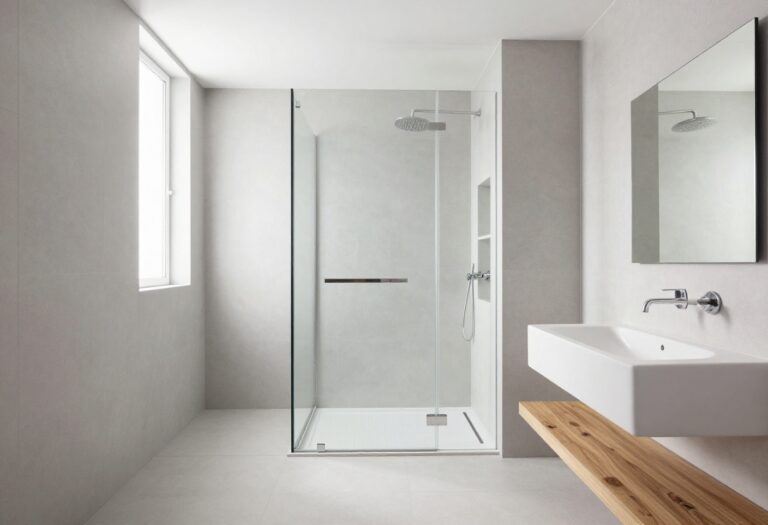
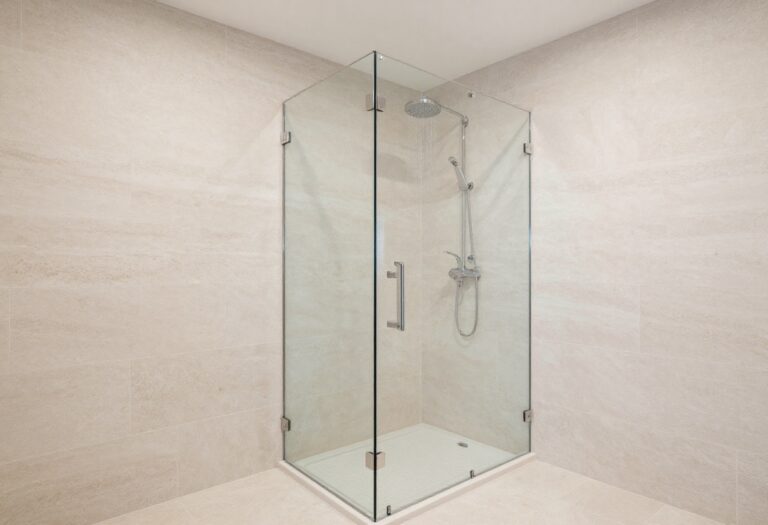
Large white tiles bring an instant sense of calm to a shower, making the space feel bigger, brighter, and more put-together. But the magic isn't just in the size—it's in how you arrange, texture, and finish them.
From marble-look planks to bold herringbone layouts, the right choice can turn a simple bathroom into a serene retreat. These ten ideas focus on practical, stylish ways to use large tiles for a cohesive look that stands up to daily use.
Whether you're planning a full remodel or just refreshing the walls, each option offers a distinct payoff you can see and feel.
1. Marble-Look Planks for a Luxurious Spa Vibe
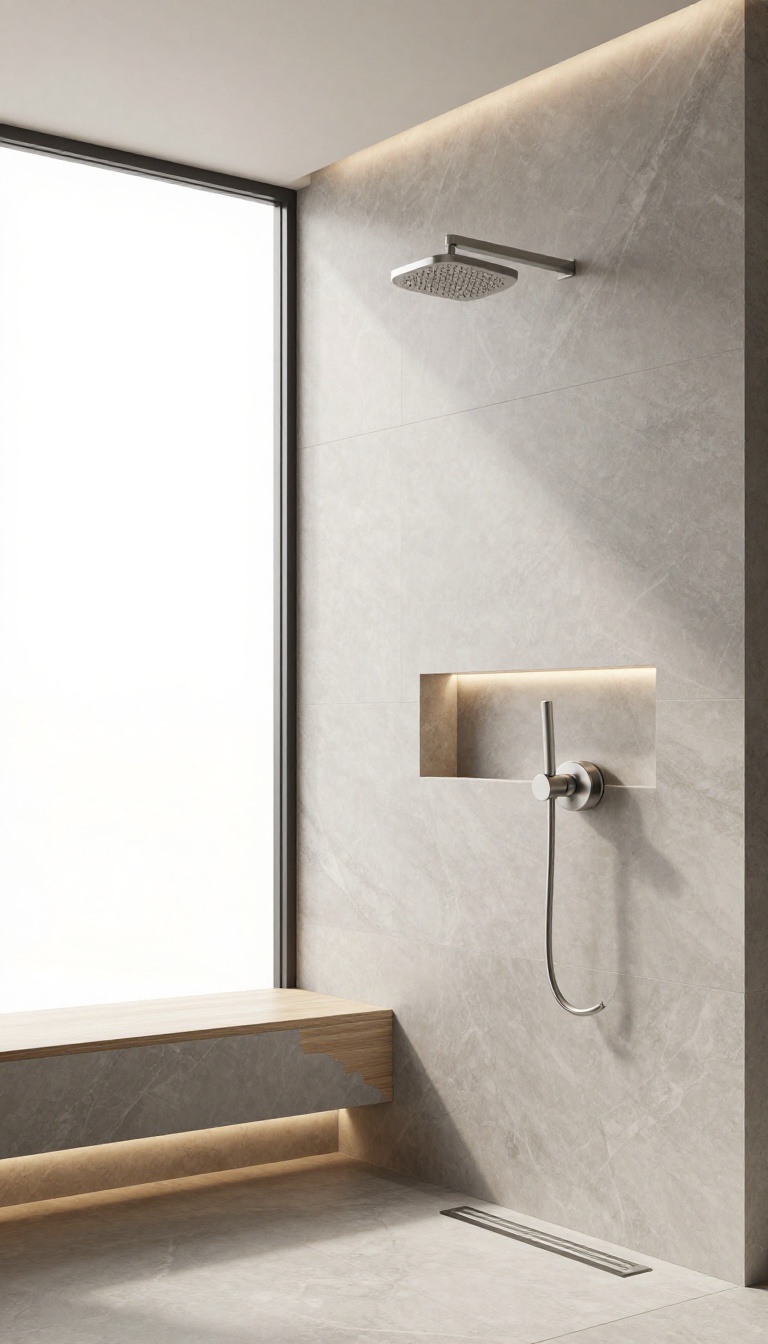
Marble-look porcelain planks are a favorite for a reason—they deliver that high-end spa aesthetic without the high-maintenance of real stone. The large format means fewer grout lines, which keeps the visual flow uninterrupted and the surface easier to clean. It’s a practical indulgence that feels anything but ordinary.
Oversized planks, typically 12×24 inches or larger, mimic the elegant veining of Carrara or Calacatta marble. The subtle gray or gold veins add depth and movement, while the matte or satin finish softens the look and reduces slipperiness. Because they’re porcelain, they resist moisture, stains, and scratches, making them ideal for daily showers.
Why Large Planks Work
The bigger the tile, the fewer grout lines you’ll see. That means less visual clutter and a more seamless, calming backdrop. Plus, large planks visually expand the space, which is a huge win for smaller bathrooms.
They also install faster, saving time and labor costs.
Pairing With Fixtures
To keep the spa vibe going, pair these planks with brushed nickel or matte black fixtures. A rainfall showerhead and a built-in niche with warm LED lighting will enhance the marble effect. Add a teak bench or wooden accents for a touch of nature.
Grout And Layout Tips
Choose a grout color that blends with the tile, like soft gray or white, to keep the surface looking continuous. For a modern twist, use a vertical stack layout instead of the classic brick pattern—it draws the eye upward and makes the ceiling feel higher. Keep the grout lines thin (1/8 inch or less) for a cleaner finish.
2. Matte White Subway Tiles with a Modern Twist
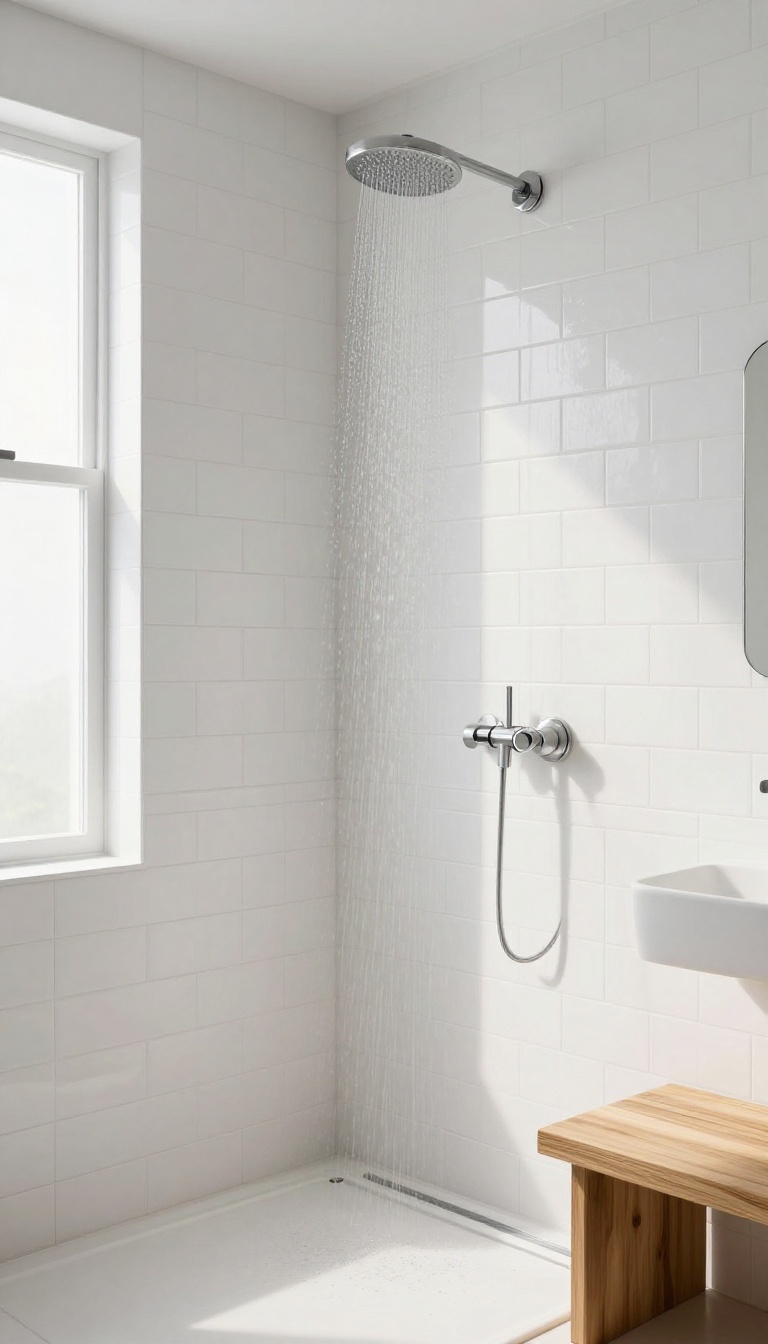
Subway tiles have been a bathroom staple for over a century, but they don't have to feel dated. Choosing a matte finish and a larger size—think 4×12 or even 6×18 inches—gives this classic look a fresh, contemporary edge. The soft sheen cuts down on glare, while the subtle texture adds depth without overwhelming the space.
This updated take on subway tile keeps the familiar brick layout but swaps the glossy, small-format look for something more substantial. The matte surface is forgiving in hard water areas, as it doesn't show spots as easily as shiny tile. Plus, the larger size means fewer grout lines, which translates to easier cleaning and a more seamless wall.
Why Matte Beats Gloss
Glossy tiles reflect light beautifully, but they also highlight every water spot and soap scum streak. Matte finishes diffuse light, making the shower feel softer and more intimate. They also provide better grip underfoot when used on the floor, adding a safety benefit without sacrificing style.
Playing With Layouts
While the classic running bond is always safe, don't be afraid to experiment. A vertical stack layout adds height, making the ceiling seem higher. Or try a herringbone pattern for a touch of visual interest—the matte finish keeps it from feeling busy.
Keep grout lines thin (1/16 or 1/8 inch) to maintain that clean, modern look.
Pairing With Other Materials
Matte white subway tiles are incredibly versatile. Pair them with a dark grout for a bold, graphic contrast, or stick with white grout for a seamless, minimalist vibe. Add natural wood accents—like a teak bench or shelf—to warm up the space.
Black fixtures, such as a matte black showerhead and handles, create a striking focal point.
3. Large Hexagon Tiles for Subtle Geometry
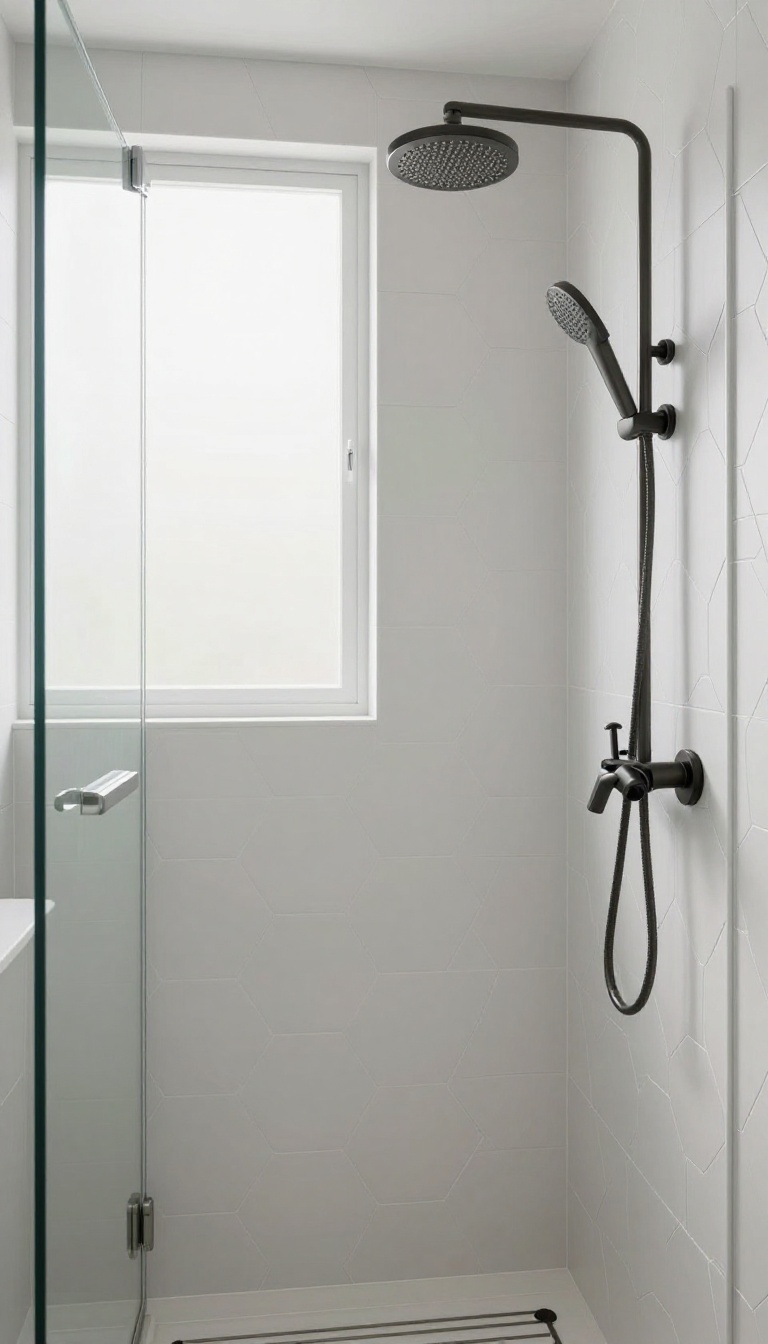
Hexagon tiles bring a soft, organic geometry that feels modern without shouting for attention. When scaled up to a large format—think 8×9 inches or bigger—they keep the shower looking open and uncluttered, unlike small mosaics that can feel busy. The white finish amplifies the light, while the shape adds a gentle visual rhythm that’s both playful and refined.
Large hexagon tiles are a smart middle ground between classic squares and bold patterns. They give you the visual interest of a geometric shape, but the bigger size keeps the grout lines minimal, so the shower still feels seamless and spacious. This makes them perfect for anyone who wants a hint of design without overwhelming the senses.
Why Scale Matters
The key to a calm look is proportion. Small hexagon tiles create a mosaic effect that can feel busy, especially in a compact shower. By choosing a larger size, you reduce the number of grout lines and let the tile’s form shine.
The result is a surface that reads as clean and airy, with just enough texture to catch the eye.
Pairing With Fixtures And Finishes
Large hexagons work beautifully with matte black or brushed nickel fixtures—the contrast adds depth without clashing. For a truly cohesive look, choose a grout color that matches the tile (like white on white) to keep the lines subtle. If you want a bit more definition, a light gray grout can outline the hexagons without making the space feel heavy.
Layout Ideas And Installation Tips
You can lay large hexagons in a traditional honeycomb pattern, or go for a more modern vertical stack. The honeycomb is classic and timeless, while a vertical arrangement can make the ceiling feel higher. Just make sure your installer uses a level and a good tile spacer—the angles of hexagons require careful alignment to avoid a wonky finish.
4. Bookmatched Slabs for a Seamless Stone Look
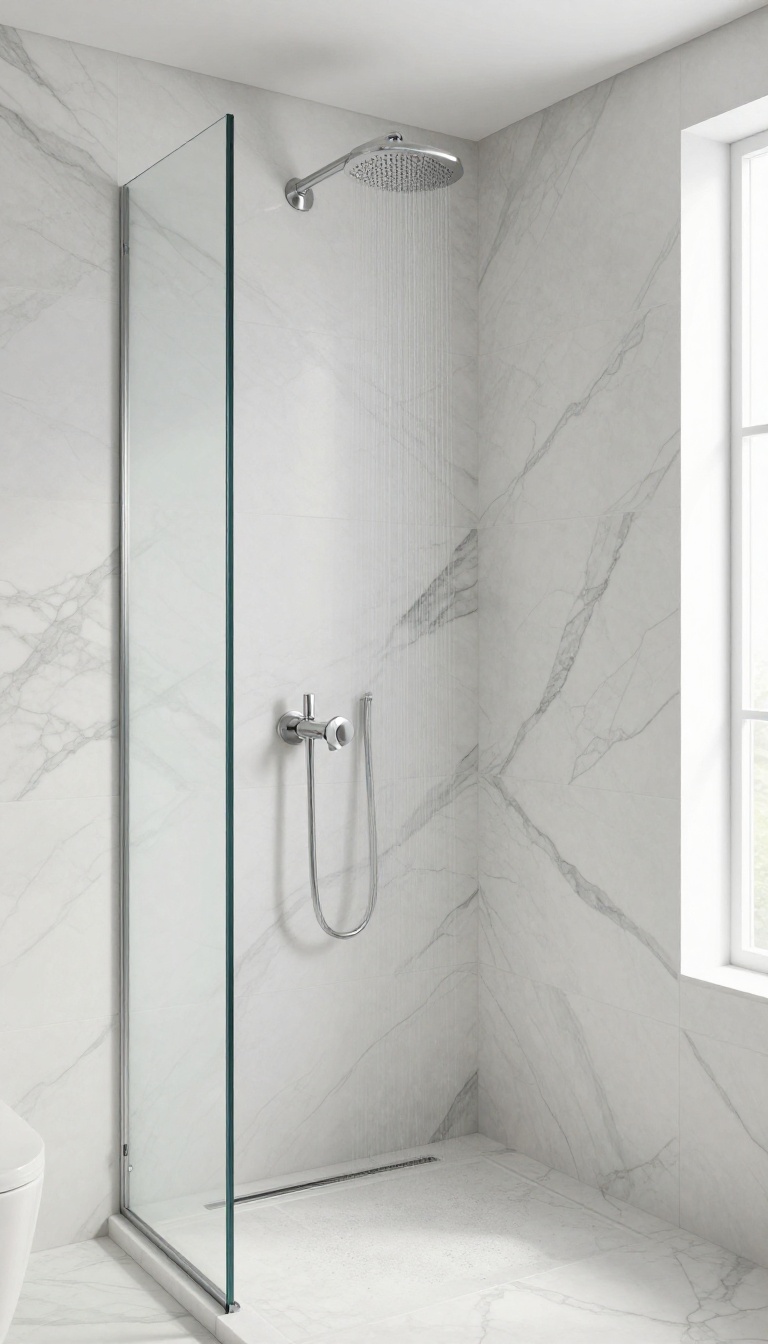
If you want your shower to feel like a single, unbroken piece of stone, bookmatched slabs are the way to go. These large-format porcelain panels are cut from the same block and mirrored during installation, creating a striking, symmetrical pattern that flows across the walls. The result is a seamless, high-end look that's nearly impossible to achieve with traditional tiles.
Bookmatched slabs are a game-changer for anyone who loves the look of natural stone but wants the practicality of porcelain. Because the panels are so large, there are very few grout lines, which not only looks cleaner but also makes the shower easier to maintain. The mirrored veining adds a sense of depth and movement, turning your shower into a focal point of the bathroom.
Why Bookmatched Slabs Work So Well
The magic of bookmatched slabs lies in their continuity. When two slabs are placed side by side, the veining lines up perfectly, creating a mirror image that draws the eye. This effect is especially stunning in a shower, where the walls are often the largest surface you see.
Plus, with fewer grout lines, there's less chance of mold or staining—a win for both looks and upkeep.
Choosing The Right Slab For Your Space
Not all bookmatched slabs are created equal. Look for porcelain slabs that mimic marble or quartzite, as these tend to have the most dramatic veining. Consider the color and scale of the pattern in relation to your bathroom's lighting and size.
A lighter slab with subtle veining can make a small shower feel airy, while a darker, more dramatic slab can add a touch of luxury to a larger space.
Installation Tips For A Flawless Finish
Installing bookmatched slabs requires precision and experience. Hire a professional who is familiar with large-format tiles and can handle the weight and alignment. Make sure the wall is perfectly flat before installation, as any imperfection will be more noticeable with large slabs.
Also, plan the layout carefully to ensure the pattern flows naturally around corners and fixtures.
5. Textured Large Tiles for a Natural Touch
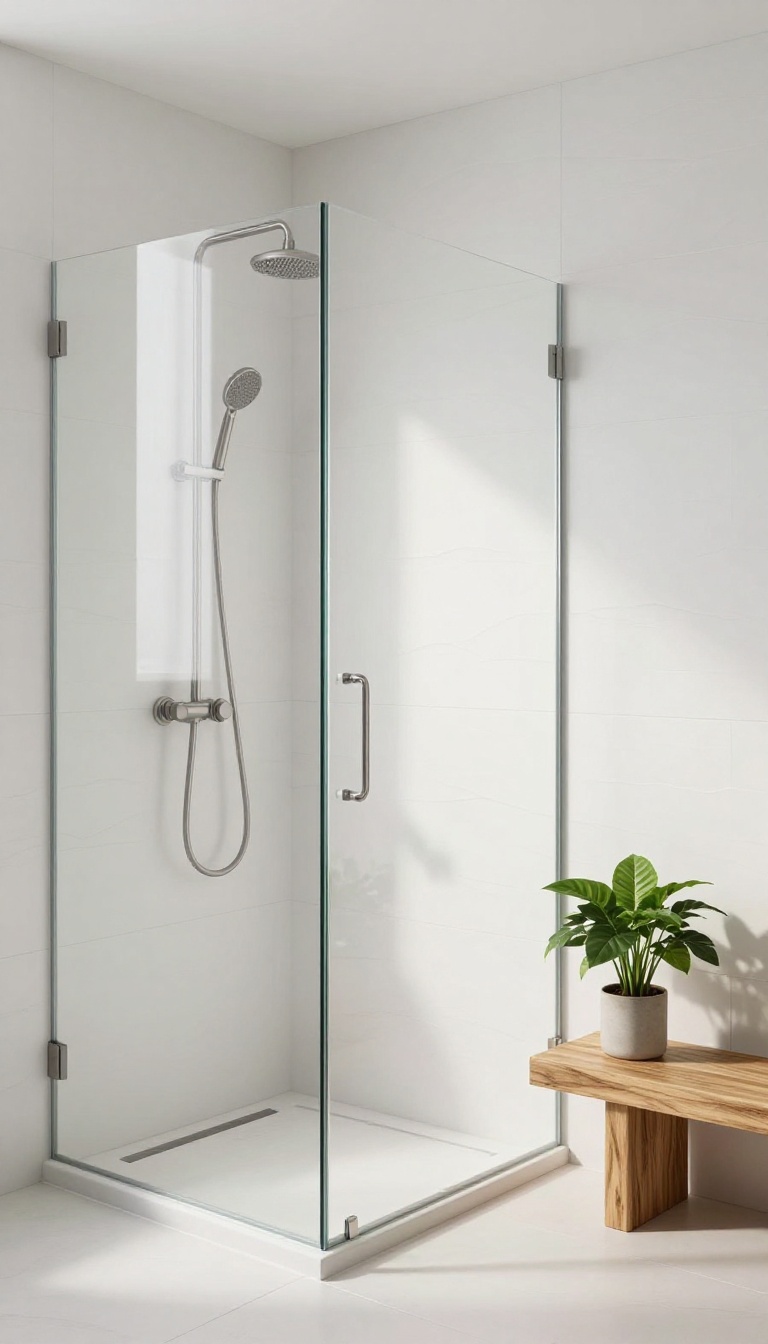
Texture can be the quiet hero of a shower design. Large white tiles with a subtle wave or linen finish bring a tactile, organic feel that plain glossy surfaces often lack. The white keeps the space airy and bright, while the texture adds gentle depth and a soft, natural vibe.
Textured tiles do more than look good—they also improve safety. The slight relief provides better traction underfoot, making them a smart pick for shower floors. On walls, they catch light in a way that creates subtle shadows, giving the room a layered, handmade feel without overwhelming the eye.
Why Texture Works In A Shower
Texture adds visual interest without introducing color or pattern. In a large-format tile, a subtle wave or linen weave creates a soft, organic rhythm that feels calming and spa-like. The tactile surface also adds grip, which is a practical bonus for wet areas.
Choosing The Right Texture Level
For walls, a gentle texture is ideal—enough to catch light but not so rough that it's hard to clean. For floors, a more pronounced texture offers better slip resistance. Look for tiles with a matte or satin finish that enhance the natural feel while still being easy to maintain.
Pairing Textured Tiles With Other Materials
Textured white tiles pair beautifully with natural wood, stone, or even matte black fixtures. The texture adds depth, so you can keep the rest of the shower simple. Consider using the textured tile on one accent wall or the floor, and smooth tiles elsewhere for contrast.
6. Large Tiles with a Glossy Finish for Maximum Light
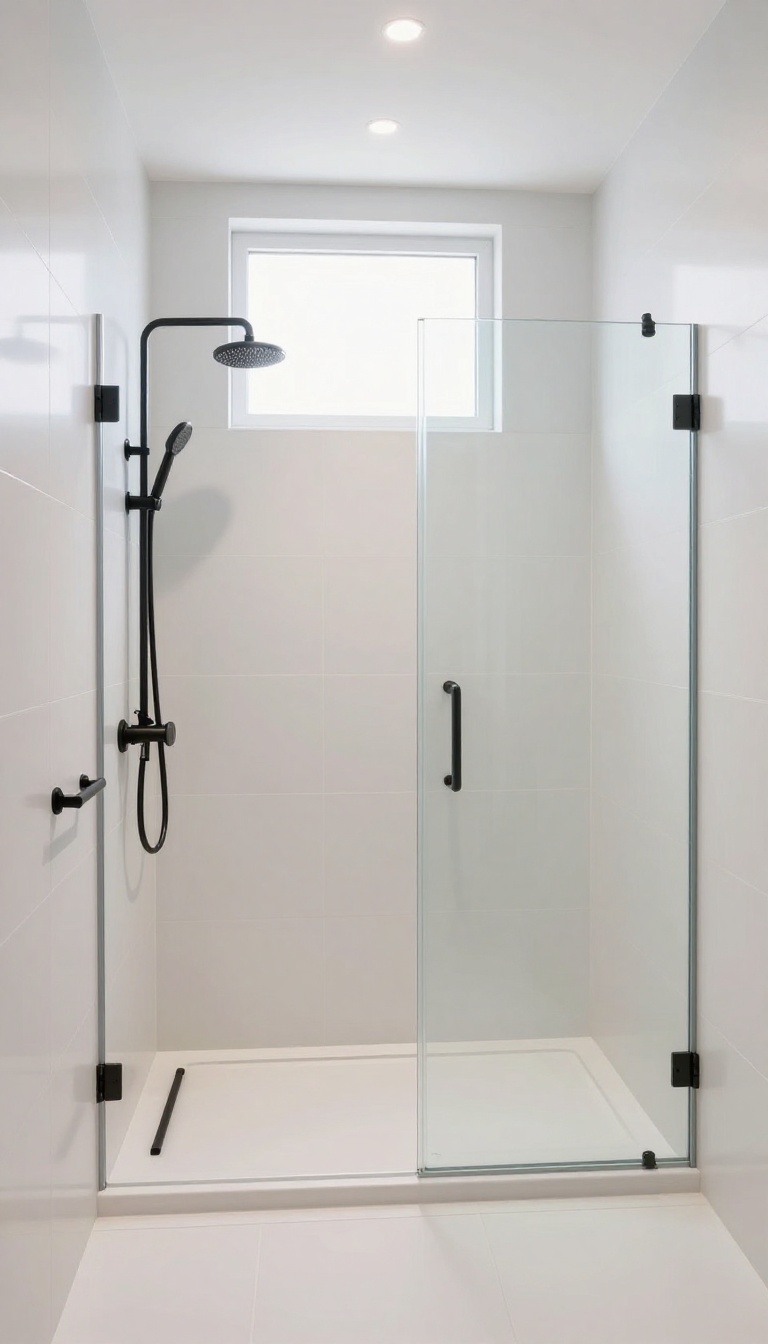
Glossy finishes are like a cheat code for small or dim bathrooms. The reflective surface bounces every bit of available light around the room, making the shower feel twice as open and airy. If your bathroom relies on a single window or a modest light fixture, this is the trick that makes the most of it.
Beyond the brightness boost, high-gloss tiles are also incredibly easy to wipe down. Soap scum and water spots have a harder time clinging to that smooth, shiny surface, which means less scrubbing and more enjoying your spa-like retreat.
Pairing large glossy tiles with light grout keeps the look seamless and amplifies the reflective effect. Dark grout can break up the surface and create a grid pattern that works against the airy vibe. Stick with white or off-white grout for a clean, continuous expanse of tile.
Another pro tip: use the same glossy tile on the shower floor and walls. It creates a monochromatic cocoon that feels luxurious and eliminates visual clutter. Just make sure the floor tile has a suitable slip rating—you can still get a glossy finish with a textured surface for safety.
Why Glossy Works In Small Bathrooms
Small bathrooms often feel cramped because walls absorb light. Glossy tiles act as mirrors, reflecting both natural and artificial light. This makes the space feel larger and more open.
For best results, position a light source to shine directly onto the tiled wall—like a recessed shower light or a vanity light nearby.
Pairing With Matte Fixtures For Balance
All-glossy can feel a bit slippery visually, so anchor it with matte black or brushed nickel fixtures. The contrast adds depth and prevents the shower from looking like a mirror box. Matte fixtures also give your eye a place to rest, making the glossy tiles pop even more.
Cleaning And Maintenance Tips
Glossy tiles are low-maintenance, but they do show water spots more easily than matte finishes. A quick squeegee after each shower keeps them streak-free. For deeper cleans, a mild vinegar solution works wonders without dulling the shine.
Avoid abrasive scrubbers that can scratch the surface.
7. Vertical Stacked Layout for Height and Drama
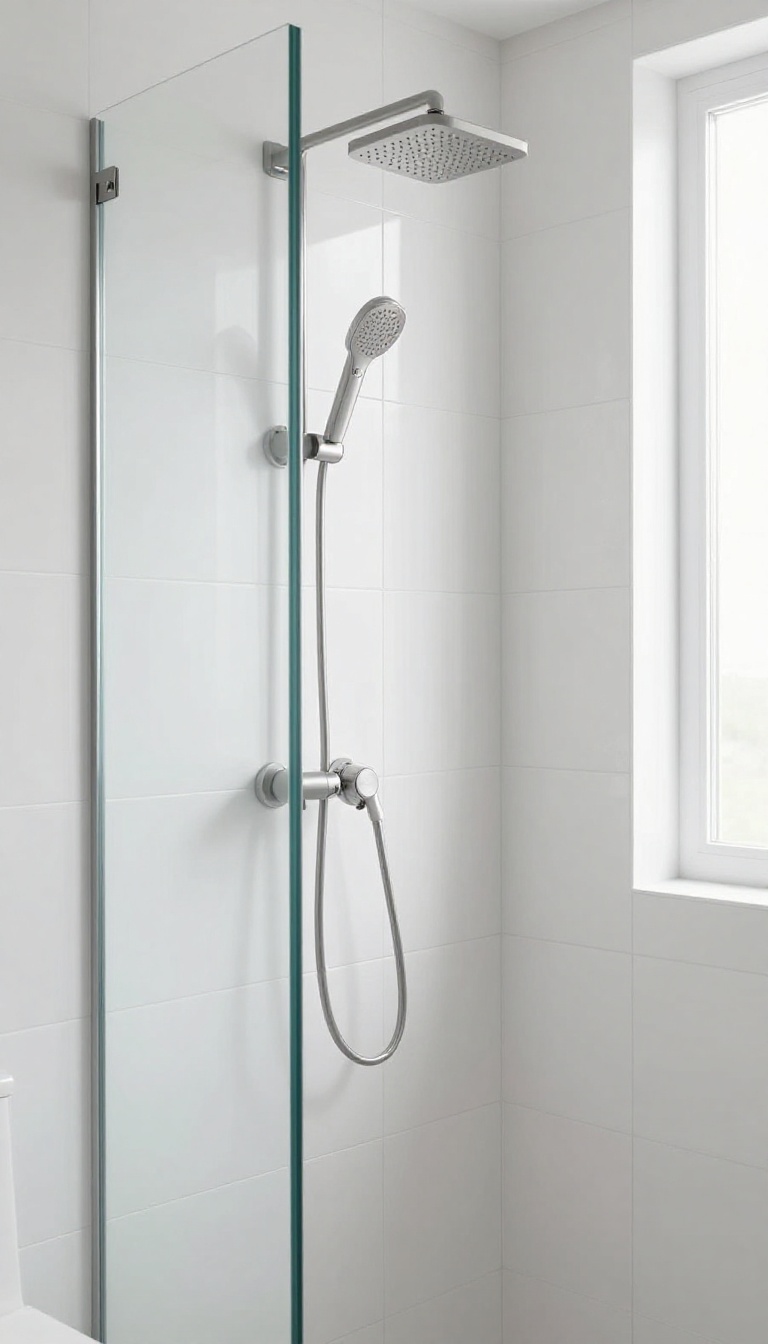
Most showers get tiled horizontally, but flipping the tiles vertically changes the whole vibe. The long lines run straight up, pulling your eye toward the ceiling and making the space feel taller than it actually is. It’s a simple swap that adds a touch of drama without going overboard.
Vertical stacking works best with large rectangular tiles, like 12×24 or even bigger. The fewer grout lines you have, the cleaner the effect. And because the tiles are laid end to end, the vertical seams are almost invisible, so the wall reads as one continuous surface.
This layout is especially great for showers with low ceilings—it tricks the eye into thinking there’s more room above. Plus, it gives the space a sleek, modern feel that pairs well with minimalist fixtures and frameless glass.
Why Vertical Beats Horizontal
Horizontal layouts can make a shower feel wider, but they can also make a low ceiling feel even lower. Vertical lines do the opposite—they add height and a sense of openness. If you’re working with a compact bathroom, this is an easy way to make it feel more spacious without knocking down walls.
Choosing The Right Tile Size
For vertical stacking, bigger is usually better. Tiles that are at least 12 inches wide and 24 inches long give you that seamless, dramatic look. Anything smaller and you’ll end up with more grout lines, which can break up the vertical flow.
If you want extra drama, go for a 12×36 or even a 12×48 tile—just make sure your walls can handle the weight.
Pairing With Other Elements
Vertical tiles shine when they’re the star, so keep the rest of the shower simple. Use a matching grout color to let the tile blend together, and choose a showerhead and fixtures that don’t compete for attention. A linear drain at the floor can also reinforce the clean, vertical lines.
And if you’re feeling bold, add a niche with the same tile but in a contrasting layout, like horizontal or herringbone, to create a subtle focal point.
8. Large Tiles with a Contrasting Grout for Definition
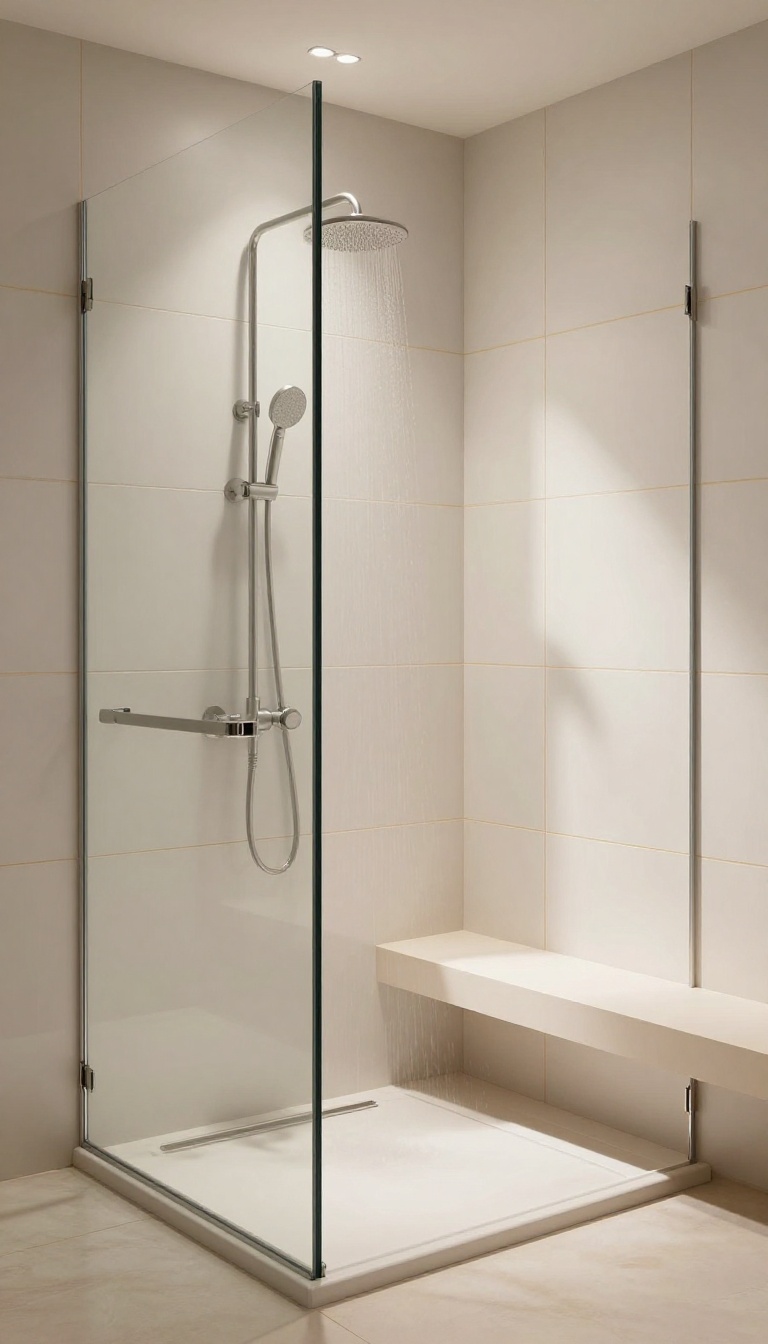
Pairing large white tiles with a contrasting grout is a clever way to add structure without overwhelming the space. The grout lines become a design feature, creating a subtle grid that gives the shower a crisp, tailored look. It's a practical choice too, since lighter grout can be a magnet for grime—choosing a slightly darker shade keeps things looking fresh longer.
When you choose large tiles, the grout lines are fewer, but they still play a big role in the overall aesthetic. A contrasting grout color, like a soft gray or warm beige, outlines each tile and adds a sense of order. This works especially well with rectified tiles, which have precise edges, allowing for thin, clean grout lines that enhance the modern feel.
Why Contrast Works
The subtle contrast between white tiles and a slightly darker grout adds depth and dimension. It breaks up the monotony of an all-white surface, making the shower feel more intentional. Plus, it's forgiving—dirt and soap scum are less visible on a mid-tone grout than on pure white.
Choosing The Right Grout Color
Stick with warm beige or greige for a soft, natural look, or go with light gray for a cooler, more modern vibe. Avoid very dark grout, which can make the space feel heavy and busy. Test a few samples in your actual lighting to see how they read against the tiles.
Grout Width And Finish
Keep grout lines narrow—around 1/8 inch—for a seamless, upscale appearance. A matte or satin grout finish reduces glare and helps hide imperfections. Use epoxy or a polymer-modified grout for better stain resistance and durability in wet areas.
9. Large Tiles in a Herringbone Pattern for Movement
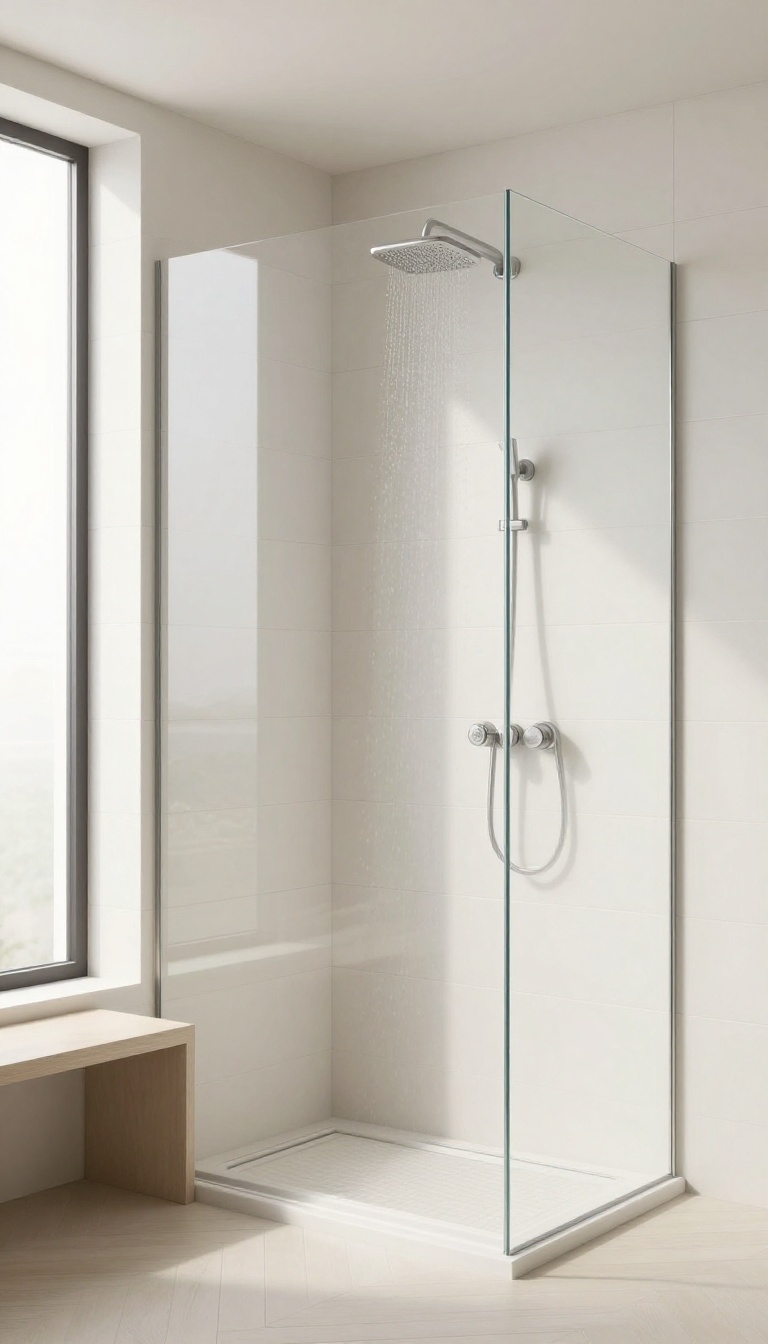
Herringbone has a way of making a surface feel alive, and when you scale it up with large tiles, the effect is both bold and soothing. The zigzag lines draw the eye without shouting, while the white finish keeps everything light and airy. It's a pattern that adds motion to the space, making the shower feel dynamic yet calm.
Large-format herringbone is a fresh twist on a classic pattern. Instead of small mosaic pieces, you're working with longer planks that create a clean, modern rhythm. The key is to choose tiles that are at least 12×24 inches, so the pattern reads clearly and doesn't feel busy.
This layout works especially well in showers with high ceilings or long walls, where the vertical flow can really shine.
Why Scale Matters
With large tiles, the herringbone pattern becomes more about geometry than texture. The bigger pieces mean fewer grout lines, which makes the surface easier to clean and gives the shower a more seamless look. You still get that classic chevron effect, but it feels more contemporary and less fussy.
Choosing The Right Tile
For this look, choose a matte or satin finish to keep the focus on the pattern. Glossy tiles can reflect light in a way that might distract from the herringbone lines. A soft white or warm white tone works best, as it adds depth without overpowering the design.
Rectangular tiles with a slight bevel or texture can also enhance the visual movement.
Placement Tips
Start the herringbone pattern at the center of the main wall and work outward for a balanced look. In a shower, you might want to run the pattern vertically to draw the eye upward, making the ceiling feel higher. If you're feeling adventurous, use the herringbone on one accent wall and keep the others in a simple large tile layout to avoid visual overload.
10. Large Tiles with a Built-In Niche and Bench
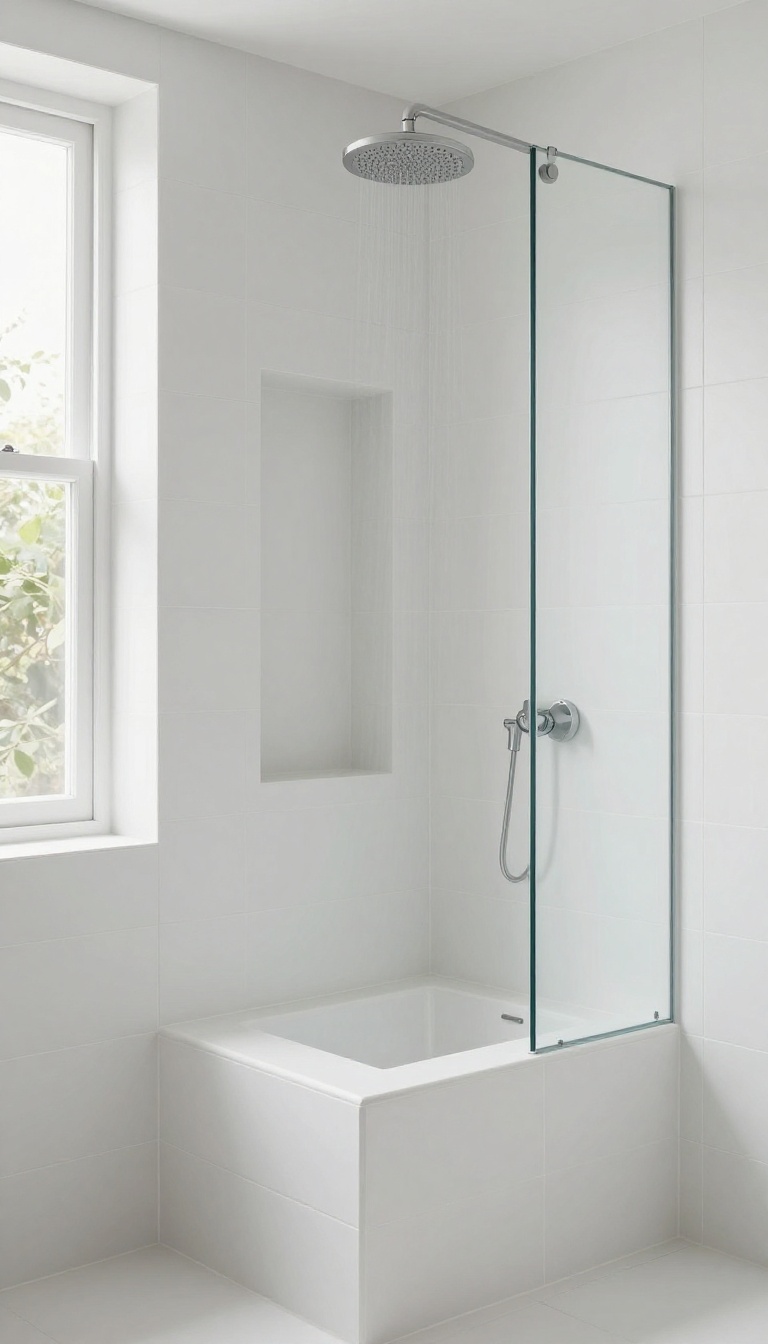
A shower that feels put-together often comes down to the details. When you pair large white tiles with a recessed niche and a built-in bench, you create a space that looks intentional and uncluttered. The continuous tile surface makes these features blend seamlessly, so nothing sticks out or breaks the visual flow.
The real beauty of this setup is how the large tiles wrap around the niche and bench without awkward seams or busy patterns. Because the tiles are so big, there are fewer grout lines, which keeps the eye moving smoothly. The niche and bench become part of the wall rather than add-ons, preserving that calm, cohesive feel you’re after.
Designing The Niche
When planning a niche, think about placement first. Put it where you naturally reach for shampoo or soap, usually at chest height on a side wall. Make the niche the same width as one tile or a multiple of it, so the tile wraps around with clean cuts.
For a seamless look, use the same large tile on the niche’s back and sides, and consider a slight slope on the bottom shelf so water doesn’t pool.
Choosing The Bench
A built-in bench can be a simple rectangular block or a more sculpted shape, but the key is to tile it with the same large white tiles. This creates a monolithic appearance that feels sturdy and elegant. If you want a bit of contrast, you could use a different finish, like matte, but keep the color the same.
For comfort, make the bench about 18 to 20 inches deep and slightly angled toward the drain to avoid standing water.
Grout And Finish
To keep the seamless vibe, choose a grout color that closely matches your tiles. White or light gray grout blends well and hides minor imperfections. A matte finish on the tiles helps hide water spots and gives a softer, more spa-like feel.
If you prefer a little shine, go for a satin finish—it’s easier to clean than high gloss and still reflects light nicely.
FAQ
Are large white tiles slippery when wet?
Some large tiles can be slippery, but you can choose textured or matte finishes, or look for tiles with a higher coefficient of friction (COF) rating. Adding a shower mat or using smaller tiles on the floor can also improve safety.
Do large tiles make a small shower look bigger?
Yes, large tiles reduce the number of grout lines, creating a more seamless look that visually expands the space. This is especially effective in small showers where busy patterns can feel overwhelming.
What is the best grout color for large white tiles?
White or light gray grout creates a seamless look, while a slightly darker grout adds definition and hides dirt better. Choose a color that complements your tile and overall bathroom style.
Can I use large white tiles on the shower floor?
Yes, but ensure they are rated for floor use and have a textured surface to prevent slipping. Large tiles on the floor may need extra support to avoid cracking, so consult a professional.
How do I clean large white tiles in the shower?
Use a mild, non-abrasive cleaner and a soft sponge or cloth. Avoid harsh chemicals that can damage the tile or grout. Regular wiping after use can prevent soap scum and hard water stains.
Conclusion
Large white tiles offer a versatile canvas for creating a calm, cohesive shower that feels both spacious and serene. Whether you prefer the luxury of marble-look slabs or the simplicity of matte subway tiles, there's a style to suit your taste.
Remember to consider texture, layout, and grout color to achieve the perfect balance of form and function. With these ideas, you're well on your way to transforming your bathroom into a peaceful retreat.