11 Open Shelf Pantry Ideas for a Cleaner, Calmer Kitchen
Open shelves can make a kitchen feel airy and inviting, but they also put your pantry habits on display.
The trick is balancing visual appeal with everyday function—no one wants a shelf full of mismatched boxes and forgotten cans.
These 11 ideas help you create a system that looks good and actually works, whether you're starting from scratch or tweaking an existing setup.
1. Start with a Clean Slate: Empty and Sort Everything
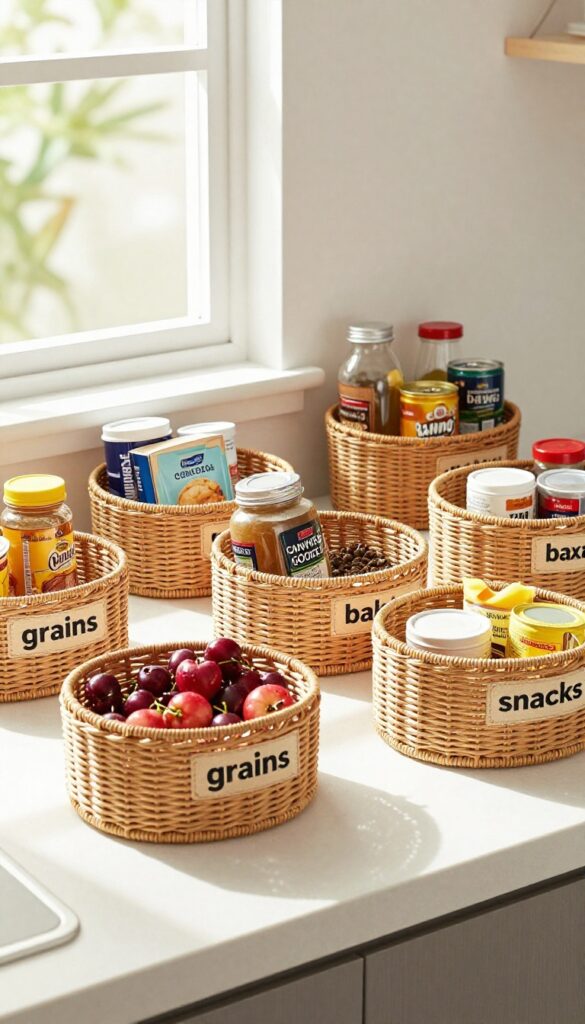
Before you arrange a single jar, take everything out. Group items by category—canned goods, spices, snacks—and toss anything expired. This step prevents future clutter and gives you a clear picture of what you're working with.
Emptying your pantry might feel like a chore, but it's the foundation of a system that lasts. Once everything is out, you can see exactly what you have and how much space you're dealing with. Sorting into categories makes it easier to decide where each item should live on the shelf.
Create A Sorting Station
Clear your countertop and set up bins or boxes labeled with broad categories like 'grains, ' 'canned goods, ' 'baking, ' and 'snacks. ' As you pull items from the pantry, drop them into the right bin. This keeps the process organized and prevents piles from turning into chaos.
Check Expiration Dates
Go through each item and check the date. Toss anything past its prime—old spices lose flavor, and expired canned goods can be unsafe. Donating unopened, non-expired items you won't use is a nice bonus.
Wipe Down Shelves
With everything off the shelves, take a damp cloth and wipe down all surfaces. Crumbs and spills attract pests, so a quick clean now saves trouble later. Let shelves dry completely before restocking.
2. Use Clear Glass Jars for Dry Goods
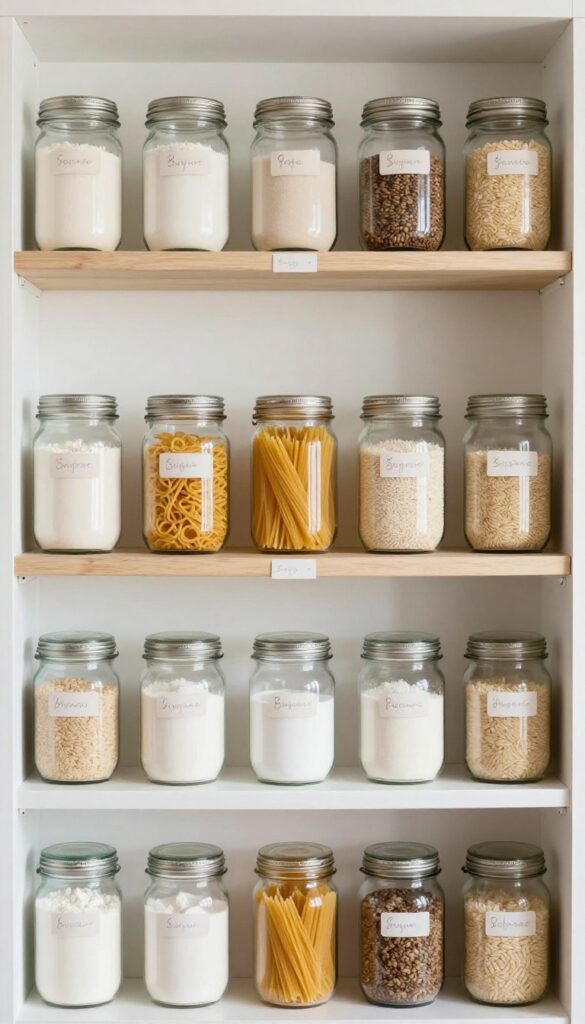
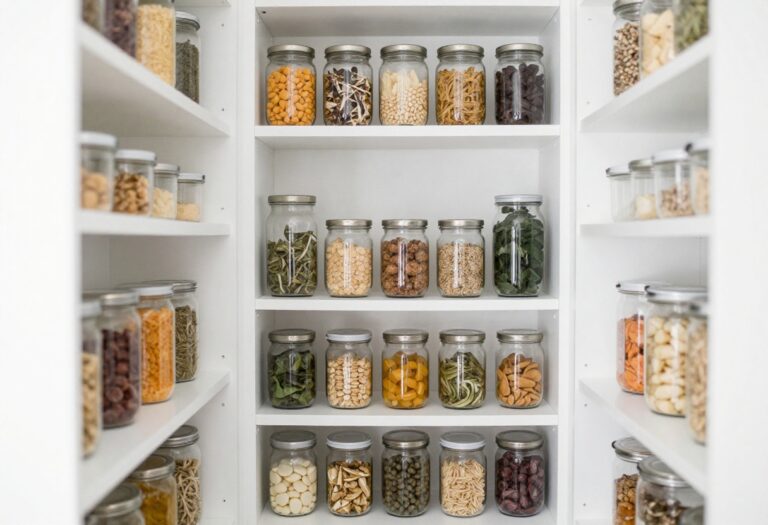
Once you've purged and categorized your pantry, the next step is choosing the right containers. Clear glass jars are a go-to for open shelves because they instantly make everything look intentional. Plus, they help you keep track of what you have at a glance.
Transferring dry goods into uniform jars eliminates the visual chaos of half-empty bags and crinkled boxes. It also keeps ingredients fresher longer, since glass seals out moisture and pests better than original packaging. Stick to a consistent jar style—like wide-mouth quart or half-gallon sizes—so the shelf feels cohesive, not cluttered.
Choose The Right Jar Shape
Square or rectangular jars maximize shelf space and stack neatly, while round jars have a classic apothecary look. For open shelves, square jars are usually more efficient because they leave no wasted gaps. Pick a shape that fits your shelf depth and stick with it for every item.
Labeling Made Simple
Skip the fancy label maker. A chalkboard sticker or a simple white adhesive tag with a permanent marker does the job. Write the contents in clear, lowercase letters for a relaxed vibe.
If you rotate ingredients often, use a dry-erase marker directly on the glass—it wipes off easily.
Group By Use, Not By Type
Instead of putting all baking items on one shelf, group jars by how you cook. Keep flour, sugar, and vanilla near your mixing station, and pasta, rice, and canned tomatoes near the stove. This makes grabbing what you need feel natural, not like a treasure hunt.
3. Install Adjustable Shelf Risers
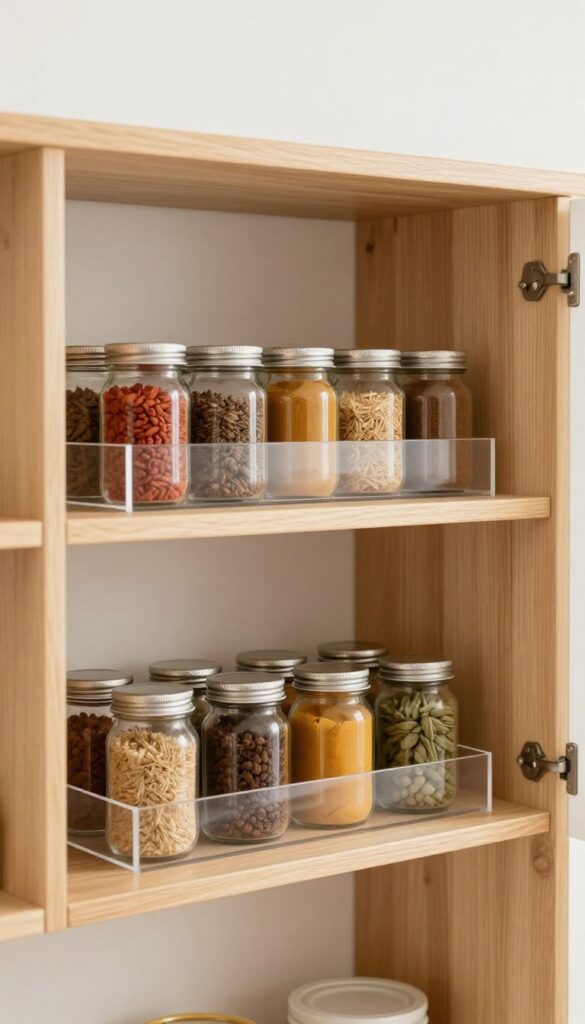
Maximize vertical space with inexpensive risers or small tiered stands. They let you see items at the back of the shelf without digging. Perfect for cans, spices, or small jars that usually get lost in the shuffle.
Shelf risers are a simple, low-cost solution that instantly doubles your usable shelf space. By creating tiers, you can store more without stacking items precariously. This is especially helpful for deep shelves where things tend to disappear into the dark corners.
Choose risers that fit your shelf depth and weight needs—wire ones are great for cans, while clear acrylic works well for jars and spices.
Pick The Right Risers For Your Shelf Depth
Measure your shelf depth before buying risers. Standard kitchen shelves are about 12 to 14 inches deep, so look for risers that leave at least an inch of clearance at the front and back. For deeper shelves, consider adjustable or expandable risers that can be customized to fit.
Group Similar Items On Each Tier
Use the top tier for items you reach for daily, like cooking oils or spices. The lower tier can hold backup cans or less frequently used jars. This setup keeps everything visible and accessible, reducing the time you spend hunting for ingredients.
Mix And Match Materials For Style And Function
Wire risers are durable and easy to clean, making them ideal for canned goods. Acrylic risers offer a clean, modern look that blends with any decor. For a rustic touch, try wooden risers.
Just make sure they are food-safe and easy to wipe down.
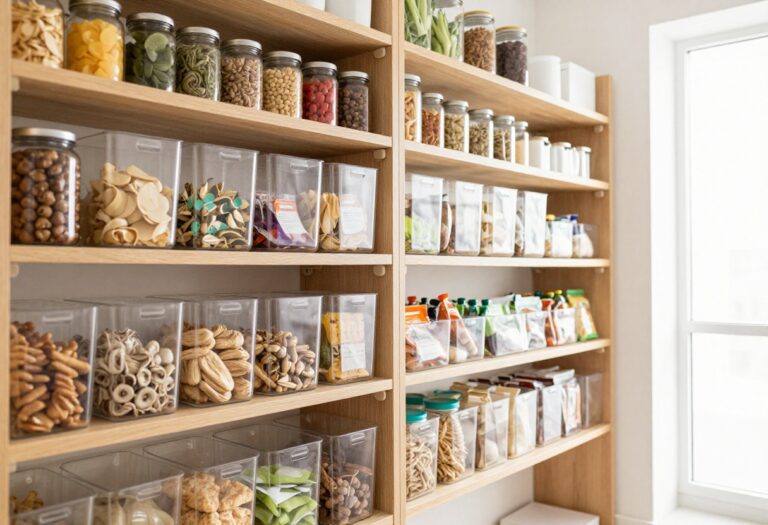
4. Group Like Items in Baskets or Bins
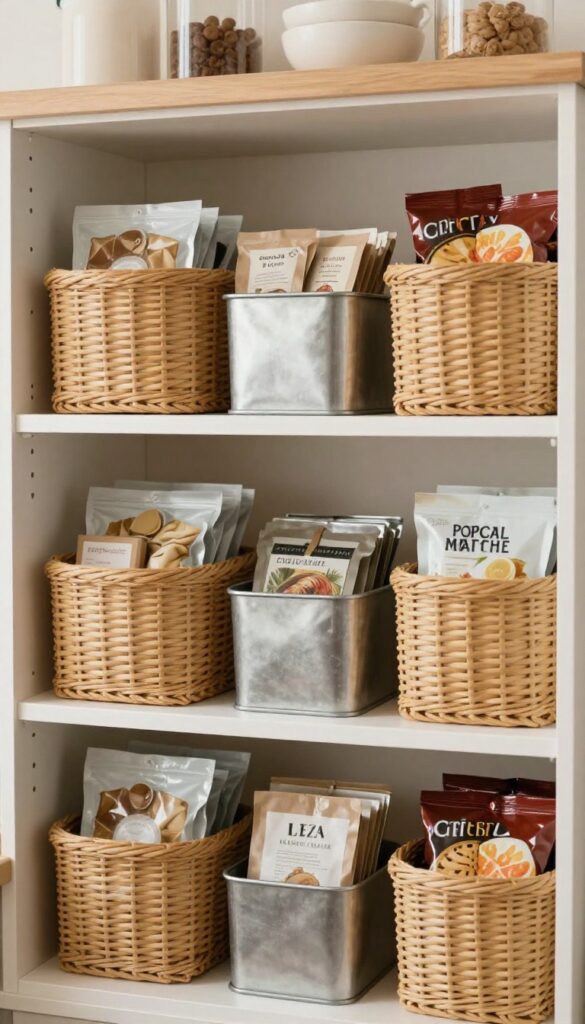
Loose packets, tea bags, and snack pouches are the usual suspects when shelves start looking messy. They slide around, get crushed, and make it hard to see what you have. The fix is simple: corral them into baskets or bins.
This instantly creates visual order and turns a jumble into neat, grab-and-go categories. Plus, it makes restocking a breeze—just drop new items into the right bin without rearranging everything.
Choose baskets or bins that fit your shelf depth to avoid wasted space. Woven baskets add warmth, while metal bins give a clean, modern look. Clear bins work if you want to see contents at a glance.
The key is consistency—stick to one or two materials and colors for a cohesive look. Group items by use: breakfast packets in one bin, snack bags in another, baking mixes in a third. This system makes daily cooking faster and keeps shelves tidy with minimal effort.
Pick The Right Size
Measure your shelf depth and height before buying. Bins that are too deep will stick out and look awkward. Too tall, and they block the shelf above.
Aim for bins that fill the shelf width with a little breathing room. For standard 12-inch deep shelves, 10-inch deep bins work well. If you have narrow shelves, try smaller rectangular bins that fit side by side.
Label For Quick Access
Labels take the guesswork out of putting things away. Use a label maker or simple chalk labels on the front of each bin. Keep labels broad—'Snacks, ' 'Tea, ' 'Baking'—so you can swap contents without relabeling.
If you prefer a no-label look, choose clear bins or baskets with a natural weave that lets you see what's inside.
Mix Open And Closed Storage
Use open baskets for items you grab daily, like granola bars or coffee pods. For less frequently used packets (seasonal mixes, specialty teas), choose bins with lids or solid sides to keep them dust-free. This mix keeps your most-used items accessible while hiding the clutter of seldom-used packets.
5. Add a Pegboard for Hanging Storage
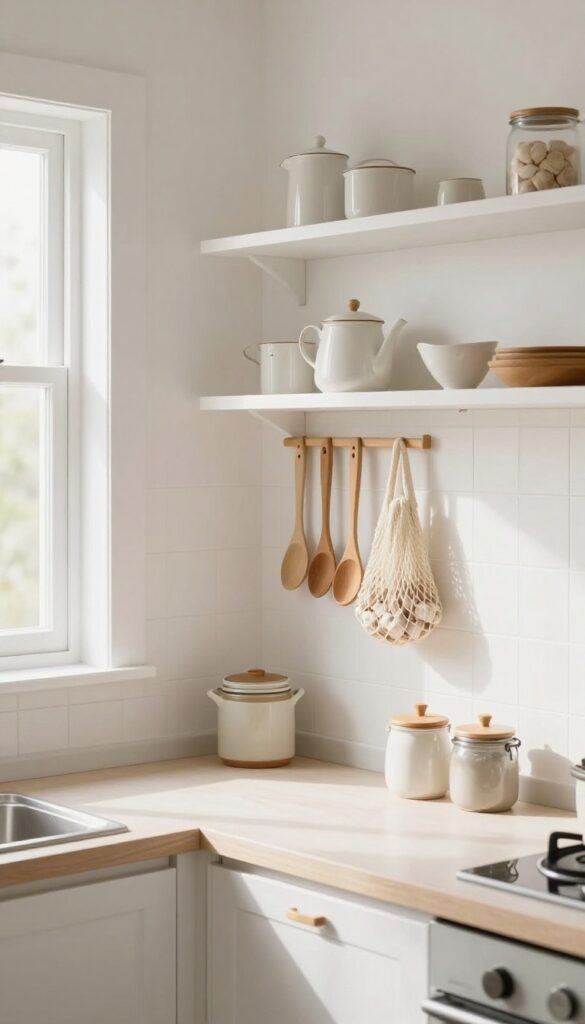
Wall space beside your open shelves is often wasted. A small pegboard turns that blank area into a flexible storage zone. It's perfect for items you reach for daily—measuring cups, spoons, or even a garlic keeper.
A pegboard adds function without taking up shelf real estate. Mount it on the wall next to your open shelves, then use hooks and small baskets to hold kitchen tools or produce. The setup is customizable and easy to rearrange as your needs change.
Choose The Right Size And Material
A 12×18 inch board works for most small spaces. Metal pegboards are durable and modern, while wood offers a warmer look. Make sure the board is at least 1/4 inch thick to support hooks without bending.
What To Hang
Stick with lightweight items: measuring cups, wooden spoons, tongs, or small mesh bags for onions and garlic. Avoid heavy pots or pans that could pull the board off the wall. Use small baskets for loose produce or spice packets.
Installation Tips
Use wall anchors if you're not hitting studs. Leave about 2 inches of space between the pegboard and the wall so hooks have room. Position it at a height that's easy to reach, typically 12 to 18 inches above the counter.
6. Use Lazy Susans for Corner Shelves
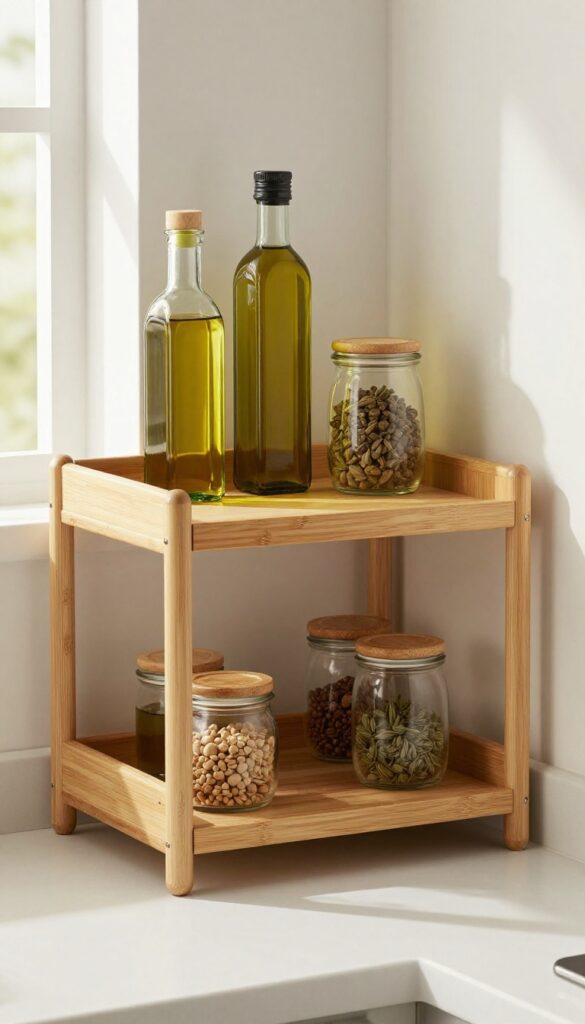
Corner shelves are notorious for becoming black holes where bottles and jars go to die. A lazy Susan changes that completely. With a simple spin, everything becomes reachable—no more awkward stretching or knocking things over.
It's a small addition that makes a big difference in how you use that tricky space.
Pick The Right Size And Material
Not all lazy Susans are created equal. For corner shelves, you want one that fits snugly without wasting space. Measure the shelf depth and choose a turntable that leaves a little breathing room.
Bamboo or metal options are sturdy enough for heavy bottles, while plastic ones work well for lighter items like spices and teas.
Group By Frequency Of Use
Keep your most-used oils, vinegars, and spices on the lazy Susan. Less frequently used items can stay in the back of the shelf or on higher tiers. This way, you're not spinning through bottles of fish sauce just to grab olive oil.
A quick spin and you're done.
Don't Overload It
It's tempting to cram as many bottles as possible onto the turntable, but that defeats the purpose. Overloading makes it hard to spin and increases the chance of tipping. Stick to a single layer of items, and leave a little space between them so labels are visible and grabbing is easy.
7. Label Everything Clearly
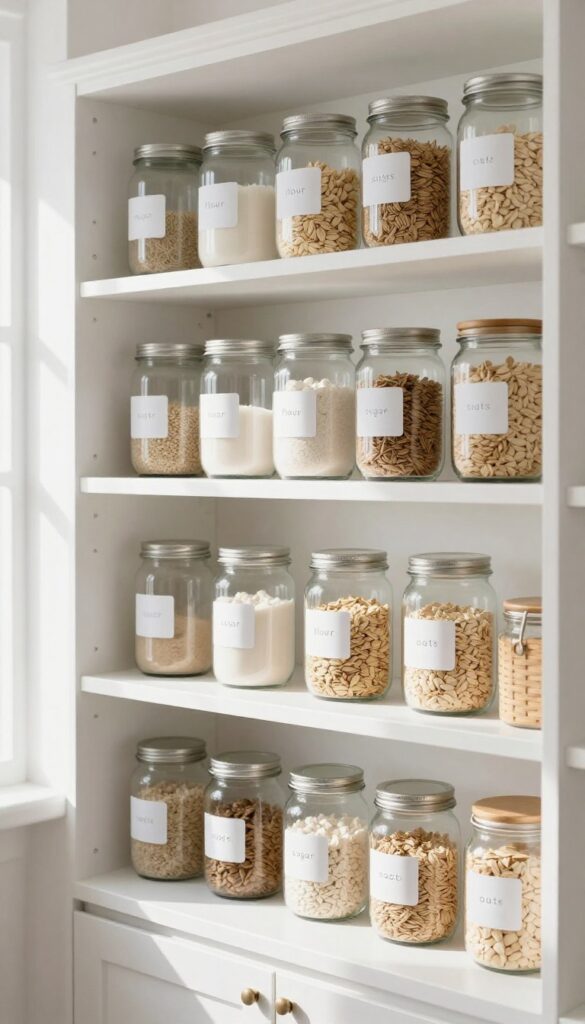
Labels are the unsung heroes of an organized pantry. They take the guesswork out of finding ingredients and make it easy for everyone to put things back where they belong. A consistent labeling system also adds a polished, intentional look to your open shelves.
When every jar, bin, and basket is labeled, your pantry runs on autopilot. No more digging through containers to find the flour or wondering if that's salt or sugar. Labels also help you maintain order because it's instantly obvious when something is out of place.
Choose A Label Style That Fits
Pick a label material that matches your kitchen's vibe and your lifestyle. Chalkboard labels let you update contents easily, while vinyl or handwritten tags offer a more permanent look. If you like to switch things up, use removable labels or a label maker for crisp, uniform text.
Label Both The Container And The Shelf
For extra clarity, put a label on the container itself and a matching one on the shelf edge. This double-labeling system makes it foolproof for anyone in the household to return items correctly. It also helps when you refill a container—just glance at the shelf label to confirm.
Keep It Consistent And Legible
Use the same font, size, and placement for all labels. Stick to simple, readable fonts and avoid overly decorative styles that are hard to read. If you're handwriting labels, use a permanent marker or chalk pen for neat results.
Consistency trains your brain to find things faster.
8. Incorporate a Few Decorative Touches
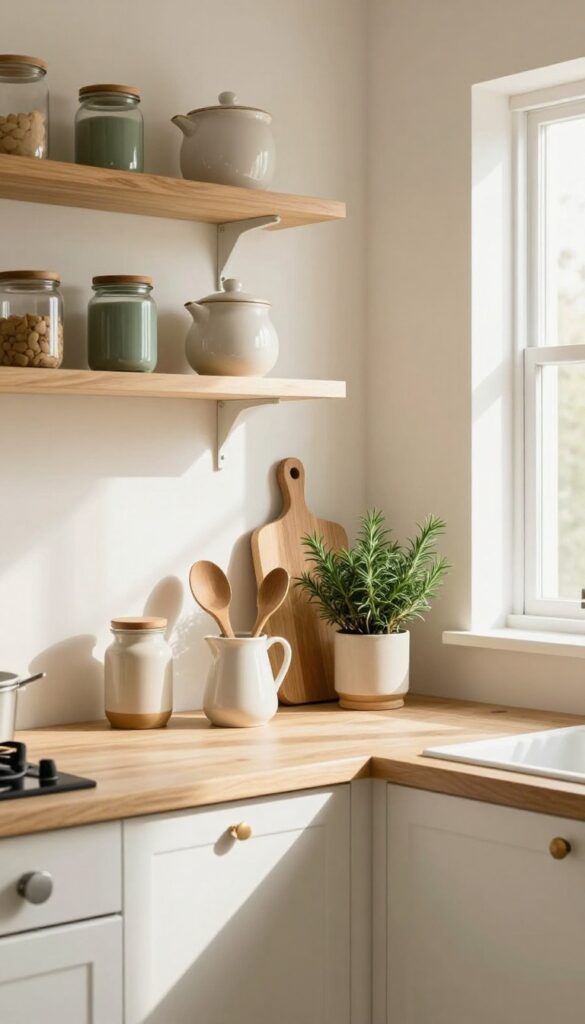
Your open shelves don't have to be purely utilitarian. A few carefully chosen decorative items can make the space feel warm and intentional without sacrificing function. The key is restraint—just one or two pieces per shelf to avoid visual noise.
Choose Items That Pull Double Duty
A wooden cutting board propped against the back wall adds texture and is always within reach. A small ceramic pitcher can hold wooden spoons or a few stems of dried eucalyptus. Every decorative piece should either serve a purpose or bring quiet beauty, not just take up space.
Stick To A Cohesive Palette
Neutral tones, natural materials, and matte finishes tend to blend best with pantry staples. Think cream, beige, soft green, or warm wood. Avoid bright plastic or overly trendy decor—it dates quickly and can clash with the food containers.
Layer In Greenery
A small potted herb like rosemary or a low-maintenance succulent adds life and color. Place it near the edge of a shelf where it gets light but isn't in the way. Just remember to keep it away from moisture-prone areas and choose a pot that complements your container lineup.
9. Rotate Stock with a First-In, First-Out System
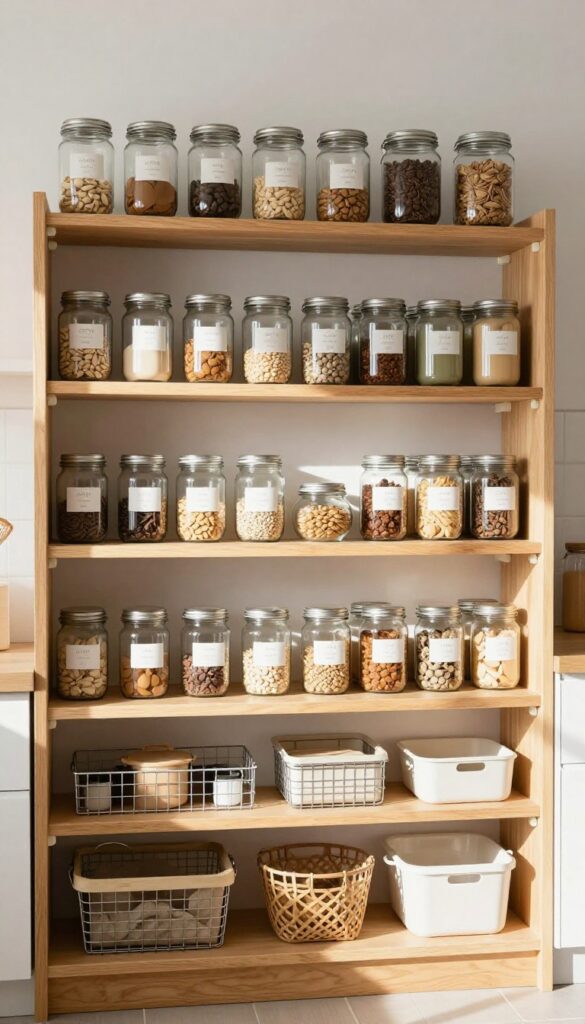
You’ve organized your open shelves beautifully, but what happens when you buy new cans of tomatoes and shove them in front of the old ones? Before long, you’re finding expired beans from two years ago. A first-in, first-out (FIFO) system solves that by making rotation a no-brainer habit.
It’s a small shift in how you stock shelves that saves money and reduces waste.
The concept is simple: always place newer items behind or underneath older ones. When you unload groceries, take a moment to slide the existing stock forward and put the new purchases at the back. This way, you grab the oldest items first when cooking.
It works especially well for canned goods, jarred sauces, pasta, and other shelf-stable staples. Over time, it becomes automatic and keeps your pantry fresh.
Make It Visual With Shelf Dividers
Shelf dividers or small wire baskets help you maintain the FIFO flow. They create distinct zones for each product type and prevent cans from rolling around. Use dividers that are tall enough to keep items upright but low enough to see what’s behind.
Clear acrylic or metal options blend into most open shelves without adding clutter.
Use The ‘new Behind Old’ Rule For Bulk Items
If you buy in bulk, FIFO is even more critical. Store bulk bags of rice, flour, or oats in clear containers and label them with purchase dates. When you refill, pour the new batch into a separate container and place it behind the current one.
Alternatively, keep a small sticky note on the container with the date so you always know which to use first.
Build A Weekly Check-in Habit
Set aside five minutes each week to scan your open shelves. Pull forward any items that are nearing their expiration date and group them together. This quick check prevents surprises and helps you plan meals around what needs to be used up.
It also keeps your shelves looking tidy because nothing gets buried for months.
10. Use Magnetic Strips for Metal Lids and Tools
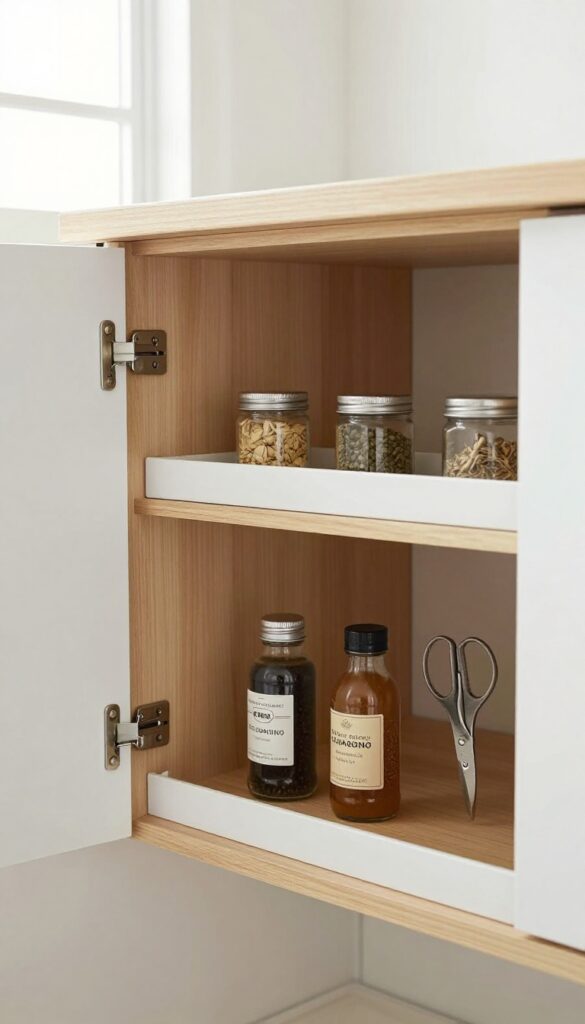
Magnetic strips aren't just for knives. Stick one under a shelf or inside a cabinet door, and suddenly you have a home for metal spice tins, bottle openers, and small scissors. It's a clever way to reclaim shelf space while keeping everyday tools within easy reach.
This trick works best if you have a metal surface on your spice tins or tools. It's also a great solution for small kitchens where every inch counts. You can buy adhesive magnetic strips at any hardware store, and they install in seconds.
Just peel, stick, and start organizing.
Where To Place The Strip
The underside of a shelf is prime real estate. It's out of sight but easy to access. You can also mount a strip on the inside of a cabinet door, especially if you have a narrow cabinet near your prep area.
Just make sure the strip is secure and can hold the weight of your items.
What To Store On It
Metal spice tins are the obvious choice. But don't stop there. Bottle openers, small tongs, measuring spoons, and even metal tea infusers can hang out here.
Avoid storing heavy items like cast iron tools, as they might pull the strip off.
Tips For A Clean Look
Group similar items together. Keep spices in a row, tools on another strip. If you use multiple strips, align them neatly.
You can also paint the strip to match your shelf or cabinet for a seamless look.
11. Keep a Small Trash or Compost Bin Nearby
Even the best-organized pantry can get messy when you're in the middle of a cooking session. That half-empty bag of chips you meant to toss? The wilted herbs you forgot about?
A small bin right there changes everything. It turns cleanup into a one-step process instead of a cross-kitchen trek.
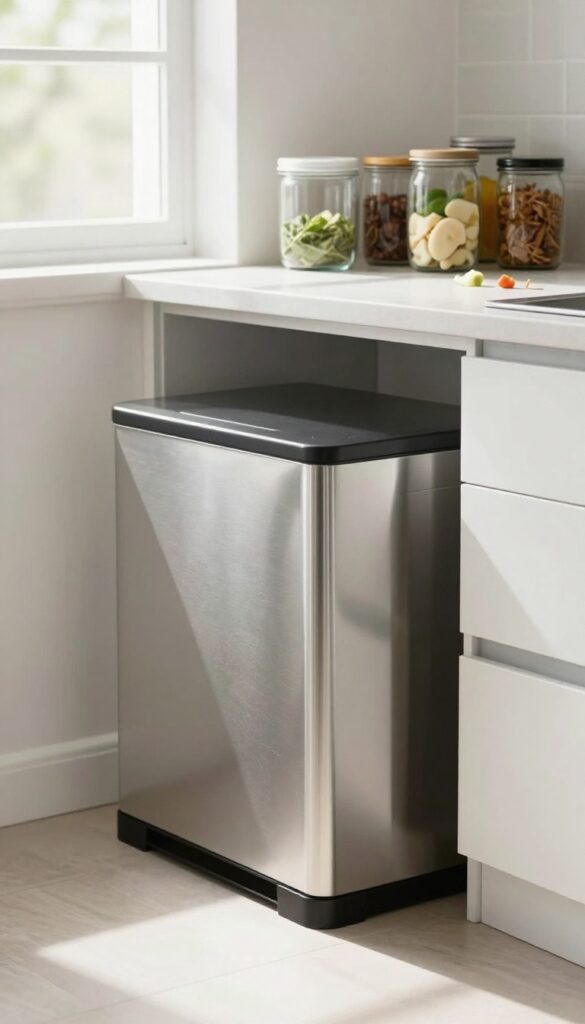
Place a slim trash or compost bin under the lowest shelf or right on the floor next to your pantry. This way, you can instantly ditch expired items, empty packaging, or vegetable scraps without breaking your flow. It's a tiny tweak that keeps your shelves clutter-free and your kitchen smelling fresh.
Pick The Right Size
You don't need a full-sized bin. A narrow 2- to 3-gallon container fits neatly beside a shelf or under a counter. Look for one with a lid to contain odors, especially if you're composting.
Stainless steel or dark plastic blends in without screaming "trash can. "
Where To Place It
Slide it under the lowest open shelf if there's clearance, or set it on the floor near the pantry zone. Just make sure it's easy to reach but not in the way of foot traffic. If your pantry is a walk-in, tuck it in a corner so it's out of sight but still handy.
Make It A Habit
The real magic happens when you use it consistently. Every time you grab something from the shelf, scan for anything that's past its prime and toss it immediately. Empty the bin daily or every other day to keep smells and fruit flies away.
Over time, this simple practice will keep your pantry perpetually tidy.
FAQ
Are open shelves practical for a pantry?
Yes, when organized well. Open shelves make items visible and accessible, reducing the chance of forgotten food. The key is to keep them tidy and use consistent storage containers.
How do I keep open shelves from looking cluttered?
Stick to a limited color palette for containers, group similar items, and avoid overcrowding. Leave some empty space between groups for a cleaner look.
What's the best way to label open pantry shelves?
Use clear, readable labels on jars and bins. Chalkboard labels are reusable, while vinyl or handwritten tags offer a permanent option. Consistency in style helps maintain visual order.
Can I use open shelving in a small kitchen?
Absolutely. Open shelves can make a small kitchen feel larger by opening up wall space. Just be selective about what you display and keep frequently used items within reach.
How often should I reorganize my open pantry?
A quick tidy-up weekly and a deeper reorganization every few months works well. Regular rotation of stock and wiping down shelves keeps everything fresh.
Conclusion
An open pantry doesn't have to feel chaotic. By mixing baskets, jars, and a few shelf risers, you can turn clutter into a display that's both practical and pleasant. Start with one zone—maybe your snack shelf or coffee station—and see how good it feels to grab things without digging.
Small adjustments create calm faster than you'd expect. Your kitchen will start working for you, not the other way around.