13 Space-Smart Replace Tub with Walk-In Shower Ideas
Swapping a tub for a walk-in shower instantly opens up your bathroom, making it feel larger and more streamlined. The real magic lies in the details—how you handle the entry, drainage, and storage can turn a simple change into a space that feels custom and effortless.
These 13 ideas focus on practical upgrades that maximize every square inch, from curbless entries that eliminate trip hazards to clever niches that keep toiletries out of sight. Whether you're tackling a full remodel or just want a fresh look, each suggestion targets a specific problem, so you can pick what fits your layout and lifestyle.
Let's walk through the options that will make your daily routine feel more spacious and calm.
1. Curbless Entry for Seamless Flow
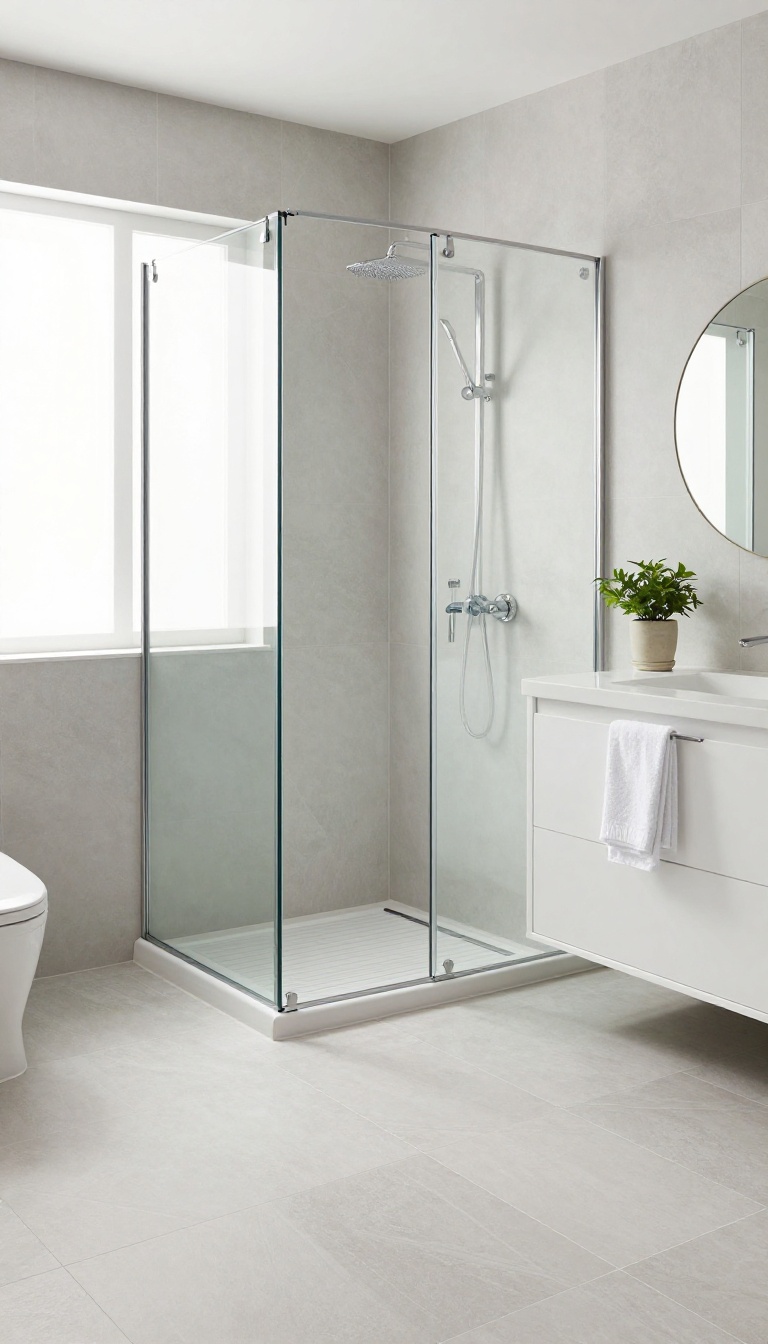
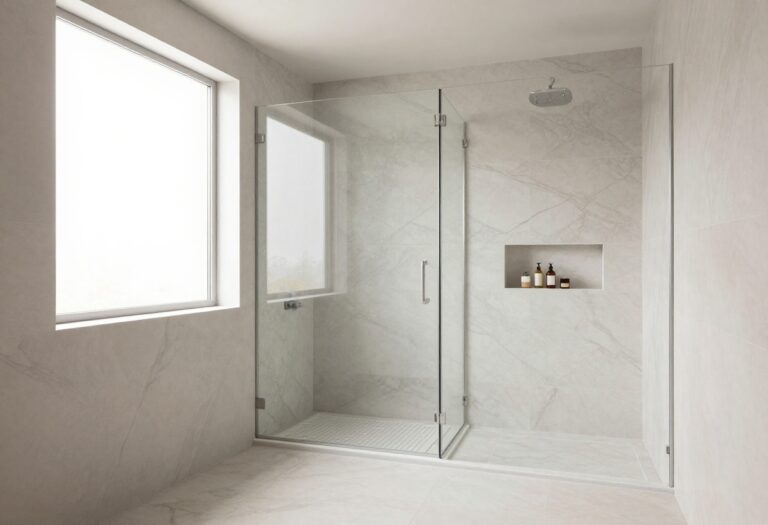
The quickest way to make a bathroom feel bigger is to remove the barrier between the shower and the rest of the floor. A curbless entry does exactly that, creating a smooth, continuous surface that your eye follows without interruption. It's a simple change that instantly modernizes the space and removes a common trip hazard.
Going curbless isn't just about aesthetics—it's about making the shower feel like a natural extension of the room. With no step to navigate, the floor space visually expands, and cleaning becomes easier since there's no lip to catch dust and grime. For anyone planning to stay in their home long-term, this design also future-proofs the bathroom, making it accessible for all ages and mobility levels.
Why It Works For Small Bathrooms
In a compact bathroom, every inch counts. A curbless entry eliminates the visual break that a traditional shower pan creates, so the floor appears to continue right into the shower. This trick makes the room feel more open and less cramped, even if the actual square footage hasn't changed.
Plus, you can use larger floor tiles throughout, which further enhances the seamless look.
Getting The Slope Right
The key to a successful curbless shower is proper drainage. The floor needs to slope gently toward the drain, typically about 1/4 inch per foot, to keep water from pooling. This requires careful planning during installation, but the result is a clean, functional shower that looks effortless.
A linear drain is often the best choice because it can be placed along the wall or at the entrance, making the slope less noticeable.
Pairing With Glass Panels
To keep water inside without a curb, a fixed glass panel or a sleek glass door is essential. A frameless glass partition adds a touch of elegance and maintains the open feel. You can also opt for a half-wall or a wet-room style, where the entire bathroom is waterproofed, giving you even more design freedom.
Just make sure the glass is tempered and the seals are tight to avoid leaks.
2. Corner Shower to Free Up Floor Space
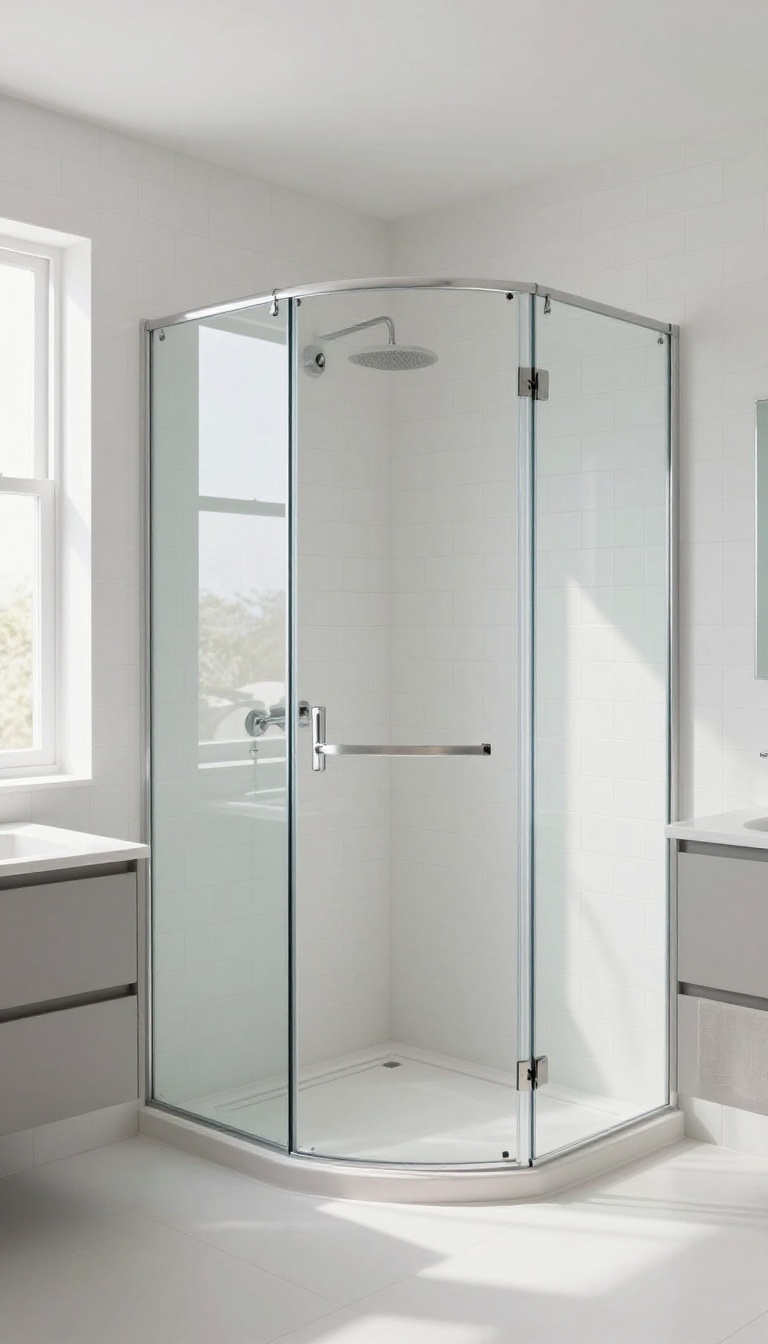
If your bathroom feels cramped, a corner shower can be a game-changer. By tucking the shower into a corner, you open up the center of the room, making it easier to move around and add other features. This layout works especially well in smaller bathrooms where every inch counts, giving you the feel of a larger space without major construction.
A corner shower fits neatly into the spot where your tub used to be, using space that often goes unused. It leaves the rest of the floor open for a double vanity, a linen tower, or just more breathing room. The key is to choose a shower with a curved or angled door that doesn't swing out too far, so you don't lose the space you're trying to gain.
Choosing The Right Corner Shower Size
Measure your current tub area and look for a corner shower that fits without overwhelming the room. Standard sizes range from 36 to 48 inches on each side. A smaller 36-inch shower is great for a compact bathroom, while a 42-inch or 48-inch option gives you more elbow room if you have the space.
Keep in mind that the door swing and clearance in front of the shower matter just as much as the footprint.
Maximizing Storage Around The Corner
Since you're freeing up floor space, use the walls around the shower for storage. Install a recessed niche inside the shower for shampoo and soap, and add a slim shelving unit or a tall cabinet just outside. You can also hang a towel bar on the adjacent wall or use a corner caddy to keep essentials within reach without cluttering the floor.
Making The Shower Feel Spacious
To keep the corner shower from feeling boxed in, use glass panels instead of solid walls. A frameless glass door and a fixed panel let light pass through and make the bathroom look bigger. Choose a light-colored tile for the shower floor and walls to brighten the space, and consider a rainfall showerhead to add a touch of luxury without taking up extra room.
3. Linear Drain for a Minimalist Look
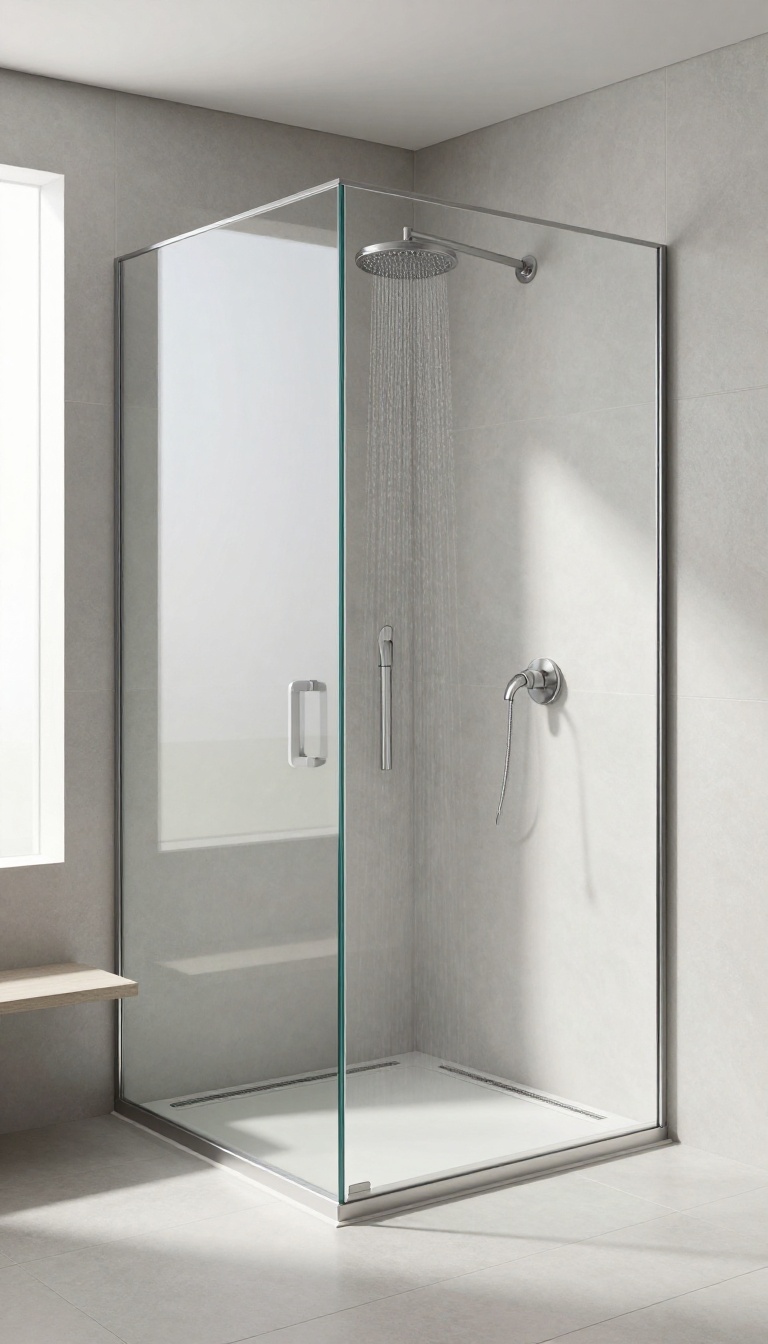
A linear drain might sound like a small detail, but it can completely change the feel of your walk-in shower. Instead of the usual center drain, a linear drain sits along one edge, letting the floor stay perfectly flat. That single change opens up design possibilities and makes the whole space look cleaner and more intentional.
The biggest win with a linear drain is the seamless, flat floor. You can use large-format tiles without worrying about sloping everything toward a small drain in the middle. That flat surface not only looks sleek but also feels more spacious underfoot.
Plus, the drain channel runs the full width of the shower, so water has a clear path and doesn't pool around your feet.
Why Flat Floors Feel Bigger
A flat shower floor eliminates the subtle hump you often get with a traditional drain. That hump can break up the visual line of the floor and make the space feel smaller. With a linear drain, the tile continues uninterrupted, which tricks the eye into seeing more square footage.
It's a simple trick that makes a big difference in a compact bathroom.
Easier Tiling And A Cleaner Look
Tiling a shower with a linear drain is actually easier because you don't have to cut tiles into small pieces around a round drain. You can run long, straight lines of tile right up to the drain channel, which looks sharp and modern. The drain cover itself is slim and discreet, so it doesn't distract from the tile pattern.
You can even match the cover to your tile for a truly seamless finish.
Better Drainage And Less Maintenance
Linear drains are designed to handle a lot of water quickly, so you don't get that annoying puddle near the shower entrance. The channel is also easier to clean—just pop off the cover and wipe out any hair or debris. Many models have a removable trap that makes maintenance a breeze.
That means less time scrubbing and more time enjoying your new shower.
4. Glass Enclosure to Keep Sightlines Open
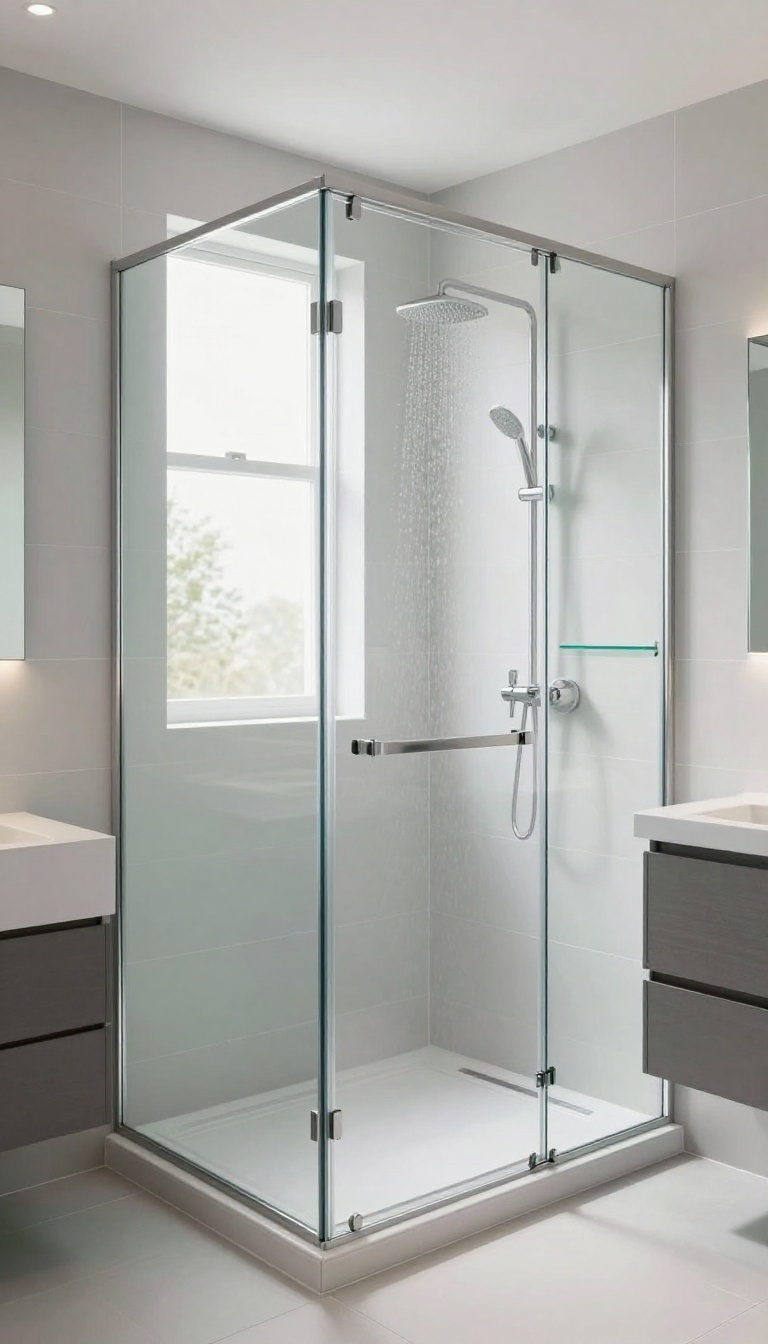
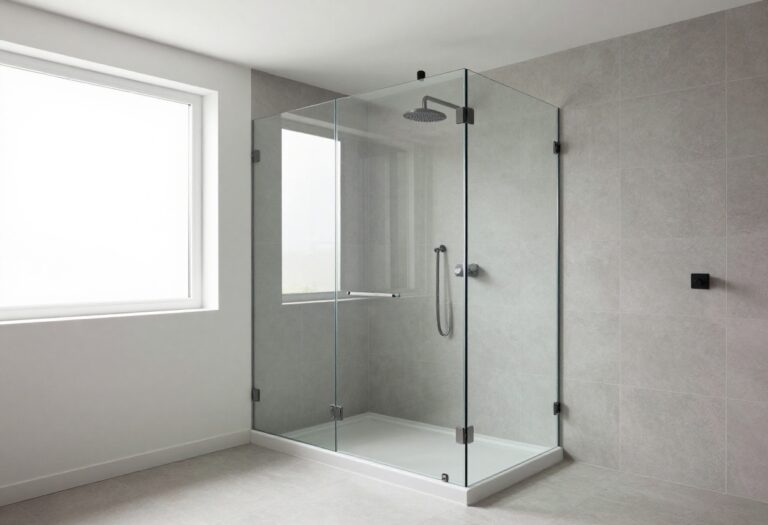
A frameless glass enclosure does more than just keep water where it belongs. By swapping out a curtain or a solid door for clear glass, you let your eye travel across the entire bathroom without interruption. That simple change makes the room feel more open, airy, and connected, even if the square footage hasn't budged.
Frameless glass lets natural light flow freely, which is especially valuable in smaller bathrooms where every bit of brightness counts. It also eliminates the visual weight of a shower curtain, making the space feel less cluttered and more streamlined. Plus, the sleek look of glass pairs beautifully with modern fixtures and tile, giving your bathroom a clean, high-end feel.
Why Frameless Beats Curtains And Doors
Curtains and opaque doors block light and create a visual barrier, making the bathroom feel cut off and smaller. Frameless glass, on the other hand, keeps the view open from any angle, so the shower becomes part of the whole room rather than a separate box. That openness also makes cleaning easier—no fabric to wash, no tracks to scrub.
Installation And Safety Considerations
Frameless glass requires thicker, tempered panels and sturdy hinges, so it's a job best left to professionals. The glass should be at least 3/8-inch thick to handle the stress, and the door needs proper support to swing smoothly. If you're worried about water escaping, a slight slope toward the drain and a well-placed fixed panel can keep things dry without adding a bulky frame.
Styling Tips To Maximize The Effect
Pair the glass with minimal hardware—think brushed nickel or matte black—to keep the focus on the openness. Use the same tile inside and outside the shower to blur the boundary, and consider a curbless entry for an even more seamless transition. Add a niche for toiletries so you don't need a caddy that clutters the glass.
5. Built-In Niche for Storage Without Bulk
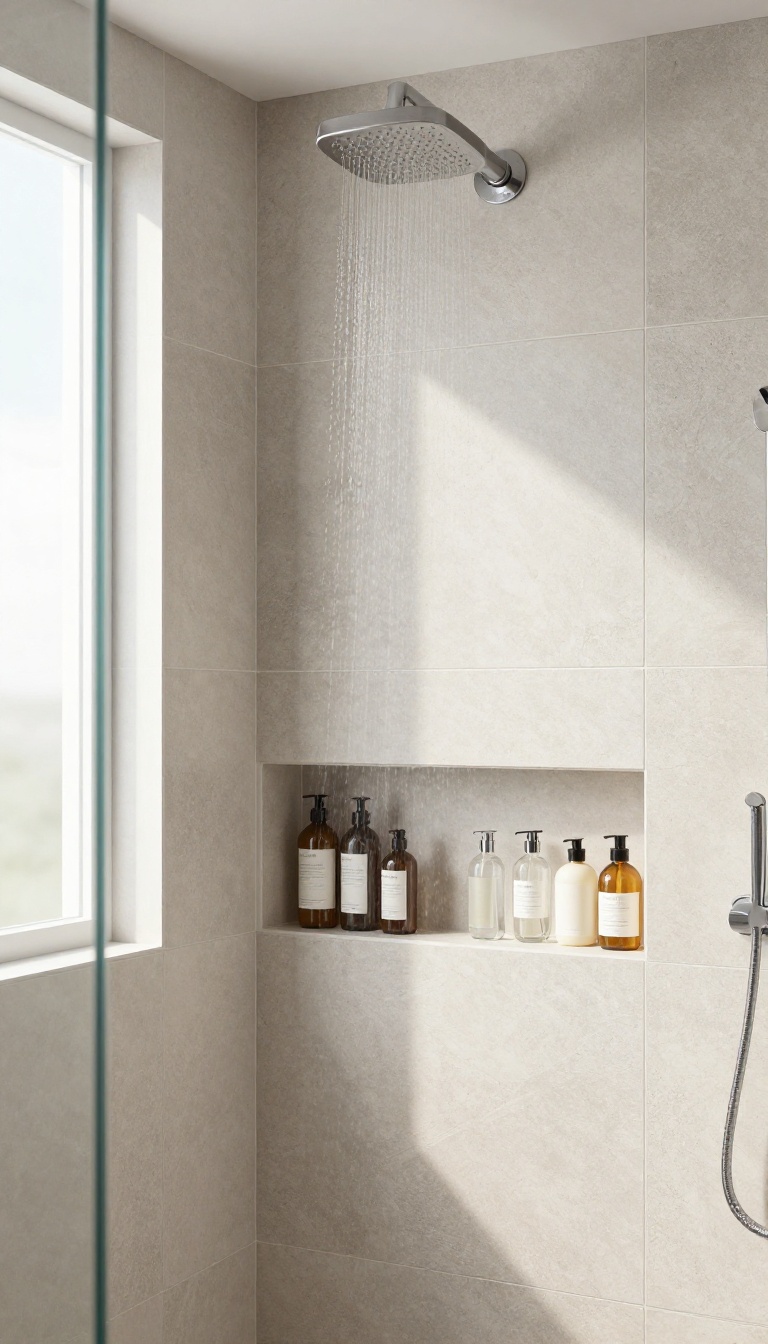
Storage can make or break a walk-in shower, especially when you're trying to keep things open and airy. A built-in niche tucks your shampoo and soap right into the wall, so you don't need a bulky caddy or corner shelf that eats up visual space. It's a simple upgrade that pays off every single day.
A recessed niche is more than just a spot for your bottles—it's a design feature that keeps the shower looking sleek and uncluttered. By carving out a shelf in the wall, you eliminate the need for hanging organizers or tension rods that can rust and look messy. Plus, you can customize the size, shape, and placement to fit exactly what you need.
Choosing The Right Spot
Think about where you naturally reach for things. A niche near the showerhead is perfect for shampoo, while a lower one by the bench can hold soap or razors. Place it at chest height for easy access, and avoid putting it directly in the spray path to keep water from pooling.
Sizing And Depth
Standard niches are about 12 inches wide and 6 inches deep, but you can adjust based on your bottles. Go deeper if you use large pump bottles, or add a second niche for extra storage. Just make sure the depth doesn't compromise the wall structure—check with your contractor if you're unsure.
Materials And Finishes
Match the niche to your shower tile for a seamless look, or use a contrasting tile to make it a focal point. Waterproof backing is essential to prevent moisture damage. A slight slope on the bottom shelf helps water drain out, keeping the niche dry and mold-free.
6. Wall-Mounted Fixtures to Declutter
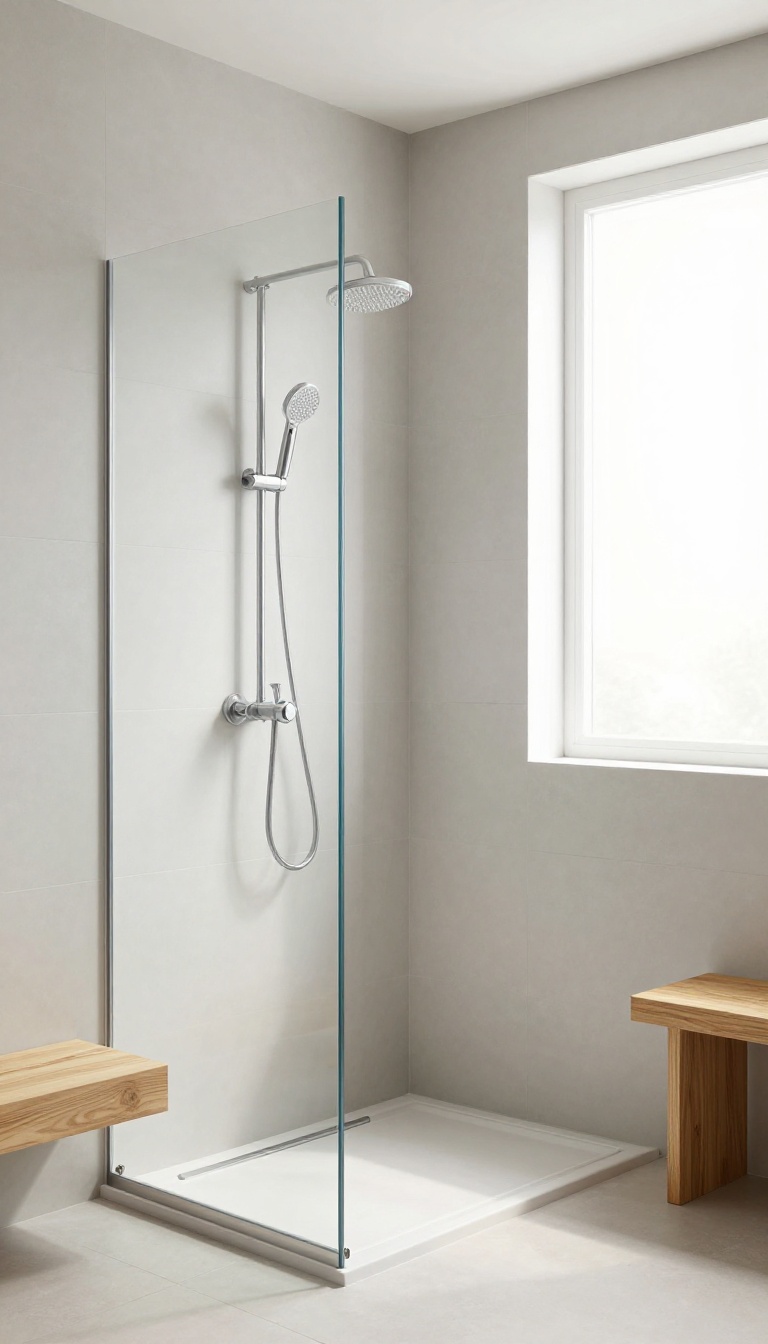
A wall-mounted showerhead and hand shower can do more than just save space—they can make your entire bathroom feel lighter and easier to maintain. By ditching the bulky slide bar, you remove a visual obstacle and simplify cleaning. This small change contributes to a more streamlined, open look that aligns perfectly with the walk-in shower aesthetic.
When you mount fixtures directly to the wall, you free up floor space and reduce the number of nooks where grime can collect. This approach works especially well in compact bathrooms where every inch counts. Plus, wall-mounted fixtures offer flexibility in positioning, so you can place them exactly where you need them for a comfortable shower experience.
Benefits Beyond Looks
Wall-mounted fixtures aren't just about aesthetics—they also improve functionality. Without a slide bar, you gain more room to move and clean. The absence of protruding hardware makes wiping down tiles and glass a breeze.
Plus, you can install a handheld showerhead at an ideal height for rinsing off or cleaning the shower itself.
Choosing The Right Fixtures
Look for fixtures with a sleek, minimal design that complements your bathroom's style. Consider models with a single lever for temperature control and a diverter to switch between the overhead shower and hand shower. Ensure they're made of durable materials like brushed nickel or matte black to resist water spots and corrosion.
Installation Tips
Proper placement is key. Install the overhead showerhead at a height that suits your tallest household member, and position the hand shower within easy reach. Use a pressure-balancing valve to maintain a consistent water temperature.
If you're not comfortable with plumbing, hire a professional to ensure a leak-free installation.
7. Wet Room Concept for Ultimate Openness
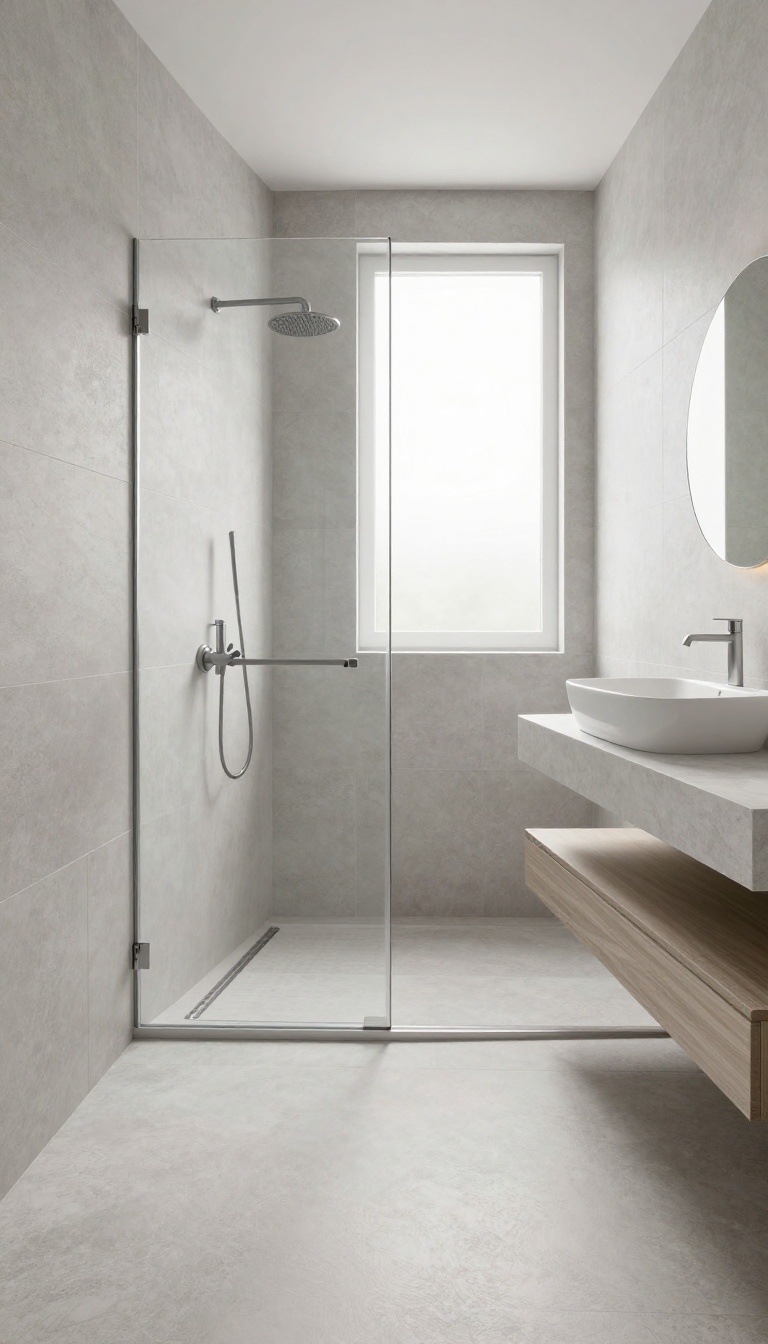
A wet room takes the open concept to the extreme by making the entire bathroom waterproof, so you can ditch the shower enclosure altogether. Instead, a simple glass divider—or even just a gentle slope—keeps the space feeling airy and expansive. This approach works especially well in smaller bathrooms, where every inch counts and you want to avoid visual barriers.
The wet room style isn't just about looks; it's a practical solution for creating a seamless, spa-like experience. By waterproofing the entire floor and walls, you gain the freedom to move around without worrying about splashes. Plus, with a linear drain placed strategically, water flows away efficiently, keeping the floor dry and safe.
Why Go Fully Waterproof?
The key to a successful wet room is thorough waterproofing. You'll use a tanking membrane on the floor and lower walls to prevent moisture from seeping into the structure. This upfront investment pays off by giving you a bathroom that's easier to clean and more durable over time.
Plus, you can choose from a variety of slip-resistant flooring materials that look great and feel safe underfoot.
Glass Divider: Style Meets Function
A single pane of tempered glass acts as a subtle barrier, preventing water from splashing onto the rest of the bathroom while maintaining sightlines. You can opt for a fixed panel or a hinged door that swings open for easy access. The glass can be clear for an unobstructed view or frosted for a bit of privacy.
Either way, it keeps the space feeling open and uncluttered.
Drainage And Slope: The Hidden Heroes
Proper drainage is crucial in a wet room. A linear drain installed along the wall or in the center of the shower area collects water quickly and quietly. The floor should have a subtle slope (about 1-2%) toward the drain to prevent puddles.
This not only keeps the floor dry but also makes the room feel more polished and professional.
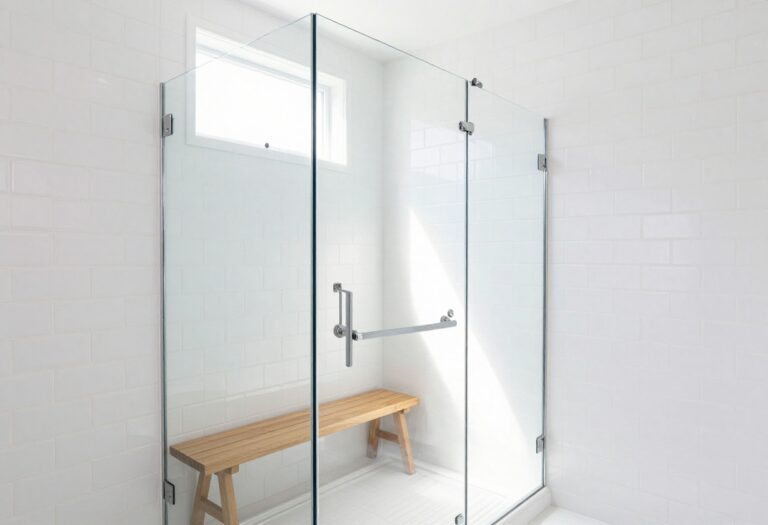
8. Bench Seating for Comfort and Function
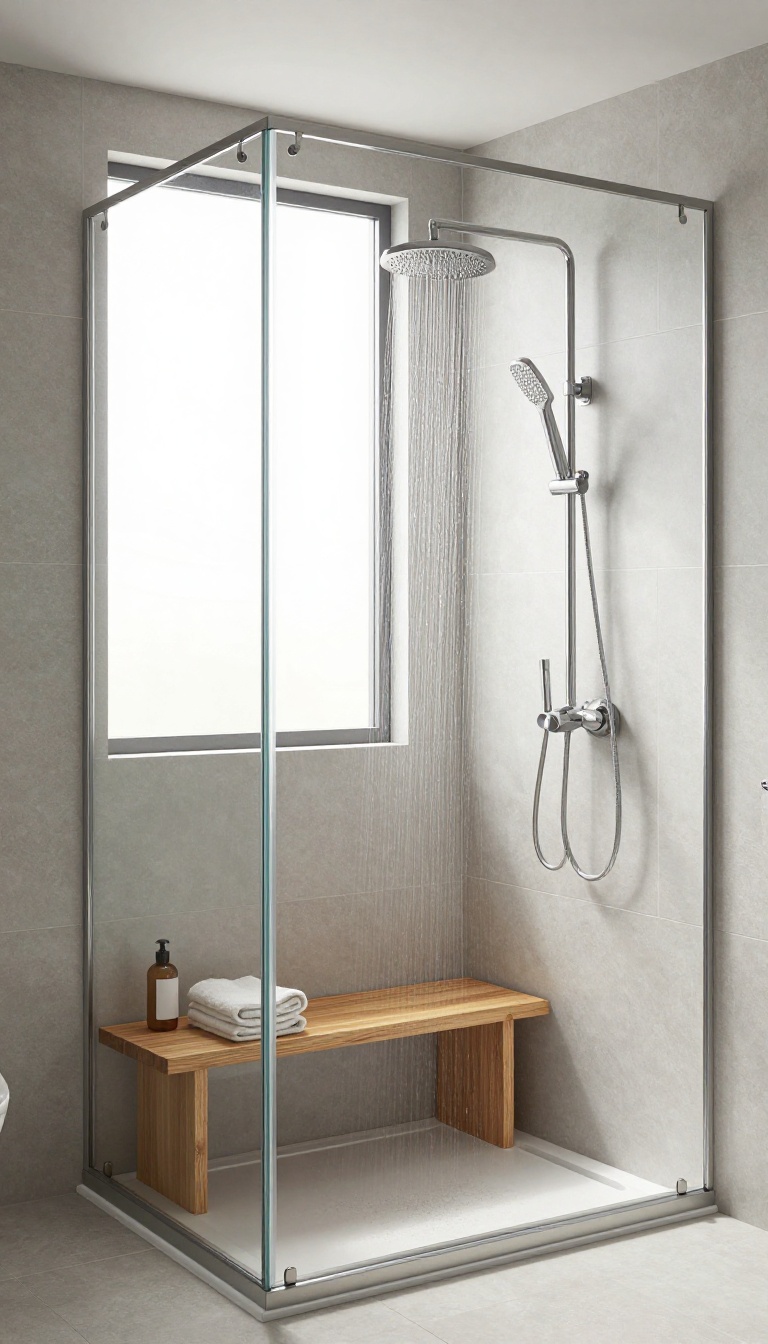
A shower bench isn't just for those who need extra support—it instantly adds a resort-like feel and gives you a handy spot to rest or place your foot while shaving. Built-in benches create a seamless look, while fold-down options save space when not in use. Whichever you choose, a bench turns your shower into a more versatile, comfortable space.
Adding a bench to your walk-in shower brings both comfort and practicality. It gives you a place to sit and relax, makes grooming tasks like shaving your legs much easier, and offers a convenient ledge for keeping shampoo, soap, or a loofah within reach. With so many styles and materials, you can easily find a bench that fits your space and aesthetic.
Built-in Benches: Seamless And Sturdy
A built-in bench, constructed from tile, stone, or solid surface, blends right into your shower design. It feels permanent and adds value to your home. You can create a corner bench to maximize space or a full-width seat along one wall.
Since it's custom, you can match the height and depth to your needs, and it never needs to be moved or stored.
Fold-down Benches: Flexible And Space-saving
If your shower is on the smaller side, a fold-down bench is a game-changer. It mounts to the wall and flips down when you need it, then tucks away to free up floor space. Teak and plastic are popular materials because they hold up well in wet environments.
This option gives you the comfort of a bench without permanently taking up room.
Materials That Work: Teak, Stone, And More
The material you choose affects both looks and maintenance. Teak is warm, water-resistant, and naturally non-slip, making it a favorite for showers. Stone or tile benches create a seamless, spa-like look but require proper sealing to prevent staining.
Solid-surface benches are easy to clean and can be molded into custom shapes. Consider your style and how much upkeep you're willing to do.
9. Skylight or High Window for Natural Light
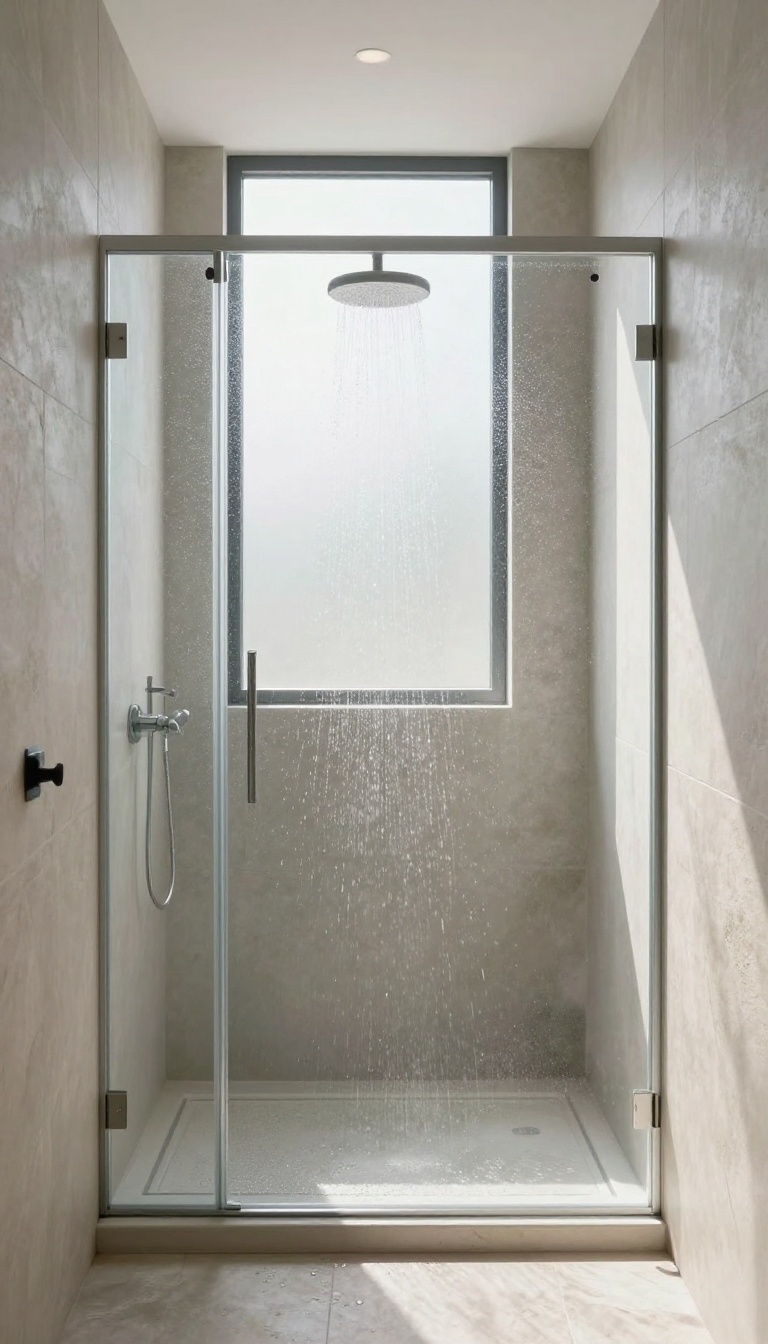
Letting the sun do the work is one of the smartest space-saving tricks around. When you add a skylight or a high window above your walk-in shower, you flood the area with natural light that makes the whole bathroom feel bigger and more welcoming. You also cut down on the need for harsh overhead fixtures, which can make a small space feel boxy.
A skylight or high window does more than brighten the room—it creates a connection to the outdoors that makes the shower feel like a private retreat. The light changes throughout the day, so your bathroom never looks flat or sterile. Plus, you can keep the window privacy-friendly by placing it above eye level, so you get all the light without compromising on modesty.
Positioning For Privacy And Light
Place the window high on the wall, near the ceiling, or go with a skylight directly above the shower. This lets in plenty of daylight while keeping the view private. Frosted glass or a translucent film can add extra coverage if you want to be extra cautious.
Ventilation Bonus
A skylight that opens can also act as a vent, letting out steam and moisture after a hot shower. This helps prevent mold and mildew, which is a common issue in bathrooms. Just make sure it's easy to reach or motorized for convenience.
Lighting That Adapts
Natural light changes throughout the day, so you'll need a backup for darker evenings. Install a dimmable LED light on a separate switch so you can adjust the mood. This way, you get the best of both worlds—bright and airy by day, soft and relaxing at night.
10. Large-Format Tiles to Minimize Grout Lines
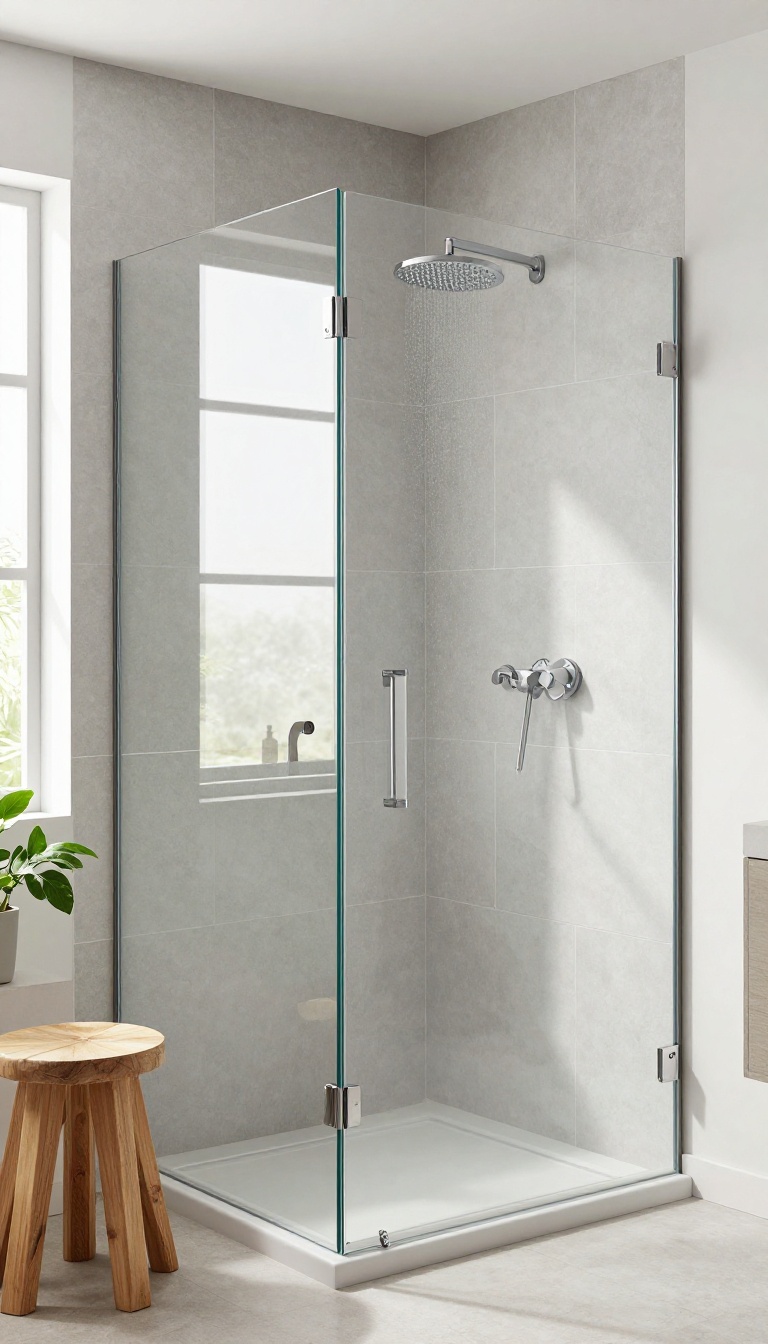
Grout lines are a magnet for soap scum and mildew, and they also break up the visual flow of your shower. By choosing large-format tiles, you cut down on those lines dramatically, which means less scrubbing and a cleaner, more open look. It's a simple swap that pays off in both style and maintenance.
Large-format tiles, typically 12×24 inches or larger, create a sleek, modern aesthetic that makes your walk-in shower feel more expansive. With fewer grout joints, the surface reads as a continuous, unbroken plane, which visually enlarges the space. Plus, the reduced grout means fewer places for grime to hide, making your shower easier to keep spotless.
Why Fewer Grout Lines Matter
Every grout line is a potential stain and a visual interruption. Large tiles minimize these interruptions, giving your shower a smooth, seamless look that's both calming and luxurious. You'll also spend less time on your hands and knees scrubbing, which is a win for anyone who wants a low-maintenance bathroom.
Choosing The Right Tile Size
While bigger is often better, you need to consider your wall and floor dimensions. Very large tiles, like 24×48 inches, look stunning but may require extra cutting around corners or niches. A 12×24-inch tile is a versatile choice that fits most layouts without excessive waste.
Always check the manufacturer's recommendations for the minimum substrate requirements.
Installation Tips For A Flawless Finish
To get that seamless look, use a leveling system to keep tiles perfectly flush, and opt for a grout color that closely matches the tile. This makes the grout lines virtually disappear. Also, ensure your substrate is perfectly flat—large tiles are unforgiving with any dips or bumps.
Hiring an experienced installer is worth the investment for a professional result.
11. Floating Vanity to Open Up the Floor
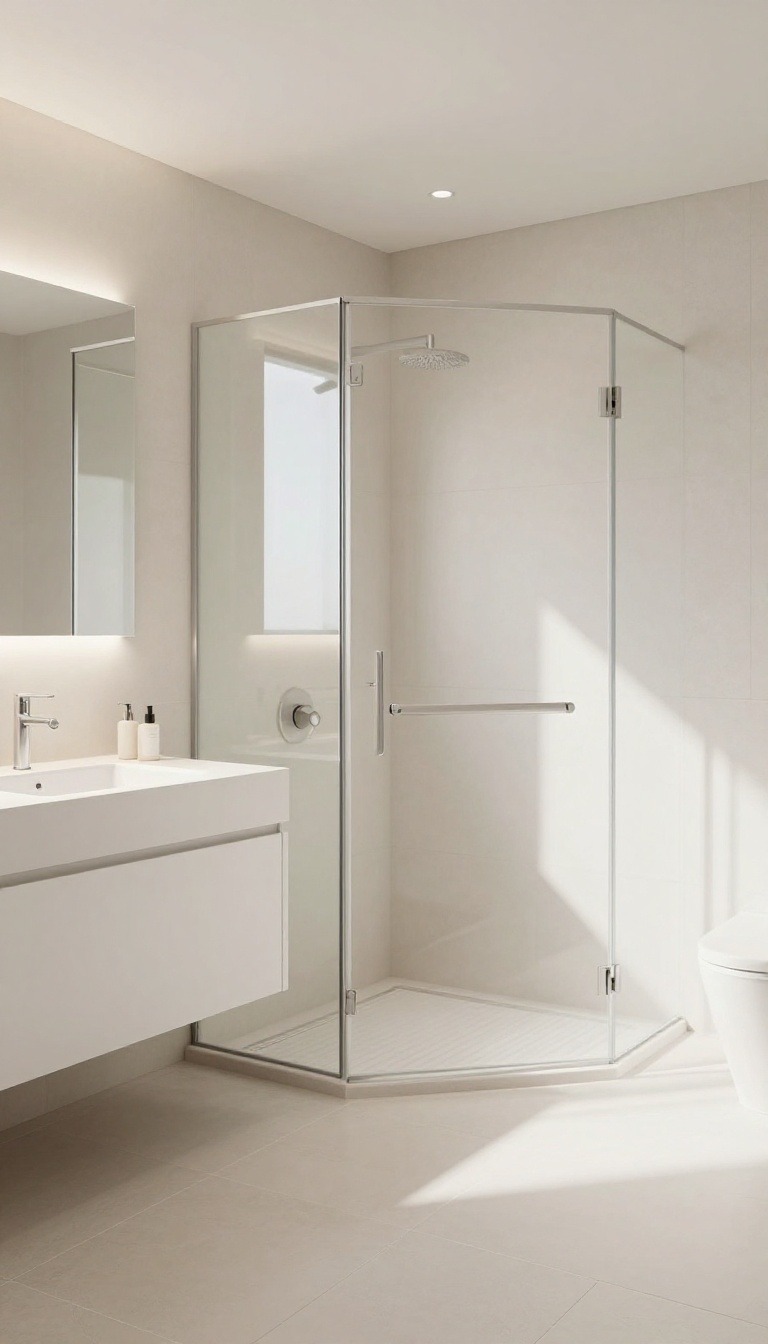
Pairing your new walk-in shower with a floating vanity is a clever way to visually expand the room. By mounting the vanity off the floor, you free up valuable floor space, which makes the bathroom feel more open and airy. Plus, cleaning becomes a breeze since you can easily sweep or mop underneath without any obstacles.
A floating vanity does more than just look modern—it changes how the entire bathroom feels. When you lift the vanity off the floor, you expose more of the flooring, which creates a sense of continuity and openness. This is especially effective in smaller bathrooms where every inch counts.
The gap underneath also gives the illusion of more square footage, making the space appear larger than it actually is. And let's not forget the practical side: no more struggling to clean around legs or baseboards. You can simply glide a mop or vacuum right under the vanity, keeping the area spotless with minimal effort.
Why Floating Vanities Work So Well
Floating vanities are a favorite in modern bathroom design because they streamline the visual flow. Without bulky legs or a heavy base, the eye travels freely across the floor, making the room feel less cluttered. This is particularly handy when you're trying to make a small bathroom feel more spacious.
Plus, the open space below can be used for a small stool or basket if you need extra storage, without making the room feel cramped.
Choosing The Right Mounting System
When you go with a floating vanity, the mounting system is key. You'll need to secure it to wall studs to ensure it's sturdy, especially if you plan to store heavy items inside. There are different types of brackets and rails available, so it's worth consulting a professional to get the installation right.
A well-mounted floating vanity not only looks sleek but also lasts for years without sagging or pulling away from the wall.
Styling Tips For A Seamless Look
To make the most of your floating vanity, choose a design that complements your walk-in shower. For a cohesive look, match the vanity's finish with your shower fixtures or use the same stone for the countertop and shower bench. You can also add under-cabinet lighting to highlight the open space and create a soft glow that enhances the airy feel.
Keep the area underneath clear to maximize the visual openness, or add a few decorative baskets for a touch of warmth without sacrificing the spacious look.
12. Recessed Lighting for a Clean Ceiling
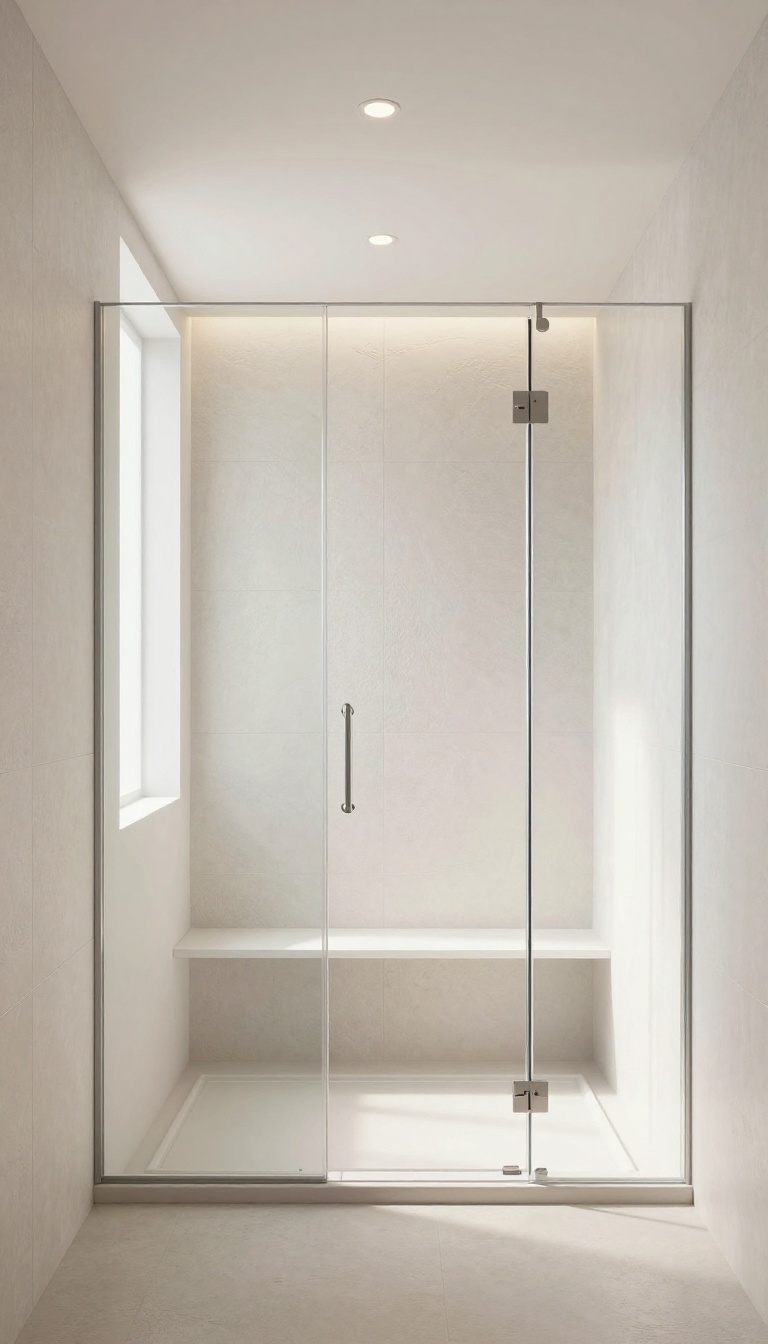
Lighting can make or break the feel of a walk-in shower, but bulky fixtures often steal visual space. Recessed lights tuck neatly into the ceiling, giving you bright, even illumination without the clutter. This trick keeps the eye moving upward, which makes the whole bathroom feel taller and more open.
Recessed lighting is a smart choice for a walk-in shower because it clears the ceiling of hanging fixtures that can make the space feel cramped. With no bulky housing, the shower area looks seamless and clean. Plus, you can position the lights to highlight the shower's best features, like a textured tile wall or a sleek bench.
Pick The Right Trim For Wet Areas
Not all recessed lights are safe for showers. Choose a trim that's rated for damp or wet locations, like a sealed gimbal or a shower-specific trim. This prevents moisture from seeping into the ceiling and keeps the lights working for years.
A wet-rated trim also cuts down on condensation build-up, so your lights stay bright and fog-free.
Layer Your Light Sources
One recessed light in the center may leave shadows in the corners. Instead, use two or three lights spaced evenly across the shower ceiling. Pair them with a dimmer switch so you can adjust the mood from bright and invigorating in the morning to soft and relaxing at night.
Layering the light also reduces harsh glares on glossy tiles.
Position Lights To Avoid Shadows
Where you place the lights matters. Put them slightly off-center, toward the showerhead or the bench, to cast light where you need it most. Avoid placing a light directly above the showerhead, as it can create a dark pool on the floor.
A little planning here goes a long way in making the shower feel welcoming.
13. Heated Floor for Year-Round Comfort
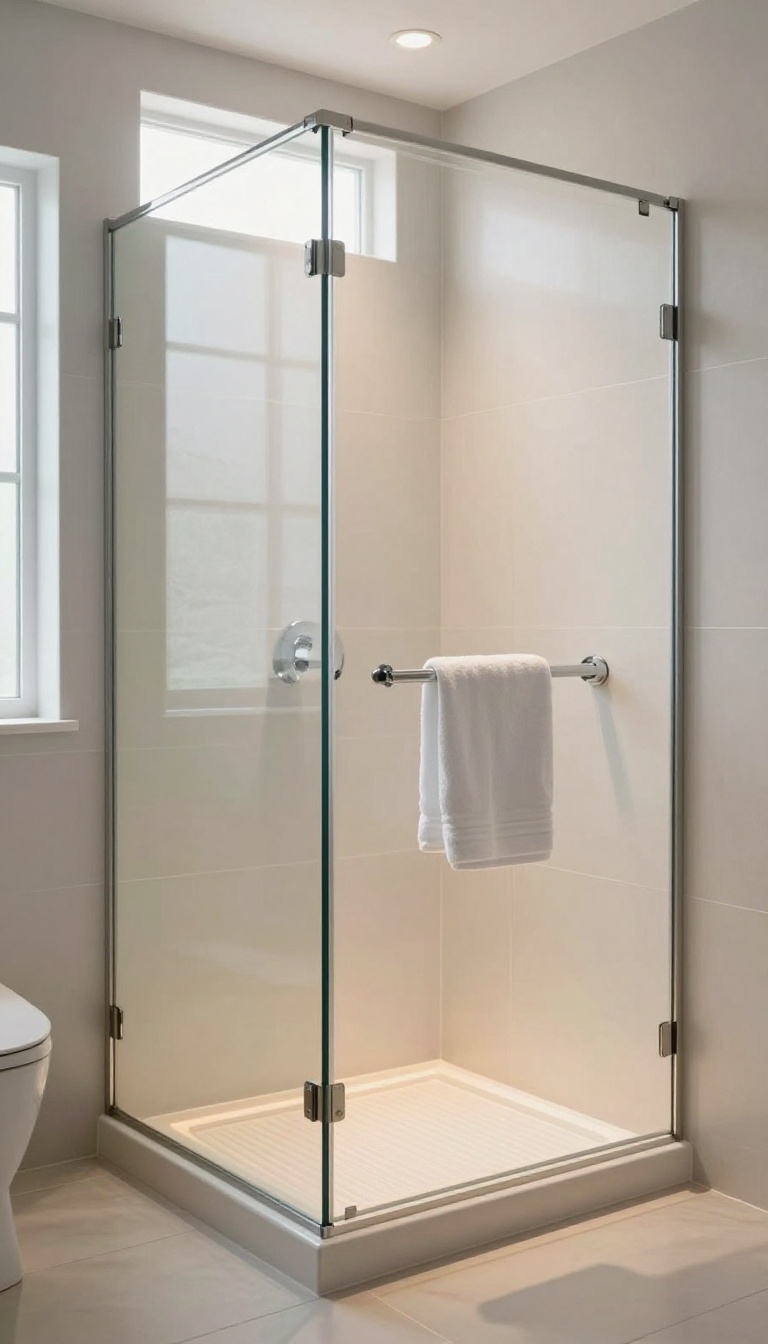
Cold tiles underfoot can make even the nicest shower feel unwelcoming, especially during winter. Radiant floor heating solves that by warming the surface from below, so every step feels cozy. It's a small addition that makes a big difference in how often you actually enjoy using the space.
Radiant floor heating isn't just about luxury—it's a practical upgrade that keeps your bathroom comfortable all year. By installing electric mats or hydronic tubes beneath the tile, you eliminate the shock of stepping onto a cold floor. This is especially valuable in a walk-in shower, where you're barefoot and the floor is often wet.
The heat also helps dry the floor faster, reducing moisture and the chance of slips. Plus, it can lower your heating bills by warming the room more efficiently than a forced-air system.
Types Of Radiant Heating
You have two main options: electric systems and hydronic systems. Electric mats or cables are easier to install and perfect for retrofits, as they sit under the tile and connect to a thermostat. Hydronic systems circulate warm water through tubing, which is more efficient for larger areas but requires more complex installation.
For a single bathroom, electric is usually the practical choice.
Installation Considerations
Plan the heating layout before tiling, and make sure the subfloor is clean and dry. You'll need a dedicated circuit and a thermostat that can be placed outside the shower area. It's wise to work with a licensed electrician to ensure safety and code compliance.
Also, consider adding a programmable thermostat to warm the floor before you wake up.
Cost And Energy Efficiency
Initial costs range from $8 to $15 per square foot for electric systems, depending on the brand and installation. Operating costs are modest—about $0. 10 to $0.
20 per hour for a typical bathroom. Because the heat is directed at the floor, it feels warmer at a lower thermostat setting, which can save energy overall. Over time, the comfort and convenience often outweigh the upfront investment.
FAQ
How much space do I need for a walk-in shower?
A walk-in shower can fit in a space as small as 36 x 36 inches, but for comfort, aim for at least 42 x 42 inches. If you're replacing a standard tub, you typically have enough room.
Is it difficult to replace a tub with a walk-in shower?
It's a significant remodel that involves plumbing, waterproofing, and tiling. While DIY is possible for experienced renovators, hiring a professional ensures proper waterproofing and structural integrity.
Will removing a bathtub hurt my home's resale value?
It can, especially in family-oriented homes where a tub is expected. However, in homes with multiple bathrooms or for aging-in-place, a walk-in shower can be a selling point. Consider your market and needs.
What is the best flooring for a walk-in shower?
Porcelain or ceramic tile with a textured finish is ideal for slip resistance. Large-format tiles reduce grout lines, and a linear drain allows for a flat, seamless floor.
How can I make a small walk-in shower feel bigger?
Use glass enclosures, light colors, large tiles, and recessed niches. Maximize natural light with a window or skylight, and keep fixtures minimal and wall-mounted.
Conclusion
Replacing your tub with a walk-in shower is a smart move for space and style. Whether you opt for a curbless entry, a corner shower, or a full wet room, each idea helps you reclaim square footage and create a more functional bathroom.
The key is to focus on clean lines, smart storage, and natural light. With these ideas, you can transform your bathroom into a spacious, accessible retreat that feels anything but cramped.