13 Cleaning Garbage Disposal Tips for Fresh Drains
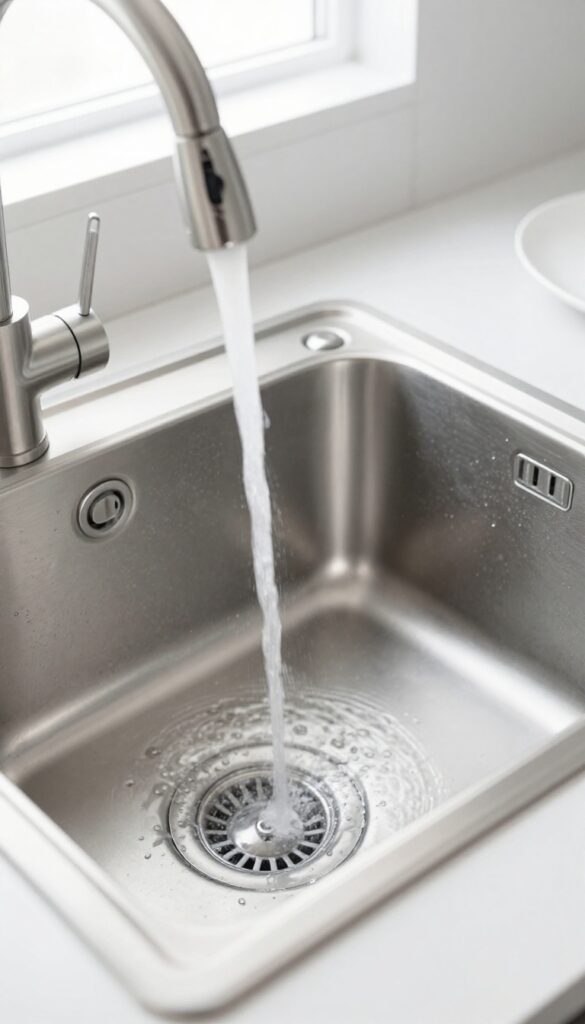
A smelly garbage disposal can ruin the whole kitchen vibe. You run the water, flip the switch, and instead of grinding away, it just churns out a funky odor. The good news?
You don't need harsh chemicals or a plumber to fix it. Most disposal issues come from trapped food particles and bacteria buildup. A few simple habits can keep things fresh and functional.
These tips focus on what actually works—no gimmicks, just results. Ready to say goodbye to that musty smell? Let's get your drain smelling clean and running smoothly with these 13 practical cleaning garbage disposal tips.
1. Ice Cubes and Rock Salt for a Deep Scrub
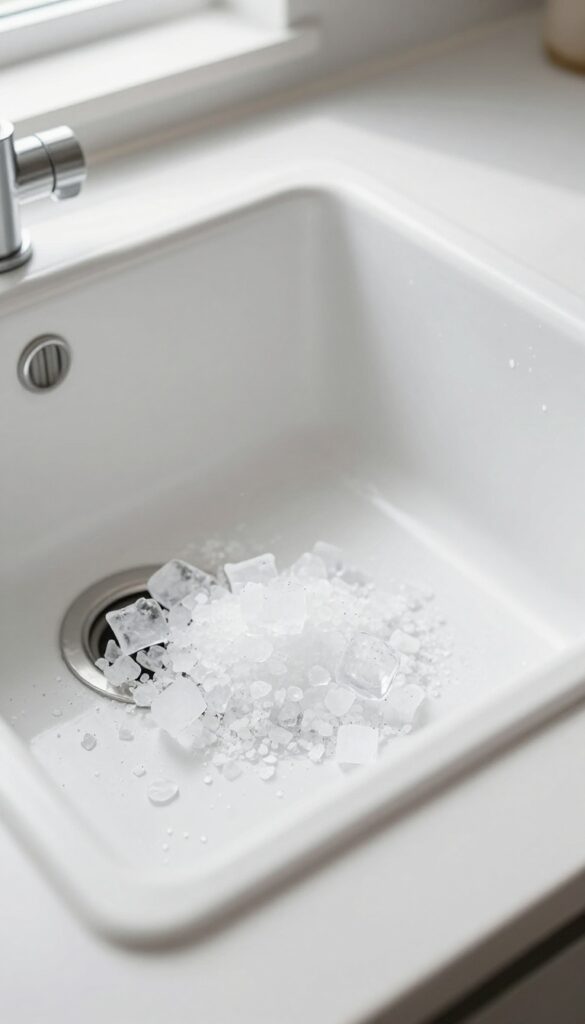
Think of ice cubes and rock salt as a power-wash for your disposal. The ice is firm enough to knock off stuck-on gunk from the blades and walls, while the salt crystals act like tiny scrubbers. Together, they break down grease and food residue without any harsh chemicals.
This method is incredibly simple and effective. Just drop a handful of ice cubes and a cup of rock salt into the disposal, then run cold water and turn it on. The grinding action pulverizes the ice and salt, scouring every surface.
It's a quick way to freshen things up and keep your disposal running smoothly.
Why Ice Works So Well
Ice cubes are hard enough to dislodge debris but melt away completely, so there's no risk of damaging the disposal. As they grind, they help sharpen the blades and flush out any lingering particles. Plus, the cold water keeps any fats or oils solid so they can be chopped up and washed away.
Rock Salt Vs. Table Salt
Rock salt has larger, coarser crystals that provide better abrasion. Table salt is too fine and dissolves too quickly to offer the same scrubbing power. Stick with rock salt or kosher salt for the best results.
You can find it in the grocery store's canning or bulk section.
How Often To Do This
A weekly ice and salt scrub is plenty for most households. If you use your disposal heavily, you can do it twice a week. Just don't overdo it—once a week keeps odors away and prevents buildup without wearing out the components.
2. Citrus Peels for a Fresh Scent
Nothing beats the bright, clean smell of citrus in the kitchen. Tossing lemon or orange peels down the disposal is one of the easiest ways to deodorize your drain. The natural oils in the peels break down grime and leave behind a fresh, zesty aroma that lingers.
Just be careful with the amount—too many large peels at once can clog the blades.
Why Citrus Works So Well
Citrus peels contain limonene, a natural solvent that cuts through grease and neutralizes odors. As the blades chop the peels, the oils are released and coat the interior of the disposal, fighting bacteria and leaving a pleasant scent. It's a simple, chemical-free way to freshen up your sink.
How To Do It Right
Cut the peels into small strips—about an inch long—to prevent jamming. Run cold water and turn on the disposal, then feed the peels in gradually. Let the water run for another 30 seconds after the grinding stops to flush everything through.
This routine once a week keeps smells at bay.
What To Avoid
Stick to lemons, limes, and oranges. Avoid grapefruit or thick-skinned citrus that can overload the blades. Never put whole peels down the disposal; always cut them into small pieces.
And remember, citrus peels are for deodorizing, not for heavy cleaning—they won't remove stuck-on grime.
3. Baking Soda and Vinegar Fizz
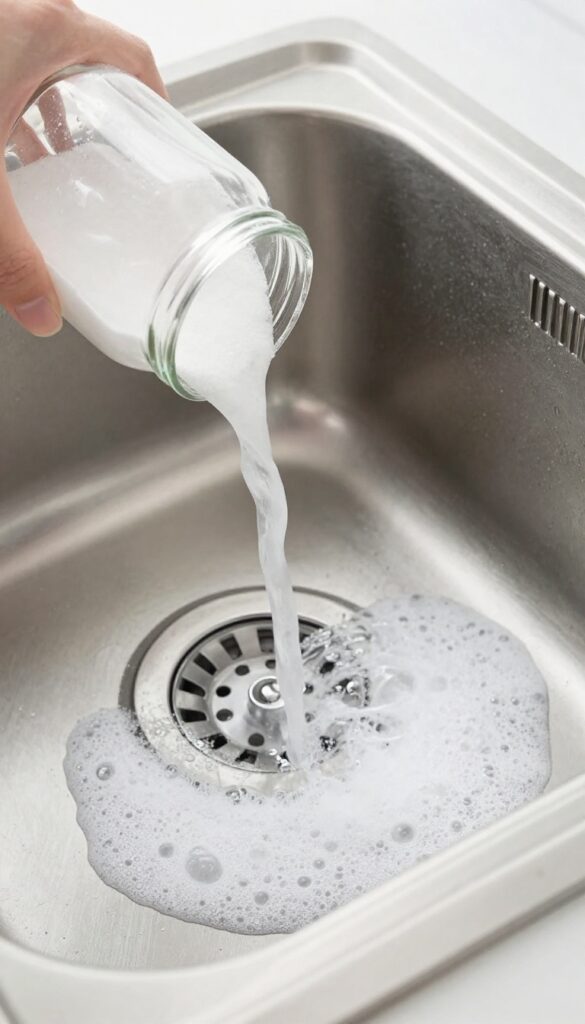
This classic combo isn't just for science fair volcanoes. Baking soda and vinegar create a fizzy reaction that loosens grime and deodorizes without harsh chemicals. It's a simple, non-toxic way to freshen up your disposal.
Pour half a cup of baking soda followed by a cup of white vinegar. Let it fizz for 10 minutes, then flush with hot water. This breaks down grease and neutralizes odors.
Why It Works
Baking soda is a mild abrasive that scrubs away residue, while vinegar's acidity dissolves grease and kills bacteria. The fizzing action helps dislodge stuck particles from the blades and drain walls.
Step-by-step
First, dump half a cup of baking soda directly into the disposal. Then slowly pour in one cup of white vinegar. Let the mixture foam and bubble for about 10 minutes.
Finally, run hot water for 30 seconds to flush everything down.
When To Use This Method
Use this treatment once a week to maintain freshness. It's especially effective after processing strong-smelling foods like fish or onions. Avoid using if you have a garbage disposal that's already clogged—try a plunger first.
4. Boiling Water Flush for Grease Buildup

Grease and oil are silent killers for your garbage disposal. They might go down the drain as liquids, but they cool and solidify inside the pipes, trapping food particles and creating a sticky mess. Over time, this buildup leads to clogs and foul odors.
A simple boiling water flush can break down that grease and keep things flowing freely.
Why Boiling Water Works
Boiling water is a natural degreaser. The high temperature melts hardened fats and oils, turning them back into a liquid state so they can be washed away easily. It also helps dissolve soap scum and other residues that accumulate on the disposal blades and pipe walls.
Unlike chemical drain cleaners, boiling water is safe for metal pipes and won't damage rubber seals if used correctly.
How To Do It Safely
Start by boiling a full kettle of water. While it's heating, run cold water down the disposal for about 30 seconds to clear any loose debris. Then, carefully pour the boiling water directly into the drain in a steady stream.
Let it sit for a minute, then run cold water again for another 30 seconds to flush everything through. Never pour boiling water into a disposal that's running—always do it with the unit off to avoid splashing.
Weekly Maintenance Routine
Make this a weekly habit to prevent grease buildup before it becomes a problem. If you cook with a lot of oil or fatty foods, you might want to do it twice a week. Combine this flush with other cleaning methods like ice cubes or citrus for best results.
Your disposal will stay fresh, and your drains will drain faster.
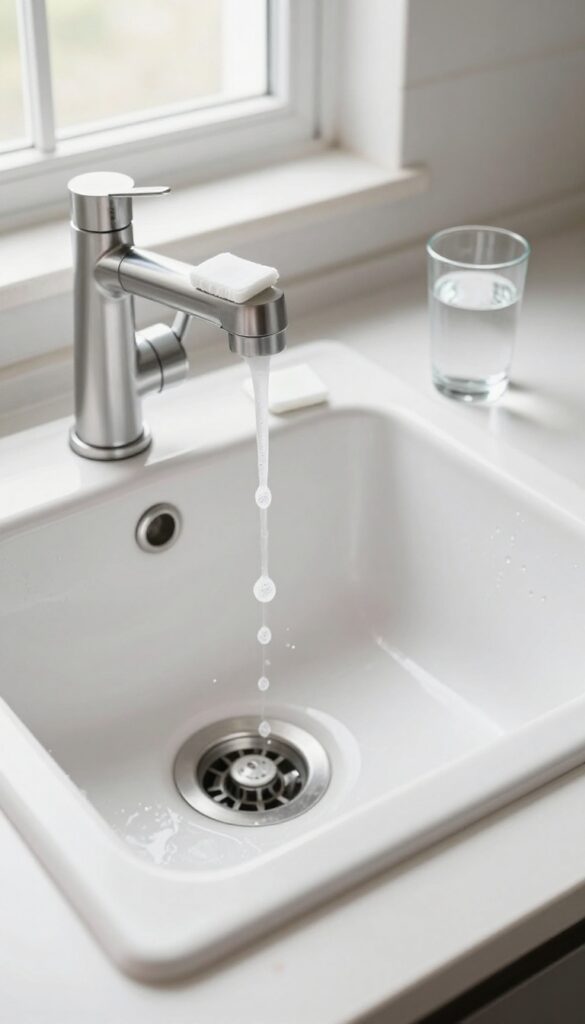
5. Dish Soap and Hot Water Degrease
Grease buildup is a common culprit behind slow drains and bad smells. But you don't need a heavy-duty degreaser to fix it. A squirt of dish soap and a blast of hot water can do the trick safely and quickly.
Dish soap is designed to break down grease on your plates, and it works just as well inside your disposal. The hot water helps melt and flush away the loosened grime. This method is gentle on the disposal's blades and seals, making it a safe weekly maintenance step.
Why It Works
Liquid dish soap contains surfactants that break the surface tension of grease, allowing it to mix with water and wash away. Hot water (not boiling, but as hot as your tap goes) keeps the grease liquid so it doesn't re-solidify in the pipes.
How To Do It Right
Start by turning off the disposal. Squirt a generous amount of dish soap (about a tablespoon) directly into the drain. Then turn on the hot water to full blast.
Let it run for 30 seconds to a minute. Finally, turn on the disposal briefly to flush everything through.
When To Use This Method
Use this degreasing trick once a week or whenever you notice a greasy film or slow drainage. It's especially effective after cooking fatty foods like bacon or frying. Avoid using it with cold water, as cold water can cause grease to harden and clog the pipes.
6. Grind Eggshells for Blade Sharpening
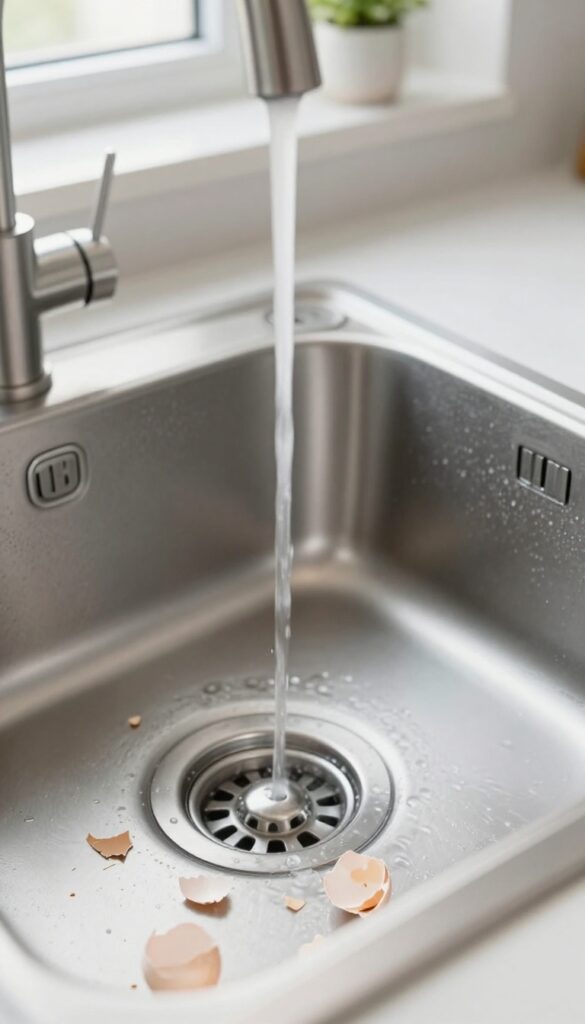
You’ve probably heard the old wives’ tale about eggshells being good for disposals. Turns out, there’s some truth to it. The fine grit from crushed shells can help sharpen the blades and scrub away grime.
Just don’t go overboard—once a month is plenty to keep things running smoothly without risking clogs.
How It Works
Eggshells are mostly calcium carbonate, which is a mild abrasive. When you grind them, the tiny particles act like a gentle scrub for the blades and the interior walls of the disposal. This helps remove stuck-on food particles and can slightly hone the cutting edges over time.
The Right Way To Do It
Don’t just toss whole shells in. Instead, crush them into small pieces—about the size of a fingernail. Run cold water, turn on the disposal, and feed the shells in gradually.
Let the water run for another 15 seconds after the grinding stops to flush everything through.
Why Not More Often
Eggshells are great in moderation, but too many can form a gritty paste that might settle in pipes. Also, the membrane inside shells can wrap around blades if you use whole ones. Stick to a monthly routine, and you’ll get the benefits without the risks.
7. Use a Disposal Cleaner Tablet Monthly
Sometimes the best solution is the simplest one. Commercial disposal cleaning tablets are designed specifically to tackle the grime and bacteria that cause odors. Just drop one in, run cold water, and let the foaming action do the work.
It’s a low-effort habit that keeps your disposal fresh without any scrubbing.
Disposal cleaner tablets are a convenient way to deep-clean your unit without taking it apart. The foaming action reaches into crevices and under the splash guard, areas that are hard to clean otherwise. For best results, use one tablet per month—more often if you notice smells returning.
Always run cold water during and after the cycle to flush away loosened debris.
How They Work
These tablets contain a combination of surfactants, enzymes, and sometimes citric acid. When dropped into water, they fizz and foam, lifting food particles and killing bacteria. The foam expands into every nook, then gets flushed away when you run the disposal.
Choosing The Right Tablet
Look for brands like Plink, Glisten, or Affresh. Avoid tablets that contain bleach or harsh chemicals if you have a septic system. Most are safe for all disposals, but double-check the label.
Some tablets also have a pleasant scent like lemon or mint.
Step-by-step Use
Turn off the disposal and drop one tablet into the drain. Let it sit for a few minutes to foam, then run cold water and turn on the disposal for about 30 seconds. That’s it.
For extra freshness, follow up with a citrus peel or ice cubes.
8. Avoid Fibrous Foods and Hard Items
Your garbage disposal is tough, but it has limits. Tossing the wrong things down there can lead to jammed blades, dull edges, and a drain that just won't drain. The trick is knowing what to keep out.
Fibrous foods like celery, corn husks, and onion skins can wrap around the blades and cause the motor to stall. Hard items like bones, fruit pits, and even ice cubes (in excess) can dull or chip the blades. Stick to soft, non-fibrous scraps to keep your disposal running smoothly.
When in doubt, toss it in the trash instead.
Why Fibrous Foods Are Trouble
Celery, asparagus, and corn husks have long, stringy fibers that can tangle around the disposal's impellers. Instead of being ground up, they form a clogged mess that forces the motor to work harder and can lead to burnout.
Hard Items That Cause Damage
Bones, fruit pits, and even large ice cubes can chip or dull the blades over time. While small ice cubes can help clean the blades, too many or too hard items will reduce the disposal's efficiency and lifespan.
What You Can Safely Put Down
Soft food scraps like cooked rice, pasta, small vegetable peels, and citrus rinds are fine. Always run plenty of cold water while grinding to flush everything through the pipes.
9. Run Cold Water While Grinding
Water temperature matters more than most people realize. Running hot water might feel like the right move, but it actually works against you. Cold water is the secret to keeping your disposal and pipes clear of grease buildup.
Why Cold Water Works Best
Cold water keeps grease and fats solid so they can be chopped into tiny bits and flushed away. Hot water melts grease, which then cools further down the pipe and sticks to the walls. Over time, that sticky layer traps food scraps and causes clogs and odors.
The 15-second Rule
Let cold water run for about 15 seconds before you turn on the disposal. This ensures any loose debris is already moving. Keep it running for another 15 seconds after you turn off the disposal to push the last bits through the pipes.
What About Hot Water?
Hot water has its place—like when you're cleaning the disposal with baking soda and vinegar. But for everyday grinding, stick with cold. It's a simple habit that prevents grease from turning into a stubborn mess.
10. Clean the Rubber Splash Guard
The rubber splash guard—those flaps inside the sink opening—is a prime spot for gunk. Food particles and slime build up there, causing odors and even mold. It's easy to overlook, but cleaning it makes a big difference.
Regularly wiping down the rubber flaps prevents buildup and keeps your disposal area fresh. You can use a bleach wipe or scrub with an old toothbrush and dish soap. Rinse thoroughly afterward to remove any residue.
Why It Gets Gross
Every time you run the disposal, small bits of food splatter onto the rubber flaps. Over time, this creates a slimy film that traps bacteria and smells. The flaps also collect moisture, making them a perfect breeding ground for mold.
How To Clean It Right
Turn off the disposal and unplug it for safety. Pull back the flaps and wipe both sides with a bleach wipe or a cloth dipped in diluted bleach. For stubborn grime, use an old toothbrush and scrub gently.
Rinse with hot water.
Preventive Maintenance
Make it a habit to wipe the splash guard after each use. A quick swipe with a paper towel takes seconds and prevents buildup. You can also spray it with a vinegar-water solution weekly to keep it fresh.
11. Use a Plunger for Minor Clogs
When water starts backing up in your sink, a plunger can be your best friend. It's a simple tool that creates pressure to dislodge blockages without taking anything apart. Before you call a plumber, give this method a try—it works more often than you'd think.
How To Plunge A Sink
Fill the sink with a few inches of water—enough to cover the plunger cup. Remove the sink strainer if there is one. Cover the overflow hole with a wet cloth or duct tape to seal it; otherwise, the pressure will escape there.
Place the plunger over the drain and push down firmly, then pull up sharply. Repeat for about 20 seconds. The vigorous action often breaks up soft clogs like food debris or grease.
When To Stop
If the water starts draining, run hot water for a minute to flush out the loosened debris. If nothing moves after a few tries, stop plunging—you might have a hard clog that needs a different approach. Also, avoid plunging if you've recently used chemical drain cleaners; the splashing could be dangerous.
Prevention Tips
To reduce clogs, always run cold water while using the disposal and for 30 seconds after. Avoid putting fibrous foods like celery or potato peels down the drain. A monthly flush with baking soda and vinegar can also keep minor buildup from turning into a blockage.
12. Reset the Disposal After a Jam
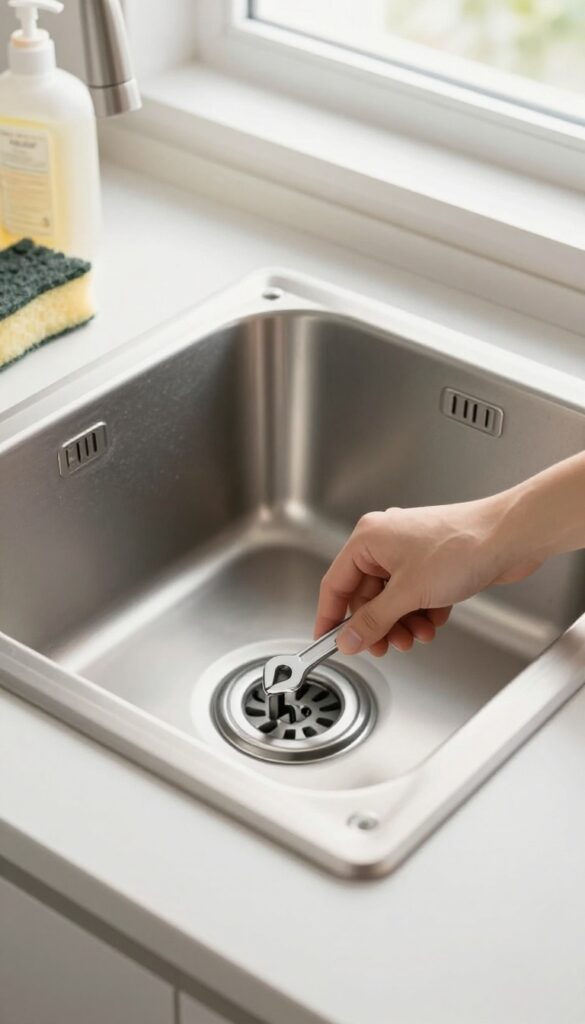
A humming disposal that won't grind is a classic sign of a jam. It's frustrating, but fixable without calling for help. The solution is simpler than you think and takes just a couple of minutes.
When your garbage disposal hums but doesn't spin, it's usually because something is stuck between the blades. The first step is to turn it off completely—never reach inside. Grab a hex wrench (Allen key) and insert it into the center hole on the bottom of the unit.
Turn it back and forth manually to free the blades. Once it moves freely, press the reset button on the bottom or side of the disposal. Then run cold water and flip the switch.
It should work like new.
Why Jams Happen
Jams usually happen when hard or fibrous items like fruit pits, bones, or celery get lodged. The disposal motor tries to spin but can't, so it hums. Overloading the unit can also cause it to seize up.
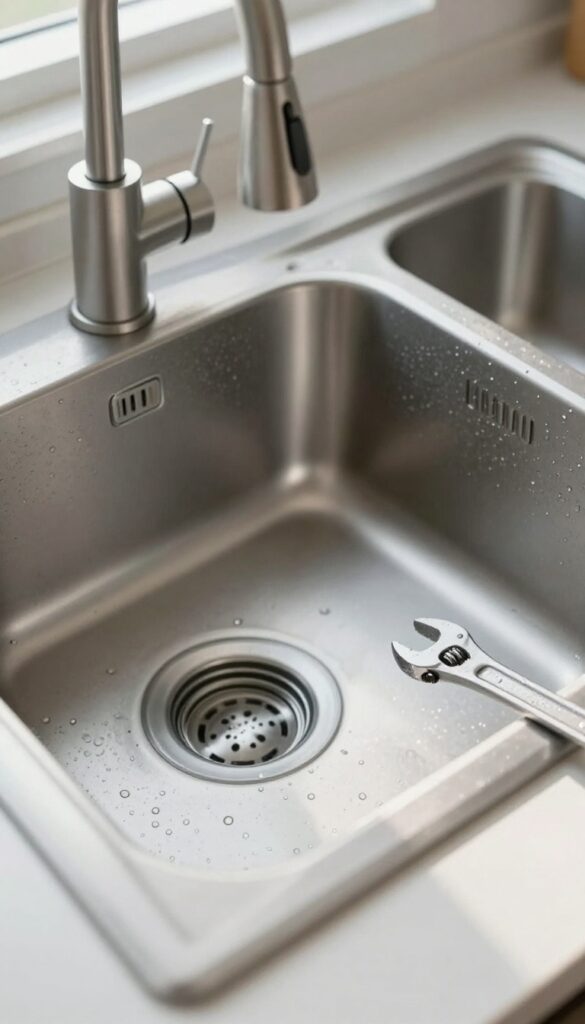
Tools You'll Need
Most disposals come with a hex wrench, but if you lost it, a standard 1/4-inch Allen key works for many models. Keep one under the sink for quick access. No special skills required.
Step-by-step Reset Process
First, turn off the disposal and unplug it if possible. Insert the hex wrench into the bottom hole and rotate it clockwise until it turns freely. Remove the wrench, press the red reset button, plug it back in, and test with cold water running.
When To Call A Pro
If the disposal still hums after resetting, or if you see leaks or smoke, it might have a motor issue. In that case, it's best to call a plumber. But for most jams, this trick works every time.
13. When to Call a Professional
Sometimes, despite your best efforts, the garbage disposal just won't cooperate. Persistent odors, leaks, or frequent jams can signal a deeper issue that a simple cleaning won't fix. Knowing when to call a plumber can save you from bigger headaches down the road.
Signs You Need A Plumber
If you notice a foul smell that won't go away even after deep cleaning, there might be food trapped in hard-to-reach areas or a buildup of bacteria. Leaks under the sink are another red flag—they could mean a cracked unit or loose connections. Frequent jams, especially if the disposal hums but doesn't spin, suggest a motor problem or a foreign object stuck inside.
Don't ignore these signs; they often get worse.
What A Professional Can Do
A plumber will inspect the entire system, from the disposal unit to the drainpipe. They can check for pipe damage, motor issues, or electrical faults that might be causing the problem. Sometimes, they'll disassemble the unit to remove debris or replace worn-out parts.
In severe cases, they may recommend a replacement if the unit is old or beyond repair.
Prevention Tips After A Fix
Once a professional resolves the issue, ask for maintenance advice tailored to your unit. They might suggest using a specific cleaner or adjusting your usage habits. Regularly running ice cubes and citrus peels can help keep things fresh, but avoid putting fibrous or starchy foods down the drain.
A little caution goes a long way in preventing future problems.
FAQ
Can I put coffee grounds down the garbage disposal?
It's best to avoid coffee grounds. They can clump together and create sludge in the pipes, leading to clogs over time. Toss them in the trash or compost instead.
Is it safe to use bleach in the garbage disposal?
Bleach is harsh and can damage the rubber seals and metal parts. Stick to milder cleaners like baking soda, vinegar, or citrus peels for safe deodorizing.
Why does my garbage disposal smell even after cleaning?
The smell might come from food trapped under the rubber splash guard or in the drain pipe. Clean the guard thoroughly and try a baking soda and vinegar treatment. If it persists, call a plumber.
How often should I clean my garbage disposal?
A quick rinse with cold water and soap after each use helps. For a deeper clean, do one of the methods above (like ice and salt or baking soda) once a week.
Can I put lemon juice down the disposal instead of peels?
Yes, lemon juice works too. Pour a few tablespoons down with cold water. It's less abrasive than peels but still freshens the drain effectively.
Conclusion
Keeping your garbage disposal fresh doesn't require expensive products or complicated routines. Simple ingredients like ice, salt, and citrus can make a huge difference. A few minutes of care each week prevents odors and keeps the unit running smoothly.
Remember to avoid fibrous foods and always run cold water while grinding. If problems persist, don't hesitate to call a pro. Your kitchen will thank you with a clean, fresh-smelling drain every day.