15 Cleaning Stainless Steel Sink Tips for a Bright Shine
A stainless steel sink should gleam, not glare at you with water spots and grime. Yet daily use leaves it dull, scratched, or streaky despite your best efforts. The good news?
You don't need fancy products to restore that bright shine—just a few household staples and the right technique. From baking soda scrubs to olive oil polishes, these 15 tips tackle every issue from rust to residue.
Each method is quick, practical, and designed to make your sink look like new without harsh chemicals or endless scrubbing. Pick the ones that fit your sink's trouble spots and watch the sparkle return.
1. Start with a Simple Baking Soda Scrub
Baking soda is a powerhouse for cleaning stainless steel without causing scratches. It's gentle enough for daily use but tough on stuck-on grime and water spots. You probably already have a box in your pantry, so there's no need to buy anything special.
Mix a few tablespoons of baking soda with just enough water to form a thick paste. Apply it to your sink using a soft sponge or cloth, working in the direction of the grain. Let it sit for a minute, then scrub gently.
Rinse thoroughly with warm water and dry with a microfiber towel to reveal a streak-free shine.
Why Baking Soda Works So Well
Baking soda is mildly alkaline, which helps break down grease and food residue. Its fine crystalline structure acts as a gentle abrasive that polishes away dullness without scratching the metal. Unlike harsh chemical cleaners, it's safe for you and your sink.
How To Apply The Paste Correctly
Always scrub in the direction of the sink's grain—usually a straight line from front to back. Circular motions can leave visible swirl marks. Use a non-abrasive sponge or a soft cloth; avoid steel wool or scouring pads that can damage the finish.
Rinsing And Drying Tips
After scrubbing, rinse the sink thoroughly with warm water to remove all baking soda residue. Leftover paste can dry into a white film. Immediately dry the sink with a clean microfiber cloth to prevent new water spots from forming.
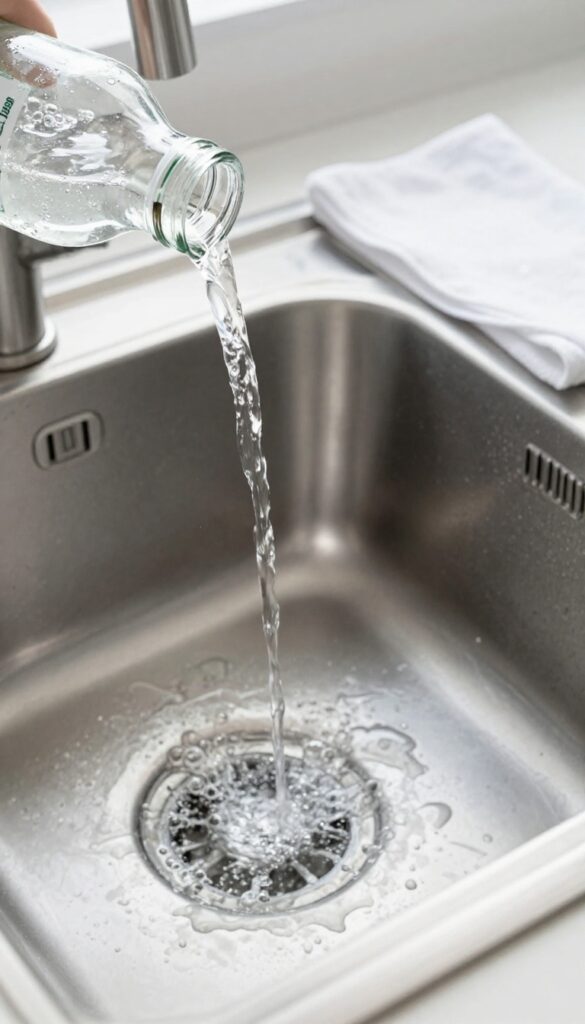
2. Use White Vinegar to Banish Water Spots
Hard water spots are the enemy of a shiny sink. They build up fast, especially if you have mineral-heavy tap water. White vinegar cuts through those deposits effortlessly, leaving your sink streak-free without harsh scrubbing.
White vinegar is a natural acid that dissolves calcium and lime deposits. It's cheap, non-toxic, and works faster than most commercial cleaners. Just spray it on, let it sit, and wipe away—no elbow grease required.
How To Apply Vinegar For Best Results
Fill a spray bottle with undiluted white vinegar. Mist the entire sink surface, focusing on areas with visible water spots. Let it sit for 3–5 minutes so the acid can break down the minerals.
Then wipe with a damp microfiber cloth, rinsing the cloth often to avoid redepositing residue.
Why Microfiber Makes A Difference
Microfiber cloths lift and trap mineral particles instead of pushing them around. They also prevent lint and scratches that paper towels can leave. Use a clean, dry microfiber cloth for a final buff to enhance the shine.
When To Avoid Vinegar
Avoid vinegar on sinks with unsealed granite or marble countertops nearby, as the acid can etch stone. Also, don't let vinegar sit too long on stainless steel—prolonged exposure can dull the finish. Stick to a few minutes max.
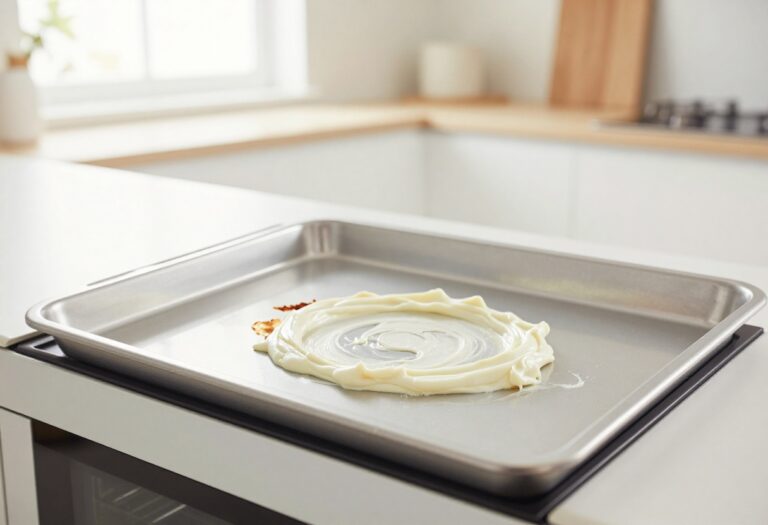
3. Polish with Olive Oil for a Mirror Finish
A tiny drop of olive oil on a soft cloth buffs the sink to a brilliant shine. It also creates a protective barrier against future water spots and fingerprints. This simple trick works wonders on stainless steel without any harsh chemicals.
Why Olive Oil Works
Olive oil is a natural polish that fills in microscopic scratches on the surface. This smooths out the metal and reflects light evenly, giving that mirror-like finish. Plus, it's non-toxic and safe for food contact areas.
How To Apply It
Start with a clean, dry sink. Put just a few drops of olive oil on a microfiber cloth. Rub it in small circular motions over the entire surface.
Let it sit for a minute, then buff with a clean part of the cloth until the shine appears.
Avoid These Mistakes
Don't use too much oil—a little goes a long way. Excess oil can feel greasy and attract dust. Also, skip this method if your sink has a matte finish, as it may create uneven patches.
Stick to polished stainless steel for best results.
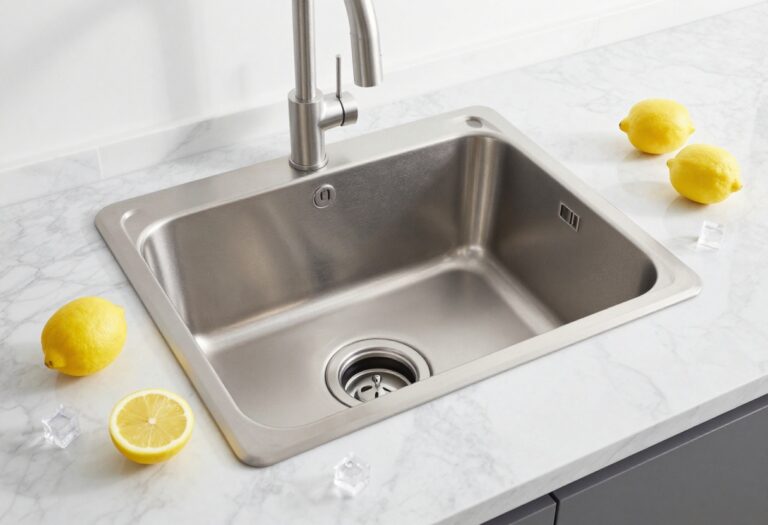
4. Try a Lemon Half for Natural Degreasing
Lemons do more than brighten your tea—they can cut through sink grease like a charm. The natural acidity breaks down oils and food residue without harsh chemicals. Plus, that fresh citrus scent leaves your kitchen smelling clean.
Grab a fresh lemon, cut it in half, and squeeze a little juice into the sink. Rub the cut side directly over the stainless steel surface, focusing on greasy spots and areas with light rust stains. Let the juice sit for a minute or two, then rinse thoroughly with warm water and dry with a soft cloth.
The citric acid works as a gentle degreaser and helps dissolve mineral deposits. For stubborn spots, dip the lemon half in a bit of salt before scrubbing—the abrasion boosts the cleaning power without scratching the metal.
Why Lemon Works On Grease
Citric acid is a natural surfactant that breaks down fats and oils on contact. Unlike chemical degreasers, it's food-safe and leaves no toxic residue. The mild acidity also helps lift light rust stains and water spots, making your sink look brighter.
How To Use It Without Damage
Always rinse the lemon juice off completely after a few minutes—prolonged exposure can etch the finish. Use gentle pressure when rubbing; the lemon's pulp is soft enough not to scratch. Dry the sink immediately after rinsing to prevent new water spots.
Extra Tips For Best Results
For a deeper clean, sprinkle baking soda on the sink before rubbing with lemon. The combination creates a mild fizz that lifts grime. Avoid using lemon on sinks with a protective coating or colored stainless steel, as the acid may dull the finish.
5. Tackle Stubborn Stains with Cream of Tartar
Some stains just won't budge with regular scrubbing. That's where cream of tartar steps in. This pantry staple, when mixed with hydrogen peroxide, creates a gentle yet effective paste that lifts even the toughest marks.
Cream of tartar is a mild acid that breaks down mineral deposits and discoloration without scratching the surface. Hydrogen peroxide adds a bleaching effect, making the combo ideal for tea stains, coffee rings, or rust spots. The paste is easy to apply and works quickly.
How To Make The Paste
Mix 2 tablespoons of cream of tartar with enough hydrogen peroxide to form a thick paste. Stir until smooth—it should be spreadable but not runny. Adjust the ratio if needed.
Application And Wait Time
Spread the paste over the stained areas using a soft cloth or sponge. Let it sit for 10 minutes to break down the grime. Don't let it dry completely; if it starts to dry, lightly mist with water.
Rinsing And Final Shine
Rinse thoroughly with warm water and wipe dry with a microfiber cloth. The sink should look noticeably brighter. For stubborn stains, repeat the process or let the paste sit a few minutes longer.
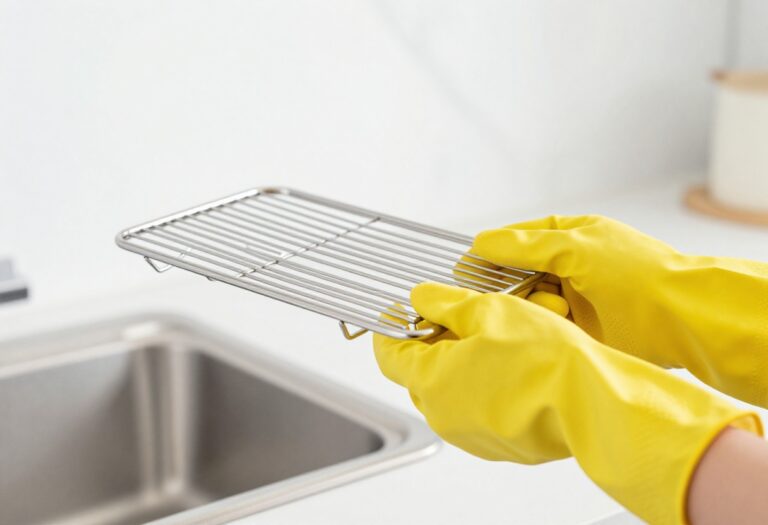
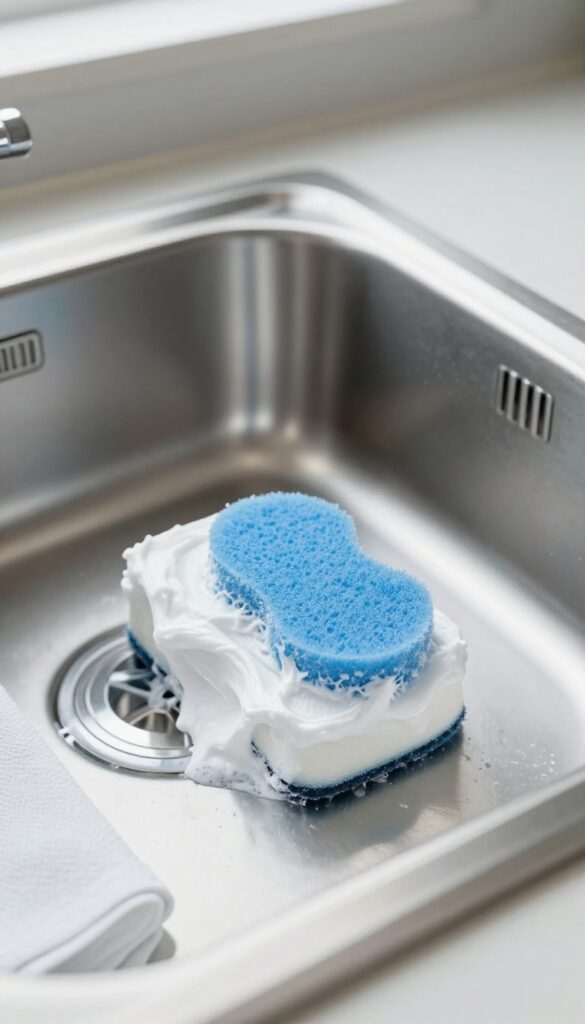
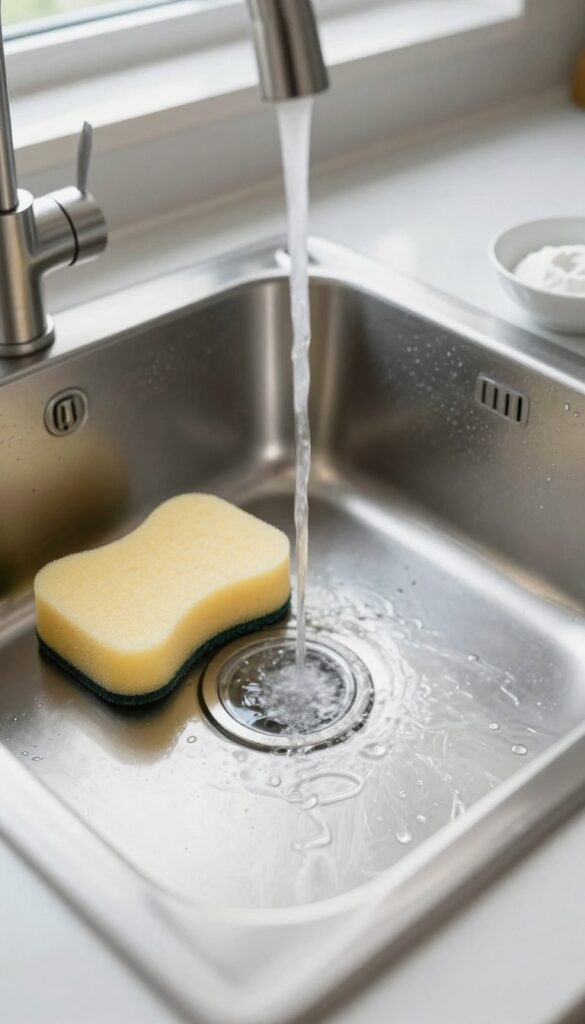
6. Prevent Scratches with a Soft Sponge Only

A single scratch on your stainless steel sink can turn a gleaming surface into a magnet for grime and dullness. The culprit is often the very tool you reach for to clean it. Harsh scrubbers like steel wool or green scouring pads leave micro-scratches that catch residue and make the sink look permanently worn.
Switching to a soft sponge or microfiber cloth is the easiest way to preserve that factory shine and keep your sink looking new for years.
Why Soft Matters
Stainless steel has a protective chromium oxide layer that gives it that reflective finish. Abrasive pads scrape this layer away, exposing the raw metal underneath. Once scratched, the surface becomes rough and traps soap scum, food particles, and hard water minerals.
A soft sponge glides over the surface without damaging the protective layer, so your sink stays smooth and bright.
What To Use Instead
Reach for a non-abrasive cellulose sponge, a microfiber cloth, or a soft nylon brush. Microfiber is especially good because it lifts dirt without scratching. For stuck-on food, soak the sink with warm water and dish soap for a few minutes before wiping.
If you need a little extra scrubbing power, use a paste of baking soda and water applied with a soft cloth—never a scrub pad.
The One Exception
There is a single case where a mild abrasive is acceptable: removing stubborn burnt-on residue or rust spots. Even then, use a plastic scrubber labeled "non-scratch" and work gently in the direction of the grain. Test on an inconspicuous spot first.
For daily cleaning, stick with soft materials to avoid accidental damage.
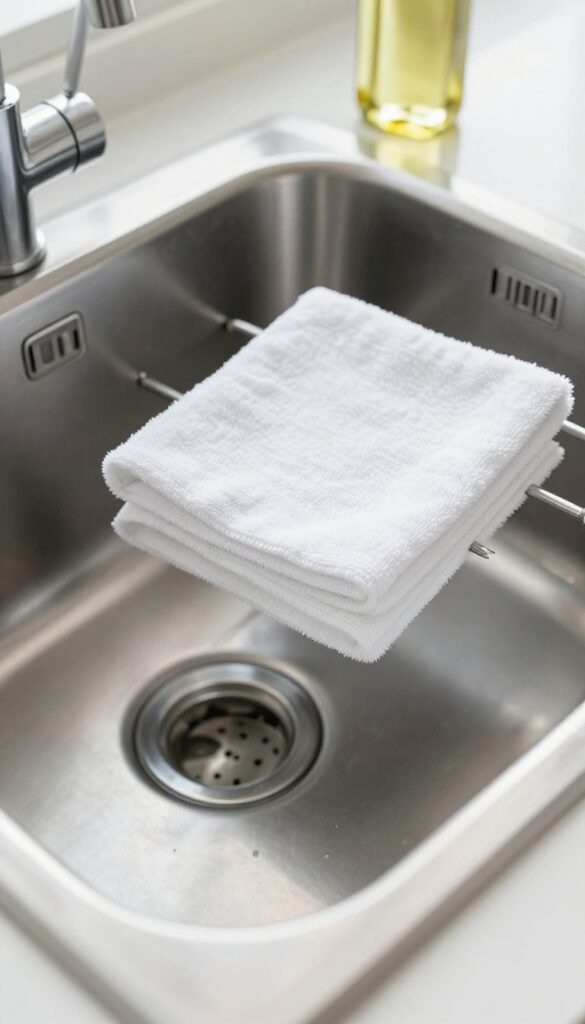
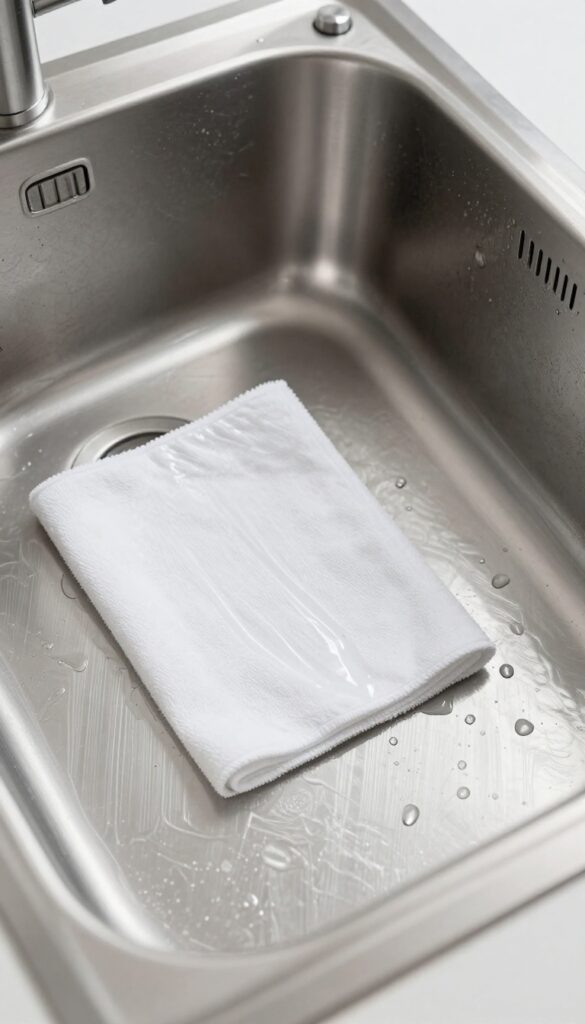
7. Rinse and Dry After Every Use
Getting into the habit of rinsing and drying your sink after each use is the single easiest way to keep it looking bright. A quick splash of water and a wipe with a soft cloth prevent water spots, food residue, and soap scum from drying onto the surface. This simple routine takes only 30 seconds but saves you from scrubbing later.
After washing dishes or prepping food, give the sink a quick rinse with warm water to flush away any lingering debris. Then grab a clean, soft microfiber cloth or a dish towel and dry the entire surface, including the sides and bottom. Pay special attention to the area around the drain and the rim where water tends to pool.
This habit not only prevents ugly spots but also reduces the risk of mineral buildup from hard water. Over time, you'll notice your sink stays shinier with far less effort.
Why It Works
Stainless steel is prone to showing water spots because minerals in the water leave deposits as the water evaporates. By drying the sink immediately, you remove the water before those minerals have a chance to settle. The same goes for food residue—once it dries, it becomes harder to remove and can even cause minor etching.
Best Tools For The Job
A microfiber cloth is ideal because it absorbs water quickly and won't scratch the surface. Avoid abrasive sponges or rough towels that can leave fine scratches. Keep a dedicated sink towel handy under the sink so you can grab it without hunting.
Change it regularly to avoid spreading bacteria.
When You're Short On Time
Even a quick rinse and a shake of the sink to remove standing water helps. If you can't dry it fully, at least tilt the faucet to clear pooled water from the basin. Every little bit reduces the chance of spots and keeps your sink looking fresher between deep cleans.
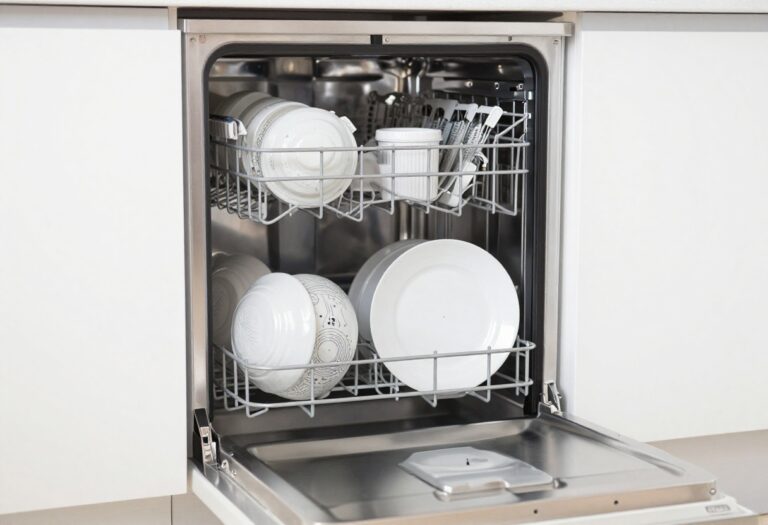
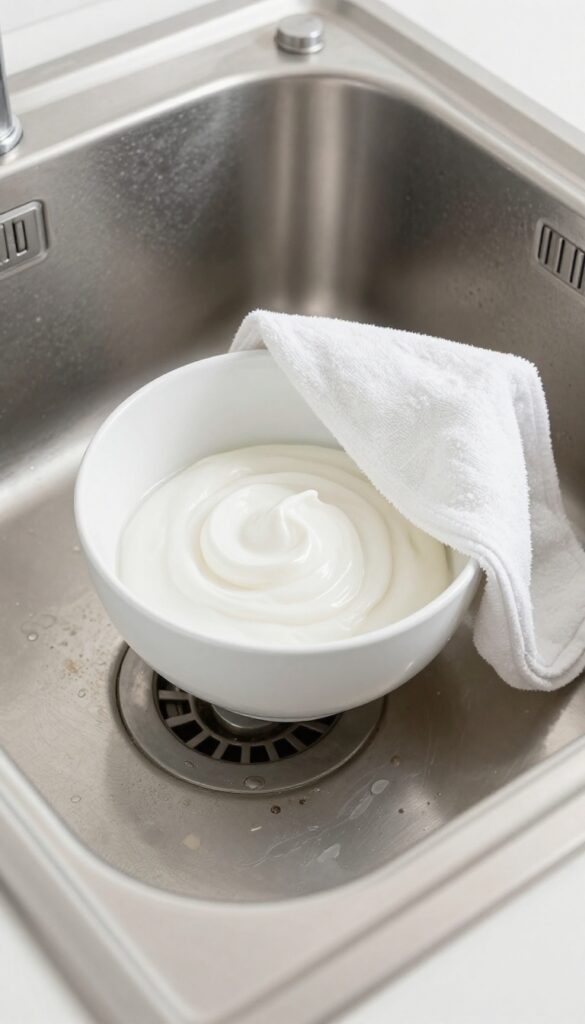
8. Deep Clean with a Dishwasher Tablet
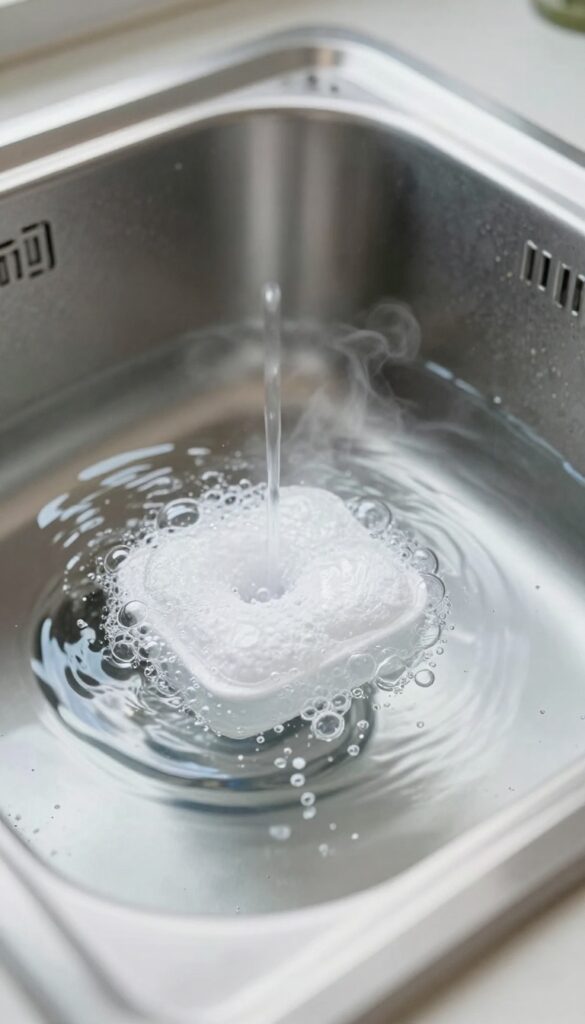
When your sink needs more than a quick wipe, a dishwasher tablet can work wonders. These tablets are designed to break down grease and food residue, making them perfect for a deep soak. It's a simple, hands-off method that leaves your sink sparkling with minimal effort.
Drop a dishwasher tablet into a sink full of hot water and let it dissolve. Let it sit for 15 minutes, then scrub gently and rinse for a sparkling clean.
Why It Works
Dishwasher tablets contain enzymes and surfactants that target tough stains and grease. The hot water activates these ingredients, allowing them to penetrate and lift grime from the stainless steel surface. It's a chemical reaction that does the hard work for you.
Step-by-step Soak
Fill your sink with hot water—enough to submerge the stained areas. Drop in one dishwasher tablet and let it fizz and dissolve completely. Let it sit for 15 minutes; for extra stubborn spots, leave it up to 30 minutes.
After the soak, drain the water and scrub the sink with a soft sponge or cloth. Rinse thoroughly with clean water and dry with a microfiber towel to prevent water spots.
Safety And Precautions
Always wear gloves when handling dishwasher tablets, as they can be harsh on skin. Avoid using this method on sinks with protective coatings or if you have a garbage disposal—the chemicals can damage rubber seals. Stick to a soft sponge; abrasive scrubbers can scratch the finish.
9. Remove Rust Spots with a Magic Eraser
Even the best-kept stainless steel sink can develop tiny rust spots over time, especially if a metal pan or can was left sitting in water. These orange specks are frustrating, but you don't need harsh chemicals to banish them. A simple magic eraser—the same one you use on scuff marks—can lift light rust without damaging the sink's finish.
Why Magic Erasers Work On Rust
Magic erasers are made of melamine foam, which acts like ultra-fine sandpaper when damp. The foam gently abrades the surface, removing the rust particles without scratching the stainless steel. This makes it ideal for light, surface-level rust that hasn't pitted the metal.
Step-by-step: How To Use It Safely
Start by wetting the magic eraser and wringing out excess water. Gently rub the rust spot in the direction of the grain—rubbing against the grain can create fine scratches. Apply light pressure; let the foam do the work.
After a few passes, rinse the area with water and check your progress. Repeat if needed.
Rinse And Dry Thoroughly Afterward
Once the rust is gone, rinse the sink well to remove any eraser residue. Dry the area with a soft cloth to prevent new water spots. For extra protection, you can follow up with a light coat of mineral oil or stainless steel polish to restore shine and help repel future rust.
10. Use Club Soda for a Streak-Free Shine
Club soda isn't just for mixing drinks—it's a surprisingly effective cleaner for stainless steel sinks. The carbonation and mild acidity work together to lift grime and dissolve residue without leaving streaks. Best of all, it's cheap and you probably already have a bottle in your fridge.
Pour club soda directly over the sink surface, making sure to cover all areas. Let it fizz for a minute to break down any stuck-on particles. Wipe with a soft, lint-free cloth in the direction of the grain.
Buff dry with a second clean cloth to reveal a brilliant, streak-free shine. For extra stubborn spots, dip the cloth in club soda and scrub gently before buffing.
Why Club Soda Works So Well
The bubbles in club soda provide a gentle abrasive action that helps lift dirt without scratching. Its slight acidity (from carbonic acid) cuts through grease and soap scum, while the minerals enhance shine. Unlike tap water, club soda leaves no mineral deposits behind, so you get a spotless finish.
Best Practices For Best Results
Always use club soda at room temperature—cold soda can cause the metal to contract and trap residue. Stick to plain club soda; flavored or sweetened versions can leave sticky residue. Wipe with the grain to avoid micro-scratches, and never let the soda dry on the surface.
Follow up with a dry buff for maximum gleam.
When To Use Club Soda Vs. Other Cleaners
Club soda is perfect for daily or weekly maintenance when your sink is already fairly clean but needs a streak-free polish. For heavy grease or baked-on grime, pair it with a mild dish soap scrub first. Avoid using club soda on sinks with protective coatings or if you have hard water stains—those need a vinegar treatment instead.
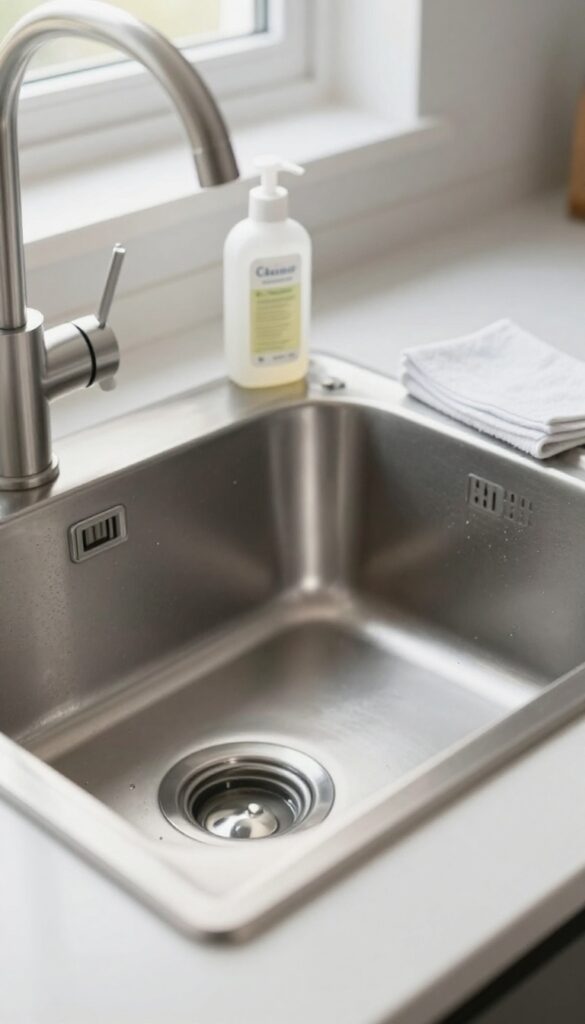
11. Apply a Stainless Steel Cleaner for Extra Protection
Once your sink is deep cleaned and dry, a dedicated stainless steel cleaner can lock in that shine and fend off future grime. These products typically contain lightweight oils that repel fingerprints, water spots, and everyday smudges. A little goes a long way—use them sparingly after a thorough cleaning to maintain a brilliant, protected surface.
Why A Dedicated Cleaner Works
Commercial stainless steel cleaners are formulated with ingredients that bond to the metal, creating a thin barrier. This barrier makes it harder for water minerals and oily fingerprints to stick. Unlike household remedies, they’re designed specifically for the grain and finish of stainless steel, so they won’t leave residue or dull the surface.
How To Apply For Best Results
Start with a clean, dry sink. Spray or apply a small amount of cleaner onto a soft microfiber cloth—never directly onto the sink. Wipe in the direction of the grain using gentle, even strokes.
Let it sit for a few seconds, then buff with a clean dry cloth until the shine appears. Less product means less buildup, so resist the urge to overspray.
When To Use It (and When To Skip)
Use a stainless steel cleaner once a week or after a deep scrub to restore protection. Skip it if your sink is still damp or has visible food debris—cleaners work best on bare metal. Also avoid using them on sinks with a matte or brushed finish unless the product is labeled safe for that texture.
12. Avoid Bleach and Harsh Chemicals
It might be tempting to grab bleach or a heavy-duty cleaner when your sink looks grimy, but those harsh chemicals can do more harm than good. Stainless steel is durable, but it's also sensitive to strong acids and chlorides. Bleach, in particular, can cause pitting—tiny spots where the surface is damaged—and it can also discolor the metal, leaving it looking dull or yellowish.
Stick to gentle, pH-neutral cleaners to preserve that bright shine and protect your sink's finish for years to come.
Why Bleach Is Bad News
Bleach and chlorine-based cleaners are corrosive to stainless steel. They attack the protective chromium oxide layer that gives the sink its shine and resistance to rust. Over time, this leads to pitting, discoloration, and a rough texture that traps more dirt.
Even diluted bleach can cause damage if left on the surface too long, so it's best to avoid it entirely.
What To Use Instead
For everyday cleaning, a simple solution of mild dish soap and warm water works perfectly. For tougher grime, mix baking soda and water into a paste, or use a dedicated stainless steel cleaner that's pH-neutral. These options clean effectively without stripping the protective layer or leaving behind harmful residues.
Check Labels Carefully
Many all-purpose cleaners contain bleach or other harsh chemicals like ammonia or phosphoric acid. Always read the label before using any product on your stainless steel sink. Look for cleaners labeled "safe for stainless steel" or "pH-neutral.
" When in doubt, test a small, inconspicuous area first to make sure it doesn't cause any reaction.
13. Buff in the Direction of the Grain
Stainless steel has a distinct grain—those fine, parallel lines running across the surface. Wiping against them is the fastest way to create a spiderweb of tiny scratches that dull the finish. By always moving your cloth with the grain, you keep the metal smooth and the reflection crisp.
Buffing with the grain might sound like a small detail, but it makes a huge difference in how your sink looks over time. Think of it like petting a cat—going the wrong way just ruffles everything up. This simple habit prevents swirl marks and keeps that factory-fresh shine much longer.
How To Find The Grain
Look closely at your sink under good light. The grain usually runs horizontally from left to right, but some sinks have a vertical or even circular pattern. Run your finger across the surface—if it feels smooth one way and slightly rough the other, the smooth direction is the grain.
The Right Cloth Matters
Use a soft microfiber cloth or a non-abrasive sponge. Paper towels can be too harsh, and old rags might carry grit that scratches. Dampen the cloth slightly with water or a gentle cleaner, then wipe in long, straight strokes along the grain.
No circles, no back-and-forth scrubbing.
Drying With The Grain
After rinsing, dry your sink immediately using the same grain-following motion. This prevents water spots and mineral deposits from forming in the first place. A quick buff with a dry microfiber cloth after each use keeps the shine consistent and reduces the need for deep cleaning.
14. Use a Toothbrush for Tight Corners
An old toothbrush is perfect for scrubbing around the drain, edges, and corners where grime builds up. Dip it in baking soda paste for extra cleaning power. This simple tool reaches spots your sponge can't, making a noticeable difference in shine.
Even after a thorough wipe-down, your sink's tight corners often hide stubborn grime. A toothbrush's small head and stiff bristles let you target those crevices without scratching the surface. For best results, create a paste of baking soda and water, dip the brush, and scrub in small circular motions.
Rinse well and dry to reveal a uniformly bright sink.
Why A Toothbrush Works Best
Sponges and cloths can't dig into the narrow gaps around your drain flange or the corners where the sink meets the counter. A toothbrush reaches these areas easily, dislodging buildup that dulls the finish. Its bristles are gentle enough for stainless steel but tough on grime.
Making A Baking Soda Paste
Mix three parts baking soda with one part water until it forms a thick paste. This mild abrasive lifts stuck-on residue without scratching. Apply it directly to the toothbrush bristles or dab it onto the target area before scrubbing.
Technique For Best Results
Work in small sections, focusing on one corner or edge at a time. Use gentle pressure and let the paste do the work. Rinse the brush frequently to avoid redepositing grime.
After scrubbing all tight spots, rinse the sink thoroughly and dry with a microfiber cloth.
15. Maintain Shine with a Weekly Quick Polish
A little maintenance goes a long way when it comes to keeping your stainless steel sink looking its best. Instead of waiting until it's dull and covered in water spots, spend just five minutes once a week on a quick polish. This simple habit will keep that factory-fresh shine and reduce the need for deep cleaning sessions.
Set aside five minutes each week to do a quick polish with a microfiber cloth and a dab of baby oil or mineral oil. This keeps the sink looking new and reduces deep cleaning frequency.
Why A Weekly Polish Works
Stainless steel naturally develops a thin oxide layer that protects it, but daily use can leave behind fingerprints, water spots, and minor scratches. A weekly polish with a light oil fills in those micro-scratches and creates a smooth, reflective surface. It also adds a protective barrier that repels water and grime between cleanings.
What You'll Need
Grab a clean, dry microfiber cloth and a small bottle of baby oil or mineral oil. That's it. Avoid using olive oil or cooking oils, as they can turn rancid and leave a sticky residue.
Microfiber is key because it won't scratch the surface and it picks up dust instead of pushing it around.
How To Do It In Five Minutes
Start with a clean, dry sink. Put a few drops of oil on the cloth—less is more—and rub it into the stainless steel following the grain. Use circular motions for stubborn spots, then buff with a clean part of the cloth until the shine appears.
The whole process takes less time than brewing a cup of coffee.
FAQ
Can I use vinegar on stainless steel sinks every day?
Yes, but it's best to rinse thoroughly after use. Frequent exposure to undiluted vinegar may dull the finish over time, so dilute it with water for daily use.
How do I remove hard water stains from my sink?
Spray white vinegar on the stains, let it sit for 5-10 minutes, then scrub with a soft sponge. For stubborn spots, use a baking soda paste.
Is it safe to use bleach on stainless steel?
No, bleach can cause pitting and discoloration. Avoid chlorine-based cleaners and stick to gentle alternatives like baking soda or vinegar.
What's the best way to dry a stainless steel sink?
Use a soft, lint-free microfiber cloth to dry the sink immediately after rinsing. This prevents water spots and keeps the surface shiny.
Can I use a magic eraser on my stainless steel sink?
Yes, but use it gently and sparingly. Magic erasers are mildly abrasive and can dull the finish if used too aggressively. Test on a small area first.
Conclusion
Keeping your stainless steel sink bright doesn't require harsh chemicals or endless scrubbing. With these 15 tips, you can maintain that mirror-like shine using everyday items you probably already have. The key is consistency—a quick wipe after each use prevents buildup and keeps your sink looking new.
Try incorporating a few of these methods into your routine, and you'll notice the difference immediately. Your kitchen will feel cleaner and more inviting with minimal effort.