23 Sink Cleaning Hacks for Drains, Stains, and Odor
You know that moment when you lean over the sink and catch a whiff of something funky, or notice a slow drain that just won't quit? It's frustrating, but you don't need harsh chemicals or a plumber to fix it.
With a few pantry staples and a little elbow grease, you can tackle clogs, stains, and odors like a pro.
These 23 sink cleaning hacks are practical, budget-friendly, and designed to make your kitchen or bathroom shine without the headache.
1. Baking Soda and Vinegar Volcano for Clogs
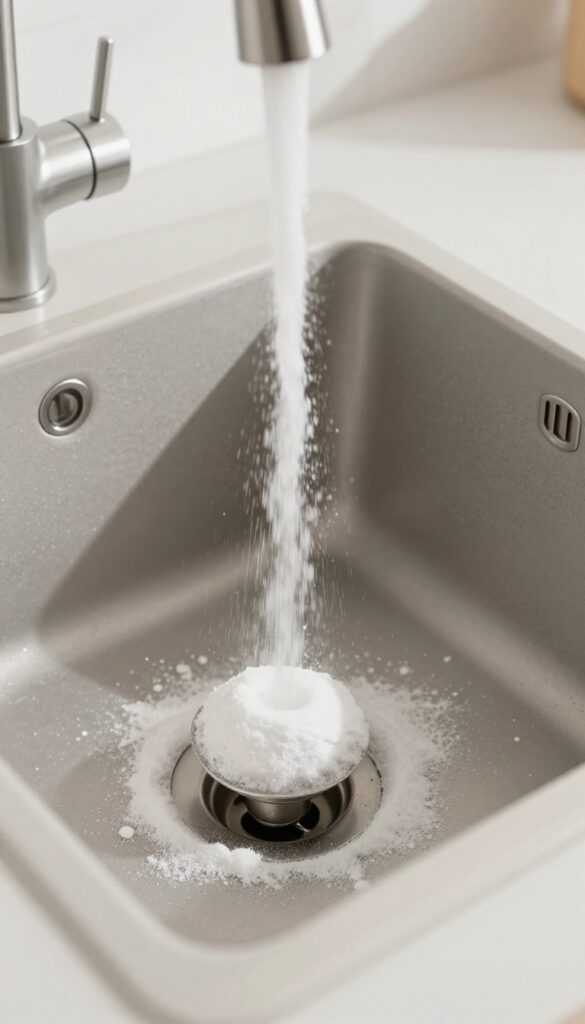
When your sink starts draining slowly or stops altogether, you don't need a plumber or a bottle of toxic drain cleaner. A simple combination of baking soda and vinegar can work wonders. This classic fizzy reaction helps break down grease, soap scum, and other gunk that builds up inside pipes.
Start by removing any standing water from the sink. Pour about 1/2 cup of baking soda directly down the drain. Follow it with 1/2 cup of white vinegar.
The mixture will bubble and fizz immediately—that's the chemical reaction doing its job. Cover the drain with a plug or a cloth to keep the foam inside the pipe, and let it sit for 15 minutes. While you wait, boil a kettle of water.
After the time is up, flush the drain with the hot water. This method is safe for most pipes and can clear minor to moderate clogs without any harsh chemicals.
Why This Works
Baking soda is a mild alkali that reacts with the acid in vinegar to produce carbon dioxide gas. The fizzing action physically agitates the clog, while the alkaline and acidic properties help dissolve fatty acids and soap residues. Hot water finishes the job by melting any remaining grease and carrying debris away.
When To Use This Hack
This method works best for organic clogs like food scraps, grease, and soap scum. It's not effective for hard blockages caused by hair or solid objects. Use it as a first line of defense before calling a plumber.
You can also use it monthly as a preventative treatment to keep drains fresh and flowing.
Pro Tips For Best Results
For extra stubborn clogs, add a cup of baking soda and a cup of vinegar. If you have a garbage disposal, run it with cold water after the hot water flush to clear any loosened particles. Avoid using this method if you've already used a chemical drain cleaner, as the mixture can create dangerous fumes.
2. Boiling Water Flush for Grease Buildup
Grease and oil are the number one enemies of your kitchen sink. Every time you wash a greasy pan or pour leftover cooking fat down the drain, you're adding to a sticky layer that hardens over time. The fix is simpler than you think: just hot water.
Once a week, boil a full kettle of water and pour it slowly down the drain. The high temperature melts away fat and soap scum before they solidify into stubborn clogs. This routine takes two minutes and costs nothing, but it keeps your pipes flowing freely.
Why It Works
Grease solidifies at room temperature, but boiling water (212°F) liquefies it instantly. The water also flushes away soap residue and food particles that can trap grease. It's a gentle, chemical-free way to maintain your drain.
How To Do It Safely
Fill a kettle with water and bring it to a rolling boil. Slowly pour the water down the drain in two or three intervals, allowing the heat to work between pours. If you have a garbage disposal, run cold water before and after to protect the blades.
When To Skip This Hack
Avoid boiling water if you have PVC pipes, especially older ones that may warp. In that case, use hot tap water (not boiling) and repeat the process a few times. Also, never pour boiling water into a sink with standing water—it can splash back.
3. Lemon and Salt Scrub for Stain Removal
Stubborn stains on your sink can make even the cleanest kitchen look grimy. Before you reach for bleach or harsh scrubbing powders, try this natural duo that’s probably already in your kitchen. Lemons and salt work together to lift stains without damaging your sink’s finish.
This hack is perfect for stainless steel, porcelain, or ceramic sinks. The citric acid in lemons breaks down mineral deposits and food residue, while the salt provides just enough abrasion to scrub away discoloration without scratching. Plus, it leaves your sink smelling fresh and citrusy.
How To Do It
Cut a lemon in half crosswise. Sprinkle a generous amount of coarse salt (like kosher or sea salt) onto the cut surface. Scrub the stained areas of your sink in a circular motion, applying gentle pressure.
Focus on spots with coffee, tea, or hard water stains. Rinse thoroughly with warm water and dry with a soft cloth.
Why It Works So Well
Lemon juice is mildly acidic, which helps dissolve alkaline stains like hard water deposits and rust. Salt acts as a gentle abrasive that physically lifts grime without scratching most sink materials. Together, they create a chemical-free cleaning paste that’s safe for you and the environment.
Pro Tips For Best Results
Use coarse salt instead of table salt—it’s less likely to dissolve too quickly and provides better scrubbing power. For extra stubborn stains, let the lemon-salt mixture sit on the stain for 5 minutes before scrubbing. Avoid this method on natural stone sinks (like marble or granite) as the acid can etch the surface.
4. Hydrogen Peroxide and Baking Soda Paste
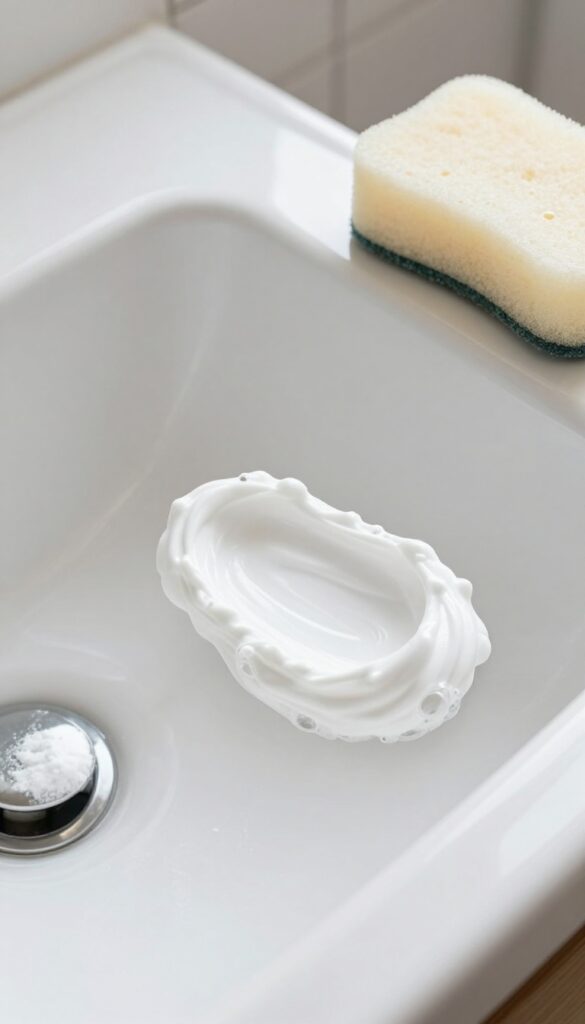
If your porcelain sink is looking dull or has stubborn stains, this simple paste can bring back its brightness. Hydrogen peroxide is a gentle bleach, and baking soda adds mild abrasion to lift grime without scratching. Together, they make a powerful yet safe cleaner for white or light-colored sinks.
Mix baking soda with hydrogen peroxide to form a thick paste. Apply it to stained areas, let it sit for 10 minutes, then scrub with a soft sponge or brush. Rinse thoroughly.
This works wonders on coffee, tea, and food stains. For tough spots, let the paste sit longer or add a few drops of dish soap.
Why It Works
Hydrogen peroxide releases oxygen bubbles that help lift stains, while baking soda provides gentle scrubbing power. Together, they create a fizzing action that loosens dirt and discoloration without harsh chemicals.
Best Sink Types
This paste is ideal for porcelain, ceramic, and enamel sinks. Avoid using it on natural stone like marble or granite, as the peroxide can etch the surface. Test on a small hidden area first if you're unsure.
Extra Tips
For a deeper clean, cover the paste with plastic wrap to keep it moist and let it sit for up to 30 minutes. Use a soft-bristled toothbrush for tight corners. Rinse well and dry with a microfiber cloth to avoid water spots.
5. Ice Cubes and Salt for Garbage Disposal Cleaning
Your garbage disposal works hard, but it can get grimy and smelly over time. Instead of reaching for harsh chemicals, try this simple trick using ice cubes and rock salt. It's a two-in-one solution that sharpens the blades and scrubs away built-up debris, leaving your disposal fresh and efficient.
Drop a handful of ice cubes and a cup of rock salt into the disposal. Run cold water and turn it on. The ice sharpens blades, and salt scrubs away debris.
Why Ice And Salt Work
Ice cubes are hard enough to knock off stuck-on food particles and residue without damaging the blades. As they're ground up, they also help sharpen the blades. Rock salt acts as an abrasive scrubber, scouring the interior surfaces and dislodging grime that causes odors.
Step-by-step Instructions
Start by filling an ice cube tray with water and freezing it. Once you have a handful of cubes, drop them into the disposal along with a cup of rock salt. Turn on the cold water, then flip the disposal switch.
Let it run until the ice is completely ground up. The cold water keeps any fats from solidifying and helps flush everything down the drain.
When To Do This
Aim to do this cleaning once a week to keep your disposal in top shape. You'll notice fewer odors and smoother operation. It's also a great quick fix if you notice a faint smell or slow grinding.
Just avoid using too much salt, as excess can be harsh on older pipes.
6. Citrus Peels for Fresh Scent
If your garbage disposal smells like last week's leftovers, citrus peels are your best friend. Lemon, lime, or orange peels contain natural oils that cut through grease and leave a bright, clean fragrance. Plus, they're free—just save them after juicing or snacking.
Toss a handful of citrus peels into the disposal and run it with cold water for about 30 seconds. The cold water keeps the oils from turning sticky, while the peels scrub the blades and interior. For extra freshness, follow up with a few ice cubes to knock off any stubborn gunk.
Why Citrus Works
Citrus peels contain d-limonene, a natural solvent that breaks down grease and neutralizes odors. The abrasive texture of the peels also helps dislodge food particles stuck to the disposal's blades and walls.
Best Practice Tips
Use only the peels, not the whole fruit—seeds and pith can clog the disposal. Always run cold water, not hot, to keep the oils solid enough to scrub. For a stronger scent, add a few drops of lemon essential oil after grinding.
When To Avoid This Hack
If your disposal has a rubber splash guard, citrus oils can degrade it over time. Use this method sparingly—once a week is plenty. Also avoid if you have a septic system, as large amounts of citrus can disrupt bacterial balance.
7. Dishwasher Tablet for Deep Clean
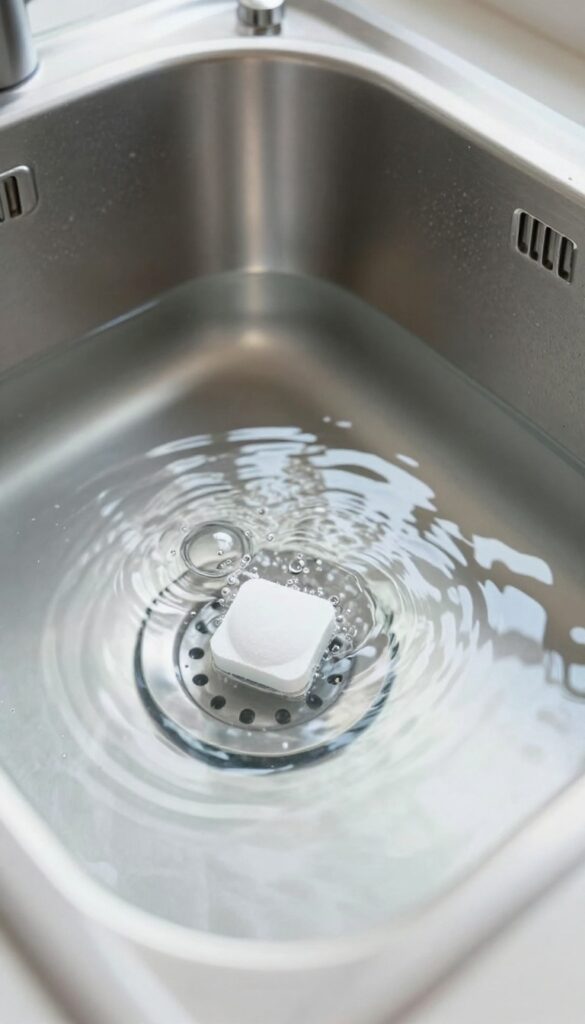
Your dishwasher tablet isn't just for dishes. Drop one into a sink full of hot water and let it work its magic. The powerful enzymes and surfactants cut through grease, lift stains, and leave your sink looking like new.
This hack is perfect for stainless steel, porcelain, or enamel sinks. The tablet dissolves quickly, creating a cleaning solution that tackles buildup without scrubbing. It's a low-effort way to restore shine and remove odors.
How It Works
Dishwasher tablets contain strong degreasers and bleach alternatives. When dissolved in hot water, they break down grease, food residue, and soap scum. The soak allows the solution to penetrate hard-to-reach areas like the drain and rim.
Step-by-step
Fill your sink with hot water—enough to submerge the tablet. Drop in one tablet and let it dissolve. Let it soak for 30 minutes.
Drain the water and rinse thoroughly. Wipe dry with a soft cloth for a streak-free finish.
When To Use This Method
Use this deep clean when your sink looks dull or has a greasy film. It's also great after cooking heavy meals. Avoid this method on antique or delicate sinks—check manufacturer guidelines first.
8. Toothbrush for Grout and Edges
The sink rim, faucet base, and grout lines are prime spots for grime buildup. A sponge just can't reach those narrow gaps. That's where an old toothbrush becomes your secret weapon.
Dip it in a baking soda paste and scrub along those edges. The bristles dig into crevices, lifting dirt and residue that would otherwise stay put.
Using a toothbrush for sink edges is a simple but effective trick. The small head and firm bristles let you target tight spaces without scratching surfaces. It's especially useful around the faucet base, where mineral deposits and soap scum accumulate.
For grout lines, the toothbrush helps restore whiteness without harsh scrubbing.
Make The Paste
Mix three parts baking soda with one part water to form a thick paste. Add a drop of dish soap for extra grease-cutting power. The paste should be spreadable but not runny.
Scrub The Edges
Dip the toothbrush into the paste and scrub along the sink rim, faucet base, and any grout lines. Use small circular motions to work the paste into crevices. Let it sit for 5 minutes before rinsing.
Rinse And Repeat
Wipe away the paste with a damp cloth or rinse with warm water. For stubborn spots, repeat the process. Rinse the toothbrush after each use and store it for future cleaning sessions.
9. Vinegar and Dish Soap Spray for Daily Maintenance
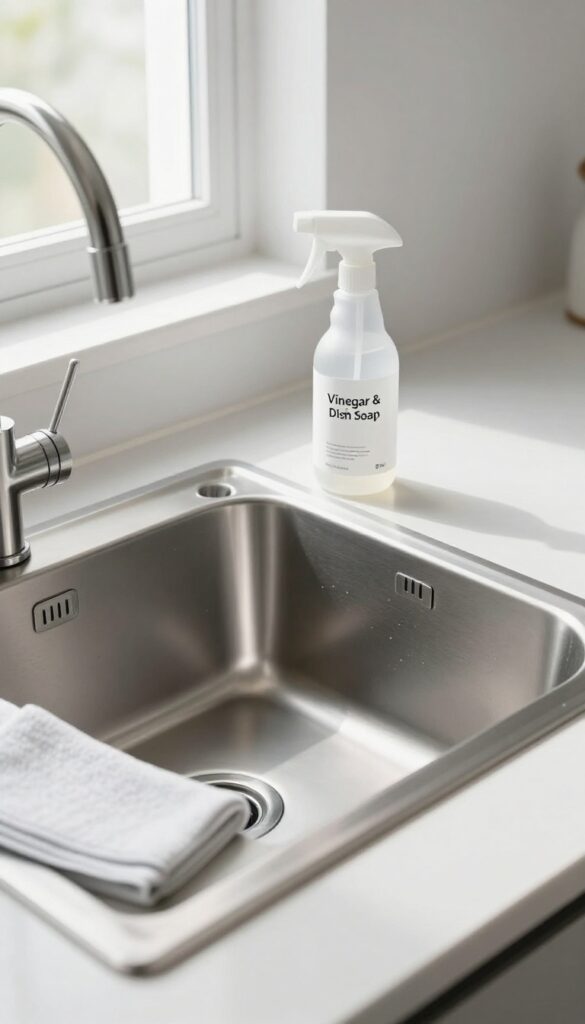
A quick spritz after each sink use can save you from deep scrubbing sessions later. This simple DIY spray combines the degreasing power of dish soap with vinegar's ability to cut through mineral deposits and kill bacteria. It's a gentle but effective way to keep your sink looking fresh and prevent soap scum, hard water spots, and grime from building up over time.
The key is consistency. By making this spray part of your daily routine, you'll reduce the need for harsh cleaners and heavy scrubbing. Plus, it's safe for most sink materials including stainless steel, porcelain, and ceramic.
How To Make The Spray
Fill a 16-ounce spray bottle with equal parts white vinegar and water. Add a generous squirt of dish soap—about a tablespoon. Swirl gently to mix, but don't shake too hard or it'll foam up.
That's it. You've got a sink cleaner that costs pennies per batch.
When And How To Use It
After washing dishes or brushing your teeth, give the sink basin, faucet, and drain area a few spritzes. Let it sit for 30 seconds to break down any residue, then wipe with a soft cloth or sponge. For extra shine, dry the surface with a microfiber towel to prevent water spots.
Why This Combo Works
Vinegar's acidity dissolves hard water deposits and soap scum, while dish soap lifts grease and food particles. Together, they create a cleaning solution that's tough on grime but gentle on your sink. Plus, the vinegar smell fades quickly once it dries, leaving behind a clean scent.
10. Cream of Tartar for Hard Water Stains
Hard water stains can make a stainless steel sink look dull and crusty. Those white rings and mineral deposits are stubborn, but you don't need a specialty cleaner. Cream of tartar, a common baking ingredient, teams up with lemon juice to break down the buildup naturally.
It's a gentle abrasive that polishes without scratching.
This dynamic duo works because the acid in lemon juice dissolves mineral deposits, while cream of tartar provides mild abrasion to lift them away. The paste clings to vertical surfaces, giving it time to work. After a short wait, you scrub and rinse to reveal a shiny, stain-free sink.
It's safe for stainless steel, porcelain, and ceramic sinks.
Why It Works So Well
Cream of tartar is potassium bitartrate, a mild acid that reacts with hard water minerals. Lemon juice adds extra acidity and a fresh scent. Together, they create a paste that breaks down calcium and lime deposits without harsh chemicals.
The gentle grit polishes the surface, restoring shine.
How To Make And Use The Paste
Mix equal parts cream of tartar and lemon juice to form a thick paste. Apply it directly to the hard water stains or rings using a soft cloth or sponge. Let it sit for about 15 minutes so it can penetrate the deposits.
Then scrub gently in circular motions, rinse thoroughly, and dry with a clean towel. For tough spots, repeat or let it sit longer.
Extra Tips For Best Results
Test on a small hidden area first, especially on colored sinks. Avoid using on marble or granite, as the acid can etch them. For large areas, cover the paste with plastic wrap to keep it from drying out.
After cleaning, buff the sink with a microfiber cloth for extra shine. Use this method weekly to prevent buildup.
11. Borax for Odor Elimination
When your sink starts smelling like a swamp, Borax is a simple fix. This natural mineral works as a deodorizer and mild disinfectant, breaking down the gunk that causes bad smells.
Pour 1/2 cup Borax down the drain, let it sit for 20 minutes, then flush with hot water. It neutralizes odors and breaks down organic matter.
Why Borax Works
Borax has a high pH that helps dissolve grease and organic buildup. It also inhibits bacteria growth, which is often the source of foul odors. Unlike bleach, it's gentle on pipes and safe for septic systems.
How To Use It
Start by removing any standing water from the sink. Pour 1/2 cup Borax directly down the drain. Let it sit for 20 minutes so it can work on the grime.
Then, flush with a kettle of boiling water or very hot tap water. Repeat weekly for maintenance.
When To Avoid Borax
Don't use Borax if you have a garbage disposal with metal blades—it can cause corrosion over time. Also, avoid mixing it with acidic cleaners like vinegar, as the reaction can be ineffective. Stick to using it alone for best results.
12. Club Soda for Stainless Steel Shine
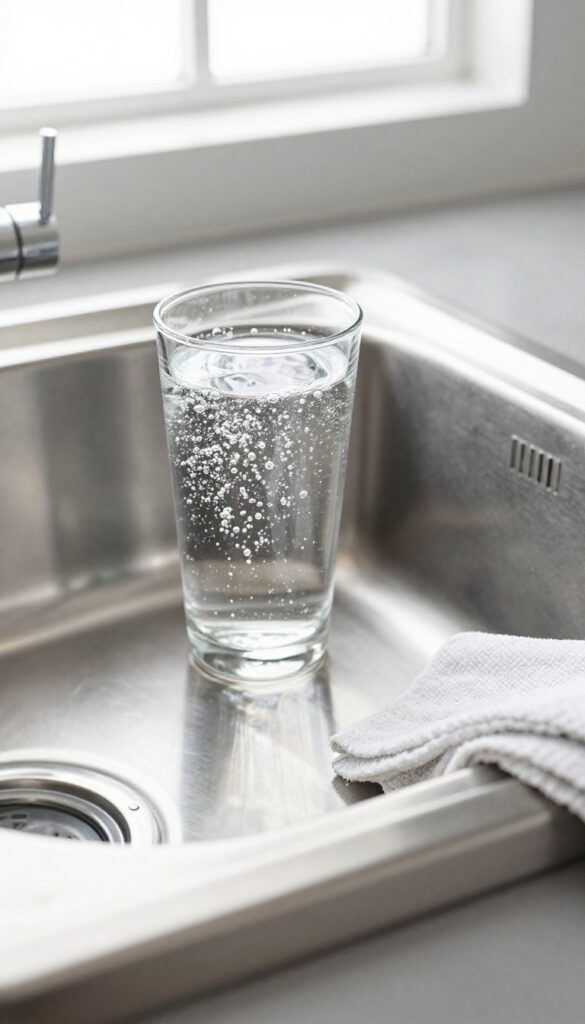
Stainless steel sinks look great when they're clean, but they show every smudge, water spot, and bit of grime. You don't need a special cleaner to get that mirror-like finish. Club soda, the same fizzy drink you might have in your fridge, does the job beautifully.
The carbonation in club soda works like a gentle abrasive, lifting dirt and residue without scratching the surface. It also helps dissolve mineral deposits that cause dullness. Plus, it leaves no streaks or chemical residue behind.
Why Club Soda Works
The bubbles in club soda act as tiny scrubbers that loosen grime. The mild acidity (from carbonic acid) helps break down hard water stains and soap scum. Unlike some commercial cleaners, club soda won't dull or damage the finish.
How To Use It
Simply pour a small amount of club soda directly onto the sink surface. Use a soft microfiber cloth or sponge to wipe in the direction of the grain. Rinse with water if you like, but it's not necessary.
Buff dry with a clean cloth for extra shine.
When To Skip This Hack
Avoid club soda on sinks with a protective coating or colored finishes, as the acidity could affect the surface. Stick to plain water or a mild soap for those. For standard stainless steel, though, it's a safe and effective choice.
13. Bleach Soak for White Porcelain Sinks
White porcelain sinks look elegant when they're bright and clean, but they can quickly turn dingy from coffee, tea, or food stains. A bleach soak is a powerful way to restore that original whiteness without harsh scrubbing that might damage the finish. This method is simple, effective, and uses a common household cleaner.
To start, make sure your sink is empty and the drain is closed. Fill it with warm water—not hot, as that can cause bleach to fume—and add about 1/4 cup of regular bleach. Swish the water gently to mix.
Let the solution sit for 15 minutes, then drain and rinse thoroughly with cold water. The bleach breaks down organic stains and brightens the porcelain. For tough stains, you can let it soak up to 30 minutes, but never longer.
Always ventilate the room by opening a window or turning on the exhaust fan. After rinsing, dry the sink with a soft cloth to prevent water spots and check for any remaining discoloration. Repeat monthly or as needed to keep your sink looking fresh.
Safety First
Bleach is strong, so wear gloves and avoid mixing it with other cleaners, especially ammonia or vinegar. Never leave bleach soaking unattended, and keep pets and children away during the process. Rinse the sink thoroughly before using it again to remove any bleach residue.
When To Skip This Hack
This method is only for white porcelain sinks. Colored or antique porcelain may be damaged by bleach. If your sink has cracks or chips, bleach can seep in and cause further damage.
For those sinks, try a baking soda paste instead.
Alternative: Lemon Juice Soak
If you prefer a milder approach, use lemon juice instead of bleach. Fill the sink with warm water and add 1/2 cup of lemon juice. Soak for 30 minutes, then drain and rinse.
It's gentler but still effective for light stains and odors.
14. Pumice Stone for Tough Stains
Rust rings and hard water deposits can make a porcelain sink look beyond saving. But before you reach for bleach or abrasive powders, try a pumice stone. It's a gentle yet effective tool that lifts stubborn stains without scratching the surface when used correctly.
To use a pumice stone, wet it thoroughly and rub it gently over the stain in a circular motion. The stone's porous texture acts like fine sandpaper, wearing down mineral buildup and rust. Keep the stone and sink wet throughout to prevent scratching.
Rinse and wipe clean to reveal a bright, stain-free surface.
Why It Works On Porcelain
Porcelain is durable but can be scratched by harsh scrubbing pads. Pumice is softer than porcelain but harder than the stains, so it targets only the deposits. The water acts as a lubricant, reducing friction and protecting the finish.
Where Not To Use It
Avoid pumice on enameled cast iron, fiberglass, or acrylic sinks—it can scratch those surfaces. Stick to genuine porcelain or ceramic sinks. Test in an inconspicuous spot first if you're unsure.
Pro Tips For Best Results
Always wet the stone before and during use. If the stone dries out, it becomes too abrasive. After scrubbing, rinse the sink and wipe with a soft cloth.
Store the pumice stone in a dry place to keep it from disintegrating.
15. Baking Soda and Essential Oils for Deodorizing
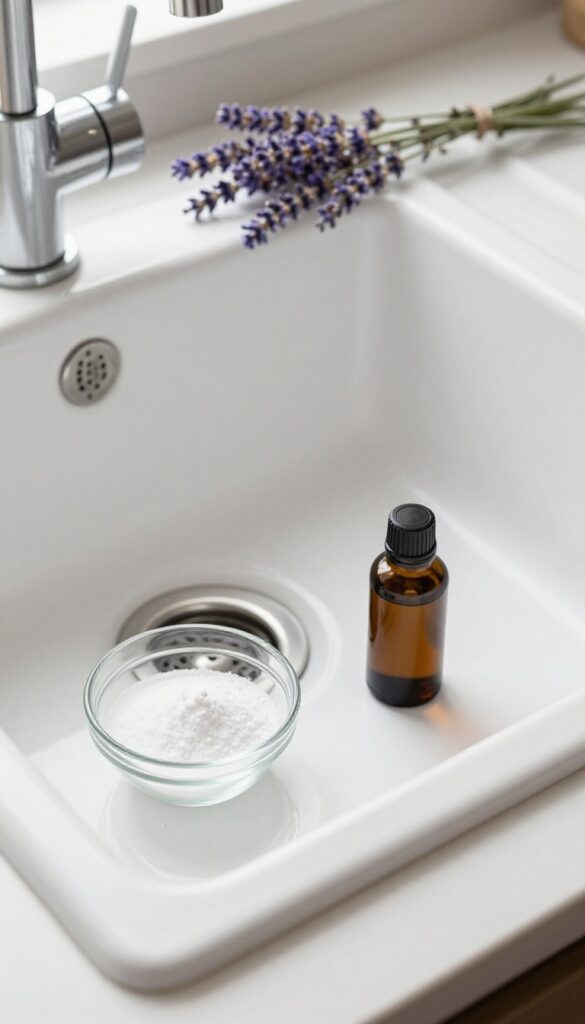
Drains can trap odors from food scraps, soap scum, and bacteria over time. Instead of reaching for a chemical deodorizer, try this natural blend that leaves your sink smelling fresh and clean. Baking soda neutralizes odors while essential oils add a pleasant scent and have antimicrobial properties.
This simple treatment works overnight to banish smells without harsh fumes. The baking soda absorbs odors as it sits, and the hot water flush in the morning clears away any residue. It's safe for all drain types and costs just pennies per use.
Why This Combo Works
Baking soda is a natural deodorizer that neutralizes acidic and alkaline odor molecules. Tea tree oil is known for its antifungal and antibacterial properties, while lavender oil adds a calming scent. Together, they tackle the root cause of drain odors—microbial growth and trapped debris.
How To Apply It
Mix 1 cup of baking soda with 10 drops of tea tree or lavender oil in a small bowl. Stir well to distribute the oil evenly. Sprinkle the mixture directly down the drain, making sure it goes into the pipe.
Let it sit overnight (at least 8 hours) so it can work its magic. In the morning, flush the drain with a full kettle of hot water or run the hottest tap water for 30 seconds.
Tips For Best Results
For stronger odors, increase the essential oil to 15 drops. You can also add 1/2 cup of white vinegar after the baking soda sits for an hour—this creates a fizzing action that helps dislodge grime. Repeat weekly to keep drains fresh.
Avoid using this method if you have a garbage disposal with rubber seals, as essential oils can degrade them over time.
16. Wet/Dry Vacuum for Stubborn Clogs
Sometimes a plunger just doesn't cut it, especially with deep or stubborn clogs. That's where a wet/dry vacuum comes in handy. It can suck out blockages that plunging only pushes around, and it works on both kitchen and bathroom sinks.
A wet/dry vacuum is a powerful tool for clearing tough clogs. It creates strong suction that can pull out debris, hair, and grime that a plunger can't budge. This method is especially effective for sinks with standing water, as the vacuum can handle liquids without damage.
Setting Up The Vacuum
First, switch your wet/dry vacuum to the wet setting. Remove any filter that isn't designed for liquids, or use a foam filter if available. Attach a narrow crevice tool or a rubber nozzle to focus the suction on the drain opening.
Creating A Tight Seal
To maximize suction, you need an airtight seal around the drain. Press a wet rag or towel around the hose where it meets the drain opening. This prevents air from leaking in and ensures the vacuum pulls directly on the clog.
Vacuuming The Clog
Turn on the vacuum and hold it firmly over the drain. You'll hear a change in sound when the clog is pulled free. If the water starts draining, you've succeeded.
Run hot water afterward to clear any remaining debris.
When To Try Again
If the first attempt doesn't work, reposition the hose and try again. Sometimes clogs are stubborn and need a few passes. If it still doesn't clear, the blockage may be deeper in the pipe, and you might need a drain snake or professional help.
17. Denture Tablets for Hard-to-Reach Stains
If your sink has stains lurking in crevices or around the drain that a scrub brush can't reach, denture tablets might be your new best friend. These little fizzers are designed to lift stubborn deposits from dentures, but they work just as well on sink stains. The effervescence creates a gentle scrubbing action that reaches every nook and cranny without any elbow grease.
Denture tablets are an affordable, chemical-free way to brighten your sink and freshen the drain. The bubbling action helps dislodge grime, coffee stains, and even mild mineral buildup from hard-to-reach areas. Plus, they leave a clean, minty scent behind.
How To Use Denture Tablets In Your Sink
Start by plugging the drain and filling the sink with warm water—enough to submerge the stained areas. Drop in two denture tablets and let them fizz for about 15 minutes. The bubbles will work into crevices and around the drain flange.
After the fizzing stops, unplug the drain and let the water run for a minute to flush away loosened debris.
Best Sink Types For This Hack
This method works best on stainless steel, porcelain, and enamel sinks. Avoid using it on natural stone like granite or marble, as the effervescence can be too abrasive. For stubborn stains, you can repeat the process or let the tablets sit longer—up to 30 minutes—without damaging the finish.
Bonus: Freshen Your Disposal Too
If your sink has a garbage disposal, drop a denture tablet in the empty disposal, add a cup of warm water, and let it fizz for 10 minutes. Then run cold water and turn on the disposal for a few seconds. The tablet will deodorize and clean the blades and drain walls, leaving everything smelling fresh.
18. Rubbing Alcohol for Grease and Grime
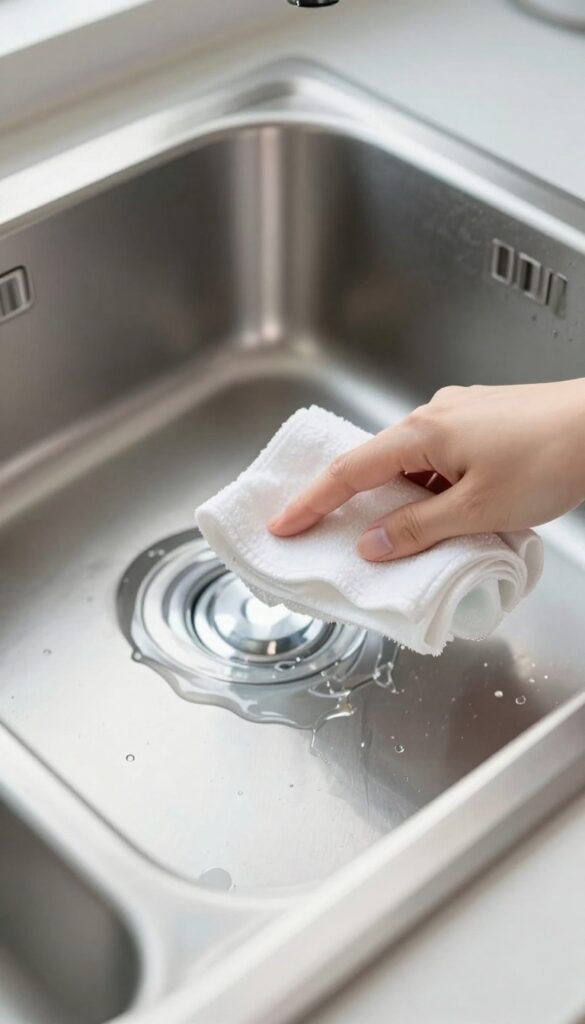
Greasy film on sinks is a common annoyance, especially in kitchens. Rubbing alcohol cuts through that slick layer quickly and evaporates without leaving streaks or residue. It's a simple, effective hack that works on stainless steel, porcelain, and even ceramic sinks.
Rubbing alcohol is a powerful degreaser that tackles the sticky buildup from cooking oils, soap scum, and hand lotions. Unlike some cleaners, it doesn't leave a chemical film behind. Just dampen a soft cloth with isopropyl alcohol (70% or 91% works fine) and wipe down the sink surface.
For tough spots, let it sit for a minute before wiping. It also helps disinfect the sink area, making it a dual-purpose cleaner.
Why It Works So Well
Alcohol is a solvent that dissolves grease and grime on contact. It evaporates rapidly, so you don't have to rinse or worry about residue. This makes it ideal for quick daily wipe-downs between deeper cleanings.
How To Use It Safely
Always test on a small hidden area first, especially on colored or antique finishes. Use a clean, lint-free cloth to avoid scratching. Keep the area well-ventilated, and avoid using near open flames.
For extra shine, follow up with a dry microfiber cloth.
When To Skip This Hack
Avoid rubbing alcohol on natural stone sinks (like granite or marble) as it can dull the sealant. Also, don't use it on painted or coated surfaces without checking manufacturer guidelines. For most standard sinks, it's perfectly safe.
19. Salt and Lemon Juice for Copper or Brass Sinks
Copper and brass sinks add warmth and character to a kitchen or bathroom, but they need a little extra care to keep their glow. Over time, these metals develop tarnish and dullness from exposure to water and air. Instead of reaching for harsh metal polishes, grab a lemon and some salt from your kitchen.
The natural acidity in lemon juice cuts through tarnish while the salt acts as a gentle abrasive. This combination lifts oxidation without scratching the metal, leaving behind a bright, even finish. It's a simple, chemical-free way to restore the luster of your copper or brass sink.
Why Salt And Lemon Work So Well
Lemon juice contains citric acid, which reacts with the copper oxide that causes tarnish. Salt adds just enough grit to physically buff away discoloration without damaging the soft metal. Together, they create a mild polishing paste that's safe and effective.
How To Apply The Polish
Cut a lemon in half and sprinkle a generous amount of salt onto the cut surface. Rub the lemon directly onto the sink in circular motions, focusing on tarnished areas. Let the mixture sit for a minute or two, then rinse thoroughly with warm water and buff dry with a soft cloth.
Tips For Best Results
Use fine table salt rather than coarse kosher salt to avoid scratching. Always rinse completely to prevent acid from dulling the finish. For heavily tarnished sinks, repeat the process or let the lemon juice sit a bit longer before scrubbing.
20. Dish Soap and Baking Soda for Daily Scrub
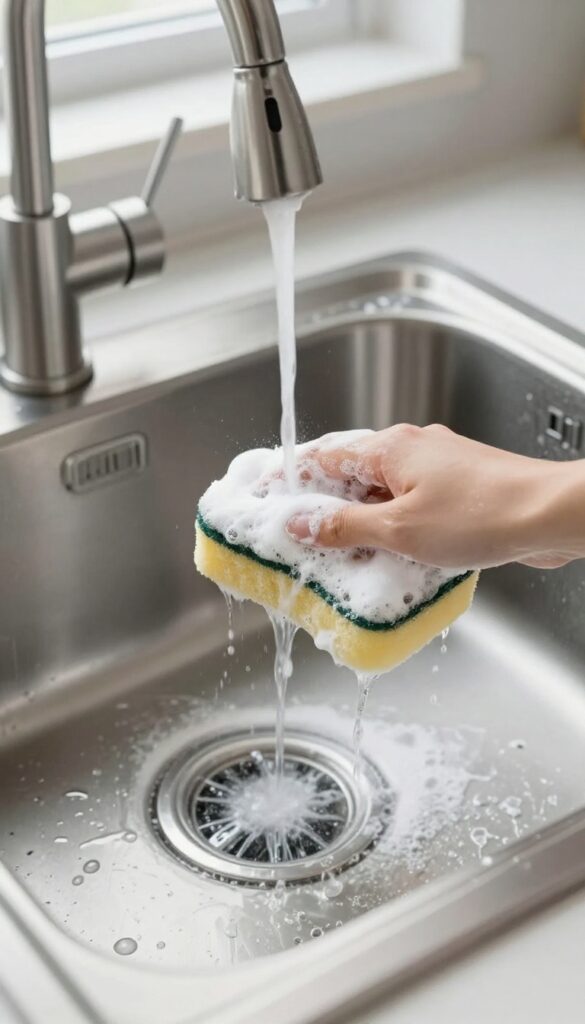
A quick daily scrub keeps your sink looking fresh and prevents buildup before it starts. Dish soap and baking soda make a powerful yet gentle team that works on stainless steel, porcelain, and enamel sinks alike. This combo cuts grease, lifts stains, and deodorizes without scratching.
Why This Combo Works
Baking soda is a mild abrasive that polishes away grime without damaging the surface. Dish soap breaks down grease and food residue. Together, they create a paste that cleans effectively and rinses clean.
How To Do It
Wet the sink with warm water. Sprinkle a generous layer of baking soda over the entire basin. Add a few drops of dish soap directly onto the baking soda.
Use a damp sponge or soft cloth to scrub in circular motions, focusing on stains and around the drain. Rinse thoroughly with warm water and dry with a clean towel.
Tips For Best Results
Use a non-abrasive sponge to avoid scratches on delicate surfaces. For extra cleaning power, let the paste sit for 5 minutes before scrubbing. Avoid using this method on unsealed natural stone sinks, as baking soda can dull the finish.
21. Vinegar Soak for Faucet Aerator
If your faucet is sputtering or spraying water in all directions, the aerator is likely clogged with mineral deposits. This little screen at the tip of the spout traps debris but also collects calcium and lime over time. A simple vinegar soak can restore full water flow and eliminate that annoying splash.
Start by unscrewing the aerator from the faucet tip. Most unscrew by hand, but if it's stuck, wrap it with a cloth and use pliers gently. Disassemble the aerator if possible—separate the screen, washer, and housing.
Place all parts in a bowl of white vinegar and let them soak overnight. The acidity dissolves mineral buildup without scrubbing. In the morning, use an old toothbrush to loosen any remaining deposits, rinse thoroughly with water, and reassemble.
Screw the aerator back onto the faucet, hand-tighten, and test the flow. You'll notice a smoother, stronger stream with less splashing.
Why Vinegar Works
White vinegar contains acetic acid, which breaks down calcium carbonate and other mineral deposits that clog aerators. It's a natural, non-toxic cleaner that's safe for metal and plastic parts. Unlike harsh chemical descalers, vinegar won't damage the finish or rubber washers.
When To Soak Instead Of Scrub
Soaking is ideal when deposits are thick or the aerator is delicate. Scrubbing can scratch softer metals like brass or nickel. For light buildup, a 30-minute soak may suffice, but an overnight soak ensures complete dissolution without elbow grease.
Preventing Future Buildup
To keep your aerator clean longer, install a water softener or a faucet-mounted filter if you have hard water. Wipe the aerator monthly with a vinegar-dampened cloth. If you notice reduced flow, repeat the soak—it's a quick fix that saves you from buying a new faucet.
22. Olive Oil for Stainless Steel Protection
Stainless steel sinks look great when they're clean, but water spots and fingerprints can dull that shine fast. Instead of reaching for a commercial polish, grab a bottle of olive oil from your pantry. A tiny amount rubbed onto the surface creates a thin, invisible barrier that repels water and smudges, keeping your sink looking polished for days.
This hack is incredibly simple and uses something you probably already have. It's not just for sinks either—you can use it on faucets, handles, and even appliances. The oil won't go rancid or leave a sticky residue if you use just a few drops and buff it well.
It's a natural, chemical-free way to maintain that showroom finish.
How To Apply Olive Oil
Start with a clean, dry sink. Put a few drops of olive oil on a soft, lint-free cloth—microfiber works great. Rub the oil into the stainless steel in the direction of the grain.
Use small circular motions to cover the surface, then buff it with a clean part of the cloth until it shines. Less is more; you don't want a greasy feel.
How Long Does The Protection Last?
The protective layer typically lasts several days to a week, depending on how often you use the sink. After each deep clean, you can reapply. If you notice water starting to bead less or fingerprints returning, it's time for another quick coat.
This routine keeps your sink looking its best with minimal effort.
Tips And Precautions
Avoid using too much oil—a few drops are plenty. Excess oil can attract dust or feel slippery. Always test on a small hidden area first, especially if your sink has a special coating.
Stick to plain olive oil; flavored or infused oils may contain additives that could leave residue. And remember, this is for stainless steel only—don't use on cast iron, ceramic, or other materials.
23. Regular Maintenance Schedule
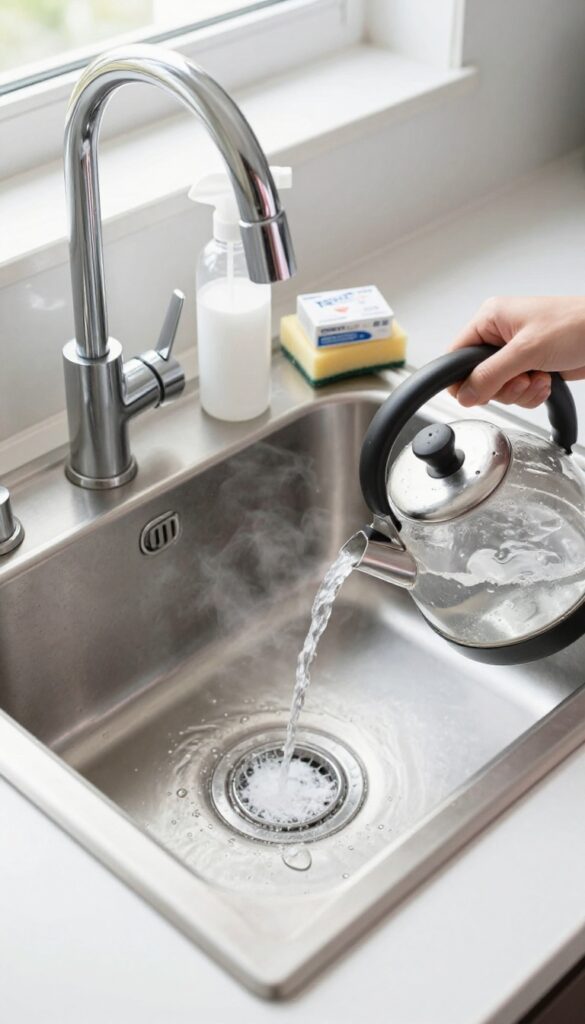
Consistency is the secret weapon against stubborn sink problems. Instead of waiting for clogs or odors to appear, a simple weekly routine keeps everything flowing and fresh. Think of it as preventive care for your sink—just a few minutes each week can save you from bigger headaches down the road.
A regular maintenance schedule doesn't have to be complicated. The goal is to prevent buildup before it starts, so your sink stays clean and odor-free with minimal effort. Here's a simple plan that works for both kitchen and bathroom sinks.
Weekly Hot Water Flush
Once a week, pour a kettle of boiling water down the drain (if your pipes are metal) or run the hottest tap water for a couple of minutes. This helps dissolve grease, soap scum, and other residues before they solidify into clogs. For garbage disposals, follow up with a few ice cubes and lemon peels to freshen and sharpen the blades.
Daily Vinegar Spray Down
Keep a spray bottle filled with equal parts white vinegar and water under the sink. After each use, give the sink basin and faucet a quick spritz and wipe with a soft cloth. This prevents water spots, soap scum, and bacterial growth without harsh chemicals.
It takes less than 30 seconds and makes a huge difference.
Monthly Baking Soda Scrub
Once a month, sprinkle baking soda over the damp sink surface and scrub gently with a sponge or soft brush. Rinse thoroughly and dry with a clean cloth. This gentle abrasive removes light stains and deodorizes without scratching.
For extra cleaning power, make a paste with a little hydrogen peroxide.
FAQ
Can I use bleach on a stainless steel sink?
Bleach can damage stainless steel if left too long. Use it sparingly and rinse thoroughly. For regular cleaning, stick to mild detergents or vinegar.
How often should I clean my sink drain?
Flush drains with hot water weekly and do a deep clean with baking soda and vinegar monthly. This prevents clogs and odors.
What's the best way to remove hard water stains?
Use a paste of cream of tartar and lemon juice, or soak a cloth in vinegar and lay it on the stain for 30 minutes before scrubbing.
Is it safe to pour boiling water down a PVC pipe?
Boiling water can soften PVC joints over time. Use hot tap water instead, or pour boiling water slowly if your pipes are metal.
How do I get rid of a bad smell from the garbage disposal?
Grind citrus peels or ice cubes with salt. For persistent odors, pour baking soda and vinegar down the disposal, let fizz, then flush with hot water.
Conclusion
Keeping your sink clean doesn't have to be a chore. With these 23 hacks, you can tackle clogs, stains, and odors using items you already have at home. A little regular maintenance goes a long way toward a fresh, sparkling sink.
Try a few of these tips this week and see which ones work best for your sink type. Your kitchen or bathroom will thank you, and you'll save money on harsh chemical cleaners. Happy cleaning!