15 Appealing Bathroom Shower Ideas for a Crisp, Custom Setup
Upgrading your shower doesn't have to mean tearing everything out or blowing your budget. Sometimes it's a simple swap like a rainfall head or a glass panel that changes the whole feel.
Other times, it's about smart storage or a heated floor that makes daily use more comfortable. These 15 ideas range from quick fixes to full-on renovations, so there's something for every project size.
Each one focuses on making your bathroom feel crisp, personal, and genuinely functional. Let's walk through the options that can turn your shower into a space you actually look forward to using.
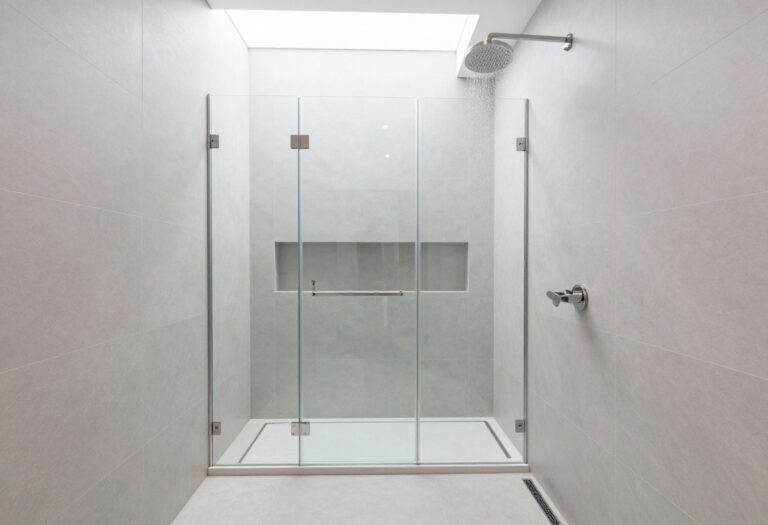
1. Walk-In Shower with a Frameless Glass Panel
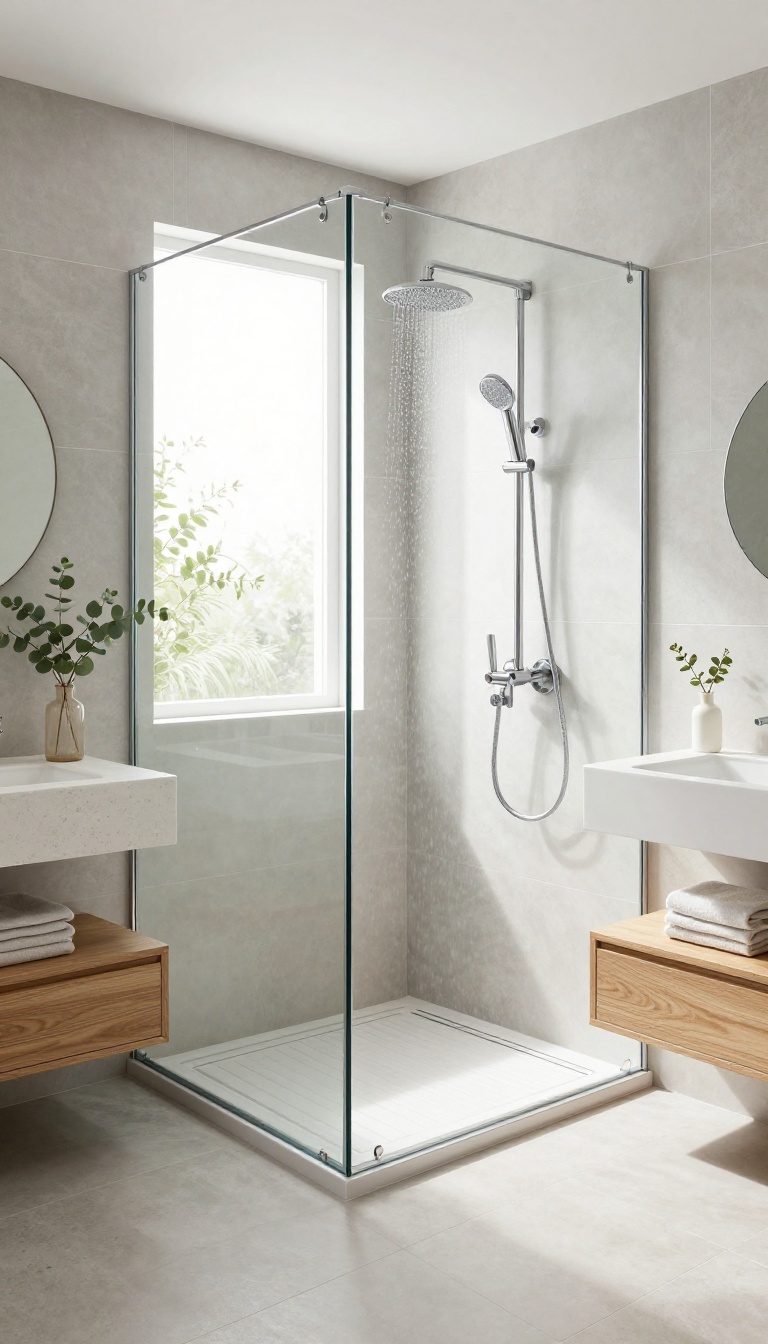
A walk-in shower with a single frameless glass panel is a game-changer for anyone who wants a crisp, open look. The lack of a door or frame keeps the sightline clean, making even a small bathroom feel more spacious. Plus, it's a practical upgrade that simplifies your daily routine.
The beauty of this setup lies in its simplicity. Without a bulky frame or curtain, the glass becomes almost invisible, letting your tile work shine. It also eliminates the hassle of cleaning soap scum from metal tracks or dealing with moldy curtains.
For a seamless look, consider a glass panel that extends from floor to ceiling, or opt for a half-wall with glass above for a touch of privacy.
Why It Feels So Open
The frameless design removes visual clutter, making the shower area blend into the rest of the bathroom. This openness can make a compact space feel twice as large. Natural light flows freely, brightening the entire room without extra fixtures.
Installation And Maintenance Perks
While a frameless panel requires professional installation, the payoff is easy upkeep. Without frames, there are fewer crevices for grime to hide. A simple squeegee after each use keeps the glass crystal clear.
Plus, the lack of a door means no track to scrub or align.
Design Flexibility
You can customize the glass thickness, finish, and hardware to match your style. Choose clear glass for a minimalist vibe, or go with a frosted or textured option for more privacy. The panel can be mounted on a wall or a low curb, depending on your layout.
2. Rainfall Showerhead for a Spa-Like Feel
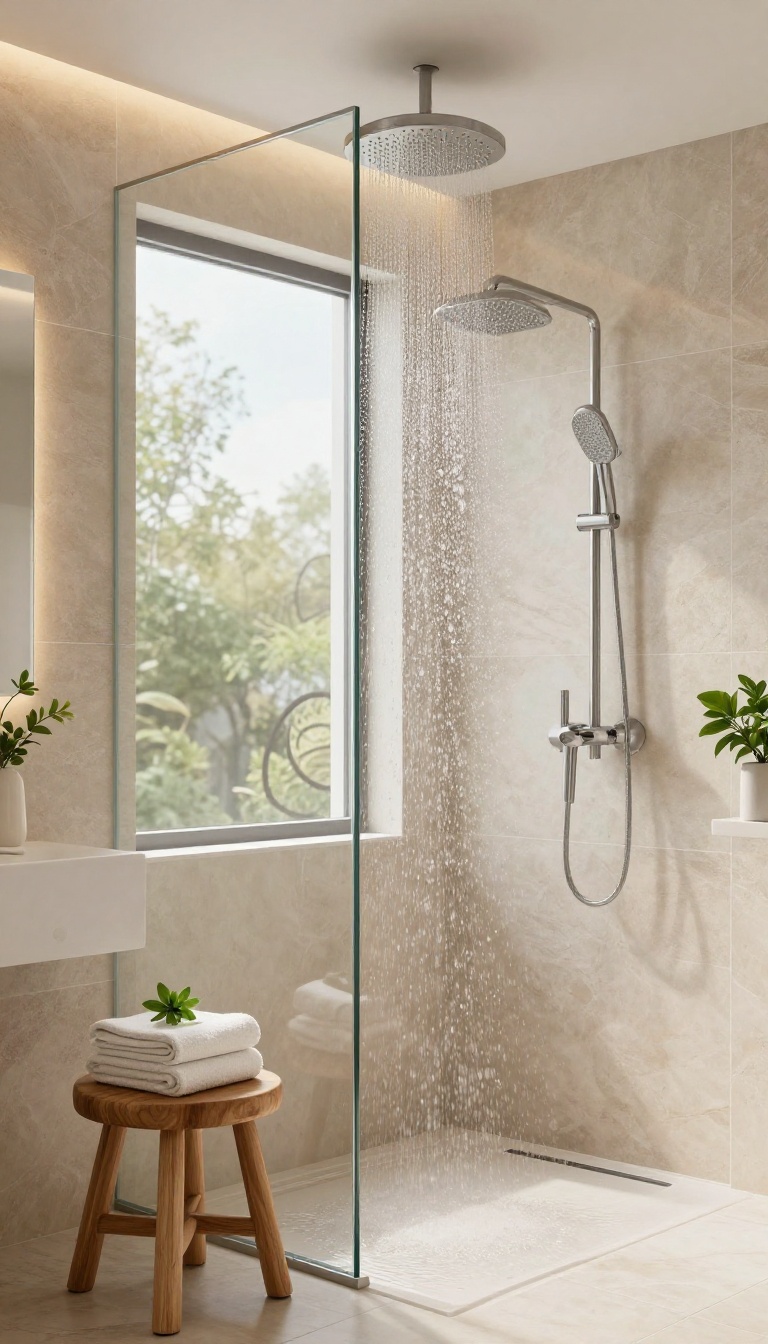
A rainfall showerhead is one of those upgrades that instantly makes you feel like you stepped into a high-end hotel. The wide, gentle flow mimics natural rain, turning a quick rinse into a calming ritual. Best of all, it's a straightforward swap that doesn't require major plumbing work, so you can enjoy that spa vibe without the hassle.
The magic of a rainfall showerhead lies in its design. Instead of a concentrated spray, it disperses water evenly across a larger surface, creating a soft, enveloping sensation. This not only feels luxurious but also helps you rinse off soap and shampoo more thoroughly.
Many models are also designed to be water-efficient, so you can indulge without guilt.
Choosing The Right Size And Style
Rainfall heads come in various diameters, typically from 8 to 12 inches. A larger head covers more area and feels more immersive, but make sure it fits your shower space and water pressure. For style, you can go with a sleek chrome finish for a modern look, or a matte black for a bolder statement.
Consider the overall aesthetic of your bathroom to pick one that blends seamlessly.
Installation Tips And Considerations
Most rainfall showerheads are designed to screw onto a standard 1/2-inch shower arm, making installation a DIY-friendly project. However, because they're larger, you may need to adjust the arm's height or angle to ensure proper clearance. If you have low water pressure, look for a model with a flow restrictor or a built-in pressure boost.
If you're not comfortable with plumbing, a professional can handle it in under an hour.
Maintenance And Long-term Care
To keep your rainfall showerhead performing at its best, clean it regularly to prevent mineral buildup. A simple soak in vinegar once a month can dissolve limescale and keep the nozzles clear. Also, check for any rubber or silicone nubs that can be wiped to remove debris.
With proper care, your rainfall showerhead will provide years of spa-like showers.
3. Built-In Niche Shelves for Shower Essentials
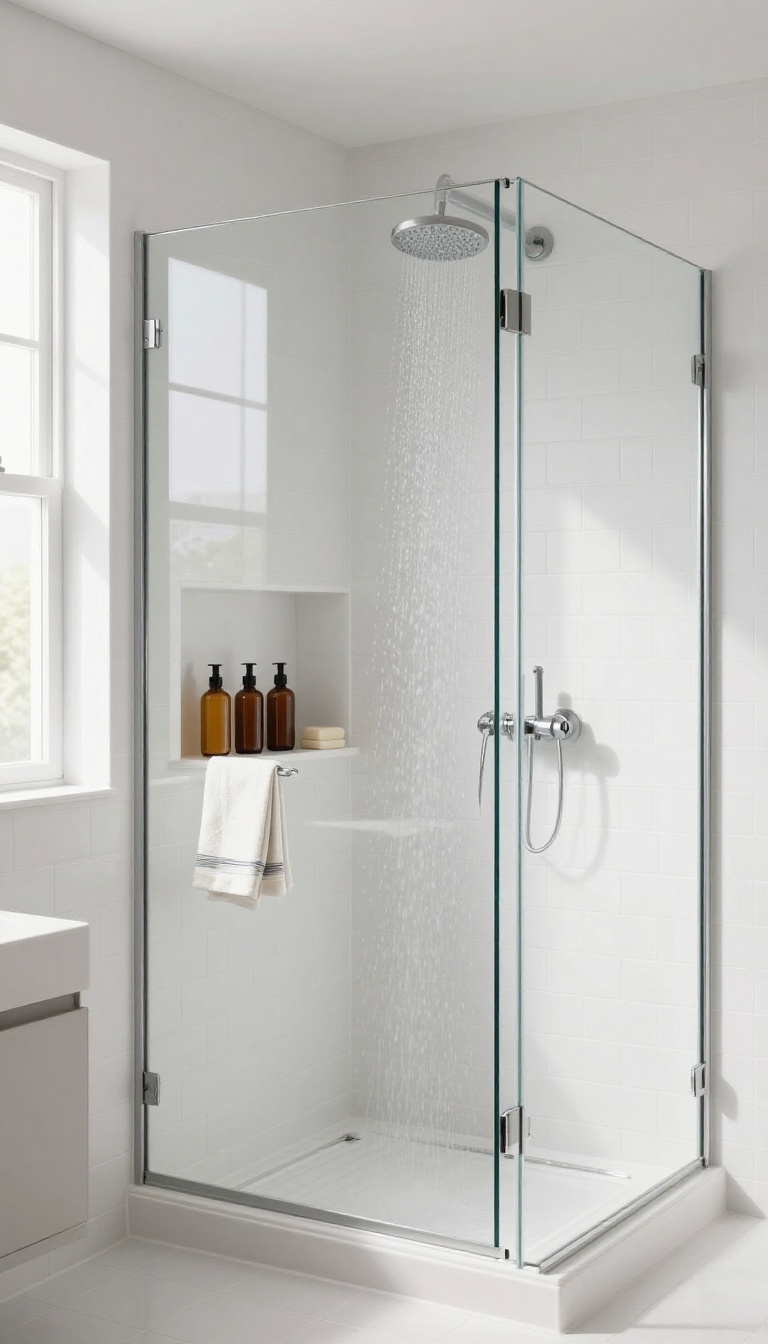
Tired of shampoo bottles cluttering the corner or falling over every time you reach for soap? A recessed niche solves that by giving you a dedicated spot that's flush with the wall. It's one of those details that feels luxurious but is actually pretty practical.
You can place it at the perfect height for your needs, and because it's built into the tile, it doesn't stick out or get in the way. Plus, it adds a touch of custom design that makes your shower feel more intentional.
A built-in niche is essentially a small shelf that's set into the wall, usually between the studs. It's a popular choice for new builds and renovations, but you can also add one during a remodel. The key is to plan the size and location carefully so it works for you.
Not only does it keep your shower essentials organized, but it also eliminates the need for hanging caddies or corner shelves that can rust or look cluttered. With a niche, everything has its place, and the clean lines make the whole shower feel more open and crisp.
Choosing The Right Size And Placement
Think about what you'll store—shampoo, conditioner, soap, maybe a razor. A typical niche is about 12 to 16 inches wide and 6 to 8 inches tall, but you can customize it. Place it at chest height for easy access, and consider having two niches if you need more space.
Also, think about the shower's layout: put it on a wall that's not directly hit by the water spray to keep things dry.
Material And Finish Options
The niche can be finished with the same tile as your shower walls for a seamless look, or you can use a contrasting tile to make it stand out as a design feature. Waterproof materials like ceramic, porcelain, or natural stone are best. Also, decide on the shelf's slope—a slight angle toward the drain helps water run off so nothing pools.
Installation Tips Or Hiring A Pro
If you're handy, you can build a niche during a shower remodel, but it requires careful framing and waterproofing. It's often easier to hire a professional to ensure it's done right and doesn't leak. If you're not ready for a full remodel, there are also prefabricated niches that can be installed, but they still need proper waterproofing.
4. Matte Black Fixtures for a Bold Contrast
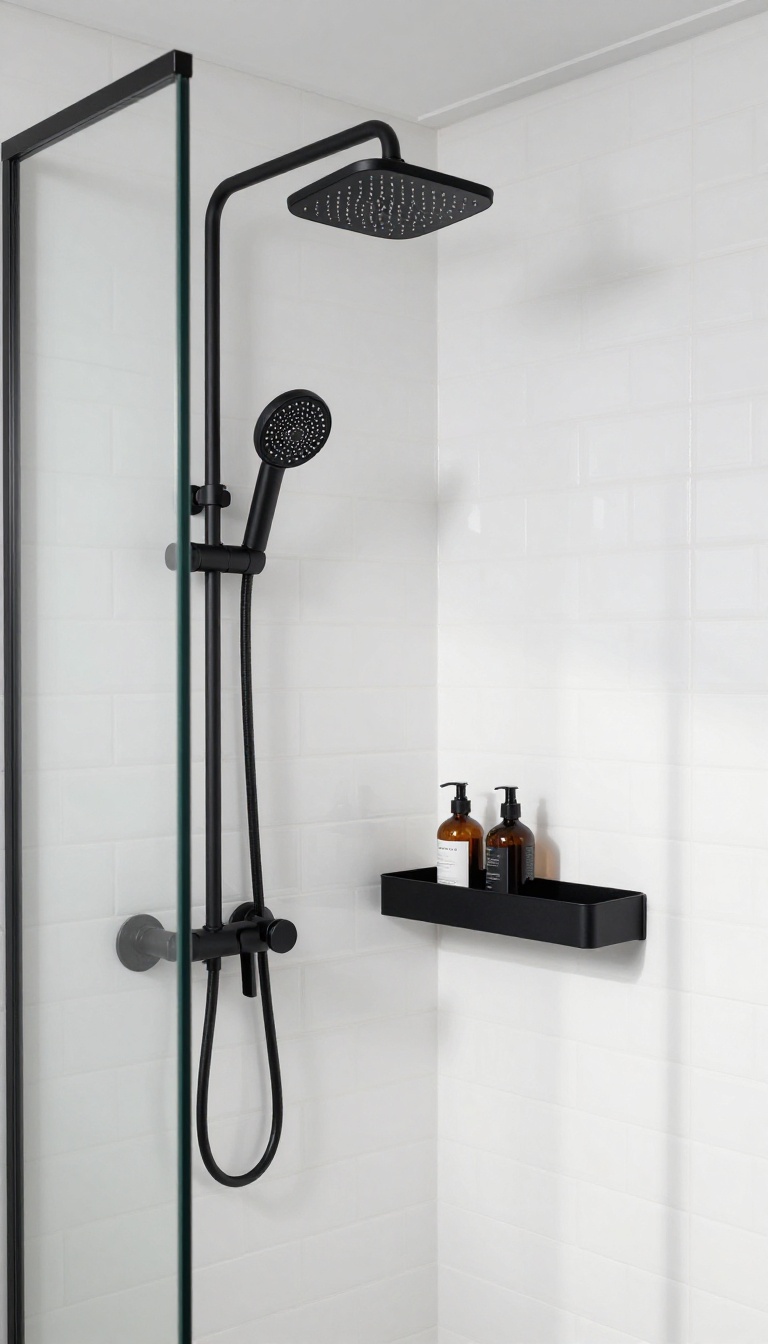
If your shower feels a little too plain, swapping in matte black fixtures can instantly add drama. The dark finish stands out against white or light tiles, creating a sharp, modern look that doesn't require a full remodel. Plus, matte black is surprisingly practical—it hides water spots and fingerprints better than chrome or stainless steel.
Matte black fixtures are a simple way to make a strong style statement in your shower. The contrast against light backgrounds is striking, and the finish feels contemporary and grounded. It's a trend that's here to stay because it balances bold aesthetics with everyday durability.
Why Matte Black Works
The dark tone creates a visual anchor in the shower, drawing the eye and adding depth. Against white subway tile or light gray stone, matte black provides a crisp, clean contrast that feels both classic and current. It also pairs well with natural textures like wood or concrete, giving you flexibility in your overall design.
Choosing The Right Fixtures
You don't have to replace everything at once. Start with a matte black showerhead or a set of handles, then add matching trim or a shower caddy. Look for fixtures with a quality matte finish—powder-coated or PVD finishes tend to be more scratch-resistant and hold up better over time.
Brushed or oil-rubbed black options offer a softer look if pure matte feels too stark.
Installation And Maintenance Tips
Installing new fixtures is usually a straightforward DIY project, but if you're not comfortable with plumbing, a professional can handle it quickly. To keep matte black looking its best, wipe it down occasionally with a soft cloth and mild soap. Avoid abrasive cleaners that can dull the finish.
With minimal care, your fixtures will maintain their bold look for years.
5. Pebble Tile Flooring for a Textured Touch
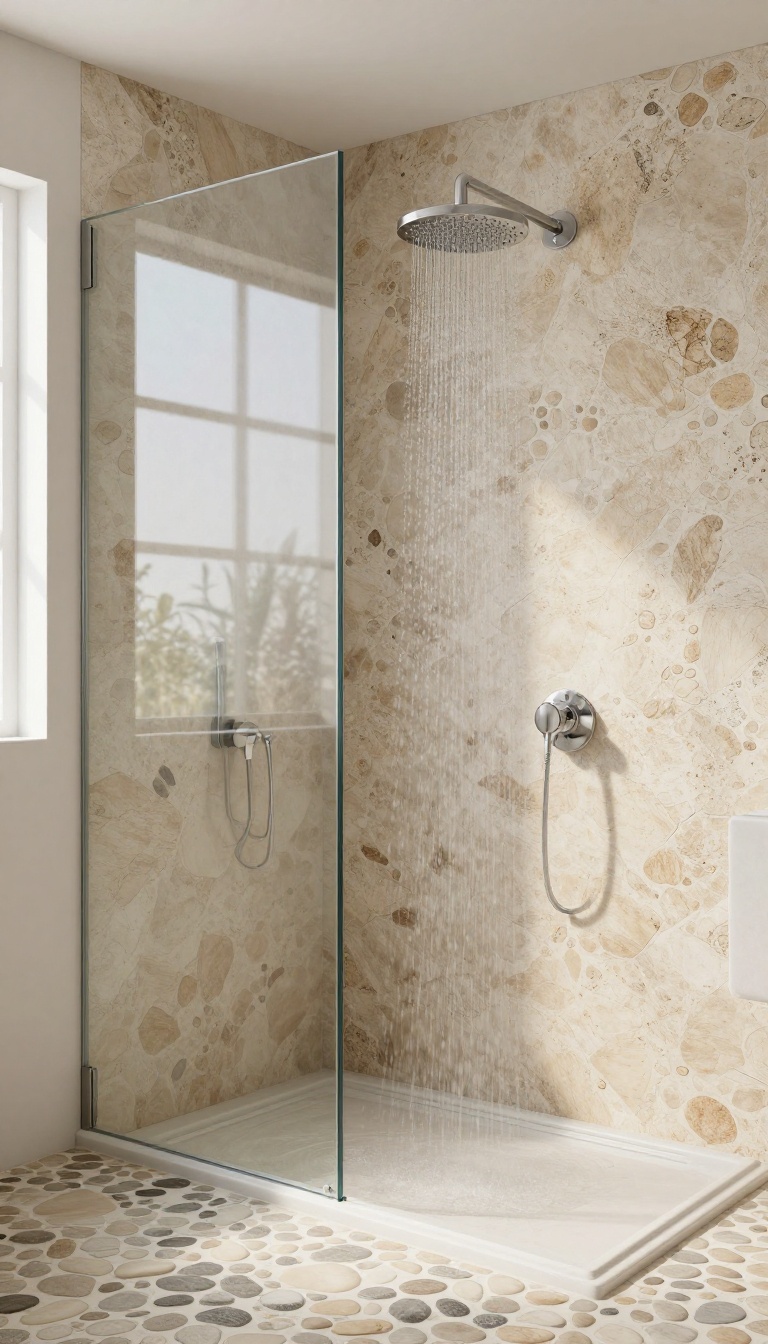
Stepping onto a bed of smooth stones might sound like a beach day, but it’s actually a clever way to upgrade your shower floor. Pebble tiles bring a natural, organic feel that instantly makes the space more spa-like. Plus, they’re a practical choice for anyone who wants extra grip underfoot.
Pebble tiles are exactly what they sound like—small, rounded stones set into a mesh backing or sheet, creating a continuous surface that’s both textured and visually interesting. Because the stones are naturally slip-resistant, they’re ideal for wet areas. The massaging effect underfoot is a bonus that makes every shower feel a little more indulgent.
Why Pebble Tiles Work In Showers
The uneven surface of pebble tiles provides excellent traction, reducing the risk of slips. They also hide soap scum and water spots better than smooth tiles, so they stay looking cleaner longer. The natural color variations add depth and warmth, making the floor a focal point without being overwhelming.
Choosing The Right Pebble Style
Pebble tiles come in different stone types, colors, and sizes. River stones have a polished, rounded look, while sea stones are flatter and more irregular. You can pick a warm beige for a neutral palette or a cool gray for a modern twist.
Larger pebbles create a bolder statement, while smaller ones feel more uniform and subtle.
Installation And Maintenance Tips
Installing pebble tiles requires a solid, waterproof substrate and a flexible thin-set mortar to handle movement. Grout lines should be wide enough to accommodate the stone shapes, and sealing is essential to prevent staining. Cleaning is straightforward—just use a mild pH-neutral cleaner and a soft brush to keep the grout looking fresh.
6. Glass Block Window for Privacy and Light
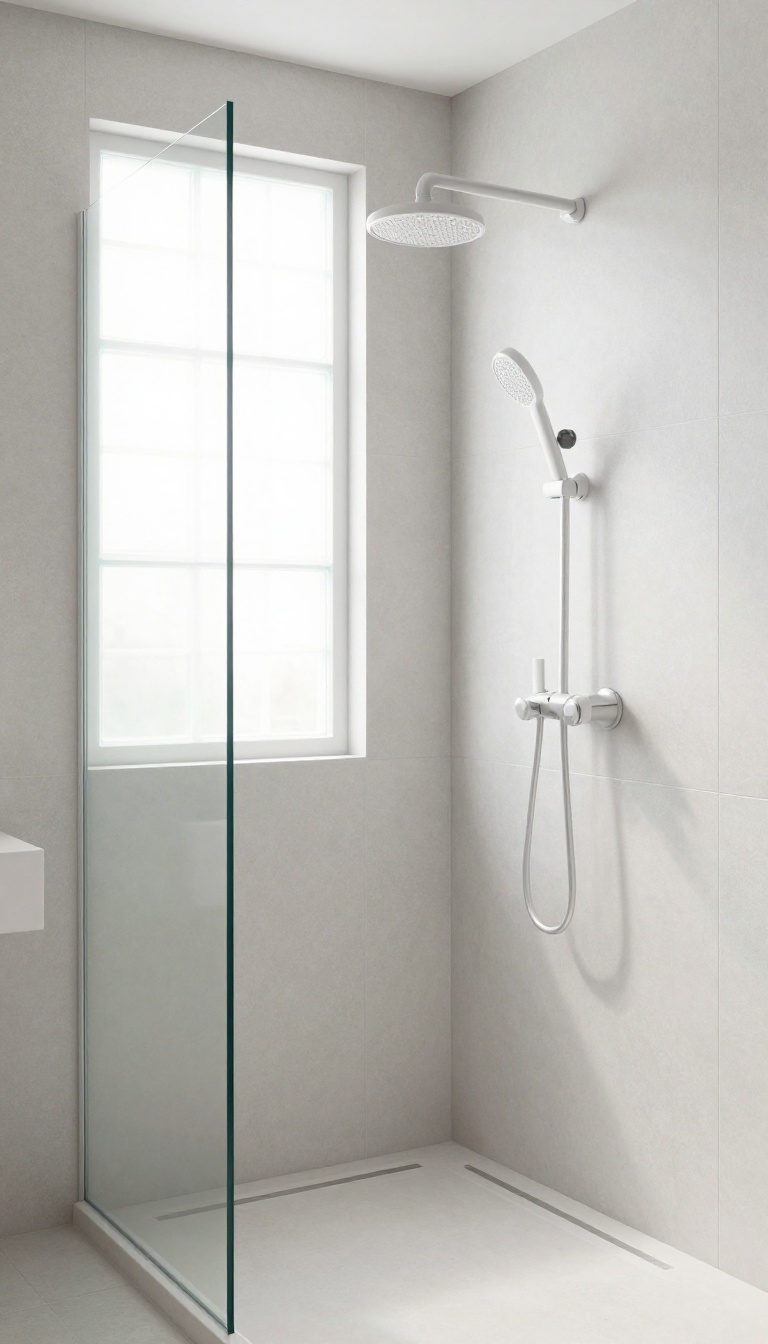
Letting natural light pour into the shower without sacrificing privacy can be tricky, especially if your bathroom faces a neighbor or a busy street. That's where a glass block window shines. It's a classic solution that adds a touch of character while keeping your shower feeling bright and open.
A glass block window is a timeless upgrade that brings in soft, diffused light while obscuring the view from outside. Unlike traditional windows, you don't need blinds or curtains, which means less maintenance and a cleaner look. The blocks come in various sizes and patterns, so you can customize the style to match your bathroom's vibe.
Why Glass Blocks Work So Well
The main appeal is the balance between light and privacy. The frosted or textured glass scatters sunlight, creating a warm glow without exposing anything. Plus, glass blocks are durable and easy to clean—just wipe them down with a squeegee after your shower.
They also add a subtle architectural interest that plain tiles or drywall can't match.
Installation And Placement Tips
You can install a glass block window in an exterior wall or even use it as a partition inside the shower. For exterior walls, make sure the frame is properly sealed to prevent moisture issues. If you're not comfortable with DIY, it's worth hiring a pro—glass blocks need a solid base and proper mortar.
Position the window where it gets the most daylight without compromising the shower's layout.
Styling Around The Window
To make the window a focal point, frame it with contrasting tile or a slim border. You can also pair it with a rainfall showerhead for a spa-like feel. Keep the surrounding area simple so the window stands out.
If you want extra privacy at night, consider adding a light-filtering shade on the inside, but you'll likely find it unnecessary.
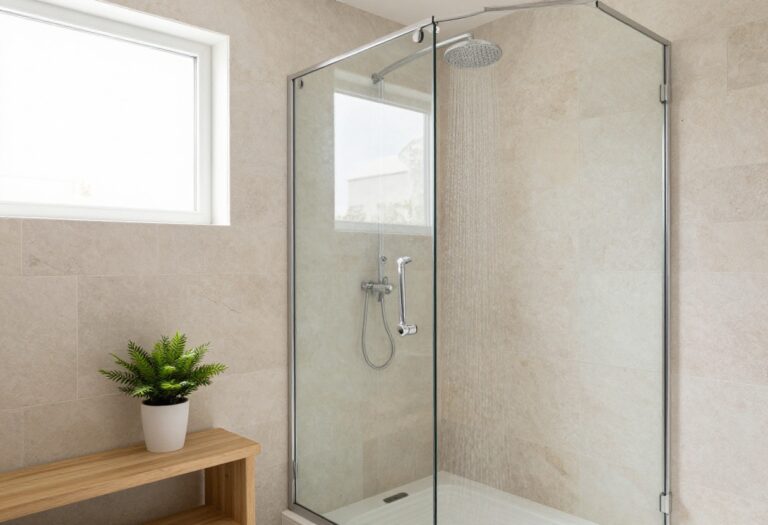
7. Corner Shower with a Pivot Door
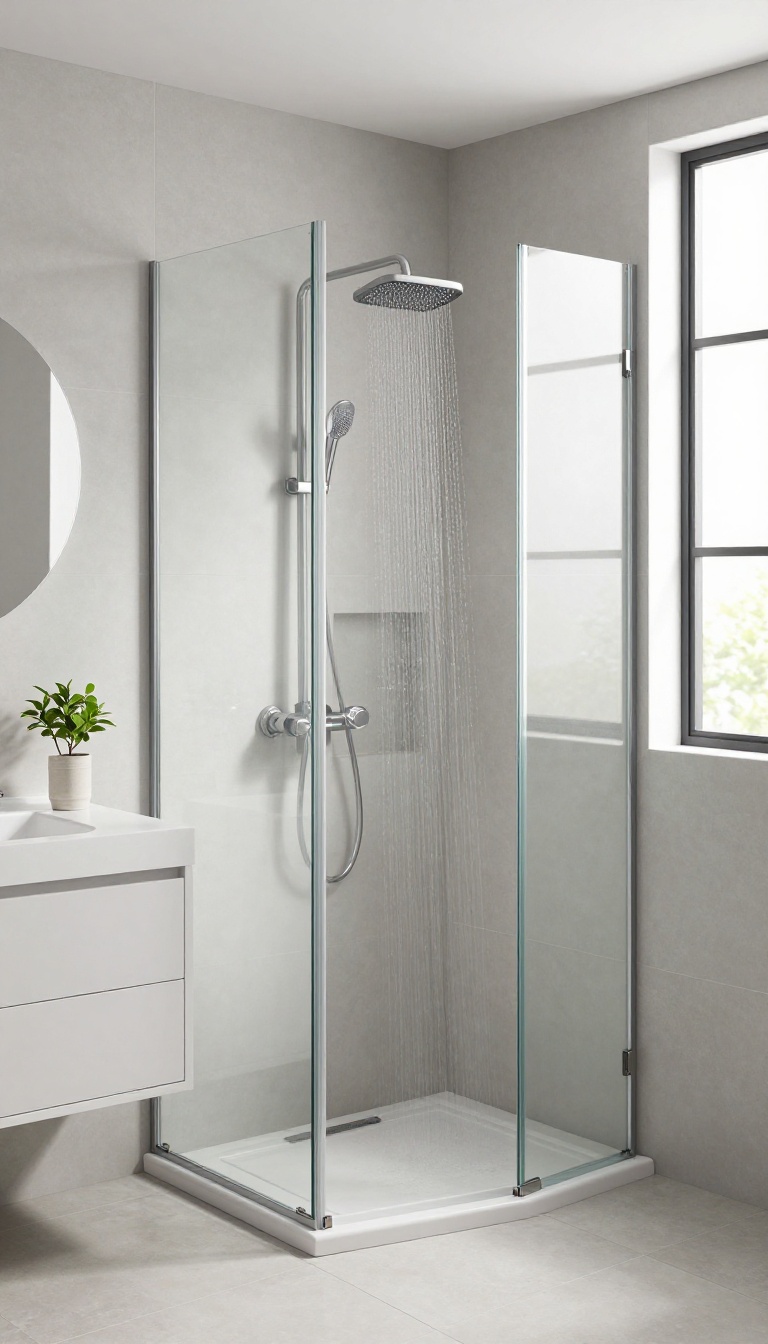
When square footage is tight, every inch counts. A corner shower with a pivot door tucks neatly into the corner, freeing up floor space for a vanity or storage. The pivot door swings outward, so you don't need the extra clearance that a sliding door requires.
Corner showers are a classic solution for small bathrooms, but the pivot door adds a modern twist. Unlike sliding doors that need tracks, a pivot door swings on hinges, which means less hardware and a cleaner look. It also opens fully, making entry and exit easier, especially for those with mobility concerns.
Space-saving Layout
The beauty of a corner shower is that it uses the often-wasted corner space. You can place it diagonally or in a neo-angle design, which typically has two angled glass panels and a door. This shape creates a more open feel than a standard square enclosure, and the pivot door can be configured to open left or right, depending on your bathroom layout.
Customization Options
Even with a compact footprint, you can personalize the look. Choose from clear glass for an airy feel, or frosted glass for privacy. The frame can be sleek aluminum in black or brushed nickel, or you can go frameless for a minimalist vibe.
Inside, pick large-format tiles to make the space appear larger, or add a niche for shampoo and soap.
Installation Tips
Before you commit, make sure the corner is square and the walls are plumb. A professional installer can handle the glass and door, but if you're handy, you can prep the area. Use a pre-sloped shower pan to simplify the floor, and consider a linear drain along the wall for a modern touch.
The pivot door requires a sturdy hinge, so ensure the wall studs are reinforced.
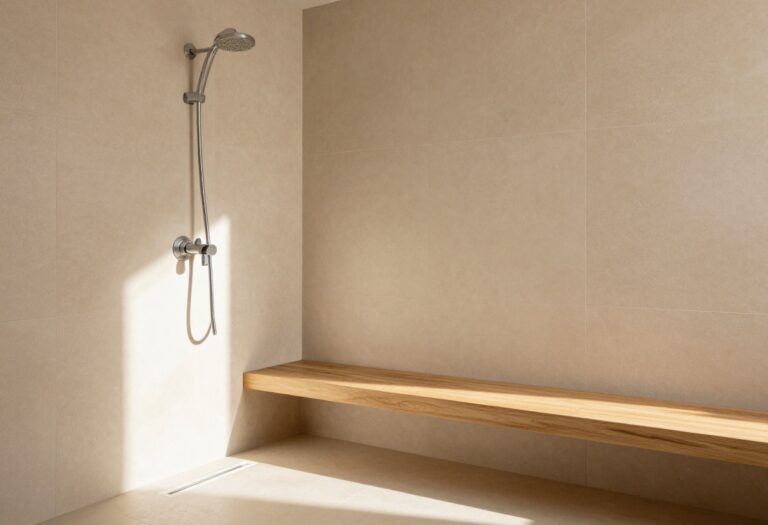
8. Shower Bench for Comfort and Convenience
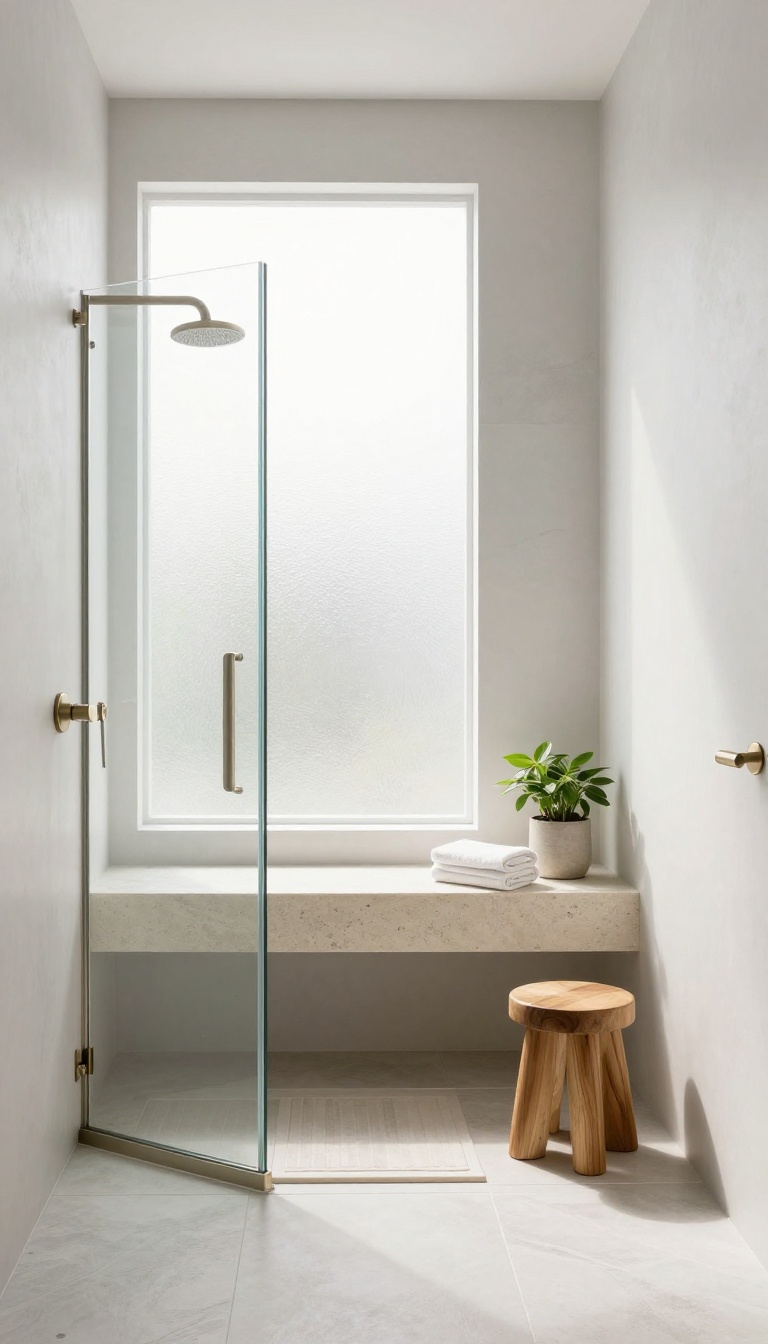
A shower bench is one of those additions that feels like a luxury until you have it, and then you wonder how you ever managed without it. Whether you're shaving your legs, scrubbing your feet, or just need a moment to pause under the warm water, a bench brings a new level of ease to your daily routine. It also adds a spa-like touch that instantly makes the shower feel more polished and intentional.
Beyond the obvious seating benefit, a shower bench offers a safe spot to rest a foot while shaving, which beats balancing on one leg any day. It's also a great place to set toiletries or a loofah within easy reach, cutting down on clutter. With so many styles—from sleek built-ins to portable teak—you can match the bench to your bathroom's vibe without sacrificing function.
Built-in Vs. Freestanding
A built-in bench, often tiled or made of stone, creates a seamless look and can be designed to fit your exact space. It's perfect for larger showers and adds value to your home. On the other hand, a freestanding teak or bamboo bench is flexible—you can move it around or remove it when you need more room.
Teak is naturally water-resistant, so it holds up beautifully in humid conditions.
Choosing The Right Size And Placement
Think about how you'll use the bench. If it's mainly for shaving, a smaller corner bench works fine. For a more relaxed, spa-like experience, a longer bench along one wall gives you room to stretch out.
Place it away from the main spray to keep it dry and usable, or near the controls if you like to sit while the water warms up. Make sure there's enough clearance to move comfortably.
Materials That Last
Teak is a top choice because it handles moisture without warping or rotting. Cedar and bamboo are also good options, but they need a bit more care. For a built-in, natural stone like marble or granite adds elegance and durability, though it can be slippery when wet—consider a textured finish.
Porcelain tile is another practical pick that comes in countless colors and patterns.
Extra Features To Consider
Some benches come with built-in storage underneath, which is great for keeping shampoo bottles off the floor. Others have a hinged seat that folds up to save space. If you're installing a new bench, think about adding a small niche or shelf above it for easy access to soap or a razor.
Heated benches are a luxury touch that keeps you cozy on chilly mornings.
9. Handheld Showerhead with a Slide Bar
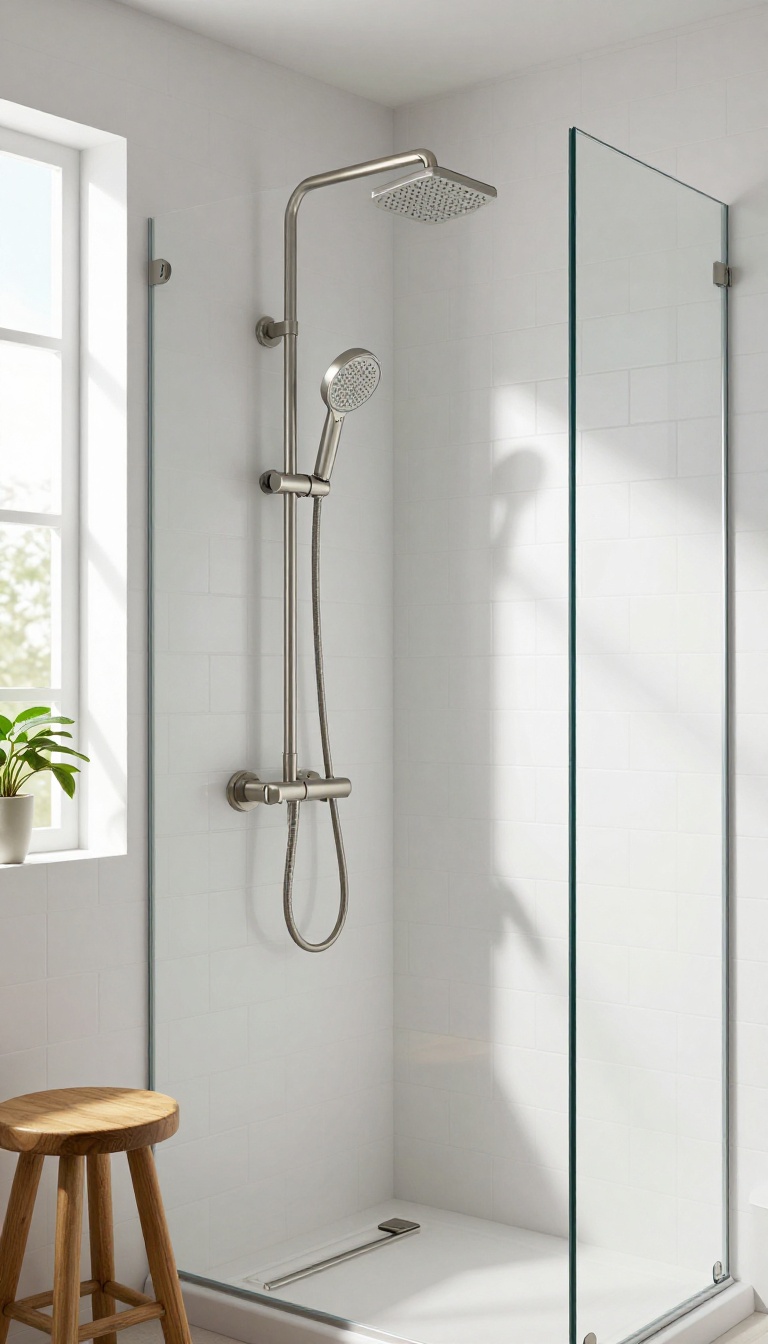
Sometimes the simplest changes make the biggest difference. A handheld showerhead on a slide bar is one of those upgrades that you don't realize you need until you have it. It's perfect for rinsing hard-to-reach spots, washing kids or pets, and making the shower more accessible for everyone.
A slide bar lets you adjust the height of the showerhead to suit your needs, whether you're standing, sitting, or bending down. It's an affordable addition that can be installed in an afternoon, and it instantly adds a layer of convenience that a fixed head just can't match.
Why A Slide Bar Makes Sense
The main advantage of a slide bar is flexibility. You can move the showerhead up for a tall person or down for a child or someone who needs to sit while showering. It's also great for cleaning the shower itself—just lower the head and spray down the walls and floor.
For families, it's a game-changer for bathing little ones or giving the dog a rinse.
Installation And Compatibility
Most slide bars are designed to replace your existing showerhead with minimal tools. They typically attach to the same water supply line, and you can use the handheld hose with a bracket or a slide bar that mounts on the wall. Check the finish and style to match your current fixtures, and make sure the hose length is sufficient for your shower size.
Choosing The Right Model
Look for a slide bar with a smooth-gliding mechanism and a secure lock so it stays where you put it. Some models come with multiple spray settings, which can be handy for different tasks. Also, consider the weight of the handheld unit—heavier metal ones feel sturdier, while plastic ones are lighter and often cheaper.
Read reviews to find one that's easy to adjust and won't slip over time.
10. Subway Tile with Dark Grout for a Modern Twist
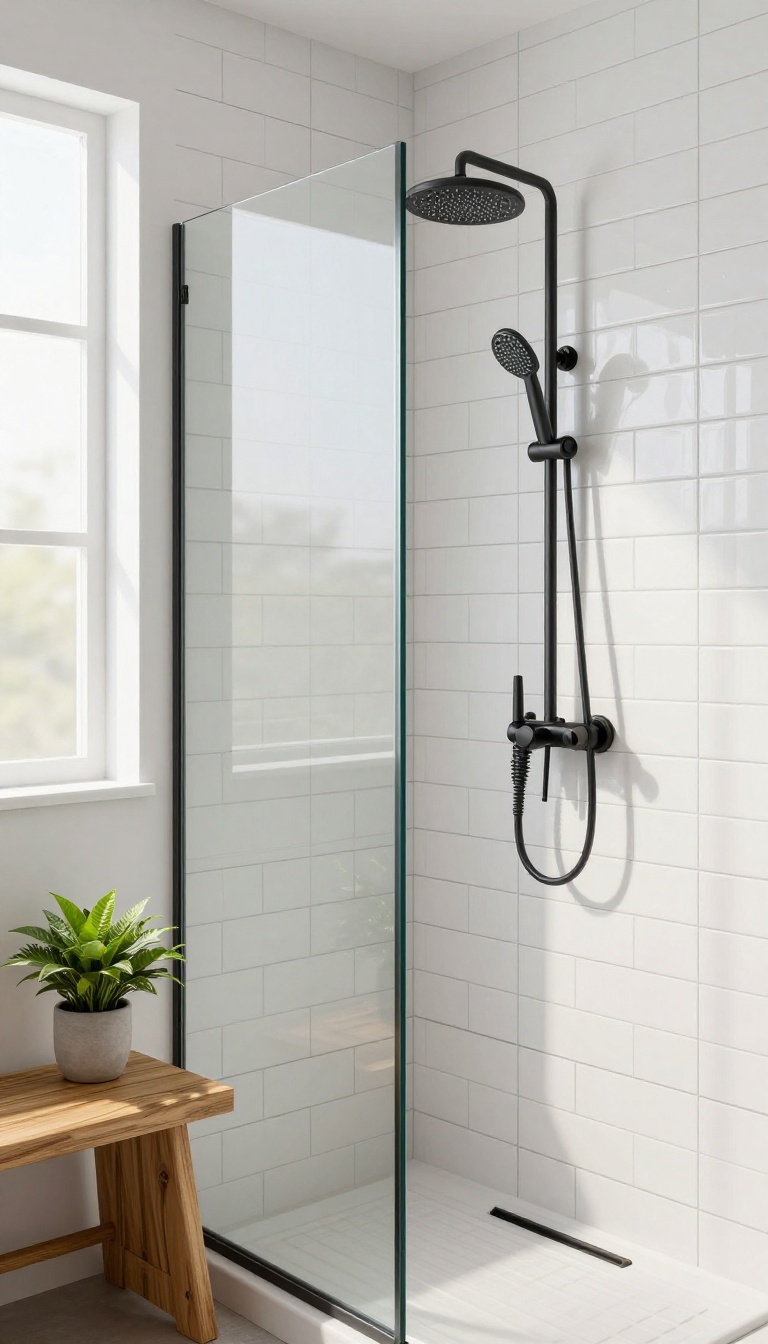
White subway tile is a bathroom classic, but pairing it with dark grout flips the script. Instead of the usual seamless white-on-white look, the dark lines create a bold grid that feels fresh and architectural. It’s a simple change that adds depth and definition without straying too far from tradition.
This combo works because it gives you the best of both worlds: the timeless appeal of subway tile plus a contemporary edge. The dark grout acts like an outline, making each tile pop and giving the wall a graphic quality. It also hides soap scum and hard water stains better than light grout, so it stays cleaner-looking between deep cleans.
Choosing The Right Grout Shade
Charcoal gray is the most popular choice, but you can go darker with a true black or even a deep slate blue. The key is to pick a shade that complements your tile and fixtures. If your bathroom has warm tones, a warm dark brown might work better than a cool gray.
Test a few options on a sample board before committing.
Installation Tips For A Crisp Finish
Make sure the tile is fully set before grouting, and use a grout float to press the grout firmly into the joints. Wipe off excess grout with a damp sponge, but don’t overwork it—you want the lines to stay sharp. Consider using a grout sealer to protect against moisture and staining, especially in a shower environment.
Pairing With Fixtures And Accessories
This tile treatment works well with matte black or brushed nickel fixtures. Keep the rest of the bathroom simple so the tile remains the focal point. Wooden accents, like a teak bench or a natural stone soap dish, add warmth and balance the coolness of the tile.
11. Shower Curtain Alternative: Glass Enclosure
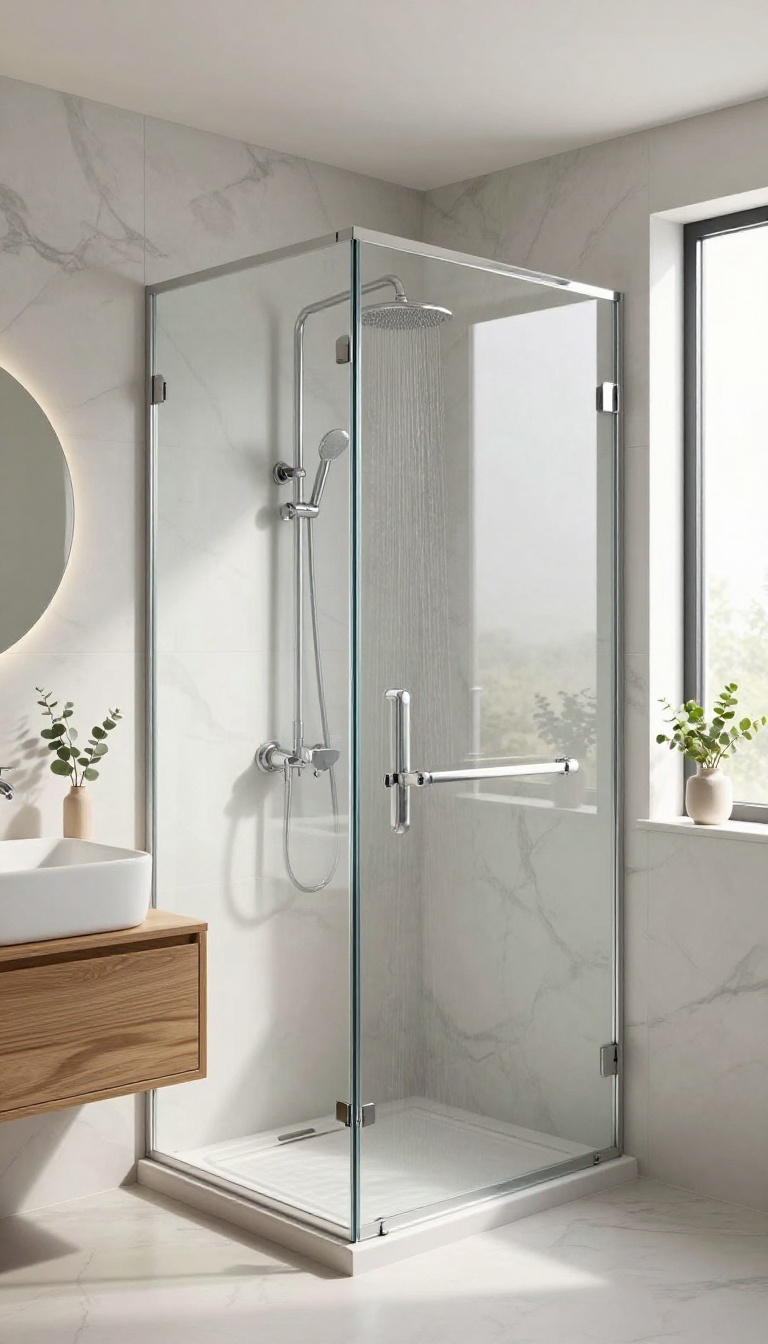
A fabric shower curtain can feel heavy, collect soap scum, and hide the beautiful tile work you invested in. Swapping it for a glass enclosure instantly opens up the space, making the bathroom feel larger and more modern. It also eliminates the daily tug-of-war with a damp curtain and reduces the chance of mold taking hold.
Glass enclosures come in a few styles, so you can pick what suits your bathroom layout and budget. Frameless glass offers a clean, seamless look, while framed versions are more affordable and still look sharp. You can choose a sliding door to save space or a hinged door that swings outward for easier access.
Going with glass is a permanent upgrade that adds resale value and makes your shower feel more like a spa.
Why Ditch The Curtain?
Curtains trap moisture and can develop mildew even with regular washing. They also block light, making the shower feel like a cave. A glass enclosure keeps the visual flow open, lets natural light pass through, and shows off your tile or waterproofing work.
Plus, you'll never have to worry about the curtain billowing into you when the vent fan is on.
Frameless Vs. Framed Glass
Frameless glass uses thicker panels (usually 3/8 or 1/2 inch) and minimal hardware, giving a high-end, minimalist vibe. It's more expensive but easier to clean because there's no metal track to collect grime. Framed glass has a metal border that adds structure and can be a good budget pick.
Both options keep water inside, but frameless gives that airy, custom feel.
Installation And Maintenance Tips
Professional installation is recommended, especially for frameless panels, because precise measurements and leveling matter. Once installed, regular cleaning with a squeegee after each use prevents hard water spots. You can also apply a water-repellent coating to the glass to make cleaning easier.
Over time, the enclosure stays crystal clear with just a little routine care.
12. Heated Shower Floor for Year-Round Comfort
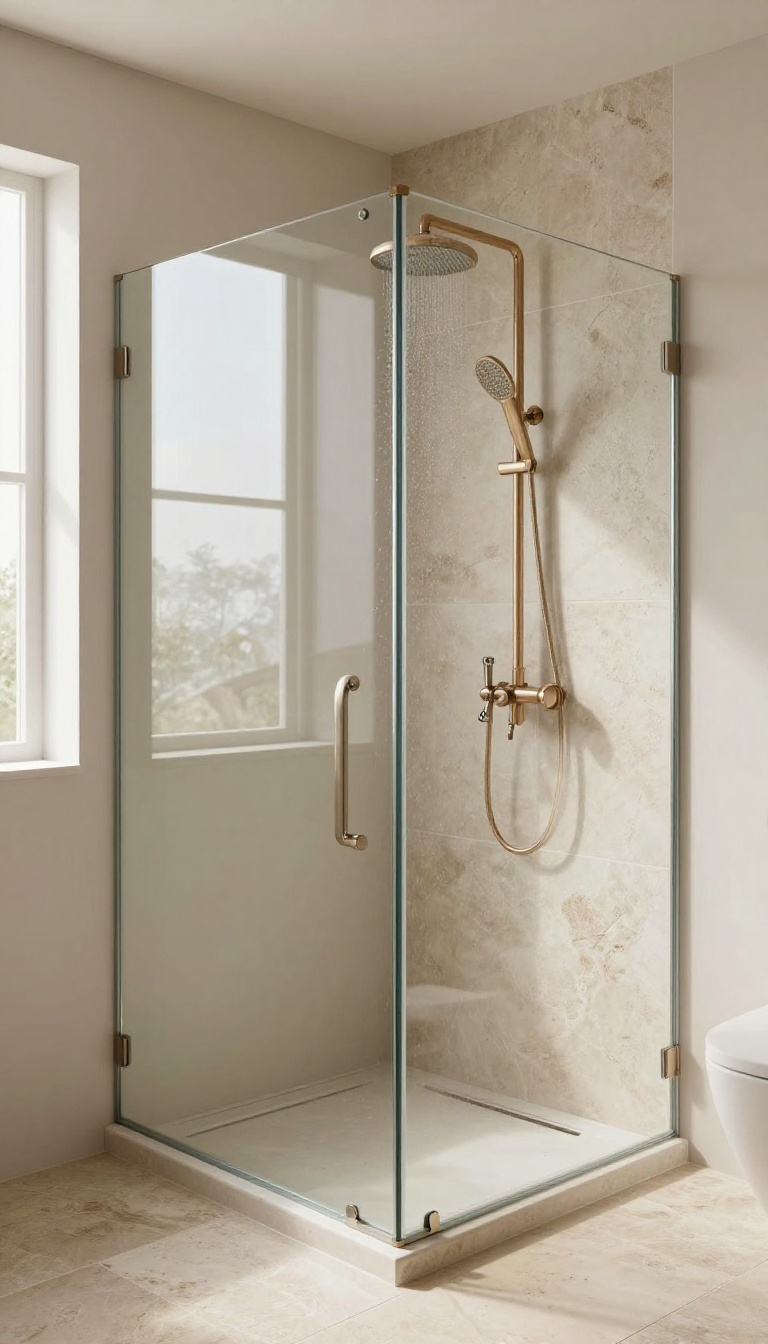
Stepping onto a cold tile floor on a winter morning can be a shock to the system. Heated shower floors solve that problem by providing gentle, consistent warmth right under your feet. It's a luxury that quickly becomes a necessity, especially if you live in a cooler climate.
Radiant floor heating isn't just about comfort—it's also an efficient way to warm your bathroom. Unlike forced-air systems that can blow dust and dry out the air, radiant heat rises evenly from the floor, creating a cozy environment without the noise or drafts. Plus, it can help dry the floor faster, reducing the chance of slips and mildew.
How Radiant Heating Works
Radiant floor heating typically uses either electric cables or hydronic tubing installed beneath your tile. Electric systems are easier to retrofit and are great for smaller spaces like showers. Hydronic systems circulate warm water and are more efficient for larger areas, but they require more complex installation.
Both options can be controlled with a programmable thermostat, so you can wake up to a warm floor every morning.
Installation Considerations
If you're planning a new shower or a full remodel, adding heated floors is straightforward. The heating elements go under the tile, so you need to account for the extra thickness. If you're working with an existing shower, you may need to raise the floor or consider a mat-style system that sits on top of the subfloor.
Always hire a licensed electrician or plumber to handle the wiring or plumbing connections.
Cost And Energy Efficiency
The upfront cost can range from $10 to $25 per square foot, depending on the system and labor. But the energy savings are real—radiant heat operates at a lower temperature than traditional radiators, and because it warms the mass of the floor, it retains heat longer. Over time, you'll likely see a modest decrease in your heating bills, especially if you zone the system to only heat the shower area.
13. Shower Tower Panel with Multiple Jets
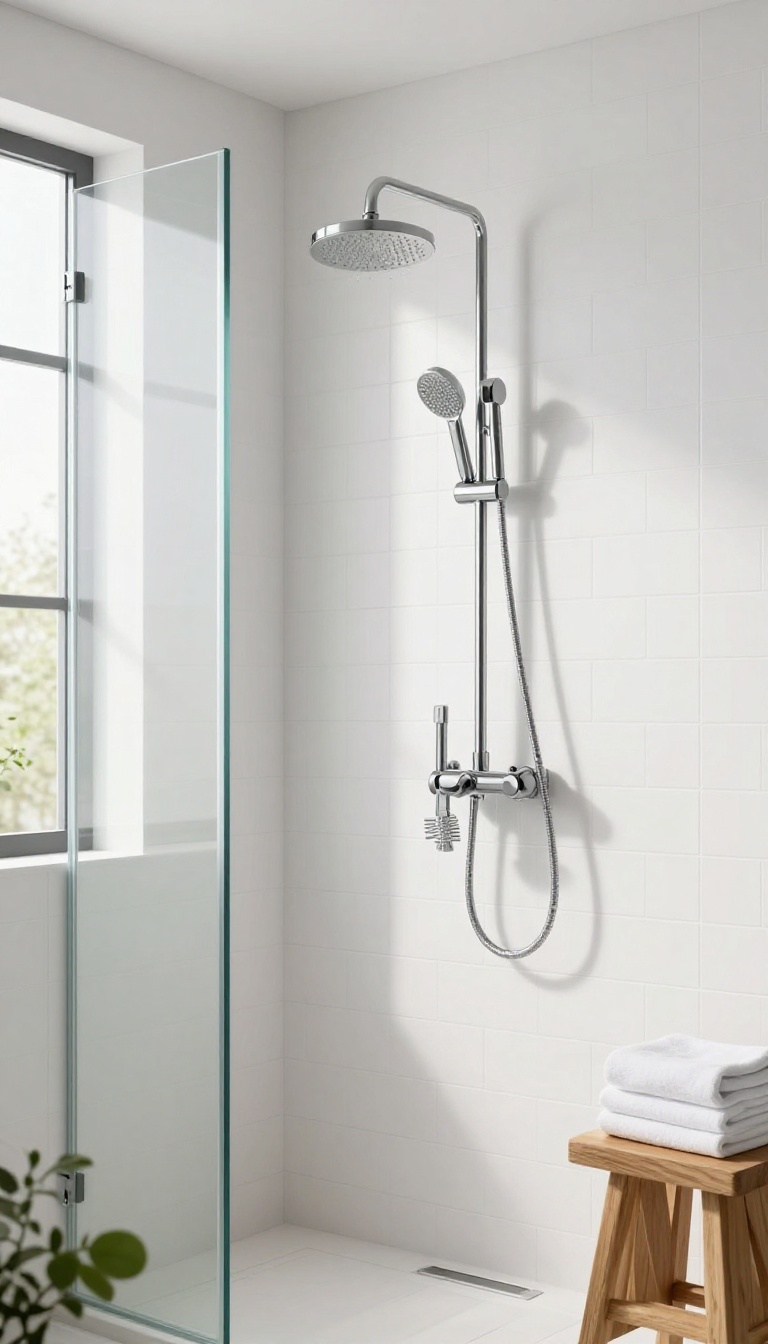
A shower tower panel is like a spa control center mounted on your wall. It combines a rainfall head, several body jets, and a handheld sprayer into one sleek unit. You get that luxury hotel feel without the cost or hassle of a full custom tile job.
What Makes A Shower Tower Panel Different
Instead of separate fixtures scattered around the shower, a tower panel consolidates everything into a single vertical panel. Most models include a thermostatic valve, so you set the temperature once and it stays steady. The body jets are positioned to hit your back and shoulders, giving you a massage-like experience that regular showerheads just can't match.
Why It's A Smart Upgrade
Installation is simpler than you might think. Many panels are designed to connect directly to your existing shower arm or plumbing, so you don't need to rip out tile or move pipes. They're also a great option for smaller bathrooms where you want multiple functions without taking up extra space.
Plus, the sleek, modern look instantly updates the room.
How To Choose The Right One
Look for a panel with adjustable jets and a handheld sprayer that's easy to detach. Check the flow rate to make sure it works with your water pressure. Some models come with LED lighting or a digital temperature display, which adds a nice touch.
Measure your shower space first to ensure the panel fits comfortably without blocking the doorway or making the shower feel cramped.
14. Natural Stone Accent Wall for a Rustic Look
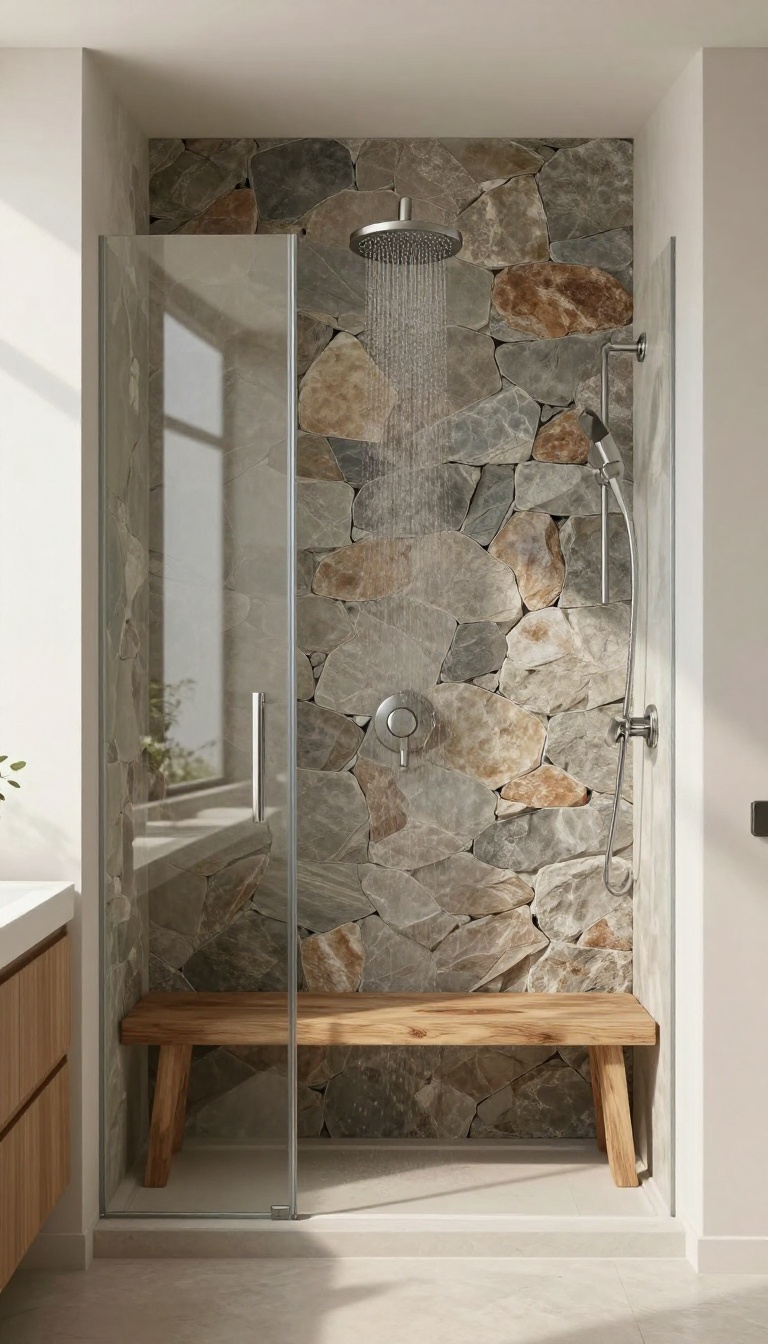
Natural stone brings an organic, grounded feel to any shower, and it doesn't have to cover the entire space. An accent wall made of slate, travertine, or river rock instantly adds texture and warmth, turning a plain shower into a focal point. The earthy tones and irregular surfaces create a spa-like retreat right at home.
Choosing the right stone and installing it properly are key to getting a rustic look that lasts. Here's how to make it work in your bathroom.
Picking The Perfect Stone
Slate is a top choice for its durability and rich, varied colors—think grays, greens, and browns. Travertine offers a softer, more classic look with its natural pits and warm beige tones. If you want something more textured, river rock tiles add a pebbled, mosaic effect that feels great underfoot.
Consider the rest of your bathroom's palette and choose a stone that complements rather than clashes.
Installation Tips For A Flawless Finish
Natural stone is porous, so it needs proper sealing to resist water and stains. Use a high-quality penetrating sealer and apply it before grouting, then again after. When installing, use a waterproof backer board and thin-set mortar designed for stone.
For a rustic look, opt for wider grout lines and a contrasting grout color—like a warm tan or gray—to highlight the stone's natural edges.
Maintenance Made Simple
With the right sealer, upkeep is straightforward. Wipe down the wall after each shower to prevent soap scum and mineral buildup. Every few months, reapply the sealer to keep the stone protected.
Avoid harsh chemical cleaners; a mild pH-neutral soap and a soft brush will do the job. This way, your accent wall stays beautiful for years without much effort.
15. Shower Nook with a Plant Shelf
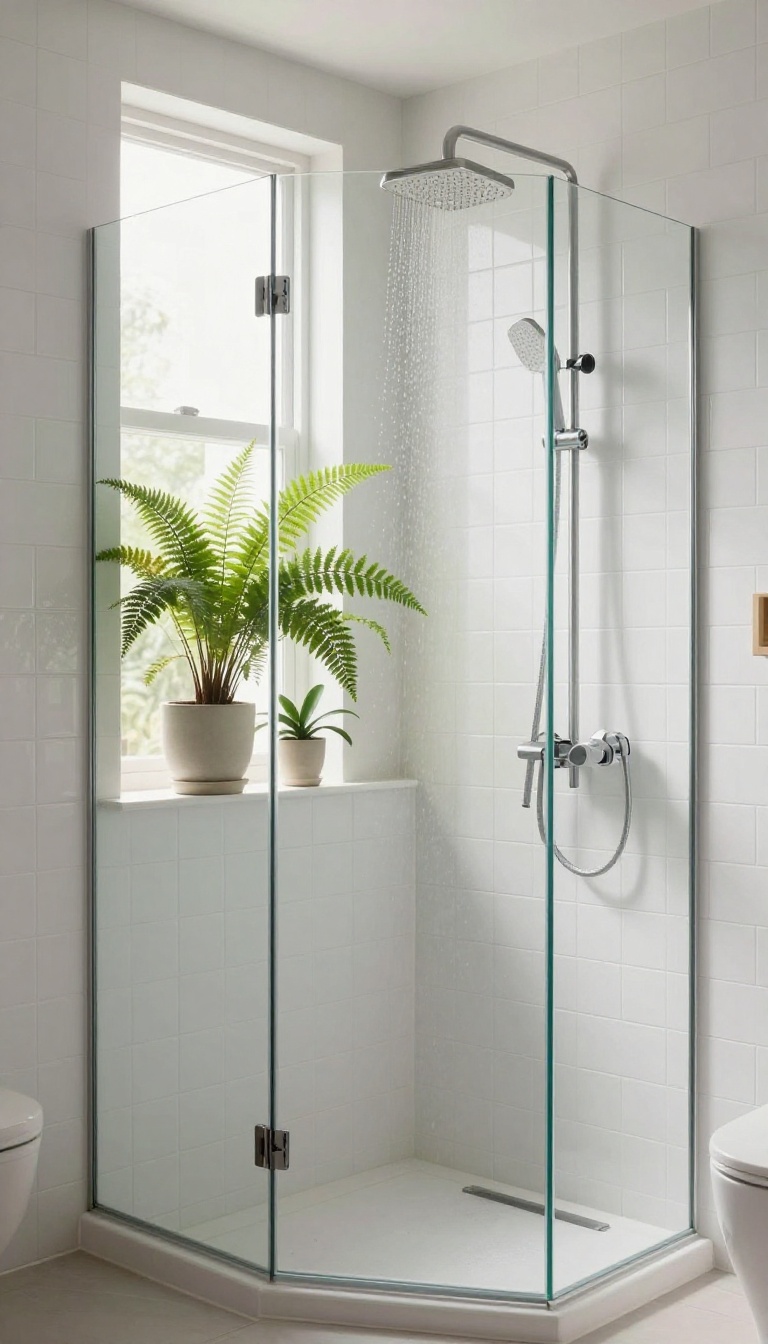
Adding a plant shelf to your shower is one of those small touches that makes a big difference. It brings a bit of nature into your daily routine and turns an ordinary shower into a mini sanctuary. Humidity-loving plants like ferns and orchids thrive in the moist environment, and they add a pop of green that feels fresh and alive.
Plus, it's a simple upgrade that works with almost any shower design.
A plant shelf is more than just a place to put your shampoo. It's a way to introduce life and color into a space that's often purely functional. The key is to choose the right spot and the right plants, so everything looks intentional and stays healthy.
Start by picking a location that gets some indirect light but isn't in the direct spray of the showerhead. A corner shelf or a recessed niche works well. If you're building from scratch, a tiled ledge is a great option.
For existing showers, a tension rod with a hanging planter or a waterproof adhesive shelf can do the trick. When it comes to plants, think about what can handle the humidity and occasional splashes. Ferns, orchids, and air plants are popular choices.
They don't need much soil and can tolerate the moisture. Just make sure they have proper drainage so they don't sit in water. This idea also helps with storage.
Instead of cluttering the floor with bottles, you can use the shelf for both plants and your shower essentials. It keeps everything within reach while looking neat and organic.
Choosing The Right Plants
Not every plant will survive in a shower, so it's important to pick ones that love humidity and can handle lower light. Ferns like Boston ferns or maidenhair ferns are great options. Orchids, especially moth orchids, also do well.
Air plants are another easy choice because they don't need soil and can be mounted on the shelf. Avoid succulents or cacti, which prefer dry conditions. Also, consider the size of the shelf.
You want plants that won't outgrow the space quickly. Hanging plants like pothos can add a trailing effect and soften the look.
Placement And Installation
The best spot for a plant shelf is away from the direct water stream but still within the shower area. A corner is often ideal because it's out of the way. If you have a recessed niche, that's perfect.
For existing showers, you can use a waterproof shelf that sticks to the tile or a tension rod with a hanging planter. Make sure the shelf is level and can hold the weight of wet pots. If you're tiling a new shower, plan the niche during construction.
That way, you can match the tile and create a seamless look.
Maintenance And Care
Plants in the shower need a little attention to stay healthy. They'll get some water from the shower spray, but you may still need to mist them between showers. Check the soil regularly and water if it feels dry.
Also, make sure there's good air circulation to prevent mold. Clean the shelf and pots occasionally to avoid soap scum buildup. Use a gentle cleaner that won't harm the plants.
With a bit of care, your shower garden will thrive and keep looking fresh.
FAQ
What is the most budget-friendly shower upgrade?
Swapping out your showerhead for a rainfall or handheld model is one of the most affordable upgrades. It's a simple DIY that can instantly change the feel of your shower.
How can I make my small shower look bigger?
Use a frameless glass enclosure instead of a curtain, choose light-colored tiles, and add a large mirror nearby. These tricks create the illusion of more space.
Are pebble tiles slippery when wet?
Pebble tiles are generally slip-resistant due to their textured surface, but make sure to choose ones with a matte finish and proper grouting to maximize safety.
Can I install a shower bench myself?
A freestanding teak bench is easy to place without any installation. For a built-in bench, you'll likely need professional help to ensure proper waterproofing and support.
What is the best way to clean glass shower doors?
Use a squeegee after each shower to prevent water spots, and clean with a mixture of vinegar and water weekly. This keeps the glass clear and streak-free.
Conclusion
These shower ideas show that a crisp, custom setup doesn’t have to mean a full gut job. Pick one or two that fit your space and budget, and you’ll be surprised how much a fresh look can change your morning routine. Start with the easiest swap—maybe a new showerhead or a clever storage nook—and build from there.
The goal is a bathroom that feels like yours, not a showroom. So grab a tape measure, browse some finishes, and make the call. Your future self will thank you every time you step in.