13 Small Shower-Only Bathroom Ideas with Crisp, Custom Style
A shower-only bathroom can feel twice as spacious and twice as stylish when you make the right calls. These 13 ideas focus on crisp, custom details that turn a compact footprint into a standout feature.
From smart tile choices to clever storage and lighting, each suggestion targets a specific upgrade you can actually use. Whether you're planning a full remodel or just refreshing one corner, these options help you maximize every inch without sacrificing comfort.
Let's explore what works.
1. Go Big with Large-Format Tiles
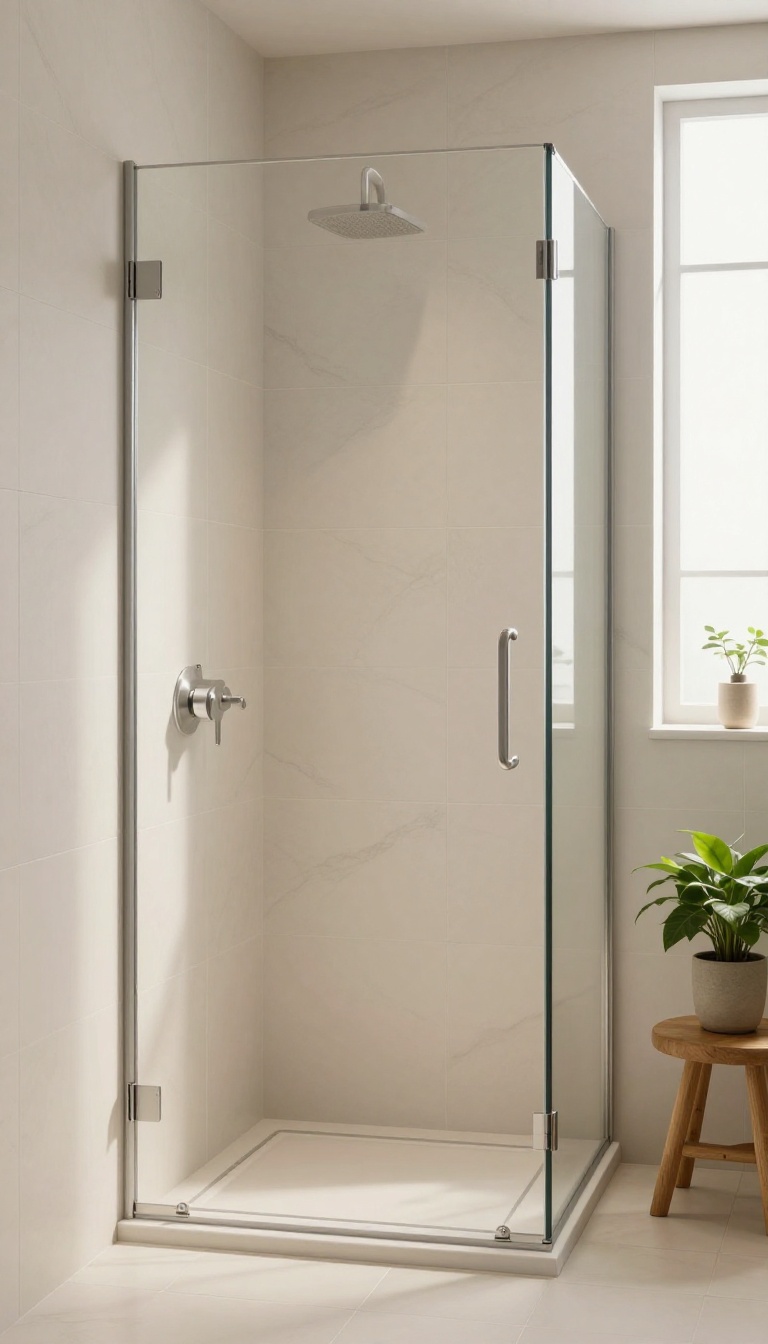
Large-format tiles are a game-changer in a compact shower. By covering more surface area with fewer tiles, you slash the number of grout lines, which instantly makes the space feel cleaner and more open. The minimal seams also create a sleek, custom look that’s both modern and timeless.
When you choose large tiles—think 12×24 inches or even bigger—you’re not just making a style statement. You’re also simplifying maintenance. Fewer grout lines mean less scrubbing and fewer places for mold or soap scum to hide.
Plus, the continuous surface visually expands the walls, making a small shower feel more like a spa retreat.
Why Bigger Tiles Work In Small Showers
In a tight space, every visual trick counts. Large tiles reduce the visual noise that comes from busy patterns and many grout joints. This creates a calm, uncluttered backdrop that makes the shower feel larger.
Also, with fewer lines to align, installation is often faster and more straightforward, which can save on labor costs.
Choosing The Right Material And Finish
Porcelain and ceramic are top picks for durability and water resistance. A matte or satin finish adds a subtle, modern texture while hiding water spots better than high-gloss. If you want a touch of luxury, consider large-format marble-look tiles—they give you that high-end aesthetic without the upkeep of real stone.
Laying Patterns That Maximize Space
While a straight grid layout is classic, consider a vertical stack to draw the eye upward, making the ceiling feel higher. Or, go with a running bond (brick pattern) for a subtle sense of movement. Avoid busy diagonal layouts in small showers—they can make the space feel chaotic.
Keep it simple to let the size of the tiles shine.
2. Install a Frameless Glass Shower Door
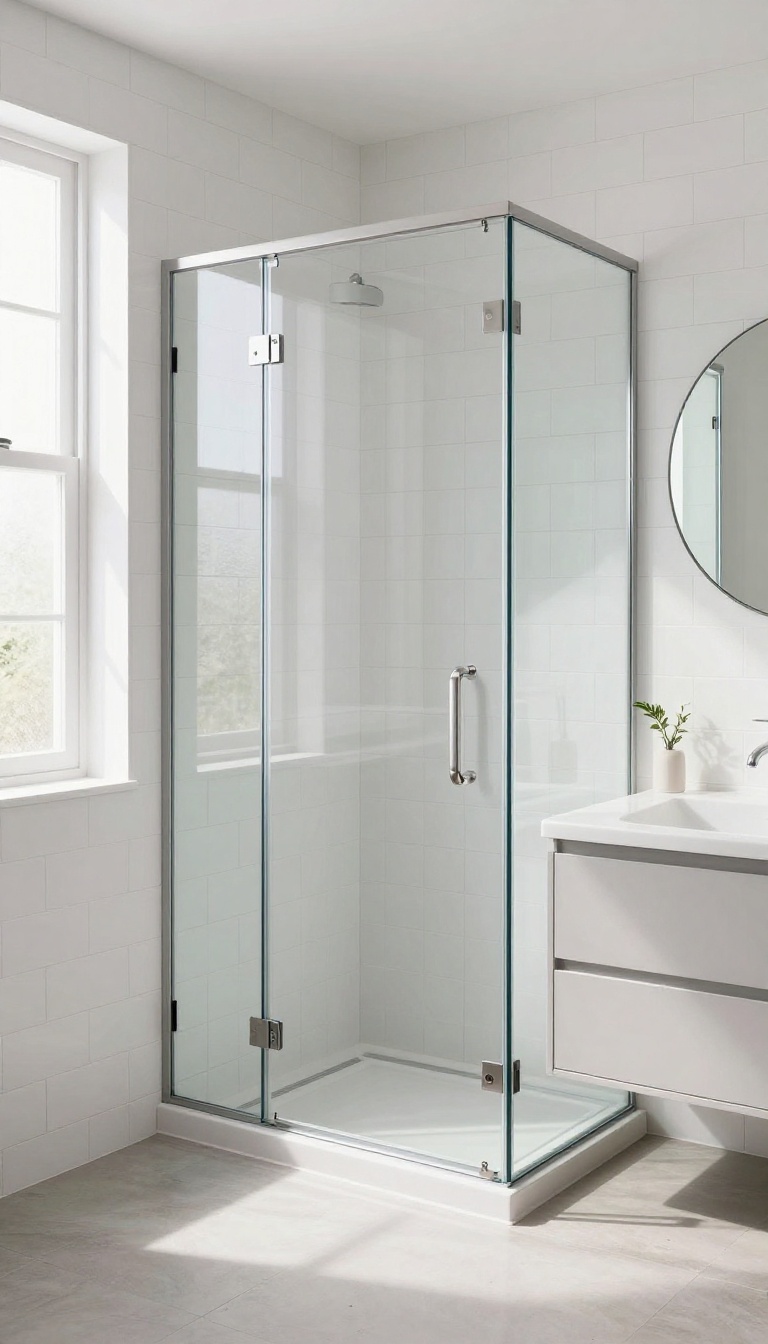
A frameless glass door does more than just keep water where it belongs—it visually erases the boundary between the shower and the rest of the room. That open feel is exactly what a compact bathroom needs. Plus, the clean lines and minimal hardware give the space a crisp, custom look that never goes out of style.
When you swap a bulky framed door or a curtain for a frameless glass panel, you instantly change how the light moves through the room. Sunlight (or your overhead fixture) can travel from the shower to the mirror and beyond, making the whole bathroom feel brighter and more open. The lack of metal framing also means fewer places for soap scum and grime to hide, so cleaning becomes a quick wipe-down instead of a chore.
What Makes It Feel Custom
Frameless doors are cut to fit your exact shower opening, so they look like they were made for the space—because they were. You can choose from clear, frosted, or textured glass, and pick hardware finishes like brushed nickel, matte black, or polished chrome to match your fixtures. The result is a sleek, tailored look that feels far more upscale than a standard off-the-shelf door.
Space-saving Perks
Because a frameless door swings outward or slides along a track, it doesn't eat up precious floor space inside the shower. That extra few inches can make a huge difference in a small footprint, giving you more room to move and making the shower feel less cramped. Plus, the open sightline from the rest of the bathroom makes the entire room appear larger.
Installation And Care Tips
While it's possible to DIY a frameless door, it's usually best to hire a professional to ensure a perfect fit and a watertight seal. The glass is heavy and needs proper support, and a slight mismeasure can lead to leaks. Once it's in, maintenance is simple: use a squeegee after each shower and a mild glass cleaner weekly to keep it crystal clear.
3. Use a Curbless Shower Entry
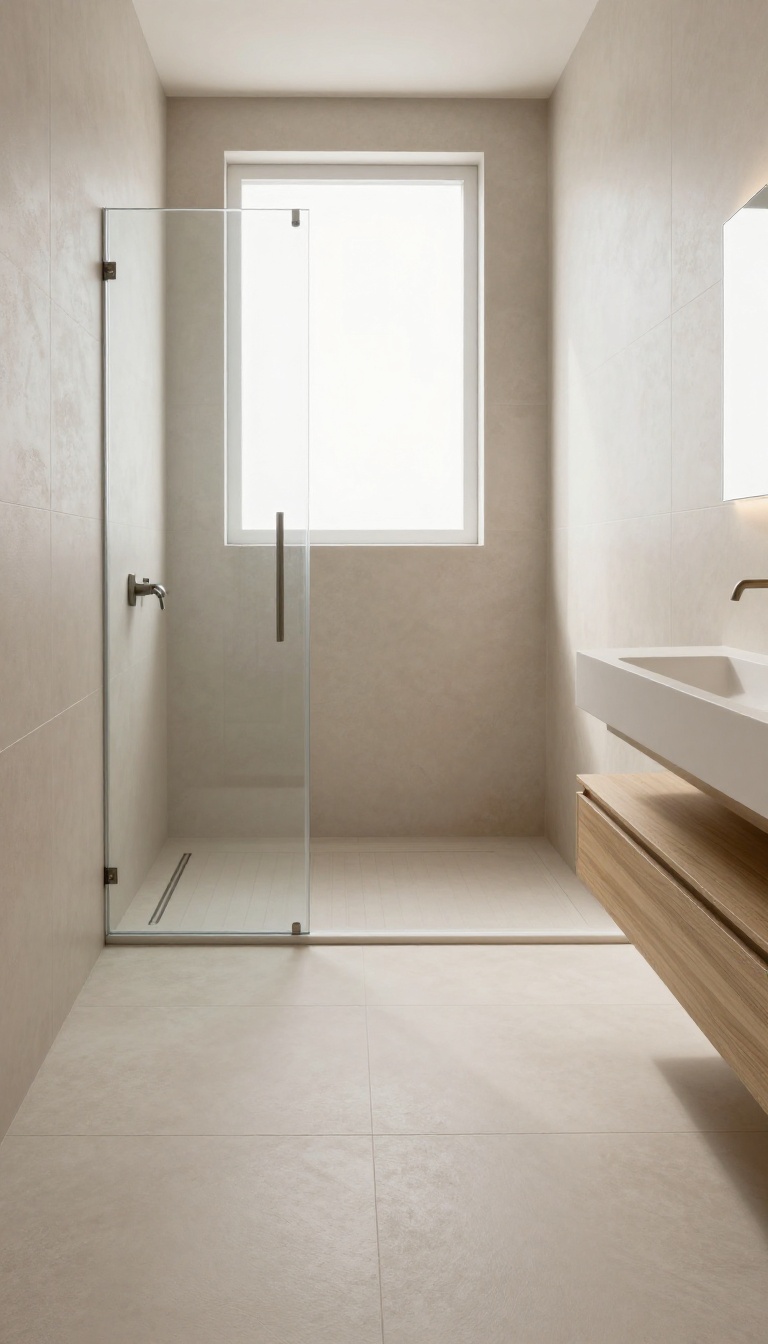
A curbless shower entry is one of those subtle shifts that instantly modernizes a small bathroom. By removing the raised lip, you create a continuous line from floor to shower, which tricks the eye into seeing more space. It also makes the room feel more open and easier to move through, especially if you're planning for aging in place or just want a cleaner look.
The real payoff here is the seamless visual flow. Without a curb, the tile can run uninterrupted from the bathroom floor right into the shower, making the whole area feel like one cohesive surface. That continuity is what gives a small space a more expansive, custom feel.
Plus, you eliminate a common tripping hazard and make cleaning a breeze—no more scrubbing around a ledge where grime loves to hide.
Why It Works In A Small Space
In a compact bathroom, every visual break can make the room feel smaller. A curb adds a hard line that chops up the floor, but removing it lets the eye travel smoothly. This is especially effective when you use the same tile throughout, which creates an unbroken surface that visually expands the area.
You also gain a few inches of usable floor space, which can make a big difference in a tight layout.
Key Considerations For Installation
Going curbless isn't just about skipping the curb—it requires careful planning with the shower floor slope. You'll need a linear drain or a properly sloped pan to keep water moving toward the drain without pooling. Also, the bathroom floor needs to be slightly higher or the shower floor slightly lower to maintain that flush transition.
It's a job best left to a pro, but the result is worth it.
Design Tips For A Polished Look
To really sell the seamless effect, choose large-format tiles that run from the bathroom floor into the shower without a transition strip. A matching grout color helps blend everything together. If you want a subtle separation, use a slightly different tile in the shower but keep the same color family.
Add a glass panel instead of a full enclosure to maintain that open feel while still containing water.
4. Maximize Vertical Storage with a Tall Niche
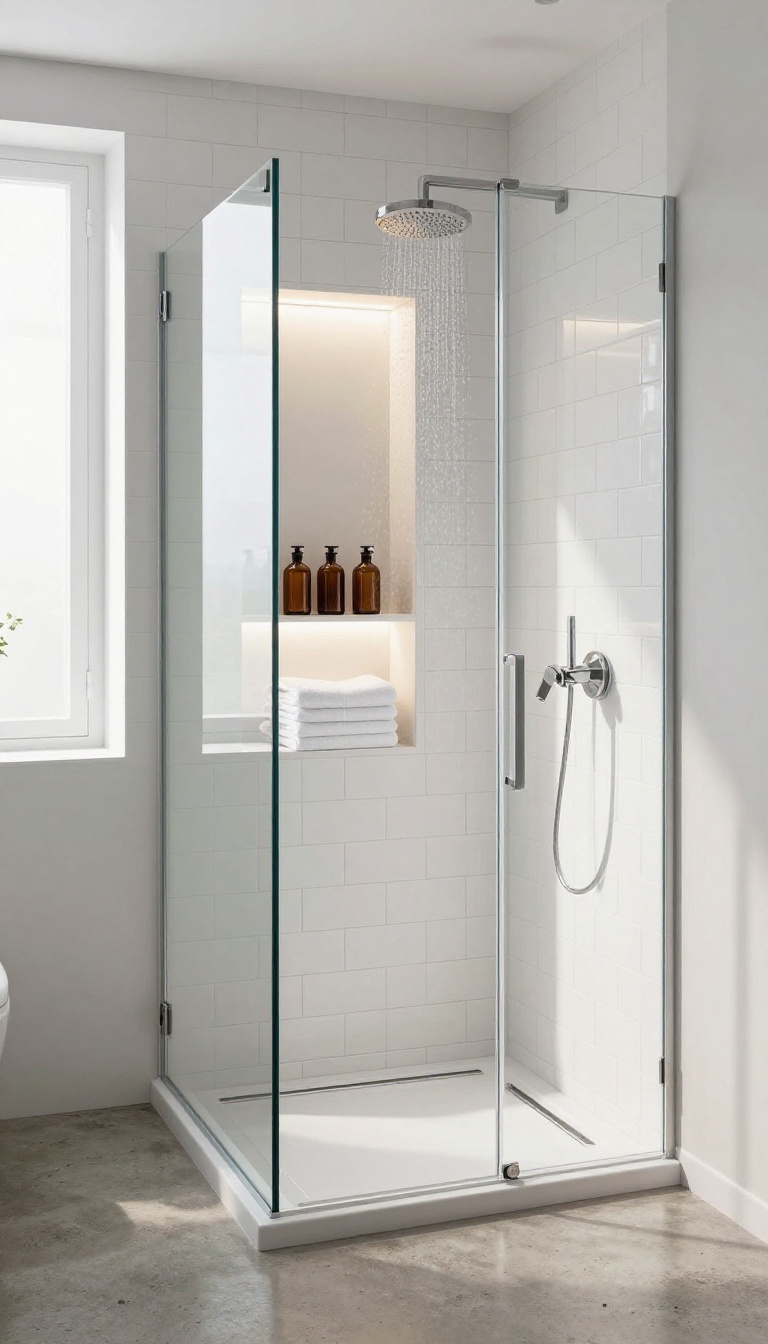
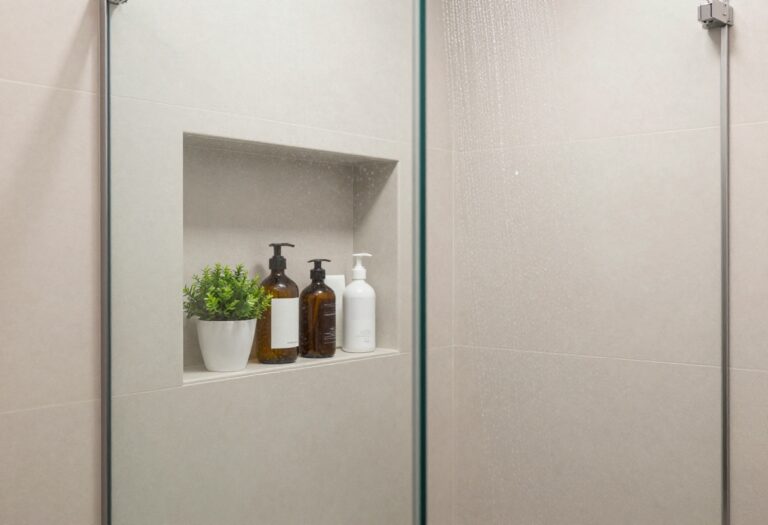
When wall space is limited, going up is the smartest move. A tall, recessed niche built into the shower wall gives you a sleek, built-in shelf that doesn't eat into your floor or elbow room. It's a custom touch that keeps everything organized and within easy reach.
A tall niche is more than just a spot for shampoo bottles. It can be designed to fit your exact routine, with different shelf heights for tall bottles, small jars, and even a place to rest a razor. Because it's recessed, it keeps the shower floor clear and makes cleaning easier—no more juggling products on a corner caddy.
Designing The Perfect Niche
Think about what you actually use in the shower. Measure your tallest bottle and plan shelf spacing accordingly. A typical niche is about 12 inches wide and 24 inches tall, but you can customize it.
Adding a slight slope to the shelf helps water drain off, preventing puddles and mildew.
Placement And Accessibility
Place the niche at a height that's comfortable to reach, usually around chest level. If you have a bench or a handheld showerhead, consider placing it near those for convenience. Avoid putting it directly under the showerhead to keep it from getting soaked every time you turn on the water.
Materials And Finishes
Match the niche to your shower walls for a seamless look, or use a contrasting tile to make it a design feature. Waterproof materials like ceramic, porcelain, or natural stone work best. If you're using large-format tiles, plan the niche placement so it aligns with the grout lines for a clean, custom finish.
Lighting And Extra Touches
A small LED strip inside the niche adds a luxurious glow and makes it easier to find your products. You can also add a built-in soap dish or a small hook for a loofah. These details make the niche feel intentional and polished, not just an afterthought.
5. Choose a Wall-Mounted Faucet and Showerhead
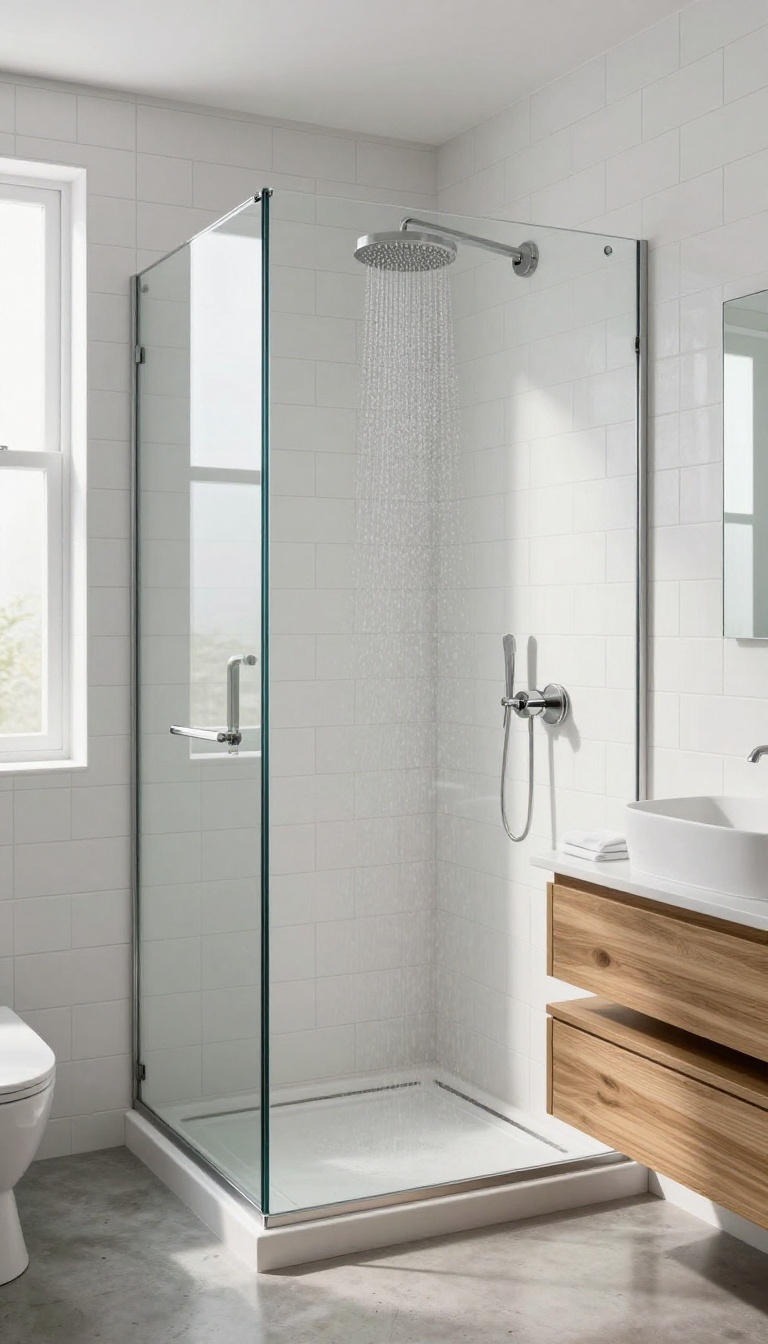
Wall-mounted fixtures are a simple swap that changes the whole feel of a shower-only bathroom. By freeing up the counter and floor, they open up the space and make cleaning a breeze. Plus, the streamlined look adds a crisp, contemporary touch that fits the custom style you're after.
When you mount the faucet and showerhead on the wall, you eliminate the clutter of countertop hardware and the visual bulk of a traditional shower arm. This creates a clean, uninterrupted surface that makes the room feel larger and more polished. It's a practical choice for small spaces because every inch counts, and wall-mounted fixtures give you back that valuable real estate.
Free Up Counter And Floor Space
A wall-mounted faucet clears the vanity top, giving you more room for toiletries or just a cleaner look. Similarly, a wall-mounted showerhead removes the need for a bulky shower arm and allows for a sleeker profile. In a compact bathroom, these small changes can make a big difference in how open and airy the space feels.
Easy To Clean And Maintain
With fewer nooks and crannies, wall-mounted fixtures are much easier to wipe down. There's no buildup around the base of a countertop faucet or hard-to-reach areas behind a traditional showerhead. This means less scrubbing and more time enjoying your bathroom.
Achieve A Modern, Custom Look
Wall-mounted fixtures instantly give your bathroom a custom, high-end feel. They're a hallmark of contemporary design and work well with a variety of styles, from minimalist to industrial. Choose finishes like brushed nickel or matte black to match your overall aesthetic and create a cohesive look.
6. Add a Floating Vanity
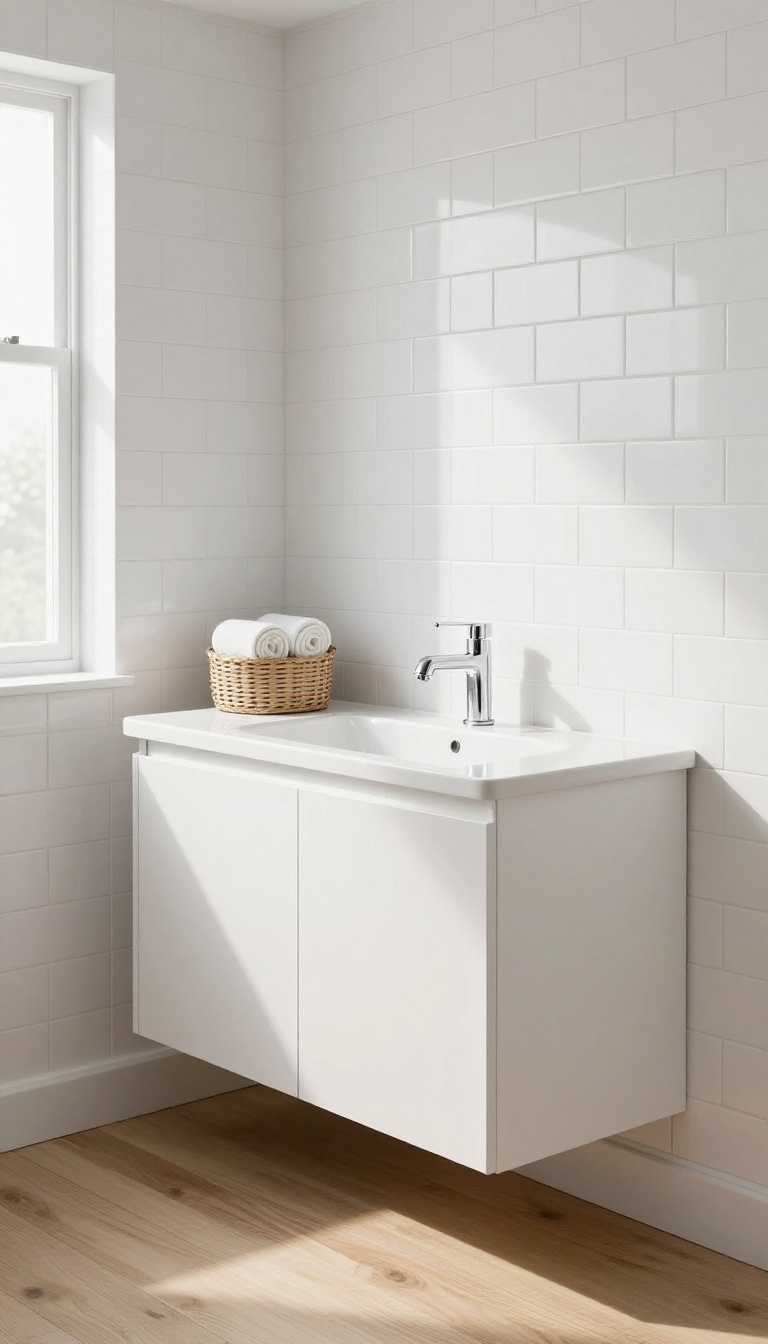
A floating vanity is a clever trick for small bathrooms. By mounting the cabinet off the floor, you instantly free up visual space and make the room feel less boxed in. It also gives you a handy spot to tuck a stool or basket, which adds function without taking up extra square footage.
The clean lines of a wall-hung vanity pair beautifully with the crisp, custom look you're aiming for. You can choose a sleek wood finish for warmth or a glossy white for a more modern vibe. Either way, the open space underneath keeps the eye moving and makes the whole bathroom feel lighter.
The key to making a floating vanity work is getting the height right and picking the right style. You want it to feel intentional, not like it's just hovering there. Plus, the open floor below is perfect for storing a small step stool, a laundry basket, or even a stack of fluffy towels.
Another bonus: cleaning becomes a breeze. No more awkward reaching around legs or baseboards. You can just sweep or mop right under the vanity, which is a win in any bathroom, but especially in a compact one.
Pick The Right Height
Standard vanity height is around 32 to 36 inches, but with a floating vanity, you have more flexibility. If you're tall, you might want it a bit higher; if you have kids, a lower height could work. Just make sure it feels comfortable for daily use.
Also, consider the clearance underneath—you want enough room to store things or clean easily, but not so much that it looks awkward.
Choose A Style That Fits
Floating vanities come in all sorts of materials and designs. For a crisp, custom look, think about a matte black frame with a stone countertop, or a light oak cabinet with a white quartz top. You can also go for a backlit mirror above to add a soft glow.
The key is to match the vanity with the rest of your bathroom's finishes, so everything feels cohesive.
Add Storage Below
The space under a floating vanity is prime real estate. A woven basket can hold extra toilet paper or toiletries, while a small stool gives you a place to sit when drying off. You could even install a low shelf or a couple of hooks on the wall beneath the vanity for hanging a robe or towel.
It's all about making the most of every inch.
7. Use a Pocket Door Instead of a Swing Door
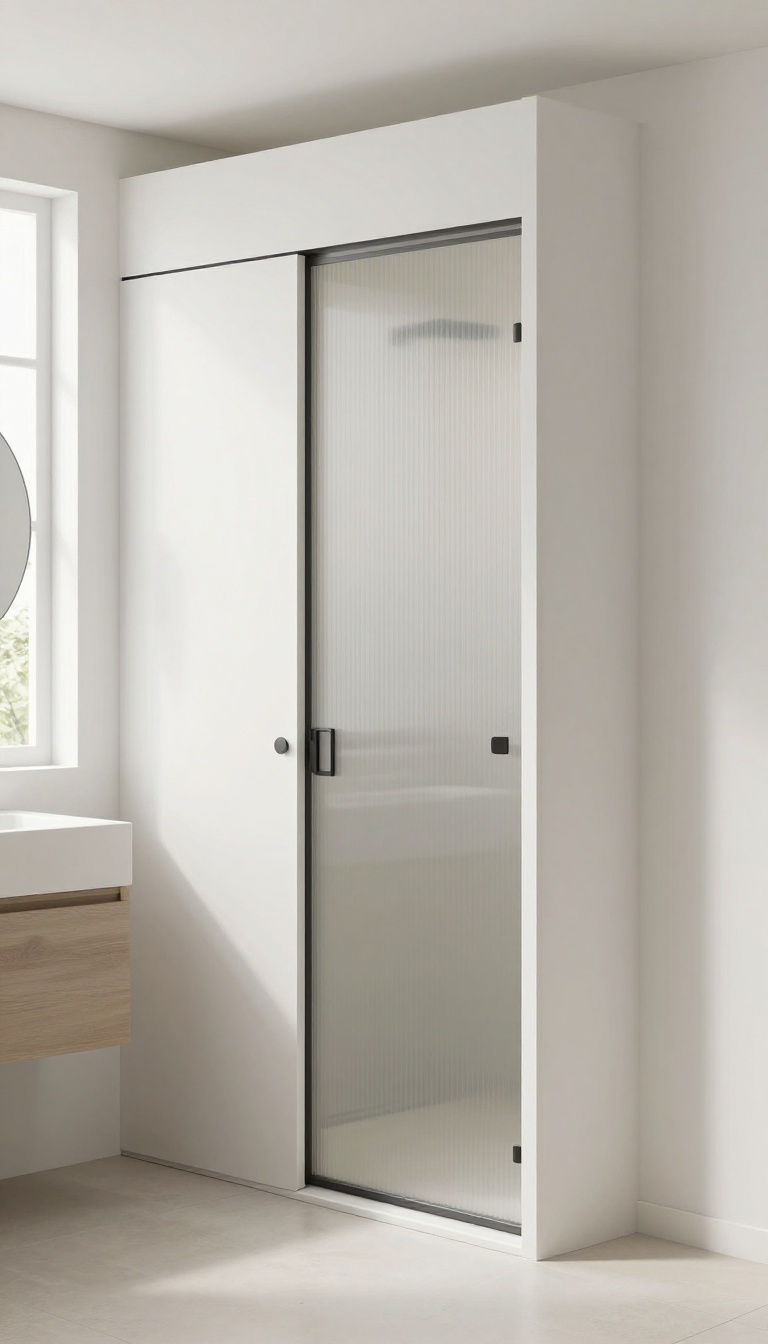
That swinging door eats up more floor space than you might think. In a shower-only bathroom, every inch counts, and a pocket door slides neatly into the wall, freeing up room for a larger vanity or just easier movement. It's a practical swap that also adds a sleek, custom touch to the space.
A pocket door can completely change how your bathroom feels. Instead of dealing with the arc of a traditional door, you get a clean, flush opening that doesn't interfere with fixtures or traffic flow. This is especially handy if your bathroom is narrow or if the door would otherwise bump into the toilet or vanity.
Why A Pocket Door Works In A Tight Bathroom
The main advantage is space. A swing door needs about 3 to 4 feet of clearance, while a pocket door requires none. That extra room can be used for a larger shower, a storage cabinet, or just breathing room.
Plus, it eliminates the awkward dance of closing the door while standing at the sink.
Installation Considerations
Pocket doors need a wall that can accommodate the sliding mechanism. That means there has to be enough space inside the wall for the door to slide into. If you're remodeling, it's a great time to add one, but retrofitting can be trickier.
Also, consider the hardware—soft-close tracks and quality rollers make a big difference in how smooth and quiet the door operates.
Style And Privacy
You don't have to sacrifice style for function. Pocket doors come in a variety of materials, from classic wood to frosted glass, so you can match your bathroom's aesthetic. For privacy, opt for a solid door or one with a lock.
And since it disappears into the wall, it gives the room a cleaner, more streamlined look.
8. Install a Rainfall Showerhead
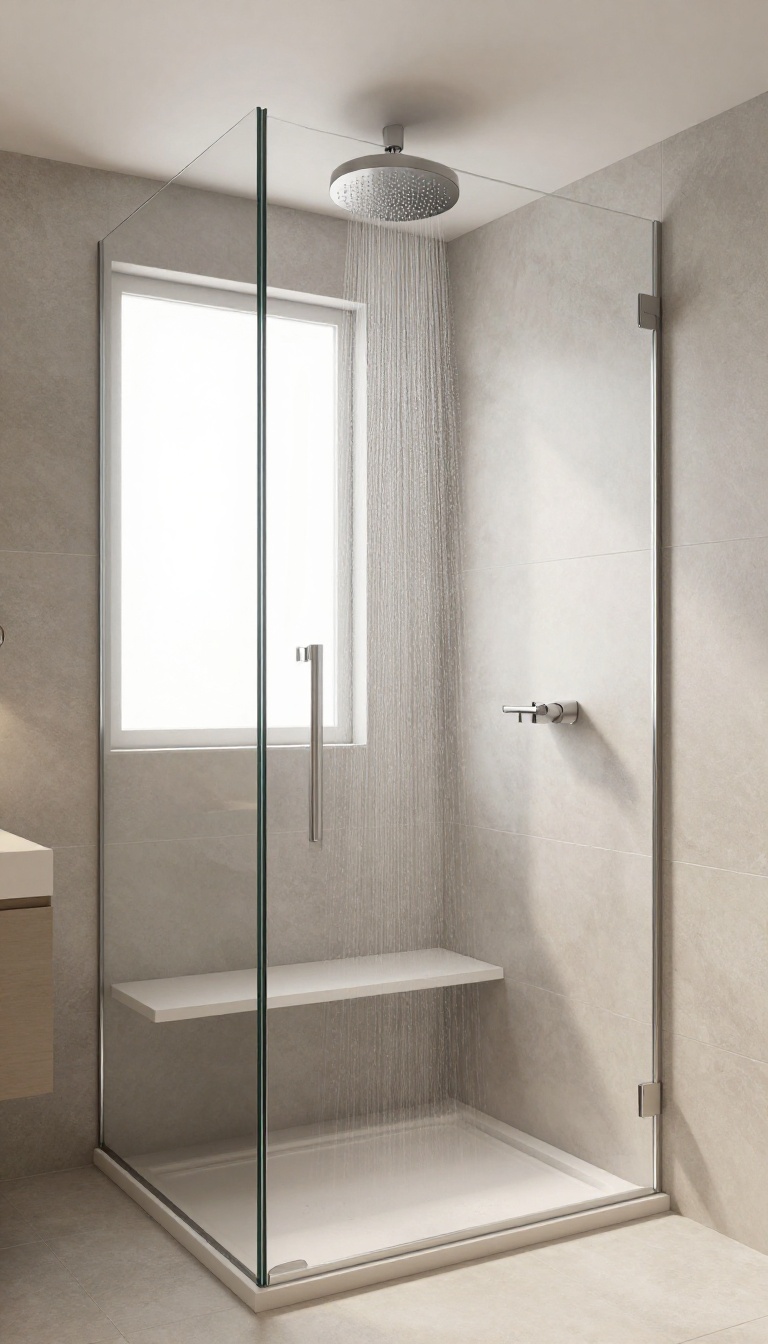
A rainfall showerhead is a simple upgrade that brings a spa-like feel to any bathroom, no matter how compact. It mimics the sensation of standing in warm rain, turning a quick rinse into a moment of relaxation. Best of all, it doesn't require any extra floor space, making it a perfect fit for shower-only bathrooms.
When you swap out a standard showerhead for a rainfall model, you're not just changing the look—you're changing the entire shower experience. The wide, gentle spray covers your whole body, so you feel enveloped in water rather than hit by a narrow stream. That can make a small shower feel more indulgent and less confined, even though the footprint hasn't changed at all.
Rainfall showerheads come in various sizes and styles, from sleek round discs to square panels. Some mount on the ceiling, while others attach to an arm from the wall. For a small bathroom, a ceiling-mounted version can be a great choice because it frees up wall space and creates a clean, seamless look.
Just make sure your ceiling height and plumbing allow for it. Another benefit is the potential for better water coverage. Many rainfall heads have multiple nozzles or a wide face that distributes water evenly.
That means you won't have to keep adjusting your position to get wet. It's a small luxury that makes a big difference in your daily routine.
Choosing The Right Size
Rainfall showerheads are typically larger than standard ones, but they still come in a range of diameters. For a small shower, a head that's 8 to 10 inches across is often ideal—it provides good coverage without overwhelming the space. A larger head, like 12 inches or more, can feel luxurious but might make the shower feel cramped if the area is tight.
Think about the dimensions of your shower and how the head will look in proportion.
Ceiling-mounted Vs. Wall-mounted
Ceiling-mounted rainfall heads are the classic choice for that true rain effect, but they require proper ceiling support and plumbing. Wall-mounted versions are easier to install and can still give a similar feel, especially if you angle them slightly so the water falls straight down. If you're renting or want a simpler DIY project, a wall-mounted model with an extended arm can work well.
Just make sure the arm is long enough to position the head directly above you.
Water Pressure Considerations
Rainfall heads often have a lower flow rate than standard ones because the water is spread over a wider area. That's fine for a relaxing shower, but if you have low water pressure in your home, you might notice a weaker stream. Look for models with pressure-compensating technology or choose one with a smaller diameter to maintain a satisfying flow.
You can also consider adding a water pressure booster if needed.
9. Incorporate a Bench or Fold-Down Seat
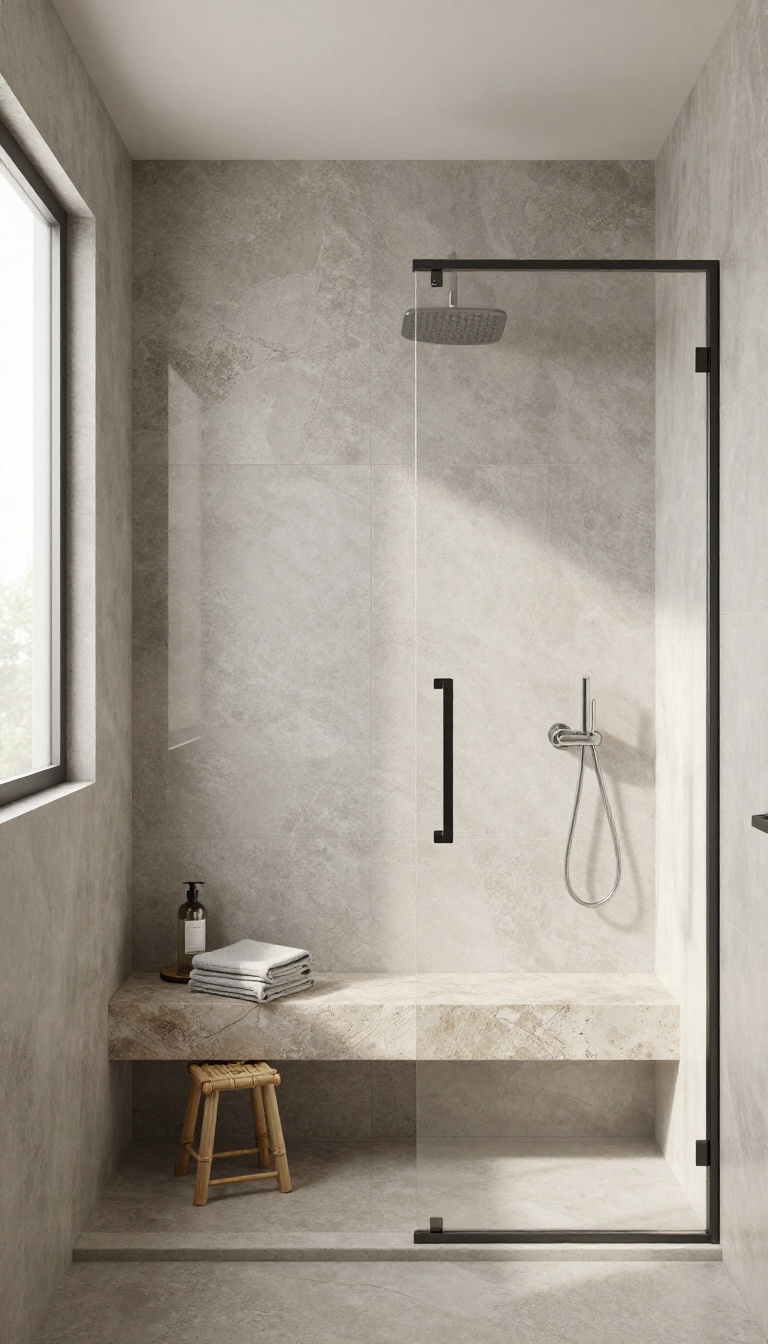
A place to sit in the shower isn't just a luxury—it's a game-changer for small spaces. Whether you're shaving your legs, washing your feet, or just taking a moment to breathe, a bench or fold-down seat adds comfort without stealing square footage. The trick is choosing the right style and placement so it works with your layout, not against it.
Benches and seats come in a range of forms, from permanent tiled ledges to space-saving fold-down models. For a shower-only bathroom, the goal is to add function without making the space feel cramped. A well-placed seat can also double as a shelf for toiletries or a resting spot for a caddy, making it a multitasking hero in a compact design.
Built-in Bench: Seamless And Sturdy
A built-in bench, often constructed from tile or stone, blends right into the shower walls. It feels custom and adds a permanent seating option that's always ready. To keep the space open, place it along a back wall or in a corner, and consider a floating design that leaves floor space underneath for cleaning and a sense of openness.
Fold-down Seat: Tuck It Away
Fold-down seats are perfect for tiny showers where every inch counts. They attach to the wall and flip down when you need them, then fold flat when you don't. Look for models made from waterproof materials like teak or plastic, and install it at a height that's comfortable for sitting.
This option is ideal for occasional use without committing to a permanent fixture.
Placement And Safety Tips
Position the seat where it won't block the flow of the shower or the door swing. Keep it at least 15 inches from the showerhead to avoid direct water spray when seated. Choose slip-resistant materials and consider adding a grab bar nearby for extra safety.
If you're short on wall space, a corner-mounted seat can be a smart compromise.
Styling Your Seat
Make the seat a design feature, not just a functional add-on. Use contrasting tile to make it pop, or match it to the shower floor for a seamless look. Add a wooden teak bench for a warm, spa-like touch, or keep it sleek with a stone slab.
A small caddy or a basket can turn the seat into extra storage, keeping your shower organized and clutter-free.
10. Use Light Colors and High-Gloss Finishes
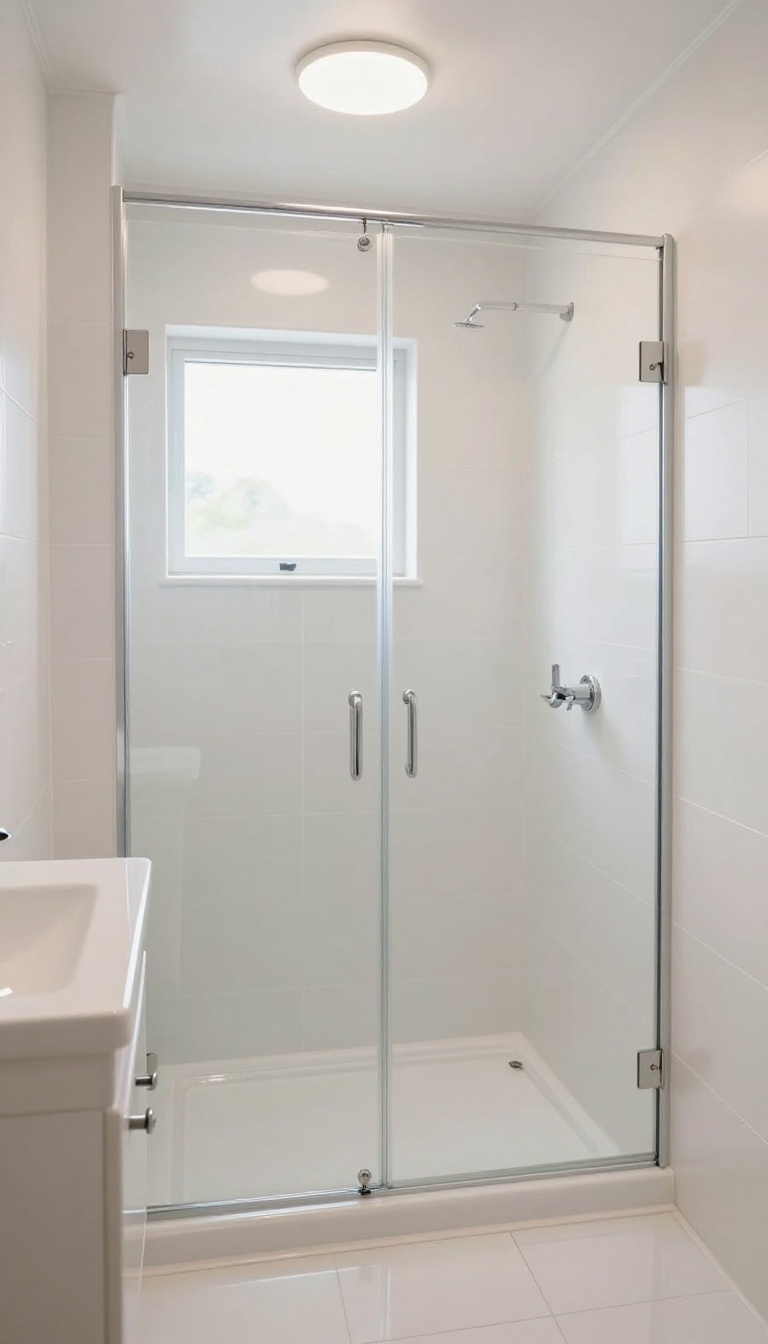
Light colors and glossy surfaces are a dynamic duo in a small bathroom. They bounce light around, making the space feel open and airy. This trick is especially powerful in a shower-only bathroom where every square inch counts.
Painting the walls in a soft white, pale gray, or light blue sets a fresh, clean backdrop. High-gloss tiles or a glossy paint finish on the ceiling reflect both natural and artificial light, adding depth. Combine these with a glass shower door instead of a curtain to let light travel freely.
The result is a crisp, custom look that feels larger than it actually is.
Choose The Right Palette
Stick to cool whites, warm off-whites, or very light pastels. These hues don't absorb light; they reflect it. Avoid dark or saturated colors on walls, as they can make the room feel like a cave.
A monochromatic scheme with subtle variations in tone adds sophistication without visual clutter.
Pick High-gloss Materials
Glossy ceramic or porcelain tiles for the shower walls and floor are a smart choice. They're easy to clean and their shiny surface amplifies light. If you prefer paint, use a semi-gloss or high-gloss finish on walls and ceiling—it's more durable and moisture-resistant.
Consider a glossy countertop or a shiny fixture like a chrome faucet to tie it together.
Let Light Do The Work
Maximize natural light with a skylight or a larger window if possible. For artificial lighting, install bright, cool-white LED lights. Place a mirror opposite the light source to multiply the effect.
Avoid heavy window treatments; a simple frosted glass or a light sheer curtain keeps things bright.
11. Add a Skylight or Solar Tube
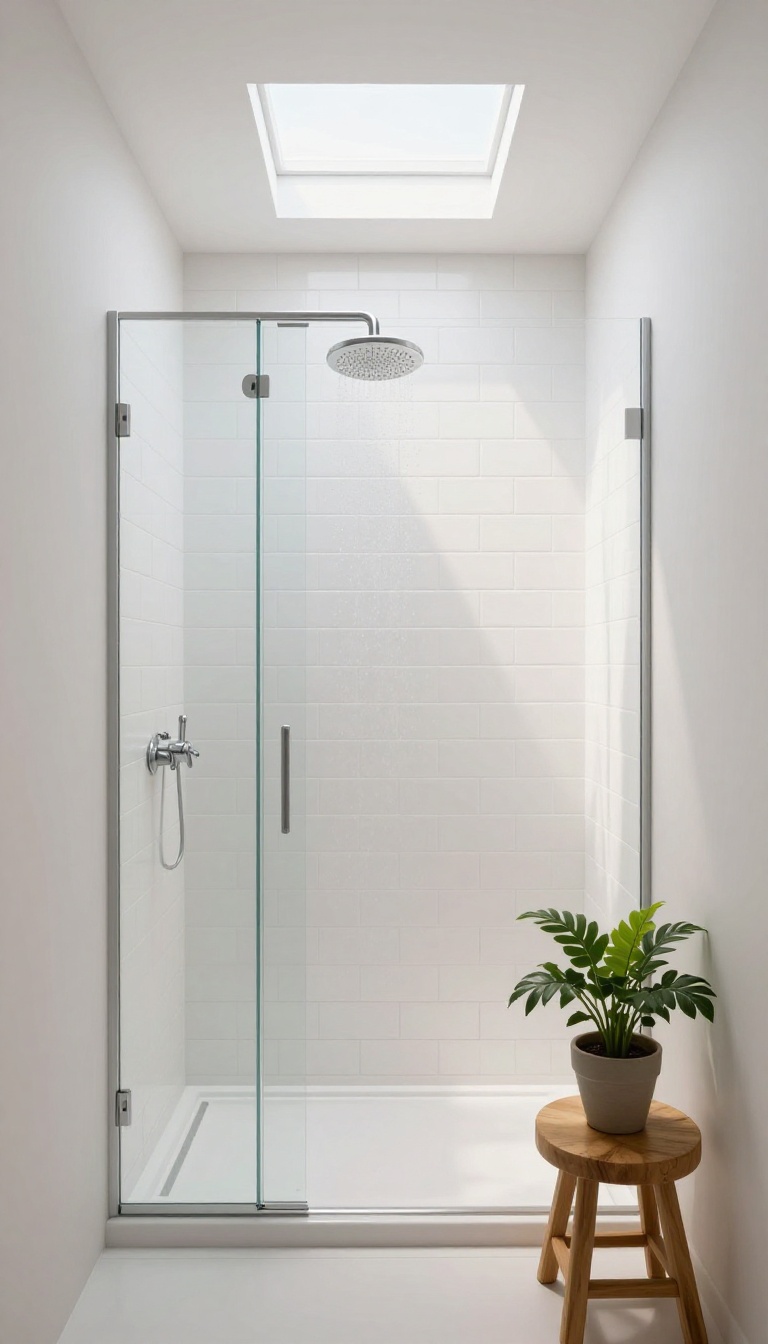
Natural light has a way of making any room feel bigger, and that's especially true in a small shower-only bathroom. Without windows, these spaces can feel closed in, even if you've chosen the right colors and fixtures. A skylight or solar tube changes that by pulling daylight into the room, which instantly adds depth and a refreshing, airy vibe.
The best part? You don't need a huge renovation to make it happen. Solar tubes are compact, easy to install, and can be placed almost anywhere, making them a smart option for tight spaces.
Skylights, on the other hand, offer a more dramatic effect, especially if you position them right above the shower. Either way, you're bringing the outdoors in, and that does wonders for both the look and the feel of your bathroom.
Adding a skylight or solar tube is a smart move for a small shower-only bathroom because it tackles the two biggest issues: lack of natural light and a feeling of being closed in. When you let daylight pour in, the space instantly looks larger and more inviting. Plus, it can help reduce your reliance on artificial lighting during the day, which is a nice bonus for your energy bills.
Here's how to make the most of this idea, whether you're planning a full remodel or just a simple upgrade.
Choose The Right Option For Your Space
Skylights are a classic choice, but they require a flat or sloped roof and a bit more structural work. Solar tubes, also known as sun tunnels, are a flexible alternative—they're basically reflective tubes that capture sunlight on your roof and channel it down into your bathroom. They're easier to install, cost less, and work well in tight spaces where a traditional skylight might not fit.
Think about the direction your roof faces and how much sun you get. South-facing options bring in the most light, but even north-facing ones can provide a soft, even glow. If you're unsure, talk to a professional to see which option suits your home's layout and your bathroom's needs.
Placement Matters For Maximum Effect
Where you put the skylight or solar tube can make a big difference. Ideally, you want it directly above the shower area to create a bright, open focal point. This not only illuminates the shower but also makes the whole room feel more expansive.
If that's not possible, place it near the center of the ceiling to distribute light evenly. Consider the angle of the sun throughout the day. A skylight that gets direct morning light can make your bathroom feel fresh and energizing, while one that catches afternoon sun might add a warm, cozy glow.
Just be mindful of glare and heat—adding a shade or choosing a glazing with UV protection can help.
Pair With Light Colors And Mirrors
Natural light works best when it has something to bounce off. If your bathroom has light-colored walls, tiles, or fixtures, the sunlight will reflect and spread, making the room feel even brighter and more spacious. Mirrors are another great ally—place one opposite the skylight or solar tube to double the effect.
You can also use translucent or frosted glass on the skylight to soften the light and maintain privacy. This way, you get the brightness without feeling exposed, especially if your bathroom is on a second floor or close to neighbors.
12. Choose a Wall-Mounted Toilet
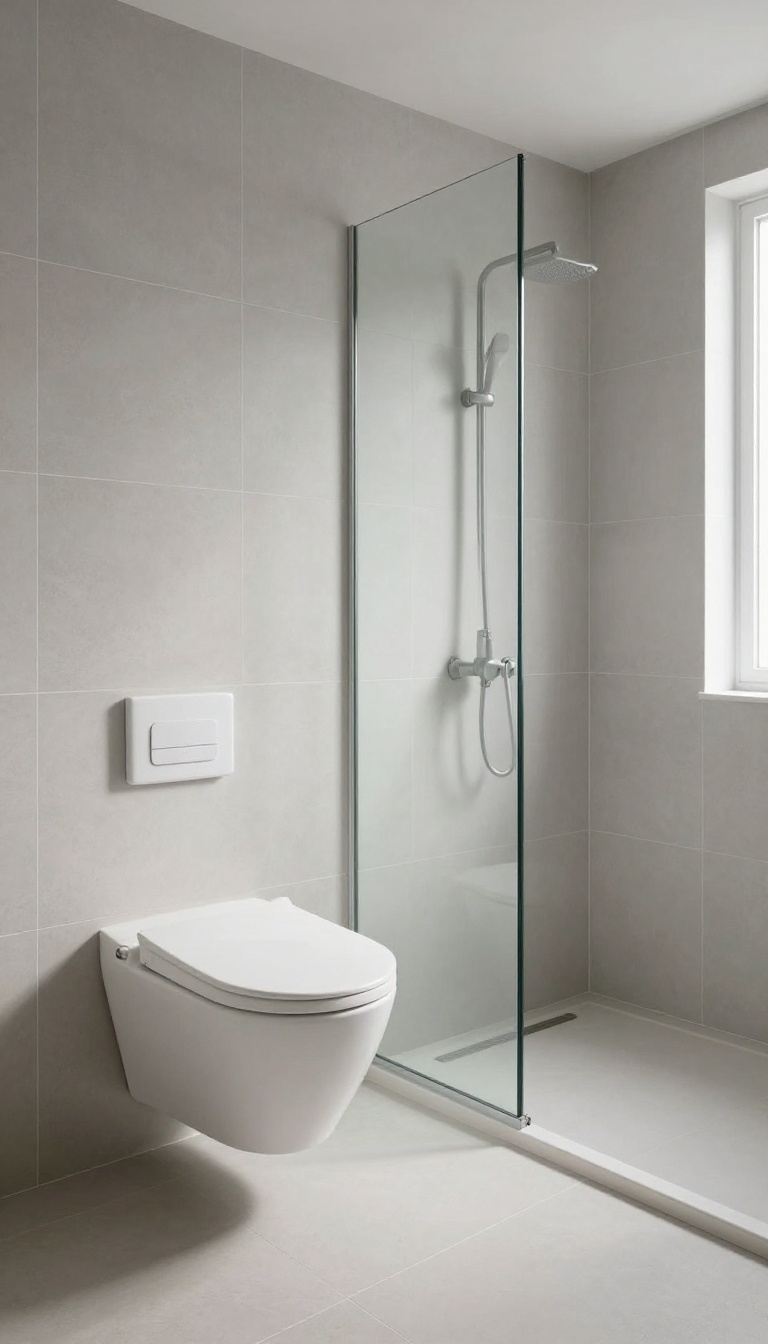
A wall-mounted toilet does more than just look sleek—it changes how the whole bathroom feels. By hiding the tank inside the wall, you free up precious floor space and make cleaning a breeze. That crisp, minimal look fits perfectly with the custom style you’re going for.
Wall-mounted toilets are a smart pick for small shower-only bathrooms. They create an open, airy feel because the floor beneath is completely clear. Plus, they’re easier to wipe down, so you spend less time scrubbing and more time enjoying your space.
Why It Works In A Small Bathroom
The hidden tank and floating bowl make the room appear larger. Without a bulky base, the eye travels further, and the open floor makes the space feel less cramped. It’s a simple visual trick that pays off daily.
Installation And Maintenance Tips
You’ll need access to the wall cavity for the tank, so plan for a sturdy frame and a professional plumber. Once installed, maintenance is straightforward—the wall panel gives you access to the tank when needed. And because there’s no pedestal, there are fewer nooks for grime to hide.
Pairing With Your Shower Design
Match the toilet’s clean lines with a frameless glass shower door or a curbless entry. Use the same tile on the floor and wall to create a seamless, custom look. The floating toilet becomes a design feature, not just a fixture.
13. Incorporate Smart Storage with a Mirrored Cabinet
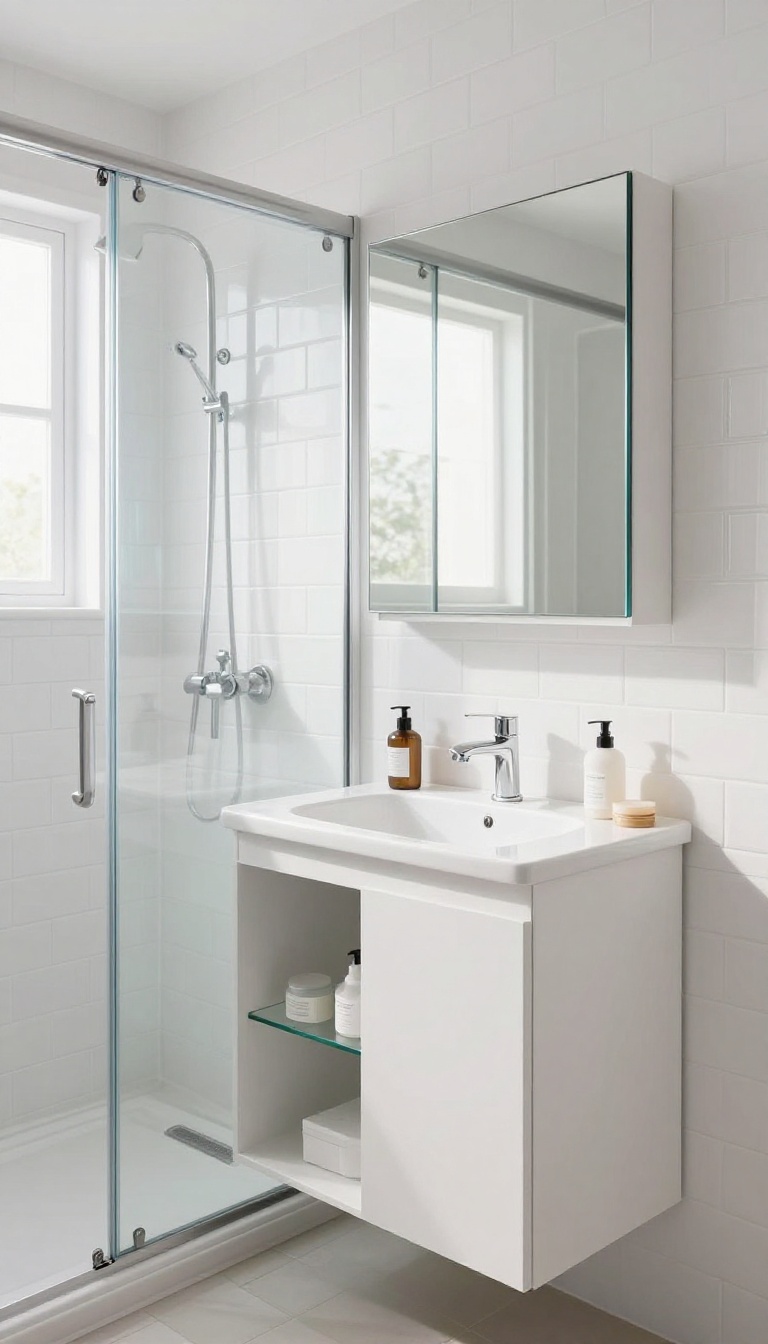
A mirrored cabinet above the sink is a classic trick that never goes out of style, especially in a shower-only bathroom where every inch matters. It pulls double duty: you get a full mirror for daily routines, and hidden shelves for all those toiletries that tend to clutter the counter. The result?
A cleaner, more open look that still keeps everything you need within arm's reach.
The beauty of a mirrored cabinet lies in its simplicity. Unlike open shelving, it hides the visual noise of bottles and tubes, making the space feel instantly tidier. Plus, because the mirror reflects light, it can make a small bathroom appear larger and brighter.
Whether you choose a recessed model to save even more space or a surface-mounted one for easier installation, this storage solution is a smart, stylish addition to any compact bathroom.
Recessed Vs. Surface-mounted
Recessed cabinets sit flush with the wall, which is perfect for tight spaces since they don't protrude into the room. They require a bit more work to install, but the seamless look is worth it. Surface-mounted cabinets are simpler to put up and can be swapped out easily, making them a great DIY-friendly option.
Think about your wall structure and how much storage you need before deciding.
Mirror Quality Matters
Not all mirrors are created equal. Look for a cabinet with a high-quality glass mirror that won't distort your reflection. Some models even come with anti-fog technology, which is a game-changer after a hot shower.
Also, consider the lighting: a mirror with built-in LED lights can provide task lighting for shaving or makeup application, saving you from installing extra fixtures.
Organize The Inside
Once you have your cabinet, keep the inside organized with small trays or containers for different items. Use the shelves for everyday essentials like toothbrushes and skincare, and reserve the top shelf for less frequently used products. This way, you'll always know where everything is, and you won't have to dig around when you're in a hurry.
FAQ
What is the best way to make a small shower-only bathroom look bigger?
Use large-format tiles, a frameless glass door, and light colors to create a seamless, airy look. Also, consider a curbless shower entry and wall-mounted fixtures to free up floor space.
How can I add storage to a small shower-only bathroom without taking up space?
Incorporate recessed niches in the shower walls, use a mirrored cabinet above the sink, and install a floating vanity. These options provide storage without protruding into the room.
Are there any space-saving door options for a small bathroom?
Yes, a pocket door slides into the wall, saving valuable floor space compared to a traditional swing door. It's a great option for tight bathrooms.
What type of showerhead is best for a small shower-only bathroom?
A rainfall showerhead is a popular choice because it provides a luxurious feel without taking up extra space. Wall-mounted options also help keep the area clutter-free.
Can I install a skylight in a small bathroom?
Yes, a skylight or solar tube can bring natural light into a small bathroom, making it feel more open and inviting. It's a worthwhile investment if you have access to the roof.
Conclusion
Small shower-only bathrooms have a lot of potential, and with the right ideas, they can feel crisp, custom, and surprisingly spacious. From large-format tiles to smart storage solutions, each of these tips helps you make the most of your space.
Start with the changes that make the biggest visual impact, and you'll soon have a bathroom that feels both functional and stylish. Remember, it's not about the size—it's about how you use it.