11 Noteworthy Big Shower Ideas for a Stylish, Usable Layout
A cramped shower can make your whole bathroom feel smaller than it is. If you're planning a renovation, thinking big might be the answer—but size alone doesn't guarantee a great space.
The best large showers combine smart layout, quality materials, and thoughtful details that make daily use a pleasure. Whether you're carving out a spa-like retreat or just want more elbow room, these ideas focus on practicality without sacrificing style.
From curbless entries to clever niches, each concept solves a common problem while elevating the look of your bathroom. Here are 11 noteworthy big shower ideas that deliver both form and function.
1. Walk-In Showers with Curbless Entry
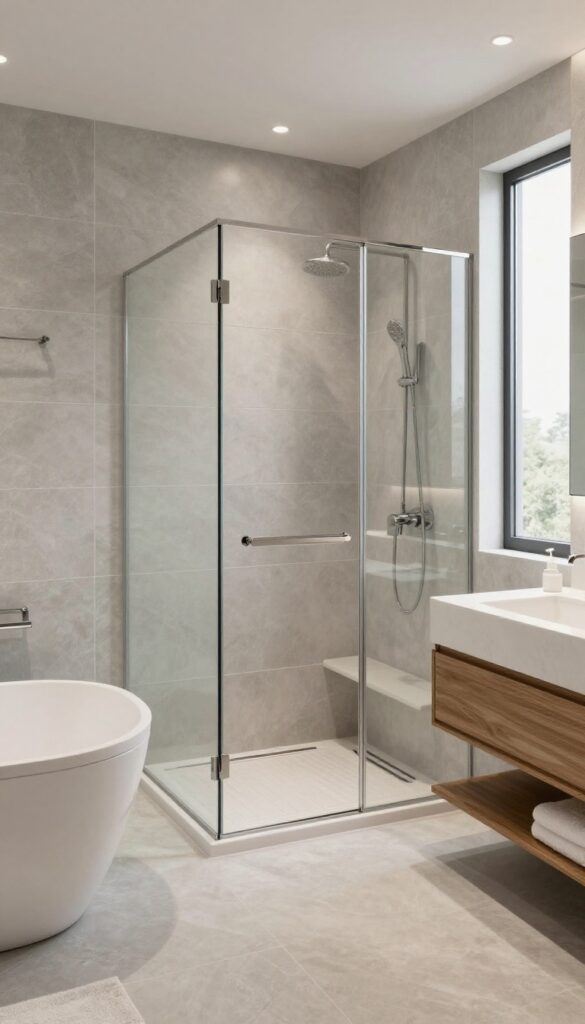
One of the biggest trends in modern bathroom design is the curbless shower, and it’s easy to see why. By removing the traditional step-over barrier, you get a seamless transition from the bathroom floor into the shower. This not only makes the space feel more open and expansive but also adds a touch of luxury that’s hard to beat.
A curbless entry is more than just a stylish choice—it’s a practical one. For anyone with mobility concerns, or for families with young children, eliminating the step eliminates a potential tripping hazard. It also makes cleaning a breeze since there’s no lip to collect dirt and grime.
Plus, the continuous flooring creates a visually larger space, making even a modest bathroom feel grand.
Seamless Flooring Options
To achieve a true curbless look, you’ll need to choose flooring that flows seamlessly from the bathroom into the shower. Large-format tiles or polished concrete are popular choices because they minimize grout lines and create a clean, uninterrupted surface. If you prefer a warmer feel, consider using the same wood-look tile throughout, which adds a spa-like vibe while remaining waterproof and durable.
Linear Drains For Function And Style
A curbless shower requires a properly sloped floor to direct water toward the drain. Linear drains are ideal for this setup because they can be placed along the wall or at the entrance, allowing for a flat, walkable surface. They also offer a sleek, modern aesthetic and are easier to keep clean than traditional center drains.
Plus, you can choose a drain cover that complements your tile, making it almost invisible.
Glass Panels For An Open Feel
To maintain that open, airy atmosphere, consider using a frameless glass panel instead of a full enclosure. A single pane of glass can separate the shower from the rest of the bathroom without blocking sightlines. This not only makes the space feel larger but also lets in more natural light, which is perfect for showing off your beautiful tile work.
For the best effect, keep the glass clear and avoid heavy framing.
2. Dual Shower Heads for Two
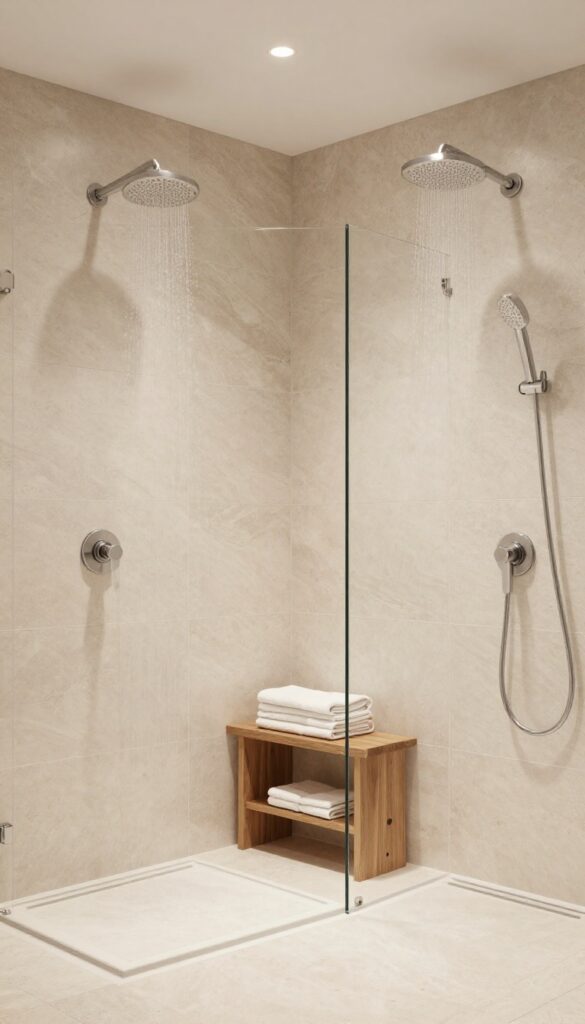
Sharing a shower can be a daily negotiation over water pressure and temperature. A dual-head setup turns that compromise into a coordinated experience, giving each person their own space while keeping the connection. It's a practical luxury that makes mornings smoother and evenings more relaxing.
Installing two separate shower heads on opposite walls creates a functional zone for couples without making the space feel crowded. You can each enjoy your preferred spray pattern and temperature, and the extra coverage means less waiting around in the cold. Plus, it adds a high-end hotel feel that's surprisingly affordable to achieve.
Choosing The Right Heads
Pick heads that complement each other rather than match exactly. A rainfall head on one side and a handheld on the other gives flexibility for rinsing off or cleaning the shower. Look for models with individual shut-off valves so you can adjust flow without affecting your partner's experience.
Placement And Plumbing
Mount the heads on opposite walls at a height that works for both of you—usually around 72 to 80 inches. Make sure the plumbing is routed to deliver strong pressure to both simultaneously. If you're working with an existing shower, a diverter valve can split the flow, but a dedicated line is better for consistent performance.
Spa-like Extras
Add a built-in bench or a small shelf between the heads for toiletries you both use. Consider a thermostatic valve to keep the temperature steady, even when one of you turns on a different fixture. These small touches make the dual setup feel intentional and indulgent.
3. Built-In Bench for Comfort and Safety
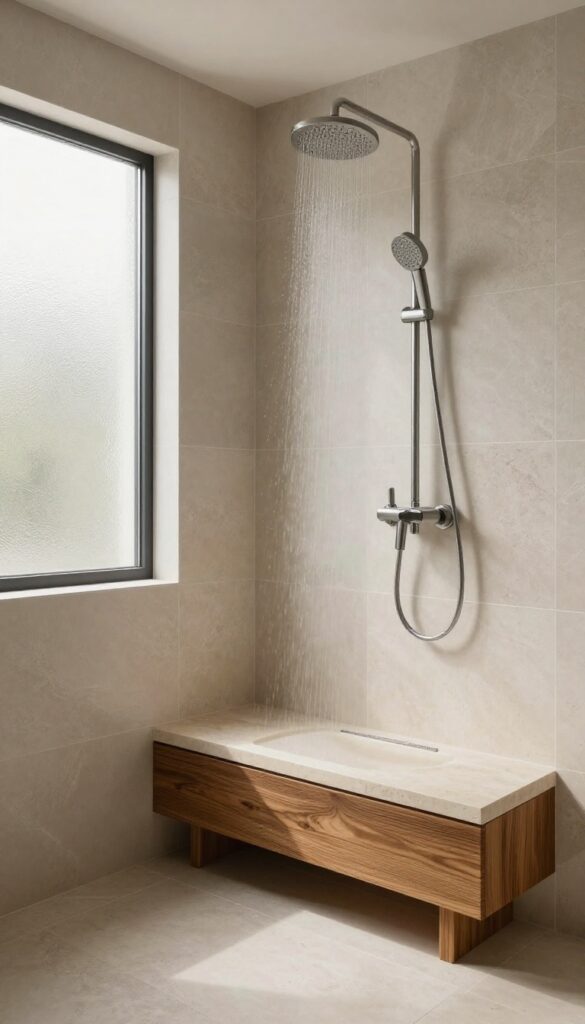
A built-in bench is one of those features that instantly makes a big shower feel more thoughtful. It gives you a spot to sit while shaving your legs, a stable place to steady yourself, and a convenient ledge for toiletries. For older adults or anyone with mobility concerns, it turns a luxury space into a genuinely safer one.
Adding a permanent bench is a smart move for both comfort and safety. Unlike a flimsy plastic stool, a built-in bench is sturdy, always there when you need it, and can be designed to match your shower's style perfectly. It also adds value to your home, since it's a feature many buyers appreciate.
Placement And Size
Think about where the bench will work best. A corner bench saves space, while a full-length bench along one wall offers more seating and storage. Aim for a depth of about 15 to 18 inches and a height of 17 to 19 inches, which feels comfortable for most people.
Make sure it doesn't block the shower door or the flow of water.
Material Choices
The material you choose affects both look and maintenance. Tile-covered benches blend seamlessly with your shower walls and can be made slip-resistant. Solid surface materials like quartz or marble are sleek and easy to clean, but they can be slippery when wet.
Natural stone adds a spa-like feel but requires more sealing. Consider adding a subtle texture or a teak mat for extra grip.
Safety Features
To make the bench safer, think about adding grab bars nearby or even integrated into the bench itself. A slight slope on the seat helps water drain off instead of pooling. You can also choose a bench with a rounded edge to avoid sharp corners.
These small details make a big difference in preventing accidents.
Design Integration
A built-in bench doesn't have to look like an afterthought. You can match it to your shower's tile for a seamless look, or use a contrasting material to make it a focal point. Add a niche above the bench for shampoo and soap, or place a rainfall showerhead right above it for a luxurious showering experience.
The bench can also double as a shelf for plants or candles.
4. Frameless Glass Enclosures to Open the Space
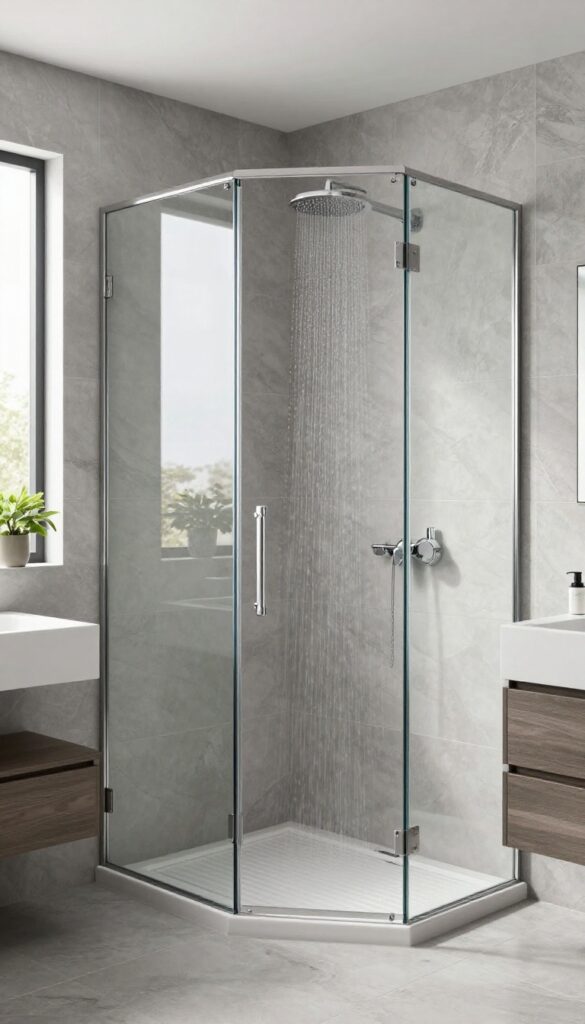
Big showers often feel more confined than they should, especially when bulky frames and opaque barriers chop up the sightline. That's where frameless glass enclosures come in. By ditching the heavy metal trim, you let the eye travel across the entire shower, making the space feel larger and more open.
Plus, the glass lets your beautiful tile work take center stage instead of competing with clunky hardware.
Frameless glass isn't just about aesthetics—it's a practical choice for anyone who wants a seamless, easy-to-clean shower. Without frames, there are fewer crevices for soap scum and grime to hide, so maintenance is simpler. The thick tempered glass panels (usually 3/8 to 1/2 inch) provide a sturdy, premium feel that instantly upgrades the bathroom's look.
Whether you opt for a fixed panel with a single door or a full glass surround, the effect is airy and modern.
Why Thick Glass Matters
Don't be tempted to go with thin glass to save money. Thicker glass (½ inch) feels more solid, reduces vibration, and looks more luxurious. It also provides better sound insulation and durability.
When you're investing in a big shower, the extra cost is worth it for the quality and safety.
Hardware And Hinges: Minimal But Strong
The hardware you choose can make or break the frameless look. Go for minimal, high-quality hinges and clips in finishes like brushed nickel or matte black. These small details should support the glass without drawing attention.
Consider a pivot door for a sleek, modern swing, or a sliding system if space is tight.
Cleaning And Maintenance Tips
Frameless glass is easier to clean than framed, but it still needs regular care. Use a squeegee after each shower to prevent water spots, and apply a glass protectant every few months to keep it sparkling. Avoid abrasive cleaners that can scratch the surface.
With minimal effort, your frameless enclosure will stay crystal clear.
5. Rain Shower Head with Handheld Combo
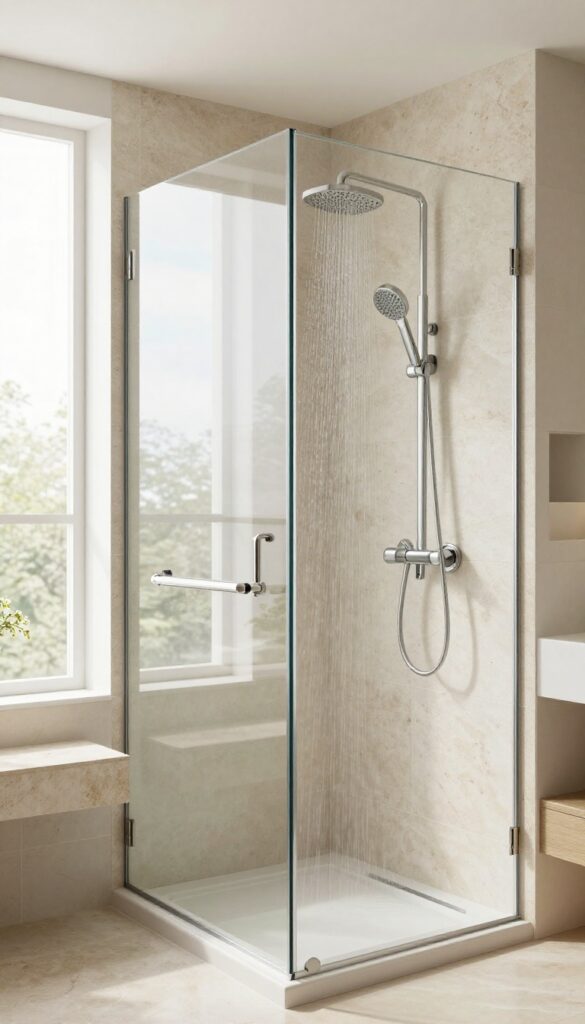
A rain shower head feels luxurious, but it's not always the most practical option for every task. That's where a handheld sprayer comes in. Pairing the two gives you the best of both worlds: a drenching rainfall experience and a flexible wand for targeted rinsing.
This combo is a game-changer for big showers. You get the spa-like ambiance of a rain shower overhead, plus the convenience of a handheld for everything from washing your hair to cleaning the shower walls. It's a simple upgrade that makes a large shower far more functional.
Why You Need Both
A rain shower head is fantastic for a relaxing soak, but it's not great for rinsing shampoo out of thick hair or directing water exactly where you need it. A handheld sprayer solves those issues. It's also a lifesaver for cleaning the shower itself—no more stretching to reach corners or bending awkwardly to rinse off the walls.
Choosing The Right Setup
Look for a combo unit that comes with a diverter valve, so you can switch between the rain head and the handheld with a simple flip or pull. Some models even let you use both at once, which is a nice bonus. Consider the mounting options: a slide bar lets you adjust the handheld's height, while a wall-mounted holder keeps it within easy reach.
For a sleek look, choose a finish that matches your other fixtures.
Installation Tips
If you're replacing an existing showerhead, this is a straightforward DIY project. But if you're building a new shower, plan the plumbing rough-in so both the overhead rain head and the handheld are properly positioned. Make sure the water pressure is sufficient to run both features simultaneously if you plan to use them together.
A pressure-balancing valve can help maintain a consistent temperature.
6. Recessed Niches for Organized Storage
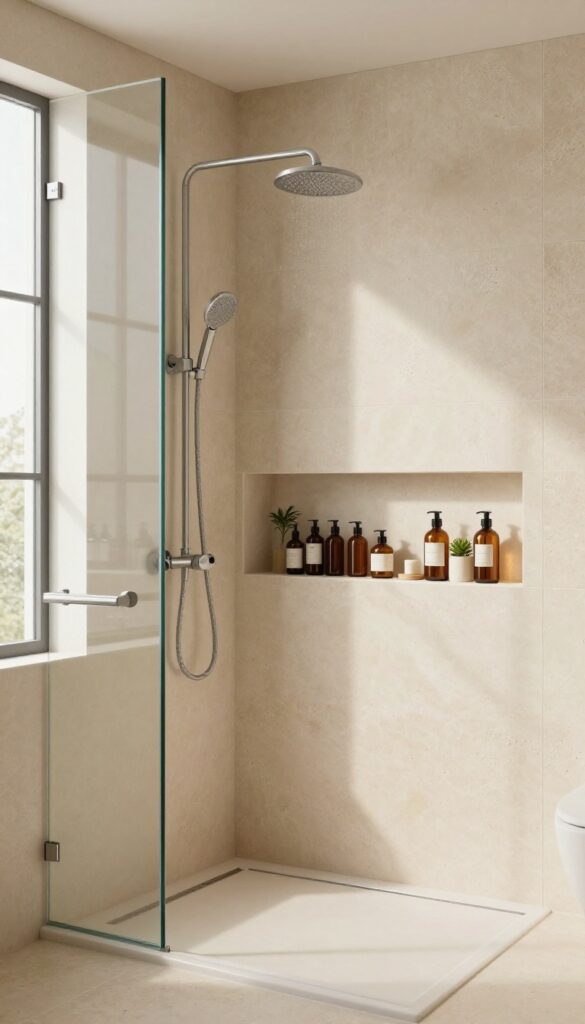
Shampoo bottles and soap bars can quickly turn a spacious shower into a cluttered mess. Instead of relying on bulky caddies or corner shelves that eat into your elbow room, recessed niches offer a sleek, built-in storage solution. These wall cutouts keep your essentials within easy reach while preserving the clean, open feel of a large shower.
Recessed niches are more than just a place to stash your toiletries—they're a design feature that can add depth and visual interest to your shower walls. When planned well, they make your daily routine smoother and keep the space looking tidy. Here’s how to get the most out of them.
Placement And Size
Think about where you naturally reach for your products. A niche near the showerhead, at chest height, is ideal for shampoo and body wash. If you have a bench, consider a lower niche for soap or razors.
Aim for a size that fits your largest bottle—usually about 12 to 16 inches square—to avoid wasted space. You can also create multiple smaller niches instead of one big one, which gives you more flexibility.
Materials And Finishes
The material of your niche should match your shower walls for a seamless look, or contrast for a bold statement. Tile is the most common choice, and you can use the same tile as the walls or a different color for a pop. For a modern touch, consider a metal niche with a matte black or brushed nickel finish.
Make sure the shelves are slightly sloped to prevent water from pooling.
Adding Lighting And Details
A niche can become a focal point with a little extra attention. Install a small LED light inside to highlight your products and create a spa-like ambiance. You can also use a contrasting tile on the back wall of the niche to add depth.
If you have a niche near the entrance, use it to display a folded towel or a small plant for a decorative touch.
7. Linear Drains for a Sleek, Flat Floor
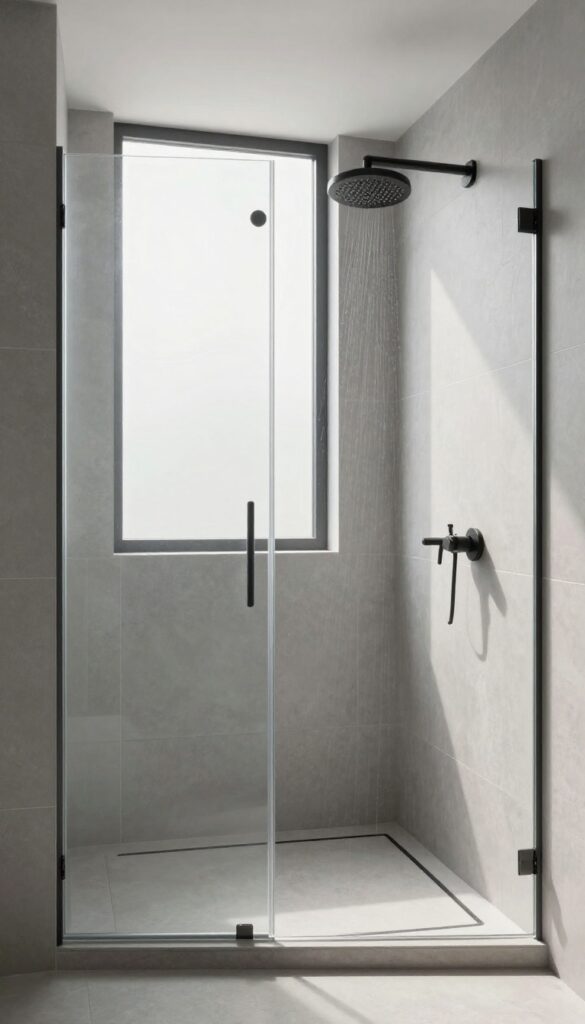
When you're designing a large shower, the drain often becomes an afterthought. But the right choice can completely change how the space feels underfoot. A traditional center drain forces you to slope the floor in multiple directions, which can make the surface uneven and tricky to tile.
A linear drain flips that idea on its head. Instead of a central point, it sits along one edge, letting the floor stay perfectly flat from wall to wall. Water simply runs in a straight line toward the channel, which means no more standing in a shallow puddle while you rinse off.
The visual payoff is immediate: a continuous, unbroken tile surface that looks almost seamless. That flat floor also opens up more freedom with tile choices, since you're not cutting pieces to fit a slope. And because the channel is long and narrow, it handles high water flow efficiently—something you'll appreciate if you've got a rain head or multiple sprays going at once.
Why Flat Floors Matter In A Big Shower
A large shower naturally invites bigger tile formats, like 12×24 or even 24×48 planks. With a traditional drain, those large tiles need to be cut and angled to create the required slope, which can look messy and feel awkward. A linear drain keeps the floor level, so you can lay large tiles with minimal cutting and a cleaner finish.
That flat surface is also safer. There's no uneven transition to trip over, and it's easier to clean since water doesn't pool in low spots. If you're planning to go curbless, a linear drain is almost essential—it lets you keep the floor flush with the rest of the bathroom while still directing water where it needs to go.
Placement Options That Work
Where you put the linear drain changes the whole feel of the shower. A common choice is along the back wall, opposite the entry. That way, water naturally flows away from you as you stand under the spray, and the floor stays dry near the door.
Another smart spot is right at the shower entrance. This catches water before it escapes onto the bathroom floor, which is especially handy for curbless designs. You can also install two drains in a very large shower to speed up drainage, though that's a bit more complex to plumb.
Talk to your contractor about the best layout for your specific space and usage.
Tile And Finish Tips For A Seamless Look
To really sell the sleek, flat-floor effect, pick tiles that continue from the floor up the wall without a visible transition. Large-format porcelain or natural stone in a matte finish works beautifully. You can even use the same tile on the shower floor and the bathroom floor for a truly continuous look.
For the drain cover itself, choose a style that matches your tile. Many linear drains come with a tile insert, so the cover disappears almost completely. If you prefer a visible metal grate, go with a brushed nickel or matte black to tie into your fixtures.
Just make sure the grate is removable for easy cleaning—hair and soap scum will collect there, and you'll want to pop it off every few weeks.
8. Natural Stone Tile for a Spa Vibe
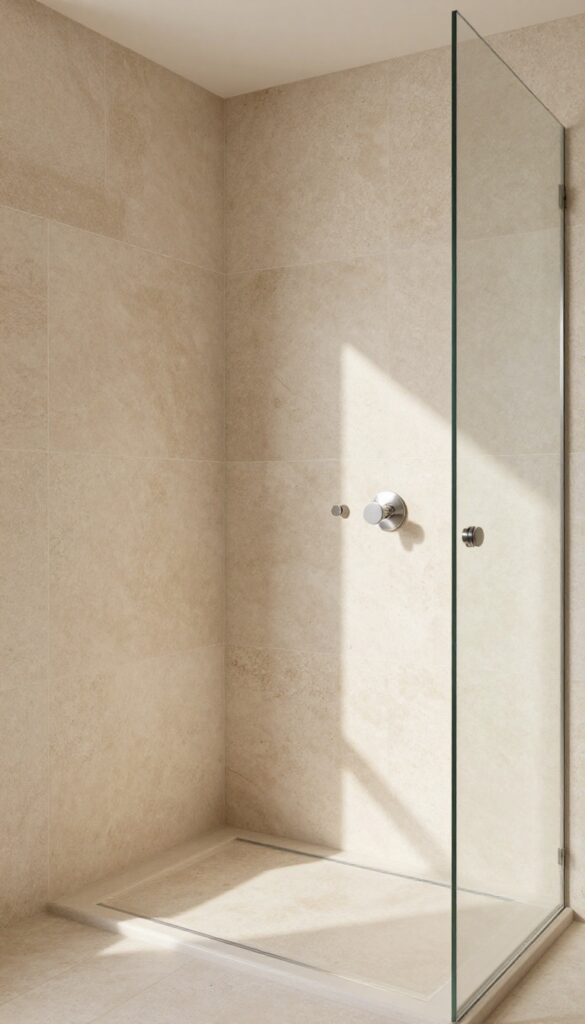
Nothing says spa quite like the cool, organic feel of natural stone underfoot. Large-format stone or porcelain tiles that mimic the real thing can turn a big shower into a serene retreat. Beyond the looks, stone offers practical benefits like slip resistance and durability, making it a smart choice for a wet area.
The key is picking the right finish and size to keep maintenance manageable while maximizing that calm, high-end aesthetic.
When you step into a shower lined with natural stone, the whole room seems to exhale. The subtle variations in color and texture create a sense of depth that plain ceramic tiles just can't match. For a big shower, large-format tiles—think 12×24 inches or larger—reduce grout lines, which means less scrubbing and a more seamless, expansive look.
Porcelain tiles that replicate stone are a popular alternative because they offer the same visual warmth with better water resistance and lower upkeep. But if you're set on real stone, options like travertine, slate, or quartzite each bring their own personality. Slate's cleft surface gives excellent traction, while honed marble feels smooth and cool underfoot.
To keep the spa vibe going, pair your stone with a linear drain that disappears into the floor, and consider a wall-mounted thermostatic valve for a clean, uncluttered look. The goal is to let the material shine without visual noise.
Choosing The Right Stone
Not all stone is created equal for shower use. Porous stones like limestone need regular sealing to prevent stains and water damage. For a worry-free option, go with porcelain that looks like stone—it's nearly maintenance-free and holds up beautifully in wet environments.
If you prefer the real thing, choose a dense stone like granite or quartzite, which are less porous and more resistant to moisture. Slate is another durable choice, though its rough surface can be harder to clean. Think about the look you want and how much upkeep you're willing to commit to.
Large Vs. Small Tiles
Large-format tiles are a game-changer in a spacious shower. They minimize grout lines, which not only looks sleek but also reduces the areas where mold and mildew can take hold. Bigger tiles also make the shower feel even more expansive, enhancing that open, airy spa sensation.
Smaller tiles, like mosaics, can be used as accents or on the floor for better slip resistance, but they require more grout and more cleaning. For a cohesive look, stick with large tiles on the walls and consider a matching mosaic sheet on the floor for safety.
Finishes And Textures
The finish of your stone tile affects both appearance and safety. A polished finish looks elegant but can be slippery when wet. A honed or matte finish offers better traction and a more natural, understated look that's perfect for a spa-like retreat.
Textured surfaces, like tumbled stone or slate, provide extra grip and a rustic feel. If you love the look of polished marble but worry about slipping, you can use it on the walls and choose a textured tile for the floor. This way you get the best of both worlds.
9. Steam Shower Features for a Home Retreat
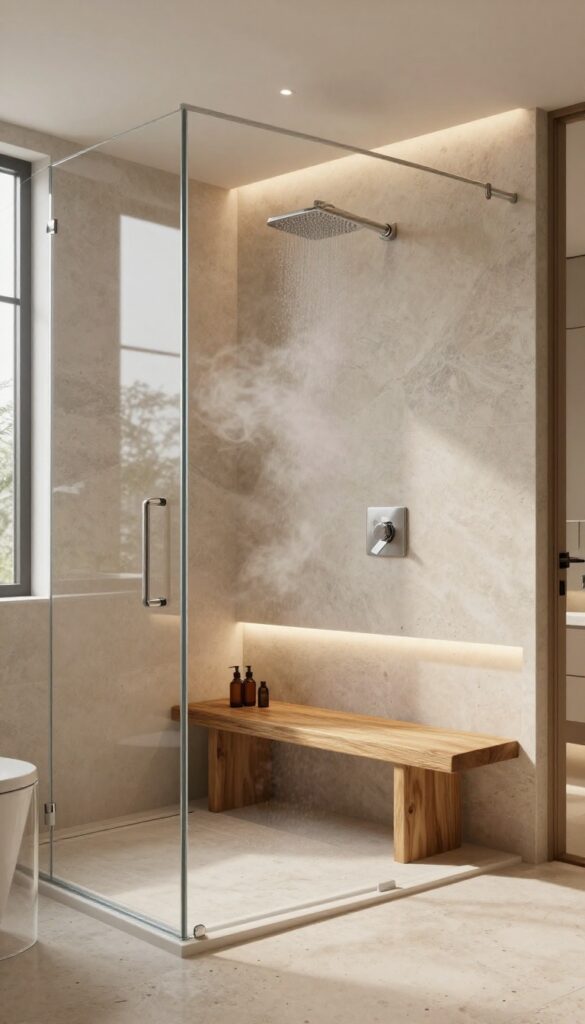
Turning your big shower into a steam room takes the luxury factor up a notch. It's not just about adding a generator; it's about creating a sealed, comfortable space where you can unwind after a long day. With the right features, your shower becomes a personal wellness oasis that rivals any spa.
Steam showers are a fantastic way to make your large shower feel like a true retreat. The key is to plan for proper sealing, ventilation, and seating so the steam stays in and you stay comfortable. Here's how to bring this indulgent feature to life in your home.
Essential Components For A Steam Shower
A steam shower needs more than just a generator. You'll need a vapor-tight glass enclosure with a sealed door, waterproof backer board behind the tile, and a sloped ceiling to prevent dripping. Don't forget a steam control panel inside the shower to adjust temperature and duration, plus a built-in audio system for the full spa vibe.
Comfort And Safety Considerations
Since steam can make surfaces slippery, choose textured tile for the floor and add a built-in bench or corner seat. Grab bars are a smart addition, especially for older adults. Also, install a vent fan to remove excess moisture after use, and keep the steam generator outside the shower area for easy maintenance.
Design Ideas To Enhance The Experience
Incorporate aromatherapy by adding an essential oil dispenser to the steam line. Use warm, soft lighting—like LED strips under the bench or a waterproof ceiling light—to create a calming atmosphere. Consider a rainfall showerhead in addition to the steam, so you can enjoy both options.
With these touches, your steam shower becomes a daily escape.
10. Wet Room Concept for Open Living
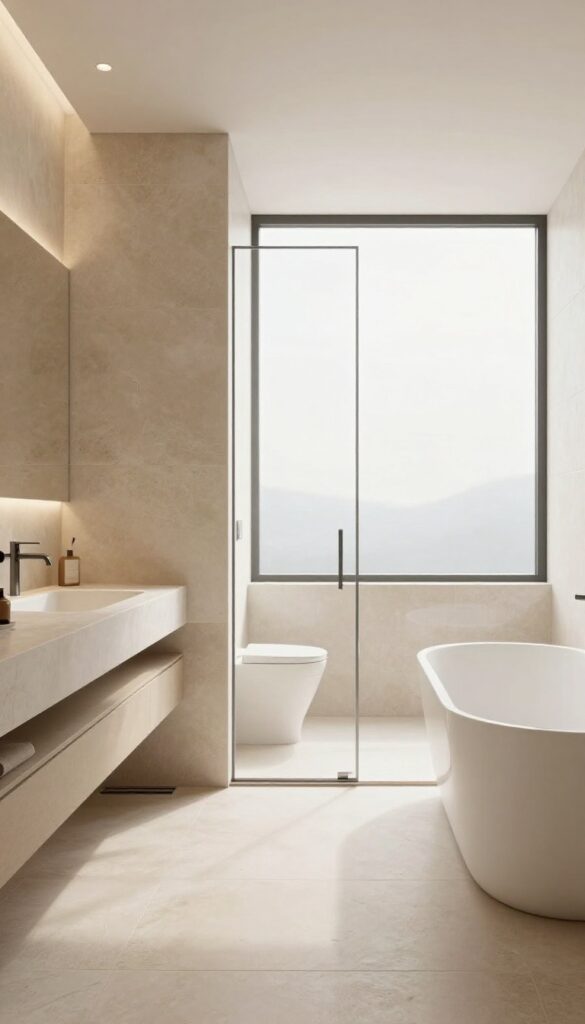
If you're ready to break down barriers, the wet room concept might be your perfect match. This design merges the shower with the rest of the bathroom in a fully waterproofed space, creating a seamless, open feel. It's a bold move that can make even a large bathroom feel more expansive and modern.
Wet rooms are a fantastic way to maximize space and create a sleek, minimal aesthetic. By eliminating the shower enclosure, you gain visual square footage and a cleaner line of sight. This approach works especially well in primary bathrooms where you want a luxurious, spa-like atmosphere.
The key is meticulous waterproofing and a smart floor slope to keep water moving toward the drain.
Why Go Fully Open?
The biggest advantage of a wet room is the sense of openness it brings. Without a glass door or curtain, the bathroom feels larger and more inviting. It also simplifies cleaning—no tracks or hinges to scrub.
Plus, it's a highly accessible option, as there's no step to navigate, making it a smart choice for aging in place or for families with young kids.
Planning The Perfect Slope
A wet room only works if the water flows where it should. The floor needs a subtle but consistent slope toward a linear drain, usually installed along one wall or in the center. This requires precise work from a contractor, but the result is a floor that dries quickly and feels safe underfoot.
Choose a large-format tile with a textured finish to improve grip and reduce the risk of slips.
Styling Your Wet Room
With no enclosure to define the space, you'll want to create visual separation through materials and lighting. Use a different tile pattern or color for the shower zone, or add a low partition wall for a hint of privacy. Consider a freestanding tub as a striking centerpiece, or keep it simple with a sleek bench and a rain shower head.
The open layout gives you the freedom to design a truly personal retreat.
11. Glass Block or Patterned Glass for Privacy
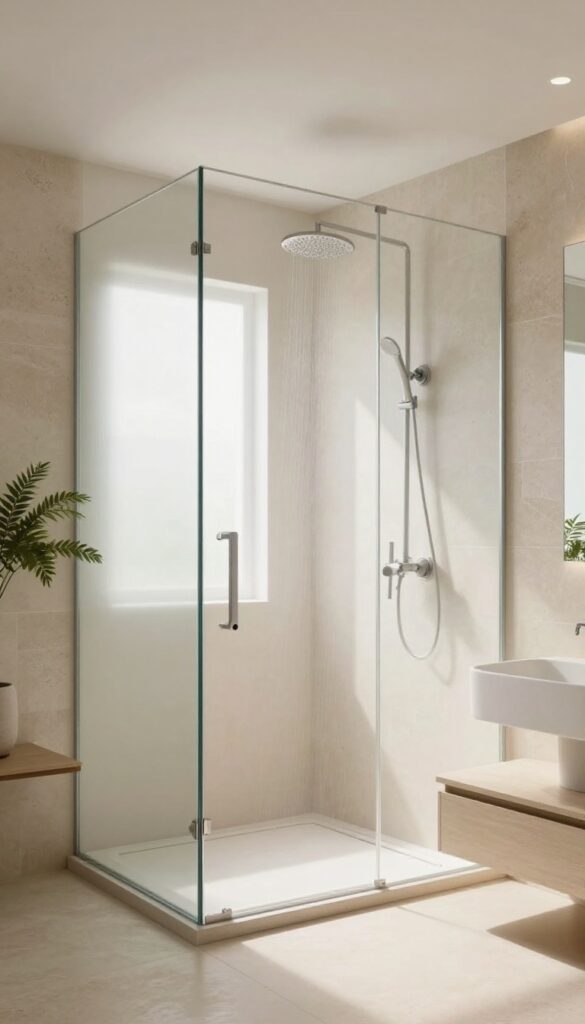
Big showers often come with big windows, which sounds great until you realize the neighbors can see everything. You want natural light, but you also want to feel comfortable. That's where glass block and patterned glass come in—they let sunshine pour in while keeping your shower private.
These materials are not just functional; they add texture and character to the space. Whether you choose classic glass block or a modern frosted panel, you can create a bright, airy shower that still feels like a retreat.
Using glass block or patterned glass is a smart way to bring light into a large shower without sacrificing privacy. It's especially useful if your bathroom is on the ground floor or faces a neighbor's home. Beyond privacy, these glass options add visual interest and can make the shower feel more open and connected to the rest of the room.
Glass block has been around for decades, but it's making a comeback in contemporary design. Patterned glass, on the other hand, offers more variety in style and can be customized to fit your exact vision. Both are durable, easy to clean, and can be installed in various ways to suit your layout.
Why Choose Glass Block?
Glass block is a timeless choice that provides excellent privacy while still transmitting up to 80% of natural light. It's also a great insulator, helping to keep your shower warm in the winter and cool in the summer. Glass block can be used for entire walls, shower enclosures, or as a decorative accent around a window.
It's sturdy, low-maintenance, and available in different sizes, patterns, and even colors to match your bathroom's style.
Patterned Glass Options
Patterned glass comes in a wide range of textures, from subtle frosted finishes to bold geometric patterns. Some popular options include rain glass, which has vertical lines that obscure visibility, and reeded glass, which offers a ribbed texture that adds depth. Laminated glass with interlayers can also be used to create custom patterns or even embed decorative elements.
This type of glass is perfect for shower doors, partitions, or windows, allowing you to achieve a modern look while keeping things private.
Installation And Maintenance Tips
When installing glass block, it's essential to use proper mortar and reinforcement to ensure structural integrity. For patterned glass, consider using tempered glass for safety, especially in a shower environment. Both materials are relatively easy to clean—just use a mild glass cleaner and a soft cloth to avoid scratching the surface.
Avoid abrasive cleaners that can dull the finish over time. With a little care, these glass features will look great for years.
FAQ
What is the best size for a big shower?
A comfortable big shower is at least 36 x 60 inches, but for a truly spacious feel, consider 48 x 72 inches or larger. The right size depends on your bathroom layout and how you plan to use the space.
How can I make a large shower feel cozy?
Add warm lighting, wood-look tile, or a built-in bench. Using natural materials and soft textures can make a big shower feel inviting rather than cavernous.
Do big showers require special waterproofing?
Yes, larger showers need thorough waterproofing, especially if you opt for a curbless entry or wet room. Use a quality waterproof membrane behind tile and ensure proper slope toward the drain.
What is the best flooring for a big shower?
Large-format tiles with a textured finish are ideal—they look sleek and provide slip resistance. Avoid small tiles with too much grout, which can be harder to clean.
Can I install a steam shower in a big shower?
Absolutely. A steam shower requires a sealed glass enclosure and a steam generator. Big showers are perfect for this, as they give you room to move while enjoying the steam.
Conclusion
Big showers are more than just a luxury—they can transform your daily routine and add real value to your home. By focusing on practical details like curbless entries, smart storage, and quality materials, you can create a space that looks stunning and works effortlessly.
Take your time planning the layout and choose features that match your lifestyle. With the right ideas, your big shower can become the highlight of your bathroom for years to come.