10 Shower-Only Bathroom Ideas for a Smooth, Efficient Space
Think a bathroom without a bathtub feels like a compromise? Think again. Shower-only bathrooms are becoming the go-to choice for modern living, offering a sleek, efficient layout that’s easier to maintain and surprisingly luxurious.
With the right design choices, you can turn a simple shower space into the centerpiece of your daily routine. The key is to focus on smart planning and thoughtful details.
Whether you’re renovating a small powder room or a spacious master suite, these ideas will help you create a smooth, efficient space that feels open, organized, and inviting. Let’s dive into ten ways to make your shower-only bathroom work harder for you.
1. Curbless Entry for Seamless Flow
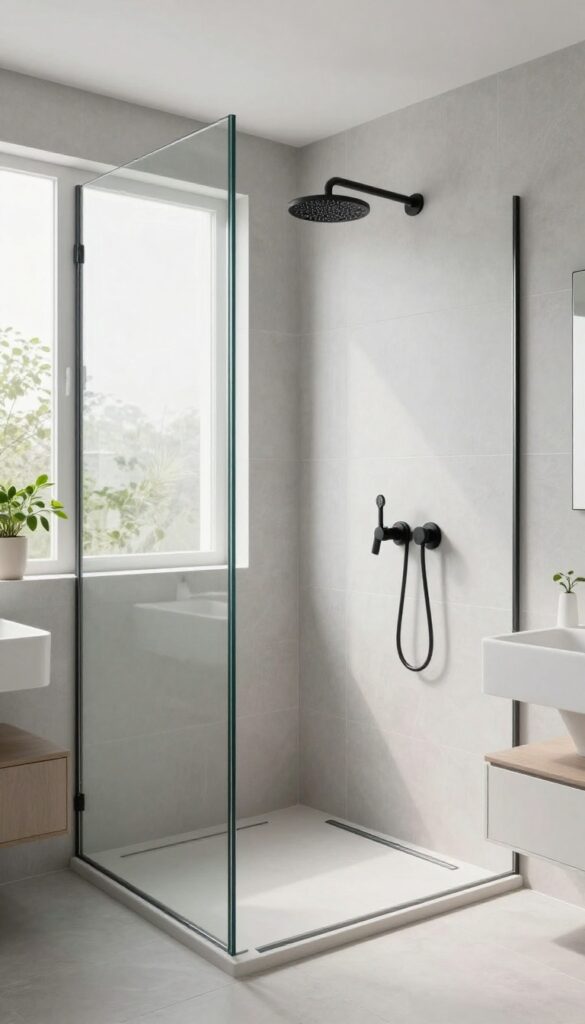
A curbless shower removes the traditional step-over barrier, letting the floor continue uninterrupted from the rest of the bathroom. That single change can make the whole room feel more open and connected, especially in compact spaces. It also brings a clean, contemporary look that fits right in with modern design trends.
Beyond the visual appeal, a curbless entry is a practical win. You won't have a ledge to trip over, and cleaning becomes easier since there's no lip to collect grime. For anyone planning to age in place or dealing with mobility challenges, it's a thoughtful upgrade that adds value without sacrificing style.
Why It Works
Removing the curb eliminates visual clutter and makes the shower feel like a natural extension of the room. The seamless transition also makes the space appear larger, which is a big plus in smaller bathrooms. Plus, it's a sleek, minimalist choice that pairs well with large-format tiles and frameless glass.
Installation Tips
To pull off a curbless shower, you'll need to slope the floor toward the drain and ensure proper waterproofing. That often means recessing the shower area or raising the rest of the bathroom floor slightly. Hiring a pro with experience in linear drains and waterproof membranes is worth the investment to avoid leaks and drainage issues.
Design Considerations
Think about drainage placement—a linear drain along the back wall or at the entrance works well and keeps the floor looking clean. Choose slip-resistant tiles for the shower floor to stay safe when wet. And don't forget to plan for a glass panel or curtain that keeps water from splashing out, since there's no curb to contain it.
2. Linear Drain for a Sleek Look
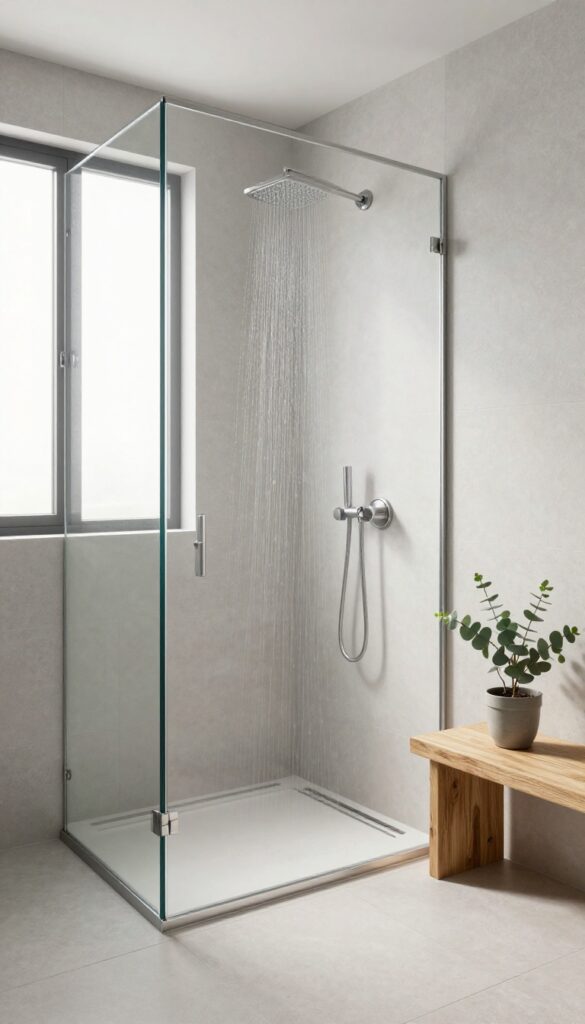
A linear drain is a game-changer for shower-only bathrooms. Instead of a traditional center drain, this long, narrow channel sits along one edge of the floor, letting you tile the entire shower base flat. The result is a clean, minimalist look that feels more open and modern.
Beyond aesthetics, a linear drain improves water flow and makes the shower easier to keep clean. You can also install it with a slight slope for better drainage, and the flat floor is a joy to stand on.
The linear drain is more than just a functional upgrade—it's a design statement. By removing the need for a center drain, you gain a seamless, uninterrupted floor that can be tiled with large-format tiles or even natural stone. This not only looks sleek but also creates a more spacious feel, especially in smaller bathrooms.
One of the biggest advantages is the flexibility in placement. You can install the drain along the wall, near the entrance, or even in the middle of the shower, depending on your layout. This allows for a truly customized design that works with your space.
Another benefit is the ease of cleaning. With no corners or crevices around a traditional drain, there's less grime buildup. The flat surface also means no tripping hazards, making it a safe choice for all ages.
Why Choose A Linear Drain?
Linear drains are not just about looks—they offer practical advantages that make your shower more efficient. The long channel catches water quickly, preventing puddles and keeping the floor drier. This is especially useful in a shower-only bathroom where you want to minimize moisture on the rest of the floor.
They also allow for larger tiles, which means fewer grout lines and less maintenance. And because the drain is hidden along the edge, it doesn't interrupt the visual flow of the floor, making the space feel more expansive.
Installation Tips
When installing a linear drain, proper planning is key. You'll need to create a slight slope (about 1-2%) toward the drain to ensure water flows efficiently. This can be done with a mortar bed or a prefabricated shower pan.
Choose a drain with a removable grate for easy cleaning. Also, consider the placement of the drain relative to the showerhead—placing it opposite the showerhead ensures water doesn't pool near the entrance. Always hire a professional for the waterproofing and drainage connections to avoid leaks.
Design Ideas To Try
For a truly sleek look, pair a linear drain with a curbless shower entry. The continuous floor from the bathroom to the shower creates a seamless, open feel. You can also use the drain as a design element by choosing a decorative grate that matches your fixtures.
Another idea is to tile the shower floor with a contrasting pattern or color, with the linear drain acting as a subtle divider. This adds visual interest without compromising the minimalist aesthetic. Don't be afraid to experiment with different tile sizes and textures to make the space your own.
3. Frameless Glass Enclosure to Open Up the Room
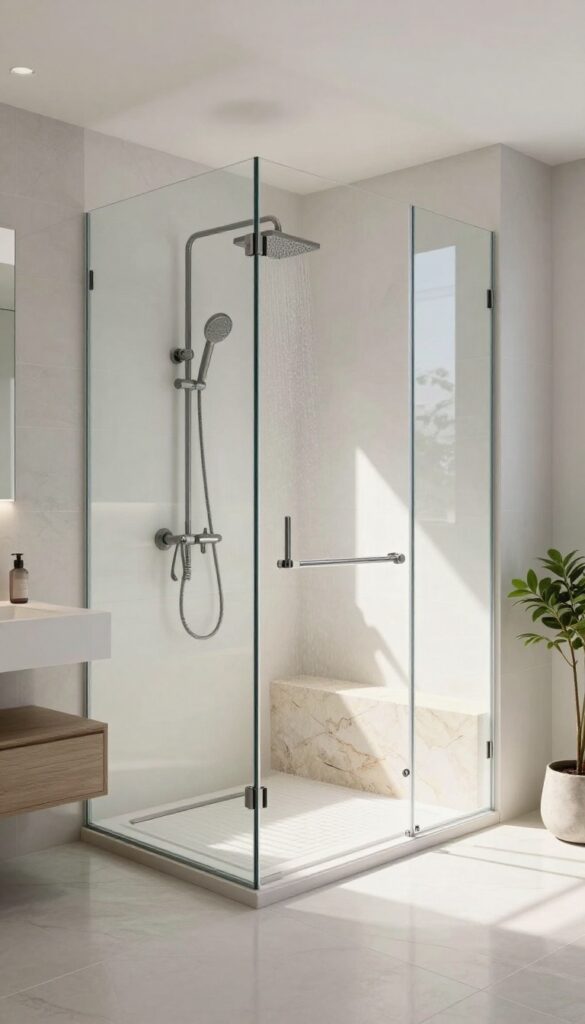
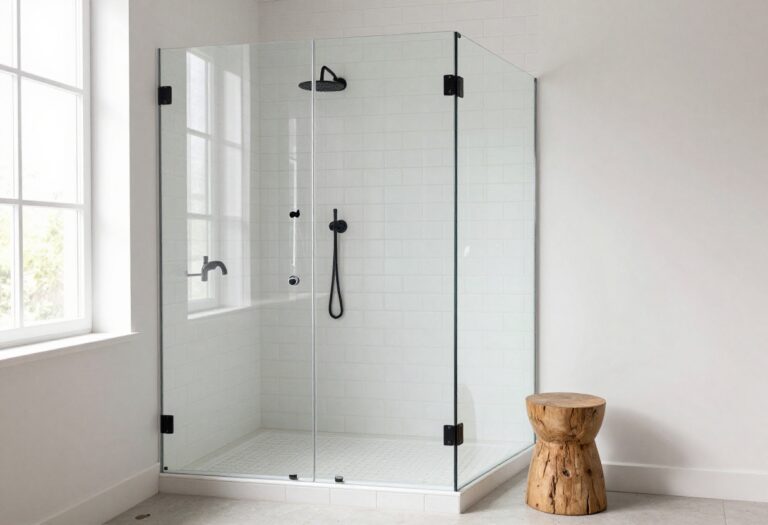
Frameless glass is the secret weapon for making a shower-only bathroom feel twice its size. Without bulky metal frames or opaque panels, your eye travels uninterrupted from one end of the room to the other. The result is a clean, seamless look that instantly modernizes the space.
Frameless glass doors and panels eliminate visual barriers, making the bathroom appear larger and more open. They also showcase beautiful tile work and allow natural light to flow through. Unlike framed alternatives, frameless glass uses minimal hardware—often just a discreet hinge and a top mount—so the focus stays on the shower itself and the materials around it.
Why Frameless Beats Framed
Framed shower doors come with thick aluminum or steel borders that break up the sightline and can feel dated. Frameless glass, on the other hand, uses tempered glass that’s typically 3/8 to 1/2 inch thick, with no metal frame around the edges. This not only looks sleeker but also makes cleaning easier—no grooves or tracks where soap scum and grime can build up.
Let The Light Do The Work
If your bathroom has a window or you’re working with a smaller footprint, frameless glass lets natural light travel freely. That means you can rely less on overhead lighting during the day and create a brighter, more inviting atmosphere. Plus, if you’ve invested in a beautiful tile pattern or a striking shower niche, frameless glass shows it off without any visual clutter.
Installation And Safety Considerations
Frameless glass requires professional installation because the panels are heavy and precise measurements are crucial. The glass is tempered for safety, so it’s strong and shatters into small, blunt pieces if broken. Make sure your shower curb or floor is perfectly level to avoid gaps, and consider a slight slope toward the drain to keep water from escaping.
4. Niche Shelving for Clutter-Free Storage
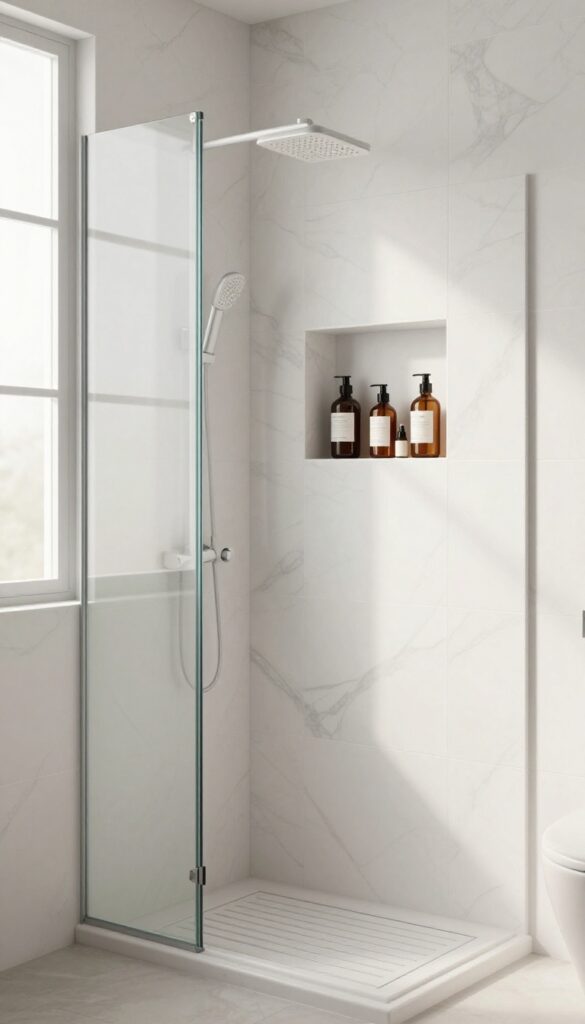
Shower caddies and corner shelves can start to feel messy fast, especially when bottles pile up. Built-in niches offer a cleaner, more permanent solution that keeps everything within reach without eating into your shower space. They blend right into the wall, so your shower stays sleek and organized.
A niche is essentially a recessed shelf built into the shower wall, typically framed with tile or waterproof materials. Because it’s flush with the wall, it doesn’t create any protrusions that you might bump into. That makes it perfect for storing shampoo, conditioner, and body wash without visual clutter.
Placement And Size
Where you put the niche matters as much as having one. The most convenient spot is usually on a side wall, about chest to shoulder height, so you can grab products without bending or stretching. A single niche around 12 to 16 inches wide and 8 to 10 inches tall works for most people, but you can also go with two smaller ones if you prefer separate areas for different products.
Materials And Waterproofing
Since the niche is part of the shower enclosure, it needs to be fully waterproofed. That means using a waterproof membrane behind the tile and ensuring the shelf slopes slightly toward the drain so water doesn’t pool. Tile is the classic choice, but you can also use solid surface or stone for a seamless look.
Just make sure the materials are rated for wet areas.
Styling And Organization
Think about what you’ll actually store in the niche. If you have tall bottles, measure the height to avoid surprises. You can also add a small ledge or divider to keep items from sliding around.
For a polished look, coordinate the niche tile with the rest of the shower, or use a contrasting tile to make it a design feature.
5. Rain Shower Head for a Spa-Like Feel
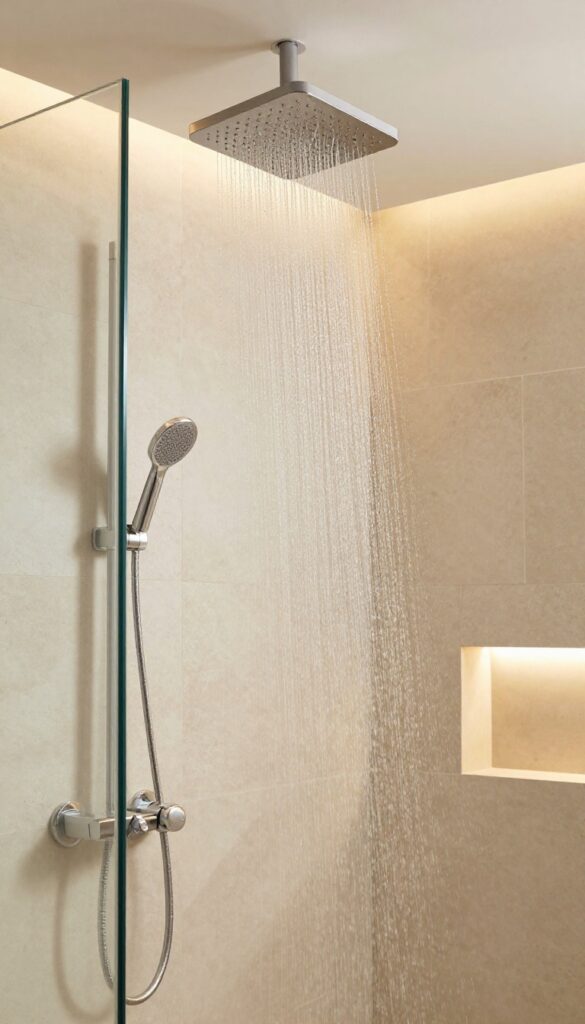
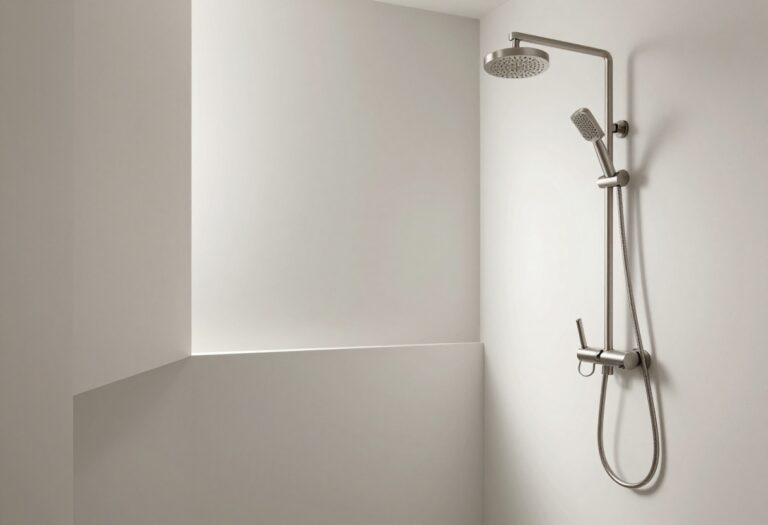
Stepping into a shower that feels like a gentle rainfall can completely change your mindset. A rain shower head delivers a soft, even cascade that wraps you in warmth, turning an everyday rinse into a calming ritual. It’s a simple upgrade that adds a touch of luxury without requiring a bigger footprint.
Mounting a rain shower head is one of the easiest ways to elevate a shower-only bathroom. It creates a spa-like atmosphere that makes even a compact space feel more indulgent. Plus, the even water distribution means you’ll spend less time adjusting and more time enjoying.
Choosing The Right Size And Placement
Rain shower heads come in various diameters, typically ranging from 8 to 12 inches. For a smaller shower, a 8-inch head keeps the spray contained and avoids splashing outside. Placement matters too—centering it directly above where you stand ensures the water hits your head and shoulders evenly.
If you’re taller, consider a ceiling mount with an adjustable arm to fine-tune the height.
Matching Your Water Pressure
Rain shower heads are designed to deliver a gentle flow, but they still need adequate water pressure to perform well. If your home has low pressure, look for a model with a pressure-boosting feature or choose one with a wider spray pattern that works with lower flow. Checking your shower valve’s flow rate before buying can save you from disappointment.
Pairing With A Handheld Sprayer
For practical cleaning and rinsing, a rain shower head can be paired with a separate handheld sprayer. This combo gives you the best of both worlds: a luxurious overhead rain for relaxation and a targeted spray for washing hair or scrubbing the shower walls. Install a diverter valve to switch between them easily.
6. Bench Seating for Comfort and Convenience
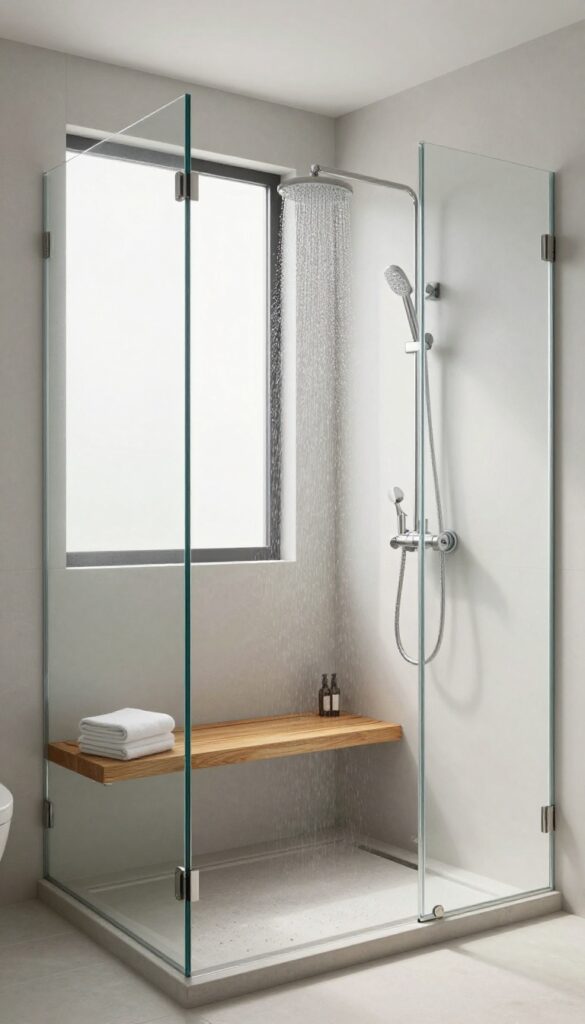
A shower bench might seem like a luxury, but it’s one of those additions you’ll wonder how you lived without. It gives you a spot to sit while you shave your legs, wash your feet, or just let the hot water work out the knots in your shoulders. For anyone with mobility issues, it’s a practical safety feature that makes the shower more accessible.
Plus, it instantly adds a spa-like vibe that makes your daily routine feel a little more indulgent.
When you’re planning a shower-only bathroom, think about how a bench can earn its keep. It’s not just about having a place to sit—it’s about making the space more functional and comfortable. A well-placed bench can also serve as a ledge for toiletries or a spot to rest a foot while you shave.
And if you’re short on space, a foldable or teak bench can be tucked away when not in use. The key is to choose a style that fits your layout and your habits.
Built-in Vs. Freestanding
Built-in benches are seamless and sleek, often made from the same tile or stone as your shower walls. They feel permanent and polished, but they do require planning during construction or a major remodel. Freestanding benches, on the other hand, are flexible—you can move them around or take them out entirely if you need more room.
Teak wood benches are a popular choice because they resist moisture and add a warm, natural touch. If you’re renting or want a quick upgrade, a freestanding bench is the way to go.
Placement And Size
Where you put the bench matters. A common spot is along the back wall, opposite the showerhead, so you can sit facing the spray. If you have a long, narrow shower, a corner bench can save space.
Keep at least 15 inches of depth for comfortable sitting, and make sure it doesn’t block the door or the flow of water. For smaller showers, consider a fold-down bench that flips up against the wall when not in use—it’s a smart space-saver that still gives you a seat when you need it.
Materials That Last
The material you choose should handle constant moisture without warping or getting slippery. Tile or stone benches are durable and can be matched to your shower walls, but they can feel cold and hard—adding a teak or plastic seat on top can fix that. Teak is naturally water-resistant and looks great, but it needs occasional oiling to keep its color.
Solid surface materials like quartz or Corian are another option; they’re smooth, easy to clean, and come in a range of colors. Just avoid porous materials that can stain or harbor mold.
7. Matte Black Fixtures for a Modern Edge
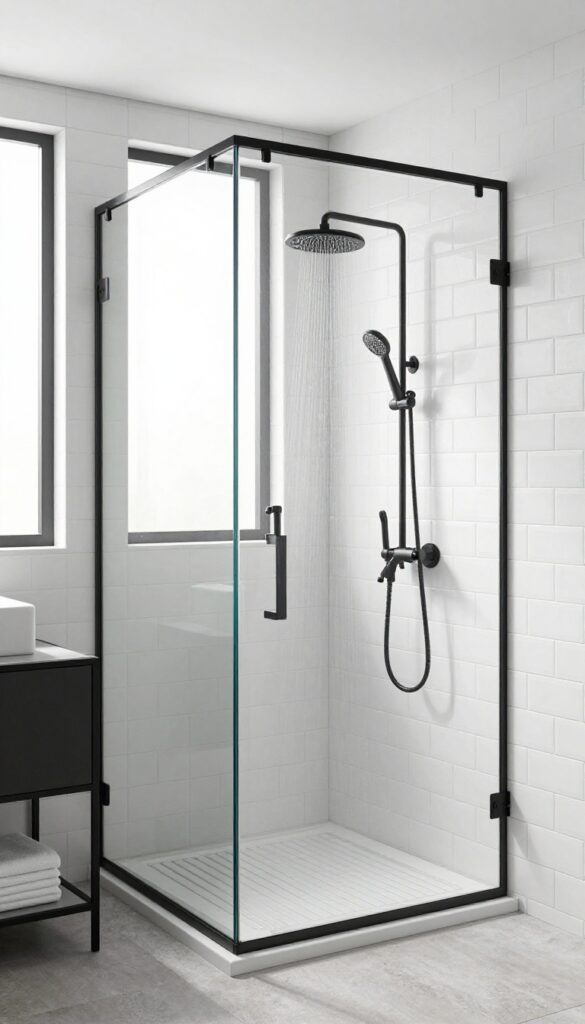
Matte black hardware is having a serious moment, and it’s easy to see why. Those dark faucets and showerheads instantly add a bold, contemporary contrast to light tiles, making the whole space feel more intentional and polished. But this look isn’t just about style—it’s also a smart choice for busy bathrooms.
Matte black finishes are naturally resistant to water spots and fingerprints, which means less time wiping down fixtures and more time enjoying your shower. Plus, the dark tone hides mineral buildup better than chrome or stainless steel. Whether you’re updating a few pieces or going all in, matte black gives your shower-only bathroom a sleek, modern edge that feels both grounded and fresh.
Why Matte Black Works So Well
The high contrast between matte black and light tile creates a crisp, clean look that feels current without being trendy. It also grounds the space, preventing it from feeling too sterile. The finish has a soft, almost velvety texture that catches light differently than shiny metal, adding depth and visual interest.
Picking The Right Fixtures
Start with the showerhead and faucet, then add matching handles and accessories like a towel bar or robe hook. Look for pieces with a true matte finish—some cheaper options have a slight sheen that doesn’t give the same effect. Also, check that the fixtures are made from durable materials like brass or stainless steel with a powder-coated finish, so they’ll hold up in a humid environment.
Pairing With Other Materials
Matte black plays nicely with a range of materials, from white subway tile to natural stone. For a cohesive look, echo the black in your shower frame, shelving, or even the drain cover. If you’re feeling bold, mix in a few brushed brass accents for a touch of warmth, but keep it subtle so the matte black stays the star.
8. Heated Flooring for Year-Round Comfort
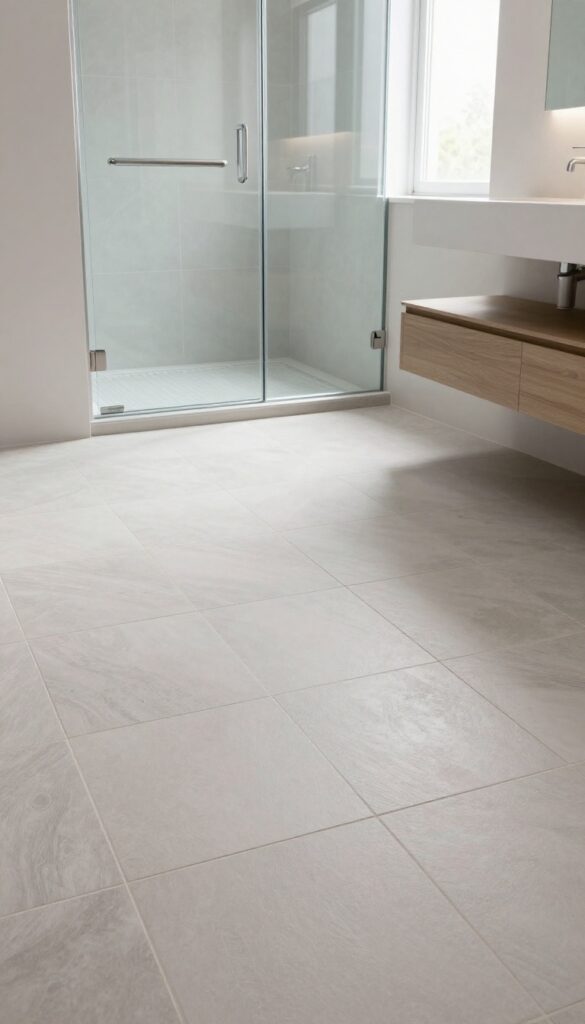
Cold tiles underfoot can be a rude awakening, especially on winter mornings. Heated flooring solves that problem with a quiet, invisible warmth that makes the whole bathroom feel more inviting. It’s not just a luxury—it’s a practical upgrade that adds comfort and value to your home.
Radiant floor heating sits beneath your tile, warming the surface evenly from the ground up. Unlike forced-air systems, it doesn’t stir up dust or create drafts, and it operates silently. Because the heat rises naturally, your feet stay toasty while the rest of the room remains comfortable, so you can ditch the bulky radiators and enjoy a cleaner, more streamlined look.
How It Works
Electric radiant systems use thin heating cables or mats installed under the tile, connected to a thermostat. They warm up quickly and are ideal for small bathrooms. Hydronic systems circulate heated water through tubing, but they’re more complex and usually reserved for larger renovations.
For most shower-only bathrooms, electric is the simpler, more cost-effective choice.
Installation Tips
The best time to add heated flooring is during a remodel, when the subfloor is exposed. You’ll need to plan for a dedicated electrical circuit and a programmable thermostat. Work with a licensed electrician to ensure safety and code compliance.
If you’re laying tile yourself, use a self-leveling compound to protect the heating elements and create a smooth base.
Cost And Efficiency
Upfront costs range from $10 to $20 per square foot for materials and labor, depending on your location and system type. However, the energy efficiency can offset that over time—radiant heat uses less energy than traditional space heaters because it warms the floor directly, not the air. Plus, you’ll save on cleaning and maintenance compared to radiators.
Choosing The Right Thermostat
A smart thermostat lets you schedule heating for when you typically shower, so you’re not wasting energy when the bathroom is empty. Look for models with floor sensors to maintain a consistent temperature, and consider Wi-Fi connectivity for remote control. This way, you can step onto a warm floor every morning without thinking about it.
9. Recessed Lighting for a Calm Ambiance
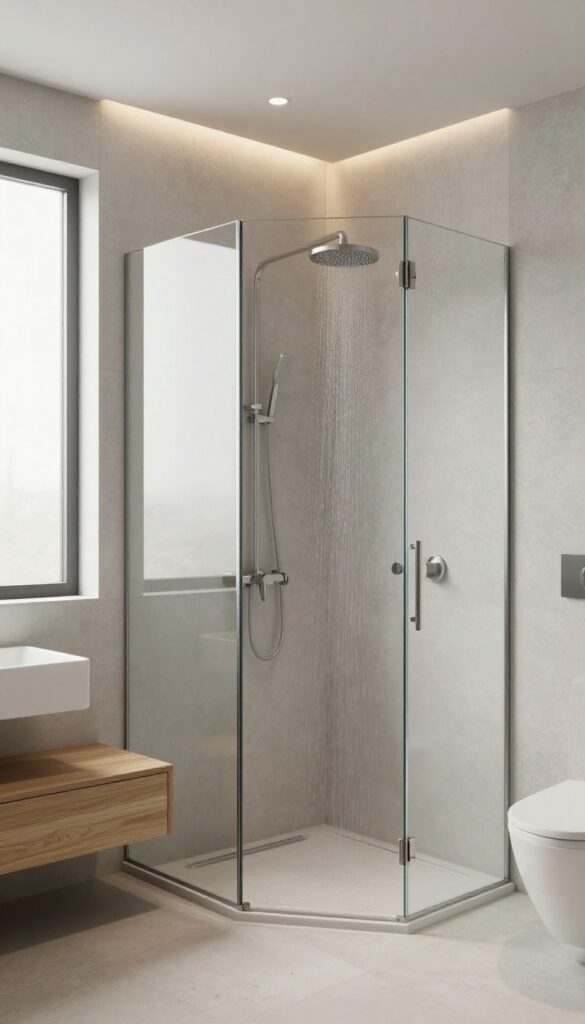
Lighting can make or break a shower-only bathroom. Harsh overhead fixtures cast unflattering shadows and make the space feel smaller than it is. Recessed lighting solves this by providing even, glare-free illumination that blends seamlessly into the ceiling.
Recessed lights sit flush with the ceiling, so they don't intrude on the visual space. This is especially valuable in compact bathrooms where every inch counts. With the right placement, you can eliminate dark corners and create a bright, open feel that makes your shower area look larger and more polished.
Why Recessed Lighting Works
Recessed lights distribute light evenly across the room, reducing shadows that can make a shower look dingy. They also work well with wet areas because they're installed above the showerhead, away from direct water contact. Many models are rated for damp locations, giving you peace of mind.
Dimmable Options For Every Mood
Dimmable recessed lights let you tailor the brightness to your routine. Bright, cool light energizes you in the morning, while warm, low light helps you unwind at night. Installing a dimmer switch is a small change that adds a lot of flexibility.
Placement Tips For Best Effect
Position recessed lights in a grid pattern, spacing them about 4 to 6 feet apart. Aim them toward the shower and vanity areas for functional lighting. For a spa-like feel, add a separate dimmer for the shower zone so you can lower the lights while keeping the rest of the room bright.
10. Large-Format Tiles for Fewer Grout Lines
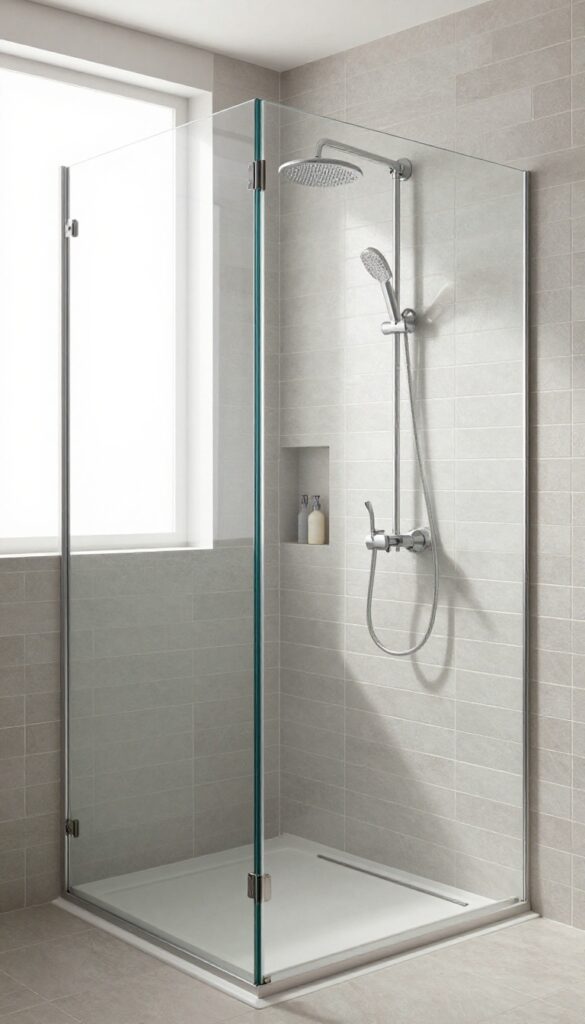
Grout lines are the unsung villains of bathroom upkeep. They collect soap scum, mildew, and grime in places that are awkward to scrub. Large-format tiles are the simple fix: fewer seams, less maintenance, and a cleaner look overall.
Beyond the practical upside, oversized tiles change how the space feels. With fewer lines breaking up the surface, the eye travels uninterrupted, making even a compact shower feel more expansive. It’s a subtle trick that adds both style and function.
Large-format tiles—typically 12×24 inches or bigger—are a game-changer for shower-only bathrooms. They minimize grout lines, which means less scrubbing and a more seamless appearance. The larger surface area also reduces the number of places where moisture can sneak in, making the shower easier to keep clean and dry.
But the benefits aren’t just practical. Fewer grout lines create a visual flow that makes the shower feel larger and more open. This is especially valuable in a compact bathroom where every inch counts.
Plus, the sleek, modern look of big tiles pairs beautifully with minimalist fixtures and frameless glass enclosures.
Why Fewer Grout Lines Matter
Grout is porous, so it absorbs moisture and stains easily. In a shower, that’s a recipe for mold and discoloration. Large-format tiles drastically reduce the amount of grout exposed to water, cutting down on the areas that need regular deep cleaning.
Fewer lines also mean fewer opportunities for cracks or crumbling over time, so your shower stays in better shape for longer.
Choosing The Right Size And Material
When selecting large-format tiles, consider the size of your shower. For a standard alcove, 12×24-inch tiles are a safe bet. If you have a larger walk-in shower, you can go even bigger—like 24×48 inches—for a truly seamless look.
Porcelain and ceramic are durable and water-resistant, while natural stone adds a touch of luxury but requires more sealing. Pick a material that fits your maintenance preferences and budget.
Installation Tips For A Flawless Finish
Large-format tiles are heavier and require a perfectly flat surface to avoid lippage (where one edge sticks up higher than the next). Use a leveling system during installation to keep everything even. Also, make sure your contractor uses a trowel size that provides proper coverage—at least 95% for wall tiles.
Proper prep and installation are key to getting that smooth, modern look you’re after.
FAQ
Are shower-only bathrooms a good idea for resale?
Yes, especially in primary bathrooms or guest baths where a tub isn’t essential. Many buyers prefer the modern, low-maintenance appeal of a walk-in shower, and it can be a strong selling point.
How can I make a small shower-only bathroom feel bigger?
Use a curbless entry, frameless glass, and large-format tiles to minimize visual barriers. Keep the color palette light and add recessed storage to reduce clutter.
What is the best flooring for a shower-only bathroom?
Porcelain or ceramic tile with a textured finish is ideal for slip resistance and durability. Large-format tiles reduce grout lines, making cleaning easier.
Do I need a ventilation fan in a shower-only bathroom?
Absolutely. Proper ventilation prevents moisture buildup, mold, and mildew. Choose a fan with adequate CFM for the room size and consider a humidity-sensing model.
Can I add a shower-only bathroom to a home without a bathtub?
Yes, you can. Many homes have at least one bathtub elsewhere, so replacing a tub with a shower is often acceptable. Check local building codes and consider resale implications.
Conclusion
Designing a shower-only bathroom is all about making smart choices that blend style with function. From the seamless look of a curbless entry to the practicality of niche shelving, each idea helps you create a space that feels open, organized, and tailored to your needs. Remember, the best bathroom is one that works for you.
Start with the ideas that resonate most, and don’t be afraid to mix and match. With these tips, you’re well on your way to a smooth, efficient bathroom that you’ll enjoy for years to come.