11 Clever Pantry Label Ideas That Feel Simple and Useful
You open your pantry to grab a can of black beans, but you end up shuffling through a dozen mismatched containers. Sound familiar? A good labeling system can turn that frustration into a five-second grab.
Labeling isn't just about aesthetics—it's about saving time and reducing food waste. When everything has a clear home, you can see what you have at a glance and restock smarter.
These 11 ideas range from low-tech to high-tech, so you can pick what fits your style. No need to overhaul your entire pantry at once; start with one or two that click.
1. Chalkboard Labels for Flexibility
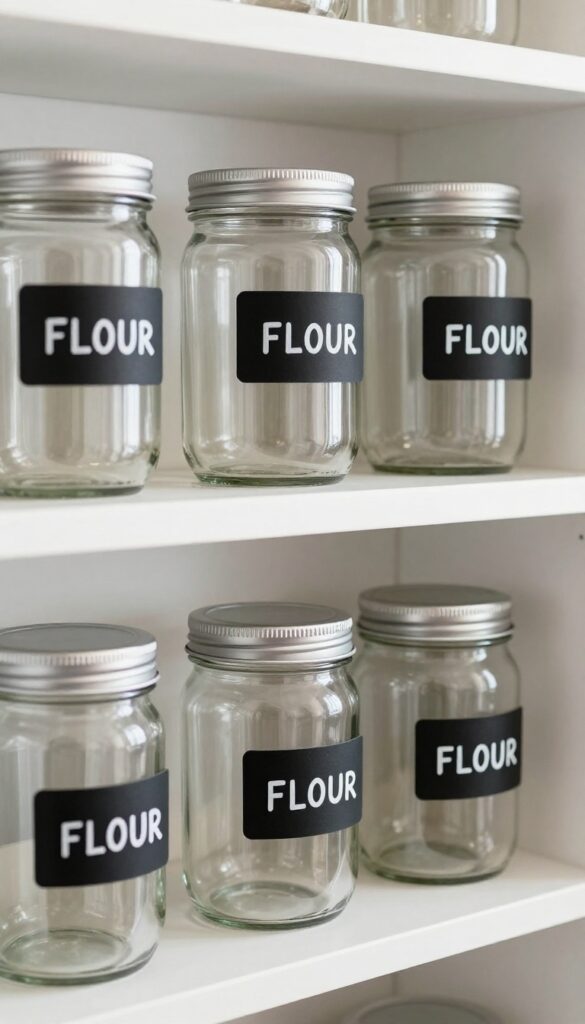
Chalkboard labels bring a classic, low-tech solution to pantry organization. They let you write directly on a matte surface that can be wiped clean and rewritten whenever you swap contents. This flexibility is a lifesaver for bulk bins, rotating stock, or ingredients you buy in different forms—like whole wheat pasta one week and chickpea pasta the next.
For a simple update, grab a set of chalkboard stickers or a roll of chalkboard contact paper. Cut them to size and stick them onto glass jars, plastic bins, or even wire baskets. Use a liquid chalk marker for crisp, smudge-free lettering that wipes off with a damp cloth.
Unlike permanent labels, you can change the text whenever you restock without wasting stickers or leaving sticky residue. Chalkboard labels work especially well for dry goods like flour, sugar, rice, and oats—items that come in different varieties or brands. They also shine in households that buy in bulk and decant into smaller containers.
If you want a more permanent look, frame the chalkboard area with washi tape or a thin strip of paint to keep the edges clean.
Best Containers For Chalkboard Labels
Glass mason jars with wide mouths are ideal because the flat surface gives you plenty of room to write. Plastic cereal containers and square storage bins also work well. Avoid round or heavily textured surfaces—chalkboard labels stick best to smooth, flat areas.
How To Keep Labels Looking Fresh
Use a high-quality liquid chalk marker instead of traditional chalk. It won't dust or smudge, and it erases cleanly. To refresh the label, simply wipe with a damp cloth or a dedicated chalkboard eraser.
If the marker leaves ghosting, a quick spray of water and a gentle scrub with a soft sponge will restore the surface.
When To Skip Chalkboard Labels
Avoid them in high-humidity pantries or near the stove, where steam can cause the adhesive to peel. They also aren't ideal for very small containers where writing space is limited. In those cases, consider pre-printed labels or a label maker instead.
2. Clear Adhesive Labels with a Label Maker
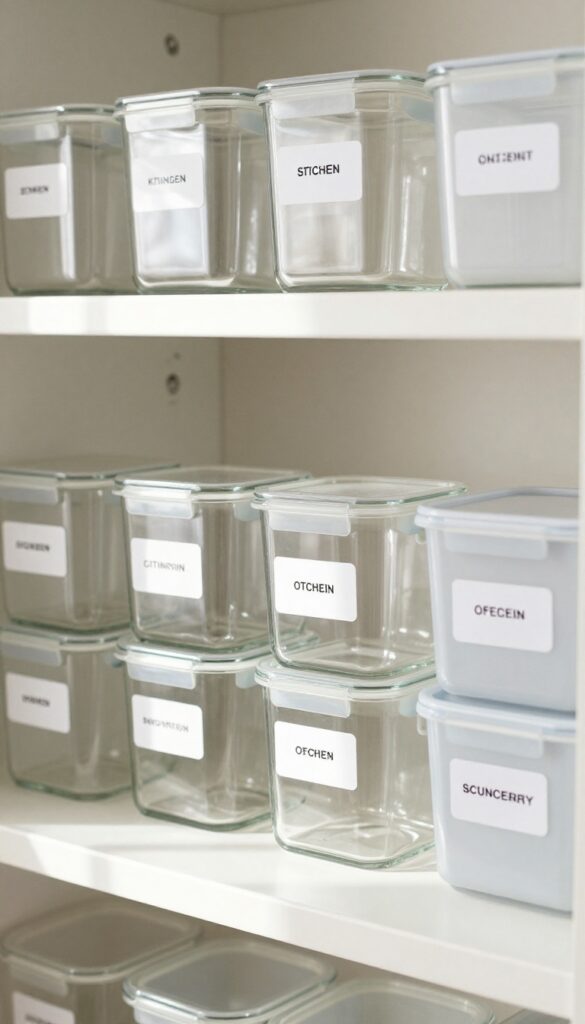
Sometimes the simplest tools deliver the best results. A label maker might feel a bit old-school, but it gives you crisp, uniform text every time. No shaky handwriting, no smudges, no guessing what's inside.
Clear adhesive labels blend right into glass jars or plastic bins, keeping your pantry looking streamlined without adding visual clutter. It's a low-effort upgrade that makes a big difference in how organized your shelves feel.
This method works especially well if you have a lot of similar containers—like matching glass jars or clear bins. The uniformity of the labels helps everything look cohesive, even if your containers aren't all the same brand. Plus, label makers are quick to use: type, print, peel, stick.
You can label an entire pantry in under an hour.
Pick The Right Label Maker
Not all label makers are created equal. For pantry use, look for one that prints on clear tape (not just white or colored). Brother and Dymo both offer affordable models with clear tape options.
A QWERTY keyboard makes typing faster, and a preview screen helps you avoid mistakes. If you want to go wireless, some label makers connect to your phone via Bluetooth so you can design labels with different fonts and icons.
Best Practices For Sticking
Clean your containers first with rubbing alcohol to remove any oil or residue. Let them dry completely. Then peel and stick the label straight onto the surface.
Press firmly from the center outward to avoid bubbles. For containers that go in the freezer or dishwasher, check that your tape is waterproof and dishwasher-safe. Most clear laminate tapes hold up well, but it's worth confirming.
Label Placement Matters
Stick labels on the front of containers, at eye level if possible. For bins on higher shelves, angle the label slightly downward so you can read it from below. On deep shelves, put labels on the lid or the front edge so you don't have to pull everything out to see what's inside.
Consistency in placement makes your pantry feel more organized than it actually is.
3. Washi Tape and Permanent Marker
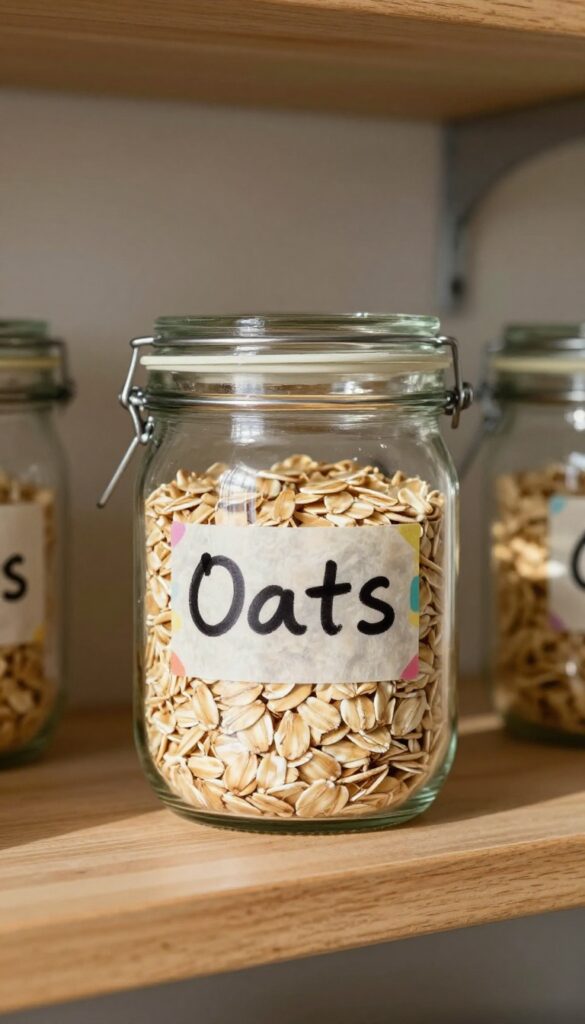
Not ready to commit to a full label maker setup? Grab a roll of washi tape and a permanent marker instead. This is one of the cheapest and most flexible ways to label your pantry items, and it works on almost any surface—glass, plastic, metal, or cardboard.
The idea is simple: tear off a piece of washi tape, write the contents and date on it with a permanent marker, and stick it onto your container. When the contents change, peel off the tape and replace it. No sticky residue, no fuss.
It's especially handy for bulk bins, spice jars, and freezer bags where labels need to be updated often.
Why Washi Tape Works
Washi tape is made from natural fibers like hemp or bamboo, so it's slightly translucent and has a gentle adhesive. It sticks well but peels off cleanly, even from glass and plastic. Unlike regular masking tape, it won't leave a gummy residue or tear into tiny pieces.
Plus, it comes in endless colors and patterns, so you can color-code your pantry without buying multiple label rolls.
Best Practices For A Neat Look
For a uniform appearance, cut the tape into consistent lengths—about 1. 5 inches works for most jars. Write clearly with a fine-tip permanent marker, and let the ink dry for a few seconds before sticking.
If you're labeling freezer bags, fold the tape over the edge of the bag so it sticks to both sides; this prevents it from peeling off in the cold.
When To Swap For A More Permanent Label
Washi tape is great for items you rotate frequently, like homemade spice blends or bulk grains. But for long-term storage items like canned goods or rarely used baking supplies, you might prefer a more durable label. Keep a roll handy for temporary or seasonal changes—it's perfect for holiday baking ingredients or new pantry experiments.
4. Magnetic Labels on Metal Containers
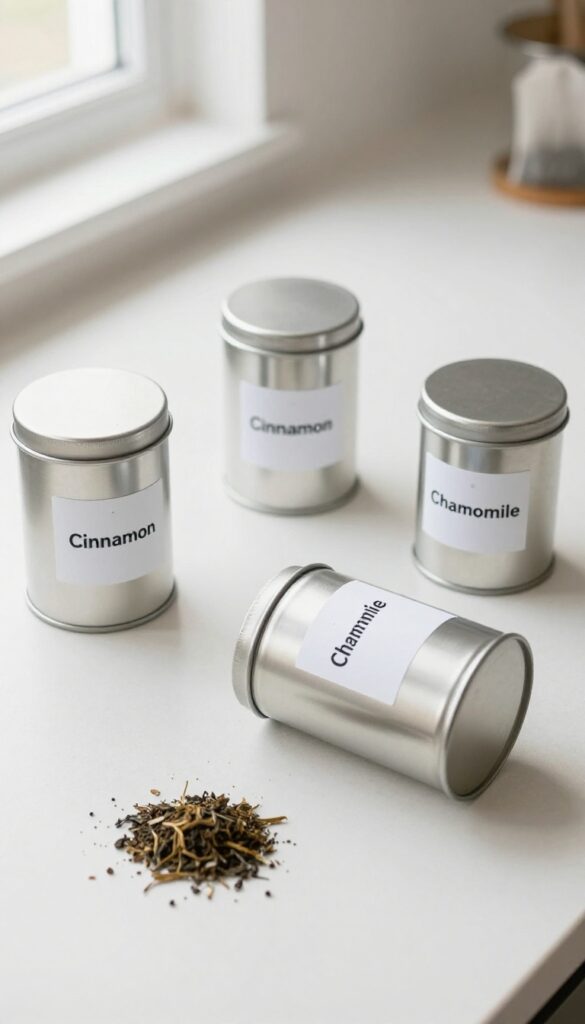
If you use metal tins or magnetic boards, magnetic labels let you rearrange without peeling or residue. Perfect for spices or tea tins. They stick firmly but lift off cleanly when you need to swap contents.
Magnetic labels are a game-changer for anyone who likes to switch up their pantry layout. Unlike adhesive labels, they leave no sticky residue, so your containers stay pristine. They work best on metal surfaces, but you can also attach a thin metal sheet to non-metal containers.
Where To Use Them
Spice tins, tea canisters, and metal baking ingredient bins are ideal candidates. Magnetic labels also shine on a magnetic board mounted inside a cabinet door for a flexible labeling system.
How To Make Your Own
Buy printable magnetic sheets and cut them to size. Write or print labels, then apply a clear adhesive sheet to protect them. Or use a label maker with magnetic backing tape for a uniform look.
Why They Work So Well
You can move labels in seconds when you reorganize. No more scraping off old stickers or dealing with sticky residue. Plus, they look sleek and modern on metal containers.
5. Printable Template Labels for Consistency
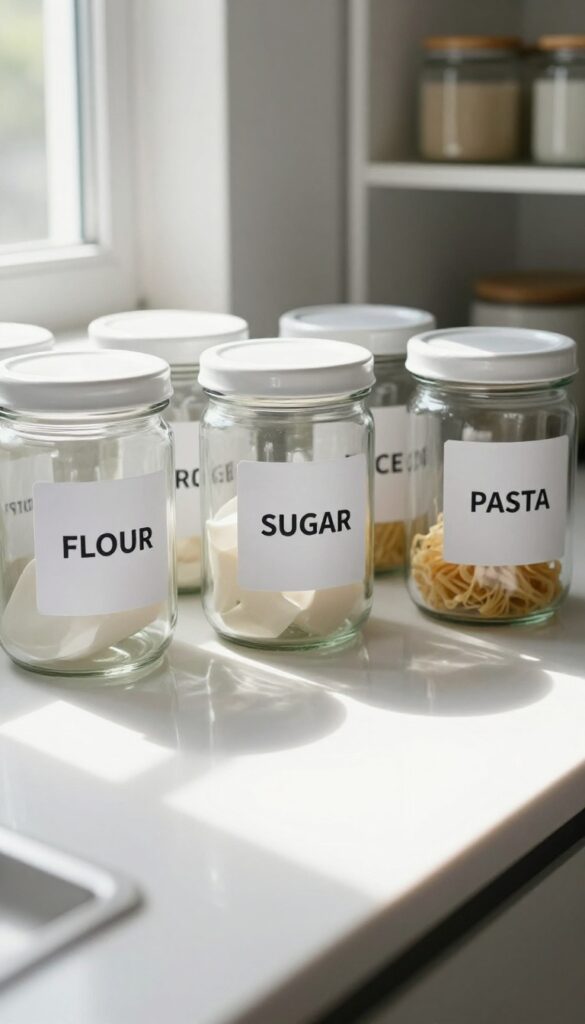
If you want a uniform look without buying a label maker, printable templates are your best friend. You can download free designs or create your own in a simple word processor. Print them on adhesive paper, cut them out, and you have a matching set that instantly makes your pantry look more put together.
This method gives you total control over font, size, and color. You can match your kitchen decor or keep it minimalist. The key is using a template so every label follows the same format—no more handwritten scraps or mismatched stickers.
Where To Find Free Templates
Sites like Canva, Avery, and even Pinterest offer dozens of free pantry label templates. Look for ones that include common words like flour, sugar, rice, pasta, and spices. Many are editable, so you can add your own custom items like chia seeds or nutritional yeast.
Printing Tips For Best Results
Use matte adhesive paper for a non-glare finish that’s easy to read. Print a test sheet on regular paper first to check alignment and size. Cut with a paper trimmer for clean edges—scissors can leave a wobbly line.
If you want extra durability, laminate the labels before sticking them on.
Making Your Own Template
Open a word processor or design tool, set up a grid of rectangles the size you want (try 2×1 inches for jars, 4×2 for bins). Type your words in a clean sans-serif font like Helvetica or Montserrat. Add a thin border or a small icon if you like.
Save the file so you can reprint anytime you add a new staple.
6. Color-Coded Labels by Food Group
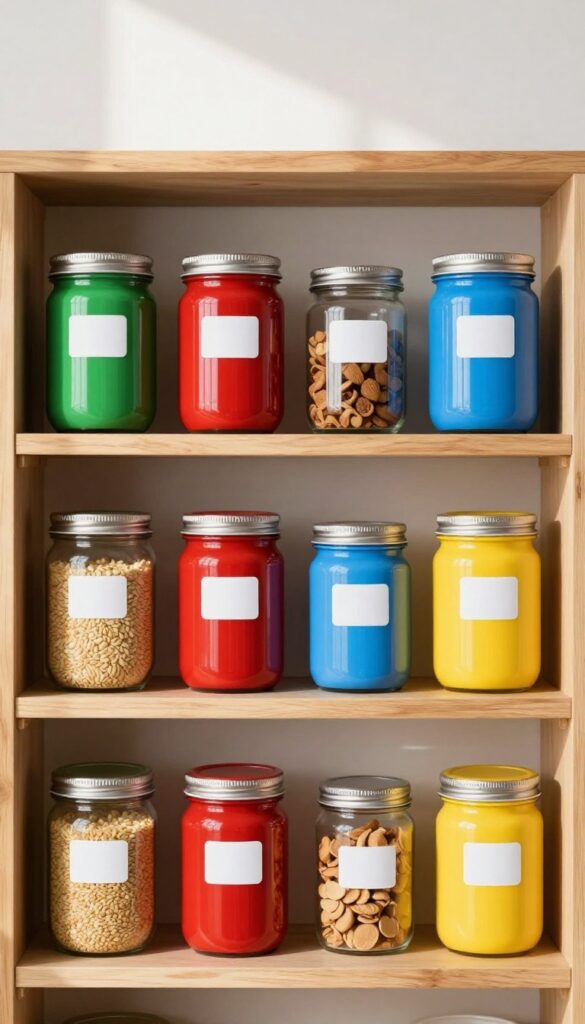
Colors do more than look pretty—they create a visual shortcut that your brain processes faster than reading words. Assign a specific color to each food category, like green for grains, red for canned goods, and blue for baking supplies. This system speeds up finding what you need and helps everyone in the household put items back in the right spot without thinking twice.
Color-coded labels turn your pantry into a visual map. You don't have to read every label—just scan for the color. It's especially handy for kids or anyone who tends to toss things wherever.
Plus, it adds a playful pop of color to your shelves.
Choose Your Color Palette
Pick colors that are easy to distinguish and that make sense to you. For example, green for fresh or dry goods, red for sauces and canned items, yellow for snacks, and blue for baking. Stick to 4-6 colors max to avoid confusion.
Use the same colors across all labels for consistency.
Label Materials That Work
You can use colored sticker dots, washi tape, or printable labels on colored paper. If you prefer a clean look, print black text on white labels and add a colored border or background. Waterproof labels are best for containers that might get wiped down.
Make It A Family System
Teach everyone which color corresponds to which category. Post a small key on the inside of the pantry door if needed. This system works great for shared pantries, dorm rooms, or even office snack stations.
It reduces clutter and makes restocking a breeze.
7. QR Code Labels for Expiration Dates
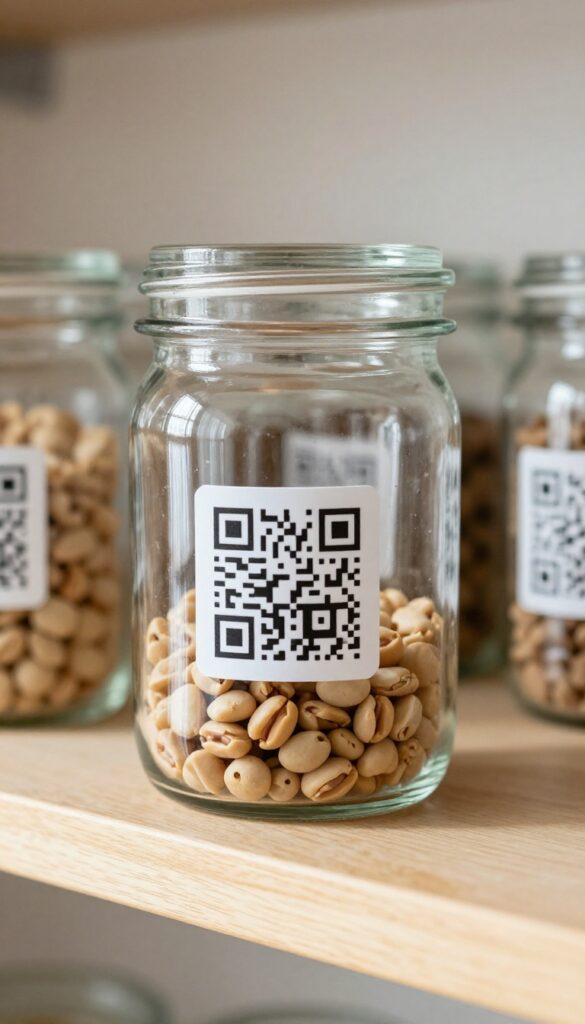
Ever found a mystery container in the back of your pantry and wondered if it's still good? QR code labels take the guesswork out of freshness. Generate a QR code that links to a digital note with the purchase date and expiration date, then stick it on the container.
When you need to check, just scan with your phone—no touching, no peeling.
This method works especially well for bulk items, home-canned goods, or anything you buy in large quantities. You can update the digital note if you transfer the contents to another container, and the label stays clean and reusable. It's a small tech upgrade that makes a big difference in reducing food waste.
How To Set It Up
Use a free QR code generator like QR Code Monkey or QR Stuff. Paste a link to a Google Doc, a note in your notes app, or a dedicated spreadsheet. Add the purchase date, expiration date, and even storage tips.
Print the QR code on sticker paper or clear label sheets, then cut and apply.
Best Containers For Qr Labels
Smooth, flat surfaces work best—think glass jars, plastic containers, or metal tins. Avoid textured or curved surfaces where the code might not scan properly. If you're labeling fabric bags or irregular shapes, attach the QR code to a small card and tie it on with string.
Quick Scanning Tips
Most phones can scan QR codes directly from the camera app—no extra app needed. Keep your digital notes simple and consistent. For example, use a format like "Purchased: 01/15/2025, Expires: 06/15/2025, Notes: Store in cool, dark place.
" Update the note if you use the item partially.
8. Hang Tag Labels on Baskets or Bins
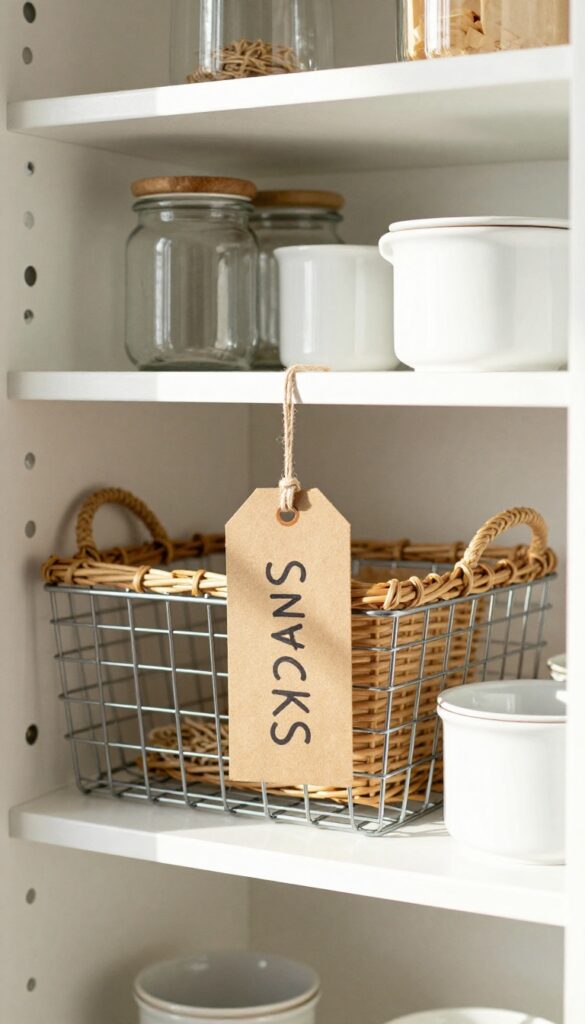
Sometimes the simplest solution is the most charming. Hang tags tied to basket handles or bin loops give your pantry a rustic, inviting feel while keeping labels easy to swap. Whether you use kraft paper tags or laminated ones, this method works beautifully for open shelving or wire bins.
Hang tags are a low-commitment labeling option that lets you change your mind without remorse. They're perfect for renters or anyone who likes to reorganize seasonally. Plus, they add a tactile, handmade touch that plastic labels just can't match.
Why Hang Tags Work So Well
Unlike adhesive labels, hang tags don't leave residue or damage surfaces. You can move them from one basket to another in seconds. They're also easy to read at a glance—just flip the tag to see what's inside.
How To Make Them Last
For durability, use blank craft tags and write on them with a permanent marker or a label maker. If you want a cleaner look, print on cardstock and punch a hole. Laminate them or cover with clear packing tape to prevent wear and tear.
Best Places To Use Them
Hang tags shine on baskets with handles, wire bins, or canvas totes. They're also great for labeling large bulk containers like flour or sugar bins. Just tie them on with twine, ribbon, or a small binder ring.
9. Etched Glass Labels for Permanent Storage
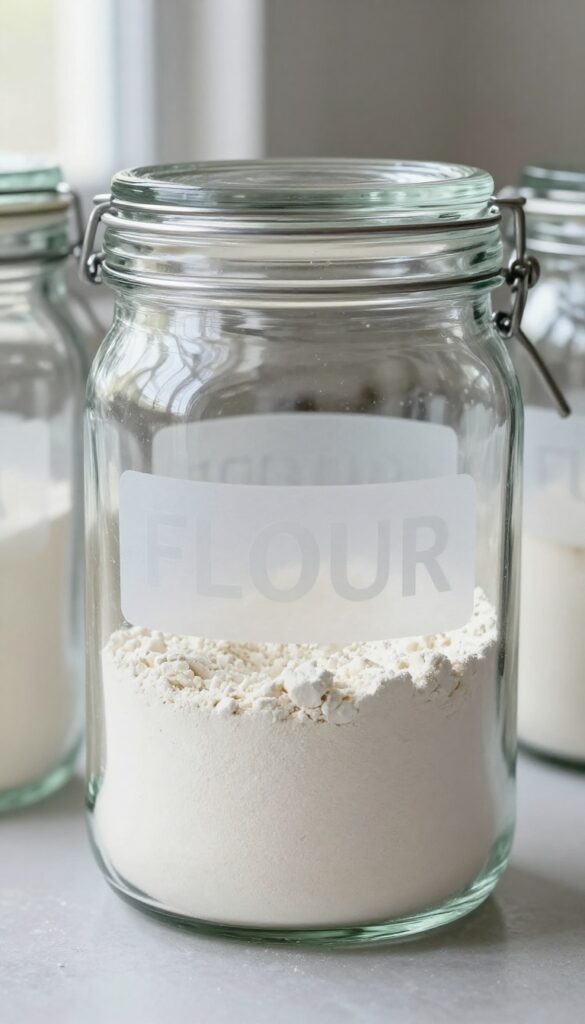
For containers that never change their contents—like your go-to flour jar or sugar canister—etched glass labels offer a permanent, elegant solution. Using glass etching cream, you can create labels that are literally part of the glass. They won't peel, fade, or smudge, no matter how many times you wash the jar.
Etching cream is available at craft stores or online. You'll need a stencil of your label text (you can cut your own or buy reusable ones). Apply the cream according to the instructions, wait, rinse, and you're done.
The result is a frosted, permanent label that looks like it came from a high-end kitchen store.
Why Go Permanent?
If you're tired of labels that curl up in the dishwasher or fade after a few months, etching is your answer. It's a one-time effort that pays off for years. Plus, it adds a classy, uniform look to your pantry—no more sticky residue or peeling corners.
How To Etch Your Own Labels
Start with clean, dry glass jars. Create or print your label design on adhesive stencil material, then cut it out with a craft knife. Apply the stencil firmly, brush on a thick layer of etching cream, and let it sit for the recommended time (usually 5–15 minutes).
Rinse off the cream and remove the stencil. The etched area will be permanently frosted.
Best Containers For Etched Labels
Etching works best on smooth glass surfaces. Mason jars, apothecary jars, and simple cylindrical canisters are ideal. Avoid textured or curved glass where the stencil might not adhere perfectly.
Stick to containers that will hold the same ingredient indefinitely.
10. Dry Erase Labels for Reusable Jars
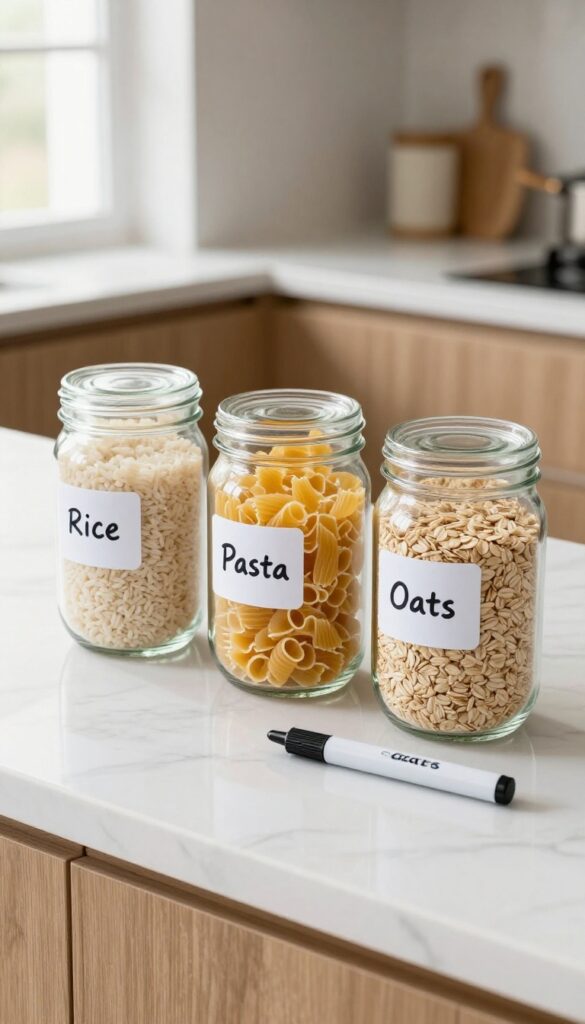
If you're someone who buys in bulk or likes to switch up your pantry staples often, permanent labels might not be the best fit. Dry erase labels let you write directly on a reusable surface—usually a sticker or a coated jar—and wipe it clean when you refill. It's a flexible system that adapts as your pantry changes.
Dry erase labels are perfect for items that rotate frequently, like rice, pasta, or snacks. You can write the contents and date with a dry erase marker, then erase and rewrite when you refill. No more peeling off old labels or guessing what's inside.
Plus, they look clean and modern, especially on glass jars or uniform containers.
Where To Use Them
Focus on items you buy in bulk or rotate often: flour, sugar, oats, cereal, nuts, and dried fruit. Also great for homemade mixes like pancake batter or granola. Avoid using them on containers that hold oily or greasy foods, as the residue can make the surface harder to erase.
Best Materials And Markers
Look for matte dry erase stickers or labels that adhere well to glass, plastic, or metal. Some come in rolls or sheets you can cut to size. Use fine-tip dry erase markers for a neat look—they write small and erase cleanly.
Avoid permanent markers, as they can stain the label over time.
How To Keep Them Clean
Wipe labels with a soft cloth or paper towel. For stubborn marks, a little water or a gentle cleaner works. Don't use abrasive sponges, which can scratch the surface.
If a label loses its stickiness, replace it—they're inexpensive and easy to swap out.
11. Picture Labels for Kids or Non-Readers
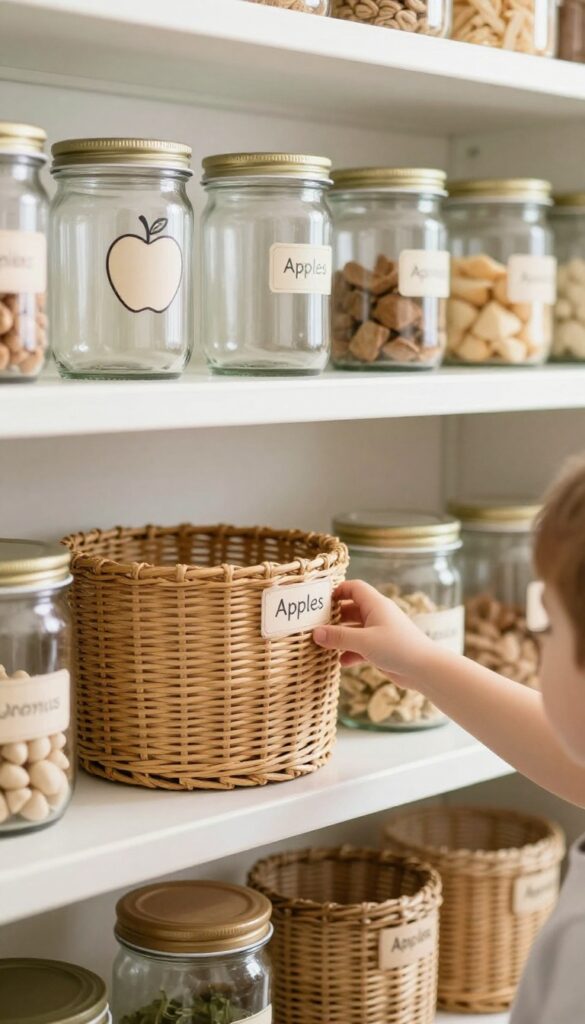
Not everyone in your household reads fluently—yet. Young children, guests who speak a different language, or anyone who processes visuals faster can benefit from a simple icon next to the text. Picture labels turn your pantry into a truly universal space where everyone can find what they need without asking for help.
This approach is especially handy if you have little helpers who love to grab their own snacks. Instead of shouting "Where are the granola bars? " they can match the picture on the bin.
It's a small tweak that makes the pantry more inclusive and reduces those mid-afternoon interruptions.
Picture labels combine a small image or photo with the written word. You can use free icon sets, take actual photos of the items, or draw simple sketches. The key is consistency—use the same style of icon throughout so the system feels cohesive.
Start by identifying the most frequently accessed items: snacks, cereals, canned goods, baking supplies. For each, choose a clear, recognizable icon. If you're using photos, snap a picture of the product itself and print it small.
Attach the label to the container or shelf edge where it's easy to see. This system works beautifully in shared pantries, rental homes, or any space where multiple people need to find things quickly. It's also a great way to teach young children organizational skills—they learn where things belong by matching pictures, which builds independence.
Choosing The Right Icons
Pick icons that are instantly recognizable. A simple line drawing of an apple works better than a detailed photo of a specific brand. Free resources like The Noun Project or Flaticon offer thousands of icons you can download and print.
Stick to black-and-white or a single accent color to keep the labels clean and scannable.
Photo Labels For Specific Items
For items with unique packaging—like a favorite cereal or a special sauce—a small photo can be more helpful than a generic icon. Take a picture, crop it to a square, and print it on sticker paper. This is especially useful for kids who might not recognize a generic icon but know exactly what their snack box looks like.
Placement Tips For Visibility
Place the picture label at eye level for your shortest family member. If you're labeling bins, put the icon on the front where it's easy to see. For shelf edges, use a label holder that lets you swap pictures easily as contents change.
Keep the text label right next to the image so kids start associating the word with the picture.
FAQ
What is the best material for pantry labels?
It depends on your containers. For glass or plastic, adhesive vinyl or chalkboard labels work well. For metal, magnetic labels are great.
Avoid paper labels that can get damaged by moisture.
How do I make labels stick to plastic containers?
Clean the surface with rubbing alcohol to remove oils. Use high-adhesive vinyl labels or a label maker with strong adhesive. Avoid cheap stickers that peel off.
Should I label the front or top of containers?
Label the front for items stored on shelves, so you can read them easily. For stacked containers, label the top as well to identify without pulling out.
How often should I update pantry labels?
Update labels whenever you change the contents of a container. If you use a flexible system like chalkboard or dry-erase, you can update as often as needed. Permanent labels are best for items that rarely change.
Can I use a Cricut or Silhouette to make labels?
Absolutely. These machines cut precise vinyl letters or shapes. You can create custom labels in any font or color, and they look very professional.
Conclusion
A well-labeled pantry doesn't just look good—it saves time and cuts down on food waste. These simple ideas prove that organization doesn't have to be complicated. Pick the one that fits your style and start labeling today.
Your pantry should work for you, not the other way around. Once you find a labeling system that clicks, you'll wonder why you didn't do it sooner. Small changes like these make daily cooking a little smoother.