11 Open Space Living Room and Kitchen Ideas That Feel Airy
Open-plan living sounds great until you're staring at a couch that's practically in the sink. The good news?
You don't need a massive budget or a renovation crew to make that shared space feel light and livable. Most of the magic comes down to a few smart moves: defining zones without walls, letting light bounce around, and choosing pieces that pull double duty.
We've rounded up eleven ideas that actually work in real homes. Whether you're renting a studio or updating a family great room, these tips keep things airy, practical, and easy on the wallet.
1. Use Rugs to Fake a Wall (Without Building One)
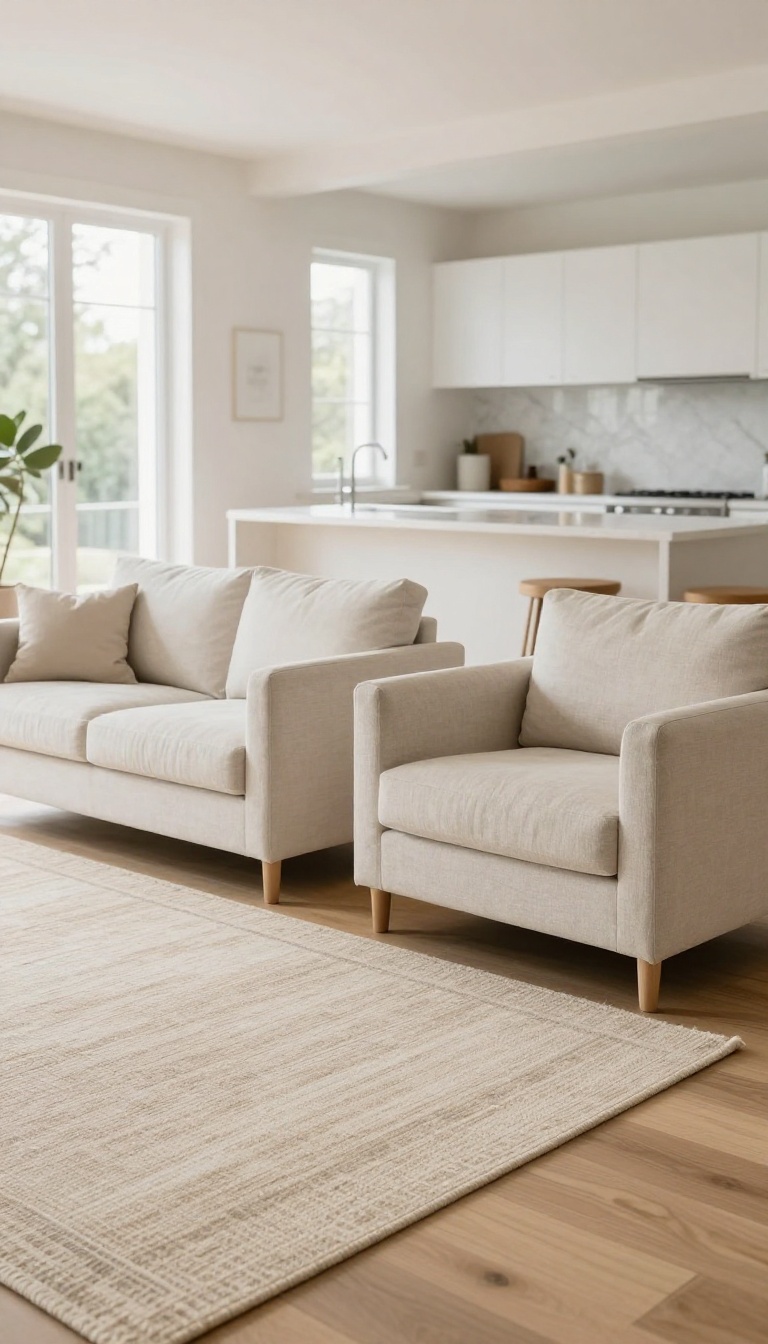
A rug is the cheapest wall you'll ever buy. It won't block light or require a permit, but it tells your brain exactly where the living room ends and the kitchen begins. The trick is picking one that anchors the seating area without turning your walkway into an obstacle course.
In an open layout, your eye needs a landing spot. A large area rug gives the living zone its own floor, so the couch and chairs feel intentional instead of floating. It's a visual boundary, not a physical one—and that's the whole point.
You get separation without sacrificing the airy feel you fell in love with.
Size Matters More Than Pattern
Go big or go home—literally. A rug that's too small makes the furniture look like it's huddling for warmth. Aim for at least the front legs of every major piece to sit on the rug.
In a typical 5×8 or 8×10 space, an 8×10 rug often works best. If you're unsure, measure your seating area and add two feet on each side. That extra room keeps the rug from looking like a postage stamp.
Pick A Low-pile, Easy-clean Material
Kitchen spills happen, and you don't want a rug that holds onto every drop. Flat-weave wool, jute, or synthetic blends like polypropylene are your friends. They're durable, vacuum-friendly, and won't shed like a shag.
Bonus: low-pile rugs don't create a tripping hazard near the sink. Just avoid anything white or cream if you actually cook.
Leave Breathing Room For Traffic
The rug should define the zone, not swallow it. Leave at least 18 to 24 inches of bare floor between the rug's edge and the kitchen counters or island. That gap becomes your natural walkway, so nobody's sidestepping a curled corner while carrying a hot pan.
If your rug starts creeping into the cooking zone, it's too big—or your furniture is too spread out.
2. Float the Sofa in the Middle of the Room
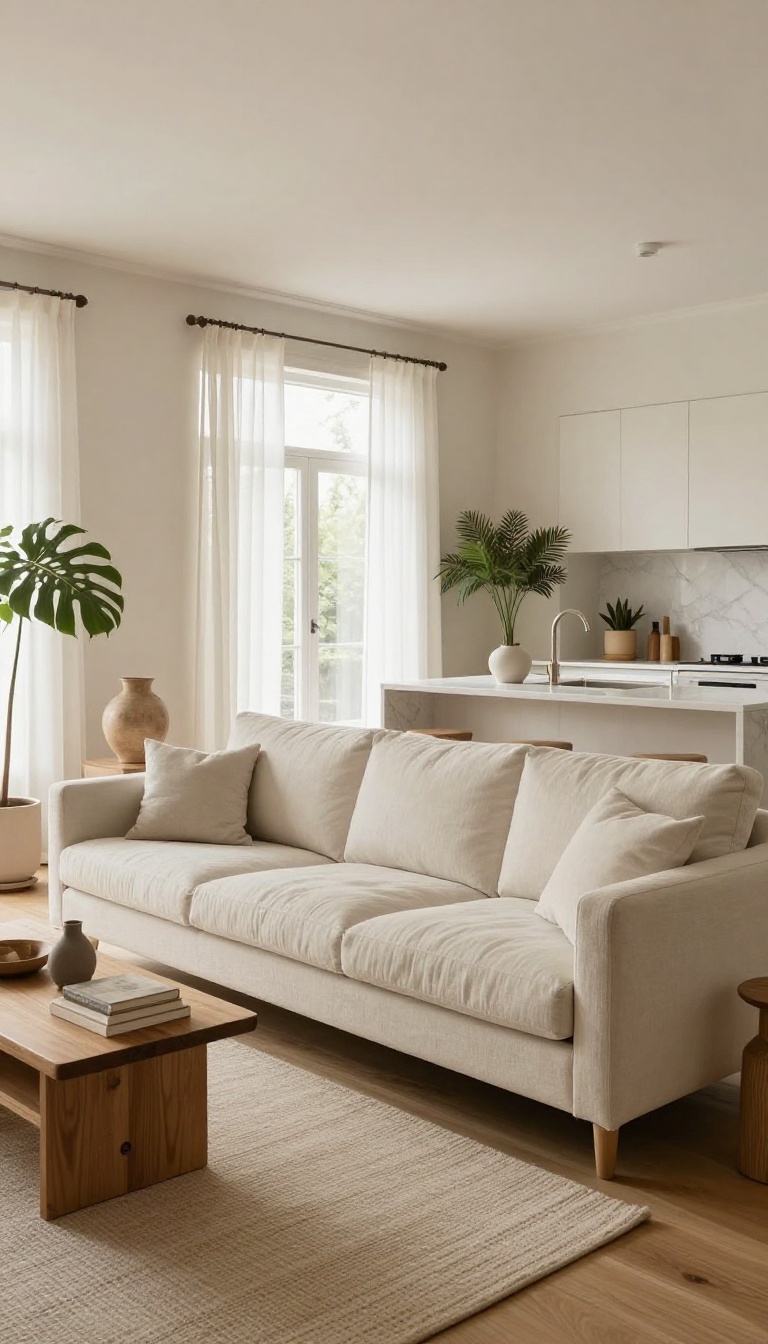
Pushing your sofa against the wall might feel like the safe choice, but it often makes an open-plan space feel like a hallway with furniture. Floating the sofa—pulling it away from the wall and letting it sit in the middle of the room—creates a natural divide between the living and cooking zones without adding a single wall. It sounds counterintuitive, but giving your sofa some breathing room actually makes the whole space feel larger, not smaller.
When you float a sofa, you're essentially drawing an invisible line between where you cook and where you relax. That line gives each area a clear purpose, so your living room doesn't feel like an extension of the kitchen. The best part?
You don't need a huge room to pull it off. Even a few feet of space behind the sofa can make a difference.
Leave A Walkway Behind
Aim for at least 30 to 36 inches of space behind the sofa so people can walk through comfortably. This gap becomes a natural path that keeps traffic out of your cooking zone. If your room is tight, 24 inches can work, but anything less and you'll feel like you're shimmying through a tunnel.
Use A Console Or Rug To Anchor It
A slim console table behind the sofa adds storage and makes the float feel intentional. Or place a rug under the sofa that extends a few inches beyond the front legs—it visually ties the seating area together. Either trick helps the sofa feel grounded instead of random.
Keep Scale In Mind
A massive sectional will overwhelm a small open plan if you float it. Choose a sofa that's proportional to your space—usually no more than two-thirds the length of the wall it faces. If you're working with a studio, a loveseat or apartment-size sofa can float beautifully without eating up your square footage.
3. Go Low with the Kitchen Island (or Skip It)
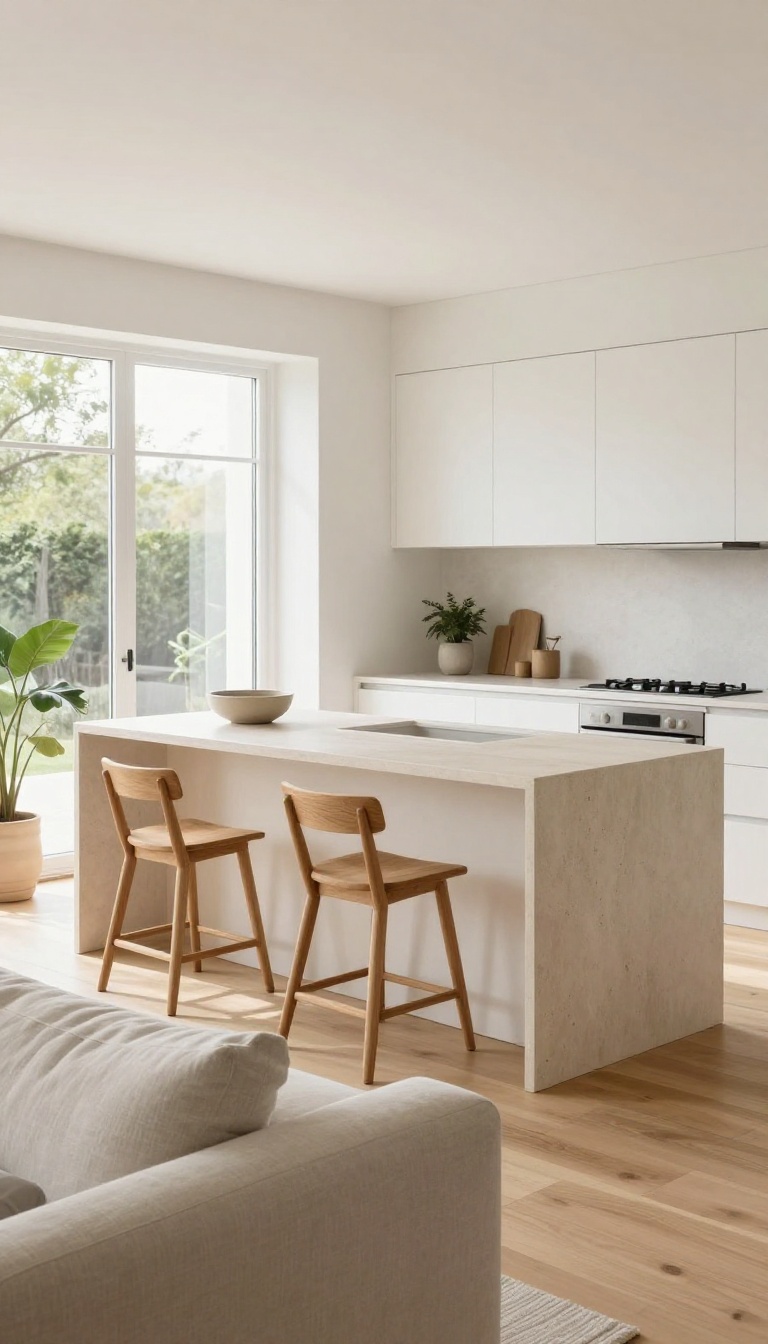
A tall island can act like a wall you didn't plan for. It blocks sightlines and makes the kitchen feel closed off from the living area. Going lower—or ditching the island entirely—keeps the whole room feeling open and connected.
Standard islands sit around 36 inches high, which puts them right at eye level when you're sitting on the sofa. That's a lot of visual bulk in the middle of your space. Dropping the counter to table height (around 30 inches) or choosing a slim peninsula instead can make a huge difference.
You still get prep space and a spot for casual meals, but your view stays clear. If you're stuck with a tall island, you're not out of luck. Backless stools that tuck completely under the overhang keep the footprint light and don't add visual clutter.
The goal is simple: keep the horizontal plane low so your eye travels across the room instead of hitting a barrier.
Why Height Matters More Than Size
A 36-inch island blocks more sightlines than a 30-inch one, even if they're the same length. Lower surfaces let you see across the room while seated, which makes the whole space feel larger. If you're replacing an island, measure from the floor to your sightline when sitting on your couch.
Anything above that line will feel like a wall.
Peninsula Perks
A peninsula attached to a wall or cabinet run gives you extra counter space without cutting the room in half. It's a smart compromise when a freestanding island feels too heavy. You can still add seating on the outer edge, but the connected side keeps traffic flowing.
Just make sure it doesn't stick out so far that it becomes a barrier.
Stool Swaps That Open Things Up
If you can't change the island, change the stools. Backless or low-back stools slide completely under the counter, so they don't add height or visual noise. Choose ones that match your floor or cabinet color to make them disappear even more.
And skip the bulky cushions—they add bulk you don't need.
4. Pick a Consistent Color Palette Across Both Zones
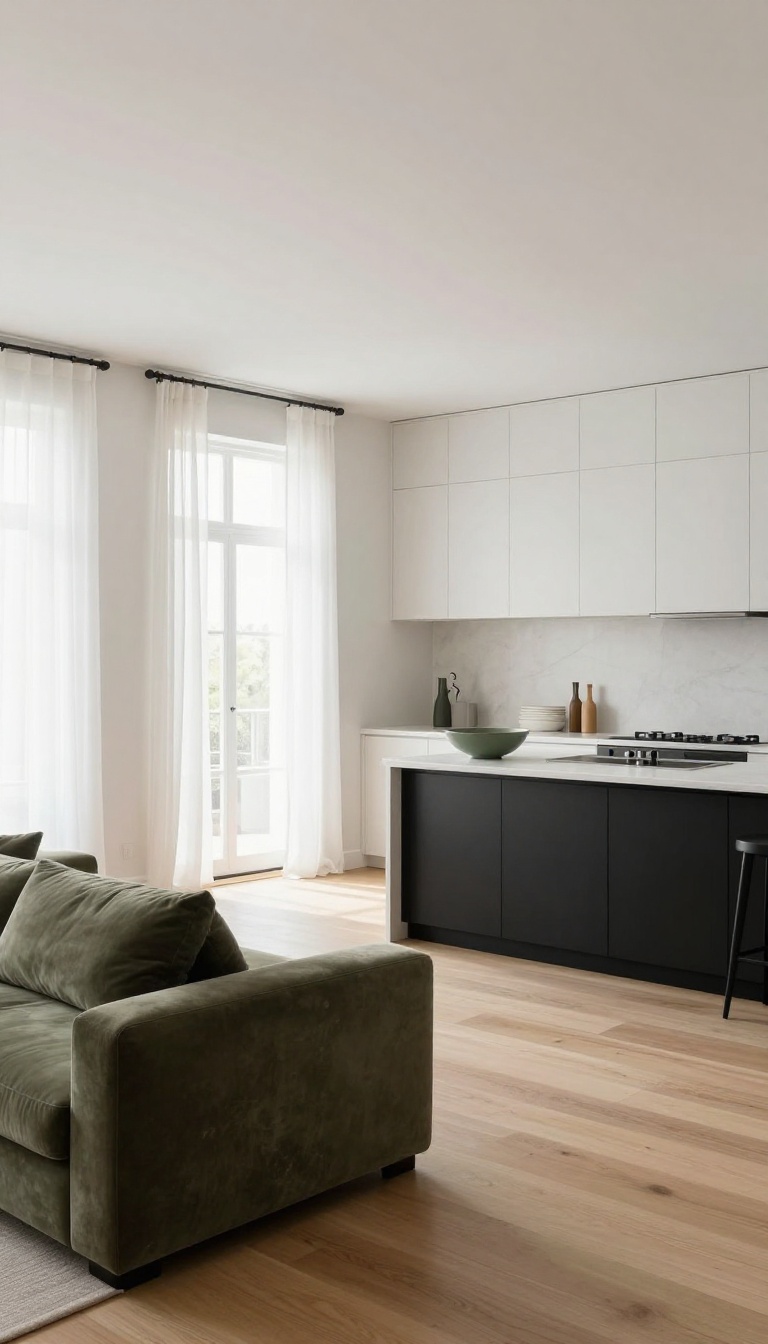
Color is the invisible thread that ties an open-plan space together. When the living room leans warm and the kitchen leans cool, your eye reads them as two separate rooms—even without a wall. A tight palette fixes that in one afternoon, no demolition required.
You don't need to paint everything the same shade. You just need two or three core colors that repeat in both zones. Pick a base (white, greige, warm gray), a grounding tone (charcoal, navy, walnut), and one accent you can sprinkle around.
Then use them everywhere: walls, cabinets, textiles, even the small stuff like bowls and books.
Anchor With A Shared Base Color
Choose one wall color and use it in both the kitchen and living area. If you can't paint the cabinets, match your living room walls to the cabinet tone instead. That single move kills the choppy, divided look faster than any furniture arrangement.
Repeat Your Accent In Both Zones
Pick one accent color—say, olive green or terracotta—and place it in both spaces. A green throw on the sofa, a green bowl on the island. Your brain connects the dots and the whole room feels intentional.
Keep Finishes In The Same Family
Matte black hardware in the kitchen? Use matte black curtain rods or lamp bases in the living room. Brushed brass?
Repeat it on cabinet pulls and a side table. Matching finishes makes different materials feel like they belong together.
5. Let Light Travel with Sheer Curtains and Open Shelves
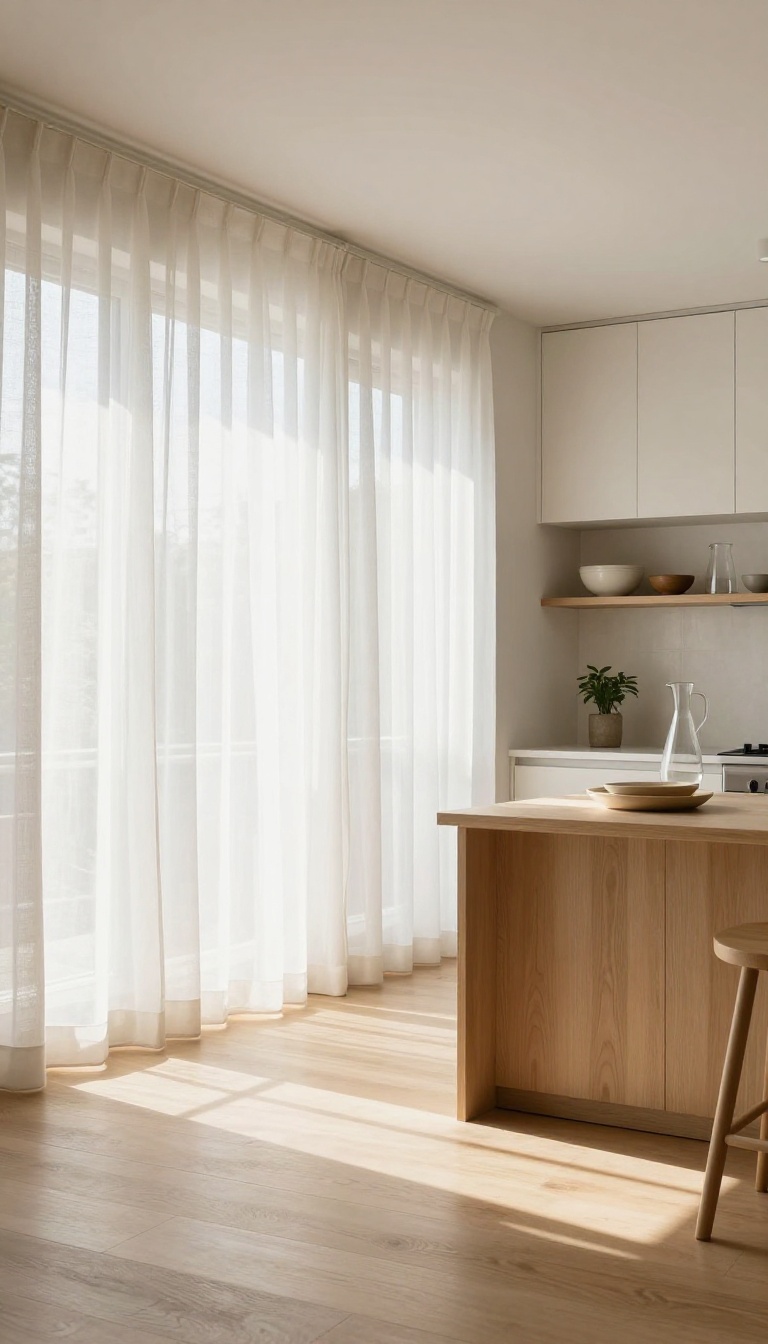
Windows are the best feature in any open-plan room, but heavy drapes and solid upper cabinets can turn them into dead weight. When you block light at the source, the whole space feels smaller and darker than it really is. Swap in sheer curtains and a few open shelves, and suddenly sunshine can move from the kitchen to the couch without hitting a wall.
Sheer curtains filter light instead of stopping it. They soften harsh afternoon glare while still letting that warm glow reach the living area. Open shelves do the same thing vertically—they keep the upper half of your kitchen visually light so light can bounce off the ceiling and travel deeper into the room.
Pick Sheers That Actually Let Light Through
Go for linen, voile, or a lightweight cotton blend in a light color. These fabrics diffuse light beautifully and still give you a little privacy from the street. Hang them close to the ceiling and let them kiss the floor for a taller, airier look.
Skip blackout liners unless you truly need them—they defeat the whole purpose.
Keep Upper Cabinets Low And Open
You don't have to ditch all your cabinets. Just stop them short of the ceiling and leave the top two feet open. Add a floating shelf or two for everyday dishes, glasses, or a small plant.
The gap above the cabinets lets light pass over the kitchen and into the living zone. It also makes the room feel taller without any construction.
Style Shelves Without Clutter
Open shelves only stay airy if they stay edited. Group items by color or function, and leave some empty space between stacks. A few bowls, a pitcher, and one trailing plant are plenty.
Rotate seasonal pieces instead of piling everything on at once. The goal is breathing room, not a display case.
6. Choose Multifunctional Furniture That Earns Its Keep
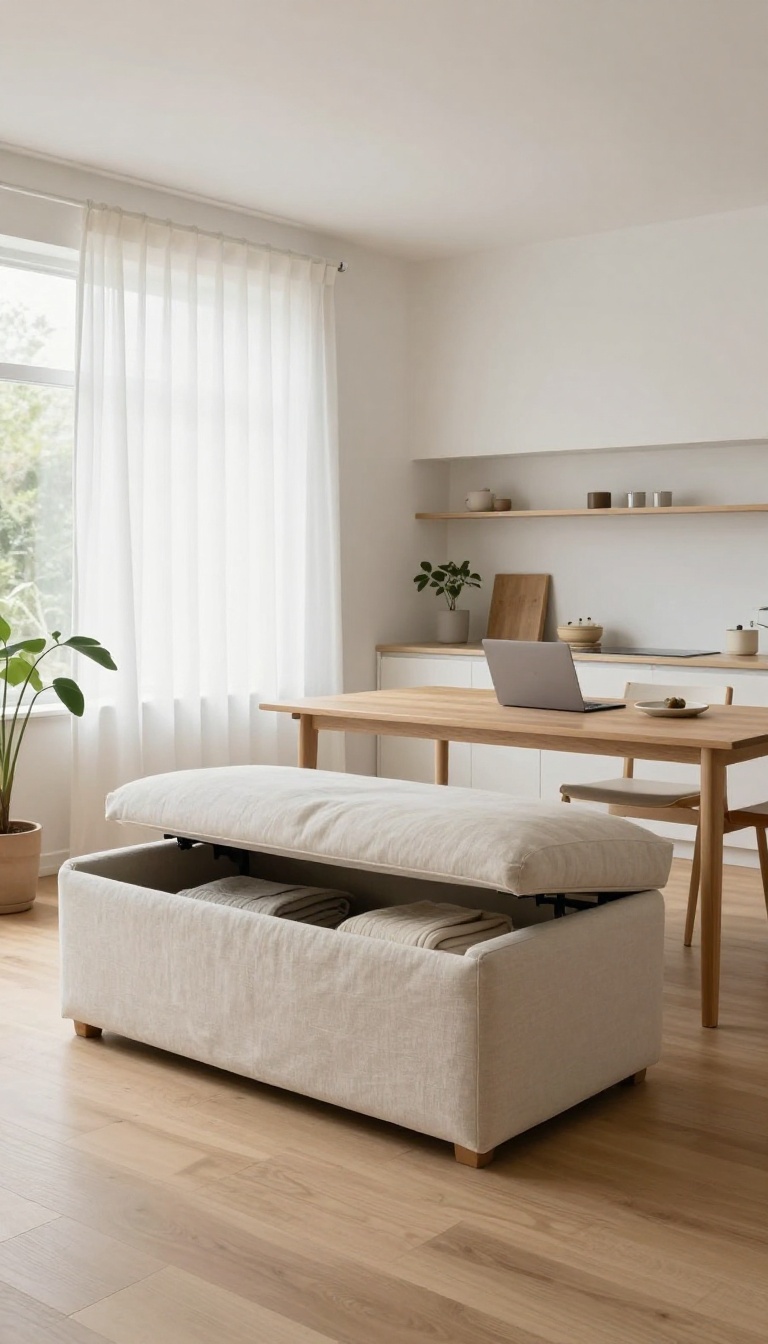
Every piece of furniture in an open-plan space has to pull its weight. If it only does one thing, it's taking up room that could be working harder. Multifunctional pieces solve that problem by giving you storage, seating, and surface area all in one footprint.
The trick is picking items that look good and function well, so you're not sacrificing style for utility.
Think about the last time you tripped over a pile of shoes or hunted for a blanket that wasn't there. Those little frustrations add up in a shared living and kitchen area. The right dual-purpose furniture keeps the floor clear and the counters free.
It also makes the room feel less cluttered, which instantly reads as more airy. You don't need to fill every corner with gadgets. A few well-chosen pieces can replace three or four single-use items.
Storage Ottomans That Pull Double Duty
An ottoman with a lift-up lid is the unsung hero of small spaces. It gives you a place to kick your feet up, and it swallows blankets, magazines, or kids' toys in seconds. Look for one with a sturdy hinge and a washable cover.
Place it near the sofa or as a coffee table alternative. When guests come over, you can clear the clutter and still have a comfy spot to sit.
Tables That Shift From Dining To Desk
A dining table that doubles as a workspace is a game-changer in open-plan homes. Choose one with a smooth surface and enough width for a laptop and a plate. Drop-leaf or extendable designs let you shrink it when not in use.
Keep a small basket nearby for chargers and pens, so you can clear the table for meals in one sweep. This one piece can replace a separate desk and dining set.
Benches With Built-in Shoe Storage
A bench near the entry or along a wall can hold shoes, bags, and coats underneath. It gives you a spot to sit while you tie your laces, and it keeps the floor from becoming a pile of sneakers. Look for one with open shelves or a lift-up seat.
Pair it with a few hooks above for keys and leashes. This simple addition cuts visual noise and makes the whole space feel tidier.
7. Mirror the Kitchen Backsplash in the Living Area
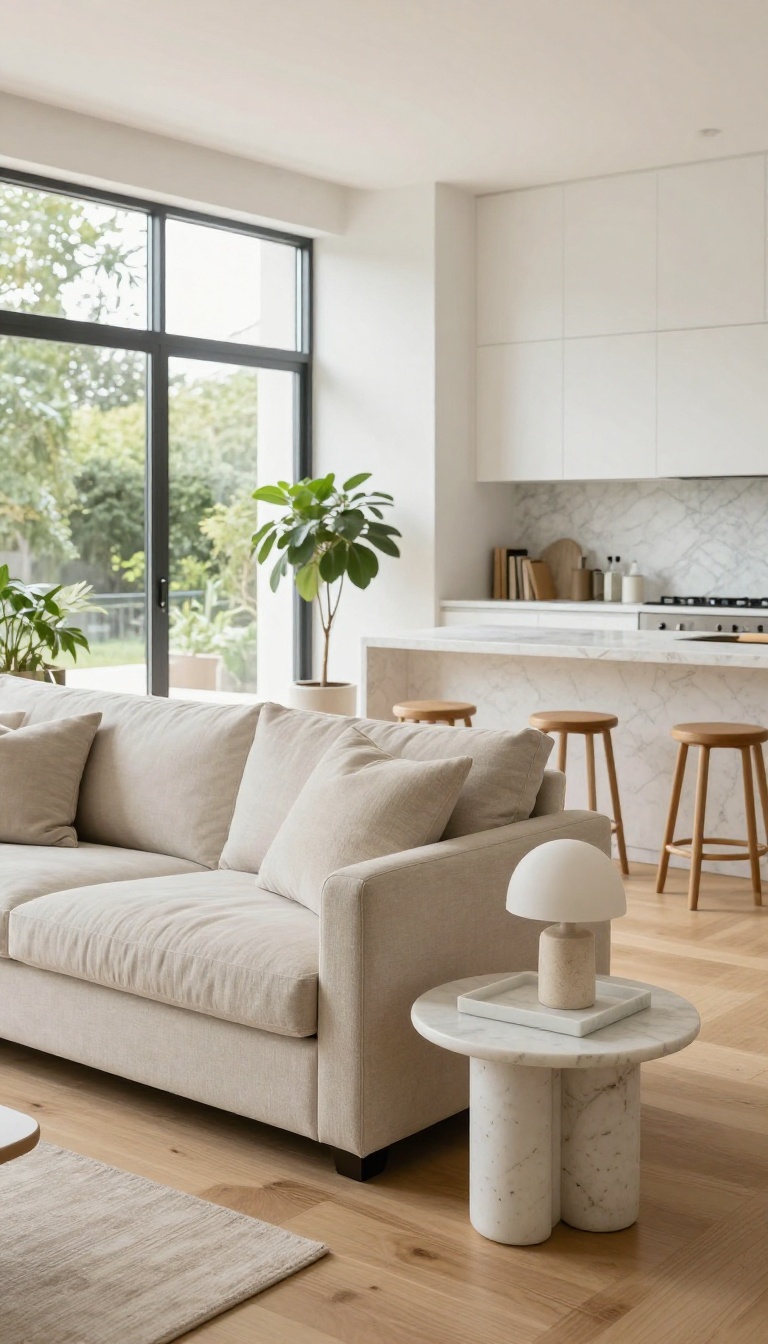
Your eye loves patterns, even when you don't notice them. When the same material shows up in two spots, your brain quietly connects the dots. That's the trick behind mirroring your kitchen backsplash in the living area.
It's a small move with a big payoff: the two zones start to feel like they were planned together, not just shoved into the same room.
You don't need to buy a second slab of marble. You just need to repeat the look somewhere visible from the kitchen. A side table, a tray, a lamp base—anything that echoes the backsplash's color or texture will do the job.
The goal is a visual echo, not a perfect match.
Pick A Material That Can Travel
Marble, quartz, and butcher block are easy to repeat because they come in small pieces. A marble backsplash can show up again as a side table top or a decorative tray. Wood butcher block can reappear as a cutting board display or a small stool.
Just make sure the second piece isn't so big that it competes with the kitchen.
Keep The Repeat Subtle
You're going for a wink, not a shout. One or two matching elements are plenty. A single marble tray on the coffee table, or a pair of stone bookends on a shelf, is enough to create that thread.
If you repeat too much, the room starts to feel themed instead of airy.
Use Lighting As A Bridge
A lamp with a stone base or a glass shade that picks up the backsplash's tone can tie the zones together without adding clutter. Place it near the boundary between kitchen and living area. That way, the light itself becomes a visual link between the two spaces.
8. Keep the Flooring Seamless (or Nearly So)
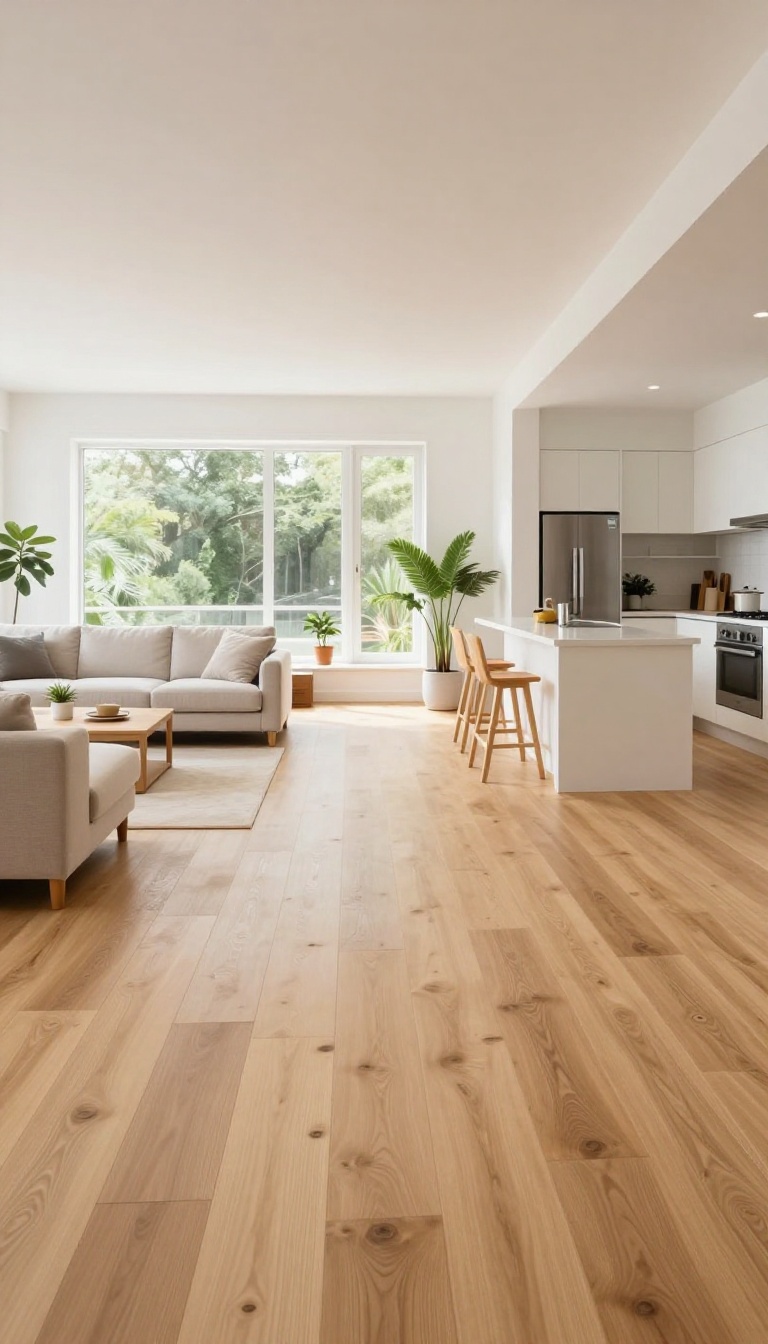
Your eye reads a continuous floor as one big room, not two smaller ones. The moment you switch materials, you create a visual line that chops the space in half. That line doesn't just separate the kitchen from the living area—it makes both sides feel tighter.
So the simplest way to keep things airy is to let the floor run from one end to the other without a hard stop.
Seamless flooring doesn't mean you have to splurge on one fancy material everywhere. It means picking something that works in both zones and sticking with it. If you're starting from scratch, this is the easiest time to get it right.
If you're working with what you have, you can still fake it until you make it.
Pick A Material That Handles Both Jobs
Kitchens deal with water, crumbs, and dropped spoons. Living rooms deal with bare feet, pet hair, and movie nights. A material that can do both—like luxury vinyl plank, porcelain tile that looks like wood, or sealed concrete—lets you skip the transition entirely.
LVP is the crowd favorite because it's waterproof, soft underfoot, and comes in a million wood looks. Porcelain tile is colder but practically indestructible. Sealed concrete is trendy but can crack, so think twice if you're rough on floors.
If You Must Switch, Keep It Quiet
Sometimes a switch is unavoidable—maybe your kitchen already has tile and your living room has hardwood. In that case, make the transition as invisible as possible. Use a flat transition strip that sits flush with both floors instead of a raised threshold.
Match the tones as closely as you can: warm wood-look tile next to warm oak, or cool gray LVP next to gray-stained concrete. The less contrast, the less your eye stops at the line.
Run The Planks The Long Way
The direction of your flooring matters more than you think. Planks or tiles that run parallel to the longest wall stretch the room visually. If your open space is longer than it is wide, run the flooring lengthwise.
If it's a square, run it toward the main light source or the focal point. This isn't a rule you'll get fined for breaking, but it's a free trick that makes a noticeable difference.
9. Add a Slim Console or Room Divider for Soft Separation
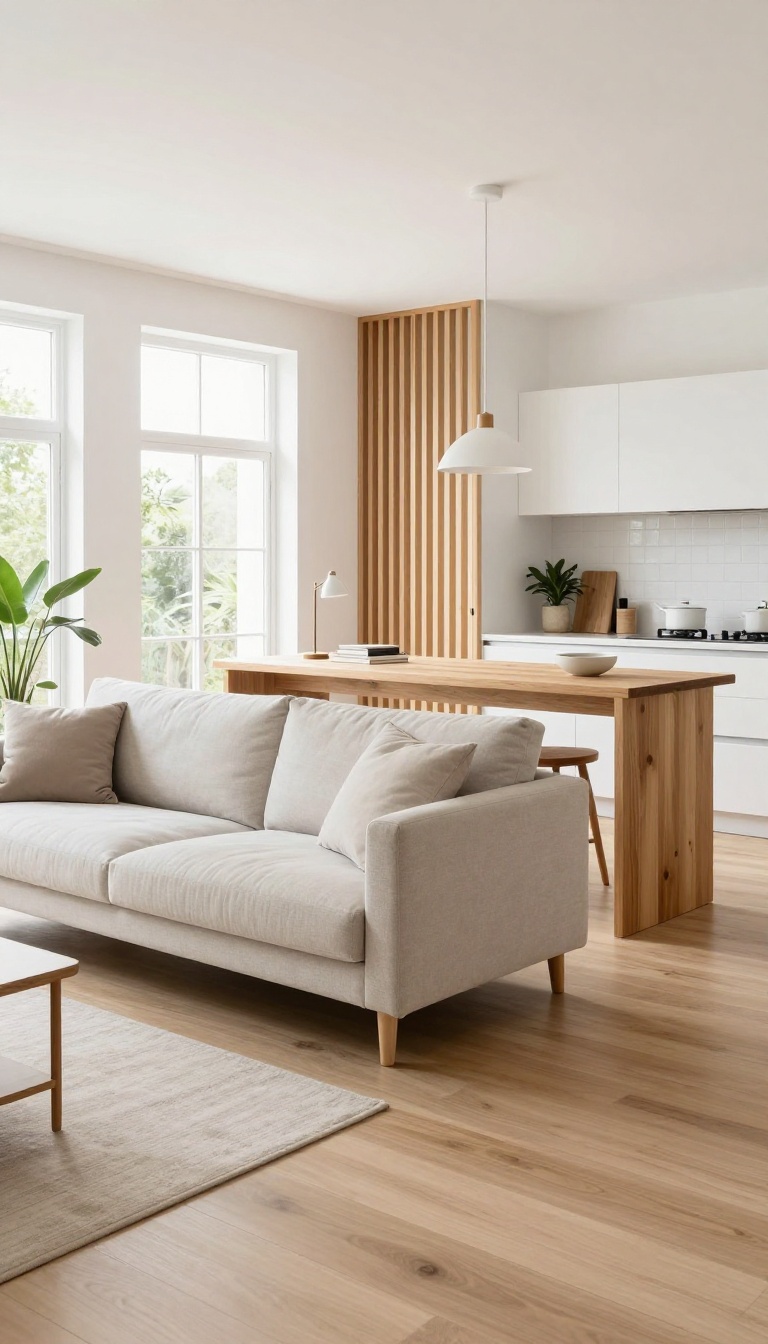
You don't need a wall to create a sense of separation. A slim console behind the sofa or a slatted divider gives you just enough visual break to define zones without cutting off light or conversation. It's one of the easiest upgrades you can make, and it works in rentals too.
The key is keeping things narrow and open. Anything too bulky will make your space feel smaller, not bigger. Think of these pieces as gentle hints rather than hard boundaries.
A console table tucked behind a floating sofa is a classic move for a reason. It creates a landing spot for lamps, books, or a bowl of keys while subtly marking where the living area ends and the kitchen begins. Because it's low and leggy, it doesn't block sightlines or light.
Slatted wood dividers do the same job but with a bit more height. The gaps between slats let air and light pass through, so the room still feels connected. You can find freestanding versions that need zero installation, which is perfect if you're renting.
Both options are budget-friendly compared to building a wall, and they're easy to move if you rearrange later. They also give you a place to hang a pendant light or drape a throw, adding warmth without clutter.
Choosing The Right Depth
A console that's 12 to 14 inches deep is usually the sweet spot. Anything deeper starts to feel like a barrier. Measure your walkway first—you want at least 30 inches of clearance so people can pass comfortably.
Slatted Dividers That Breathe
Look for dividers with horizontal or vertical slats spaced at least an inch apart. That gap is what keeps the space feeling open. If the slats are too tight, it might as well be a solid wall.
Styling Without Clutter
Keep the top of a console mostly clear. One lamp, a small plant, and a tray for odds and ends is plenty. For dividers, you can hang a lightweight mirror or a piece of art on the living room side to reinforce the zone.
10. Declutter Counters and Coffee Tables Daily
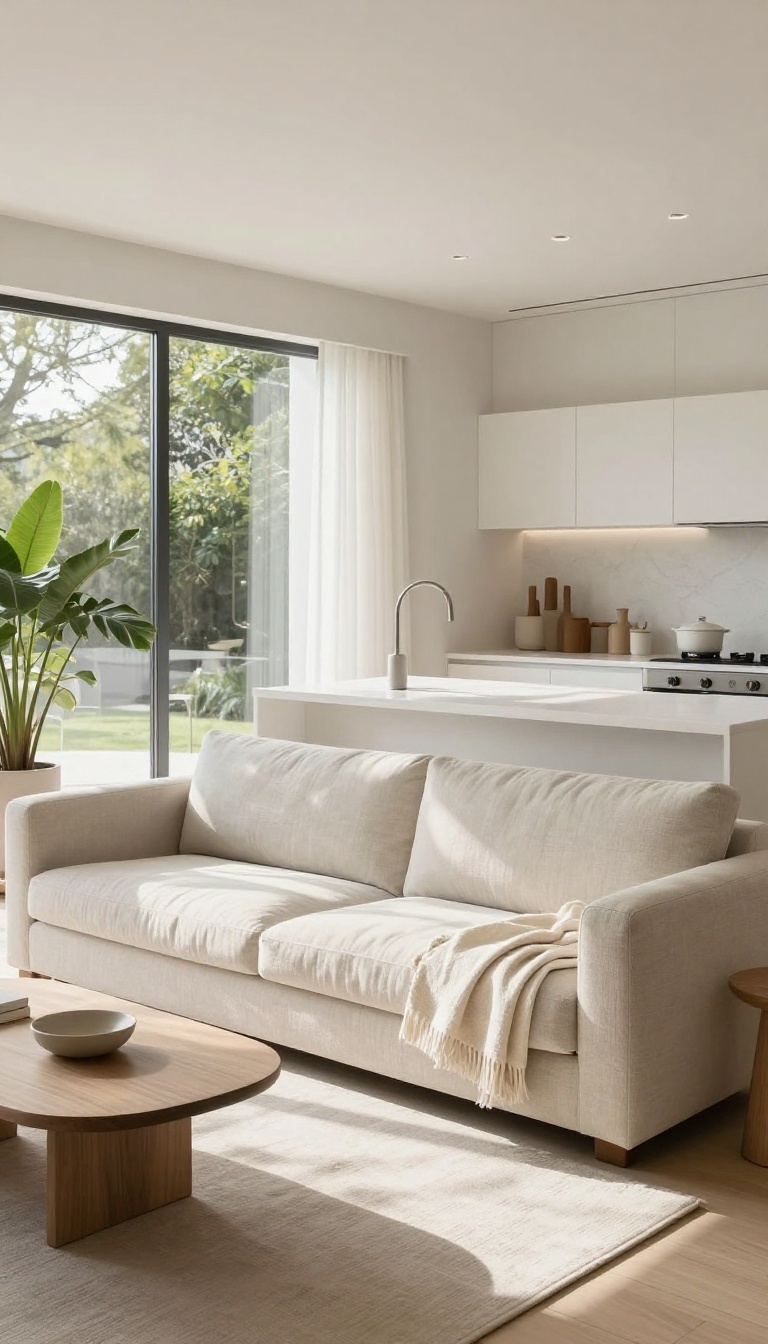
A single stack of mail or a pile of dishes can make an open-plan room feel half its size. Visual noise adds up fast, and in a shared space, every stray item is visible from every angle. The fix isn't a marathon cleaning session—it's a quick daily reset that takes five minutes.
Think of it as hitting the refresh button on your home. When counters and coffee tables are clear, your eye can travel across the room without tripping over clutter. That sense of openness is what makes an open plan feel airy, not just the square footage.
The Five-minute Nightly Reset
Set a timer and do a fast sweep: dishes into the dishwasher, mail into a tray or shredder, throws folded and draped over the sofa arm. Don't aim for perfect—just clear the main surfaces. This tiny habit keeps the room from ever reaching that overwhelming stage.
Give Everything A Home
Clutter builds when things don't have a place. Use a decorative bowl for keys, a lidded basket for remotes, and a drawer for chargers. If an item doesn't have a home, it will always end up on the counter.
A quick fix: label a few zones and stick to them.
The One-in, One-out Rule
When you bring something new into the living area, remove something else. Bought a new candle? Toss the old magazine.
This keeps surfaces from slowly accumulating stuff. It's a simple rule that prevents the slow creep of clutter.
Make It A Family Habit
If you live with others, turn the reset into a group effort. A two-minute tidy before bed, with everyone pitching in, feels less like a chore and more like a team win. Kids can handle their own toys and backpacks.
The payoff is a room that feels open and calm every morning.
11. Use Lighting Layers to Define Each Zone
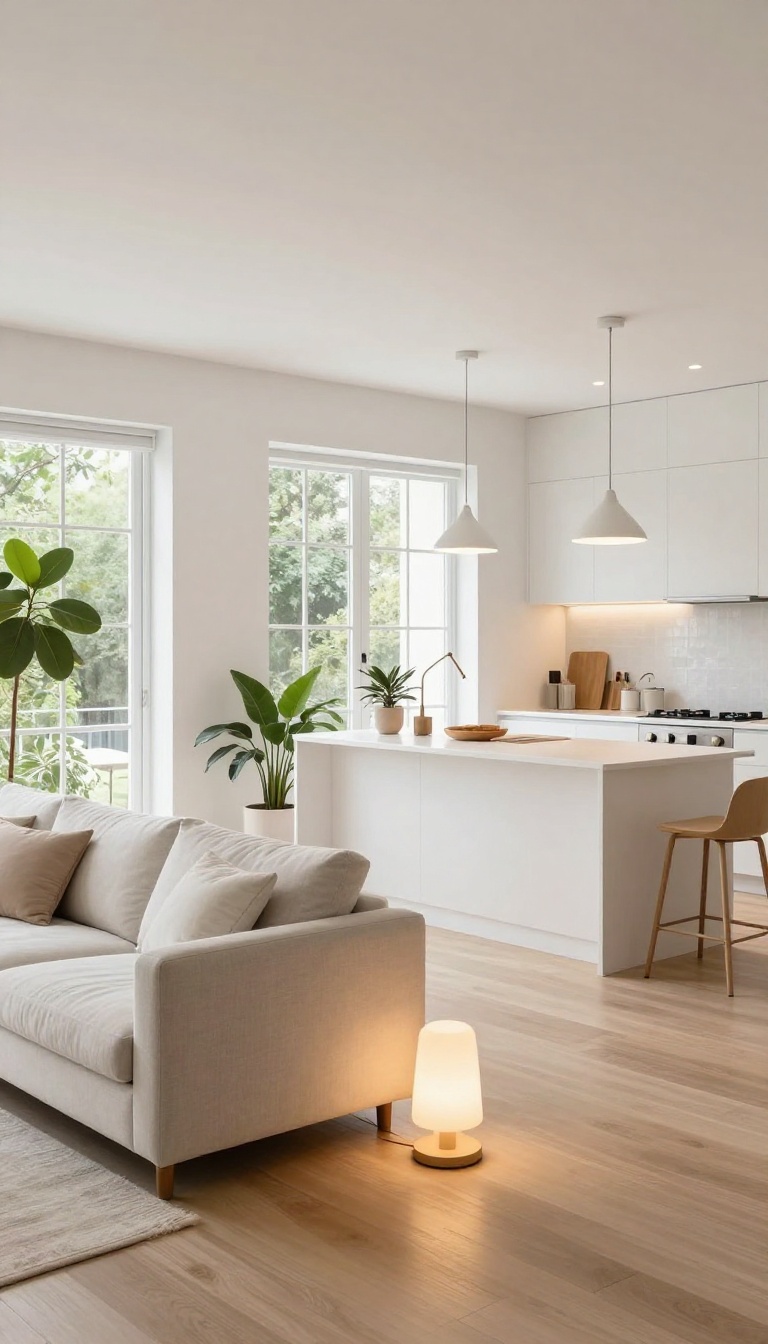
One ceiling fixture trying to light an entire open-plan space is like one lamp trying to light a stadium. It flattens everything, washes out the room, and makes both the kitchen and living area feel vaguely uncomfortable. Layered lighting fixes that by giving each zone its own pool of light, so your eye naturally separates cooking from lounging without a single wall.
The trick is to think in layers: overhead for general brightness, task lights for specific work, and accent lights for mood. When each zone has its own glow, the whole room feels bigger and more intentional. Plus, dimmers let you shift from bright and functional to soft and relaxed in seconds.
Start With Pendants Over The Island
Pendant lights are the workhorses of an open kitchen. Hang two or three over the island or peninsula, and they instantly mark that area as the cooking zone. Keep them about 30 to 36 inches above the counter so they light your workspace without blocking your view.
Choose pendants with a narrow beam or a shade that directs light downward. That keeps the glow focused on the counter instead of spilling into the living room. If your ceilings are high, a slightly larger pendant helps fill the vertical space without feeling heavy.
Add A Floor Lamp Near The Sofa
In the living zone, a floor lamp does what a pendant does for the kitchen: it anchors the area. Place one beside or behind the sofa, ideally with an adjustable arm or a shade that aims light toward your seating. That creates a cozy reading nook and visually pulls the couch away from the kitchen.
A lamp with a warm bulb (around 2700K) feels inviting in the evening. Pair it with a small side table if you have room, but even a slim lamp on its own can define the edge of the living space. Just make sure the cord doesn't become a trip hazard in the walkway.
Use Dimmers To Shift The Mood
Dimmers are the secret to making layered lighting actually work. During the day, crank everything up for a bright, airy feel. At night, dim the pendants and floor lamp to create soft pools of light that make the room feel intimate and calm.
If you can't install dimmers on every switch, start with the most-used fixtures. Smart bulbs are a plug-and-play option that let you adjust brightness from your phone. Either way, being able to fade the lights down turns one room into two distinct moods without moving a thing.
FAQ
How do I separate a living room and kitchen without building a wall?
Use area rugs, furniture placement (like a floating sofa), and lighting layers to create visual boundaries. A slim console or open shelving can also act as a soft divider without blocking light.
What's the cheapest way to make an open-plan space feel airier?
Start with decluttering and swapping heavy curtains for sheers. Rearranging furniture to improve flow costs nothing, and a single large mirror can bounce light around the room for under $50.
Should I match my kitchen and living room flooring?
Yes, if possible. Continuous flooring makes the space feel larger and more cohesive. If you can't match exactly, choose similar tones and use a flat transition strip to minimize visual breaks.
How do I stop cooking smells from taking over the living room?
Run a strong range hood or exhaust fan every time you cook. You can also add a small air purifier near the kitchen and crack a window for cross-ventilation.
What furniture works best in a small open-plan living room and kitchen?
Look for multifunctional pieces: storage ottomans, extendable tables, and backless bar stools that tuck under the island. Keep furniture low-profile and avoid oversized sectionals.
Conclusion
Open living rarely comes from knocking down every wall or buying all new furniture. It comes from a few deliberate choices: lighter colors, smarter storage, and zones that quietly tell your brain where the kitchen ends and the couch begins. Start with the idea that fixes your biggest daily friction, whether that is clutter on the island or a dark corner near the sofa.
Live with that one change for a week before layering in another. You do not need all eleven.