15 Clever Onyx Shower Ideas for a Crisp and Cohesive Finish
Onyx showers are having a moment, and it's easy to see why. The stone's dramatic veining and backlit potential turn an everyday routine into a visual experience. But working with onyx takes planning—it's porous, delicate, and can easily overwhelm a small space if you're not careful.
The good news? You don't have to commit to a full onyx cave to get the look.
From a single feature strip to a full wet room, there are clever ways to incorporate this stone that keep your bathroom feeling crisp, not chaotic. Whether you're renovating or just dreaming, these 15 ideas will help you nail that cohesive finish.
1. Start with a Single Feature Wall
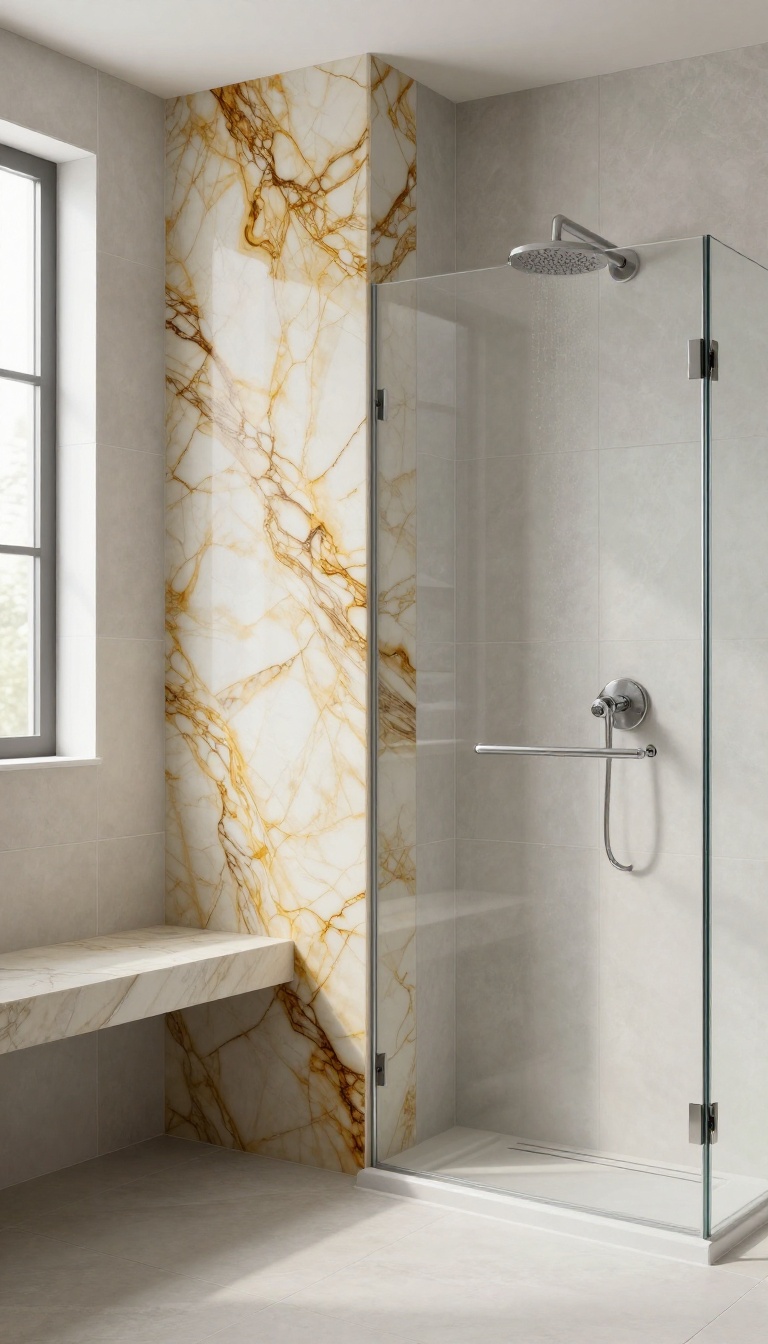
A full onyx shower can be breathtaking, but it's also a big commitment—both financially and visually. If you're drawn to the stone's drama but want to keep things balanced, a single feature wall is the smart middle ground. It gives you that wow factor without turning your bathroom into a cave.
Choose the wall that draws the eye first—usually the one behind the shower fixtures or bench. This becomes the natural focal point, while the other walls stay neutral in a complementary tile or waterproof paint. The contrast makes the onyx pop even more, and it's a budget-friendly way to use the material.
Plus, you'll have less stone to seal and maintain, which is a win for everyday living.
Pick The Right Wall
Not every wall is equal. The wall you face when you step in, or the one behind a bench, tends to have the most visual impact. Avoid placing it behind a glass door that's often fogged up—you want the stone to be seen clearly.
Also, consider where natural light hits; a wall that catches morning or evening light will show off the veining beautifully.
Pair With Simple Materials
Let the onyx be the star. Pair it with large-format porcelain tiles in a soft white, warm beige, or light gray. Keep grout lines thin and unobtrusive.
This way, the onyx doesn't compete with busy patterns or loud textures. The result is a crisp, cohesive look that feels intentional.
Budget And Maintenance Perks
Using onyx on one wall cuts material costs significantly compared to a full surround. It also means less surface area to seal and care for. Onyx is porous and can etch with acidic cleaners, so a single wall is easier to maintain.
You'll still want to use a gentle, pH-neutral cleaner and reseal periodically, but it's a manageable routine.
2. Backlight the Onyx for a Warm Glow
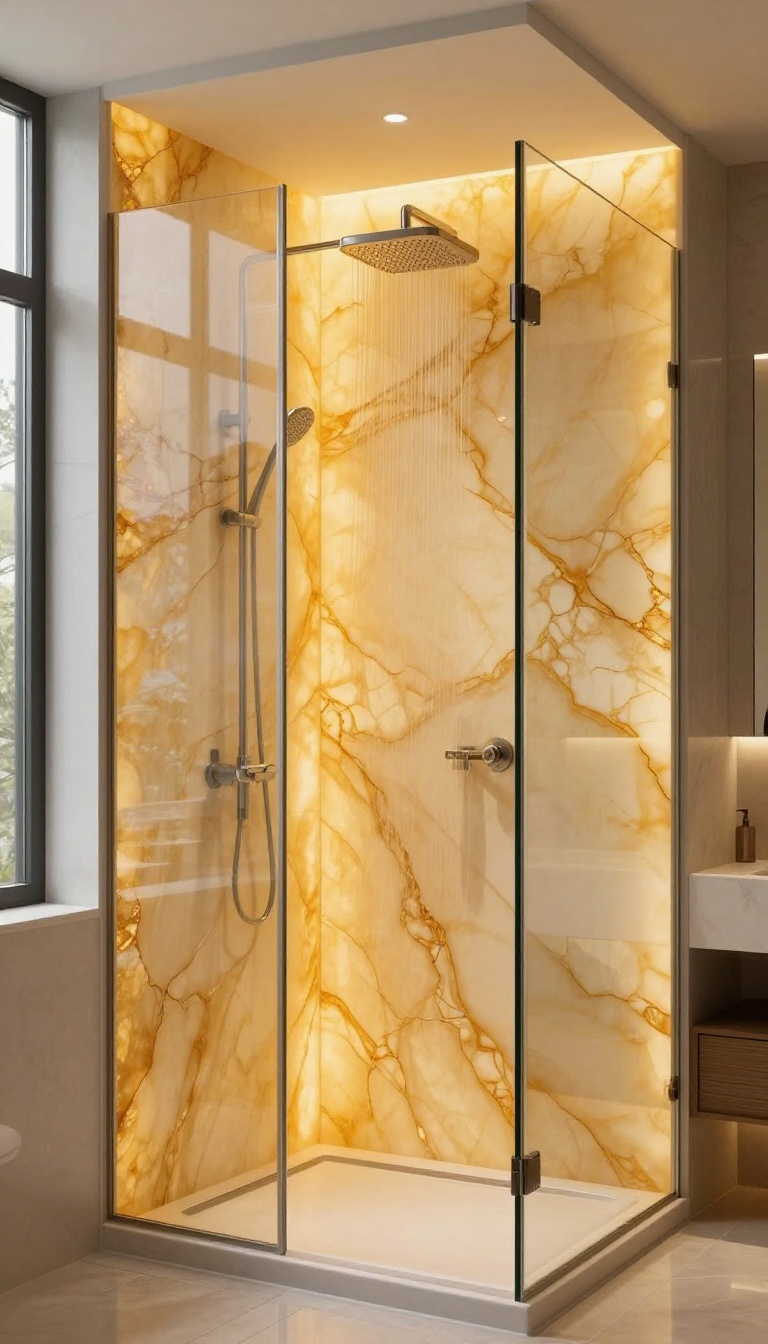
Onyx is naturally translucent, which makes it one of the few stones that truly comes alive with light. When you add backlighting, the veining glows from within, and the color deepens into something almost liquid. It’s a simple upgrade that changes the entire mood of your shower.
Backlighting isn’t just about making the stone look pretty—it’s about creating a space that feels calm and inviting. The warm glow softens the edges of the shower and makes even a small bathroom feel more spacious. Plus, you can adjust the brightness to match your morning routine or evening wind-down.
Choose The Right Light Color
Warm white or soft amber tones work best with onyx because they enhance the golden and honey hues in the stone. Cool white can make it look clinical, so stick to temperatures around 2700K to 3000K. If you want to get fancy, install dimmable LEDs so you can shift from bright and energizing to soft and soothing.
Where To Place The Lights
The most dramatic effect comes from lighting the onyx from behind the main wall panel, but you can also add strips along the edges or under a bench. For a full wet room, consider backlighting the entire wall behind the showerhead. Just make sure the lights are properly sealed and rated for wet areas—safety first.
Keep The Stone Thin Enough
Onyx panels that are too thick won’t let enough light through. Aim for slabs around 3/4 inch or less, or use thinner veneer panels for the backlit sections. Work with your fabricator to ensure the stone is prepared correctly, with a frosted finish on the back to diffuse the light evenly.
3. Pair Onyx with Matte Black Fixtures
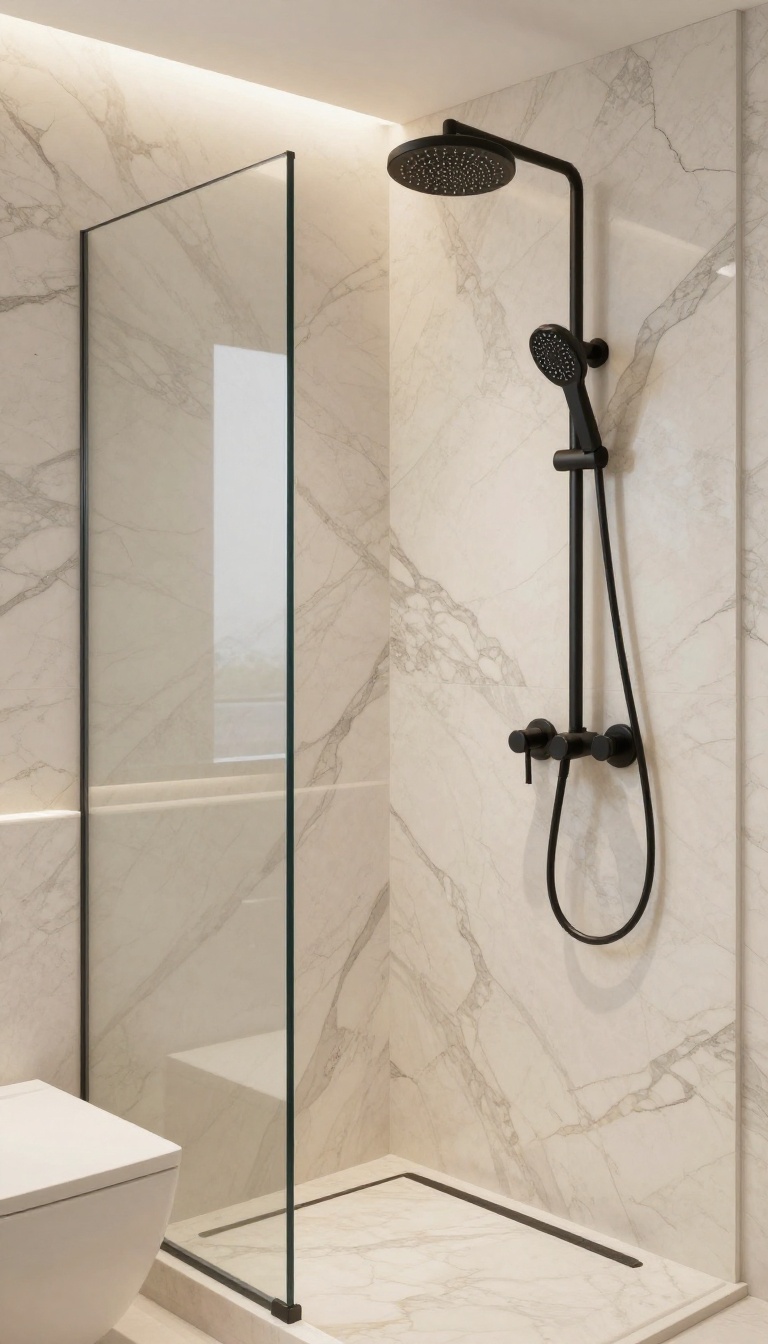
Onyx is a showstopper, but it can easily tip into glitzy territory if you pair it with the wrong hardware. That's where matte black comes in. The contrast between glossy onyx and matte black fixtures is sharp and modern, grounding the stone and giving the space a crisp, cohesive edge.
Matte black fixtures act as an anchor, preventing the onyx from feeling too busy or flashy. The dark, non-reflective finish absorbs light, creating a visual balance that lets the stone's natural veining take center stage without competing for attention. This pairing works especially well in contemporary and industrial-style bathrooms, where clean lines and bold contrasts are key.
Why Matte Black Works With Onyx
The high-gloss surface of polished onyx reflects light and can feel almost liquid. Matte black, on the other hand, has a subtle texture that absorbs light and adds depth. This contrast creates a dynamic interplay that feels intentional and sophisticated.
Plus, matte black fixtures are forgiving when it comes to fingerprints and water spots, which is a practical win for a busy bathroom.
Choosing The Right Fixtures
When selecting matte black fixtures, consider the scale and style. For a shower, opt for a rain shower head with a wide face, a sleek handheld wand, and a thermostatic valve with a simple lever handle. For the rest of the bathroom, match the finish with faucets, towel bars, and even the shower frame.
Stick to the same matte black finish throughout to keep the look cohesive.
Balancing The Palette
To avoid a stark or heavy feel, balance the dark fixtures with lighter elements. Use white or light gray grout, add a bench or niche in a lighter stone, or incorporate warm wood accents for a touch of softness. The goal is to let the onyx and black fixtures shine while keeping the overall space inviting and airy.
4. Use Onyx as a Niche Backsplash
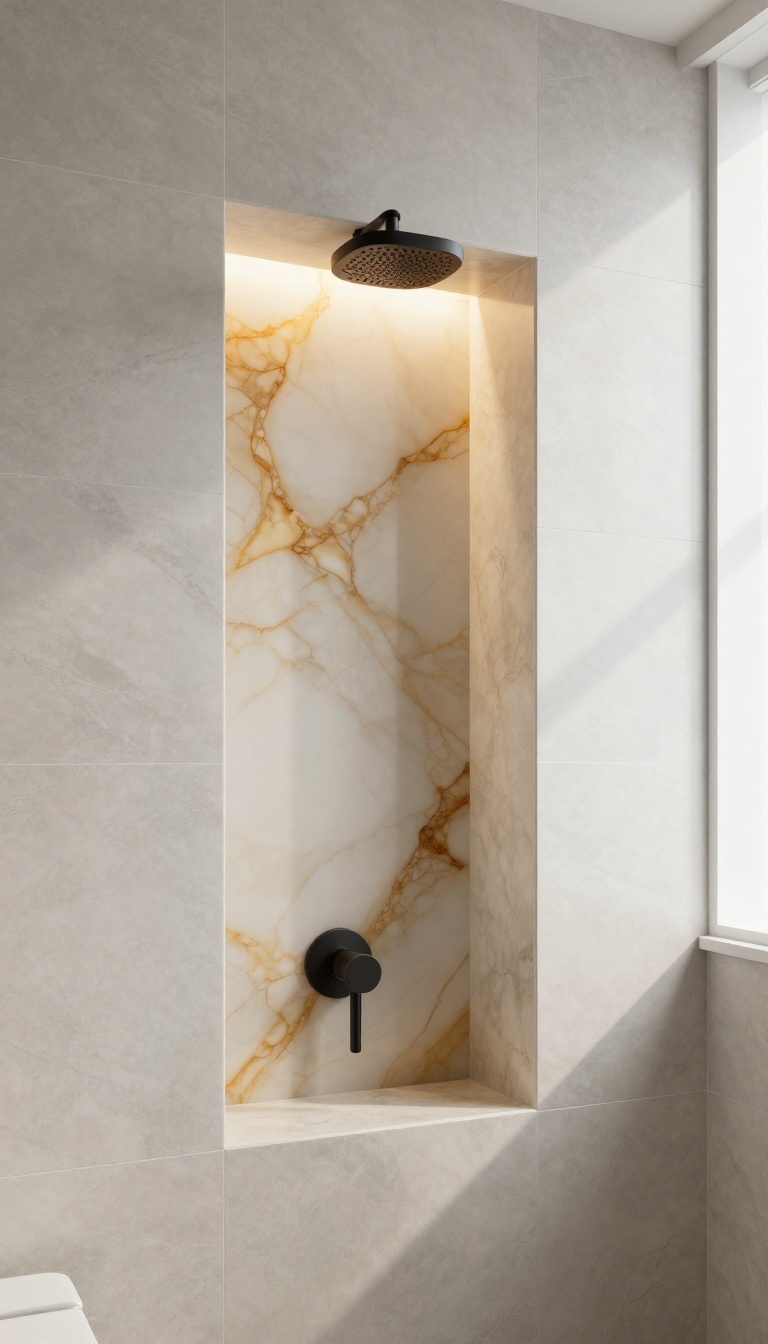
Shower niches are practical, but they don't have to be plain. Adding a slice of onyx to the back of your niche is a small move that makes a big impact. It's like giving your shower a secret little moment of luxury that you see every time you reach for your shampoo.
This trick works especially well if you already have onyx somewhere else in the bathroom, like a vanity top or a feature wall. The niche backsplash ties everything together without demanding too much attention. And because the niche is usually at eye level, you get to enjoy the stone's natural patterns up close.
Why It Works So Well
Onyx is naturally translucent, so even a thin slice can catch light in a way that other stones don't. In a niche, it's often lit by the main shower light or a small recessed spot, which makes the veining glow softly. It adds depth and warmth, turning a purely functional spot into a visual anchor.
Choosing The Right Slab
You don't need a thick slab for this—a 1/4-inch piece is plenty. Look for a piece that has some movement or a color that echoes the rest of your shower. If you're using onyx elsewhere, try to match the tone or at least pick a complementary hue.
Even a small piece can feel intentional if it's well-chosen.
Installation Tips
Because onyx is porous and soft, it needs a bit of care during installation. Make sure the backer board is perfectly flat, and use a light-colored thin-set to avoid any show-through. Seal the onyx before grouting, and use a non-sanded grout to protect the edges.
It's a job best left to a pro if you're not confident, but the result is worth the extra effort.
5. Create a Seamless Look with Large Format Tiles
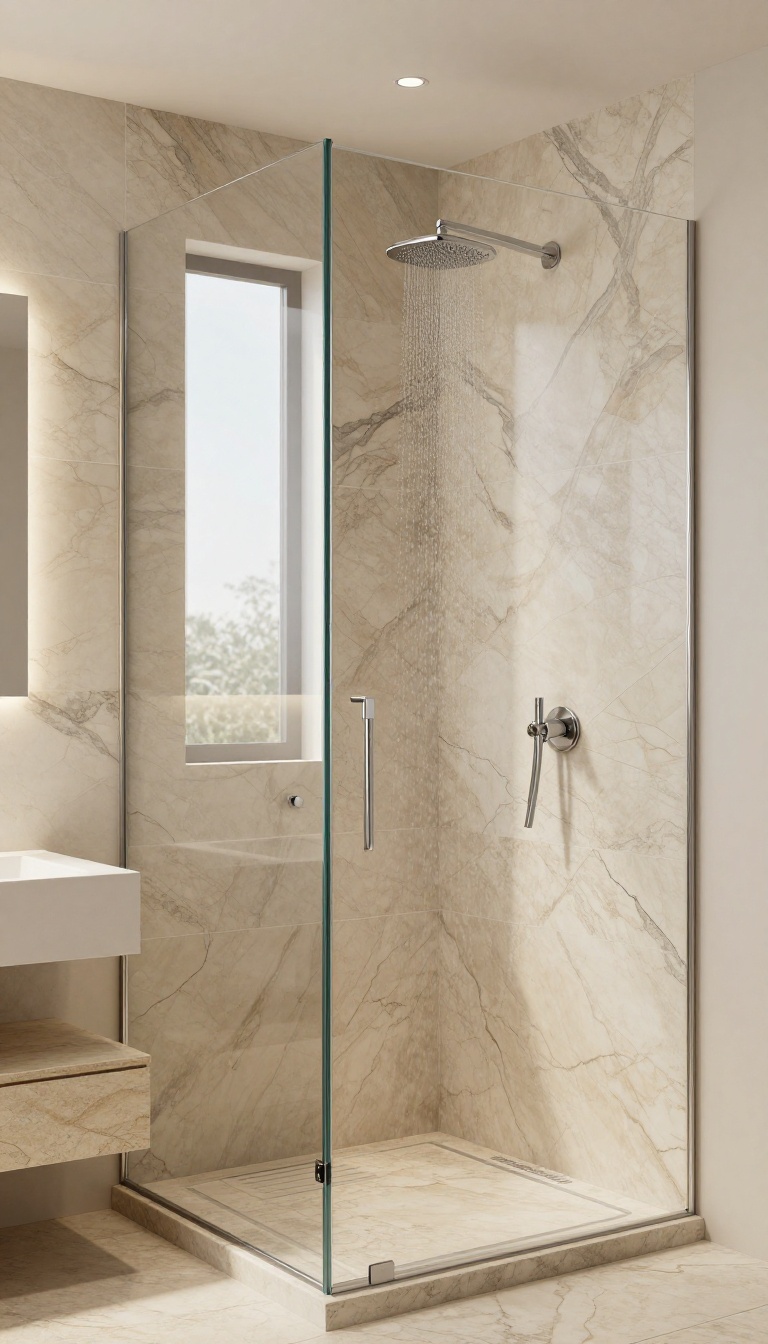
Fewer grout lines can completely change how a shower feels. Large-format onyx tiles minimize interruptions, letting the stone's natural movement flow across the wall without visual breaks. This approach mimics the look of a solid slab, which instantly makes the space feel more premium and intentional.
Large-format tiles are a smart choice for onyx because they showcase the stone's dramatic veining without the distraction of busy grout lines. The result is a calm, cohesive surface that feels more like a single piece of stone than a collection of tiles. This style works especially well in modern bathrooms where clean lines and minimalism are key.
To get the most out of large-format tiles, plan the layout carefully so that the veining aligns across adjacent tiles. You'll also want to use a grout color that blends with the stone, like a soft gray or beige, to keep the focus on the onyx itself.
Why Fewer Grout Lines Matter
Grout lines can break up the visual flow of any tile, but with onyx, they can interrupt the natural veining that makes the stone so special. Large-format tiles reduce the number of grout lines, allowing the pattern to continue seamlessly across the wall. This creates a more elegant, high-end look that feels less busy and more refined.
Choosing The Right Tile Size
When selecting large-format onyx tiles, consider the dimensions of your shower. For standard showers, tiles around 12×24 inches work well, but if you have a larger space, you can go bigger—like 24×48 inches or even custom slabs. The key is to ensure the tile size complements the scale of the room without overwhelming it.
Installation Tips For A Flawless Finish
Large-format tiles require a perfectly flat substrate to avoid lippage, so make sure your walls are prepped properly. Use a leveling system to keep tiles even, and consider hiring a professional who has experience with large-format stone. Also, use a polymer-modified thin-set to ensure strong adhesion, and seal the onyx after installation to protect it from moisture and stains.
6. Mix Onyx with Neutral Tones
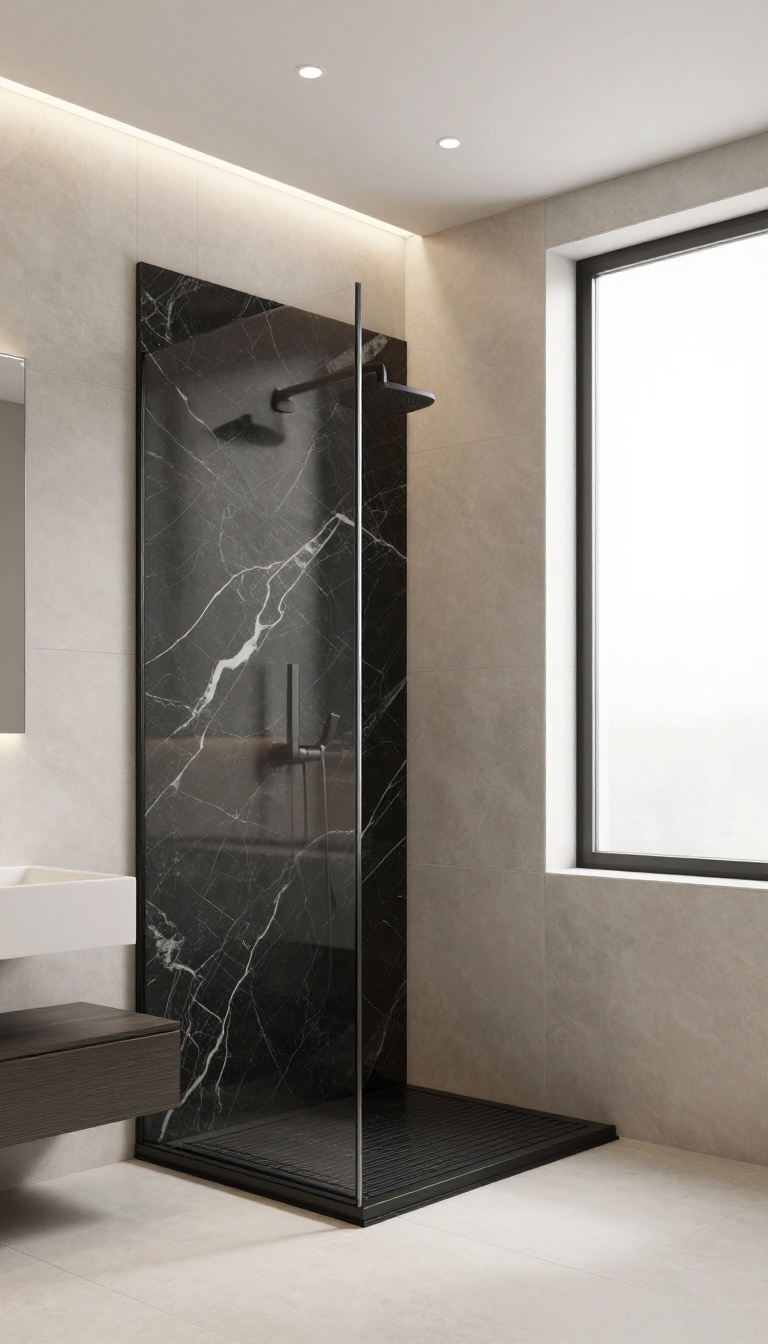
Onyx is bold, but that doesn't mean it has to dominate the whole shower. Pairing it with soft neutrals like beige, white, or light gray keeps the space feeling open and airy, even when the stone is the star. The contrast also lets the veining pop without overwhelming your senses.
Start by choosing one focal area for the onyx—maybe the shower wall behind the bench or a vertical strip near the entrance. Then, use large-format neutral tiles for the rest of the enclosure. This way, the onyx reads as a deliberate accent rather than a chaotic pattern.
You'll get that crisp, cohesive finish without the cave-like feel.
Pick A Neutral Base
For the base, think warm whites, soft greiges, or light beige. These tones reflect light and make the shower feel larger. Avoid stark white if your onyx has warm undertones—it can look harsh.
Instead, match the undertone of your stone for a seamless blend.
Use Onyx As An Accent Wall
Reserve the onyx for one wall, like the one behind the showerhead or the back wall opposite the entry. This creates a stunning focal point without making the entire space feel heavy. Pair it with simple, matte neutral tiles on the other walls to keep the eye moving.
Balance With Light Fixtures
Lighting is key when mixing dark stone with light neutrals. Use warm LED strips or recessed lighting to highlight the onyx's translucency. Avoid harsh overhead lights that wash out the neutrals.
A dimmer switch lets you adjust the mood from bright morning to calm evening.
7. Install a Onyx Shower Tray
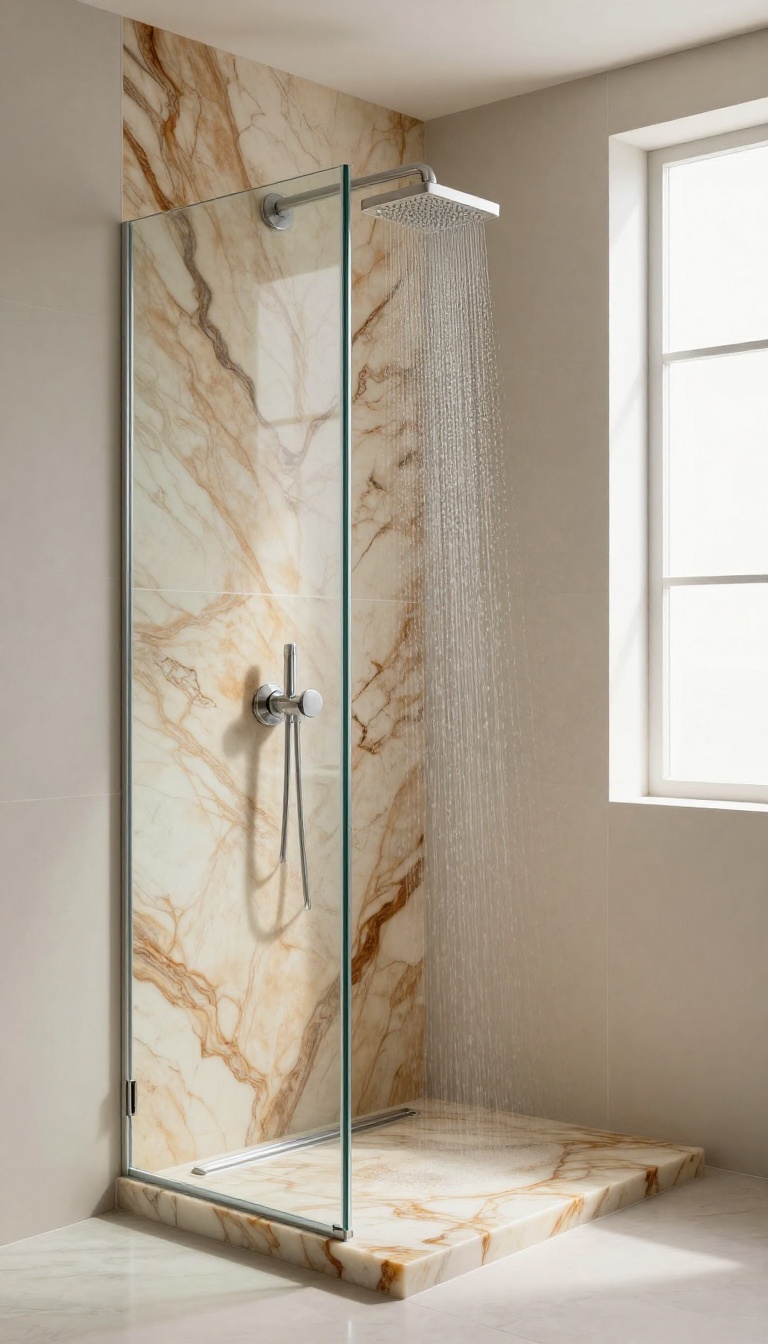
A solid onyx shower floor or tray adds a touch of luxury underfoot. It's non-porous when sealed properly, and the natural patterning makes each tray unique. Beyond the wow factor, a onyx tray can actually make your shower feel more cohesive by tying together the walls and fixtures.
When you step onto a onyx tray, the experience is immediate—cool, smooth, and grounding. Unlike tile, there are no grout lines to scrub, which is a huge win for maintenance. Plus, the stone's natural variations mean your tray is one-of-a-kind, adding a subtle artistic element to your shower.
Why Choose A Solid Tray?
A solid onyx tray eliminates the need for a separate pan and liner, simplifying installation. It also provides a seamless transition from the shower floor to the walls, reducing the chance of water pooling. The non-porous surface, when sealed, resists stains and mold, making it a practical yet luxurious choice.
Design Considerations
Think about the size and shape of your shower. Onyx trays come in various dimensions, but custom fabrication is common. You'll also want to decide on a finish—honed for a matte look or polished for extra shine.
Keep in mind that darker onyx can show water spots more easily, while lighter shades brighten the space.
Installation Tips
Work with a professional who has experience with natural stone. The tray must be properly supported and leveled to avoid cracking. Use a flexible adhesive and leave room for expansion.
After installation, apply a high-quality sealer and reapply regularly to keep the stone protected.
8. Frame the Shower with Onyx Trim
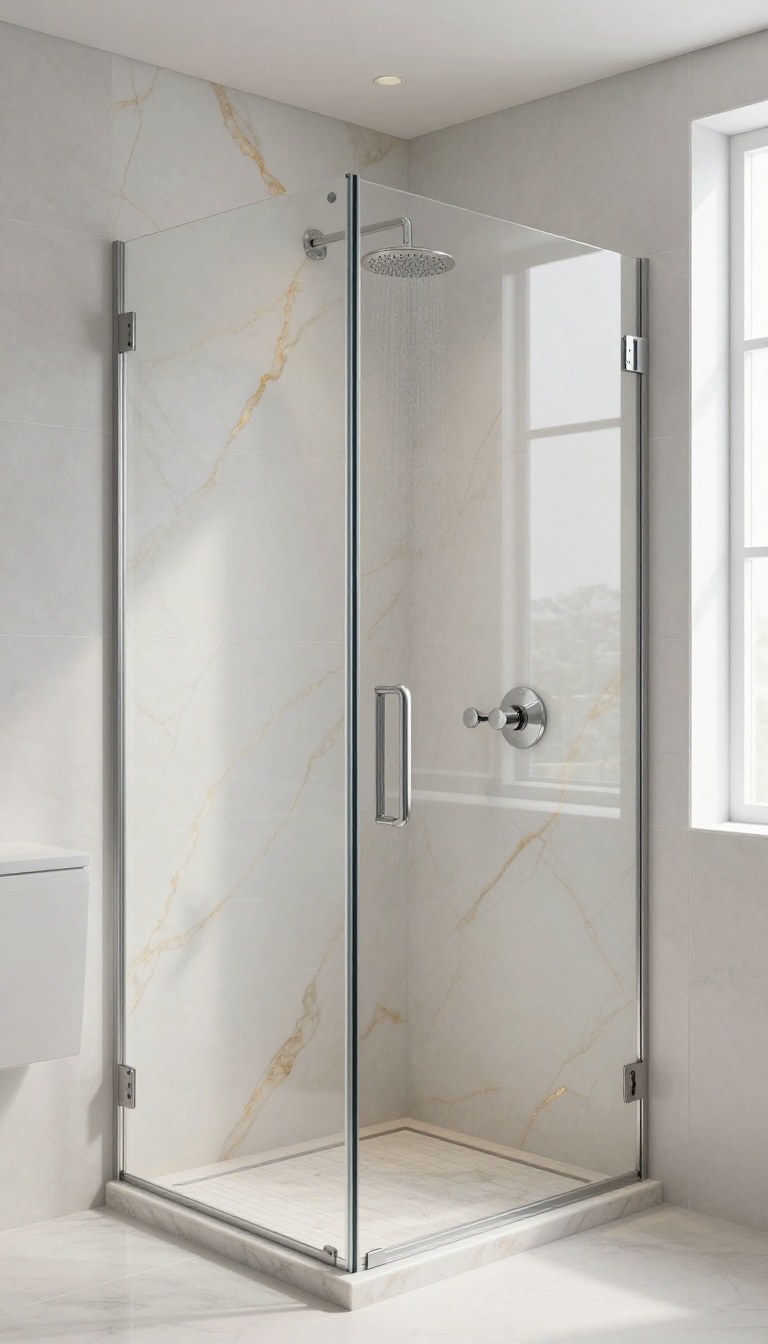
Sometimes the smallest details make the biggest difference. Instead of using onyx in large slabs, consider using it as trim around the shower door or along the edges of a tiled wall. This approach adds a crisp, tailored finish that feels intentional and upscale without overwhelming the space.
Onyx trim works beautifully as a border that defines the shower area. It can be used to outline the opening of a walk-in shower, frame a niche, or edge a tile pattern. The thin strips of stone create a visual anchor that draws the eye and adds a touch of luxury.
Because the trim is narrow, it’s a more budget-friendly way to incorporate onyx while still making a statement.
Why Trim Works So Well
Trim provides a clean transition between different materials. It can also help protect the edges of tiles, which are often the most vulnerable to chipping. Plus, the contrast between the onyx and the surrounding tile or wall color creates a subtle yet striking effect that elevates the overall design.
Where To Use Onyx Trim
You can use onyx trim around the perimeter of the shower door, along the top edge of a half-wall, or to outline a large-format tile. It also works well as a border between two different tile colors or textures. The key is to keep the trim thin—around 1 to 2 inches—so it reads as an accent rather than a dominant feature.
Pairing Trim With Other Materials
Onyx trim pairs beautifully with marble, ceramic, or porcelain tiles. For a cohesive look, choose a trim color that echoes the veining in the onyx or complements the main tile. If your shower has a niche, you can use the same trim to edge it, tying the whole design together.
9. Go for a Bookmatched Pattern
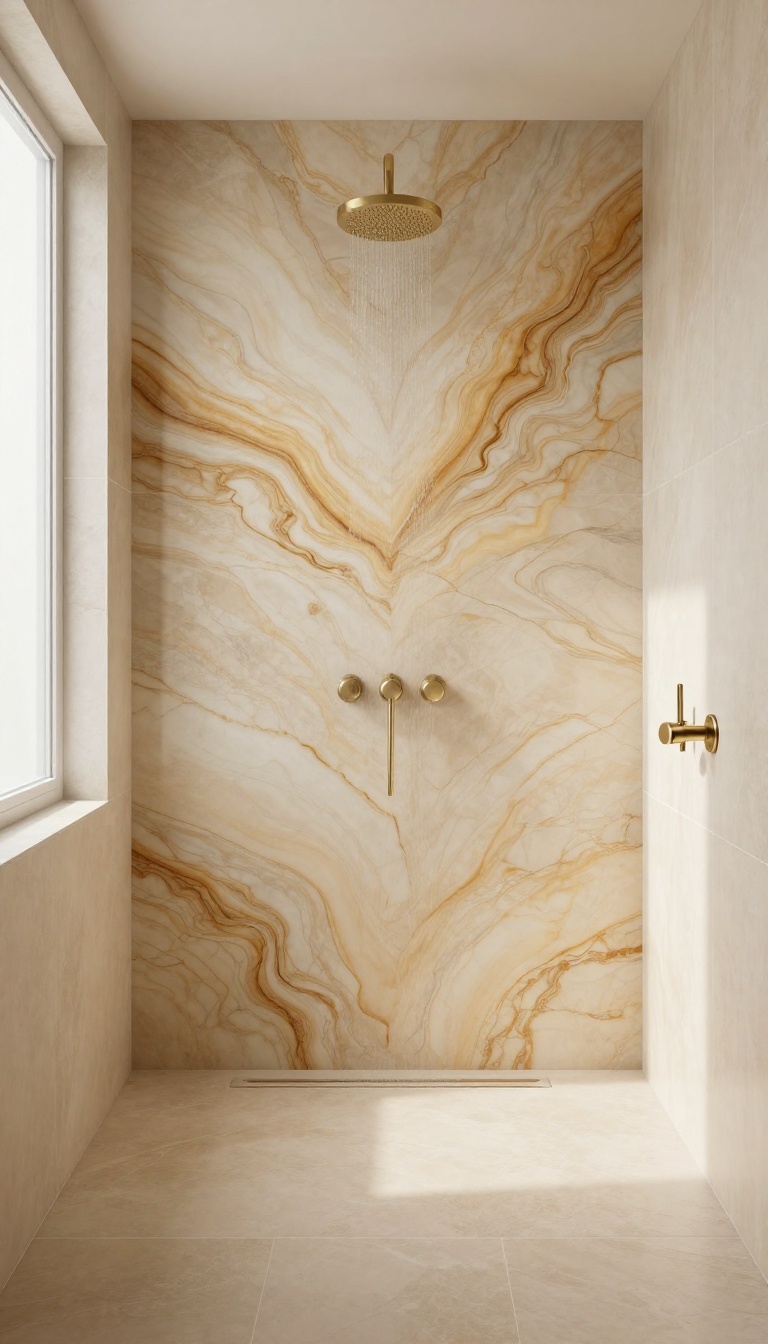
Bookmatched onyx slabs are cut from the same block and opened like a book, so the veining mirrors perfectly across two panels. The result is a symmetrical, almost meditative pattern that feels intentional and artistic. This technique works especially well on a single wall or as a backdrop behind the shower controls, where the eye naturally lands.
The key to a successful bookmatched look is letting the stone shine without competing elements. Keep the surrounding tiles simple—maybe a solid color or a subtle texture—so the mirrored veins remain the star. Also, plan the layout carefully with your fabricator to ensure the pattern aligns exactly as you envision, especially around fixtures and niches.
Why Bookmatching Works In Showers
A bookmatched pattern adds depth and a sense of luxury that a random slab layout can't match. The symmetry creates a focal point that draws the eye, making the shower feel more curated and less chaotic. Plus, because the design is so striking, you can often skip additional decorative elements, saving money elsewhere.
Where To Use It For Maximum Impact
The most common spot is the main shower wall, especially behind the controls or bench. But you can also use bookmatched panels on the ceiling for a dramatic canopy effect, or on the shower floor with a matching drain cover. Just remember that too many bookmatched areas can become overwhelming, so pick one or two key surfaces.
Installation And Maintenance Tips
Bookmatching requires precise cutting and expert installation, so always work with a fabricator who has experience with onyx. The seams should be as tight as possible, and you'll want to use a color-matched adhesive to keep the mirror effect seamless. After installation, seal the onyx properly and avoid harsh cleaners that can dull the surface.
10. Combine Onyx with Glass Panels
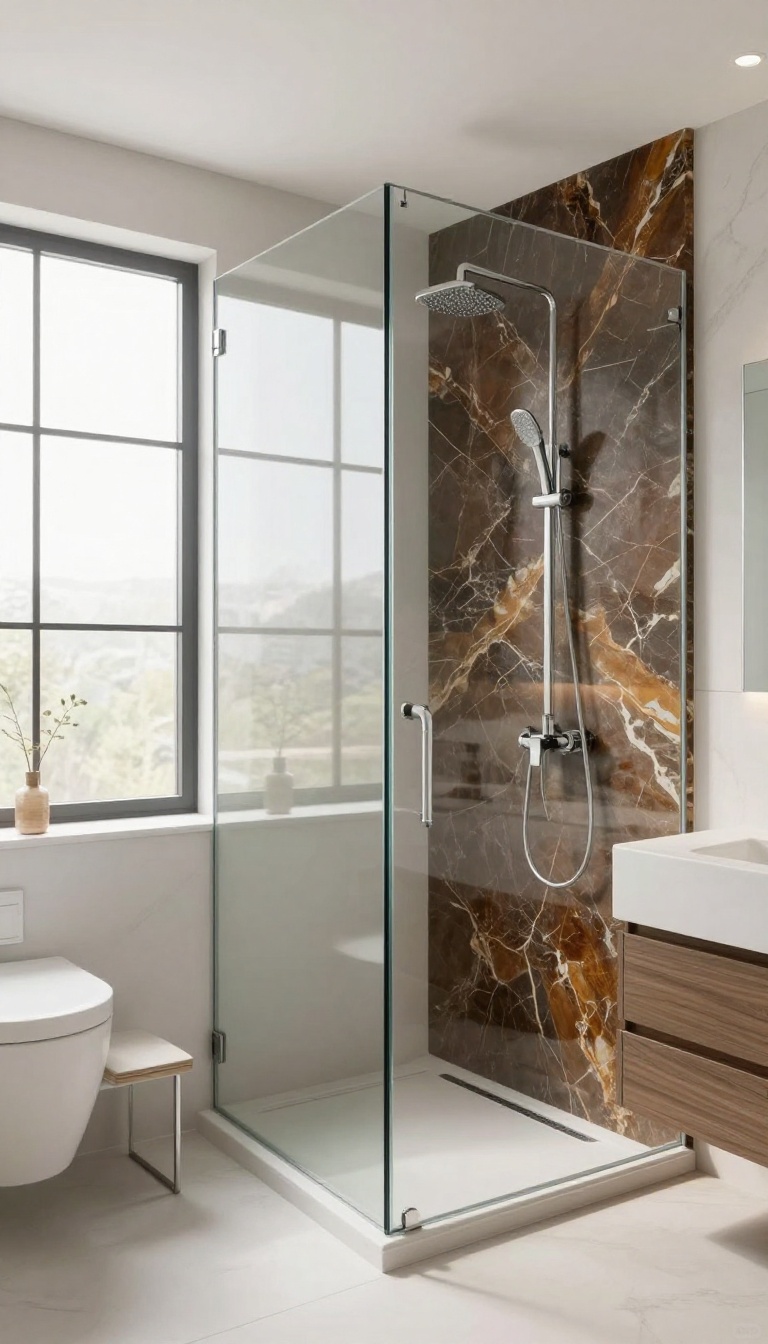
Glass and onyx are a match made in bathroom heaven. The transparency of glass lets the stone's natural beauty shine without any visual clutter. Whether you choose clear or frosted, glass panels keep the focus on the onyx while adding a modern, airy feel.
Pairing onyx with glass panels is one of the smartest ways to use this striking stone. It breaks up the heaviness of the material and allows light to bounce around the space. Plus, it’s a practical choice for keeping water contained without closing off the room.
Clear Glass For An Open Look
Clear glass doors or partitions are perfect if you want the onyx to be the star. They create an unobstructed view of the veining and color, making the shower feel larger and more connected to the rest of the bathroom. Use minimal hardware, like slim frames or frameless designs, to keep the look clean and crisp.
Frosted Glass For Privacy
If you prefer a bit more privacy, frosted glass is a great alternative. It still lets natural light filter through, but it softens the view and adds a layer of sophistication. Frosted glass works especially well in shared bathrooms or when the shower is near a window or doorway.
Glass As A Contrast Element
Glass panels can also serve as a contrasting element against the rich texture of onyx. The smooth, reflective surface of glass juxtaposes the natural, matte finish of the stone, creating visual interest. You can play with different thicknesses or even add a subtle tint to the glass to complement the onyx’s color palette.
11. Use Onyx Accents in a White Shower
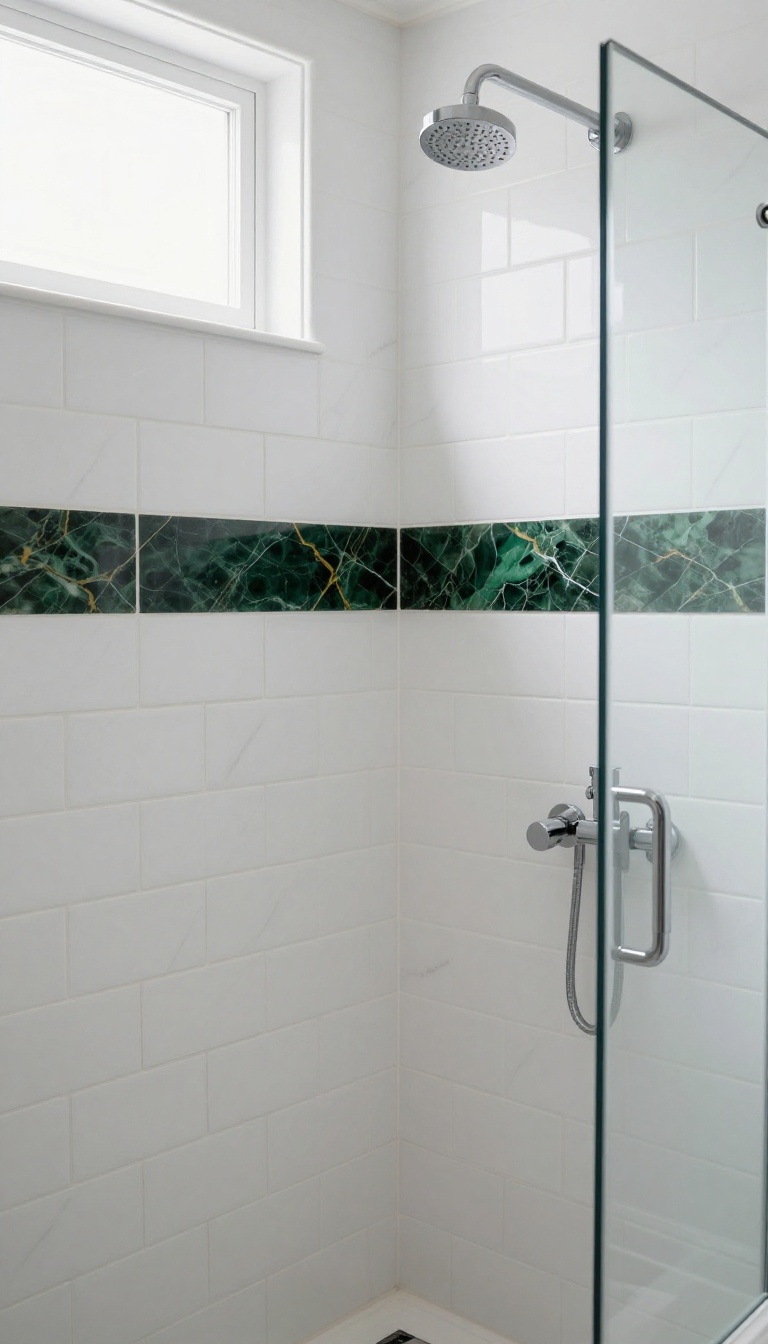
A little onyx goes a long way, especially when the rest of the shower stays bright and airy. Instead of covering every surface with dark stone, you can use onyx as a deliberate accent to add contrast and sophistication. This approach keeps the space feeling crisp and open while still giving you that touch of drama.
Think of onyx as the jewelry for your shower—used sparingly, it draws the eye and adds a layer of richness. A thin horizontal band at eye level, a vertical strip behind the fixtures, or a few scattered tiles on a white subway wall can create visual interest without overwhelming the room. The key is to let the white dominate and let the onyx pop.
Pick The Perfect Placement
Where you place the onyx matters as much as how much you use. A band at waist height can visually break up the white and add a modern touch. Alternatively, a single column behind the showerhead creates a focal point that draws attention to the fixture.
For a more subtle approach, use onyx as a niche accent or a border around the shampoo shelf.
Match The Veining To Your Style
Onyx comes in a range of colors and vein patterns, from deep green to honey gold. Choose a tone that complements your white tiles and the rest of your bathroom. If you have cool gray undertones, opt for a gray or white onyx.
For warmer whites, a caramel or brown onyx adds a cozy feel. The right veining can tie the whole design together.
Balance Light And Dark
When using dark onyx in a white shower, think about lighting. Properly placed fixtures can make the onyx glow and prevent the dark areas from feeling like black holes. Use recessed lights or a backlit mirror to keep the space bright.
Also, consider using large-format white tiles to reduce grout lines and keep the look clean.
12. Incorporate Onyx into a Curbless Shower
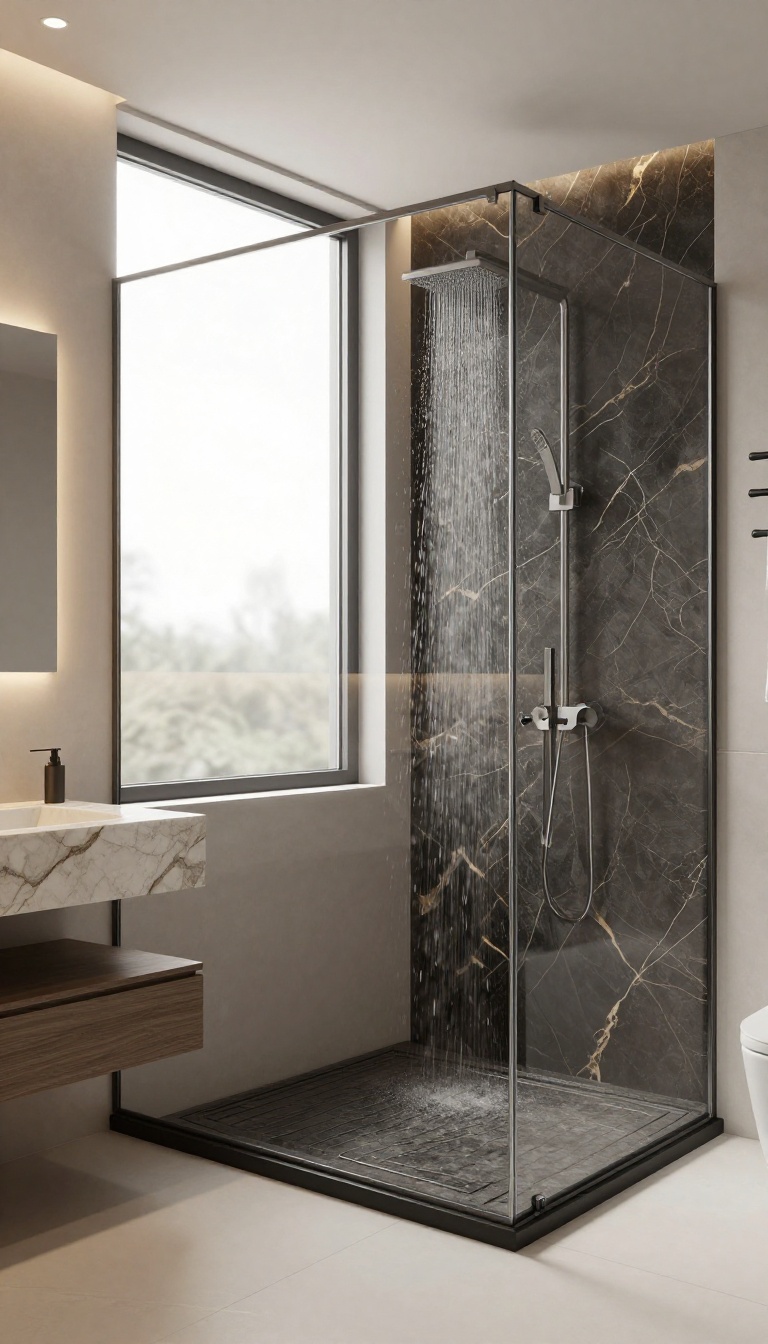
A curbless shower is all about that seamless, open feel, and onyx takes it to another level. When the shower floor flows right into the bathroom floor without a step, the space feels bigger and more connected. Onyx, with its natural elegance, adds a touch of glamour that makes the whole bathroom feel like a spa retreat.
The key to making this work is choosing the right onyx and ensuring proper waterproofing. Since onyx is porous, it needs to be sealed well, especially in a wet area. But when done right, the result is stunning—a continuous surface that catches the light and makes the room feel luxurious.
Why Curbless Showers Work With Onyx
Curbless showers eliminate the barrier, so there's no tripping hazard and it's easier to access. Onyx adds a smooth, polished look that enhances the open concept. The stone's natural veining creates a focal point without being too busy, especially if you keep the rest of the bathroom simple.
Selecting The Right Onyx Finish
For a curbless shower, a honed or matte finish is safer than a polished one—it's less slippery when wet. Also, choose a darker or medium-toned onyx to hide water spots and soap scum better than lighter shades. A textured finish can add grip without sacrificing style.
Waterproofing And Installation Tips
Proper waterproofing is non-negotiable. Use a high-quality waterproof membrane under the onyx and ensure the slope is just right for drainage. Work with a professional who has experience with natural stone in wet areas.
Also, consider using larger tiles or slabs to minimize grout lines, which are easier to maintain.
13. Add a Onyx Bench or Seat
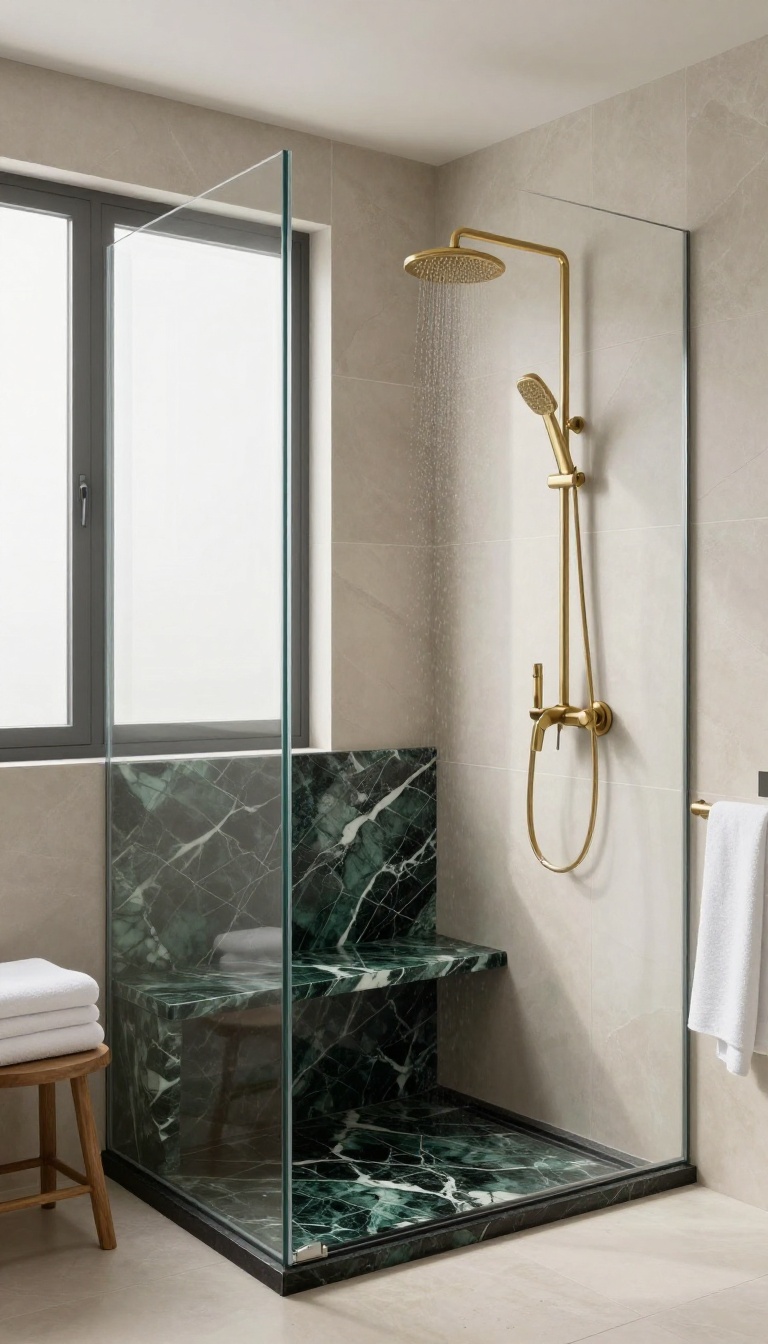
A bench isn't just a luxury—it's a practical addition that makes your shower more comfortable and functional. When you build it with onyx, it becomes a stunning focal point that ties the whole design together. The key is to use the stone thoughtfully so it enhances, not overwhelms.
Adding a bench or seat to your shower is one of those upgrades you don't realize you need until you have it. Whether you're shaving your legs, sitting under the steam, or just need a place to rest a foot, a bench changes the way you use the space. When it's clad in onyx, it also brings that rich, veined texture right where you can touch it—turning a practical feature into a tactile piece of art.
Solid Slab Vs. Tiled Seat
You have two main routes: a solid onyx slab or a tiled seat with onyx accents. A solid slab offers a seamless, sculptural look with no grout lines, but it's heavier and pricier. A tiled seat lets you mix onyx with complementary stone or porcelain, which can be easier on the budget and more forgiving to install.
If you're after that crisp, cohesive finish, a tiled seat with onyx on the top surface and a neutral base can give you the best of both worlds.
Placement And Size Considerations
Think about where the bench will sit in relation to the showerhead and door. A corner bench maximizes space without blocking traffic, while a longer bench along one wall offers more lounging room. Standard seat height is around 17 to 19 inches, but you can adjust based on your needs.
Just make sure the bench slopes slightly toward the drain so water doesn't pool on the surface.
Maintenance And Sealing
Onyx is more porous than granite or quartz, so sealing is non-negotiable. Use a high-quality penetrating sealer and reapply it every year or so, depending on usage. For a bench, which gets constant water exposure, you'll want to wipe it down after showers and avoid harsh chemical cleaners.
A soft cloth and mild soap are all you need to keep the stone looking its best.
14. Highlight Onyx with Recessed Lighting
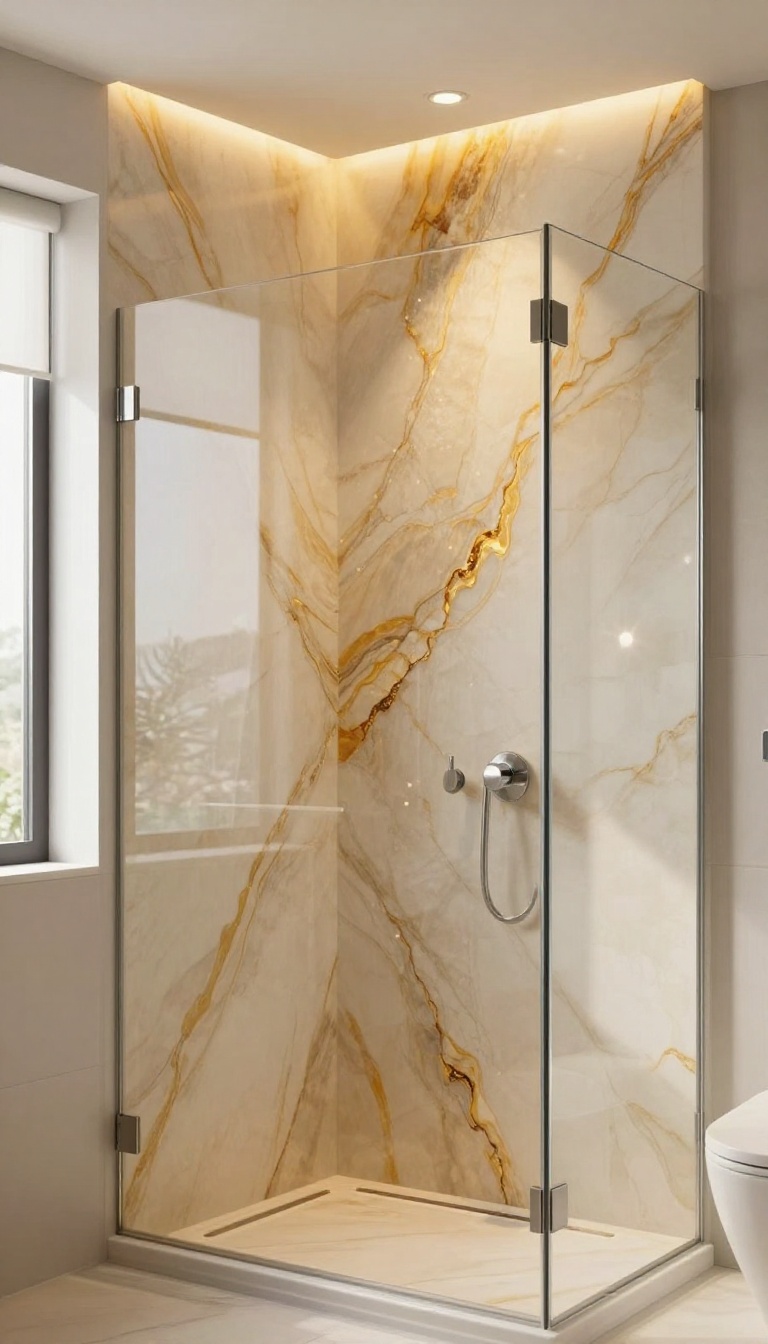
Recessed lighting is a quiet workhorse in bathroom design. It doesn't shout for attention, but it can completely change how a material looks. When you aim those downlights at onyx, something special happens—the stone's natural depth and veining come alive.
This trick works wonders whether your onyx is polished or honed. The light catches the surface at different angles, creating subtle sparkle and soft shadows that add dimension. It's a simple upgrade that makes the stone feel intentional and luxurious.
Recessed lighting is more than just a practical way to brighten a shower. It's a tool to sculpt the look of your onyx. By placing lights strategically, you control where the eye lands and how the stone's patterns are revealed.
This is especially effective in showers where you want to highlight a feature wall or a niche without adding extra fixtures that clutter the space. Think about the finish of your onyx. A honed finish is matte and absorbs light, so recessed lighting can create a soft, even glow.
A polished finish reflects light, so downlights will produce more sparkle and contrast. Textured onyx, like a leathered or brushed finish, catches light in tiny pockets, creating a fascinating interplay of highlights and shadows. When planning your recessed lights, consider the placement carefully.
You want to avoid harsh glare and instead aim for a wash of light that grazes the surface. Position lights at an angle to the wall, not directly overhead, to emphasize the veining. Also, think about the color temperature—warm light enhances the golden tones in onyx, while cooler light can make it look more dramatic.
Positioning For Maximum Effect
The angle of your recessed lights matters more than you might think. Direct downlighting can flatten the stone's texture. Instead, try aiming the lights toward the onyx from a slight angle, like from the ceiling edge or a cove.
This grazing effect creates long shadows that highlight every ridge and vein. If you have a niche or a feature wall, focus a light specifically on that area to draw the eye.
Choosing The Right Bulbs
LED bulbs are a no-brainer for recessed lighting—they last long and are energy-efficient. But look for ones with a high color rendering index (CRI) of 90 or above. That ensures the onyx's colors look true and rich.
Dimmable options are fantastic too, because you can adjust the mood from bright and invigorating in the morning to soft and relaxing at night.
Avoiding Common Pitfalls
One mistake is placing too many lights, which can wash out the stone's character. Another is using recessed lights in a wet area without proper IP-rated fixtures. Make sure your lights are rated for damp or wet locations, especially if they're inside the shower enclosure.
Also, avoid placing lights directly above where you stand—that can create unflattering shadows on your face.
15. Keep the Grout Minimal and Matching
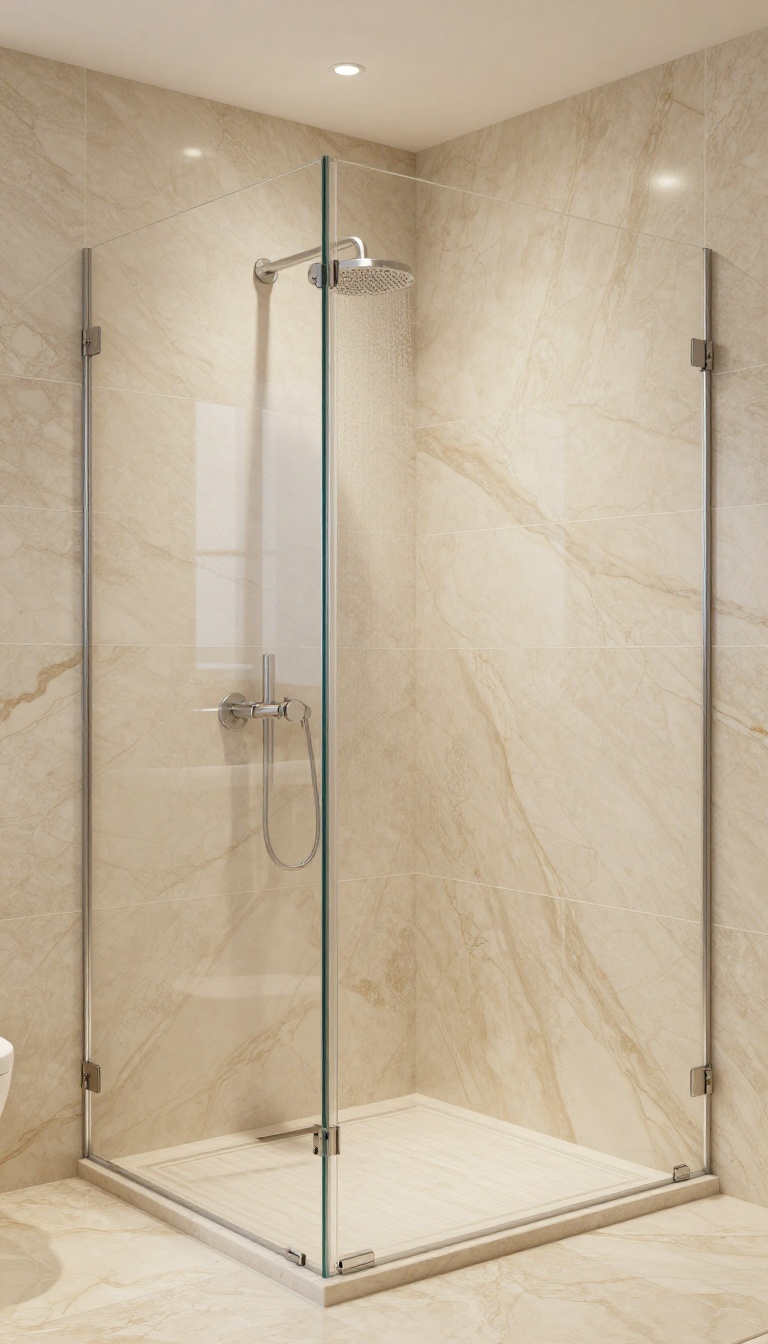
Grout might be the last thing on your mind when planning an onyx shower, but it can make or break that seamless look. Thick, contrasting grout lines can chop up the stone's natural flow, making the installation feel busy and disjointed. The trick is to let the onyx shine by keeping grout as invisible as possible.
When you're working with a dramatic stone like onyx, the goal is a continuous surface. Matching the grout to the dominant background color of your tiles helps the eye glide over the surface without interruption. Thin grout lines—around 1/16 to 1/8 inch—further enhance that monolithic feel, especially when paired with large-format tiles.
Epoxy grout is a smart choice here because it's stain-resistant and can be color-matched precisely, even for tricky shades like deep charcoal or creamy beige.
Why Matching Grout Matters
Onyx is prized for its dramatic veining and translucency. Contrasting grout can visually break the stone into separate blocks, distracting from the natural patterns. By using a grout color that blends with the stone's base, you allow the veining to take center stage, creating a smooth, cohesive backdrop that feels more luxurious and intentional.
Choosing The Right Grout Color
The best way to pick a grout color is to hold samples against your actual onyx tiles in natural light. Look for the dominant background tone—not the veins—and select a grout that matches it as closely as possible. For lighter onyx, a warm white or soft gray works well; for darker slabs, go with deep charcoal or espresso.
When in doubt, go slightly darker than the lightest shade in the stone to avoid a washed-out look.
Thin Grout Lines And Epoxy Grout
Thin grout lines are essential for that seamless appearance. With rectified tiles, you can safely use 1/16-inch spacers, but check with your installer to ensure the tiles are perfectly flat. Epoxy grout is a worthwhile investment because it's non-porous, resists staining, and holds its color over time.
It also comes in a wider range of custom colors, making it easier to match your onyx exactly.
Installation Tips For A Flawless Finish
Work with a tile setter who has experience with natural stone and tight grout joints. They should back-butter each tile and use a leveling system to keep everything flush. After grouting, clean off any excess immediately to avoid haze on the stone.
Seal the onyx before grouting to protect it from pigment absorption, and reseal regularly to keep the grout looking fresh.
FAQ
Is onyx suitable for shower walls?
Yes, but it requires proper sealing and maintenance. Onyx is softer and more porous than granite or quartz, so it needs a high-quality sealer and regular resealing to prevent staining and etching from soap and water.
How do you clean an onyx shower?
Use a pH-neutral cleaner and a soft cloth or sponge. Avoid acidic or abrasive cleaners, as they can damage the stone. Rinse thoroughly and dry with a squeegee after each use to prevent water spots.
Can onyx be used on shower floors?
Yes, but it's slippery when wet. Choose a honed or textured finish, and consider adding a non-slip treatment or using smaller tiles with more grout lines for better traction.
Does onyx need to be sealed?
Absolutely. Onyx is porous and needs a penetrating sealer to protect it from moisture and stains. Reapply the sealer every 6-12 months, depending on usage and the type of sealer.
Can onyx be backlit in a shower?
Yes, backlighting onyx is a popular technique. Use waterproof LED lighting behind the stone, and ensure the installation is done by a professional to avoid moisture issues. The result is a stunning, glowing effect.
Conclusion
Onyx showers are a bold choice, but with the right approach, they can be both striking and practical. Whether you go all-in with a backlit feature wall or just add a few accents, the key is to balance the stone with the rest of your bathroom.
Remember to seal and maintain your onyx properly, and don't be afraid to mix it with other materials. With these 15 ideas, you can create a shower that feels crisp, cohesive, and uniquely yours.