11 Small Kitchen Cabinet Organization Ideas for Tight Spaces
Small kitchens come with big challenges. Every cabinet feels like a puzzle, and finding space for pots, pans, and pantry staples can seem impossible. But with a few smart tweaks, you can double your storage without a renovation.
The key is working with what you have. Instead of fighting your cabinets, adapt them to your needs with affordable organizers and a bit of creativity. These 11 ideas are designed for real kitchens, real budgets, and real life.
No need for a contractor or a big spend. Just practical steps to make your cabinets work harder for you. Let's dive in.
1. Install Pull-Out Shelves for Deep Cabinets
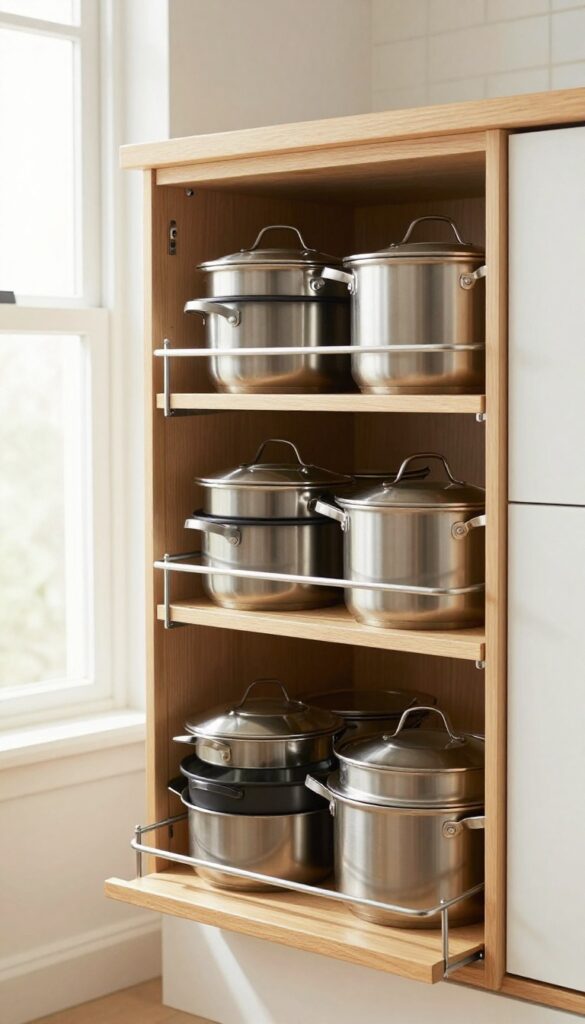
Deep cabinets are storage black holes. You stash something in the back and forget it exists until you move out. Pull-out shelves change that by bringing everything to you.
They're one of the most effective upgrades for small kitchens because they use every inch of depth without requiring you to dig.
Installing pull-out shelves is a weekend project that pays off daily. You can buy pre-made sliding shelf kits or build your own with plywood and drawer slides. Either way, you'll gain easy access to pots, pans, and small appliances that were previously impossible to reach.
No more playing Tetris with your cookware.
Why They Work So Well
Standard shelves force you to stack items in rows, which means you can only see the front row. Pull-out shelves let you see everything at a glance. You can store heavy items like cast iron skillets without worrying about stability, and you can organize by category—pots on one shelf, lids on another.
Diy Vs. Pre-made Kits
If you're handy, building your own pull-out shelves is cheaper and customizable. You'll need plywood, drawer slides, and basic tools. But pre-made kits are a solid option if you want a quick fix.
They come in standard sizes and include everything you need. Just measure your cabinet width and depth before buying.
Installation Tips
Measure twice, drill once. Make sure your cabinet box is square and the slides are level. Use a template or a level to mark screw holes.
If your cabinet has a face frame, you may need to add a spacer to mount the slides properly. Test the slide action before loading it up.
2. Use Vertical Dividers for Baking Sheets and Cutting Boards
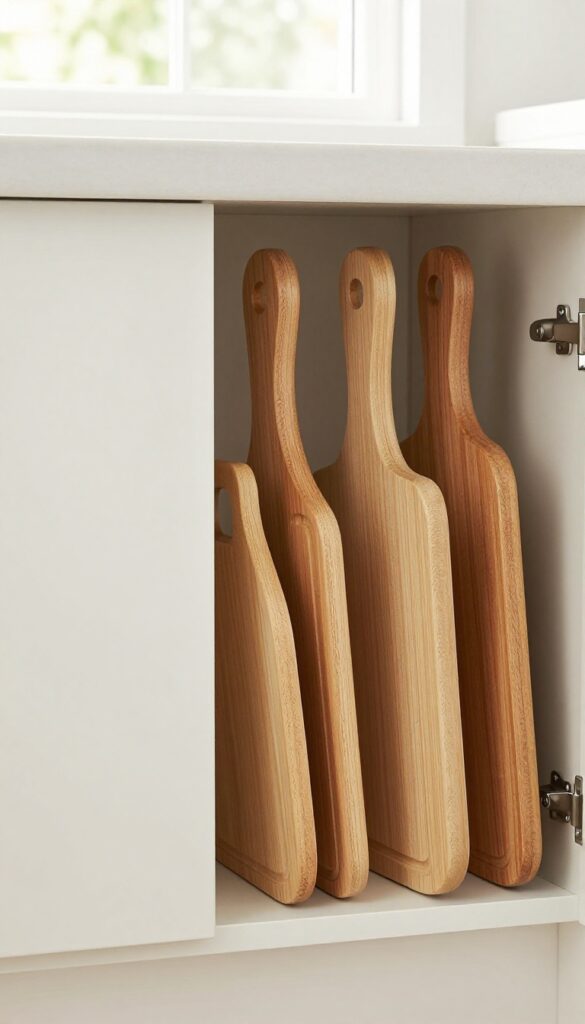
Baking sheets and cutting boards are awkward to stack. They slide around, fall over, and create a cluttered mess every time you need one. Vertical dividers keep them upright and easy to grab, turning chaos into order.
You can use tension rods, wire file holders, or purpose-built dividers to create slots that hold each piece in place.
This trick works great in base cabinets or even in a narrow gap between the fridge and counter. It’s a low-cost fix that instantly makes your cookware accessible without digging through a pile.
Why Vertical Storage Wins
When you store baking sheets horizontally, they stack on top of each other. To get the one at the bottom, you have to lift the whole pile. Vertical storage solves this by giving each sheet its own slot.
You can slide out exactly what you need without disturbing the rest. It also saves space because you’re using the full height of the cabinet.
Diy Options That Actually Work
You don’t need to buy expensive organizers. Tension rods placed vertically between the top and bottom of a cabinet create instant dividers. Wire file holders from an office supply store work too—just attach them to the cabinet side or door.
For a sturdier solution, use adjustable wooden or metal dividers designed for cabinets.
Where To Install Them
Base cabinets under the counter are the most common spot. But don’t overlook narrow gaps. If you have a space between the fridge and the counter, a vertical divider can turn that dead zone into a dedicated cutting board holder.
You can also mount them inside a deep drawer for easy access.
3. Add a Lazy Susan to Corner Cabinets
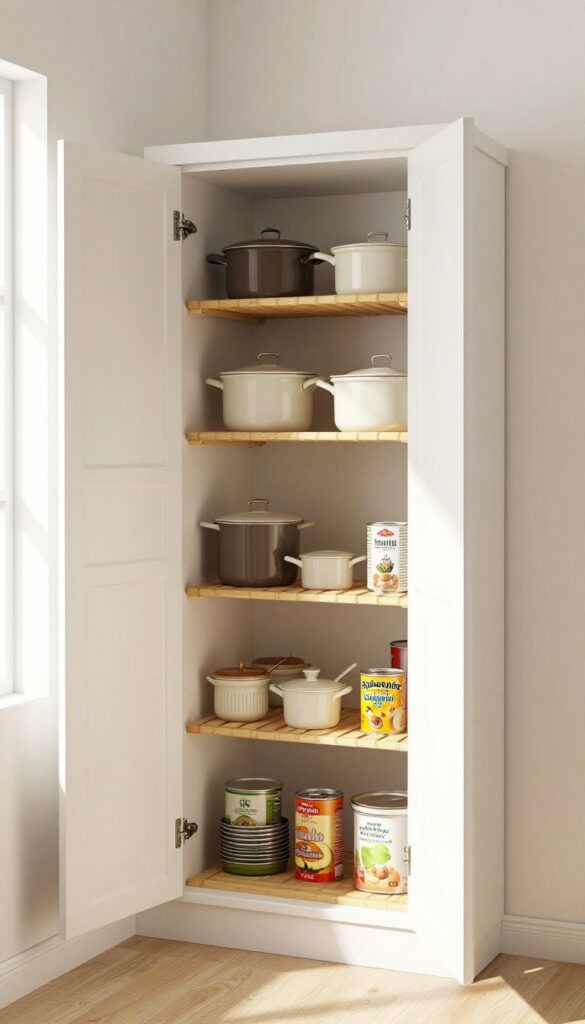
Corner cabinets are the Bermuda Triangle of the kitchen. Items disappear into the dark abyss, never to be seen again. A lazy Susan changes that completely by making every item spin into reach.
Choose a tiered model for double the storage. It's perfect for pots, pans, or canned goods. Installation is usually straightforward and takes less than an hour.
Why Corner Cabinets Need Help
Standard corner cabinets are deep and awkward. You either stack things precariously or lose items in the back. A lazy Susan rotates, so everything is accessible with a simple spin.
No more digging or forgotten cans.
Choosing The Right Lazy Susan
Look for a tiered or divided model to maximize vertical space. Full-circle rotation is a must. Measure your cabinet diameter before buying—common sizes are 10 to 24 inches.
Materials like bamboo or sturdy plastic hold up well.
Installation Tips
Most lazy Susans come with a mounting bracket and screws. Clear the cabinet, attach the bracket to the shelf or cabinet floor, then snap the turntable in place. Adjust shelves if needed.
Expect to finish in under an hour with basic tools.
What To Store
Use it for everyday items like oils, spices, or small pots. Canned goods stack well on tiered models. Avoid storing heavy glass jars that might tip.
Group similar items together for easy retrieval.
4. Hang a Door-Mounted Spice Rack Inside a Cabinet
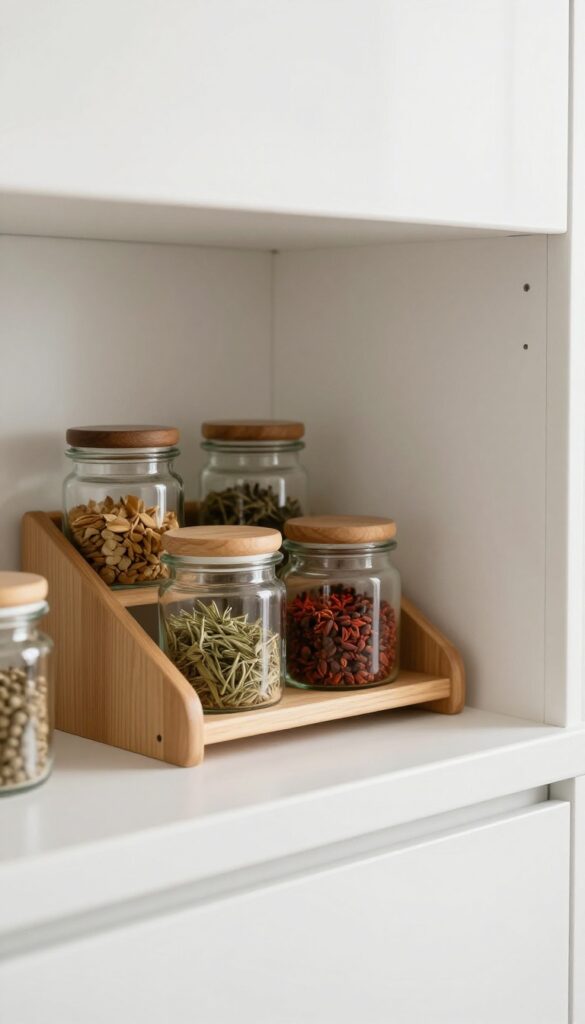
Cabinet doors are often overlooked, but they offer prime real estate for storage. A door-mounted rack can hold spices, oils, or small jars without taking up any shelf space. This zero-effort hack frees up room for bigger items like pots and mixing bowls.
Start by measuring the inside of your cabinet door to ensure the rack fits without blocking the hinge or latch. Choose between adhesive racks (no tools needed) or screw-in options for a more permanent hold. Adhesive racks work well for lightweight items like spice jars, while screw-in racks can handle heavier bottles like olive oil or vinegar.
What To Store
Spices are the obvious choice, but don't stop there. Use the rack for small condiment bottles, tea bags, or even snack packs. If you have a deep cabinet, consider a rack with multiple tiers to maximize vertical space.
Installation Tips
Clean the door surface thoroughly before applying adhesive racks. For screw-in types, pre-drill small pilot holes to prevent the wood from splitting. Position the rack where it won't interfere with shelves or items inside the cabinet.
Pros And Cons
The biggest advantage is reclaiming shelf space instantly. The downside is that items can fall off if the rack is bumped, so choose a model with rails or lips. Also, avoid storing heavy glass bottles on adhesive racks in humid kitchens.
5. Stack Shelf Risers to Double Vertical Space
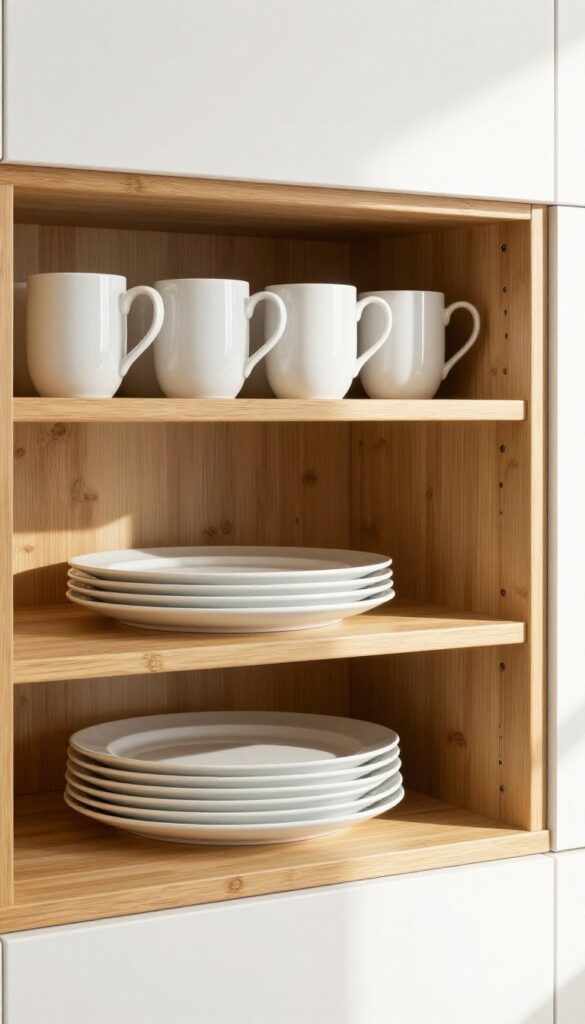
Tall cabinets often have wasted air above short items. Shelf risers create a second level for plates, mugs, or canned goods. They come in wire or bamboo and are adjustable.
This is one of the cheapest and quickest fixes for cabinet clutter.
Shelf risers are a simple solution that instantly doubles your usable shelf space. They work especially well for dishes, bowls, and pantry items that don't fill the full height of a cabinet. By stacking items vertically, you can access everything without digging through piles.
Choose The Right Material
Wire risers are lightweight and allow air circulation, making them ideal for dishes that need to dry. Bamboo risers add a warm, natural look and are sturdy for heavier items like canned goods. Both are adjustable in height, so you can customize the spacing.
Placement Tips
Use risers in upper cabinets for mugs and small plates, and in lower cabinets for pots and lids. Group similar items together to maximize efficiency. For example, stack dinner plates on one riser and salad plates on another.
Avoid Overstacking
While risers create more space, don't pile items too high or they'll become unstable. Keep the top layer easy to grab. If you have very tall cabinets, consider using two risers stacked on top of each other for even more vertical storage.
6. Use Tension Rods to Secure Cutting Boards and Lids
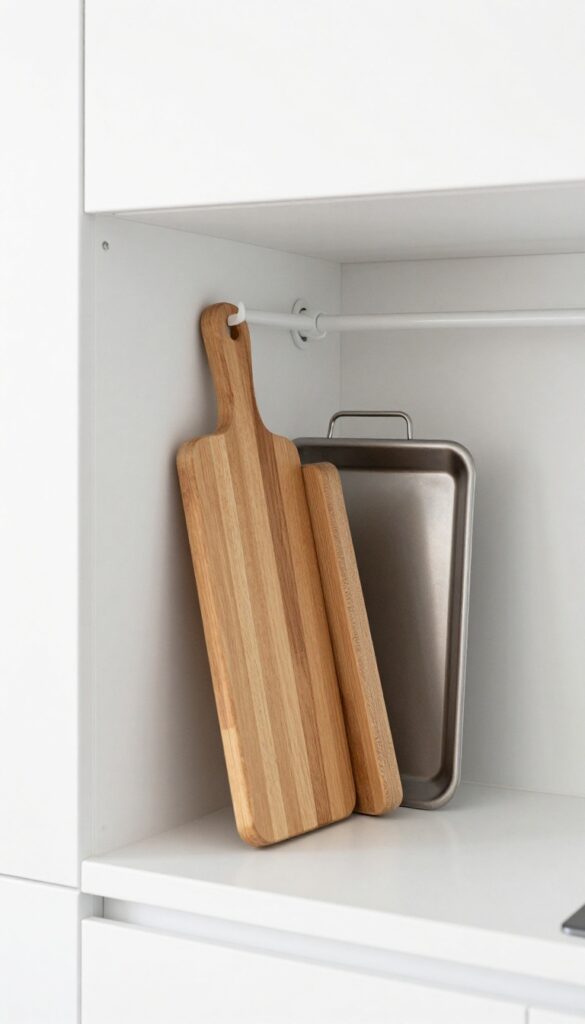
Tension rods are one of those cheap tricks that solve surprisingly annoying problems. You probably have a cabinet where cutting boards or baking sheets slide into a chaotic pile every time you open the door. Or maybe pot lids are constantly crashing down when you grab a pan.
A simple tension rod can fix both.
Tension rods aren't just for curtains. Install one vertically in a cabinet to hold cutting boards or baking sheets. Or place one horizontally to keep pot lids from sliding around.
It's a low-cost, no-drill solution that works surprisingly well.
Vertical Rod For Cutting Boards And Sheet Pans
Measure the height of your cabinet and find a tension rod that fits snugly between the top and bottom shelves. Place it near the back or side, then slide your cutting boards and baking sheets between the rod and the cabinet wall. They'll stand upright, easy to grab, and won't topple over.
Horizontal Rod For Pot Lids
For pot lids, install a tension rod horizontally inside a cabinet, about halfway up. Rest the lids between the rod and the shelf below. This keeps them separated and prevents that awful clatter.
You can also use two rods spaced apart to create a lid rack.
Where To Buy And Install
Tension rods cost just a few dollars at any home store or online. No tools needed—just twist to extend and lock in place. Make sure the rod is rated for the weight of your items.
Lightweight cutting boards and lids work best.
7. Store Lids Separately with a Lid Organizer
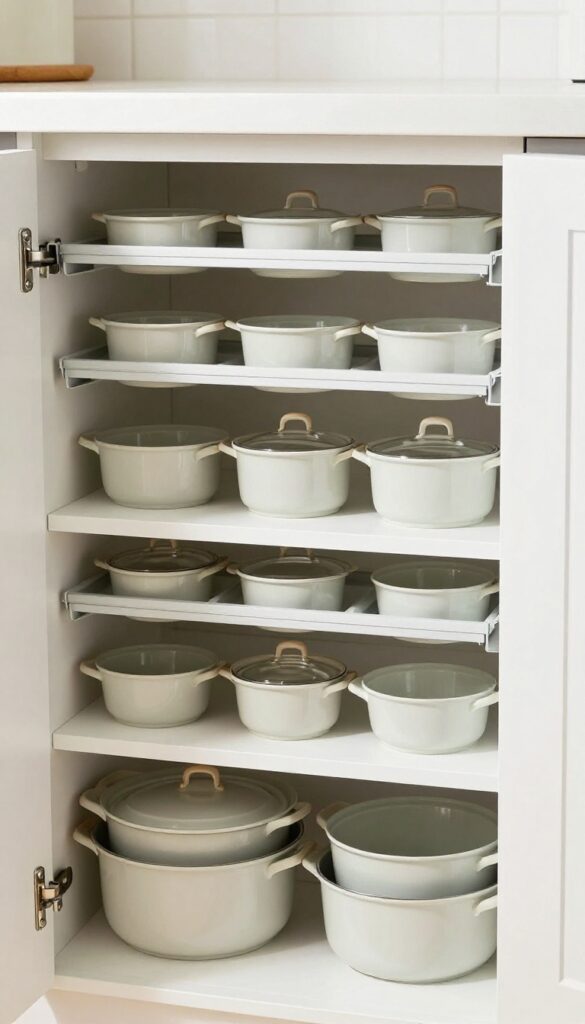
Lids are the bane of every cook's existence. They slide, clatter, and create avalanches every time you open a cabinet. A dedicated lid organizer—either a rack or a bin—keeps them paired with pots or stacked neatly.
You can find expandable ones that fit any cabinet, so no more lid avalanches when you open the door.
Lids are the bane of every cook's existence. They slide, clatter, and create avalanches every time you open a cabinet. A dedicated lid organizer—either a rack or a bin—keeps them paired with pots or stacked neatly.
You can find expandable ones that fit any cabinet, so no more lid avalanches when you open the door.
Types Of Lid Organizers
There are two main types: vertical racks that hold lids upright like files, and horizontal bins that stack them flat. Vertical racks save space and let you see every lid at a glance. Horizontal bins are better for deep cabinets where you can pull out the whole bin.
Some organizers are adjustable, so they work with different lid sizes.
Where To Place Them
Put the organizer near your pots and pans. If you have a deep cabinet, a pull-out rack is ideal. For shallow cabinets, a wall-mounted rack on the inside of the door works great.
Avoid placing it above eye level—you want easy access.
Diy Options
If you're on a budget, use a tension rod to create a lid holder. Place the rod vertically inside a cabinet and slide lids between it and the shelf. Or repurpose a magazine file to hold lids upright.
Both cost under $10.
8. Repurpose a Magazine File for Foil and Wrap
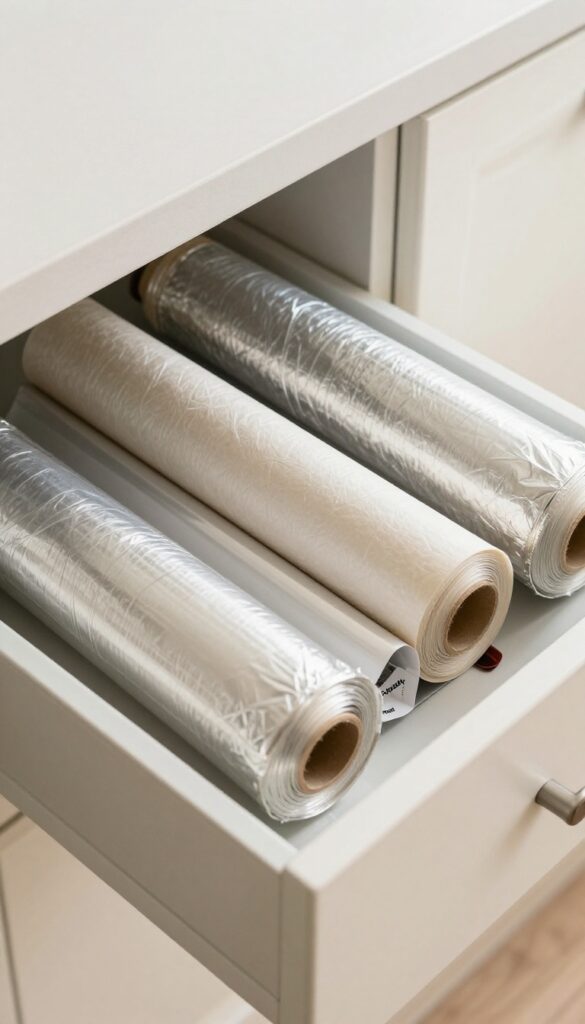
Rolls of foil, plastic wrap, and parchment paper are bulky and hard to store. A magazine file or a simple box keeps them upright and accessible. Label each file for quick grabbing.
This trick also works for reusable bags and small cutting boards.
That roll of aluminum foil always seems to tumble out when you open the cabinet. A magazine file solves that by keeping rolls vertical and contained. You can find cheap cardboard or plastic ones at any office supply store.
Just slide a roll into each file and place them in a deep drawer or on a shelf. Label the front with a marker or label maker so you grab the right one every time. This system also keeps the boxes from getting crushed or torn.
Choose The Right Size File
Standard magazine files fit most wrap boxes, but measure your rolls first. For jumbo rolls of foil or parchment, look for extra-wide files meant for binders. You can also use small plastic bins or even shoeboxes cut down to size.
The goal is to keep the roll stable and upright so it doesn't roll around.
Labeling Makes It Fast
Use a label maker or write directly on the file with a permanent marker. Simple words like “Foil, ” “Wrap, ” “Parchment” are enough. If you store reusable bags, label one “Bags” and another “Cutting Boards. ” This turns a messy drawer into a tidy, grab-and-go station.
Where To Place Them
Slide the files into a deep drawer under the counter or on a shelf near your prep area. If you have a pull-out cabinet, even better. Keep them within arm's reach of where you cook.
You can also stack two files on top of each other if your cabinet is tall, but make sure the top one is easy to remove.
9. Install Under-Shelf Baskets for Extra Storage
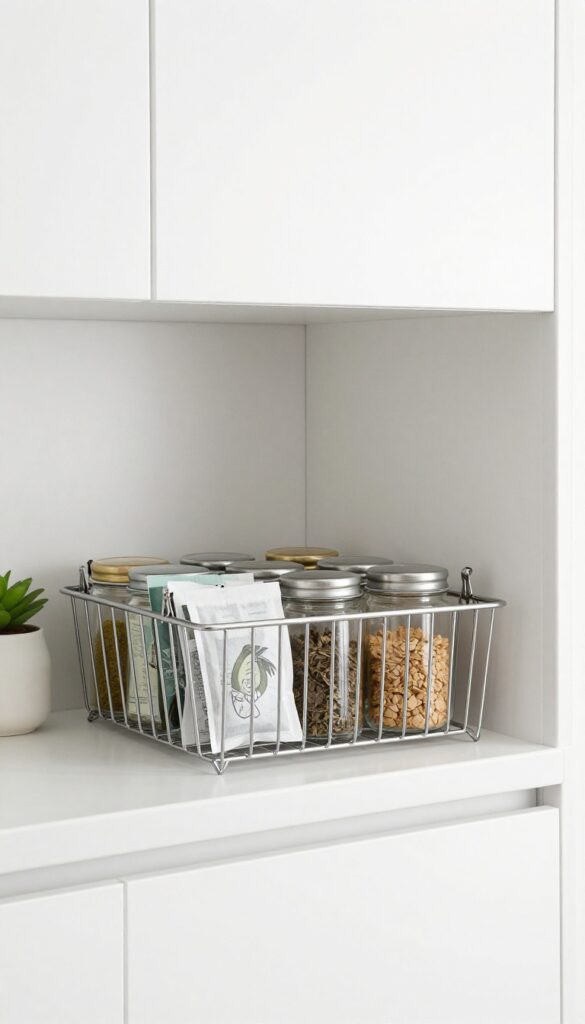
Under-shelf baskets are one of those simple solutions that make you wonder why you didn't try them sooner. They clip right onto your existing shelves and instantly create usable space below. For upper cabinets, this means everyday items like spices, tea bags, or small gadgets are always within easy reach without cluttering the main shelf.
These baskets come in various sizes and materials—wire, plastic, or bamboo—so you can match your kitchen's style. Installation is usually tool-free: just hook them over the shelf edge. They're perfect for narrow cabinets where you can't stack much.
Use them for items you grab often: coffee pods, snack packs, or even cleaning supplies. The key is to keep the basket shallow so you don't block items on the shelf below. Also, check the weight limit; most hold up to 5-10 pounds safely.
Where To Place Them
Upper cabinets are the obvious spot, but don't overlook lower shelves. In base cabinets, under-shelf baskets can hold sponges or dish towels near the sink. Just make sure there's enough clearance below for the basket and its contents.
A good rule: leave at least 4 inches of space between the basket bottom and the next shelf or counter.
What To Store
Think lightweight and frequently used. Spices, tea bags, small condiments, or even measuring spoons work great. Avoid heavy cans or bottles that could strain the clips.
For a neat look, group similar items—like all your baking extracts in one basket. You can also use them for non-food items: keys, mail, or even small plants if you want a touch of green.
Installation Tips
Most baskets come with adhesive pads or clips that grip the shelf. For a secure fit, clean the shelf edge first with rubbing alcohol. If your shelves are thick or have a lip, look for adjustable clips.
Test the basket by loading it lightly before filling completely. And if you have glass shelves, be extra gentle—some clips can scratch.
10. Group Like Items in Clear Bins
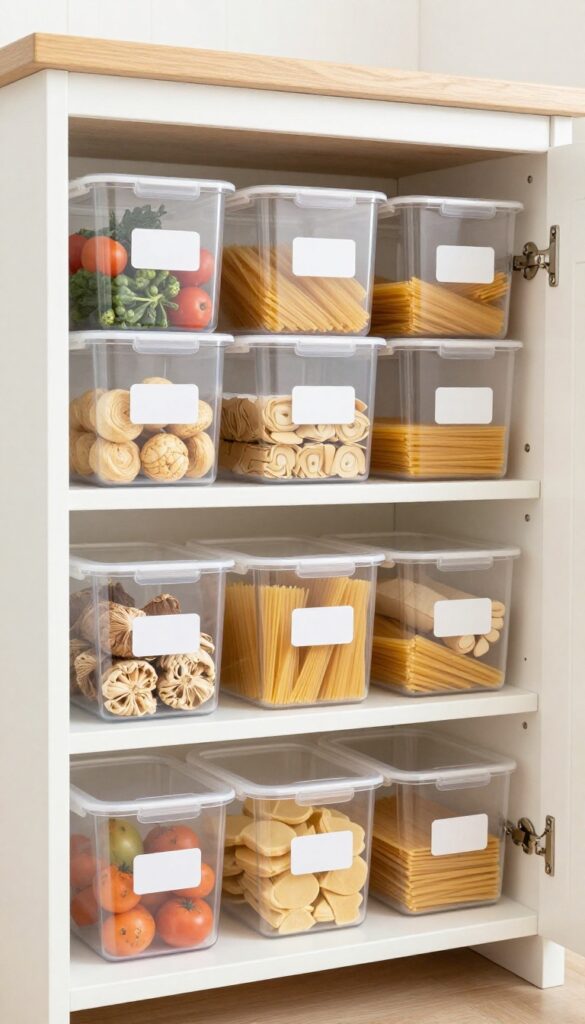
Clear bins are a game-changer for small cabinets. They let you see everything at a glance and pull out whole categories when you need them. This simple system stops you from buying duplicates and keeps your shelves tidy.
Grouping similar items in clear bins turns chaotic cabinets into organized zones. You can grab a bin of snacks for movie night or a bin of baking supplies without rummaging. Labels make it even easier for the whole family to put things back in the right spot.
Choose The Right Bins
Measure your cabinet depth and height first. Slim, rectangular bins with handles work best for deep shelves. Stackable bins are great for vertical storage.
Avoid bins that are too wide—they waste space.
Label For Speed
Use a label maker or simple chalkboard stickers. Clear, large text helps everyone find and return items. Group categories like "Canned Vegetables, " "Pasta, " or "Baking Mixes.
"
Maintain The System
Once a month, check bins for expired items or stray items. Wipe them down if needed. This habit keeps your organization from falling apart.
11. Use a Pegboard Inside a Cabinet Door
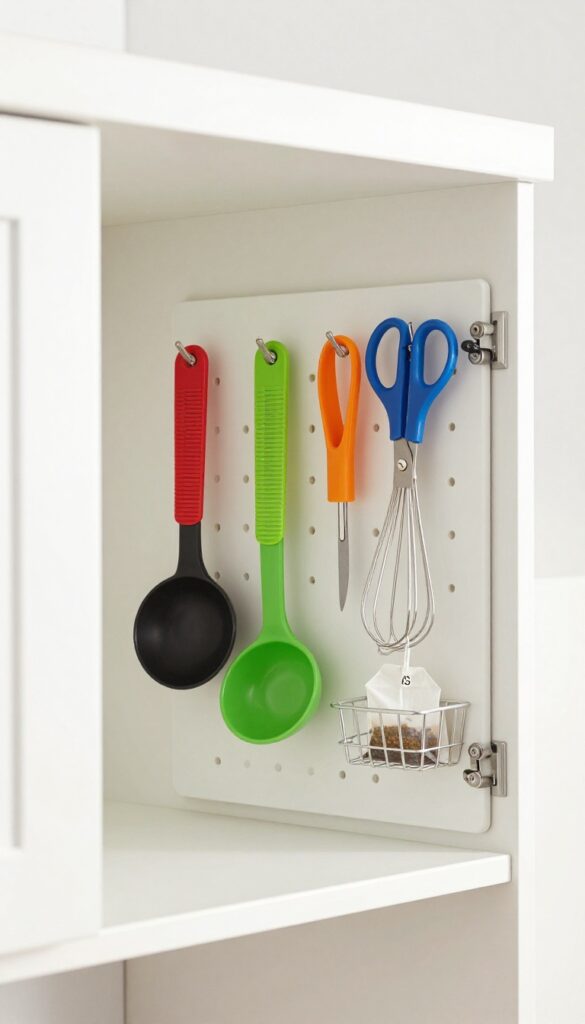
Pegboards aren't just for garages. Mount a small one inside a cabinet door to hang measuring spoons, scissors, or small tools. Add hooks or small baskets for versatility.
This turns a flat surface into functional storage and keeps small items from getting lost.
That unused cabinet door is prime real estate. A pegboard kit costs under $15 and takes minutes to install. Cut it to size or buy a pre-made panel.
Attach it with adhesive strips or small screws. Then load it up with hooks for your most-used gadgets. You'll gain back drawer space and stop digging for that garlic press.
What To Hang
Stick with lightweight items like measuring cups, peelers, and spice jars. Avoid heavy pots or pans that could pull the door off its hinges. Use small baskets for packets of sauce or tea bags.
The goal is to keep everyday tools visible and within reach.
Installation Tips
Measure the door panel first. Most pegboards come in 2×2 or 2×4 sheets. Use a jigsaw to cut if needed.
Command strips work for lightweight setups; screws are better for heavier loads. Leave a half-inch gap from the door edge so it closes smoothly.
Alternative: Magnetic Pegboard
If you don't want to drill, try a magnetic pegboard. It sticks to the metal door frame and holds light metal tools. No holes, no fuss.
Great for renters or quick updates.
FAQ
What is the most cost-effective way to organize small kitchen cabinets?
The most cost-effective method is using tension rods and shelf risers. Both are inexpensive, require no tools, and can instantly create more usable space. Clear bins are also cheap and help group items efficiently.
How do I organize deep cabinets without spending a lot?
For deep cabinets, use pull-out shelves or baskets. You can buy ready-made sliding wire baskets for under $30 each. Alternatively, use stackable bins or lazy Susans to make items in the back accessible.
Can I install pull-out shelves in existing cabinets?
Yes, you can. Many pull-out shelf kits are designed for DIY installation. They typically attach to the existing shelf or cabinet floor.
Measure your cabinet depth and width first, then choose a kit that fits.
What should I do with corner cabinets?
Corner cabinets benefit most from a lazy Susan or a pull-out corner drawer. A lazy Susan is easier to install and relatively cheap. For a more permanent solution, consider a blind corner pull-out system, but that requires more investment.
How do I organize cabinet doors without damaging them?
Use adhesive hooks or over-the-door racks that don't require drilling. For heavier items, use screw-in hooks but make sure to drill into the door frame, not the thin panel. Always check the door's weight capacity to avoid sagging.
Conclusion
Small kitchens don't have to feel cramped. With these 11 ideas, you can turn every inch of cabinet space into something useful. The best part is that most of these solutions are affordable and easy to install yourself.
Start with one or two changes that address your biggest pain points. You'll be surprised how much a few simple organizers can transform your daily cooking routine. A well-organized kitchen makes everything easier—from meal prep to cleanup.