13 Above-Shower Surround Ideas for a Simple, Stylish Setup
The space above your shower often gets ignored, yet it's prime real estate for setting the whole bathroom's mood. A smart surround doesn't just protect your walls—it becomes the visual anchor that pulls the room together.
Whether you're updating a rental or finishing a full renovation, these 13 ideas cover everything from budget-friendly panels to statement tile layouts. You'll find options that work with any style, from minimalist to bold.
Each one balances practicality with a fresh look, so you can upgrade without overcomplicating the process. Let's find the perfect backdrop for your daily routine.
1. Classic White Subway Tile
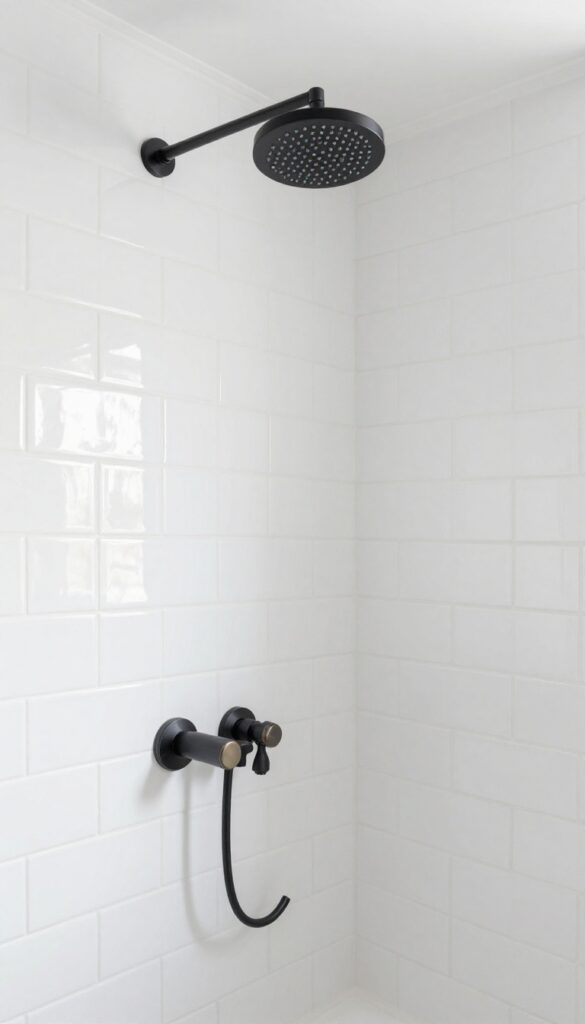
White subway tile has been a bathroom staple for over a century, and it's not going anywhere. Its clean lines and bright surface make it a safe bet that still looks sharp. Above the shower, it creates a fresh backdrop that makes the whole space feel bigger and more open.
When you choose white subway tile, you're not just picking a tile—you're picking a timeless look that works with almost any bathroom style. The glossy finish reflects light, which helps brighten even the smallest shower enclosures. Plus, the simple grid layout adds a subtle texture without overwhelming the eye.
It's a versatile choice that pairs well with bold fixtures, natural wood, or even colorful accessories.
Why It Works Above The Shower
Subway tile excels in wet areas because it's easy to clean and resistant to moisture. The smooth surface doesn't give mold much room to grow, and grout lines are straightforward to maintain. Above the shower, it also creates a seamless transition from the tub to the ceiling, making the wall feel taller and more polished.
Styling Tips For A Fresh Look
To keep the classic style from feeling flat, play with the grout color. White grout gives a seamless, clean look, while gray or black grout adds contrast and a more modern edge. You can also switch up the layout—try a vertical stack for a contemporary feel or a herringbone pattern for a touch of elegance.
Pair it with a matte black showerhead and brushed nickel fixtures for a balanced, timeless aesthetic.
Installation And Cost Considerations
Subway tile is budget-friendly and widely available, making it a great DIY project for confident homeowners. Standard 3×6-inch tiles are easy to handle, and you can find them in most home improvement stores. If you're hiring a pro, the labor costs are usually lower than more complex patterns.
Just make sure to use a waterproof membrane behind the tile to protect your walls from moisture.
2. Large-Format Porcelain Slabs
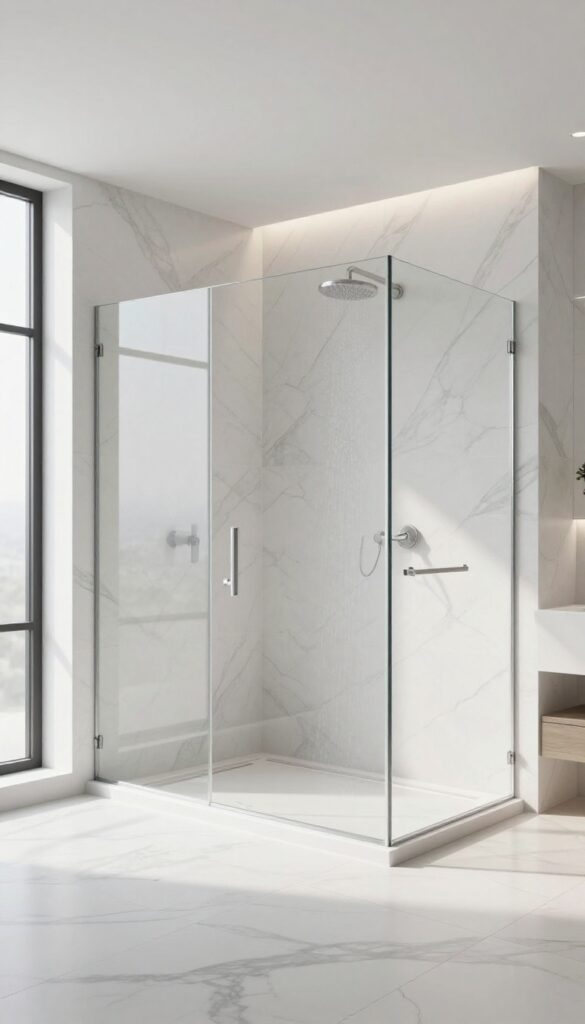
If you're tired of scrubbing grout lines, large-format porcelain slabs are your new best friend. These oversized panels, often measuring 4×8 feet or larger, dramatically reduce the number of joints, making the shower feel like a single, seamless piece of stone. The result is a clean, modern look that instantly adds a touch of luxury to your bathroom.
Large-format slabs are a game-changer for anyone who wants a sleek, low-maintenance shower surround. They come in a wide range of designs, including realistic marble, concrete, and wood looks, so you can achieve high-end aesthetics without the high-end price tag. Plus, their size means fewer grout lines to clean and maintain, which is a huge win for busy households.
Why Choose Large Slabs?
The biggest advantage is the seamless appearance. With fewer grout lines, the surface looks more like a natural stone wall, which can make your shower feel more open and spa-like. The large panels also create a smooth, continuous surface that's easier to wipe down and keep spotless.
And because the slabs are so big, they can cover the entire shower area with minimal cutting, reducing the chance of installation errors.
Installation Tips
Installing large-format slabs requires a perfectly flat substrate and a qualified installer who's experienced with big tiles. Use a large-notched trowel and a good quality thin-set mortar to ensure full coverage. It's also essential to use leveling clips to keep the panels flush and prevent lippage.
While the upfront cost might be higher than standard tiles, the long-term durability and low maintenance often make it a worthwhile investment.
Design Ideas
For a truly seamless look, choose a slab with a subtle, non-directional pattern like a soft Carrara marble or a matte concrete finish. You can also extend the slab from the shower floor to the ceiling for a dramatic, continuous effect. Pair it with a linear drain and a glass shower door to let the beauty of the material shine.
If you want to add a bit of contrast, consider a niche or accent strip in a complementary tile.
3. Warm Wood-Look Planks
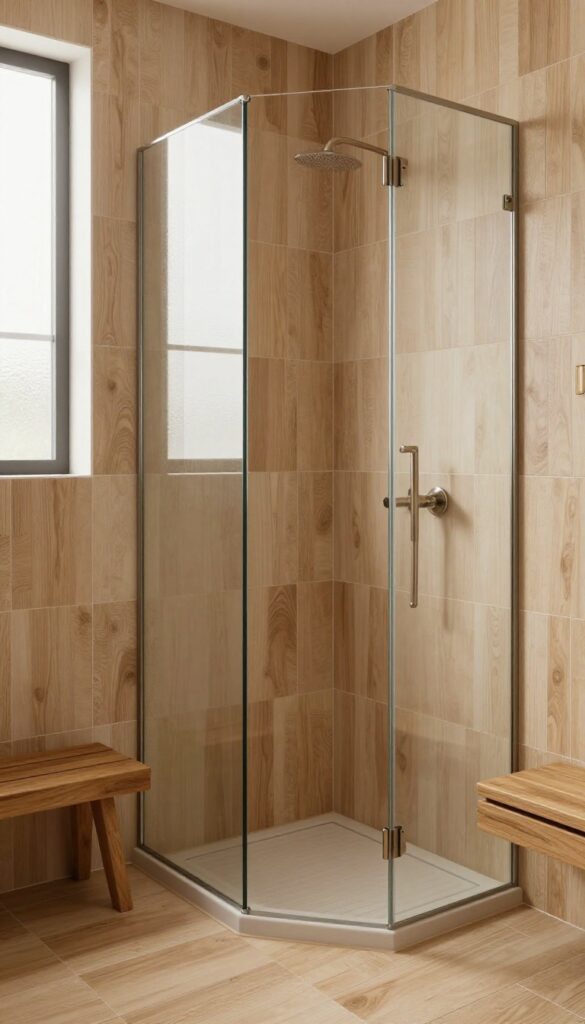
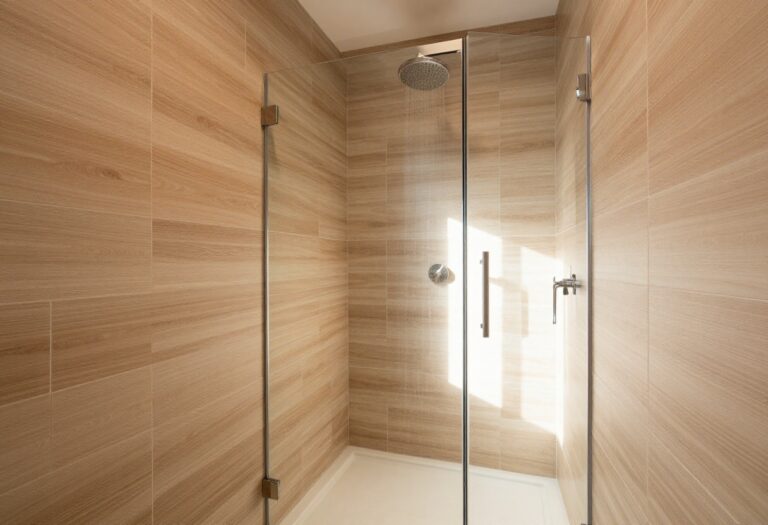
Wood brings instant coziness to a bathroom, but real timber and constant moisture don't mix well. That's where wood-look tile or moisture-resistant panels come in—they give you the warm, organic feel without the warping, peeling, or high maintenance. The natural grain adds depth and texture, making the shower area feel more like a spa retreat than a functional space.
Wood-look planks are a versatile choice that works with a range of styles, from rustic cabin to modern Scandinavian. The key is picking the right material and installation pattern to avoid a dated or overly busy look. Here are some practical ways to bring this idea to life in your shower.
Choose The Right Material
Porcelain and ceramic wood-look tiles are the most durable options, handling moisture and temperature changes without a problem. They come in various shades, from light oak to rich walnut, and some even have textured surfaces that mimic real wood grain. If you prefer a faster, DIY-friendly route, consider waterproof wall panels that look like wood—they're lighter, easier to cut, and don't require grout, though they may not last as long as tile.
Installation Patterns That Work
The way you lay the planks changes the whole feel of the shower. A horizontal offset pattern (like a running bond) is classic and easy to clean, but vertical planks can make the ceiling feel higher. For a more dynamic look, try a herringbone or chevron pattern—just be prepared for more cuts and a higher installation cost.
Whichever you choose, use a grout color that blends with the tile to keep the wood effect seamless.
Pairing With Other Elements
Wood-look planks pair beautifully with matte black fixtures, white or cream accents, and plenty of greenery. Keep the rest of the bathroom simple so the wood grain stays the focal point. If you're worried about the space feeling too dark, opt for a lighter wood tone and add a large mirror or glass shower door to bounce light around.
4. Sleek Glass Panels
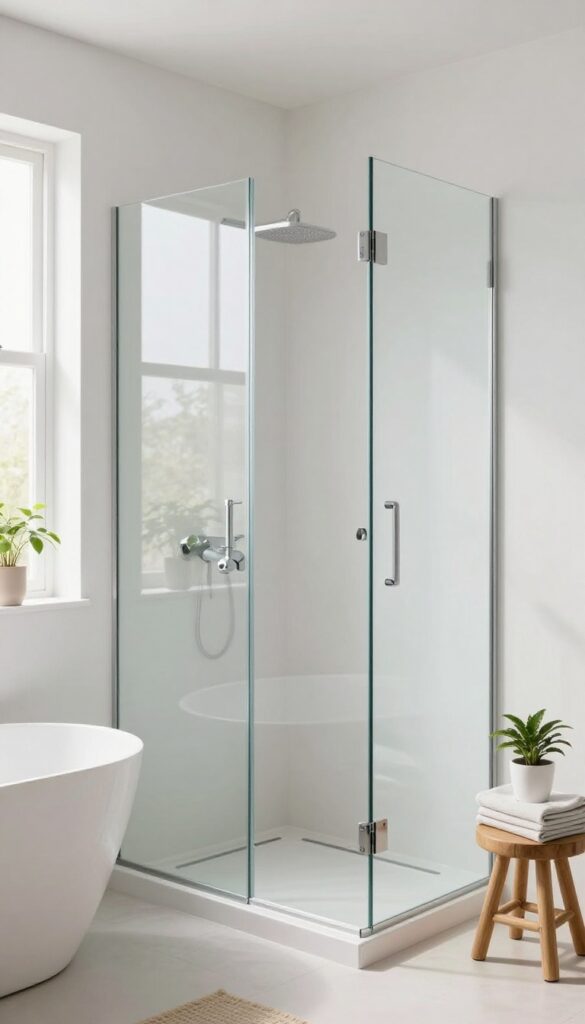
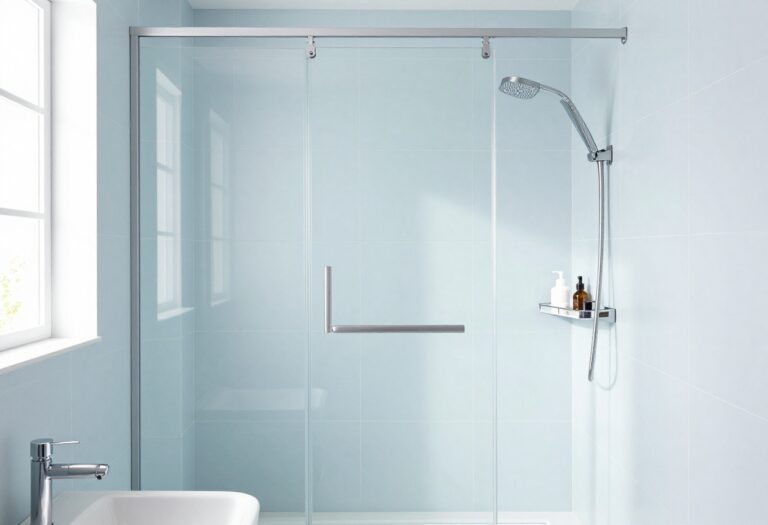
Glass above the shower is a game-changer for small bathrooms. It opens up the space, letting light bounce around and making the whole room feel bigger. Plus, it's a breeze to clean—no grout lines to scrub.
Frameless glass panels are the epitome of modern simplicity. They create a seamless, almost invisible barrier that protects your walls without visually closing in the space. Whether you choose clear glass for an unobstructed view or frosted glass for a bit of privacy, the effect is airy and luxurious.
The key is to keep the glass spotless, so invest in a good squeegee and a water-repellent coating to minimize water spots.
Why Glass Beats Tile
Tile looks great, but it requires regular maintenance—grout lines can stain and mold. Glass panels, on the other hand, are non-porous and wipe down in seconds. They also reflect light, making your bathroom appear brighter and more spacious.
If you're after a clean, contemporary look, glass is hard to beat.
Clear Vs. Frosted
Clear glass keeps the sightline open, which is perfect for a spacious feel. Frosted glass offers more privacy and hides water spots better. Think about your bathroom's layout: if the shower is near the door, frosted might be the smarter choice.
Both options come in frameless designs that look sleek and modern.
Installation Tips
Installing glass panels is a job for a professional, but you can prep by ensuring your shower area is level and the walls are sturdy. Choose tempered glass for safety, and consider a hinged panel if you want easy access. A simple bracket system keeps the glass secure without bulky frames.
5. Textured Stone Veneer
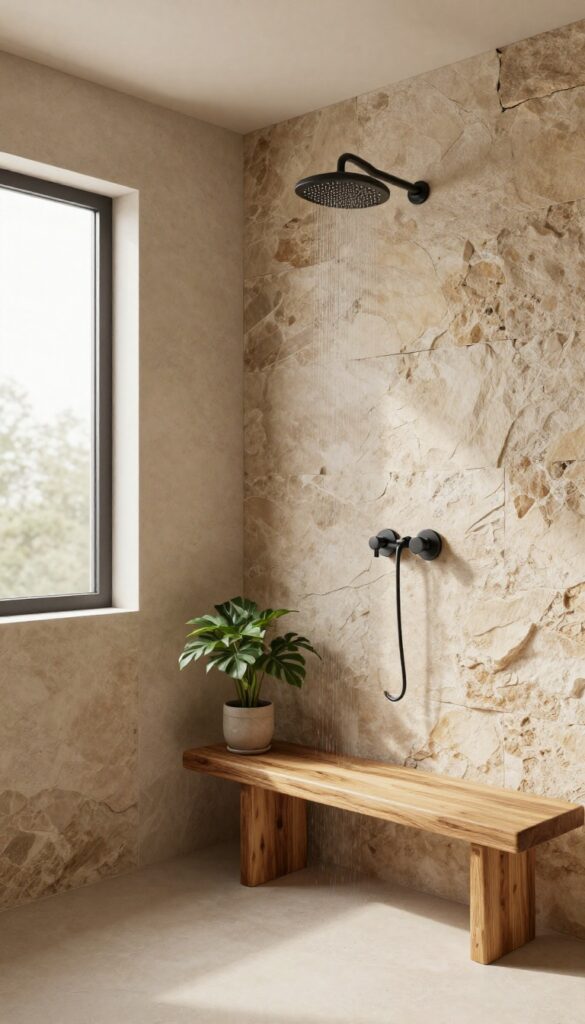
Stacked stone or faux stone veneer brings a rugged, organic feel that instantly upgrades a plain shower surround. The uneven surface catches light in interesting ways, creating a natural focal point that feels both grounded and luxurious. It's a look that pairs beautifully with wood accents, greenery, and matte black fixtures.
Textured stone veneer is more than just a pretty face—it's a practical choice for bathrooms. Real stone can be heavy and porous, but modern veneers are lightweight and sealed to resist moisture. You get the dramatic texture without the maintenance headaches.
Plus, the visual depth makes a small bathroom feel more dimensional.
Why Stone Veneer Works In Wet Areas
Stone veneer is designed to handle humidity and splashes when properly installed. The key is using a waterproof membrane behind it and sealing the surface annually. Unlike tile, there are no grout lines to scrub, so it's surprisingly low-maintenance.
The natural variations in color and texture also hide water spots and soap residue well.
Style Pairings That Pop
To keep the stone from feeling cold, pair it with warm wood tones—like a teak bench or oak shelving—and plenty of green plants. A rainfall showerhead and brushed brass fixtures add a spa-like contrast. For a more modern edge, combine the veneer with black metal frames and concrete accents.
Installation Tips And Costs
Installing stone veneer is a DIY-friendly project if you use peel-and-stick panels, but natural stone requires professional help. Expect to pay between $8 and $20 per square foot for materials, depending on the type. To save money, consider using it only on the main wall and painting the others a complementary neutral.
6. Bold Geometric Pattern
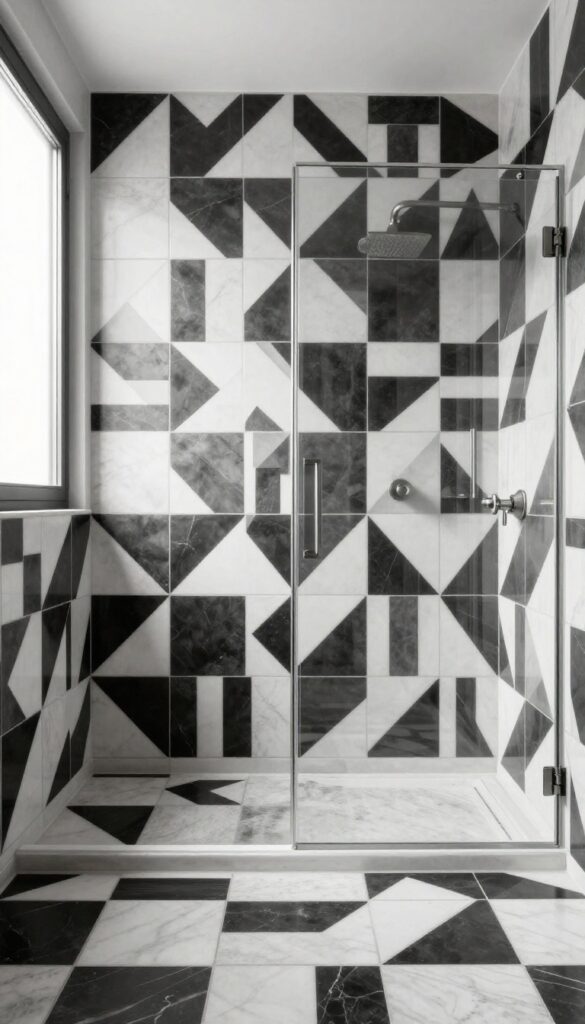
Geometric tiles are a surefire way to inject personality into a shower surround. The sharp lines and repeating shapes create a visual rhythm that instantly draws the eye, turning a functional space into a design statement. Whether you prefer a subtle monochrome look or a burst of color, there's a geometric pattern that fits your vibe.
Choose Your Shape
Hexagons are a classic choice, but don't overlook triangles, diamonds, or even custom-cut shapes. Hexagons offer a honeycomb effect that feels modern yet organic, while triangles can create a dynamic, zigzag energy. For a more tailored look, consider large-format geometric tiles that mimic the look of encaustic cement tiles without the maintenance.
Play With Color And Scale
A monochrome palette—black and white, or shades of gray—keeps the geometric pattern sophisticated and timeless. If you're feeling bolder, pick two or three complementary colors to create a playful, retro vibe. Scale matters too: large patterns make a small bathroom feel bigger, while small, intricate patterns add texture up close.
Grout: The Unsung Hero
The grout color can make or break a geometric tile layout. Matching grout blends the pattern into a seamless surface, while contrasting grout emphasizes the shapes and adds definition. For a clean, modern look, use a grout color that matches the lightest tile in your pattern.
For a more dramatic effect, choose a darker grout to outline the geometry.
7. Matte Black Accents
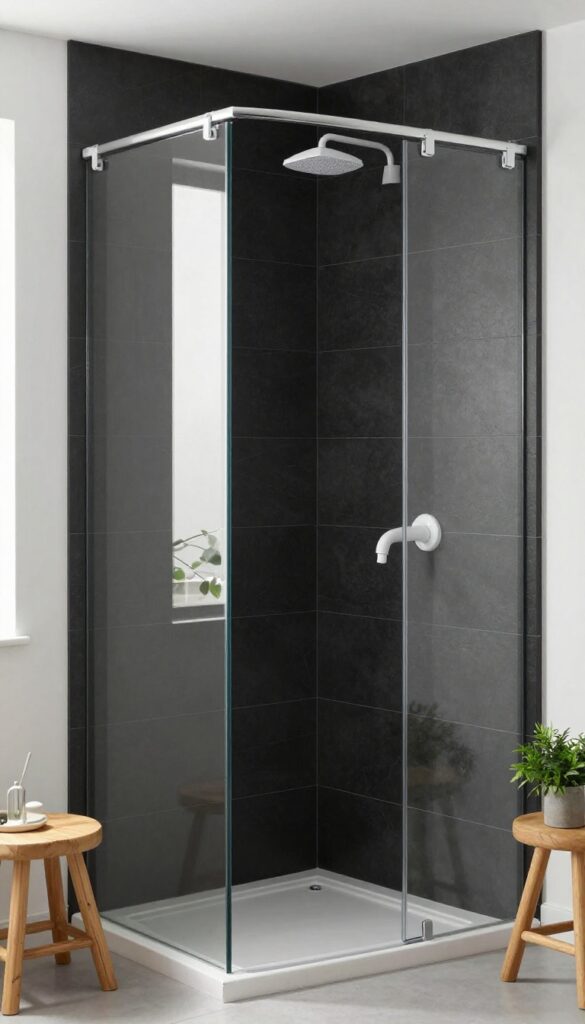
Matte black is the little black dress of bathroom design—it never goes out of style and instantly elevates everything around it. When you use it above the shower, it creates a bold, grounded focal point that feels both modern and timeless. The dark finish absorbs light rather than reflecting it, which adds depth and a subtle sense of drama without being overpowering.
Matte black panels or tile create a dramatic, sophisticated backdrop. It contrasts beautifully with white fixtures and adds a touch of luxury.
Why Matte Black Works So Well
The dark, non-reflective surface hides water spots and soap scum better than glossy finishes, so it stays looking cleaner between wipes. It also pairs effortlessly with almost any color scheme—white, gray, wood tones, or even brass fixtures—making it a flexible choice for both modern and transitional bathrooms.
Material Options To Consider
You can achieve the look with large-format porcelain tiles, waterproof wall panels, or even a matte black shower board. Each option has its own installation quirks, but all of them offer a seamless, upscale appearance. For a more textured feel, consider matte black subway tiles with a dark grout to keep the surface uniform.
Balancing The Dark Palette
To keep the space from feeling too heavy, pair the matte black surround with bright white grout, light-colored flooring, or a glass shower door that lets natural light pass through. Adding a wooden stool or a plant can also soften the look and bring in warmth.
8. Mirrored Finish
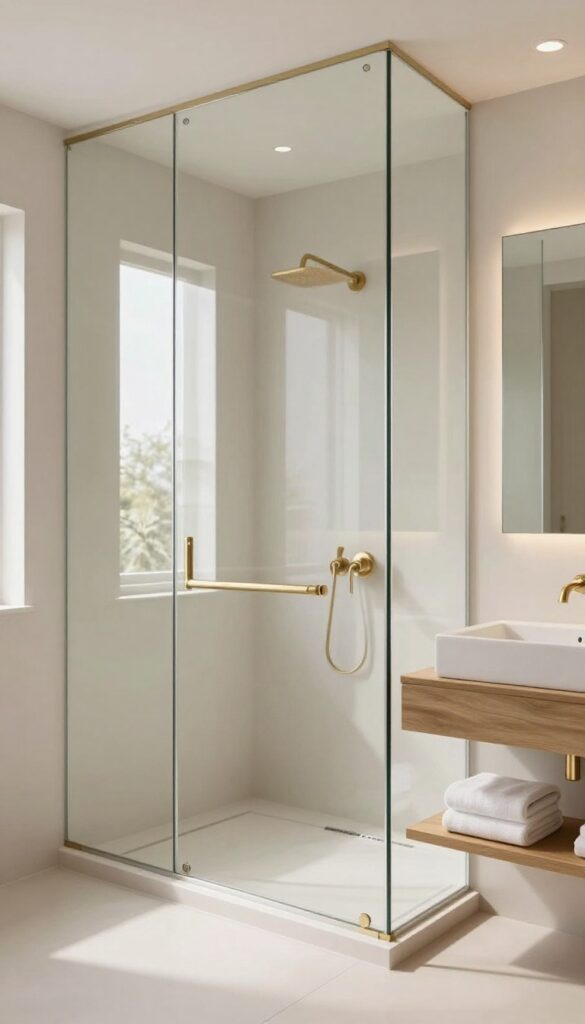
A mirrored surface above the shower is a bold move that pays off in spades. It reflects light from windows and fixtures, making even the smallest bathroom feel airy and open. If you're after a sleek, contemporary vibe, this is your surround.
Mirrored finishes aren't just for vanity mirrors anymore. Using large mirror panels or mirrored tiles above the shower creates a stunning focal point that also serves a practical purpose. The reflective surface bounces natural and artificial light around, reducing shadows and making the space feel twice as large.
It's a choice that says you're not afraid to make a statement.
Why It Works
The magic of a mirrored surround lies in its ability to visually expand the room. In a compact bathroom, the reflection tricks the eye into seeing more depth, which can make the whole area feel less cramped. Plus, the clean, glossy surface is easy to wipe down—just a quick squeegee after a shower keeps it spotless.
Design Tips
To avoid a cold or sterile look, pair the mirror with warm accents like wood shelving or brushed brass fixtures. You can also use a single large mirror panel behind the showerhead for a seamless, frameless appearance, or opt for smaller mirrored tiles in a herringbone pattern for added texture. Just be sure to use tempered glass and proper waterproofing to handle the humidity.
Maintenance And Safety
Mirrored surfaces require a bit more upkeep than standard tile, but it's manageable. Use a non-abrasive cleaner and a soft cloth to prevent scratches. Also, consider anti-fog treatments to keep the mirror clear during hot showers.
And always hire a professional for installation to ensure the glass is securely mounted and sealed against moisture.
9. Beadboard Panels
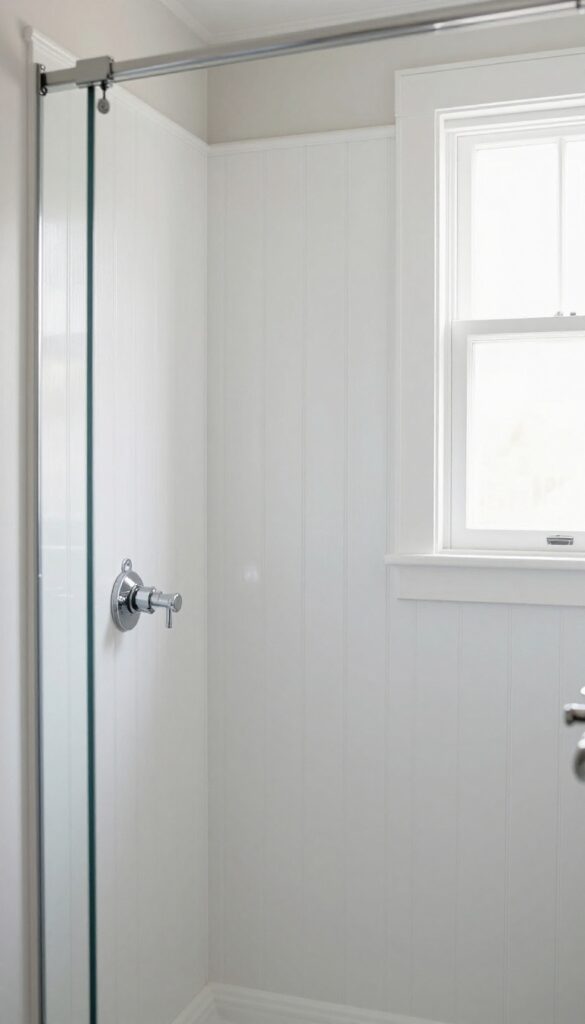
Beadboard wainscoting above the shower brings a classic, cottage-like charm that feels both cozy and refined. It's an affordable option that doesn't skimp on style, and you can paint it any color to match your bathroom's personality. The vertical grooves add texture and visual interest without overwhelming the space.
Beadboard panels are a timeless choice for shower surrounds, offering a clean, textured look that suits both traditional and modern bathrooms. They're relatively easy to install, especially if you use waterproof backing boards, and they hide imperfections well. Plus, the paintable surface means you can change the color whenever you want a refresh.
Why Beadboard Works In Wet Areas
Beadboard is naturally moisture-resistant when properly sealed, making it a practical option for shower walls. Use a high-quality waterproof primer and paint to protect the wood or MDF from humidity. For extra durability, consider PVC beadboard, which is completely waterproof and won't warp.
Installation Tips For A Flawless Finish
Start by measuring the area above the shower and cutting panels to fit. Apply construction adhesive to the back and press firmly against the wall, then secure with finishing nails. Caulk all seams and edges to prevent water seepage.
For a professional look, add a chair rail or trim at the top and bottom.
Color And Style Ideas
White beadboard creates a bright, airy feel, while soft pastels like sage green or pale blue add a subtle vintage touch. For a more modern twist, try a deep navy or charcoal for contrast. Pair with brass or matte black fixtures to enhance the cottage vibe or keep it sleek with chrome.
10. Waterproof Wall Panels
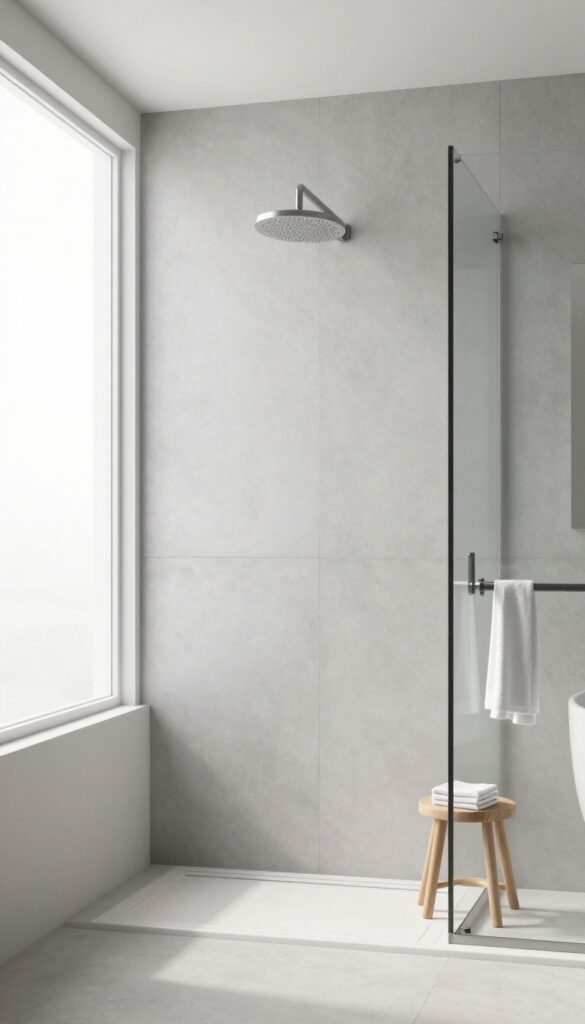
If you want a clean, seamless look without the fuss of tiles, waterproof wall panels are a smart shortcut. They go up quickly over existing walls and create a smooth surface that wipes down in seconds. Plus, they come in finishes that mimic natural stone, marble, and even matte concrete, so you don't have to sacrifice style for convenience.
Waterproof wall panels are made from acrylic or PVC, which means they're 100% moisture-resistant and won't warp or peel like painted drywall. They're also a great choice for DIYers because they can be cut with basic tools and installed with adhesive or clips. The result is a flawless, grout-free surface that looks high-end but costs a fraction of stone or large-format tile.
Why Choose Panels Over Tile?
Tiles look great, but they require grout lines that can stain and need regular sealing. Wall panels skip all that. They have no grout to maintain, and the surface is non-porous, so soap scum and hard water stains don't stand a chance.
If you're tired of scrubbing, this is a low-maintenance upgrade.
Popular Finishes To Consider
Manufacturers offer panels in a wide range of looks. For a spa-like feel, go with a white marble-look panel with subtle veining. If you prefer something darker, a slate or charcoal finish adds depth.
There are even panels that mimic the look of subway tile or herringbone, so you can get that classic style without the grout.
Installation Tips For A Flawless Finish
Measure your shower surround carefully and order panels slightly larger than needed. Use a fine-tooth saw for clean cuts, and apply adhesive in vertical strips for a strong bond. Make sure the wall is clean and dry before you start.
For corners, use trim pieces designed to match the panels—they give a polished look and prevent water from seeping behind.
11. Herringbone Pattern
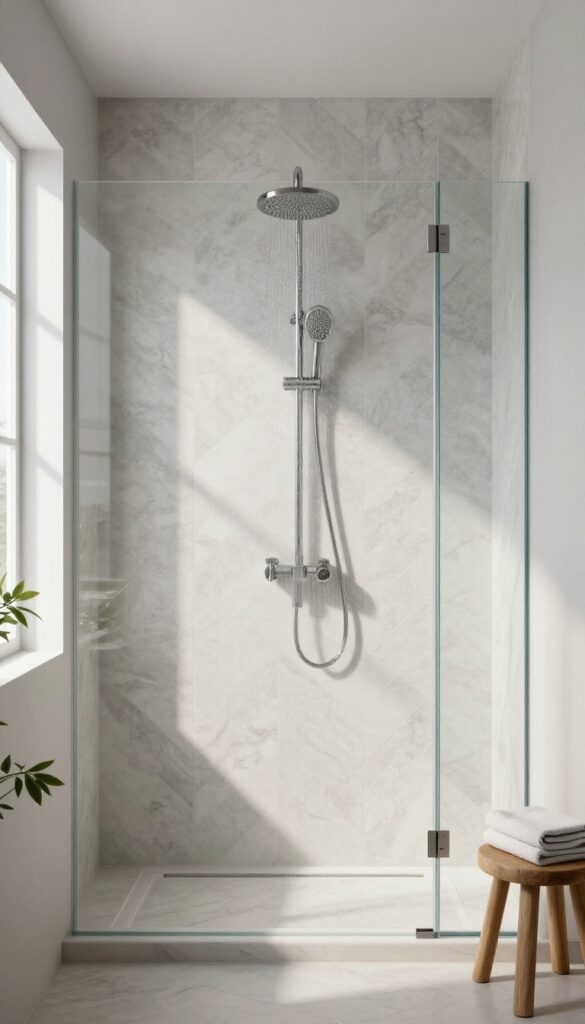
Herringbone is one of those patterns that instantly upgrades a space without trying too hard. The zigzag layout adds movement and a subtle sense of luxury, whether you go with marble, ceramic, or even porcelain planks. It draws the eye upward, making the shower feel taller and more open—perfect for smaller bathrooms.
The herringbone pattern isn't just about looks; it's also surprisingly practical. The interlocking design helps hide minor imperfections in the wall, and the angled lines can make a narrow shower appear wider. Plus, with so many tile options available, you can easily match the pattern to your existing decor—from classic white subway tiles to bold, colorful mosaics.
Play With Scale
Don't think herringbone only works with small tiles. Large-format tiles in a herringbone layout create a more modern, streamlined look with fewer grout lines. This is a great choice if you want the pattern's visual interest without the busy feel of tiny tiles.
Mix Materials For Contrast
For a truly unique surround, combine herringbone with a different material or finish. For example, pair matte ceramic herringbone with a glossy accent strip, or use a contrasting grout color to make the pattern pop. This adds depth and personality without overwhelming the space.
Keep It Simple With Neutral Tones
If you prefer a calm, spa-like vibe, stick to neutral shades like white, beige, or light gray. The herringbone pattern still provides visual interest, but the muted palette keeps the bathroom feeling serene. Add natural wood accents or plants to warm up the space.
12. Open Shelving Niche
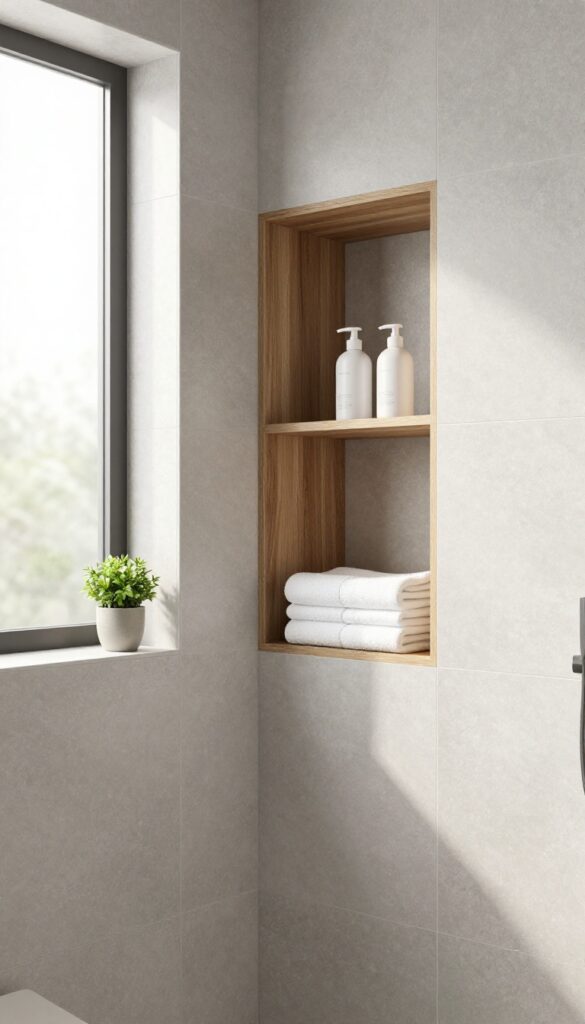
An open niche carved into the surround is a clever way to add storage without eating into your floor space. It turns the wall into a functional feature, giving you a spot for shampoo bottles, folded towels, or a small plant. The best part?
It adds depth and character, making the shower feel more custom and intentional.
Open shelving niches are a practical upgrade that blends storage with style. Instead of a flat, unbroken wall, you get a recessed shelf that keeps everyday essentials within arm's reach. It's a simple change that makes a big difference in how the shower looks and works.
Built-in Vs. Retrofit
You can build a niche during a renovation by framing it into the wall, which gives a seamless, custom look. If that's not an option, retrofit niches are available that install over the existing tile or surround. Both work well, but built-ins offer a more polished finish and can be sized to fit your exact needs.
Placement And Size
Think about where you naturally reach for things. A niche around chest height is comfortable for most people. Keep it shallow enough to avoid wasting space, but deep enough to hold standard bottles.
A single large niche can double as a display shelf, while two smaller ones keep items organized.
Styling And Finishing
Match the niche's interior to the surrounding material for a cohesive look, or use a contrasting tile to make it pop. Adding a small ledge or using a different color can create a focal point. Don't forget to include a slight slope on the bottom so water doesn't pool.
13. Painted Mural or Accent Wall
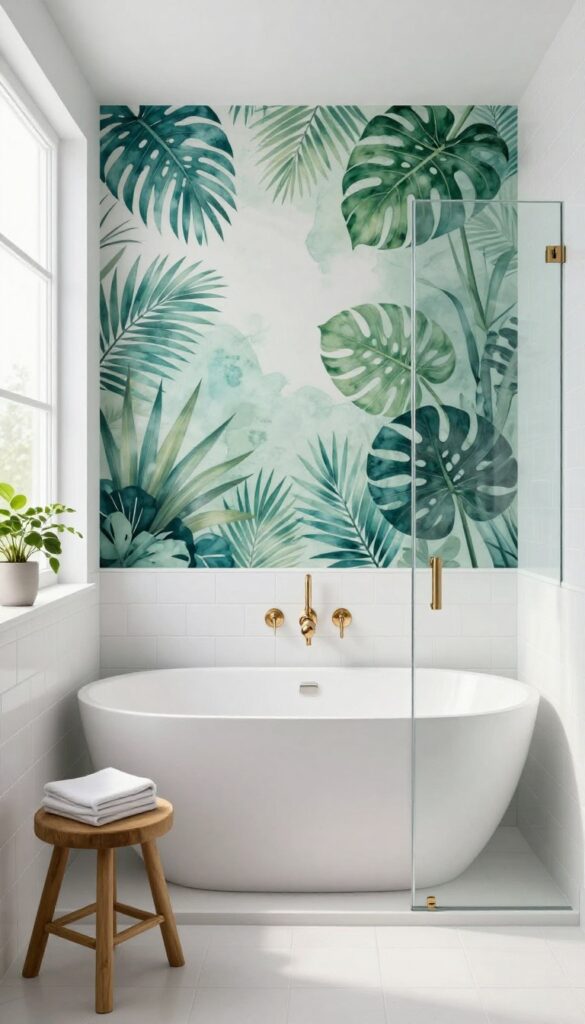
If you're craving something truly one-of-a-kind, a painted mural or a bold accent wall above the shower can deliver personality that tiles just can't match. It's a chance to bring in color, pattern, or a scene that makes your bathroom feel like you. With the right prep and moisture-resistant products, this DIY-friendly option can look stunning and hold up beautifully.
A painted mural or accent wall above the shower is a creative way to make your bathroom feel personal. Unlike tile or panels, paint lets you experiment with color and design without a huge commitment. You can go subtle with a soft wash of color or go all in with a hand-painted scene.
The key is using the right materials and prepping the surface properly so it stays looking fresh for years.
Choosing The Right Paint And Prep
For a shower surround, you need paint that can handle moisture and steam. Look for a high-quality, moisture-resistant bathroom paint with a satin or semi-gloss finish—it'll repel water better and be easier to clean. Before you paint, make sure the wall is clean, dry, and free of any mildew.
If the surface is bare drywall or old paint, a primer designed for high-humidity areas will help the paint stick and prevent peeling.
Design Ideas For Your Mural Or Accent Wall
The design options are endless. A simple geometric pattern in two or three colors can add a modern touch. A tropical leaf mural brings a spa-like vibe.
Or go for a subtle ombré effect that shifts from light to dark. If you're not confident freehanding, use stencils or painter's tape to create clean lines. A mural doesn't have to be a masterpiece—even a bold stripe or a soft wash of color can make a statement.
Protecting Your Work
To keep your painted surround looking good, apply a clear, water-based polyurethane sealer over the paint once it's fully cured. This adds a protective layer that resists moisture and makes cleaning easier. Also, make sure your bathroom is well-ventilated—run the exhaust fan during and after showers to reduce humidity.
With a little care, your painted accent wall will stay vibrant for years.
FAQ
What is the best material for an above-shower surround?
The best material depends on your style and budget. Porcelain tile and waterproof panels are durable and low-maintenance, while glass and stone offer a more premium look.
Can I install an above-shower surround myself?
Some options like beadboard or waterproof panels are DIY-friendly, but tile and glass may require professional installation to ensure proper waterproofing and safety.
How do I clean an above-shower surround?
Regular wiping with a squeegee and mild cleaner works for most materials. Avoid abrasive cleaners on glass and stone to prevent scratching.
What is the most affordable above-shower surround option?
Beadboard and waterproof panels are budget-friendly, while subway tile is also cost-effective if you install it yourself.
How do I choose the right above-shower surround for my bathroom?
Consider your bathroom's size, lighting, and overall style. Lighter colors and reflective surfaces make small spaces feel larger, while bold patterns add character.
Conclusion
The right above-shower surround can turn a plain alcove into the most polished part of your bathroom. Whether you lean toward warm wood, sleek tile, or a simple framed panel, the payoff is a cleaner look and a surface that’s easier to maintain. Start with the option that solves your biggest gripe—be it water spots, dated finishes, or wasted wall space.
Once that’s in place, the rest of the shower will feel more intentional. Pick one idea that fits your routine and enjoy the upgrade every time you step in.