15 Small Bathroom with Shower Ideas for a Clean, Custom Look
A small bathroom doesn't have to feel cramped or plain—especially when the shower pulls its weight. The right layout, glass choice, and tile can make the space look bigger, cleaner, and more custom without blowing your budget.
These 15 ideas focus on real-world fixes: saving floor space, cutting down on grout lines, and adding storage where you'd least expect it. Whether you're doing a full remodel or just tweaking one corner, you'll find practical options that fit tight footprints.
Let's look at what works.
1. Walk-In Shower Without a Door
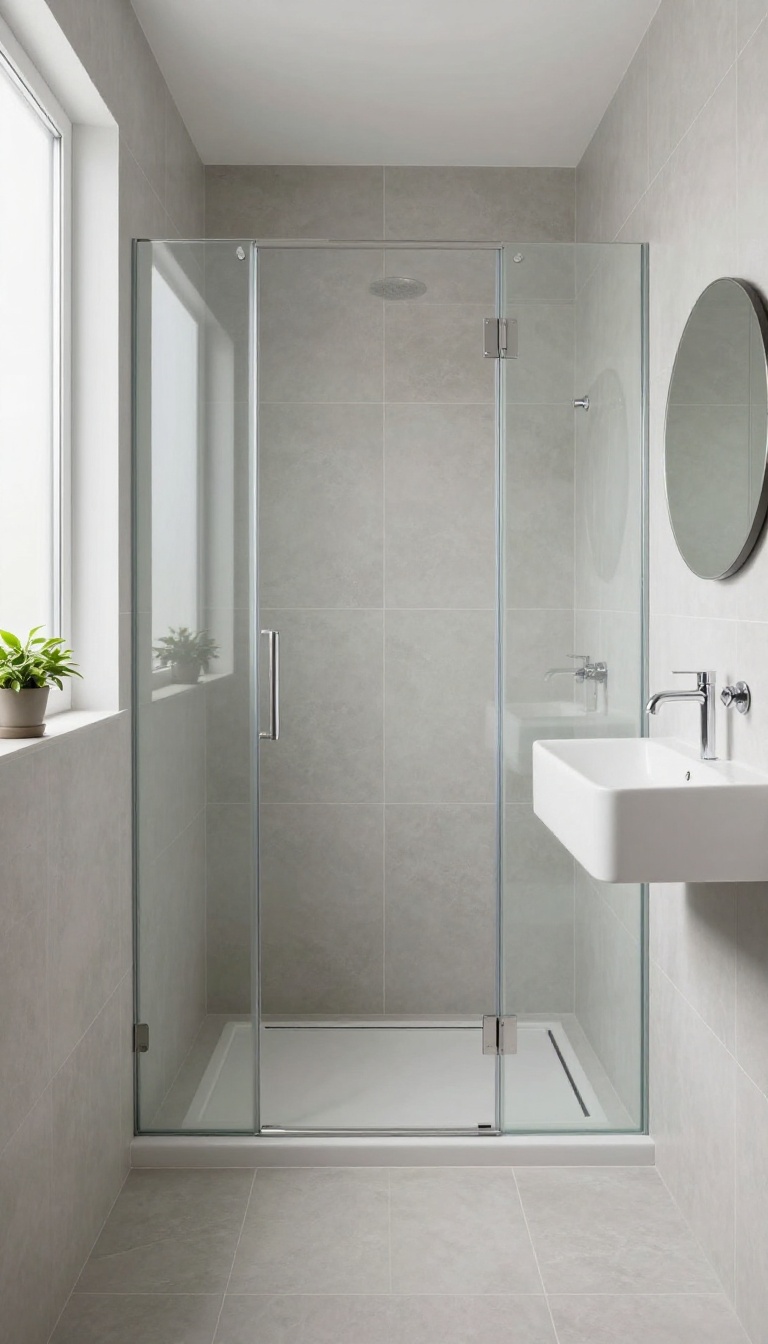
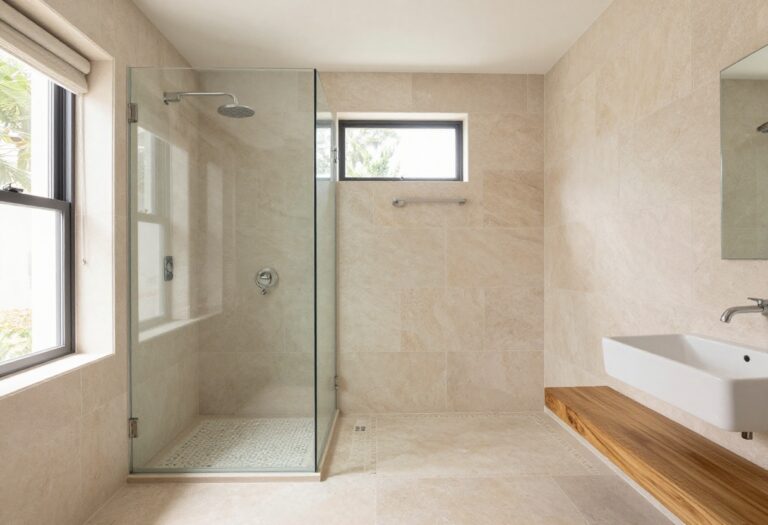
A doorless shower is a smart way to open up a small bathroom. Without a swinging door or bulky frame, the space feels more continuous and airy. The key is getting the slope right so water drains properly, and adding a fixed glass panel to keep splashes in check.
This setup works best in bathrooms where the shower is tucked into a corner or against one wall. You'll need a linear drain or a center drain with a slight pitch toward it. The open design also means no track to clean and no door to bump into, which is a win in tight quarters.
Why It Works In Small Spaces
Removing the door eliminates the visual line that cuts the room in half. Your eye travels from the vanity straight to the shower wall, making the bathroom feel larger. Plus, you save the clearance space a swinging door would need, which can be a game-changer in a narrow layout.
Getting The Slope Right
The floor needs a consistent slope of about 1/4 inch per foot toward the drain. A linear drain along the back wall is often easier to tile and looks sleek. If you're worried about water pooling, a slight curb or a gentle step-down can help, but a flat threshold keeps things seamless.
Glass Panel Options
A fixed glass panel, about 3/4 of the shower width, keeps water from splashing onto the vanity or toilet. You can choose clear glass for an open feel or frosted glass for more privacy. The panel also acts as a windbreak, so you stay warmer while showering.
2. Corner Shower with Curved Door
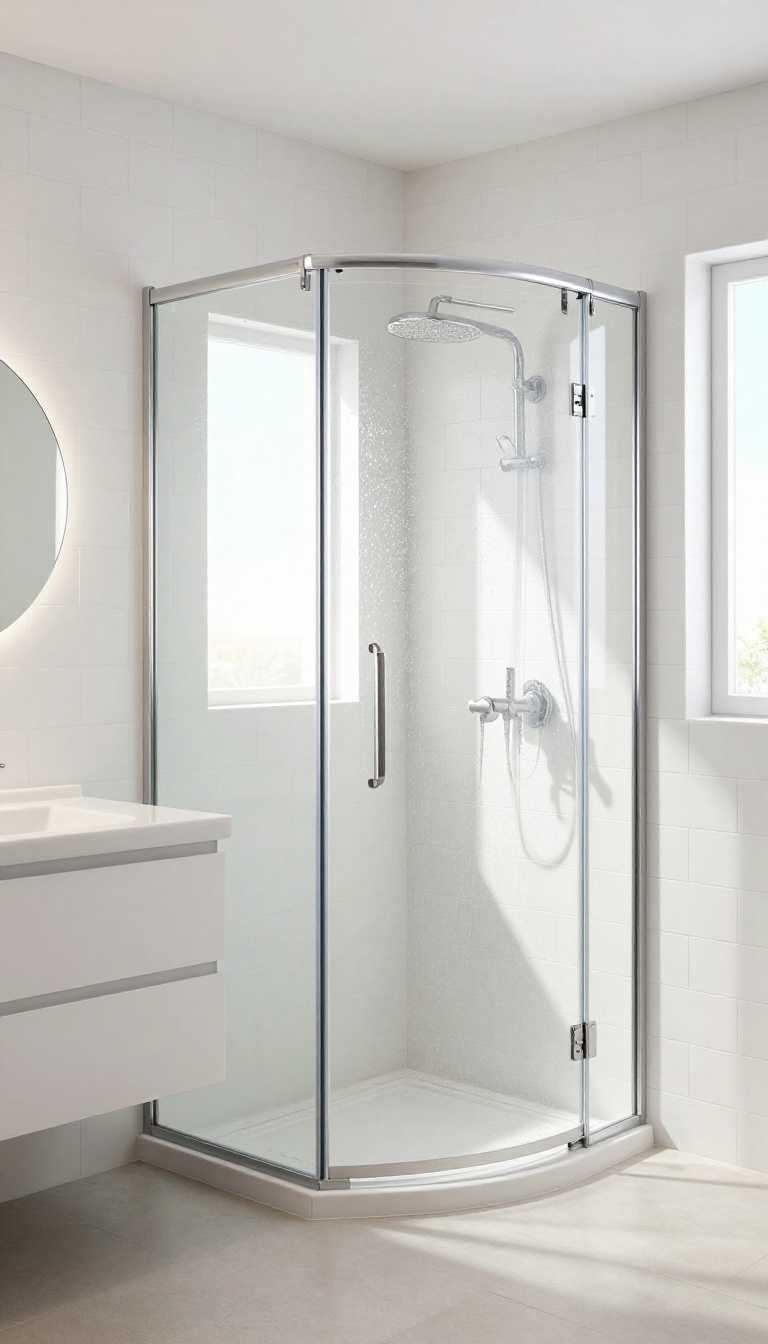
Corners often go unused in small bathrooms, but a curved shower door turns that dead space into a functional focal point. The gentle arc of the glass not only looks sleek but also gives you more elbow room inside the shower—without stealing floor space from the rest of the room. The sliding door glides along a track, so there's no swing-out clearance to worry about.
That makes it a clever choice for tight layouts where every inch counts.
A corner shower with a curved door is a space-saving classic for good reason. The curved glass wraps around the shower area, creating a roomier feel inside while keeping the footprint compact. Because the door slides instead of swinging, you can place it flush against a toilet or vanity without blocking access.
This design works especially well in bathrooms with a square corner that would otherwise sit empty. It also adds a modern, streamlined look that pairs nicely with frameless glass or minimal hardware. If you're worried about cleaning, choose a curved door with a protective coating to reduce water spots and soap scum buildup.
Why A Curved Door Works In Tight Spaces
The main advantage is the sliding mechanism. Unlike a hinged door that needs clearance to open, a curved door slides along a track, so it takes up zero extra floor space. That means you can position it closer to a toilet or sink without worrying about the door hitting anything.
Plus, the curved shape adds a few extra inches of interior space at the center, making the shower feel more spacious than a flat, square enclosure. It's a simple trick that makes a small bathroom feel more open.
Installation And Layout Tips
When planning a corner shower, make sure the corner is at least 36 inches wide to give you comfortable room to move. The curved door needs a sturdy track, so check that the walls are plumb and can support the weight. If you're working with a prefab unit, follow the manufacturer's instructions carefully.
For a custom look, consider using a clear glass door to keep the sightlines open. You can also add a niche or shelf inside the shower to hold toiletries without cluttering the floor.
Styling And Finishing Touches
Pair the curved shower with large-format tiles in a light color to make the space feel bigger. A frameless glass option with minimal metal trim gives a clean, modern look. For the door, choose a brushed nickel or matte black finish to match your fixtures.
Don't forget about lighting—a small recessed light or a waterproof fixture above the shower can highlight the glass and make the area feel bright and airy.
3. Glass Enclosure with Minimal Framing
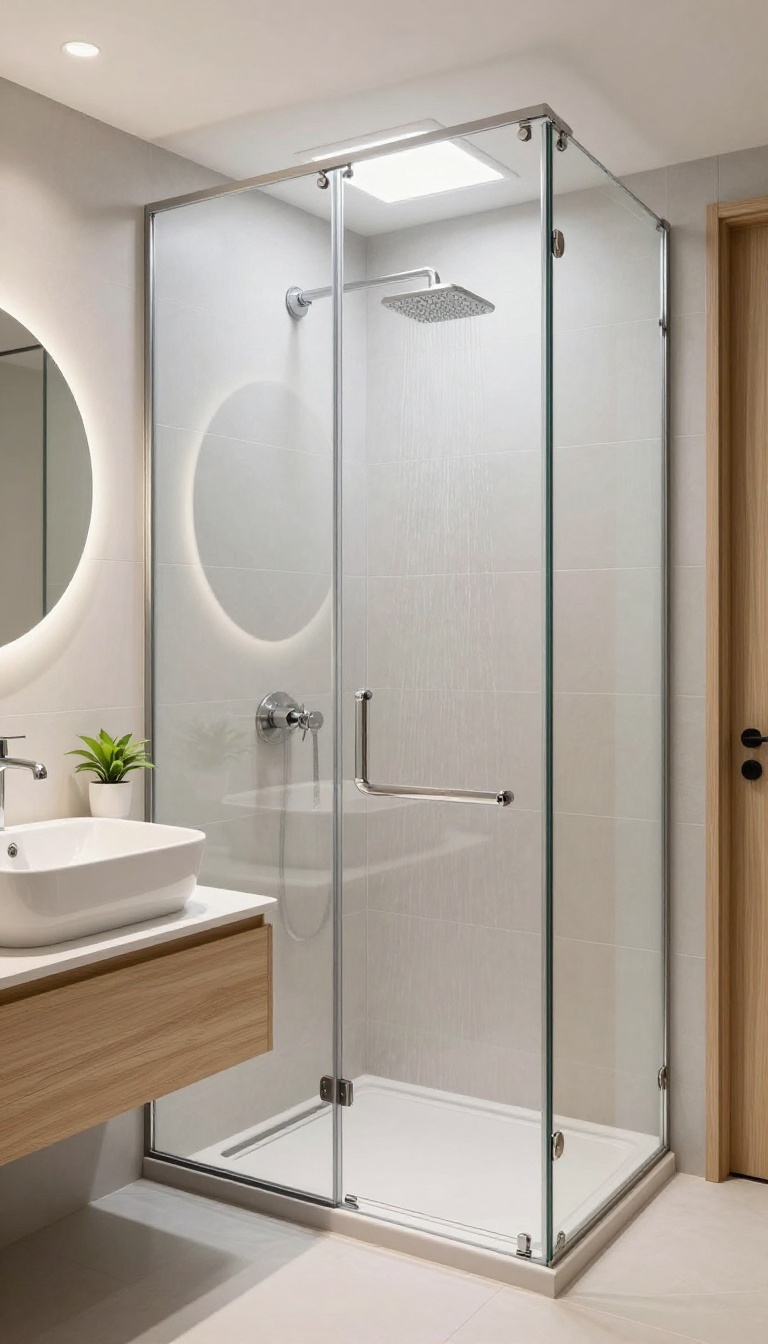
Frameless or semi-frameless glass enclosures are a favorite for small bathrooms because they visually disappear. Without bulky metal frames, the eye travels straight across the room, making the space feel larger and more open. Clear glass lets your tile work shine while keeping the shower area bright and airy.
The magic of minimal framing lies in how it reduces visual clutter. Thick frames and tracks create hard lines that break up the wall and draw attention to the shower's boundaries. By trimming that hardware down, you let the glass become nearly invisible, so the room reads as one continuous space.
This approach also works well with almost any design style, from modern to traditional, because it doesn't compete with other elements.
Choose The Right Glass Thickness
For a frameless look, you'll need thicker glass—usually 3/8 or 1/2 inch—to provide stability without a frame. That extra thickness also feels more substantial and high-end. If you're on a budget, semi-frameless with a minimal frame on the door edge can still give you that open feel while keeping costs down.
Keep The Hardware Minimal
The hinges and handles you pick matter more than you'd think. Choose slim, modern hinges in brushed nickel or matte black to blend with your fixtures. A simple horizontal bar handle on the outside is enough—avoid ornate or bulky options that draw the eye.
Consider Glass Treatments
Clear glass is the go-to, but you can add a subtle texture or tint for privacy without sacrificing light. Water-repellent coatings are worth the extra cost—they cut down on water spots and soap scum, so you spend less time cleaning and more time enjoying the open feel.
4. Shower Niche for Storage
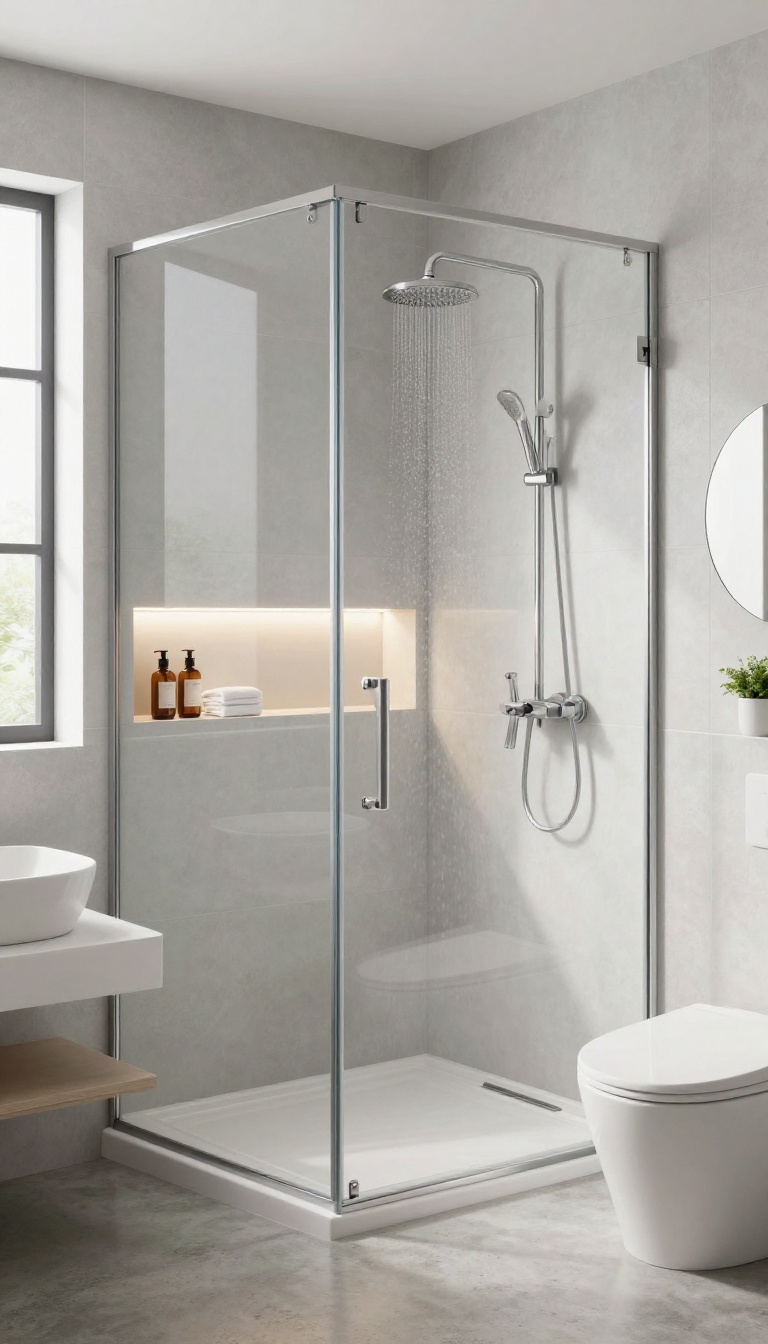
One of the simplest ways to keep a small shower tidy is to carve out a niche right in the wall. Instead of hanging a caddy or balancing bottles on the floor, you get a built-in shelf that blends with the tile. It's a small change that makes a big difference in how clean and open the space feels.
A shower niche is a recessed shelf built into the wall, typically between the studs. It's a perfect spot for shampoo, soap, and razors, keeping them within reach but out of the way. Since it's flush with the wall, there are no sharp edges or bulky metal racks to bump into, which is especially nice in a tight shower.
Plus, it adds a custom touch that looks like it was planned from the start, not an afterthought.
Where To Place The Niche
Think about where you naturally reach for things. The most common spot is on the wall opposite the showerhead, so you don't have to turn around to grab your shampoo. If that wall is load-bearing or has plumbing, you might place it on a side wall instead.
Just make sure it's at a comfortable height—usually around chest level—and not too low to bend for or too high to reach easily.
Sizing And Shape
A niche doesn't need to be huge. A typical size is 12 inches wide, 12 inches tall, and 3 to 4 inches deep. That's enough for most bottles and bars of soap.
You can also go taller for taller bottles, but avoid making it too deep or it becomes a shelf for clutter. A rectangular shape is classic, but you can also do a horizontal slot for a more modern look. Just keep it proportional to the shower wall.
Tile And Trim Choices
The niche is a chance to add a little personality. You can use the same tile as the shower walls for a seamless look, or pick a contrasting tile to make it pop. For a cleaner finish, use a prefabricated niche insert with a slight slope toward the drain so water doesn't pool.
Also, think about the edges—using a trim piece or bullnose tile gives it a polished, custom appearance.
5. Neutral Color Palette with Textured Tiles
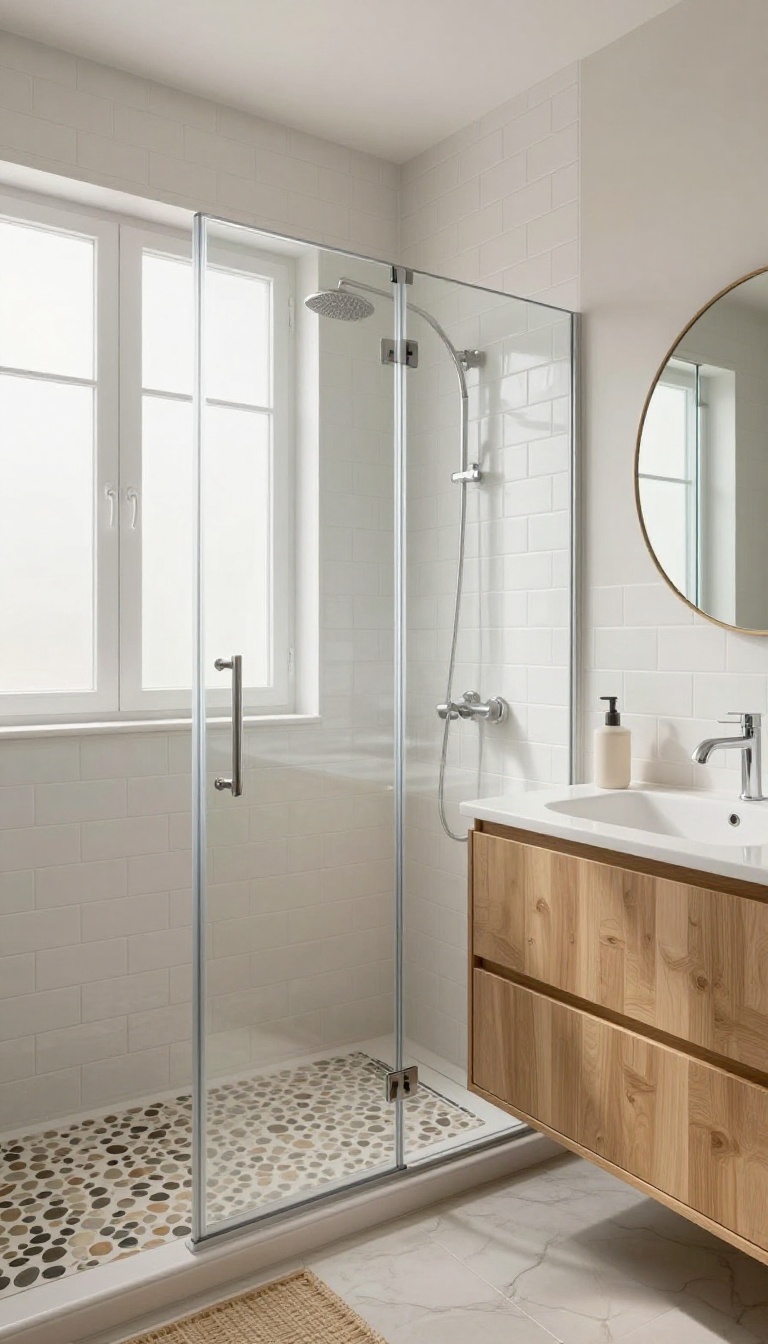
A neutral palette is a classic choice for small bathrooms because it keeps the eye moving without visual clutter. But plain beige or white can feel flat. The trick is to add texture through your tile choices, giving the space depth and interest without making it feel busy.
Think of it as a quiet backdrop with a tactile twist. Subway tiles with a beveled edge, pebble flooring, or large-format tiles with a subtle wave pattern all add dimension. These textures catch light and create shadows, making the walls and floor feel more dynamic while still maintaining that clean, airy look.
When you stick to light neutrals like soft white, warm gray, or pale beige, the room feels open and calm. But without texture, it can look sterile. That's where tile choice comes in.
Textured tiles break up the monotony and give the eye something to appreciate, all while keeping the overall look cohesive and custom. Here's how to make this idea work in your own bathroom, from choosing the right tiles to balancing them with your fixtures.
Play With Subway Tile Variations
Classic white subway tile is a go-to, but you can add texture by choosing a version with a beveled edge or a handmade look with slight irregularities. The subtle ridges and bumps catch the light, adding depth without overwhelming the space. For a more modern twist, try a herringbone pattern or a vertical stack instead of the traditional brick layout.
Add Pebble Flooring For A Spa Feel
Pebble tiles—whether on a sheet or individual stones—bring a natural, organic texture underfoot. They're perfect for a shower floor because they provide gentle traction and a massaging sensation. Choose smooth, rounded pebbles in neutral tones like tan, gray, or white to keep the palette consistent.
The uneven surface also helps hide soap scum and water spots.
Use Large-format Tiles With Subtle Relief
Large-format tiles (12×24 inches or bigger) minimize grout lines, which already makes a small bathroom feel more spacious. To add texture, look for tiles with a subtle embossed pattern, like a soft wave or a linen-like weave. These add visual interest without breaking up the wall into busy sections.
Pair them with a matte finish to reduce glare and enhance the tactile feel.
Balance Texture With Sleek Fixtures
With textured tiles, keep your fixtures simple and sleek. Choose a frameless glass shower door, a slim-profile showerhead, and minimal hardware in brushed nickel or matte black. This contrast lets the tile shine while maintaining a clean, uncluttered look.
Avoid adding too many decorative elements—let the texture be the star.
6. Rain Shower Head for a Spa Feel
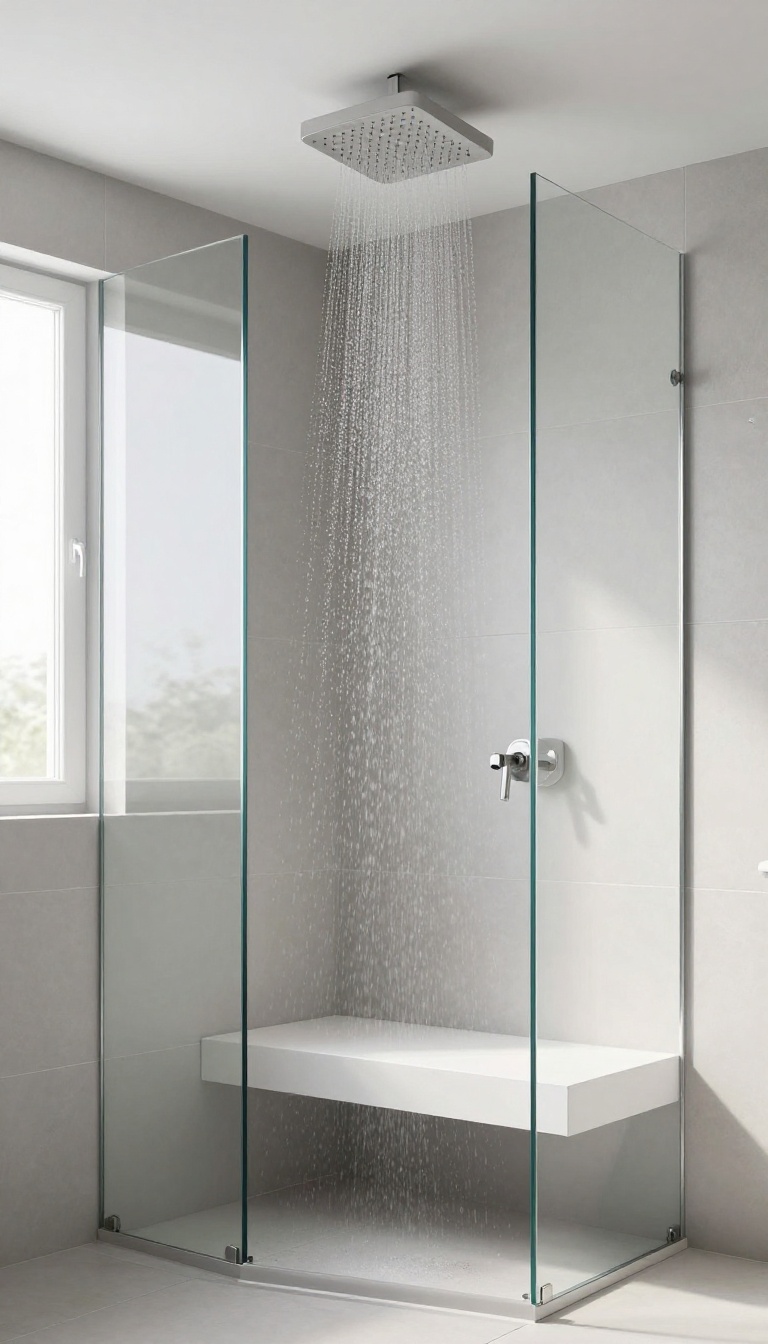
Swapping a standard wall-mounted showerhead for a ceiling-mounted rain shower instantly changes the whole vibe. The water falls straight down in a gentle, even spray, making even a compact shower feel like a private spa. Plus, it clears the wall space, which is a huge win when you're working with limited square footage.
A rain shower head is more than just a luxury upgrade—it's a smart design move for small bathrooms. By mounting the head on the ceiling, you free up wall space that can be used for shelves or grab bars. The overhead placement also means you don't have to worry about hitting your elbows on a protruding fixture.
And because the water drops vertically, it creates a soothing, rain-like effect that makes your morning routine feel a little more indulgent.
Choosing The Right Size
When picking a rain shower head, bigger isn't always better. In a small shower, a head that's 8 to 10 inches in diameter is usually plenty. Anything larger can overwhelm the space and might not get enough water pressure to work well.
Look for a model with a swivel joint or adjustable angle so you can direct the spray exactly where you need it, especially if your ceiling is sloped.
Installation Considerations
Installing a rain shower head requires access to the ceiling above, which can be tricky in some bathrooms. If you're remodeling, this is the perfect time to plan for it. If not, you can still add one by running a pipe along the ceiling and covering it with a decorative cover.
Just make sure you have good water pressure—rain heads need at least 20 psi to work properly. A professional plumber can help you assess your setup.
Pairing With A Handheld Sprayer
For extra flexibility, consider a rain shower head that comes with a handheld sprayer. This combo is a lifesaver in a small bathroom because it lets you rinse off quickly or clean the shower walls without getting soaked. Many models have a diverter valve that lets you switch between the two, so you get the best of both worlds without taking up extra space.
7. Shower and Tub Combo with Glass Screen
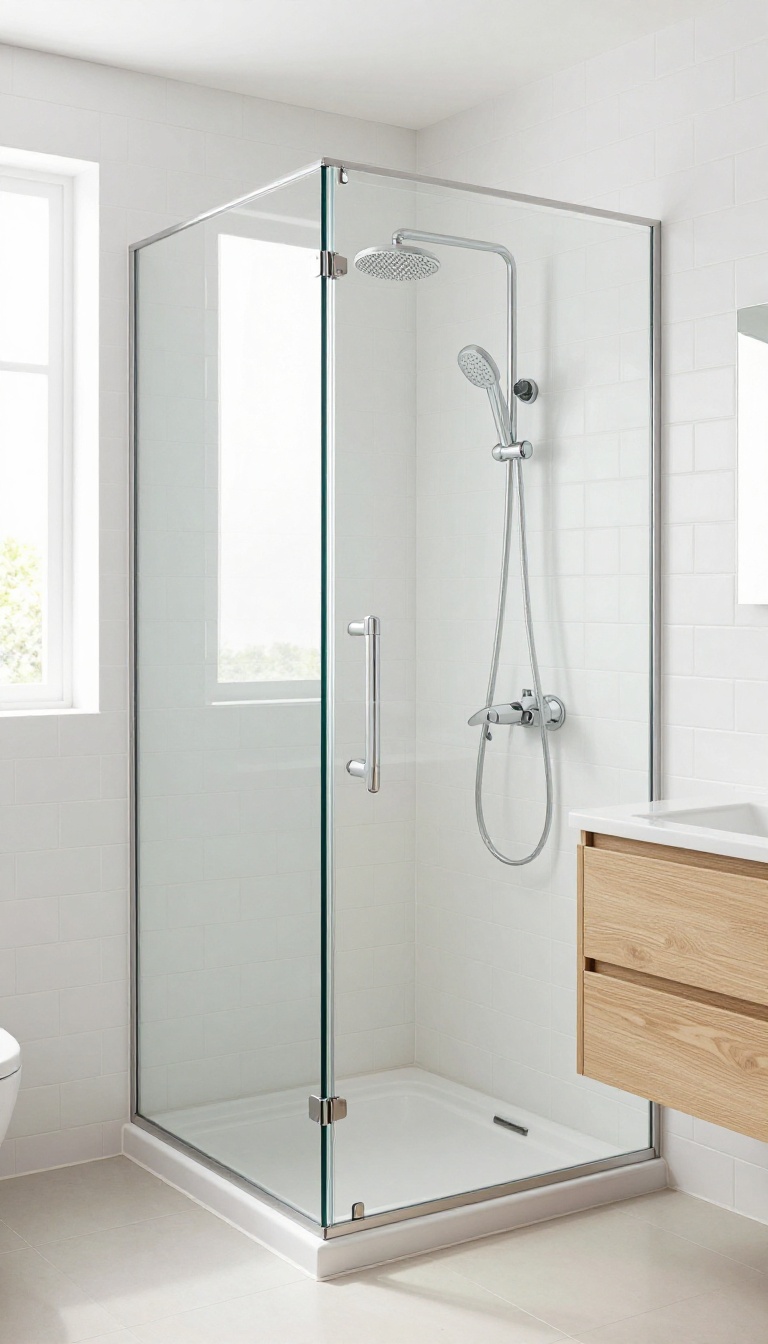
When you’re working with a small bathroom, deciding between a shower and a tub can feel like a sacrifice. But a combo unit lets you have both without giving up too much floor space. The trick is to keep it feeling open and airy, and that’s where a glass screen comes in.
A shower and tub combo is a smart way to maximize function in a tight footprint. You get the convenience of a quick shower and the option of a relaxing soak, all in one spot. The real game-changer is swapping a heavy curtain for a sleek glass screen.
It opens up the room visually, lets light travel, and makes the whole space feel more modern and custom.
Why A Glass Screen Beats A Curtain
Curtains can make a small bathroom feel closed off and a bit dated. A glass screen, on the other hand, keeps the line of sight clear, so the room looks bigger than it is. It also lets natural light bounce around, which is a huge plus in a compact space.
Plus, glass is easier to clean—no more scrubbing soap scum off fabric.
Choosing The Right Glass And Frame
For a truly seamless look, go with frameless or semi-frameless glass. It requires less hardware and looks more custom. If you’re on a budget, a framed screen is still a solid option, just pick a finish that matches your fixtures, like brushed nickel or matte black.
Also, consider clear glass over frosted—it keeps the openness while offering some privacy if you need it.
Making The Combo Work In A Small Layout
Place the tub along the shorter wall to free up the rest of the room. A sliding glass screen is a great space-saver because it doesn’t swing out like a hinged door. Pair it with a handheld showerhead for flexibility, and add a small corner shelf for shampoo and soap.
This keeps everything within reach without cluttering the tub edge.
8. Wall-Mounted Faucet and Handheld Shower
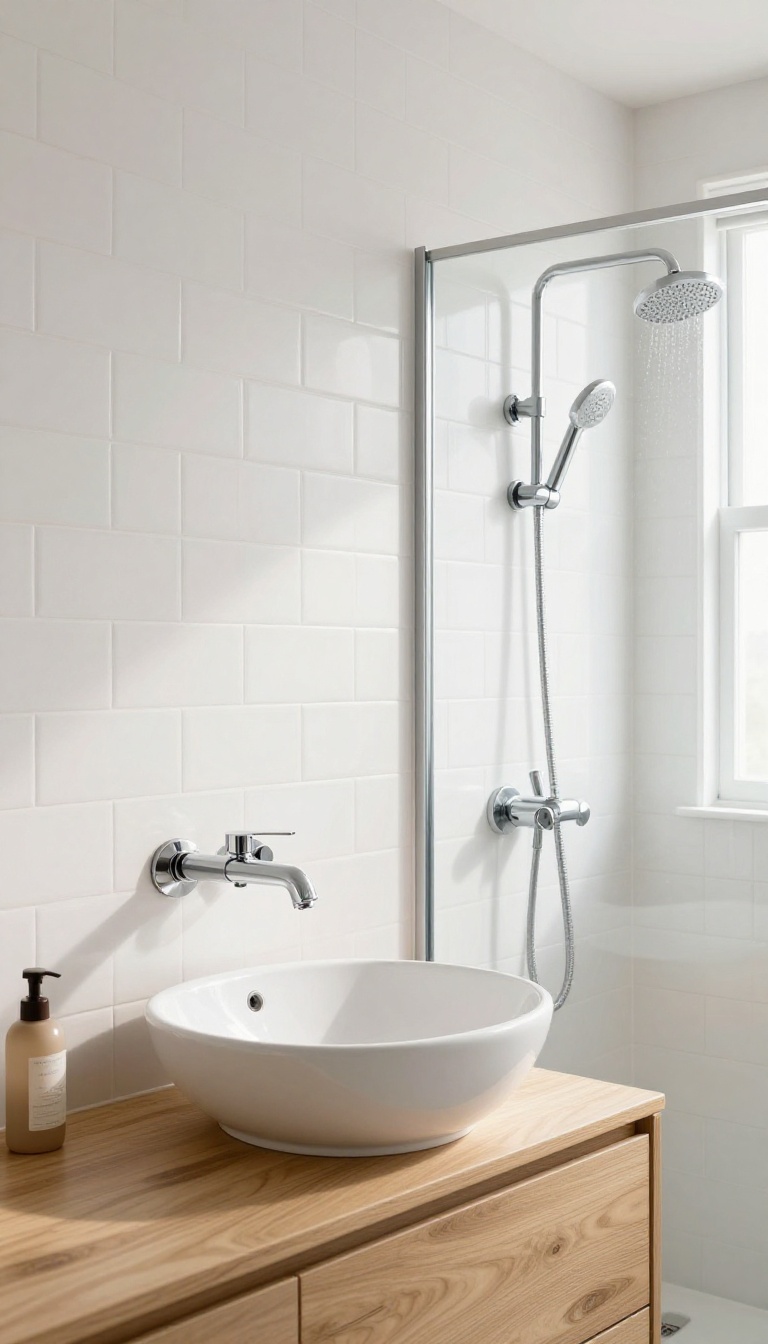
In a small bathroom, every inch of counter space counts. Wall-mounted fixtures free up that valuable surface and make cleaning a breeze. Pairing them with a handheld shower adds flexibility for rinsing and cleaning.
Wall-mounted faucets and handheld showers are a smart combo for small bathrooms. They keep the area around the sink and shower tidy, and they make daily tasks easier. Here’s how to make the most of this setup.
Why Wall-mounted Works
Wall-mounted faucets attach directly to the wall, so they don’t take up any counter space. That’s a big win when your vanity is tiny. They also make cleaning simpler—no awkward nooks and crannies around the base.
Plus, they give the room a sleek, modern look that feels custom.
Choosing The Right Handheld Shower
Handheld showers come in all sorts of styles. Look for one with a long hose so you can reach every corner of the shower. A model with multiple spray settings is handy for rinsing kids, pets, or cleaning the shower walls.
Make sure the mounting bracket is sturdy and positioned at a comfortable height.
Installation Tips
If you’re handy, this is a doable DIY project. But if you’re not comfortable with plumbing, it’s worth hiring a pro. You’ll need to access the wall behind the faucet, so plan for that.
Also, consider adding a shut-off valve for easy maintenance. And don’t forget to check local building codes.
9. Recessed Lighting and Skylight
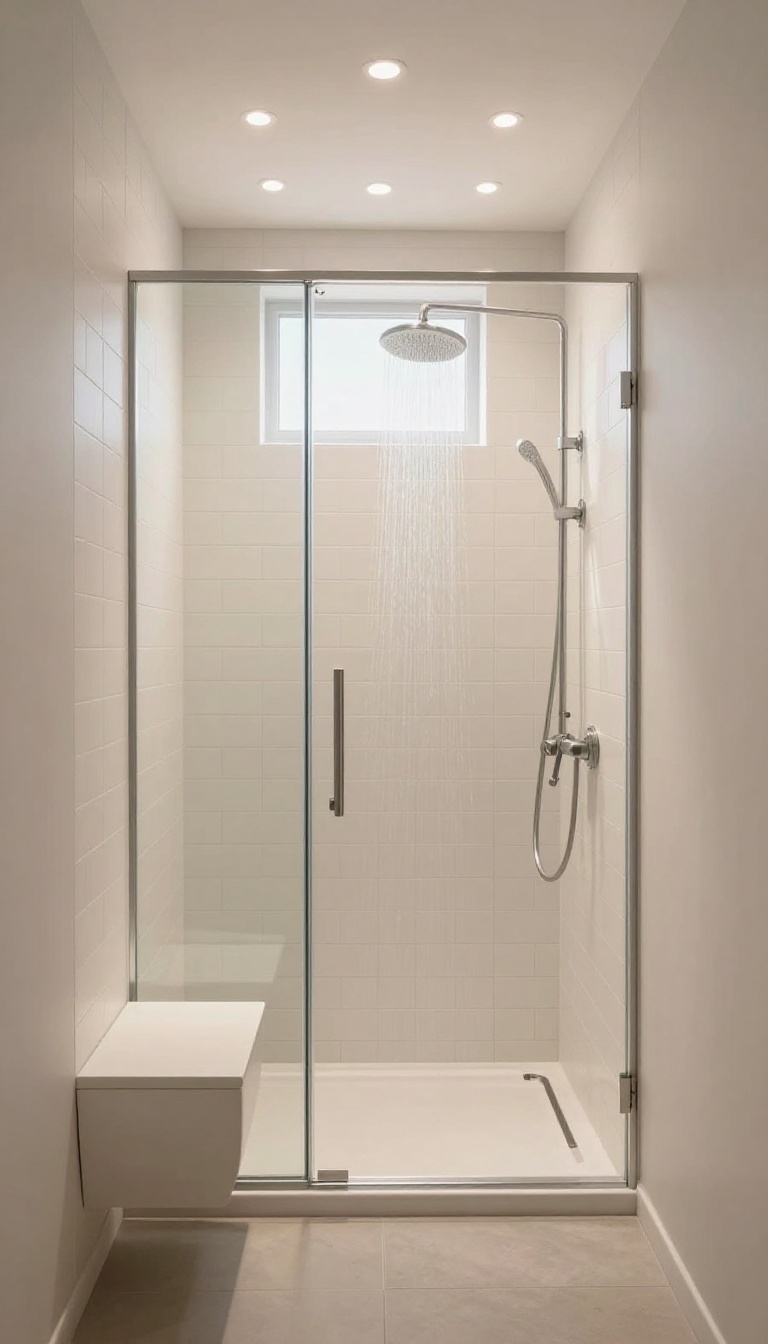
Lighting can make or break a small bathroom. When the ceiling feels low and the walls feel close, the right light opens everything up. Recessed lighting and a skylight work together to brighten the space without taking up any floor or wall area.
Natural light from above reduces harsh shadows, and the even glow from recessed fixtures keeps the room feeling airy and clean.
Start by placing recessed lights in a grid or along the shower perimeter to avoid dark corners. Choose warm LED bulbs for a soft, flattering glow. If you can add a skylight above the shower, it brings in daylight that makes the tile and fixtures look richer.
Even a small skylight can transform the whole room, making it feel twice as large. Pair the skylight with a dimmer switch so you can control the mood for a relaxing soak or a bright morning rinse.
Positioning For Even Light
Place recessed lights about 18 to 24 inches from the shower walls to prevent shadows on the tile. Use multiple fixtures spaced evenly instead of one central light. This creates a uniform wash of light that makes the space feel open.
If the ceiling is low, opt for slim, low-profile fixtures that don't hang down.
Skylight Options For Small Spaces
A fixed skylight is the simplest choice, but a venting skylight can help control humidity. For privacy, consider a skylight with frosted glass or a tubular skylight that fits between rafters. These options bring in natural light without overwhelming the room.
If a full skylight isn't possible, a solar tube is a compact alternative that still delivers a surprising amount of daylight.
Layering With Ambient And Task Lighting
Recessed lights handle general illumination, but you'll also want task lighting near the mirror. Add a small LED strip under the vanity or a wall sconce on either side. This layered approach prevents the bathroom from feeling flat.
Use a separate switch for the shower lights so you can adjust the brightness independently.
10. Large-Format Tiles for Fewer Grout Lines
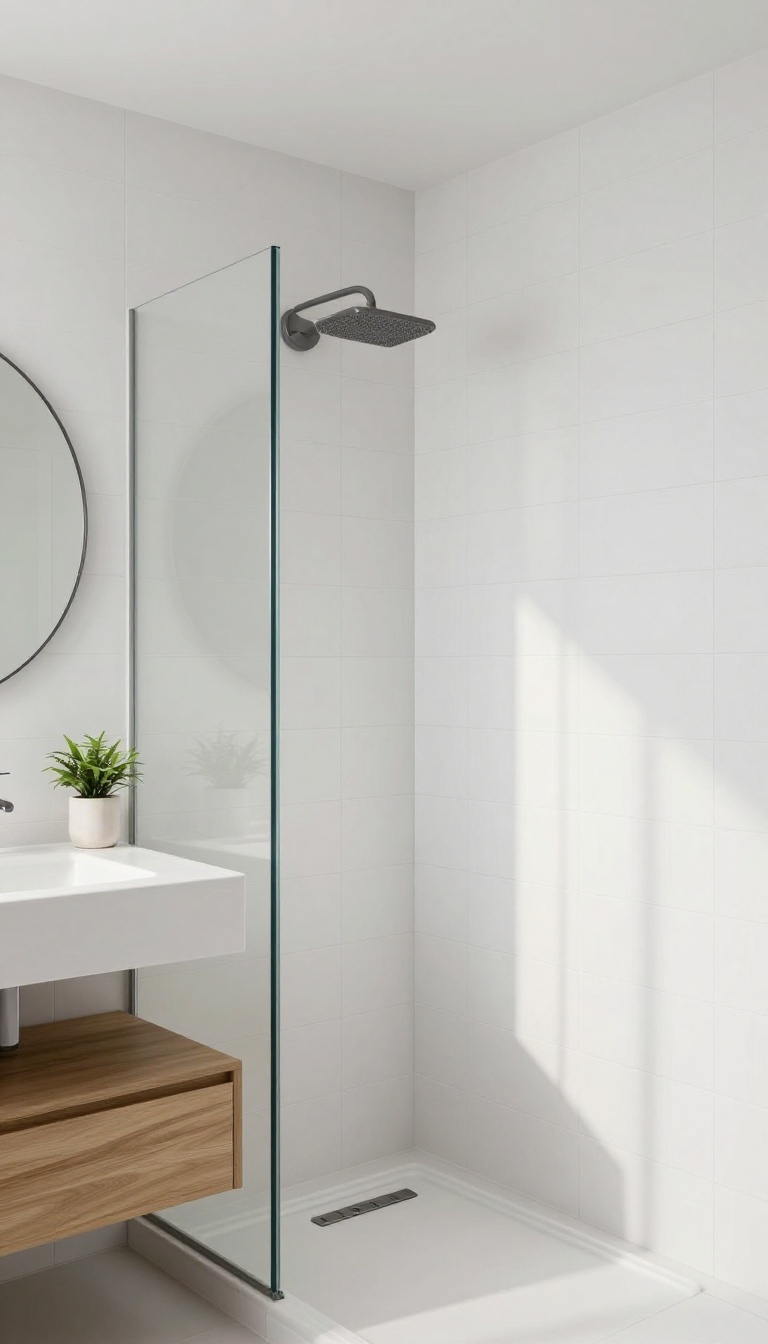
Big tiles are a game-changer in a small bathroom. They cut down on grout lines, which means less visual clutter and fewer places for grime to hide. Plus, the larger surface area reflects light better, making the room feel more open and airy.
It's a simple swap that instantly modernizes the space.
When you choose large-format tiles for your shower walls, you're not just picking a style—you're making a smart practical choice. Fewer grout lines mean less maintenance and a cleaner look that lasts. The seamless appearance also helps the eye travel smoothly, making the bathroom appear larger than it is.
And with so many finishes available, from matte to glossy, you can easily match your design vibe.
Why Fewer Grout Lines Matter
Grout lines are notorious for trapping soap scum and mildew. By using large tiles, you reduce those crevices significantly. That means less scrubbing and fewer stains.
Plus, a continuous surface makes the shower look more polished and custom, not pieced together.
Choosing The Right Size
For small showers, tiles that are 12×24 inches or even larger work best. They cover more area with fewer cuts, which also saves on installation time. Just ensure your walls are flat enough to handle big tiles, or you might end up with lippage.
A pro can easily check and prep the surface.
Style And Finish Options
Large-format tiles come in a huge range of colors and textures. Light, neutral tones like white, beige, or light gray keep the space bright. For a touch of luxury, consider a polished marble look.
If you prefer a matte finish, it hides water spots better and adds a modern, understated feel.
11. Floating Vanity with Open Shelving
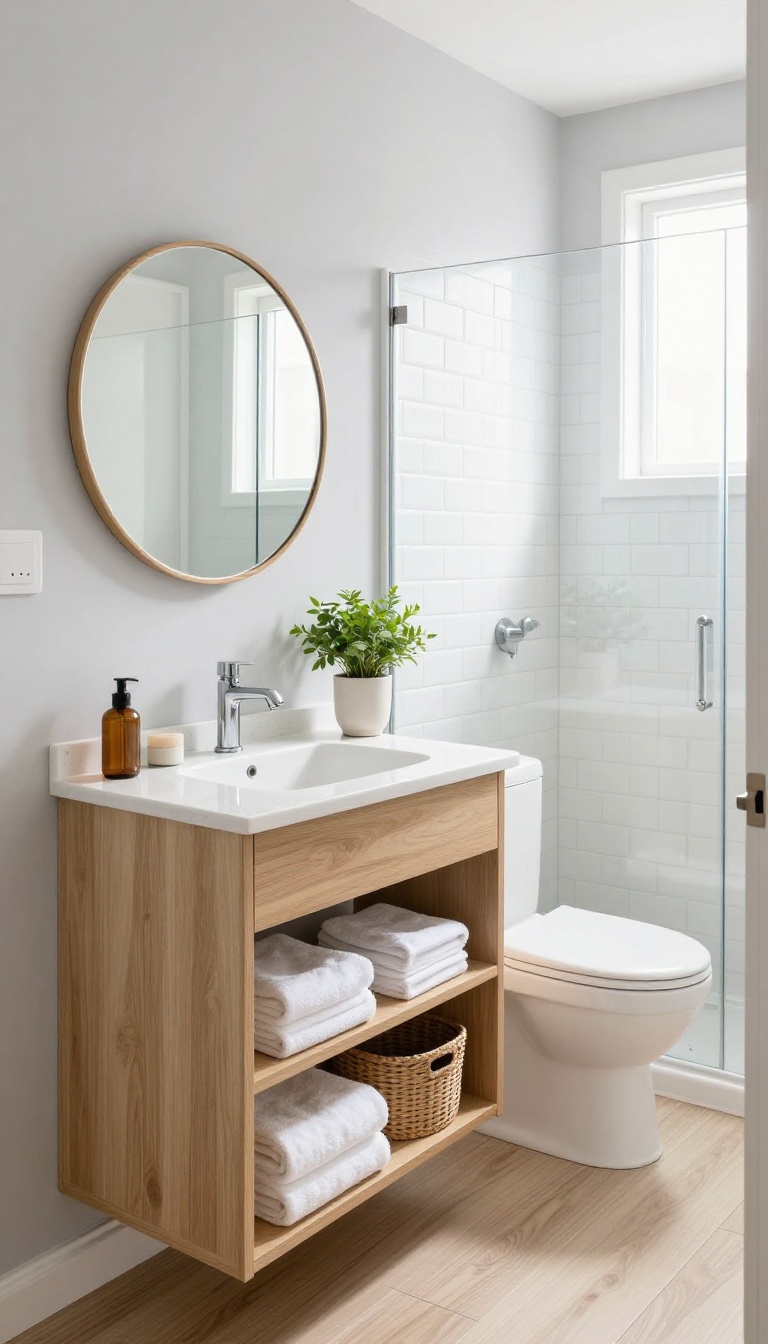
A floating vanity can make a small bathroom feel instantly larger by opening up the floor below. When you pair it with open shelves, you get storage that’s easy to reach and doesn’t visually weigh down the room. It’s a smart, modern look that works in tight spaces.
Mounting the vanity on the wall frees up precious floor area, which makes the room feel more spacious. Open shelves offer a place for towels, baskets, and everyday essentials without the bulk of closed cabinets. You can also use the space under the vanity for a small stool or a scale, adding function without clutter.
Why Floating Works In Small Bathrooms
A floating vanity creates the illusion of more floor space because you can see the floor beneath it. This visual trick opens up the room and makes cleaning easier—no more dust bunnies hiding behind legs. Plus, it gives you a spot to rest your feet while brushing your teeth, which is a nice bonus.
Open Shelving That Stays Organized
Open shelves can look messy if you’re not careful, so stick to a few key items. Use matching baskets or bins for smaller things like toiletries and extra rolls of toilet paper. Fold towels neatly and stack them by color to keep the display looking intentional and tidy.
Pick The Right Materials
For a floating vanity, choose materials that can handle moisture without warping. Teak, bamboo, or marine-grade plywood are solid choices, and a stone or quartz countertop adds a custom touch. Keep the shelves themselves simple—maybe a light wood or a matte metal—so they don’t compete with the vanity.
Installation Tips For A Secure Fit
A floating vanity needs a sturdy wall stud to hold its weight, so make sure you locate the studs before mounting. Use a level to get it perfectly straight, and consider adding a small bracket underneath for extra support. If you’re not comfortable with DIY, hire a pro to avoid any mishaps.
12. Shower Bench for Comfort and Storage
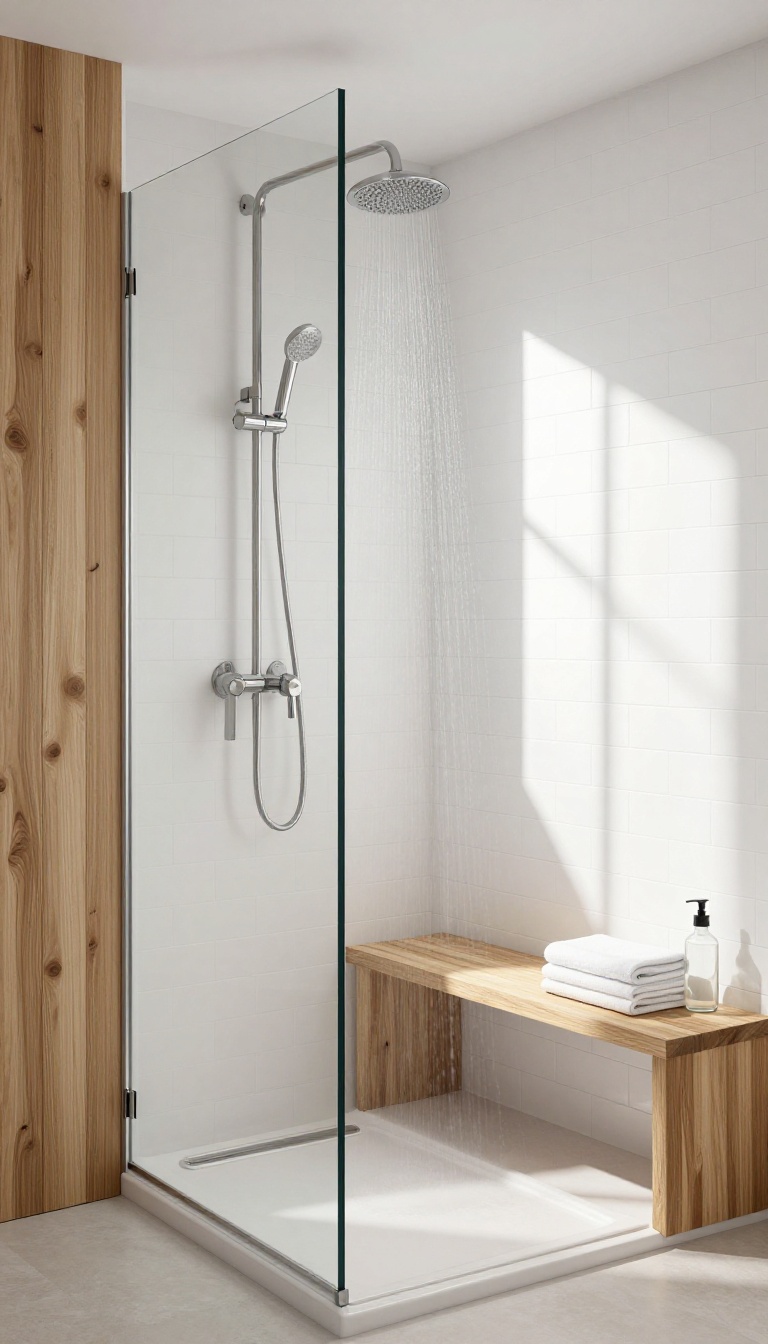
A built-in bench can turn a cramped shower into a more functional, relaxing spot. It gives you a place to sit, a shelf for toiletries, and a handy step for shaving your legs. Plus, it can make the space feel more intentional and custom, even in a tiny footprint.
Adding a bench to a small shower is about more than just having somewhere to sit. It creates a natural ledge for shampoo bottles and soap, so you can skip bulky caddies that clutter the space. A bench also adds a touch of spa-like comfort, making your daily routine feel a little more luxurious.
When space is tight, a corner bench or a narrow ledge along one wall can work wonders. You don't need a massive slab—just enough to rest a foot or set down your products. And if you choose a material that matches your tile or vanity, the bench blends in seamlessly rather than sticking out as an afterthought.
Built-in Vs. Freestanding Options
A built-in bench, tiled to match your shower walls, looks seamless and saves space. But if you're renting or want flexibility, a teak or stone freestanding bench can be moved or removed easily. Both work well in small showers—just measure your floor space first to avoid a cramped feel.
Placement And Size Tips
For a small shower, aim for a bench that's 12 to 16 inches deep and about 18 inches high. Place it along a side wall or in a corner to keep the floor open. If you're tight on space, a fold-down bench or a simple ledge can give you the same benefits without taking up permanent room.
Material Ideas That Last
Teak is a classic choice because it resists water and feels warm underfoot. Stone or marble adds a high-end look but needs regular sealing. For a seamless, custom appearance, build a bench from the same tile as your shower floor or walls—it'll look like it was always there.
13. Pocket Door for the Bathroom Entrance
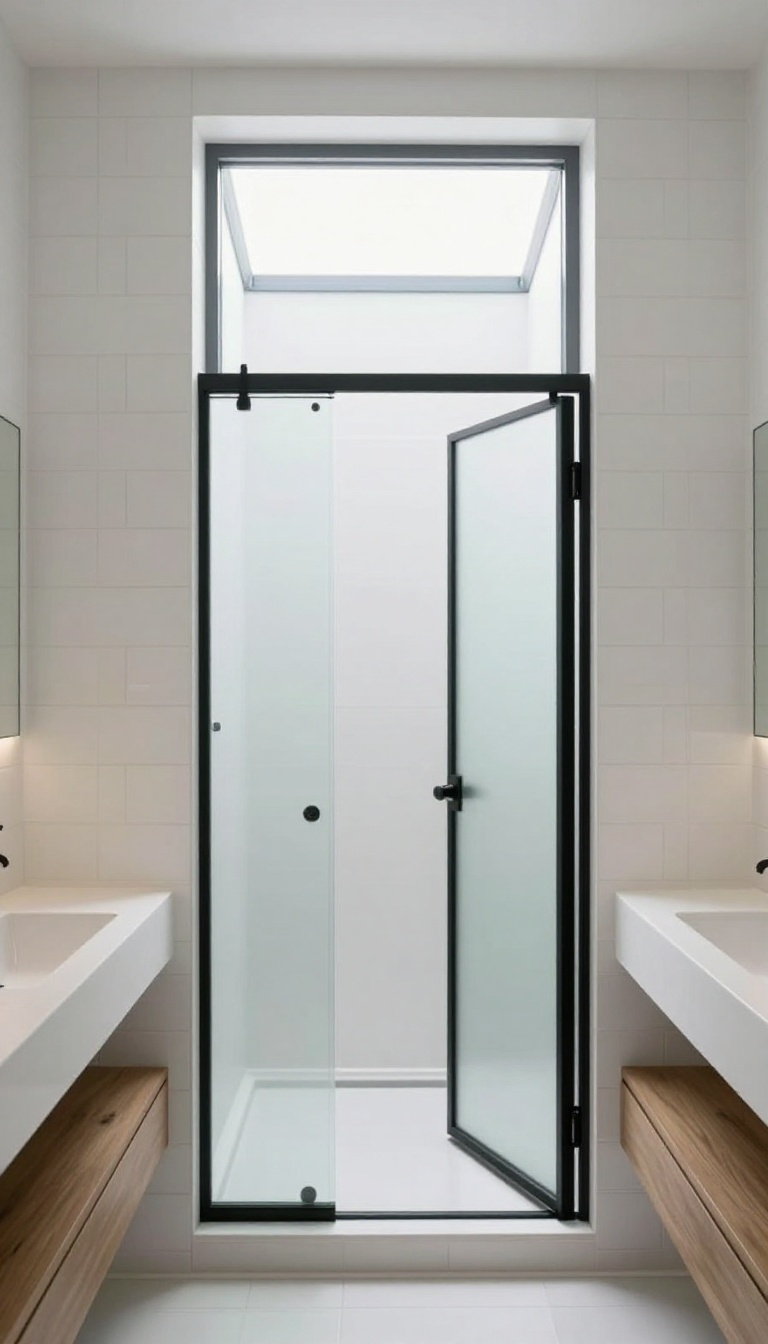
A standard swing door can eat up precious floor space in a small bathroom, making the room feel even tighter. Swapping it for a pocket door that slides into the wall is a clever way to reclaim that area. You'll gain extra room for the shower and vanity without sacrificing privacy or style.
Pocket doors are a smart solution for small bathrooms because they disappear completely into the wall when open. This frees up the floor space that a swing door would need, allowing you to position fixtures closer to the entrance. The result is a more open, functional layout that feels larger than it actually is.
How It Saves Space
A traditional door needs about 3 feet of clearance to swing open, which is often wasted space in a compact bathroom. With a pocket door, that area becomes usable for a larger shower, a deeper vanity, or just easier movement. Even a few extra inches can make a big difference in a tight footprint.
Installation Considerations
Installing a pocket door requires a wall that can accommodate the sliding mechanism, so you'll need to check for studs, pipes, or electrical lines. It's usually a job for a contractor, but the payoff is worth it. If you're planning a remodel, this is the perfect time to make the switch.
Style And Hardware Options
Pocket doors come in a variety of finishes, from classic wood to modern frosted glass. You can choose hardware that matches your bathroom's style, like brushed nickel or matte black. The door itself can be a design feature, adding a custom touch that blends seamlessly with the rest of the room.
14. High-Gloss Finishes to Reflect Light
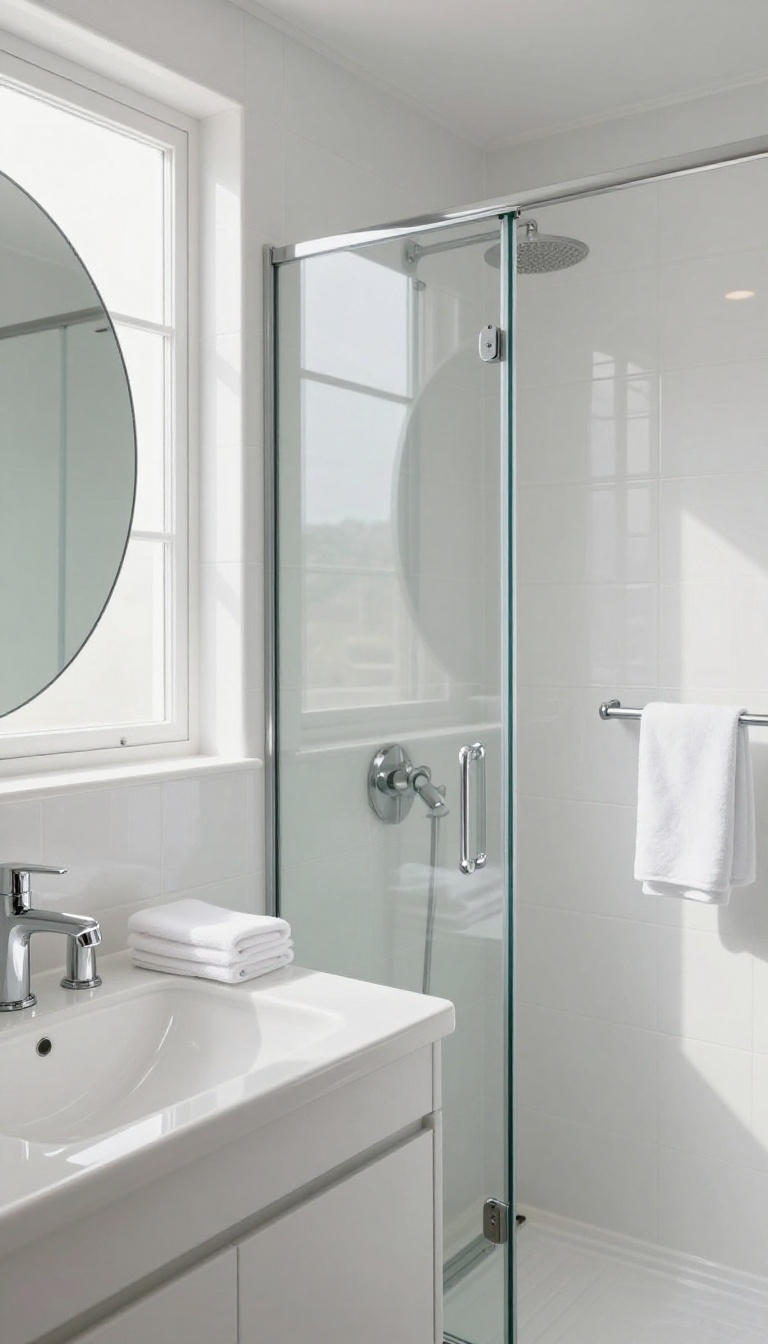
Sometimes the simplest trick is the most effective. High-gloss surfaces bounce light around the room, making a small bathroom feel airier and more open. It's a subtle change that adds a polished, custom look without a major overhaul.
Glossy tiles and fixtures do double duty in a compact space. They reflect both natural and artificial light, which visually expands the area and reduces shadows. Plus, they're easy to wipe down, so keeping them sparkling is a breeze.
Choose Glossy Wall Tiles
Opt for large-format glossy ceramic or porcelain tiles on the walls. The reflective surface will make the shower area feel less boxed in. Light colors like white, cream, or soft gray amplify the effect, while a subtle sheen adds depth.
Pick A Polished Fixture Finish
Chrome or polished nickel fixtures catch the light and add a touch of elegance. They work well with almost any color scheme and are easy to maintain. Even a small upgrade like a glossy faucet or showerhead can make a noticeable difference.
Add A Glossy Accent
If you're not ready to retile, introduce gloss with accessories. A mirrored cabinet, a glass shelf, or a high-shine vanity top can bring that reflective quality without a full remodel. These small touches help bounce light and create a cohesive look.
15. Smart Storage with Recessed Medicine Cabinet
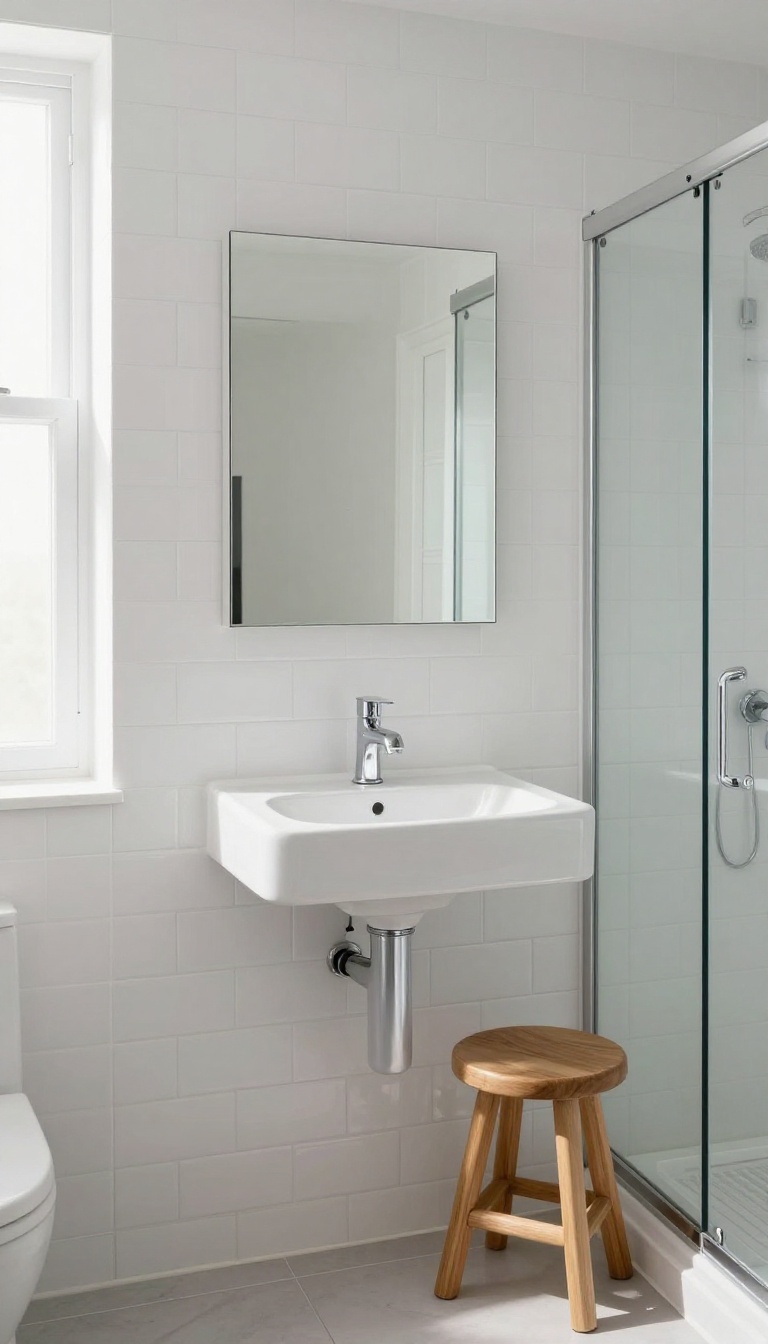
A recessed medicine cabinet is a quiet workhorse in a small bathroom. It tucks away toiletries and daily essentials without stealing an inch of floor space. Instead of a bulky surface mount that juts into the room, it sits flush within the wall, keeping the sightlines clean and open.
This built-in style of storage works especially well above the sink or beside the shower. Because it's recessed, it doesn't interrupt the flow of the room or make the space feel tighter. You gain a neat spot for medications, skincare, and grooming tools while maintaining a streamlined look.
Why It Works In A Small Bathroom
A recessed medicine cabinet uses the empty space inside the wall, which is otherwise wasted. It adds storage without eating into the already limited square footage. Plus, the flush front keeps the bathroom looking tidy and uncluttered, which visually expands the room.
Choosing The Right Size And Style
Measure the depth of your wall cavity before buying. Standard cabinets fit 2×4 walls, but deeper options may need a furring strip. Opt for a mirrored front to double as a mirror, or choose a sleek framed version to match your fixtures.
A single or double door design both work well, depending on the width of your vanity.
Installation Tips For A Seamless Look
Install the cabinet between wall studs for a secure fit. Use a level to ensure it's perfectly straight, and caulk the edges for a polished finish. If you're tiling the bathroom, coordinate the tile layout so the cabinet sits neatly within the pattern.
This creates a custom, built-in appearance that feels intentional.
FAQ
What is the best shower layout for a small bathroom?
A corner shower or a walk-in shower with a glass enclosure works best. These layouts save space and make the room feel larger.
How can I make a small shower look bigger?
Use clear glass, light colors, and large-format tiles. Also, consider a rain shower head to free up wall space.
Is a shower curtain or glass door better for a small bathroom?
Glass doors are better because they open up the space visually. If you prefer a curtain, use a lightweight, light-colored one to keep the room airy.
What type of tile is best for a small shower?
Large-format tiles with minimal grout lines are ideal. They make the surface look seamless and easier to clean.
How do I add storage to a small shower?
Built-in niches are the best option. They provide storage without taking up space and keep the shower organized.
Conclusion
Small bathrooms can still feel open, organized, and stylish when you focus on the right shower layout and materials. Start with one change—like a sliding door or a corner shelf—and build from there to match your daily routine. The best design is the one that makes your morning easier and your space feel bigger.
Take your time picking finishes that resist water and grime, and you’ll end up with a bathroom that looks custom without the heavy price tag. Choose what fits your habits, and enjoy the result.