23 Cleaning Windows Tips for Bright Streak Free Glass
You've scrubbed and sprayed, but those streaks just won't budge. It's frustrating, especially when you want that crystal-clear view. The secret to spotless windows isn't about working harder—it's about working smarter with the right tools and timing.
Most people grab paper towels and store-bought cleaner, but that's where the streaks begin. A few simple swaps, like using a squeegee and a homemade solution, can make all the difference. You don't need professional equipment to get professional results.
This guide covers 23 practical tips that tackle everything from hard water spots to dusty frames. Whether you're cleaning interior panes or tackling exterior glass, these methods will save you time and deliver a brilliant, streak-free finish every time.
1. Choose the Right Time of Day
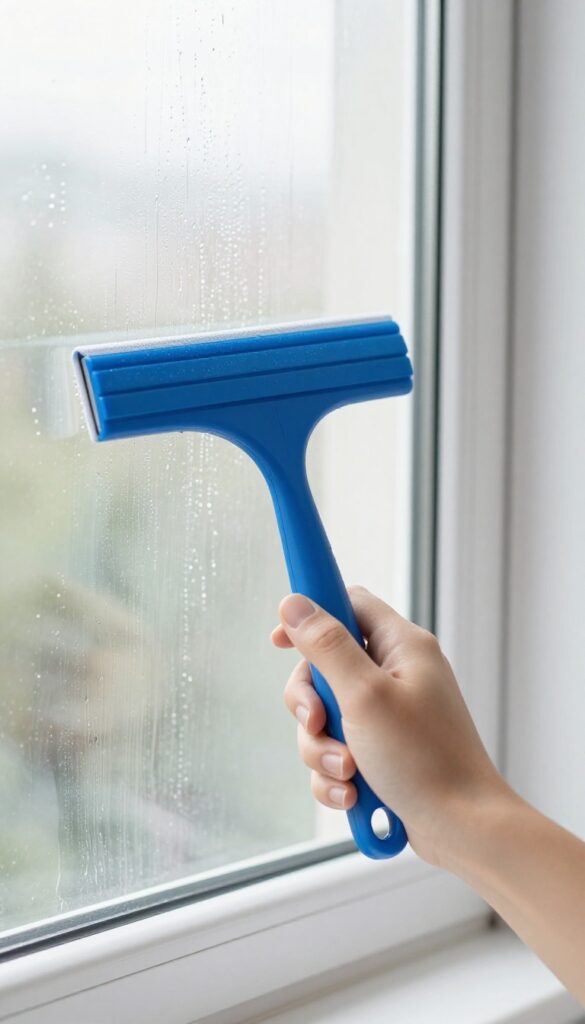
Timing is everything when it comes to streak-free windows. If you clean when the sun is blazing down, the cleaning solution evaporates before you can wipe it off, leaving behind ugly streaks. The best approach is to pick a cloudy day or work on windows that are in the shade.
This gives you enough time to scrub and squeegee without the solution drying too fast.
Direct sunlight is the enemy of clean windows. It dries the cleaner almost instantly, trapping dirt and residue on the glass. Even the best technique won't save you if the sun is working against you.
By choosing a cooler, overcast day, you allow the cleaning solution to do its job without racing the clock. Morning or late afternoon are also good options if clouds aren't in the forecast.
Why Sunlight Causes Streaks
When the sun hits wet glass, the water evaporates unevenly. This leaves behind mineral deposits and soap residue that show up as streaks. The heat also makes the glass expand slightly, which can trap particles in microscopic crevices.
Working in shade keeps the glass cool and the cleaning solution wet longer.
Best Times For Outdoor Windows
For exterior windows, early morning or late afternoon are ideal if you can't wait for a cloudy day. The sun is lower, and the glass is cooler. Avoid midday when the sun is directly overhead.
Also, check the weather forecast—wind can dry the solution fast too, so a calm day is a bonus.
What About Indoor Windows?
Indoor windows are easier to control. Close blinds or curtains to block direct sunlight. If a window gets strong afternoon light, clean it in the morning instead.
You can also work from the shady side of the house first. A little planning goes a long way toward a streak-free finish.
2. Use a Squeegee Like a Pro
A squeegee is the ultimate tool for streak-free windows, but only if you use it correctly. The key is a smooth, continuous motion and a sharp rubber blade. Once you master this technique, you'll wonder why you ever bothered with paper towels.
Choose The Right Squeegee
Not all squeegees are created equal. Look for one with a brass or stainless steel channel and a replaceable rubber blade. A professional-grade squeegee with a 10- to 14-inch blade works best for most windows.
The rubber should be soft but firm—not too floppy or too hard.
The S-pattern Technique
Start at the top corner of the window. Pull the squeegee across horizontally, then angle it slightly downward for the next pass. Overlap each stroke by about an inch to avoid streaks.
Wipe the blade with a clean, dry cloth after every pass. This keeps water and dirt from smearing back onto the glass.
Dry The Edges
Even with a perfect squeegee pass, water can collect at the bottom edge. Use a microfiber cloth to blot the corners and bottom sill. This prevents drips that dry into hard water spots.
A quick wipe is all it takes for a flawless finish.
3. Mix Your Own Cleaning Solution
Store-bought glass cleaners are convenient, but they often leave behind a filmy residue that attracts dust. A homemade solution cuts through grime more effectively and dries completely clear. Plus, you probably already have the ingredients in your pantry.
The classic DIY glass cleaner is simple: 2 cups water, 1/4 cup white vinegar, and a single drop of dish soap. The vinegar dissolves grease and hard water spots, while the soap helps break down dirt. Avoid adding more soap—too much creates suds that streak.
Shake gently before each use.
Why Vinegar Works So Well
White vinegar is mildly acidic, which cuts through mineral deposits and oily fingerprints that plain water leaves behind. It evaporates quickly, reducing the chance of streaks. The smell fades fast, so you won't be left with a lingering vinegar odor.
The Dish Soap Rule
Use only a tiny drop of dish soap—about the size of a pea. Any more and you'll create foam that smears across the glass. The soap acts as a surfactant, helping the solution spread evenly and lift dirt without leaving residue.
When To Add Rubbing Alcohol
For extra stubborn grime or cold-weather cleaning, substitute 1/4 cup of the water with rubbing alcohol. Alcohol speeds up drying and helps prevent streaks on chilly days. It also helps dissolve any leftover wax from previous cleaners.
4. Avoid Paper Towels at All Costs
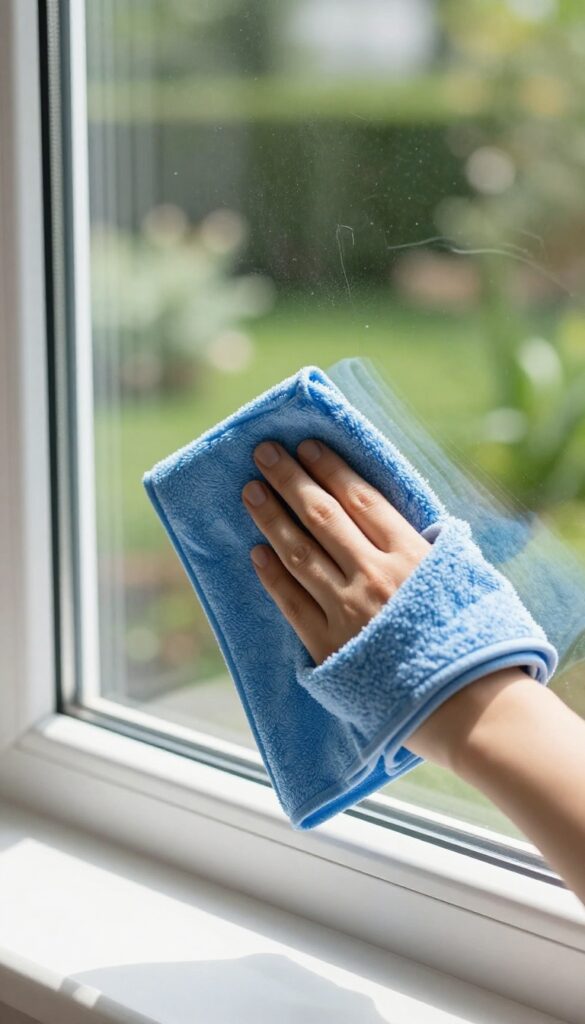
Paper towels seem like a quick fix, but they're actually one of the biggest culprits behind streaky windows. The fibers leave behind lint and tiny scratches over time, dulling the glass. Switching to a microfiber cloth or a squeegee is the easiest way to get that crystal-clear finish without the mess.
Why Paper Towels Fail
Paper towels are designed for absorbency, not smoothness. They shed fibers that stick to damp glass, creating a hazy layer. Plus, the wood pulp can contain oils that leave a greasy residue.
Even the so-called "lint-free" brands aren't reliable for glass.
The Microfiber Advantage
Microfiber cloths have ultra-fine fibers that trap dust and dirt without scratching. They absorb moisture evenly and leave zero lint. Use a damp microfiber cloth for washing, then a dry one for buffing.
Wash them separately to avoid picking up lint from other fabrics.
When To Reach For A Squeegee
For large windows, a squeegee is faster and more effective. It glides over the glass, removing water and cleaner in one pass. Pair it with a microfiber cloth to wipe the blade between strokes.
This combo gives a streak-free shine every time.
5. Don't Forget the Frames and Tracks
It's easy to focus on the glass and ignore the frames and tracks, but that's a mistake. Dirty frames transfer grime right onto your freshly cleaned panes, and gunk in the tracks can make windows hard to open. Taking a few extra minutes to clean these areas pays off.
Before you even touch the glass, wipe down the window frames with a damp microfiber cloth. For the tracks, use an old toothbrush to scrub out dirt and debris from the corners. Follow up with a vacuum attachment to suck up loose particles.
This prevents dirt from smearing onto the glass when you clean it.
Start With The Frames
Use a mild soap and water solution to wipe down the top, sides, and bottom of the frame. Pay attention to the sill where dust collects. A dry cloth afterward removes excess moisture and prevents water spots.
Scrub The Tracks Thoroughly
Tracks trap years of grime. Dip your toothbrush in soapy water and scrub along the grooves. For stubborn buildup, a mixture of baking soda and water works wonders.
Rinse with a damp cloth and dry.
Don't Forget The Hardware
Locks, handles, and hinges also gather dust and grease. Wipe them with a damp cloth and dry immediately. A cotton swab helps reach tight spots around the hardware.
6. Work from Top to Bottom
Gravity is not your friend when cleaning windows—unless you use it to your advantage. Starting at the top and working downward prevents dirty water from dripping onto freshly cleaned glass. This simple directional rule saves you from re-scrubbing the same pane twice.
It's a small change in technique that makes a big difference. When you clean from the bottom up, every swipe above sends drips and suds onto the area you just polished. By reversing the order, you let gravity carry the mess downward, where it hasn't been cleaned yet.
This works for both interior and exterior windows, especially on sunny days when cleaner dries fast.
Why Top-down Works
Dirty water runs downhill. If you start at the bottom, any runoff from above will streak your clean surface. By starting at the top, you ensure that drips only land on areas you haven't washed yet.
This is especially important when using a squeegee—the blade pushes water down, so you want to begin at the highest point.
How To Apply It
Use a sponge or microfiber cloth to apply your cleaning solution to the top of the glass first. Work in horizontal or vertical strokes, overlapping each pass slightly. Then, starting from the top corner, pull your squeegee across in a straight line.
Wipe the blade clean after each stroke, and move down one row at a time. For large windows, use an extension pole to reach the top without stretching.
Common Mistakes To Avoid
Don't let your cleaning solution dry on the glass before you squeegee—work in sections. Also, avoid oversaturating the glass; too much liquid increases runoff. And never skip cleaning the window frame and sill first—dust and grime from those areas can drip onto your clean glass and undo your work.
7. Use a Lint-Free Microfiber Cloth
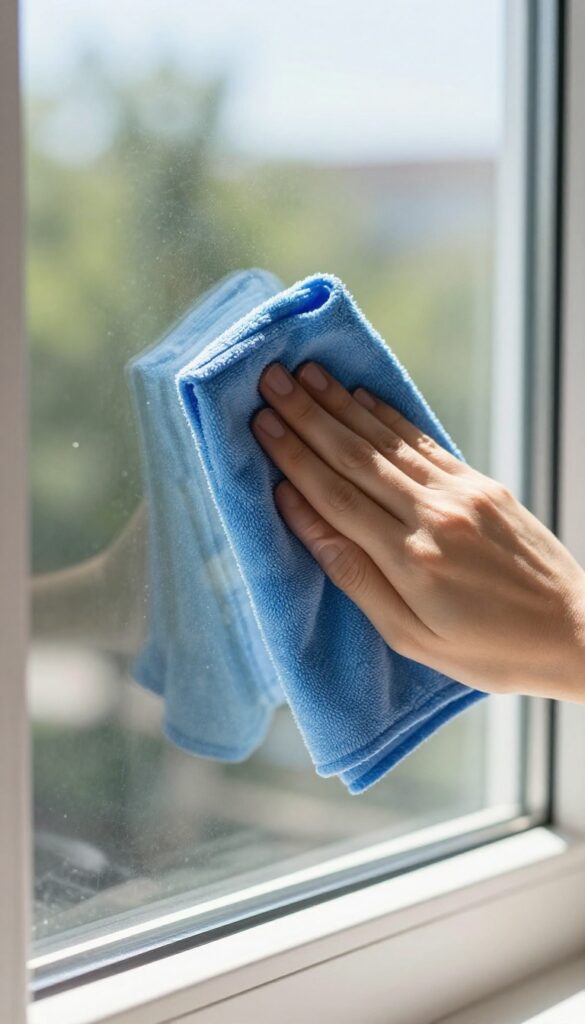
Not all cloths are created equal when it comes to window cleaning. Microfiber cloths are a game-changer because they trap dirt and absorb liquid without leaving behind fibers or lint. Plus, they're reusable and eco-friendly.
But there's a catch: you need to use them correctly to avoid smearing grease and oil back onto the glass.
Microfiber cloths have millions of tiny fibers that act like hooks, grabbing dust, grime, and moisture. Unlike cotton rags or paper towels, they don't shed lint, so you won't end up with fuzzy streaks. They also absorb several times their weight in water, making them ideal for drying glass after washing.
For best results, use a dedicated glass-cleaning microfiber cloth—not one that's been used for general dusting or kitchen cleanup, as oils can transfer and cause streaks.
Choose The Right Gsm
GSM stands for grams per square meter, and it matters. For window cleaning, look for a cloth with a GSM between 300 and 400. Lower GSM cloths are too thin and may not absorb enough, while higher GSM ones are plush but can leave streaks if they're too fluffy.
A medium GSM cloth strikes the perfect balance between absorbency and lint-free performance.
Wash Them Separately
Microfiber cloths are magnets for oils and fabric softeners. Wash them separately from other laundry, and never use fabric softener or dryer sheets—they coat the fibers and ruin their absorbency. Use a mild detergent and air dry or tumble dry on low heat.
A clean, properly washed microfiber cloth will outperform a new one that's been contaminated.
Fold, Don't Crumple
When using a microfiber cloth, fold it into quarters. This gives you eight clean surfaces to work with as you rotate to a fresh side. Crumpling the cloth into a ball creates uneven pressure and can redeposit dirt.
Folding also helps you maintain a consistent wiping motion, reducing the chance of streaks.
8. Try the Newspaper Trick
Old newspaper pages are surprisingly good for buffing glass. The ink acts as a mild abrasive that polishes away streaks. It's a classic method that's cheap, effective, and eco-friendly.
Newspaper leaves no lint behind and absorbs moisture well. Use it after cleaning with a squeegee or spray for a final buff. Just crumple a sheet into a loose ball and wipe in circular motions.
Why Newspaper Works
The ink contains a fine carbon powder that gently scours away residue without scratching glass. The paper's fibers are also more absorbent than cloth, so they pull up leftover moisture.
How To Use It Right
Avoid glossy ads or colored pages—stick to black-and-white sections. Use a dry sheet for buffing after cleaning, or lightly dampen it for stubborn spots. Replace often to avoid spreading dirt.
When To Skip This Trick
If you have tinted windows or coated glass, test on a small area first. The ink can sometimes leave a faint smudge on certain surfaces. For modern low-E glass, a microfiber cloth is safer.
9. Rinse with Distilled Water
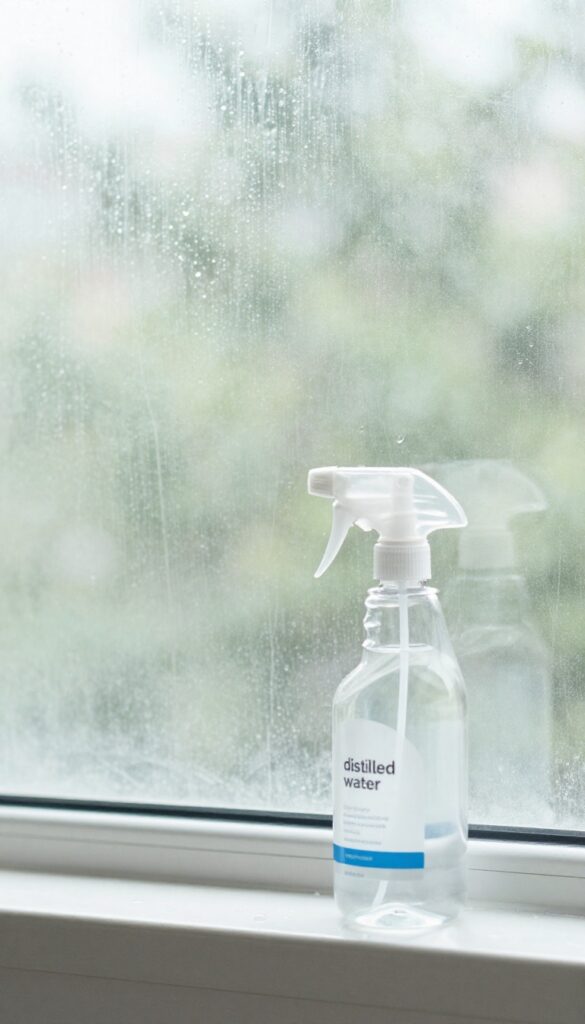
Hard water spots are the enemy of streak-free glass. If you've ever noticed a cloudy film or tiny white dots after cleaning, minerals in your tap water are likely to blame. The fix is simpler than you think: swap your final rinse for distilled water.
Distilled water has had its minerals removed through boiling and condensation, leaving it pure and spot-free. When you use it as a final rinse, there's nothing left behind to create those stubborn stains. It's a small change that makes a big difference, especially if you live in an area with hard water.
Why Minerals Matter
Tap water contains calcium, magnesium, and other minerals that cling to glass as water evaporates. These deposits form visible spots that dull your windows. Distilled water eliminates this problem entirely, giving you a pristine finish every time.
How To Use It
After cleaning with your regular solution, give the glass a final rinse with distilled water. Use a spray bottle or a clean bucket. Then squeegee or wipe dry as usual.
You'll notice the difference immediately—no spots, no haze, just clear glass.
When It's Worth It
If you clean windows infrequently or have particularly hard water, distilled water is a game-changer. It's also ideal for car windows, shower doors, and any glass where perfection matters. A gallon costs little and lasts for multiple cleanings.
10. Clean Both Sides for True Clarity
It's easy to assume the inside is the only side that matters, but outdoor grime, pollen, and road dust settle on the exterior just as stubbornly. Even if one side looks clean, the layer of film on the other side dims your view and makes the glass look hazy. For that brilliant, crystal-clear finish, you need to tackle both sides every time.
Skipping one side is like washing only half your face—it just doesn't work. The difference between cleaning one side versus both is dramatic. When light passes through two clean surfaces, it's unobstructed, giving you that open, airy feel.
Make it a habit to always do inside and outside in the same session.
Start With The Exterior
Begin with the outside because it's usually dirtier. Use a garden hose to rinse off loose debris, then apply your cleaning solution with a sponge or microfiber cloth. Squeegee from top to bottom in a smooth S-pattern.
This prevents drips from drying on the glass before you move inside.
Finish With The Interior
Once the outside is streak-free, move indoors. Work from top to bottom, using a fresh squeegee blade or a clean microfiber cloth. Check for any missed spots by looking at the glass from different angles.
A final buff with a dry microfiber cloth catches any remaining moisture.
Check For Light Leaks
After both sides are dry, step back and look through the window at a light source or a bright wall. Any haze or streaks will be obvious. If you see them, a quick wipe with a dry cloth on the offending side usually fixes it.
This final inspection ensures true clarity.
11. Invest in a Magnetic Window Cleaner
Some windows are just out of reach—second-story panes, skylights, or windows behind bushes. Reaching both sides safely can feel impossible. That's where a magnetic window cleaner comes in, letting you wash the interior and exterior simultaneously from inside your home.
A magnetic window cleaner consists of two pads with strong magnets that hold them together through the glass. You place one pad on each side, and as you move the inside pad, the outside pad follows. This tool is a game-changer for hard-to-reach windows, saving you from balancing on ladders or hiring professionals.
Most models come with removable microfiber cloths and squeegee attachments for a streak-free finish. Look for one with adjustable magnet strength to accommodate different glass thicknesses—too weak and it won't stay aligned, too strong and it's hard to maneuver.
How It Works
The cleaner uses powerful magnets to keep the two pads connected through the glass. You wet the pads with your cleaning solution, attach them on opposite sides, and move the inside pad in a zigzag pattern. The outside pad mirrors your movements, scrubbing and squeegeeing as it goes.
It's like having a helper on the other side.
Choosing The Right Model
Not all magnetic cleaners are equal. For single-pane windows, a basic model works fine. For double or triple glazing, you need stronger magnets.
Check the product specifications for maximum glass thickness. Also consider pad size—larger pads cover more area but may be harder to turn on narrow panes.
Safety Tips
Always attach the safety cord (included with most models) to your wrist. If the magnets lose grip, you won't lose the outer pad. Start with a test pass on a small, accessible window to get a feel for the tool.
And clean the pads after each use to prevent dirt buildup that can scratch the glass.
12. Tackle Stubborn Stickers and Residue
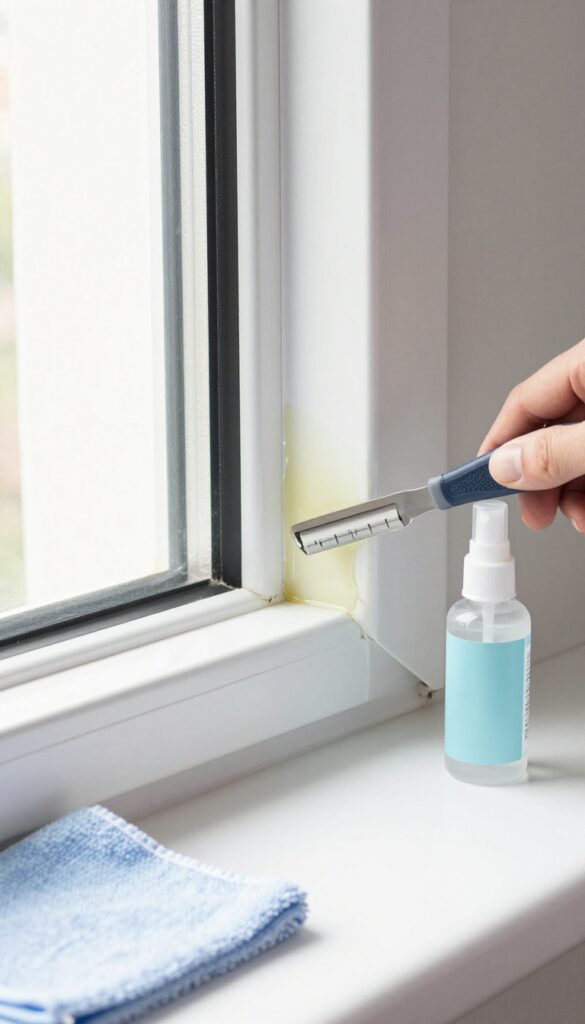
Stickers, tape, and sticky labels can turn a clean window into an eyesore. Peeling them off often leaves behind a gummy residue that attracts dust and looks terrible. Instead of scrubbing endlessly, use a simple soak-and-scrape method that lifts the goo without damaging the glass.
Soak the sticky spot with rubbing alcohol or a spritz of WD-40. Let it sit for a minute to soften the adhesive. Then, hold a razor blade at a 45-degree angle and gently scrape the residue away.
Wipe the area clean with a microfiber cloth and your usual glass cleaner for a spotless finish.
Why Rubbing Alcohol Works
Alcohol dissolves many adhesives quickly without leaving harmful residue. It evaporates fast, so you don't have to worry about streaks. Just apply a few drops to a cloth or directly on the sticker, wait 30 seconds, and the gummy mess should lift right off.
Wd-40 For Extra Stubborn Spots
For stickers that have been baked on by the sun or stuck for years, WD-40 is your heavy hitter. Spray it on, let it penetrate for a minute or two, then scrape. The lubricant breaks down the adhesive bond and makes scraping smoother.
Clean the glass afterward with soapy water to remove any oily film.
Razor Blade Safety Tips
Always use a new, sharp blade to avoid scratching. Hold it at a shallow angle—about 45 degrees—and push in a straight line, not sideways. Wet the glass first to reduce friction.
And never use a razor on tinted or coated windows, as it can peel or scratch the film.
13. Use a Razor Blade for Paint Splatters
Paint splatters on glass can feel permanent, but they're not. With a steady hand and a fresh razor blade, you can remove even dried paint without damaging the glass. The trick is to keep the glass wet and use the blade at the right angle.
Choose The Right Blade
Always use a new, sharp razor blade. A dull blade can skip and scratch the glass. Look for a single-edge blade in a holder designed for scraping glass.
Avoid using box cutters or utility knives—they're not as precise.
Lubricate First
Spray the glass with a mixture of water and a few drops of dish soap. The lubrication helps the blade glide smoothly and prevents scratches. Never scrape dry glass—it's a sure way to leave permanent marks.
Scrape At A Low Angle
Hold the blade at a 30- to 45-degree angle against the glass. Use short, gentle strokes, pushing the blade away from you. Let the blade do the work—don't press hard.
Rinse the blade frequently to remove paint buildup.
Finish With A Wipe Down
After removing the paint, wipe the area with a clean microfiber cloth to remove any residue. Then clean the whole window with your usual glass cleaner. The result is a spotless pane with no trace of paint.
14. Dry with a Chamois for a Streak-Free Shine
A soft, natural chamois leather is one of the best tools for the final drying step. Unlike paper towels or microfiber cloths, a chamois absorbs water without leaving lint or fibers behind. When used correctly, it gives glass a brilliant, streak-free finish that looks professionally done.
To get the best results, start by washing and rinsing your window as usual. Then take a clean, damp chamois—it should be wet but not dripping—and wring it out thoroughly. Gently buff the glass in circular motions, overlapping each pass slightly.
The chamois will lift away any remaining moisture and polish the surface at the same time. Avoid pressing too hard; let the material do the work. After a few passes, you'll see the glass become clear and shiny without any streaks.
Why Chamois Works Best
Natural chamois is made from sheepskin, which has a unique porous structure that soaks up water efficiently. Unlike synthetic cloths, it doesn't shed fibers or leave tiny scratches on the glass. The leather also holds its shape when wrung out, so you can apply even pressure across the pane.
How To Care For Your Chamois
After each use, rinse the chamois in cool water and gently squeeze out excess moisture. Never wring it roughly or use hot water, as that can damage the leather. Store it in a sealed bag or container to keep it soft and ready for next time.
A well-maintained chamois can last for years.
Alternatives If You Don't Have A Chamois
If you don't have a natural chamois, a high-quality microfiber cloth with a tight weave is a good substitute. Look for one labeled "lint-free" and use it in the same circular buffing motion. Just be aware that microfiber may leave tiny streaks if the cloth is too dry.
15. Add a Splash of Rubbing Alcohol
Rubbing alcohol isn't just for first aid kits—it's a game-changer for window cleaning. A small amount helps your solution evaporate faster, which means less time for streaks to form. You'll get a crisp, clear finish with minimal effort.
The science is simple: alcohol lowers the surface tension of water, so it dries quicker and doesn't leave residue. Just add a teaspoon per quart of your cleaning mix. This trick works especially well in humid weather when windows tend to dry slowly.
How Much To Add
Stick to about one teaspoon of rubbing alcohol per quart of water. Too much can make the solution evaporate too fast, leaving behind a hazy film. A little goes a long way.
Best Cleaner Combinations
Mix it with your usual vinegar-and-water solution or a drop of dish soap. Avoid combining with ammonia-based cleaners, as the fumes can be unpleasant. Stick to simple, natural ingredients.
When To Use This Trick
Ideal for indoor windows on cool or damp days. Outdoors, it helps on windows that get morning dew. Skip it if you're cleaning in direct sunlight—the alcohol can dry too fast and leave streaks.
16. Clean Window Screens Separately
Screens trap dust, pollen, and grime that can smear across your freshly cleaned glass. Washing them separately prevents that dirt from transferring back onto the panes. It also keeps your screens looking fresh and extends their lifespan.
Removing screens is easier than you think. Most lift up and tilt out, while others have spring-loaded pins or clips. Gently pull them free and lay them flat on a clean surface—a driveway or patio works well.
Use a soft brush or vacuum with a brush attachment to remove loose debris before washing.
How To Wash Screens Properly
Mix a few drops of mild dish soap with warm water in a bucket. Dip a soft sponge or microfiber cloth into the solution and gently scrub both sides of the screen. Avoid harsh chemicals or abrasive scrubbers that can damage the mesh.
Rinse thoroughly with a garden hose, keeping the spray at a low pressure to avoid bending the frame.
Drying And Reinstalling
Let screens dry completely before putting them back. Standing them upright against a wall in a shaded, breezy spot works well. Never reinstall wet screens—moisture trapped in the frame can lead to mold or rust, and any leftover water will drip onto your clean glass, causing new streaks.
Once dry, simply pop them back into place.
When To Clean Screens
Aim to clean screens at least twice a year—spring and fall are ideal. If you live in a dusty area or near heavy pollen, do it more often. A quick visual check: if you can see visible dirt or the screen feels gritty, it's time for a wash.
Regular cleaning also helps maintain airflow and keeps bugs out.
17. Use a Soft-Bristled Brush for Dust
Dust on windows and frames might seem harmless, but it's a major cause of streaks. When you spray cleaner directly onto a dusty surface, the liquid mixes with the dirt to form a muddy paste that smears instead of wipes clean. A quick dry dusting beforehand solves this problem entirely.
Grab a soft-bristled brush or a vacuum with a brush attachment. Gently sweep the glass, frame, and sill to remove loose particles. This simple step takes just a minute but saves you from redoing sections later.
Why Dust Causes Streaks
Dust particles are tiny and abrasive. When you apply a wet cleaner, they become suspended in the liquid and get dragged across the glass. As the water evaporates, those particles are left behind as fine scratches or hazy residue.
A dry brush lifts the dust before it ever touches water.
Best Brushes For The Job
Look for a brush with soft, dense bristles—like a natural-bristle paintbrush or a dedicated window dusting brush. A 2-inch or 3-inch width works well for frames and sills. For larger glass panes, a microfiber duster or a vacuum with a soft brush head is faster and just as effective.
Don't Forget The Frame And Sill
Dust accumulates in corners and along the bottom track of sliding windows. Use the brush to sweep these areas thoroughly before wet cleaning. If you skip this, the first pass of your squeegee or cloth will pick up that dirt and redeposit it on the glass.
18. Try a Commercial Glass Cleaner with Ammonia
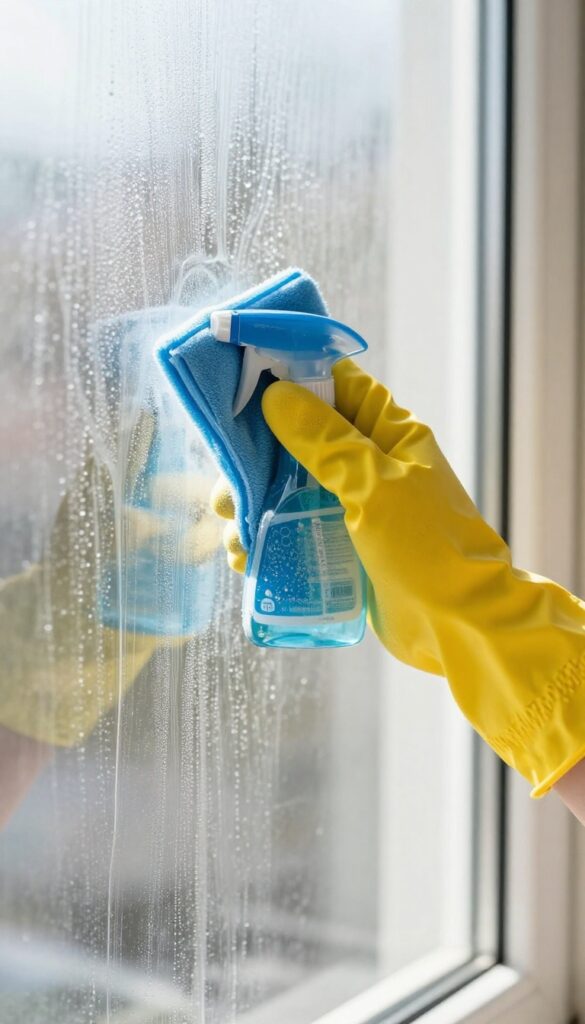
Sometimes, homemade solutions just don't cut it. When you're dealing with heavy grease from the kitchen or smoke film from candles or fireplaces, a commercial glass cleaner with ammonia can be the heavy hitter you need. These products are formulated to dissolve tough residues that plain vinegar or dish soap might leave behind.
Just remember to use them in a well-ventilated space and never mix them with bleach—that creates toxic fumes.
Why Ammonia Works On Tough Grime
Ammonia is an alkaline compound that breaks down fats and oils effectively. That's why it's a common ingredient in many commercial glass cleaners. When you spray it on greasy windows, it emulsifies the grime, allowing you to wipe it away without smearing.
It also evaporates quickly, reducing the chance of streaks. For windows near stoves or in smoking areas, this can be a game-changer.
Best Practices For Safe Use
Always read the label and follow the manufacturer's instructions. Open windows or turn on a fan to keep the air moving. Wear gloves if you have sensitive skin, and keep the cleaner away from children and pets.
Never mix ammonia with bleach or any product containing bleach—this creates chloramine gas, which is dangerous. Also, avoid using ammonia-based cleaners on tinted windows or those with special coatings, as it can damage them.
When To Choose Ammonia Over Natural Cleaners
If you've tried vinegar or alcohol solutions and still see a filmy layer, it's time to bring out the ammonia cleaner. It's especially effective on windows that haven't been cleaned in a while or those exposed to cooking vapors. However, for routine cleaning or if you prefer eco-friendly options, stick with natural alternatives.
Use ammonia sparingly—only when needed.
19. Polish with a Dry Microfiber Cloth
Even after a perfect squeegee pass, tiny water droplets can linger along edges or corners. That's where a final polish with a dry microfiber cloth saves the day. It catches those missed spots and buffs the glass to a brilliant, streak-free shine without leaving lint behind.
Microfiber is designed to trap dust and moisture, not just push it around. A clean, dry cloth used right after squeegeeing ensures no leftover water dries into spots. This step is quick but makes the difference between good windows and truly clear ones.
Why Microfiber Works Best
Microfiber fibers are split to create tiny hooks that grab particles and moisture. Unlike paper towels, which can leave lint or smears, a quality microfiber cloth lifts residue without scratching the glass. For best results, use a cloth labeled for glass or optics—avoid ones with fabric softener residue.
The Right Technique
Fold the cloth into quarters so you have multiple clean surfaces. Start at the top and work in a gentle zigzag or circular motion, focusing on edges and corners where the squeegee can't reach. Flip to a dry section as soon as one side becomes damp.
A few light passes are all you need.
When To Polish
Polish immediately after squeegeeing while the glass is still slightly damp. If you wait until water dries, you'll be scrubbing at mineral deposits instead of just buffing. Work in sections if you're cleaning large windows to keep ahead of drying time.
20. Don't Over-Wet the Glass
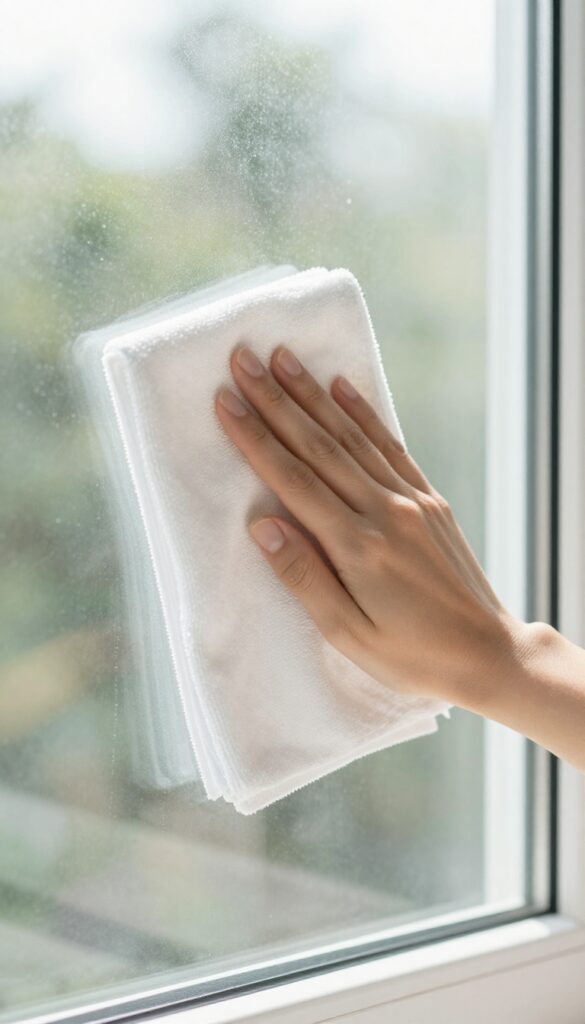
It's tempting to douse the glass with cleaner, especially when it's really dirty. But too much liquid is a recipe for drips and streaks. The key is to use just enough solution to loosen the grime without soaking the surface.
Think of it like washing a car—you want a light mist, not a flood. When you overspray, the excess runs down and leaves trails that are hard to buff out. A damp cloth or a light spritz is all you need.
Why Less Is More
Excess moisture doesn't evaporate cleanly. It lingers on the glass, carrying dissolved dirt that settles into streaks. Plus, wet solution can seep under window frames and cause wood rot or mold over time.
A light application is safer for both your windows and your home.
The Damp Cloth Method
Instead of spraying directly, dip your microfiber cloth in the cleaning solution and wring it out well. Then wipe the glass. This gives you control over how much liquid you're applying.
Follow up with a dry squeegee or a clean cloth for a streak-free finish.
Squeegee Timing
After applying a light mist, don't let it sit. Wipe or squeegee immediately while the solution is still wet. If it dries on the glass, it can leave a hazy film.
Work in small sections to keep ahead of evaporation.
21. Clean Windows in a W Pattern
The way you move your cloth or squeegee across the glass matters more than you'd think. A random back-and-forth motion can leave streaks and missed patches. Switching to a deliberate W or S pattern changes everything.
When you clean in a W pattern, you naturally overlap each stroke. This ensures every inch of the glass gets wiped without doubling back over the same spot. It's a simple trick that professional window cleaners swear by.
Why It Works
The W pattern distributes pressure evenly and prevents the cleaner from drying before you wipe it. It also helps you track where you've already cleaned, so you don't miss sections or create streaks from overlapping dry edges.
How To Do It
Start at the top corner of the window. Move your tool diagonally down to the opposite side, then back up diagonally to the other corner. Continue this zigzag motion, overlapping each stroke slightly, until you reach the bottom.
Best Tools For The Pattern
A squeegee with a rubber blade works perfectly for this technique. You can also use a microfiber cloth or a sponge. Just make sure your tool is clean and slightly damp to avoid dragging dirt across the glass.
22. Maintain Your Tools Regularly
Even the best squeegee or microfiber cloth won't perform well if it's dirty or worn. Cleaning tools need care too, and a few minutes of maintenance can save you from frustrating streaks. Think of it like sharpening a knife—a little upkeep keeps the results sharp.
Wash Squeegee Blades After Each Use
Rinse the rubber blade with warm water and a drop of dish soap to remove any dirt or residue. A dirty blade can drag grime across the glass, leaving streaks. Dry it with a clean cloth before storing to prevent rubber degradation.
Replace Worn Blades Promptly
Check the blade edge regularly for nicks, cracks, or warping. Even a tiny imperfection can cause skipping or streaking. Most hardware stores sell replacement blades that fit standard squeegees—swap them out every few months or as soon as you notice issues.
Care For Microfiber Cloths Properly
Wash microfiber cloths separately from lint-producing fabrics like cotton. Use a mild detergent and avoid fabric softener, which clogs the fibers and reduces absorbency. Air dry or tumble dry on low heat to maintain their effectiveness.
23. Schedule Regular Cleaning Sessions
You know that feeling when you finally clean a window and think, "I should do this more often"? Life gets busy, and window cleaning tends to fall to the bottom of the list. But here's the thing: a little consistency goes a long way.
By setting a regular schedule, you avoid the heavy buildup that turns a quick wipe into a full-on scrubbing session.
The sweet spot for most homes is every two to three months. That frequency keeps dirt, pollen, and hard water deposits from bonding to the glass. When you clean regularly, each session takes less time and effort.
You also extend the life of your screens and frames by preventing long-term grime damage. Mark it on your calendar or set a seasonal reminder—spring, summer, fall, and winter. Your windows will thank you with a streak-free shine every time.
Why Every 2-3 Months Works
Dust and pollutants accumulate gradually. After two months, you'll notice a light film that wipes away easily. Wait six months, and that film turns into stubborn spots that require more elbow grease.
Regular cleaning prevents the need for harsh chemicals or repeated scrubbing, which can wear down glass over time.
Seasonal Considerations
Adjust your schedule based on your climate. If you live in a rainy area, clean more often in fall to remove water spots. In dusty regions, spring and summer may need extra attention.
After a major storm or pollen bloom, do a quick touch-up rather than waiting for the next scheduled session.
Building A Simple Routine
Pair window cleaning with another seasonal chore, like changing air filters or flipping mattresses. That way you won't forget. Keep your supplies in a caddy so they're ready to go.
A 15-minute window cleaning session twice a year per window is far better than a two-hour marathon every 18 months.
FAQ
What is the best homemade window cleaner?
Mix 2 cups water, 1/4 cup white vinegar, and a drop of dish soap. It's cheap, effective, and streak-free.
Why do my windows still look streaky after cleaning?
Streaks often come from cleaning in direct sunlight, using too much cleaner, or not drying the glass properly.
Can I use Windex on car windows?
Yes, but avoid ammonia-based cleaners on tinted windows as they can damage the tint. Use a vinegar solution instead.
How often should I clean my windows?
Every 2-3 months is ideal. High-traffic areas or homes near roads may need monthly cleaning.
What's the best tool for cleaning windows?
A squeegee with a rubber blade and a microfiber cloth are the most effective combo for streak-free results.
Conclusion
Crystal-clear windows don't require expensive products or endless elbow grease. By picking just a few of these 23 tips—like using a squeegee correctly or timing your cleaning for a cloudy day—you'll see immediate improvements. Start with the tricks that solve your biggest headache, whether that's hard water stains or lint residue.
A smarter approach makes window cleaning faster and more satisfying. Your view will thank you.