15 Wall Cleaning Solution Ideas for Safe Spot Removal
Walls take a beating. Fingerprints, scuffs, and mystery splatters seem to appear out of nowhere. But scrubbing too hard or using the wrong cleaner can leave you with a bigger mess—peeling paint or faded patches.
That’s where the right cleaning solution makes all the difference. Whether you’re dealing with crayon masterpieces or kitchen grease, there’s a safe, effective method for every wall type.
We’ve rounded up 15 wall cleaning solutions that tackle common spots without wrecking your paint job. Each idea is practical, tested, and easy to whip up with stuff you probably already have.
1. Gentle Dish Soap and Water Mix
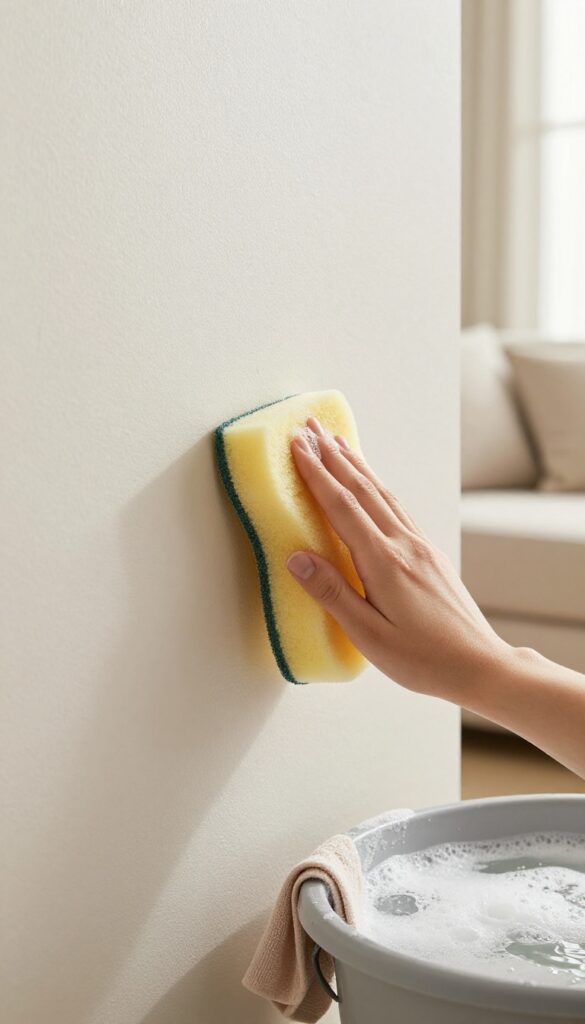
When you need a reliable cleaner that won't strip paint or leave residue, a simple dish soap and water mix is your best friend. This classic solution works wonders on everyday smudges, dust, and light grime without the harsh chemicals found in many commercial products. It's especially safe for matte and eggshell finishes that are more prone to damage.
Mix a few drops of mild dish soap—avoid anything with bleach or degreaser—into a bucket of warm water. Dip a soft sponge or microfiber cloth, wring it out well so it's damp not wet, and gently blot the soiled area. Never scrub aggressively; let the soap do the work.
For stubborn spots, let the solution sit for 30 seconds before blotting. Rinse the sponge frequently and finish by wiping with a clean damp cloth to remove any soap residue. This method is ideal for living rooms, bedrooms, and hallways where dirt is mostly dust and fingerprints.
Why It Works So Well
Dish soap contains surfactants that break down grease and dirt without being abrasive. The warm water helps loosen particles, while the mild formula won't react with latex or acrylic paints. This combination makes it effective yet gentle enough for regular use.
When To Avoid This Mix
Skip this solution on unsealed surfaces like raw drywall, textured walls with porous paint, or walls with active water damage. Also avoid it if your paint is very old or chalking, as moisture can worsen the problem. In those cases, a dry sponge or specialized cleaner is safer.
Pro Tips For Best Results
Always test in an inconspicuous spot first. Use distilled water if your tap water is hard, as minerals can leave spots. Work from the bottom up to prevent drips from creating streaks.
And remember: less is more. Over-wetting can lead to paint bubbling or peeling.
2. Baking Soda Paste for Grease Spots
Grease spots around the stove or above countertops can be stubborn. A baking soda paste offers a gentle abrasive action that lifts oil without damaging paint. It's cheap, non-toxic, and works on most wall finishes.
How To Make The Paste
Mix three parts baking soda with one part water in a small bowl. Stir until it forms a thick, spreadable paste. Add a drop of dish soap for extra degreasing power if needed.
Application Tips
Use a soft cloth or sponge to apply the paste directly to the grease spot. Let it sit for 5–10 minutes so the baking soda can absorb the oil. Gently rub in a circular motion, then wipe away with a damp cloth.
Avoiding Damage
Test on an inconspicuous area first, especially on matte or flat paint. Don't scrub too hard—baking soda is mildly abrasive but can still wear down delicate finishes. Rinse thoroughly to prevent residue.
3. White Vinegar and Water Solution
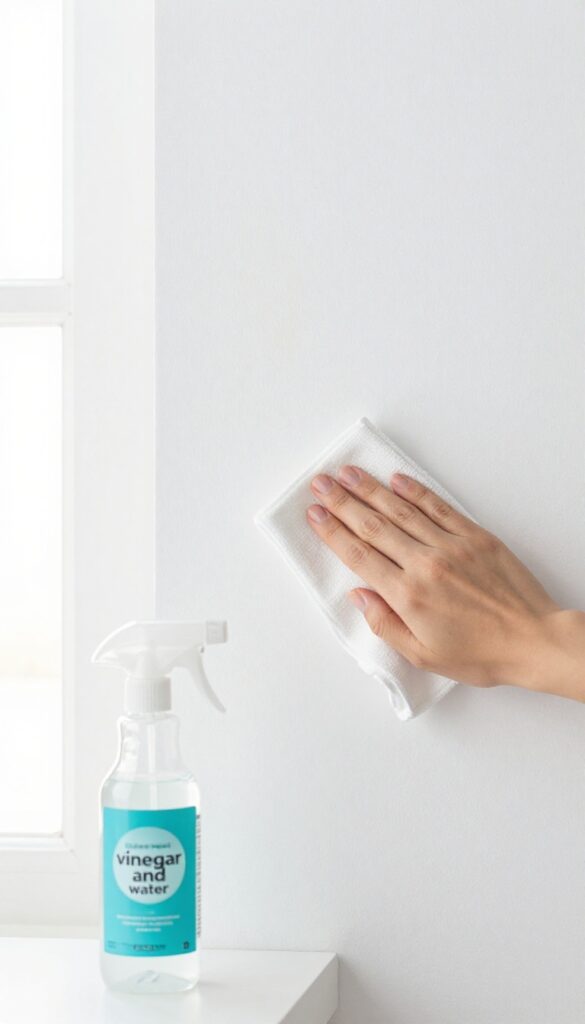
If you want a cleaner that’s both tough on grime and gentle on surfaces, white vinegar is a go-to. Mixed with water, it cuts through dirt, kills bacteria, and leaves walls streak-free. Just keep in mind that vinegar is acidic, so a quick patch test is smart before spraying down the whole wall.
Combine equal parts white vinegar and water in a spray bottle. This natural solution disinfects and removes light stains. Test on an inconspicuous area first, as vinegar can be acidic on some paints.
Why Vinegar Works
Vinegar’s acetic acid breaks down grease, soap scum, and mineral deposits without harsh chemicals. It’s also a natural disinfectant, making it great for kitchens and bathrooms.
How To Apply
Spray the solution lightly onto the stained area, then wipe with a soft microfiber cloth. For stubborn spots, let it sit for a minute before wiping. Avoid oversaturating to prevent drips.
Important Precautions
Always test on a hidden spot first, especially on painted walls. Vinegar can dull some finishes or strip wax. Don’t use on unsealed grout or natural stone.
4. Rubbing Alcohol for Ink and Marker
Ink and permanent marker stains can feel like a lost cause, especially on light-colored walls. But rubbing alcohol is surprisingly effective at breaking down the pigments without damaging the paint underneath. The key is to blot, not rub, so the ink lifts off instead of spreading into a bigger blotch.
Rubbing alcohol works because it dissolves the oils and resins in ink and marker formulas. When you dab it on, the stain breaks apart and transfers onto your cotton ball. A quick blotting motion keeps the mess contained, and the alcohol evaporates fast, so it won't soak into the wall and cause bubbling or peeling.
How To Apply It Safely
Pour a small amount of rubbing alcohol onto a cotton ball or soft cloth. Gently blot the stain, starting from the edges and working inward. Replace the cotton ball as it picks up ink to avoid redepositing the stain.
Once the spot is gone, wipe the area with a damp cloth to remove any residue.
Why It Works On Permanent Marker
Permanent markers use a solvent-based ink that resists water but dissolves in alcohol. That’s why a dab of rubbing alcohol can erase a stray Sharpie line where soap and water fail. Just be sure to use 70% isopropyl alcohol—higher concentrations evaporate too quickly to be effective.
Testing Before You Start
Always test rubbing alcohol on an inconspicuous area first. Some paints, especially flat or matte finishes, can be sensitive to solvents. Apply a tiny amount to a hidden corner and wait a few minutes.
If the paint softens or changes color, skip this method and try a gentler option like baking soda paste.
5. Magic Eraser for Scuff Marks
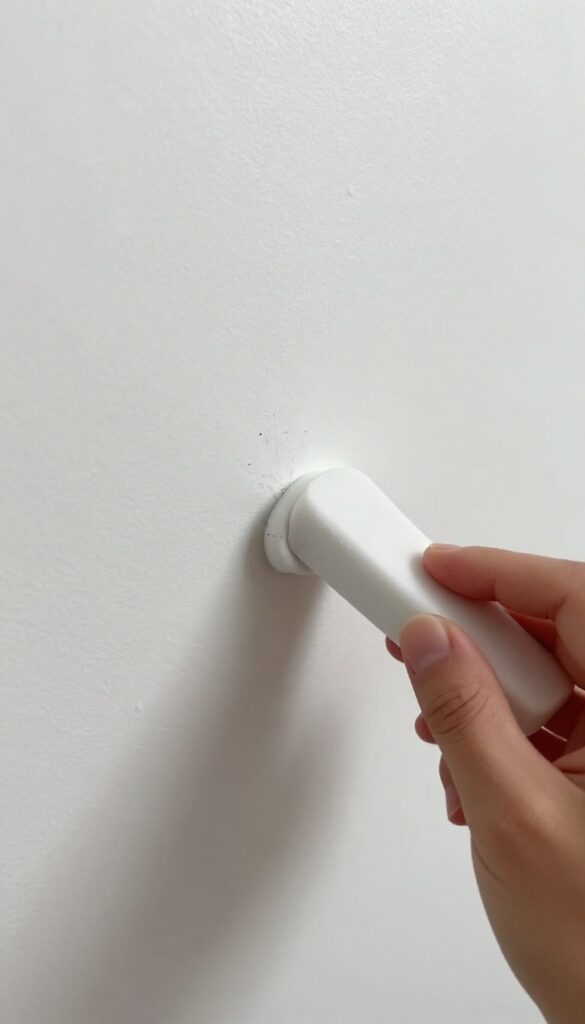
Scuff marks from shoes, furniture, or toys can make even a clean wall look dingy. A melamine foam eraser—often sold as Mr. Clean Magic Eraser—is a quick fix that requires almost no prep.
Just dampen it with water, wring out excess, and gently rub the mark in a circular motion. The foam acts like fine sandpaper, lifting scuffs without harsh chemicals.
Magic erasers are great for scuff marks, but they are abrasive. Use light pressure and test on an inconspicuous spot first. Too much scrubbing can remove paint sheen or even the paint itself.
For stubborn marks, let the eraser sit on the spot for a few seconds before rubbing. Always follow up with a clean, damp cloth to remove any residue.
When To Use A Magic Eraser
Stick to smooth, semi-gloss, or satin paint finishes. Flat or matte paints are more delicate and may show shiny patches after scrubbing. Magic erasers work best on scuffs from rubber soles, sneakers, and furniture legs.
Avoid using them on textured walls or wallpaper, as they can damage the surface.
How To Avoid Damaging Paint
Always start with a barely damp eraser—too much water can soak into the wall and cause bubbling. Rub gently and check frequently. If you see paint transferring to the eraser, stop immediately.
For extra safety, cut the eraser into smaller pieces so you use less pressure. After cleaning, wipe the area with a dry cloth to prevent moisture damage.
Alternative: Homemade Melamine Sponge
You can buy generic melamine foam blocks online or at dollar stores for a fraction of the brand-name cost. They work just as well. Simply cut a small piece, dampen it, and use it the same way.
Store unused pieces in a dry place—they last longer that way.
6. Hydrogen Peroxide for Tough Stains
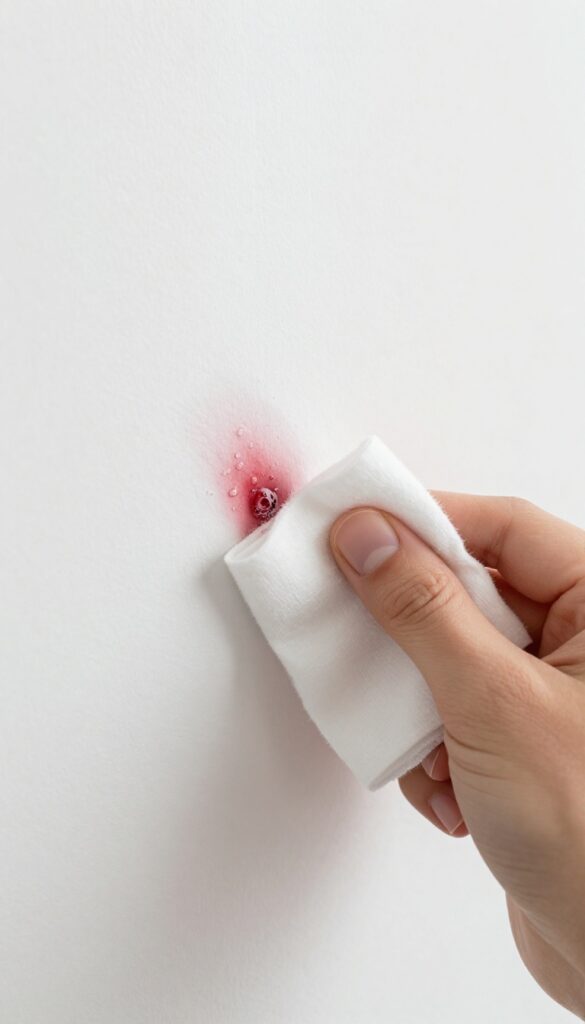
Some stains just won't budge with gentle cleaners. Blood, red wine, or even fruit juice can leave behind a stubborn mark that seems permanent. That's where hydrogen peroxide steps in—it's a mild bleach alternative that breaks down organic stains without damaging most paint finishes.
Hydrogen peroxide works by releasing oxygen bubbles that lift stain particles from the surface. It's especially effective on biological stains like blood or sweat, and it's gentle enough for latex and satin paints. Always test on an inconspicuous spot first, as it may slightly lighten some darker paints.
How To Apply It Safely
Use 3% hydrogen peroxide straight from the bottle. Dampen a clean cloth or sponge with it—don't soak the wall. Dab the stain gently, letting the peroxide fizz for about a minute.
Then blot with a dry cloth to absorb the loosened stain. No rubbing, or you might spread it.
When To Use A Paste Instead
For dried or set-in stains, mix hydrogen peroxide with baking soda to form a paste. Apply it to the stain, let it sit for 10–15 minutes, then wipe away with a damp cloth. This combo adds gentle abrasion without scratching the paint.
Rinse afterward with water to remove any residue.
Safety Tips For Colored Walls
Hydrogen peroxide is generally safe for white and light-colored walls, but it can act as a mild bleach. Always test in a hidden area, like behind a sofa or picture frame. If the test spot looks fine, you're good to go.
Avoid using it on flat or matte paints, as it may leave a shiny spot.
7. Cream of Tartar for Crayon Marks
Crayon marks on walls are a classic parenting headache. Wax-based crayons bond with paint in a way that soap and water often can't touch. But you don't need harsh solvents or heavy scrubbing to get rid of them.
Cream of tartar, that humble kitchen staple, teams up with lemon juice to lift crayon gently and effectively.
The magic is in the mild abrasiveness of cream of tartar combined with the acidity of lemon juice. Together, they break down the wax without damaging the paint finish. This method works best on flat or satin paint, but test on a hidden spot first if you have matte or textured walls.
Make The Paste
Mix equal parts cream of tartar and fresh lemon juice—about a tablespoon of each is enough for a few marks. Stir until it forms a thick, spreadable paste. If it's too runny, add more cream of tartar; if too thick, a few more drops of lemon juice.
Apply And Rub
Use a soft, clean cloth to dab the paste onto the crayon marks. Rub gently in a circular motion. You'll see the color transfer to the cloth as the wax lifts.
Don't press hard—let the paste do the work. For stubborn marks, let the paste sit for a minute before rubbing.
Wipe Clean
Once the crayon is gone, dampen a separate cloth with plain water and wipe away any residue. Dry the area with a clean towel. Your wall should look good as new, with no dull spots or streaks.
8. Dryer Sheets for Static Dust
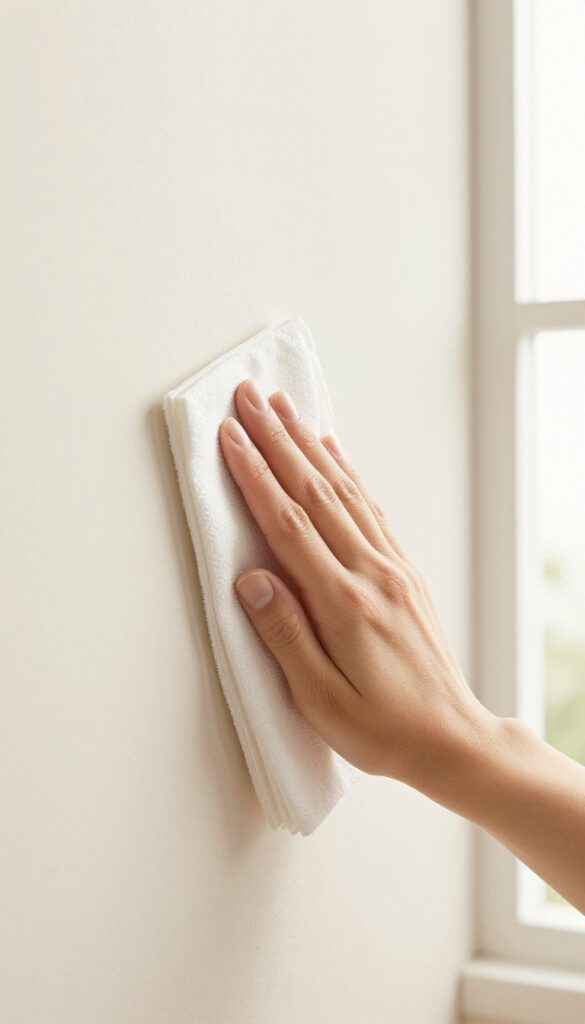
Dryer sheets aren't just for the laundry room. Those used sheets you're about to toss can actually work wonders on your walls. They pick up dust without spraying anything, and they leave behind a light fresh scent.
It's one of those tricks that feels almost too simple—until you see how well it works.
Static electricity makes dust cling to walls, especially in dry climates or during winter. A used dryer sheet neutralizes that static charge, so dust practically jumps off the surface. Plus, the antistatic properties help repel dust longer than a dry cloth alone.
This method is completely chemical-free, so it's safe for any paint finish—even flat or matte. Use it for quick touch-ups between deeper cleanings, or as a final pass after wiping down walls with a damp cloth.
Why It Works
Dryer sheets contain cationic surfactants that reduce static buildup. When you rub one over a wall, it transfers a thin layer of these compounds, making the surface less attractive to airborne dust. The result is a wall that stays cleaner longer with minimal effort.
How To Do It Right
Grab a sheet that's already been through the dryer—fresh ones work too, but used ones are less wasteful and still effective. Gently wipe the wall in broad, even strokes. Focus on areas where dust collects, like corners, baseboards, and behind furniture.
No need to press hard; a light touch does the job.
When To Use This Method
This trick is perfect for routine maintenance between deep cleans. It's also great for walls that seem to attract dust no matter what. Avoid using dryer sheets on freshly painted walls—wait at least a month to let the paint cure fully.
And if you have pets or kids, the light scent is a bonus, but unscented sheets are available if you prefer fragrance-free.
9. Cornstarch Paste for Greasy Handprints
Greasy handprints are a common eyesore, especially around light switches and door frames. Cornstarch is a natural oil absorber that lifts grease without moisture damage. This method is especially safe for flat or matte paint, which can easily get shiny or discolored with liquid cleaners.
Mix equal parts cornstarch and water to form a thick paste. Apply it directly to the handprint with a soft cloth or your finger, spreading it evenly. Let it sit for 10–15 minutes until fully dry.
Once dry, brush off the cornstarch with a clean, dry cloth or a soft brush. The oil will be absorbed into the powder, leaving the wall clean and residue-free.
Why Cornstarch Works
Cornstarch has a natural affinity for oils. When applied as a paste, it draws grease out of the paint pores without needing harsh scrubbing. This prevents paint wear and keeps the finish intact.
Best Paint Types For This Method
This technique is ideal for flat, matte, and eggshell paints. These finishes are porous and absorb grease easily, but they’re also sensitive to water. The cornstarch paste uses minimal moisture, making it a safe option.
Tips For Stubborn Marks
For older or thicker handprints, let the paste sit a bit longer—up to 20 minutes. If residue remains after brushing, gently wipe with a dry microfiber cloth. Avoid rubbing too hard to prevent sheen changes.
10. Baby Wipes for Quick Touch-Ups
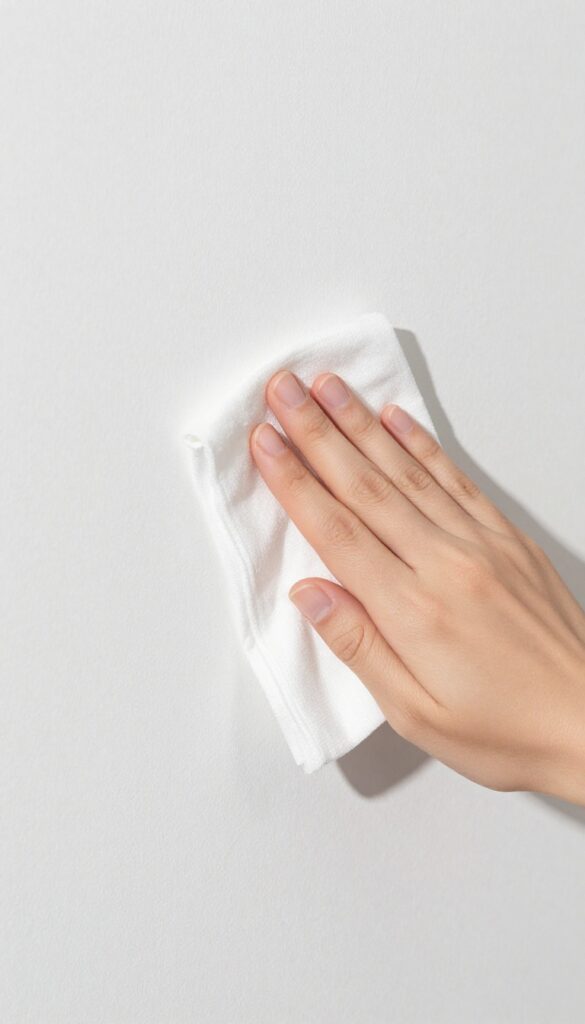
Not every wall stain needs a full cleaning routine. Sometimes you just need a fast, gentle wipe to erase a smudge before it sets. That’s where baby wipes come in handy.
They’re soft, pre-moistened, and mild enough for most painted surfaces.
Baby wipes are a lifesaver for quick spot cleaning. Keep a pack in a drawer near high-traffic areas like hallways or the kitchen. When you spot a fingerprint or a mystery mark, grab a wipe and gently dab—no scrubbing needed.
They work best on fresh smudges and are especially good for flat or matte finishes where harsh cleaners might leave a shine.
Why Baby Wipes Work
Most baby wipes contain gentle cleansing agents and moisturizers that lift dirt without stripping paint. They’re alcohol-free, so they won’t dry out or discolor the wall. Plus, the soft texture reduces the risk of abrasion compared to paper towels or sponges.
Best Uses And Limitations
Baby wipes excel on everyday dirt like handprints, light scuffs, and food splatters. However, they may struggle with grease or dried-on stains. For tougher spots, pair with a dedicated cleaner.
Avoid using on unsealed or porous surfaces like limewash or chalk paint.
Pro Tips For Best Results
Always test on an inconspicuous area first. Use unscented wipes to avoid leaving residue or fragrance. Blot rather than rub to prevent spreading the stain.
For stubborn marks, let the wipe sit on the spot for a few seconds before wiping.
11. Toothpaste for Small Scratches
Minor scratches on painted walls—from moving furniture or playful pets—don't always require a full repaint. A surprising fix is sitting in your bathroom cabinet: white, non-gel toothpaste. Its mild abrasive action can buff out surface scratches without damaging the paint, making it a quick, low-effort solution.
This trick works best on lighter wall colors, where the contrast is less noticeable.
Why Toothpaste Works
Toothpaste contains mild abrasives like calcium carbonate or silica, which gently polish the paint surface. Unlike harsh scrubbing pads, it won't strip the paint or leave a dull patch. The paste also fills in the scratch slightly, reducing its visibility.
How To Apply
Squeeze a small dab of white, non-gel toothpaste onto a soft, clean cloth. Rub it gently into the scratch using circular motions for about 30 seconds. Then, wipe away any residue with a damp cloth.
If the scratch is still visible, repeat once more.
Best Practices And Limits
Test on an inconspicuous spot first to ensure the toothpaste doesn't affect the paint finish. This method works best on flat or matte paints in light shades. For deep gouges or dark walls, consider touch-up paint instead.
12. Club Soda for Fresh Stains
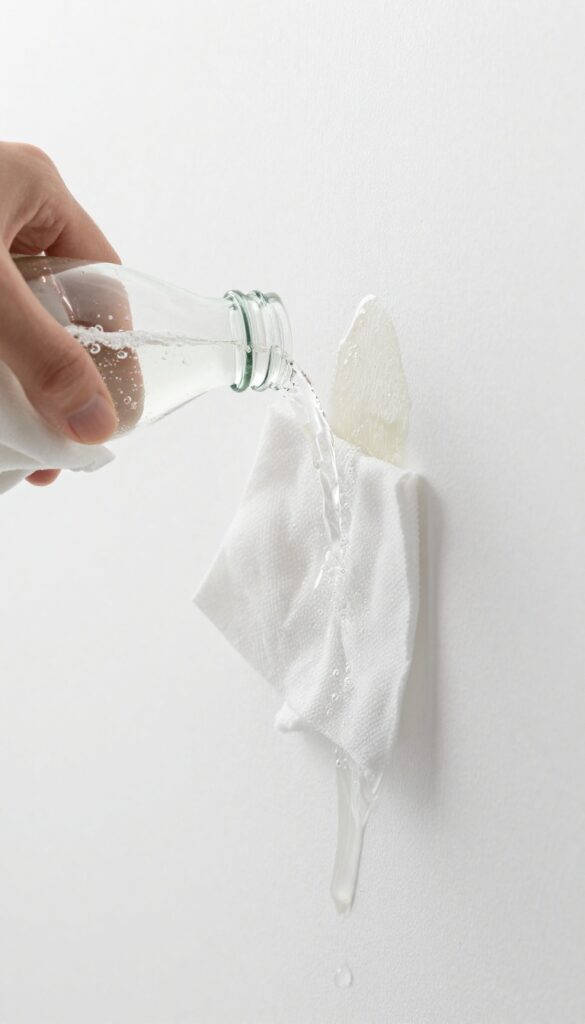
Club soda isn't just for mixing drinks. It's a surprisingly effective cleaner for fresh wall stains. The carbonation helps lift dirt and spills without the need for harsh chemicals.
Plus, it leaves no sticky residue behind.
When a fresh stain appears, reach for club soda before anything else. Pour it directly onto the stain—don't be shy. Let it fizz for a few seconds to break up the mess.
Then blot gently with a clean, dry cloth. Repeat if needed. This works wonders on water-based spills like juice, coffee, or soda.
It's also safe for most paint finishes, including flat and matte.
Why Carbonation Helps
The bubbles in club soda act like tiny scrubbers. They help lift particles from the wall surface without rubbing. This reduces the risk of damaging the paint or spreading the stain further.
The slight acidity also helps dissolve some stains.
Best Stains For Club Soda
Club soda is ideal for fresh, water-based stains. Think spilled drinks, food splatters, or even mud. It's less effective on oil-based or dried stains.
For those, you'll need a different approach.
How To Blot Correctly
Always blot, never rub. Rubbing pushes the stain deeper into the wall. Use a white cloth to avoid color transfer.
Start from the outside of the stain and work inward to prevent spreading.
13. Ammonia Solution for Heavy Grime
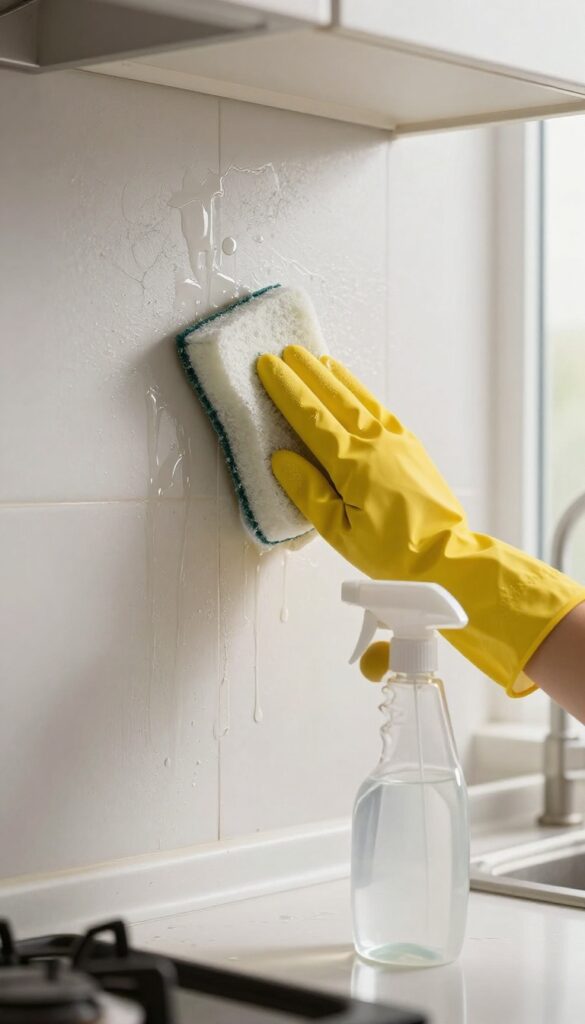
When walls have built up years of kitchen grease or sticky residue, a mild ammonia solution cuts through the filth like nothing else. It’s a classic cleaner that tackles tough grime without damaging most painted surfaces. Just be sure to use clear ammonia—not the sudsy kind—and always work in a well-ventilated space.
Ammonia is a powerful degreaser that dissolves hardened cooking splatters and nicotine stains. For heavy grime, mix 1 tablespoon of clear ammonia with 1 quart of warm water. Dip a soft sponge into the solution, wring it out well, and wipe the wall in small sections.
Rinse the sponge often and follow up with a clean water wipe to remove any ammonia residue. Wear rubber gloves and open windows to avoid strong fumes. Never mix ammonia with bleach—it creates toxic gas.
When To Use Ammonia
Reach for ammonia when water and mild soap won’t cut it. It’s ideal for kitchen walls above the stove, around the sink, and near trash areas. It also works on walls that have yellowed from smoke or age.
Test a hidden spot first to ensure your paint is colorfast.
Safety First
Ammonia fumes are strong and can irritate your eyes and lungs. Always ventilate the room by opening windows and using a fan. Wear gloves to protect your skin.
Keep the solution away from children and pets. After cleaning, rinse the wall thoroughly with a damp cloth and let it dry completely.
Alternative For Sensitive Surfaces
If your walls are flat or matte finish, ammonia might be too harsh. Instead, try a 50/50 mix of white vinegar and water. For semi-gloss or satin paints, ammonia is safe as long as you don’t scrub aggressively.
Always spot test in an inconspicuous area first.
14. Commercial Wall Cleaner (Brands to Try)
Sometimes a homemade mix just doesn't cut it. Maybe the stain is set in, or you're dealing with a surface that needs something stronger. That's when reaching for a commercial wall cleaner makes sense.
Brands like Krud Kutter and Zep have built solid reputations for tackling tough spots without damaging paint—when used correctly. These products are formulated to lift grease, grime, and marks safely, so you don't have to guess or mix your own concoction.
Commercial cleaners are convenient and often more effective on stubborn stains. But they're not all the same. Some are designed for specific surfaces like flat or satin paint, while others work on multiple finishes.
Always read the label and test in an inconspicuous spot first. A little caution goes a long way toward avoiding a patchy disaster.
Top Brands Worth Considering
Krud Kutter Original is a go-to for many because it's tough on grease but gentle on paint. It's a concentrate, so you dilute it as needed. Zep Wall Cleaner comes ready to use and works well on most painted walls.
For heavy-duty jobs, Krud Kutter also makes a graffiti remover that handles marker and crayon. Both brands are widely available at hardware stores and online.
How To Use Them Safely
Start by dusting the wall to remove loose dirt. Apply the cleaner to a soft cloth or sponge—never directly on the wall. Wipe gently in a circular motion, then rinse with a damp cloth.
Avoid soaking the wall, especially with flat paint, as moisture can cause streaks or peeling. Always follow the manufacturer's instructions for dilution and dwell time.
When To Choose Commercial Over Diy
If you've tried a gentle dish soap mix and the stain remains, a commercial cleaner is a logical next step. They're especially useful for high-traffic areas like hallways or kitchens where grease and handprints build up. For single tough spots, a spray bottle of Zep can be a quick fix.
For whole-room cleaning, a diluted Krud Kutter solution might be more economical.
15. Steam Cleaning for Textured Walls
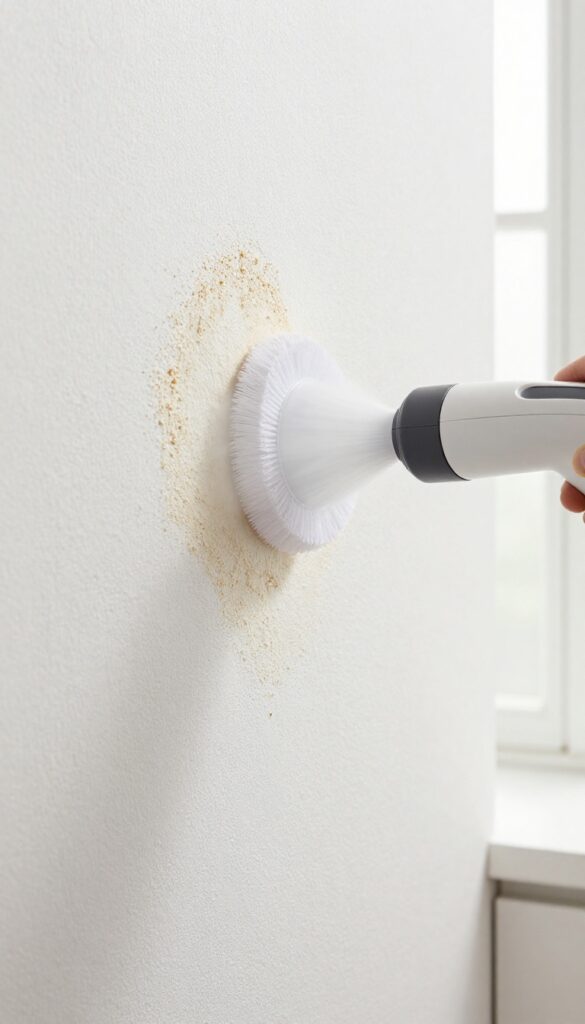
Textured walls—like popcorn, orange peel, or knockdown—are a magnet for dust and grime, but they’re also a nightmare to scrub. Scrubbing too hard can damage the texture or leave you with a blotchy mess. Steam cleaning offers a gentle, chemical-free way to lift dirt from those uneven surfaces.
A handheld steam cleaner with a soft brush attachment is your best bet. The heat and moisture loosen dirt without the need for harsh scrubbing or chemicals. Work in small sections, moving the steamer slowly to avoid soaking the wall.
After steaming, wipe away loosened dirt with a microfiber cloth. Let the wall dry completely—this is crucial to prevent mold or mildew from forming in the textured crevices.
Why Steam Works On Textures
Textured walls have nooks and crannies where dust and grime hide. Steam penetrates those tiny spaces, softening dirt so it releases easily. Unlike liquid cleaners that can run and pool, steam stays mostly on the surface, reducing the risk of drips and streaks.
Choosing The Right Attachment
Most handheld steamers come with a brush attachment. Use the softest one available to avoid scratching the paint or texture. A triangular brush head works well for corners and edges.
Avoid using a concentrated steam nozzle directly on the wall—it can strip paint or create a shiny spot.
Drying Is Non-negotiable
After steaming, the wall will be damp. Moisture trapped in textured surfaces is a breeding ground for mold. Use a clean, dry microfiber cloth to gently blot any excess water.
Then let the wall air dry for at least a few hours before touching it or putting furniture back. If possible, run a fan or open a window to speed up drying.
FAQ
Can I use bleach on painted walls?
Bleach is too harsh for most painted walls and can strip color or damage the finish. Stick to gentler alternatives like hydrogen peroxide or vinegar for stain removal.
How do I clean walls without damaging flat paint?
Flat paint is delicate. Use a dry sponge or a barely damp cloth with mild soap. Avoid scrubbing.
For stains, try a baking soda paste or a magic eraser with very light pressure.
What's the best way to remove crayon from walls?
Cream of tartar and lemon juice paste works well. You can also use a hair dryer to soften the wax, then wipe it off. Avoid harsh scrubbing to prevent paint damage.
Is vinegar safe for all wall types?
Vinegar is acidic and can damage some paint finishes, especially flat or matte. Always test on a hidden area first. For delicate walls, stick to dish soap and water.
How often should I clean my walls?
Spot clean as needed. A full wall wash is recommended every 6-12 months, depending on traffic and cooking. High-touch areas like light switches may need monthly attention.
Conclusion
Keeping your walls clean doesn't have to be a headache. With the right solution for each type of spot, you can tackle messes quickly and safely. Most of these methods use everyday household items, so you're never far from a fix.
Remember to always test a small hidden area first. A little patience and the right technique will keep your walls looking fresh for years. Now go ahead—give those walls the care they deserve.