20 Cleaning Walls Tips for Marks, Dust, and Smudges
Walls are the unsung heroes of your home. They catch every stray fingerprint, every splatter from cooking, and every dust bunny that floats by. But scrubbing them down can feel like a chore you'd rather avoid.
The good news? You don't need expensive cleaners or professional help. Most wall messes come off with stuff you already have in your pantry.
A little know-how goes a long way. Let's walk through 20 practical tips that tackle marks, dust, and smudges without wrecking your paint or your budget. You'll be surprised how easy it can be.
1. Start With the Right Tools
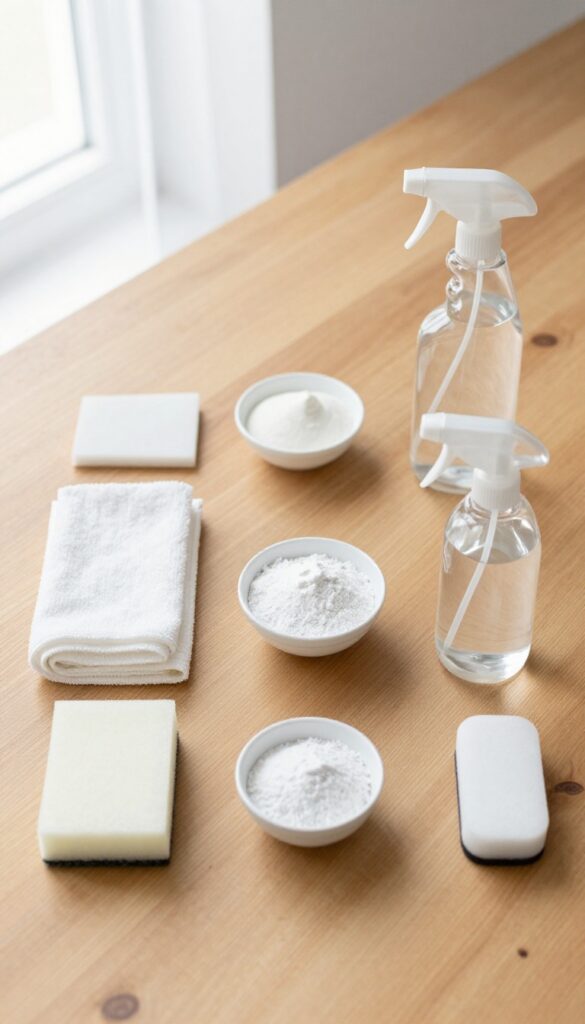
Before you touch that wall, take a second to gather your gear. Using the wrong tool can turn a tiny smudge into a bigger problem. Stick with soft, non-abrasive items that lift dirt without stripping paint.
A microfiber cloth is your best friend here. It traps dust and grime instead of pushing it around. A soft sponge works well for wet cleaning, and a bucket of warm water is all you need for most jobs.
Mild dish soap cuts grease without harsh chemicals. For tougher marks, baking soda makes a gentle paste, and a magic eraser can handle scuffs on washable paint. Just avoid scrub brushes or rough scouring pads—they'll leave scratches or dull the finish.
Microfiber Cloths Are Magic
These cloths grab dust like a magnet. Use a dry one for dusting and a damp one for smudges. They're reusable and won't shed lint.
Why You Need A Magic Eraser
Melamine foam sponges (like Magic Eraser) are great for scuffs, crayon marks, and stubborn spots. Just wet, squeeze, and gently rub. Test on an inconspicuous spot first—they can be slightly abrasive on flat paint.
2. Dust Before You Wash
You might be tempted to grab a sponge and start scrubbing right away. But if your walls are dusty, you're just making things worse. Wet dust turns into a muddy smear that's harder to remove and can leave streaks behind.
A quick dry dusting first saves you time and effort.
Why Dust First Matters
Dust is mostly loose particles sitting on the surface. When you add water, those particles turn into a thin paste that spreads around. Instead of cleaning, you're essentially painting a muddy film across your wall.
This can also push dust into tiny scratches or texture, making it harder to get out later.
The Right Tools For Dry Dusting
A microfiber duster is ideal because it traps dust rather than just pushing it around. If you don't have one, a vacuum with a soft brush attachment works great too. Avoid feather dusters—they tend to fling dust into the air, where it settles right back.
For high walls, use an extendable duster or a vacuum hose with an extension wand.
How To Dust Efficiently
Start at the top and work your way down. Dust falls as you go, so this prevents you from having to redo sections. Use long, gentle strokes to avoid kicking up too much dust.
Pay extra attention to corners, baseboards, and light switch covers where dust accumulates. Once you're done, wipe down your duster or empty the vacuum canister before moving on to washing.
3. Test a Hidden Spot First
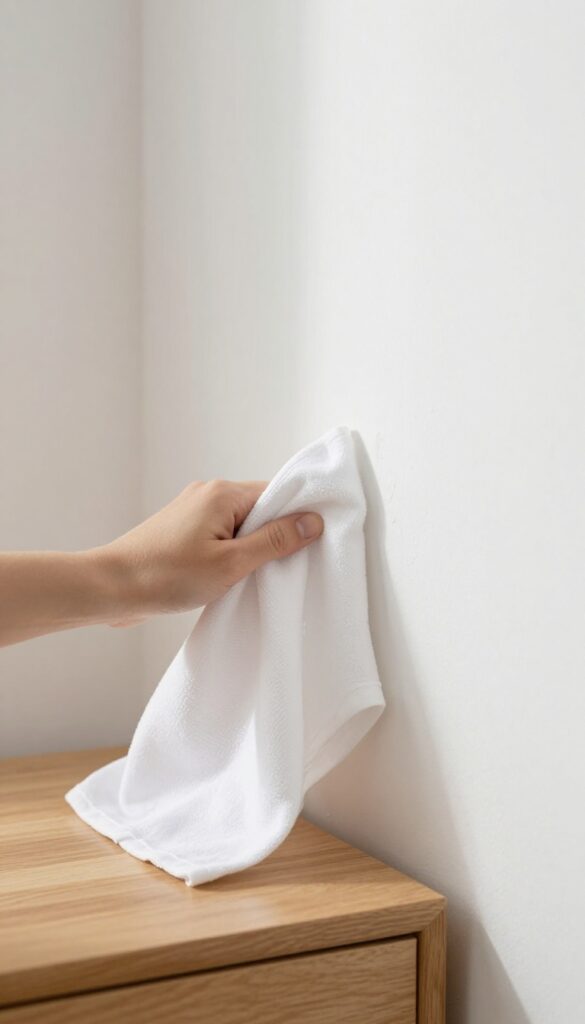
You might be eager to dive right in, but patience pays off here. That new cleaner or homemade mix could react badly with your wall's paint or finish. A quick test on a hidden area saves you from a bigger headache later.
Before you tackle the visible marks, pick a spot that's out of sight—behind a piece of furniture, inside a closet, or near the baseboard. Apply a small amount of your cleaning solution with a soft cloth or sponge, then wait a few minutes. Check for any fading, streaking, or peeling.
If everything looks fine, you're good to go. If not, adjust your approach or switch to a gentler method.
Why Testing Matters
Different paints (flat, eggshell, satin, semi-gloss) react differently to cleaners. Even water can leave a mark on some flat paints. Testing helps you avoid stripping the paint or causing a patch that's lighter than the rest of the wall.
How To Test Properly
Dampen a white cloth with your cleaner, then gently rub a small hidden area. Use a white cloth so any color transfer from the wall is obvious. Wait until the area dries completely—sometimes damage only shows up after drying.
What To Look For
Watch for paint coming off on the cloth, a change in sheen, or a lighter spot. If you see any of these, stop using that cleaner. Try a milder option like plain water or a drop of dish soap diluted in water.
4. Use the Eraser Trick for Scuff Marks
Scuff marks from shoes or furniture can be annoying, especially on light-colored walls. Before you reach for a cleaner or a sponge, try a simple pencil eraser. It's a dry, gentle method that works surprisingly well on light scuffs without damaging the paint.
A standard pencil eraser—the kind you used in school—can be your best friend for removing scuff marks. Just rub it gently over the mark, and watch it disappear. This trick works best on flat or matte paint finishes, where liquid cleaners might leave a shiny spot.
It's also great for small areas where you don't want to drag out a whole cleaning kit.
Why It Works
Erasers are made from a soft, abrasive material that lifts dirt and scuffs without scratching the paint. The friction creates enough heat to loosen the mark, and the eraser crumbs carry away the residue. It's a dry cleaning method that avoids introducing moisture, which can cause paint to bubble or peel over time.
How To Do It Right
Use a clean, white eraser to avoid transferring color. Rub in one direction, not back and forth, to prevent smearing. Apply light pressure—let the eraser do the work.
If the scuff doesn't come off easily, it might be too deep for this method, and you'll need a different approach.
When To Skip This Trick
Avoid erasers on delicate wallpapers, textured walls, or high-gloss paints, as they can leave marks or damage the finish. Also, don't use colored erasers—they can leave a stain. Stick to white or pink erasers for best results.
5. Magic Eraser for Stubborn Marks
Some marks just won't budge with soap and water. That's where the magic eraser comes in. This melamine sponge is a game-changer for tough spots like crayon, grease, and heel marks.
It works like a super-fine sandpaper, lifting stains without heavy chemicals.
To use it, dampen the sponge slightly and wring out excess water. Gently rub the mark in a circular motion. The sponge will start to wear down as it cleans, so use light pressure.
For glossy paint, test in an inconspicuous area first—it can dull the finish if you scrub too hard.
When To Use A Magic Eraser
Reach for it on scuffs from shoes, crayon art from kids, or greasy spots near the stove. It's also great for removing tape residue or ink marks. Avoid using it on flat or matte paint, as it can create a shiny patch.
How To Avoid Damaging Paint
Always start with the gentlest pressure. If the mark doesn't lift after a few gentle swipes, stop. For glossy finishes, use a very light touch and don't linger in one spot.
Rinse the area with water afterward to remove any residue.
Alternative Diy Erasers
No magic eraser on hand? Mix baking soda with a little water to form a paste. Apply it to a soft cloth and rub gently.
This works similarly but may require more elbow grease. Test on a hidden spot first.
6. Dish Soap and Warm Water for Grease
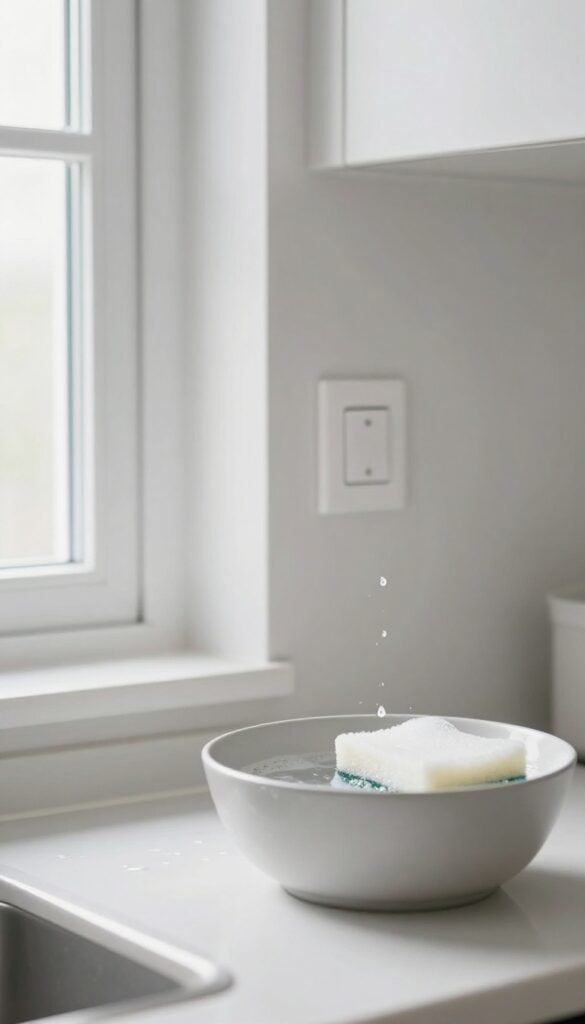
Grease is one of the toughest wall stains, especially in the kitchen or near light switches where hands and cooking splatters leave their mark. You don't need a specialty degreaser—just a squirt of mild dish soap and some warm water can cut through that grime without damaging the paint. The key is to use a gentle touch and the right dilution to avoid leaving streaks or stripping the finish.
Dish soap is designed to break down grease on dishes, and it works just as well on walls. Mix a few drops of mild dish soap (like Dawn or a generic equivalent) into a bowl of warm water. Dip a soft sponge into the solution, wring it out well so it's damp but not dripping, and gently wipe the greasy area.
Avoid scrubbing too hard, as that can remove paint or create a shiny patch. For stubborn spots, let the solution sit for a minute before wiping. Rinse the sponge frequently and follow up with a clean, damp cloth to remove any soap residue.
Why Dish Soap Works So Well
Dish soap contains surfactants that lift grease and oil from surfaces, allowing them to be rinsed away. Unlike harsh chemical cleaners, it's gentle on most paint finishes, including flat, matte, and eggshell. It's also non-toxic and safe to use around food prep areas, making it the go-to choice for kitchen walls.
How To Avoid Water Marks And Streaks
The biggest mistake people make is using too much water. Excess moisture can seep into the paint, causing bubbles or peeling. Always wring your sponge until it's almost dry, and work in small sections.
After cleaning, go over the area with a dry microfiber cloth to absorb any leftover dampness and restore the wall's original look.
When To Use A Degreaser Instead
For heavy-duty grease buildup—like above a stove or behind a range hood—plain dish soap may not be enough. In those cases, try a dedicated kitchen degreaser or a paste of baking soda and dish soap. But for everyday smudges near light switches or cabinet handles, the simple soap-and-water method is all you need.
7. Baking Soda Paste for Tough Stains
Some wall stains just don't want to leave. Greasy fingerprints near light switches, mystery spots from who-knows-what, or old marks that have been sitting for weeks. Plain soap and water might not cut it.
That's where baking soda comes in. It's gentle enough for most painted walls but tough enough to lift stubborn grime without damaging the finish.
Baking soda is a mild abrasive, which means it can scrub away stuck-on dirt without scratching your paint. When mixed with a little water, it forms a paste that clings to vertical surfaces and breaks down stains slowly. You can also add a drop of dish soap for extra grease-cutting power.
Always test on a hidden area first, especially if you have matte or flat paint, which is more delicate.
How To Make The Paste
Mix three parts baking soda with one part water in a small bowl. Stir until it forms a thick, spreadable paste. If it's too runny, add more baking soda.
Too thick, add a few drops of water. You want it to be like toothpaste—not dripping, but easy to apply.
Application And Waiting Time
Use a soft cloth or your finger to dab the paste onto the stain. Spread it evenly, covering the entire mark. Let it sit for 5 to 10 minutes.
This gives the baking soda time to work into the stain and loosen it. Don't let it dry completely, or it may be harder to wipe off.
Gentle Rubbing And Rinsing
After the paste has sat, use a damp, soft cloth to gently rub the area in a circular motion. You don't need to press hard—the baking soda does the work. Wipe away the residue with a clean, damp cloth.
If any paste remains, rinse with a little water on a sponge. Dry the spot with a towel to prevent streaks.
8. Vinegar Solution for Mildew
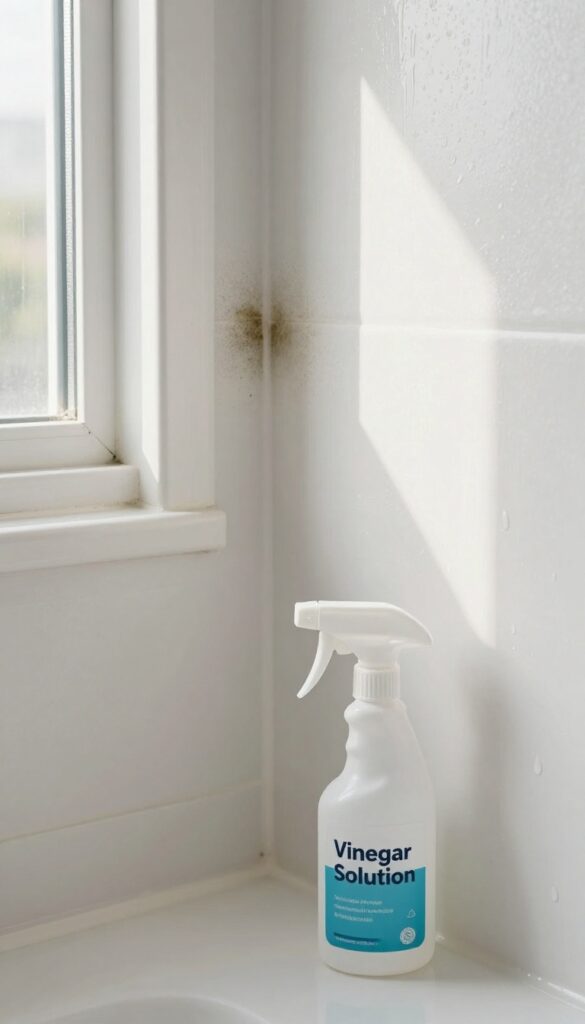
Mildew loves dark, damp spots like bathroom corners and behind furniture. Instead of reaching for harsh chemicals, try a simple vinegar solution that kills mildew without toxic fumes. It's cheap, effective, and gentle on most wall surfaces.
How To Mix And Apply
Combine equal parts white vinegar and water in a spray bottle. Shake gently, then spray directly onto mildew spots. Let it sit for 10–15 minutes so the vinegar can break down the mildew.
Wipe with a damp cloth or sponge. For stubborn patches, gently scrub with a soft brush.
Test First On Painted Walls
Before going all in, test the vinegar solution on a small, hidden area. Vinegar is acidic and can sometimes dull paint or alter its finish. Wait for the test spot to dry completely, then check for any discoloration.
If it looks fine, you're good to go.
When To Avoid Vinegar
Skip vinegar on unsealed grout, natural stone, or waxed surfaces—it can etch or damage them. Also avoid using it on walls with lead paint or delicate wallpaper. In those cases, a gentle soap-and-water mix is safer.
9. Rubbing Alcohol for Ink and Marker
Ink and marker stains can feel permanent, especially when a pen explodes against the wall or a marker slips out of a child's hand. But rubbing alcohol is surprisingly effective at lifting these stains without smearing them further. It works by breaking down the pigments so they lift off instead of spreading around.
Rubbing alcohol is a go-to solution for ink-based stains because it dissolves the pigments without damaging most paint finishes. The key is to blot, not rub, to avoid pushing the stain deeper into the paint or spreading it outward. Always test on a hidden spot first to ensure it won't remove the paint itself.
Why Rubbing Alcohol Works
Ink and markers contain dyes or pigments suspended in a solvent. Rubbing alcohol (isopropyl alcohol) acts as a solvent itself, breaking down the ink's binder so the color lifts off the surface. It evaporates quickly, which helps prevent the stain from spreading.
This makes it especially effective on latex and satin paints, but less so on flat or matte finishes where it might cause discoloration.
How To Apply It Safely
Dab a cotton ball or soft cloth with a small amount of rubbing alcohol. Blot the stain gently, starting from the outer edge and working inward. Change the cotton ball as it picks up ink to avoid redepositing the stain.
After the ink lifts, wipe the area with a damp cloth to remove any residue. If the stain is stubborn, repeat the process rather than pressing harder.
Testing Before You Treat
Always test rubbing alcohol on an inconspicuous area of the wall, like behind a piece of furniture. Apply a small amount and wait a few minutes to see if the paint softens or discolors. If it does, switch to a gentler method like baking soda paste or dish soap.
For most modern paints, rubbing alcohol is safe, but older or low-quality paint may react.
10. Toothpaste for Small Scratches
Not every wall blemish is a stain. Sometimes it's a scratch from moving furniture or a scrape from a toy. Before you reach for a paintbrush, try a surprising trick from your bathroom cabinet: toothpaste.
Non-gel white toothpaste works as a mild abrasive that can buff away shallow scratches on painted walls. It's a quick fix that saves you from mixing paint or touching up a whole section.
Why Toothpaste Works
Toothpaste contains mild abrasives like calcium carbonate or silica that gently wear down the raised edges of a scratch, blending it into the surrounding paint. It's safe for most latex and satin finishes, but avoid gel formulas or those with whitening agents, which can leave a residue.
How To Apply It
Squeeze a pea-sized amount of white, non-gel toothpaste onto a soft, clean cloth. Rub it into the scratch using small circular motions for about 30 seconds. Wipe away the excess with a damp cloth and let it dry.
The scratch should be noticeably less visible or gone entirely.
When To Skip This Trick
Deep scratches that expose the drywall or primer won't be fixed by toothpaste. For those, you'll need spackle and paint. Also avoid toothpaste on flat or matte finishes—the abrasion can create a shiny spot that stands out.
11. Use a Squeegee for High Walls
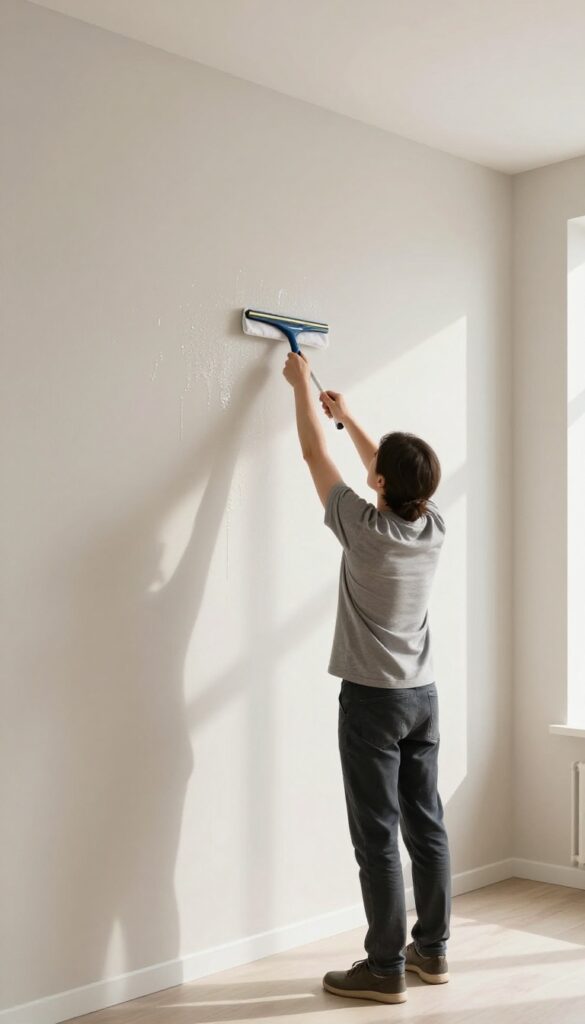
Reaching the top of a wall usually means hauling out a ladder, balancing a bucket, and risking a wobble. But there's a simpler tool that can save your shoulders and your nerves: a squeegee. The same gadget you use on windows works wonders on high walls when you give it a microfiber makeover.
Attach A Microfiber Cloth To The Squeegee Blade
Take a clean, dry microfiber cloth and wrap it snugly around the rubber blade of your squeegee. Secure it with a rubber band or a clip so it doesn't slip off mid-swipe. The cloth picks up dust and dirt without scratching the paint, and the squeegee handle gives you the reach you need.
Dust High Walls Without A Ladder
Start at the top of the wall and pull the squeegee down in long, straight strokes. Overlap each pass slightly to avoid missing spots. The microfiber grabs the dust, and the squeegee's flat edge keeps the cloth in contact with the wall.
No ladder, no leaning, no strain.
Wash Textured Walls The Easy Way
For deeper cleaning, dampen the microfiber cloth with a mild soap solution (a drop of dish soap in warm water works fine). Wring it out well so it's just barely wet. Then squeegee the wall from top to bottom.
The cloth's fibers dig into textured surfaces like orange peel or popcorn finish, lifting grime that a sponge might miss. Rinse the cloth often and repeat until the wall is clean.
12. Clean Light Switches and Outlets
Light switches and outlets are some of the most touched surfaces in your home, yet they're often overlooked during wall cleaning. Fingerprints, grime, and even dust build up around them, making the whole wall look dingy. The good news is they're quick to clean once you know the right approach.
Start by turning off the power to the switch or outlet at the breaker box. This is a crucial safety step—you don't want any water or cleaner seeping into the electrical components. Use a slightly damp microfiber cloth with a drop of dish soap to wipe the faceplate and the wall around it.
For stubborn marks, a magic eraser works wonders, but avoid getting it too wet. Dry everything with a clean cloth afterward.
Safety First: Always Kill The Power
Before you touch any switch or outlet, flip the breaker off. Even if you're just cleaning the faceplate, moisture can travel into gaps and cause a short or shock. It's a simple step that prevents accidents.
The Right Tool: Damp Cloth Vs. Magic Eraser
For everyday grime, a damp cloth with a tiny bit of soap is plenty. For built-up smudges or crayon marks, a magic eraser (melamine sponge) is your best friend. Just wring it out well—you want it damp, not dripping.
Don't Forget The Faceplate
Sometimes the faceplate itself is the problem. Unscrew it (with power off) and wash it in warm soapy water, then dry and reattach. This gives you a deeper clean and lets you get at the wall behind it.
13. Tackle Crayon Marks With WD-40
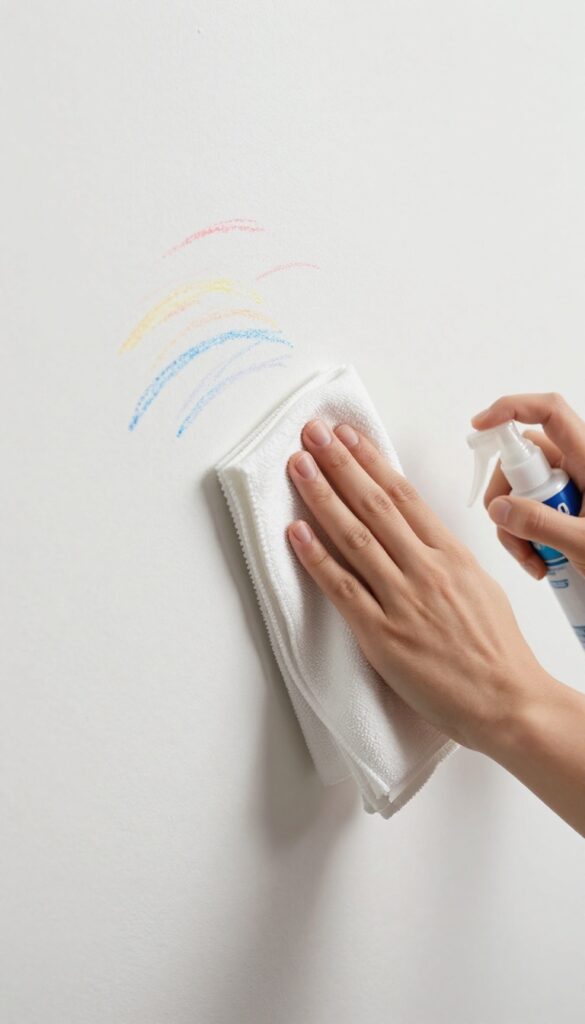
Kids and crayons are a classic combo, and walls often become the unintended canvas. Before you reach for harsh chemicals or a scrub brush, consider a surprising solution: WD-40. This household staple works wonders on crayon marks, dissolving the wax without damaging your paint.
It's quick, easy, and saves you from repainting.
Spray a little WD-40 on a clean cloth and gently wipe the crayon marks. The lubricant breaks down the wax, allowing it to lift off effortlessly. Then, wash the area with soapy water to remove any residue.
This method works on most painted surfaces, but always test in an inconspicuous spot first.
Why Wd-40 Works
Crayon wax is oil-based, and WD-40 is a solvent that dissolves oils. When you apply it, the wax softens and becomes easy to wipe away. Unlike some cleaners, WD-40 won't strip paint or leave a greasy film if you clean up properly.
Step-by-step Application
Start by blotting excess crayon with a dry paper towel. Then spray a small amount of WD-40 onto a microfiber cloth—not directly on the wall. Gently rub the marks in a circular motion.
The crayon should transfer to the cloth. Once removed, mix a few drops of dish soap with warm water and wipe the area to remove any WD-40 residue.
Safety And Precautions
Always test WD-40 on a hidden area first, especially on matte or flat paint. Avoid using too much, as oversaturation can seep into the wall. Keep the room ventilated during use.
After cleaning, rinse thoroughly to prevent any lingering smell.
14. Remove Tape Residue With Cooking Oil
Tape residue is one of those annoyances that seems impossible to scrape off without damaging the paint. Whether it's leftover from painter's tape, poster putty, or a child's art project, the sticky gunk can linger for months. Cooking oil is a surprisingly effective and gentle solution that breaks down the adhesive without harsh chemicals.
Vegetable oil, olive oil, or even baby oil works wonders on adhesive residue. The oil penetrates the sticky layer and loosens its grip on the wall. After a short wait, the residue wipes away cleanly without scrubbing or scraping.
How It Works
Cooking oil is a natural solvent for many adhesives. It seeps into the microscopic gaps between the residue and the paint, weakening the bond. This makes the sticky mess lift off with minimal effort, preserving your wall's finish.
Step-by-step Application
Dab a few drops of oil onto a soft cloth or paper towel. Gently rub the residue in a circular motion. Let it sit for about a minute to soak in.
Then, wipe away the softened adhesive with a clean part of the cloth. Finish with a damp cloth to remove any oily sheen.
Tips For Stubborn Spots
If the residue is thick or old, apply more oil and let it sit longer—up to five minutes. For textured walls, use a soft-bristled brush to work the oil into the crevices. Always test on an inconspicuous area first, especially on matte or flat paint, as oil can sometimes leave a slight sheen.
15. Use a Lint Roller for Light Dust
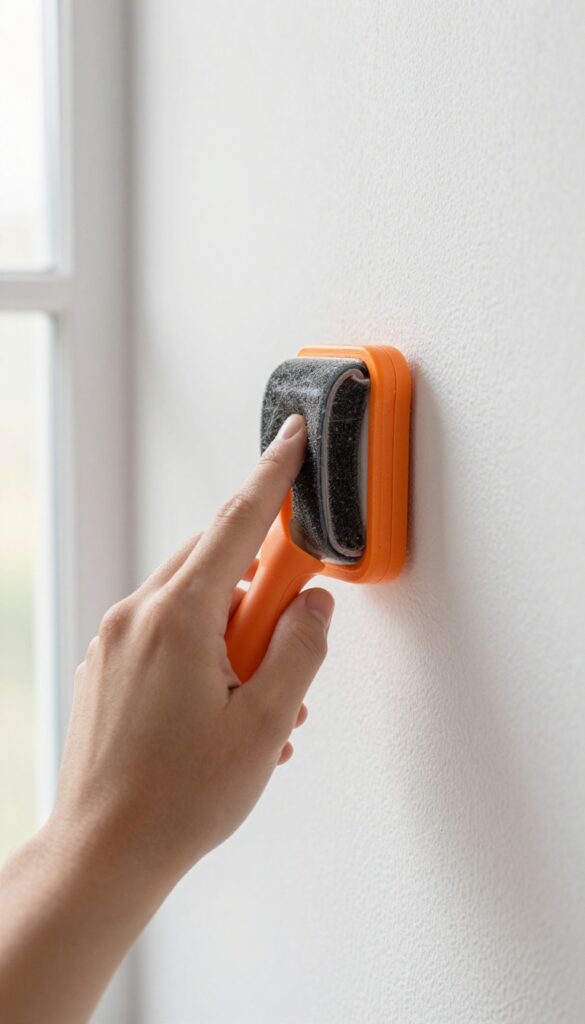
Dust and cobwebs love textured walls like popcorn or orange peel. A damp cloth can push debris deeper into the texture, making things worse. A lint roller glides over the surface, grabbing loose particles without spreading them around.
A sticky lint roller picks up cobwebs and fine dust from walls quickly, especially on textured surfaces. It's a no-mess, no-water trick that works in seconds and keeps your paint intact.
Why It Works So Well
Textured walls have nooks and crannies where dust hides. A cloth just moves it around, but the adhesive on a lint roller lifts it off completely. Plus, you can reach high corners by extending the roller on a broom handle.
Best Practices
Use a fresh sheet for each wall section to avoid redepositing dirt. For stubborn cobwebs, wrap a microfiber cloth over the roller for extra grip. Test on an inconspicuous spot first to ensure the adhesive doesn't pull paint.
When To Avoid This Method
Skip the lint roller on heavily soiled walls or fresh paint (less than 30 days old). For greasy smudges, stick to a gentle cleaner. The roller is strictly for dry, light dust and cobwebs.
16. Clean From Bottom to Top
It sounds counterintuitive, but starting at the bottom of the wall and working your way up is a game-changer. Gravity works against you when you clean top-down: dirty water and suds drip onto sections you already washed, leaving streaks or re-depositing grime. By starting at the baseboard and moving upward, you keep the cleaning solution ahead of the drips, so every pass is fresh and effective.
This simple shift in direction saves you from having to re-wash the same spots.
When you clean from the top down, gravity pulls dirty water over clean areas, creating streaks and forcing you to double back. Starting at the bottom and working upward lets you control the runoff—you're always wiping onto untouched wall, not freshly cleaned paint. This method works especially well for large wall sections and for walls with heavy dust or smudges.
It also helps you avoid bending over wet areas, reducing the risk of drips landing on your clothes or the floor.
Why Gravity Works Against You
Think about what happens when you wash a window: if you start at the top, soapy water runs down and leaves streaks. The same principle applies to walls. Cleaning from top to bottom means every swipe carries dirt downward onto already-cleaned paint, forcing you to rinse again.
By reversing the order, you let gravity work with you—the dirty water runs onto the untouched portion of the wall, and your final wipe is always on a clean surface.
How To Execute The Bottom-up Technique
Start by wiping the baseboard and the lowest six inches of the wall with a damp microfiber cloth or sponge. Work in horizontal strokes, moving upward in overlapping rows. Use a separate bucket for rinsing your cloth to avoid spreading dirt.
For tall walls, use an extendable mop or a sponge on a pole, but keep the same bottom-to-top motion. Change your rinse water frequently, especially if you notice it turning gray.
When To Break The Rule
If you're spot-cleaning a single mark or smudge near the top of a wall, you can clean that area first without worrying about runoff. But for full-wall cleaning or tackling widespread dust and grime, always start low. The only exception is when you're using a spray-and-wipe method with minimal liquid—then the direction matters less.
Still, building the habit of bottom-to-top will serve you well on most cleaning days.
17. Don't Oversaturate the Wall
It's tempting to think more water means a deeper clean, but when it comes to walls, that's a fast track to trouble. Excess moisture doesn't just sit on the surface—it seeps into the drywall, softens the paint, and can leave behind ugly bubbles or streaks. The goal is a damp cloth, not a dripping one.
Using too much water is one of the most common wall-cleaning mistakes. Here's how to avoid it and keep your walls looking great.
Why Less Is More
Drywall is essentially compressed gypsum wrapped in paper. It soaks up water like a sponge. When you oversaturate the wall, moisture travels behind the paint, causing the paper layer to bubble or peel.
Even if you don't see damage immediately, trapped moisture can lead to mold or mildew over time.
The Damp Cloth Test
Before you start, wring out your sponge or cloth until no water drips when you squeeze it. Then press it against a clean section of the wall—it should leave a faint sheen that evaporates within a minute. If water runs down the wall, it's too wet.
If the cloth feels dry, it's too dry.
Work In Small Sections
Divide the wall into 2×2-foot sections. Clean one section at a time, rinsing and wringing your cloth frequently. This prevents dirty water from drying on the wall and keeps moisture levels in check.
For stubborn marks, use a bit of mild soap on an almost-dry cloth rather than adding more water.
Dry Immediately
After cleaning, go over the area with a dry microfiber cloth. This removes any lingering moisture and prevents water spots. Pay extra attention to seams and corners where water tends to pool.
A quick dry pass is your best defense against bubbling paint.
18. Use a Dry Cloth to Buff
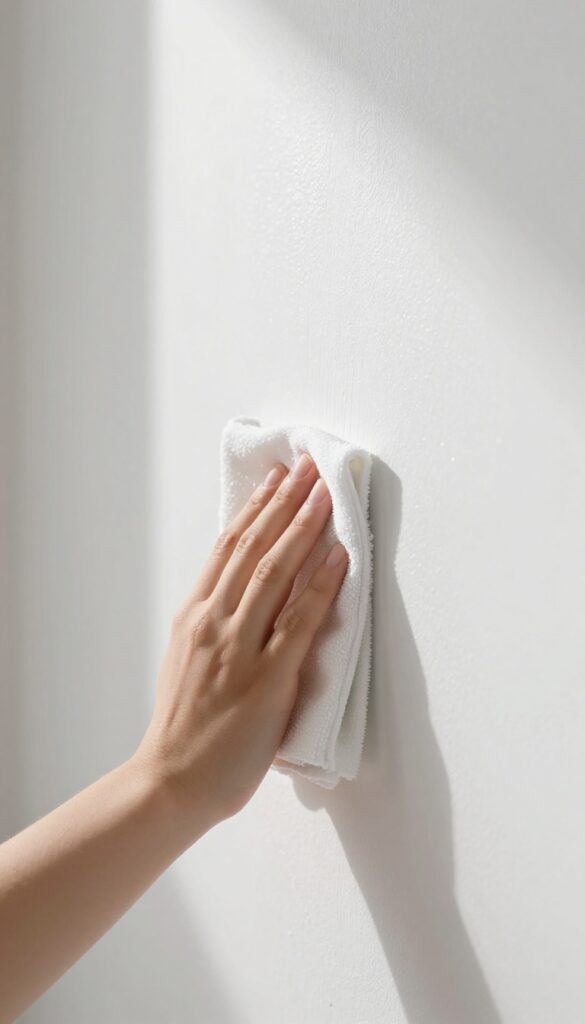
Once you've washed and rinsed your walls, the job isn't quite done. Leftover moisture can leave behind streaks, water spots, or even encourage mold growth in humid areas. That's where a simple buffing step makes all the difference.
A quick pass with a dry microfiber cloth picks up any lingering dampness and polishes the surface to a clean, even finish. It takes just a minute per section but dramatically improves the final look.
Buffing is the finishing touch that transforms a good wall cleaning into a great one. It removes the last traces of moisture, prevents water spots, and leaves the paint looking fresh and uniform. This step is especially important on dark or glossy paints where streaks are more visible.
Why Buffing Matters
Even after you think the wall is dry, a thin film of water can remain. As it evaporates, minerals and residue from your cleaning solution can leave cloudy spots or streaks. Buffing with a dry cloth wicks away that moisture before it has a chance to dry, giving you a spotless finish.
Best Cloth For The Job
Microfiber is your best bet here. It's highly absorbent and lint-free, so it won't leave behind fuzz or scratches. Avoid terry cloth or paper towels, which can shed fibers or leave tiny scratches on certain paint finishes.
A fresh, clean microfiber cloth works wonders.
How To Buff Properly
Use a light, circular motion and work in small sections. Start at the top and move downward so any drips are caught as you go. Don't press too hard—you're just absorbing moisture, not scrubbing.
Replace the cloth with a dry one once it feels damp to keep the process effective.
19. Protect Walls With a Clear Coating
Ever wish your walls came with a layer of armor? In a way, they can. A clear protective coating adds a durable shield that makes cleaning a breeze and keeps your paint looking fresh longer.
It's especially smart for hallways, kids' rooms, or any spot that sees a lot of action.
Applying a clear coating isn't as complicated as it sounds. You can use a clear wax, a polyurethane finish, or even a specialized wall protectant. The key is to choose a product that's compatible with your paint type and sheen.
Once it's on, smudges and marks wipe off with a damp cloth—no scrubbing needed.
Choosing The Right Coating
For matte or flat paint, a clear wax works well and adds a subtle sheen. For satin or semi-gloss, a water-based polyurethane is a better match. Always test a small patch first to make sure it doesn't darken or yellow your paint.
How To Apply It
Clean the wall thoroughly first. Then apply the coating with a clean microfiber cloth or a soft brush, using thin, even strokes. Let it dry completely before adding a second coat if needed.
It's a straightforward process that pays off every time you clean.
Where It Makes The Most Difference
Focus on high-touch zones: light switch plates, door frames, baseboards, and the walls near dining tables or pet areas. You'll notice that fingerprints and scuffs vanish with minimal effort, and your paint stays vibrant much longer.
20. Know When to Repaint
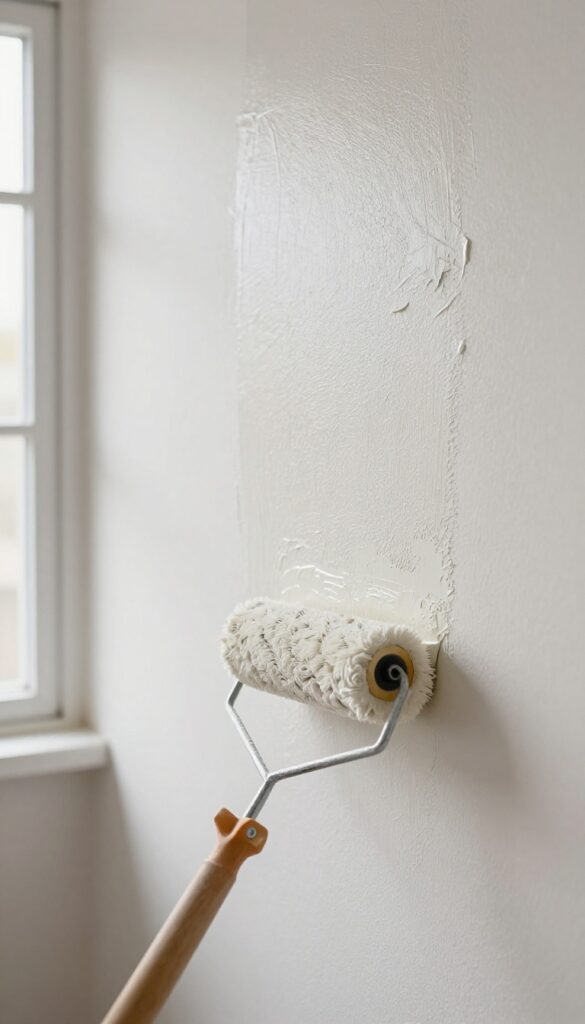
Sometimes no amount of scrubbing will bring a wall back to life. Maybe the paint has faded, the finish is worn, or stains have soaked in too deep. That's when you need to accept that cleaning has done all it can, and it's time for a fresh coat.
Signs It's Time
Look for uneven sheen, persistent stains, or paint that rubs off when you clean. If your wall feels rough or has bare spots, a new coat will do more than any cleaner can.
Choose Washable Paint
When you repaint, pick a satin or semi-gloss finish labeled washable or scrubbable. These paints handle repeated cleaning without losing their look, making future maintenance much easier.
Prep Like A Pro
Clean the wall thoroughly, patch holes, and sand rough areas before painting. Good prep ensures the new paint adheres well and lasts longer, so you won't need to repaint again soon.
FAQ
Can I use bleach on painted walls?
Bleach can damage paint and is not recommended. Use a vinegar solution or mild soap instead for mildew.
What's the best way to remove smoke residue from walls?
Mix a solution of 1 cup vinegar, 1 cup ammonia, 1/2 cup baking soda, and 1 gallon warm water. Wipe gently. Test first.
How often should I clean my walls?
Dust walls every few months. Wash high-touch areas like light switches and door frames every 3-6 months.
Can I use a pressure washer on exterior walls?
Yes, but use a low-pressure setting and keep the nozzle at least 12 inches away to avoid damaging siding or paint.
Conclusion
You don't need to scrub every wall in one go. Start with the most visible marks or the room that bothers you most, and try a couple of these methods with supplies you already have. Even spot-cleaning high-traffic areas can make your whole space feel fresher.
Consistency beats intensity here. A quick weekly dusting with a microfiber cloth or a gentle spot-clean when you see a mark will keep your walls looking great for years. Pick the tips that fit your routine and give them a try this weekend.