13 Cleaning Microwave With Vinegar Steps for Fast Steam
Your microwave is a workhorse, but all that reheating and cooking leaves behind splatters and odors. You could scrub for ages, or you could let steam do the heavy lifting. Vinegar is the secret weapon that cuts through grease without harsh chemicals.
These 13 steps turn microwave cleaning into a fast, almost effortless task. Each step builds on the last, so you get a spotless interior with minimal elbow grease.
Ready to make your microwave sparkle? Let's get steaming.
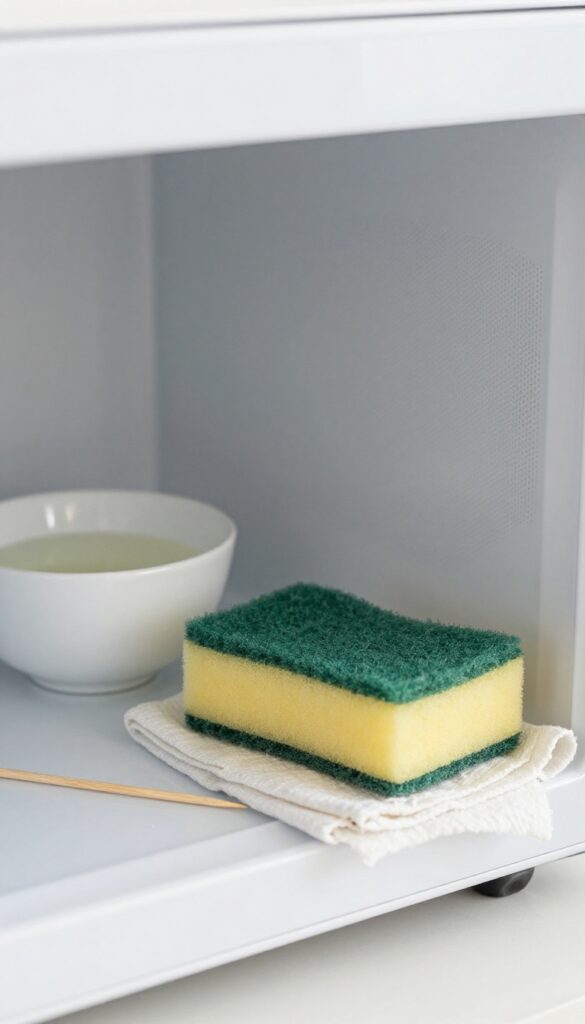
1. Gather Your Supplies

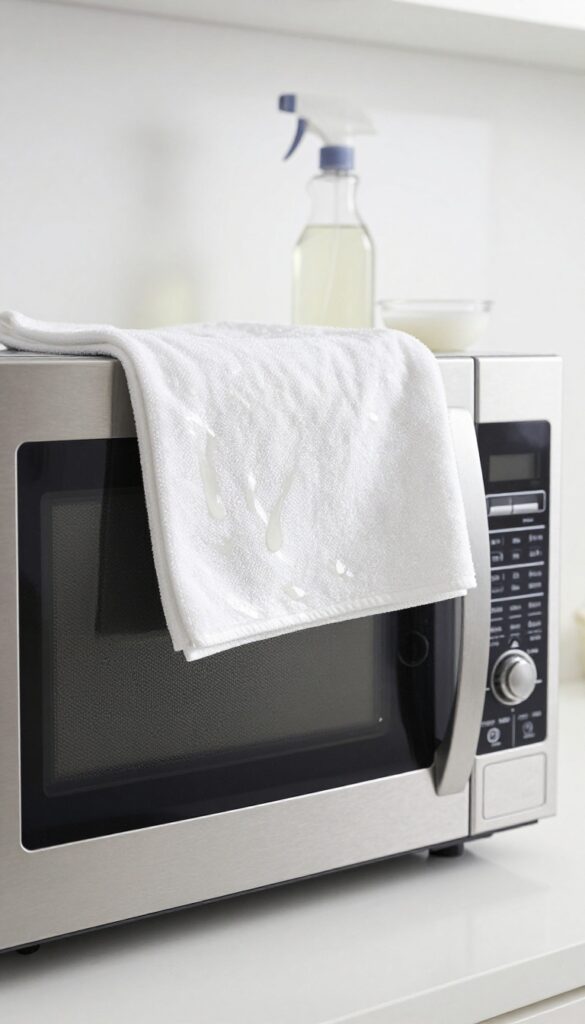
Before you start steaming, having everything within arm's reach makes the job quick and easy. You won't need anything fancy—just a few kitchen basics that you probably already have. This step sets you up for a smooth, uninterrupted cleaning session.
What You'll Need
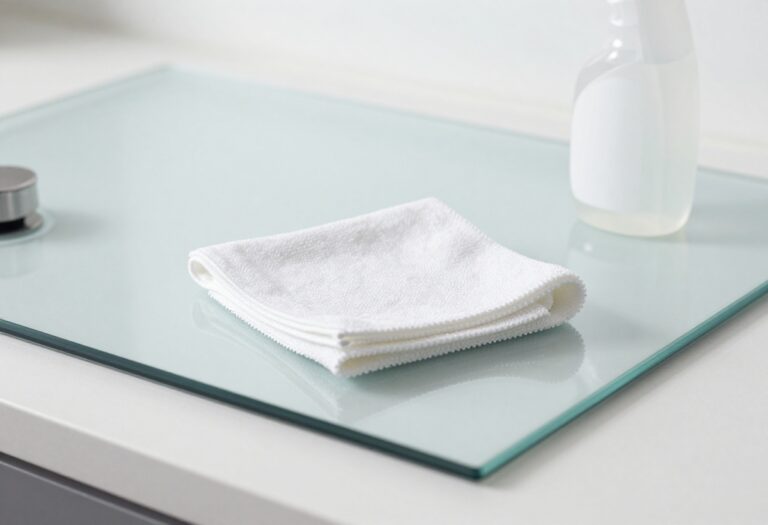
Grab a microwave-safe bowl (glass or ceramic works best), white vinegar, water, a clean sponge or microfiber cloth, and a toothpick or small brush for tight spots. That's it. No special cleaners required.
Why Vinegar Works
White vinegar is acidic enough to break down grease and food residue but gentle on surfaces. It also neutralizes odors naturally, leaving your microwave smelling fresh without chemical fumes.
Prep Your Workspace
Clear the counter near your microwave so you have room to set down supplies. Remove the turntable and any other removable parts—they can be cleaned separately or along with the interior.
2. Mix the Cleaning Solution
Now that you have your bowl and sponge ready, it's time to whip up the steam-making mixture. The ratio matters more than you might think. Too much vinegar and the smell will linger; too little and the steam won't cut through the grease.
Grab a microwave-safe bowl—glass or ceramic works best. Pour in one cup of water, then add one tablespoon of white vinegar. That's the sweet spot for everyday cleaning.
If your microwave has baked-on grime, you can bump it up to two tablespoons, but don't go overboard. The goal is effective steam, not a pungent cloud that makes you cough. Stir the mixture gently or just let the vinegar disperse on its own.
That's it—your cleaning solution is ready to go.
Why Vinegar Works So Well
White vinegar is acidic enough to dissolve grease and loosen dried food, but mild enough not to damage your microwave's interior. When heated, the vinegar molecules turn into steam that penetrates every corner, softening splatters so they wipe away easily. Plus, it neutralizes odors instead of just covering them up.
Adjusting For Tough Grime
For stubborn, crusty spots, increase the vinegar to two tablespoons per cup of water. You can also add a squeeze of lemon juice for extra degreasing power and a fresh scent. Just avoid using more than three tablespoons of vinegar total—strong fumes can be irritating and may leave a lingering smell.
What Not To Add
Skip the baking soda—it will fizz and make a mess. Don't use bleach or harsh cleaners either; they can damage the microwave's interior and create harmful fumes when heated. Stick to plain white vinegar and water for a safe, effective steam clean.
3. Place the Bowl Inside
Now that your vinegar-water mixture is ready, it's time to position it right. Where you set the bowl matters more than you might think. A centered, stable placement ensures the steam circulates evenly, hitting every greasy spot.
Setting the bowl in the center of the turntable is the sweet spot. This allows the rotating mechanism to distribute steam uniformly as it spins. If the bowl touches the walls, steam gets trapped in one area, leaving other parts untouched.
Also, make sure the bowl is microwave-safe and not too tall—it shouldn't touch the ceiling. A wide, shallow bowl works best because it maximizes surface area for steam release.
Center It Right
Place the bowl dead center on the turntable. This ensures the microwave's rotating action spreads steam evenly. If your microwave doesn't have a turntable, just put the bowl in the middle of the floor.
Check Clearance
Make sure the bowl isn't touching any walls or the ceiling. Steam needs room to circulate. A bowl that's too tall can block the vent or cause uneven heating.
Stability Matters
Use a bowl with a flat, stable base. A wobbly bowl can tip over, spilling the mixture and making a mess. If your bowl is lightweight, add a bit more water to weigh it down.
4. Heat on High for 5 Minutes
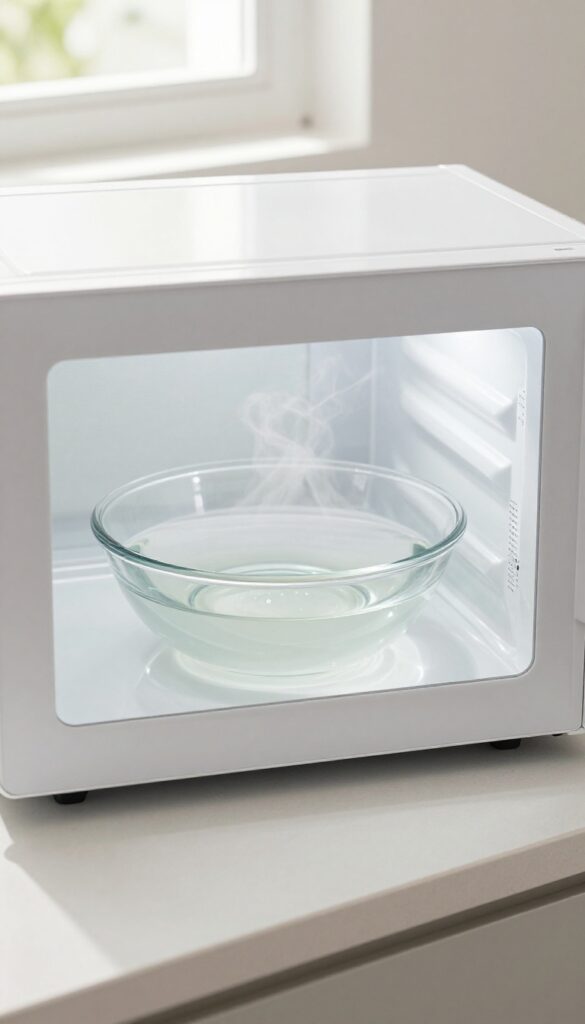
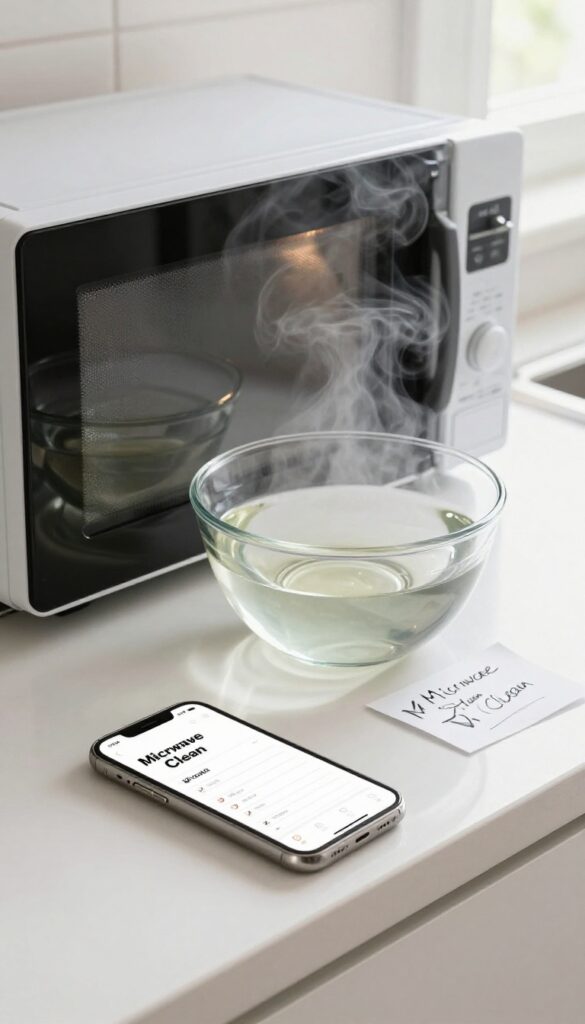
Once the bowl is in place, it's time to let the microwave do the work. Running it on high power brings the vinegar-water mixture to a rapid boil, filling the cavity with steam. This steam is the real cleaner—it softens dried-on food and loosens grease without any scrubbing yet.
Five minutes is usually enough, but you can add a minute or two if your microwave is especially dirty.
Set the microwave to full power and start the timer. As the mixture heats, you'll see steam building up on the door and walls. Don't open the door early—let the steam accumulate for the full duration.
The heat and moisture work together to break down stubborn residues, making them easy to wipe away later. If your microwave has a turntable, it will keep spinning, which helps distribute the steam evenly.
Why 5 Minutes Works Best
Five minutes is the sweet spot for most microwaves. It's long enough to generate plenty of steam but not so long that the bowl boils dry. If you have a lower-wattage microwave (under 1000 watts), you might need 6 or 7 minutes.
For high-wattage models, 4 minutes could suffice. Watch through the window—when you see heavy condensation on the glass, you're good.
What To Do If The Mixture Boils Over
Boil-overs are rare if you used the right bowl size, but they can happen. If you see liquid bubbling over the rim, stop the microwave immediately. Let it cool, then wipe up the spill with a cloth.
Next time, use a larger bowl or reduce the vinegar amount slightly. A small amount of spill won't ruin anything, but it's best to avoid it.
Letting The Steam Sit After Heating
When the timer ends, don't open the door right away. Let the steam sit inside for 2 to 3 minutes. This extra time allows the condensation to penetrate tougher grime.
The interior will be hot, so be careful when you finally open the door—stand back to avoid the initial burst of steam.
5. Let It Sit for 2 Minutes
The microwave just beeped, but don't rush to open the door just yet. That two-minute wait is a secret weapon. The trapped steam keeps working, softening baked-on splatters and dried gunk without any extra effort from you.
Think of it as a free pass to let the heat do the scrubbing.
Steam needs time to penetrate and loosen tough residue. If you open the door immediately, you release the steam and lose that benefit. Waiting just two minutes makes the difference between wiping away grime and having to scrub hard.
It's a small pause that pays off big.
Why The Wait Matters
Steam works by condensing on cool surfaces, then re-evaporating, which helps dissolve grease and food particles. When you let the bowl sit, the steam circulates and repeatedly condenses, maximizing its cleaning power. Opening the door early cuts this cycle short.
What Happens Inside
During those two minutes, the steam softens dried splatters on the ceiling, walls, and turntable. The vinegar in the steam also helps break down grease and neutralize odors. You'll see droplets forming on surfaces, which is a good sign—they're doing the work for you.
Don't Peek—trust The Steam
Resist the urge to check progress. Every time you open the door, you let out heat and moisture, reducing effectiveness. Set a timer if you need to, or just walk away for two minutes.
When you come back, the interior will be primed for easy cleaning.
6. Carefully Remove the Bowl
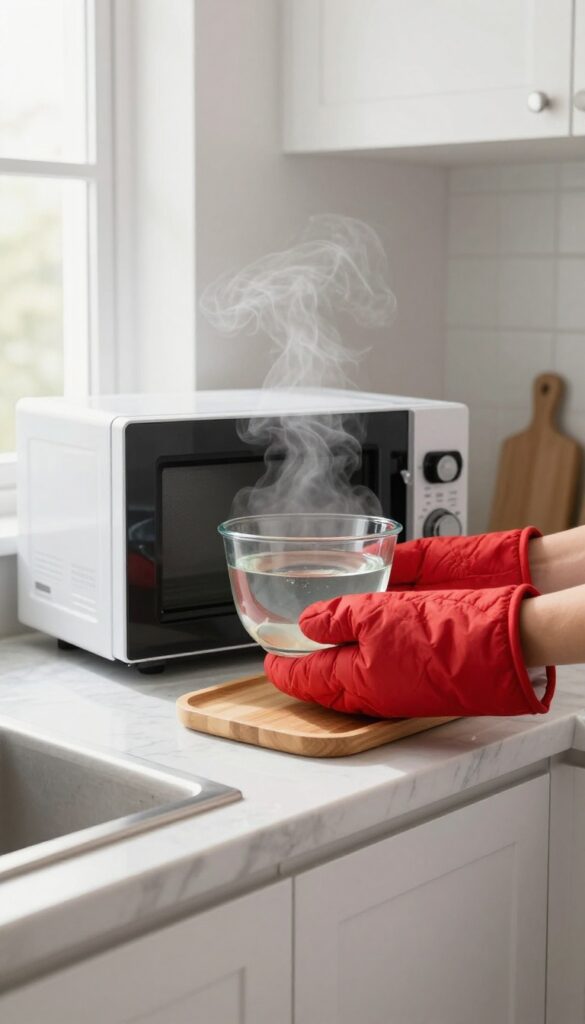
The microwave just beeped, signaling the end of the steam cycle. That bowl is now filled with hot liquid and the interior is steamy. Your next move is to safely remove the bowl without getting burned or releasing a face full of steam.
Protect Your Hands
Grab a pair of oven mitts or a thick kitchen towel. The bowl and the microwave interior are hot. Never use a thin cloth or your bare hands.
Wrap the mitts securely around the bowl, gripping the sides firmly.
Open The Door With Caution
Stand to the side of the microwave door, not directly in front. Open it slowly to let the initial burst of steam escape away from your face. This prevents any accidental burns from the hot vapor.
Set The Bowl Aside
Lift the bowl straight out and place it on a heat-safe surface, like a trivet or a folded towel. Let it cool completely before handling or discarding the vinegar water. Do not leave it where someone might accidentally grab it.
7. Wipe Down Interior Surfaces
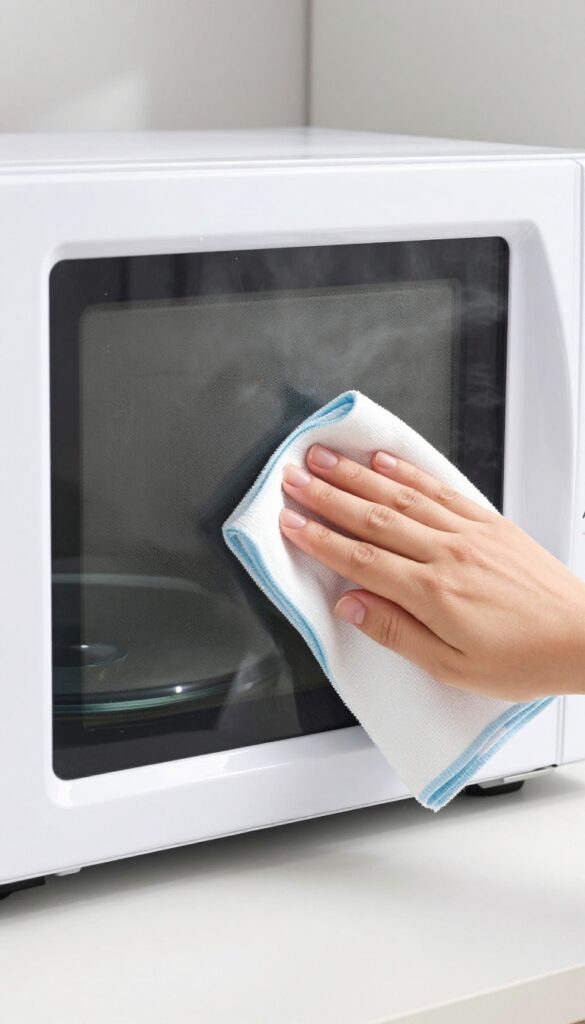
Once the steam has done its magic, it's time for the satisfying part—wiping everything clean. The heat and moisture loosen dried-on food and grease, so you won't need to scrub hard. A quick pass with a damp sponge or cloth is usually all it takes.
Start With The Ceiling
Begin at the top and work your way down. The ceiling often collects the most splatter, and gravity will carry drips onto lower surfaces. Use a sponge or microfiber cloth dipped in warm water (or the leftover vinegar solution) and wring it out well.
Wipe in one direction to avoid spreading grime.
Hit The Walls And Floor
Move to the side walls, then the back wall, and finally the floor. Rinse your sponge frequently in clean water to avoid redepositing grease. For stubborn spots, let the damp cloth sit on the area for a few seconds to rehydrate the residue before wiping again.
Don't Forget The Door And Edges
The inside of the door and the rubber seal often get overlooked. Wipe the glass and the seal gently to remove any trapped food particles. A clean seal ensures the microwave closes properly and prevents steam from escaping during future use.
8. Clean the Turntable and Rollers
The glass plate and roller ring take a beating from spills and splatters. They also trap grime that can make your microwave smell funky. Luckily, they're easy to clean on their own.
Remove And Wash
Carefully lift out the glass plate and roller ring. Wash them in warm soapy water with a soft sponge. If they're dishwasher-safe, you can toss them in the top rack for a thorough clean.
Don't Forget The Rollers
The little roller wheels underneath the plate collect crumbs and grease. Use an old toothbrush or a small brush to scrub them clean. Rinse well and let them air dry.
Dry Before Replacing
Wipe the turntable and rollers completely dry with a lint-free cloth. Moisture left behind can cause mold or make the plate slip. Once dry, put them back in place.
9. Tackle Stubborn Spots
Even after a good steam and wipe, some dried-on bits might cling to the microwave walls or turntable. Don't reach for a heavy-duty scrubber just yet. A little extra vinegar and a gentle touch can lift those stubborn spots without scratching the surface.
For dried-on bits, dip a sponge in the leftover vinegar solution and scrub gently. A toothpick can help dislodge food from small holes.
Use A Softer Touch
Grab a non-abrasive sponge or a soft cloth. Dip it into the leftover vinegar-water mixture from your steam bowl. Gently rub the stubborn spots in a circular motion.
The acid in the vinegar breaks down the dried food without you having to scrub hard.
Target Small Holes Carefully
Microwave vent holes or the edges of the turntable can trap food. A wooden toothpick works wonders here. Gently poke or scrape the debris out.
Avoid metal objects, which can damage the interior or cause sparks.
Let It Sit For A Moment
If a spot doesn't come off right away, soak a paper towel in the vinegar solution and lay it over the area. Let it sit for a few minutes. This softens the grime, so a quick wipe afterward removes it easily.
10. Deodorize with Lemon or Baking Soda
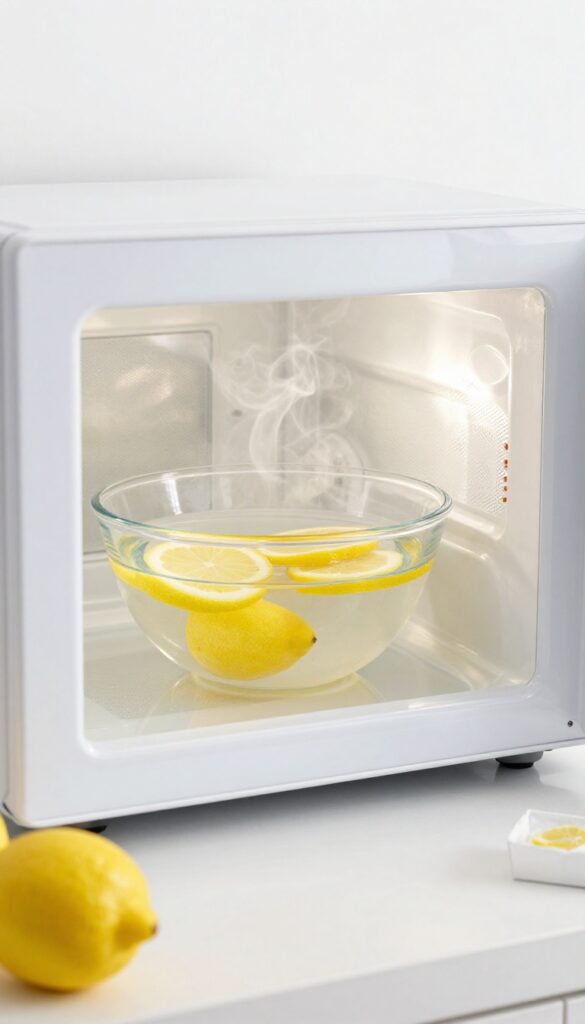
Vinegar is great for cutting grease, but its smell can hang around. If your microwave still has a faint vinegar odor after cleaning, don't worry—it's easy to fix. A quick lemon steam or a bowl of baking soda will leave it smelling fresh.
Lemon is a natural deodorizer that works fast. Slice a lemon into a bowl of water, microwave on high for 3 minutes, and let it sit for 2 more minutes before opening. The citrus scent neutralizes any lingering vinegar smell.
Alternatively, baking soda absorbs odors overnight. Just place an open dish of baking soda inside the microwave and leave it until morning. Both methods are simple and use ingredients you probably already have.
Lemon Steam Refresh
Fill a microwave-safe bowl halfway with water. Add a few lemon slices or a tablespoon of lemon juice. Microwave on high for 3 minutes, then leave the door closed for 2 minutes.
The steam carries lemon compounds that neutralize odors. After that, wipe down the interior with a dry cloth—it'll smell like a fresh citrus grove.
Baking Soda Overnight Trick
For stubborn smells, skip the steam and go straight to baking soda. Pour about half a cup of baking soda into a small bowl and place it in the microwave. Leave it uncovered overnight.
Baking soda absorbs odors without any effort. In the morning, just toss it out. This works especially well if you've cooked fish or other strong-smelling foods.
11. Wipe the Door and Seal
The door interior and rubber gasket often get overlooked, but they collect just as much grime as the rest of the microwave. Splatters dry onto the glass, and food particles can get trapped in the seal, leading to odors or even mold. A quick wipe with vinegar water keeps everything fresh and functional.
After the interior surfaces are clean, shift your focus to the door. Open it fully and inspect the glass panel and the rubber gasket around the edges. Dip a clean cloth in your vinegar-water solution and wring it out so it's damp, not dripping.
Wipe the entire door interior, paying extra attention to the corners and the gasket. For stubborn spots, let the cloth sit on the area for a minute to loosen the grime. Finally, dry the door with a soft towel to prevent streaks and moisture buildup.
Why The Gasket Matters
The rubber gasket creates a tight seal when the door closes, keeping steam and heat inside. If it's caked with food residue, the seal may weaken, reducing efficiency. Vinegar's mild acidity dissolves grease and kills mold spores, making it ideal for this sensitive area.
How To Reach Crevices
Use a cotton swab or an old toothbrush dipped in vinegar water to clean the narrow grooves where the gasket meets the door frame. This prevents buildup that can harden over time and become difficult to remove.
Don't Forget The Exterior
While you're at it, give the outside of the door a quick wipe too. Fingerprints and splatters on the handle and control panel can be cleaned with the same vinegar solution. Just avoid spraying directly onto vents or electrical components.
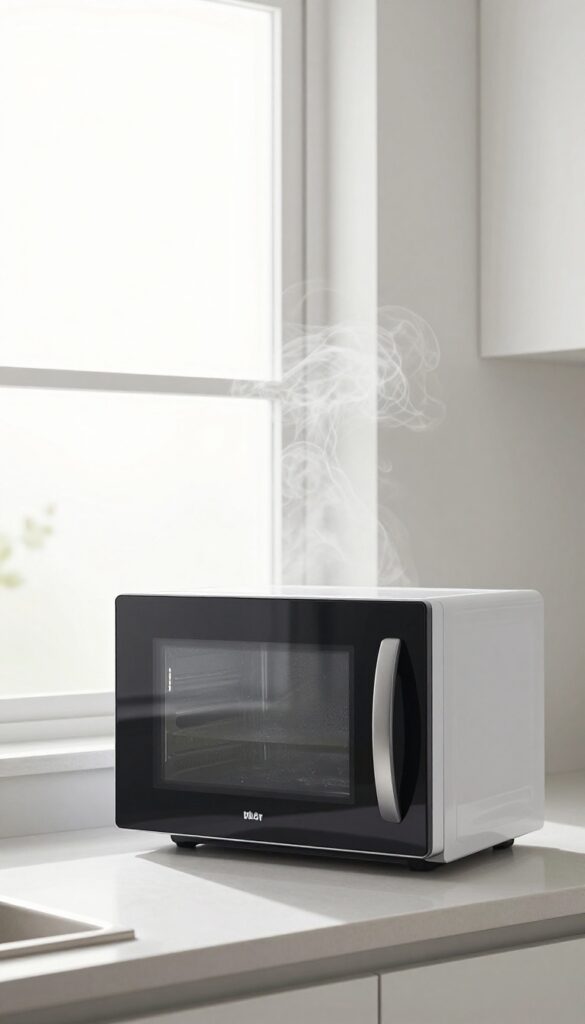
12. Clean the Exterior
Your microwave's exterior sees just as much action as the inside. Fingerprints, splatters, and dust collect on the door, handle, and control panel. A quick vinegar wipe keeps it looking fresh without damaging the finish.
Mix The Right Solution
Combine equal parts white vinegar and water in a spray bottle. This mild solution is safe for most surfaces. For stainless steel, add a drop of dish soap to help cut grease and prevent streaks.
Wipe Down The Exterior
Spray the solution onto a soft microfiber cloth, not directly onto the microwave. Wipe the door, handle, and control panel gently. Avoid spraying near vents or openings to prevent liquid from seeping inside.
Handle Stainless Steel Carefully
Stainless steel requires a bit more care. After wiping, immediately dry the surface with a clean, dry cloth. Buff in the direction of the grain to avoid streaks and maintain the finish.
13. Maintain a Regular Schedule
A quick weekly steam clean keeps your microwave looking and smelling fresh. It’s way easier to prevent buildup than to scrub off week-old splatters. Once you make it a habit, you’ll barely think about it.
Consistency is the secret to a microwave that always looks clean. A regular schedule means less scrubbing and more time enjoying your kitchen. Plus, it keeps odors from setting in.
Set A Weekly Reminder
Pick one day a week—say Sunday evening—to run your vinegar steam. A simple phone reminder makes it automatic. After a few times, it’ll become second nature.
Adjust For Heavy Use
If you microwave multiple times a day, consider a mid-week refresh. Heavy users benefit from two steam cleans per week. It takes just a few minutes and prevents stubborn grime.
Tie It To Another Routine
Pair microwave cleaning with another weekly task, like taking out the trash or wiping down counters. Linking habits helps you remember without extra effort.
FAQ
Can I use apple cider vinegar instead of white vinegar?
Yes, but white vinegar is preferred because it's clear and less likely to stain. Apple cider vinegar works but may leave a slight scent.
Is it safe to heat vinegar in the microwave?
Yes, as long as you use a microwave-safe bowl and don't overheat. The small amount of vinegar diluted in water is perfectly safe.
How often should I clean my microwave with vinegar?
Once a week is ideal for regular use. If you have heavy splatters, you can do it more often without damaging the appliance.
Will the vinegar smell linger in my microwave?
It might temporarily, but it dissipates quickly. You can speed up the process by wiping with plain water or using lemon as described.
Can I use this method on a stainless steel microwave?
Yes, the steam and vinegar solution are safe for stainless steel interiors. Just avoid abrasive scrubbers that could scratch the surface.
Conclusion
Cleaning your microwave with vinegar is a quick, natural way to cut through grease and food residue without harsh chemicals. The steam does the heavy lifting, so you barely have to scrub. By following these 13 steps, you can keep your microwave looking and smelling fresh with minimal effort.
Make it a regular habit, and you'll never dread cleaning that splattered appliance again. Your microwave will thank you—and so will your nose.