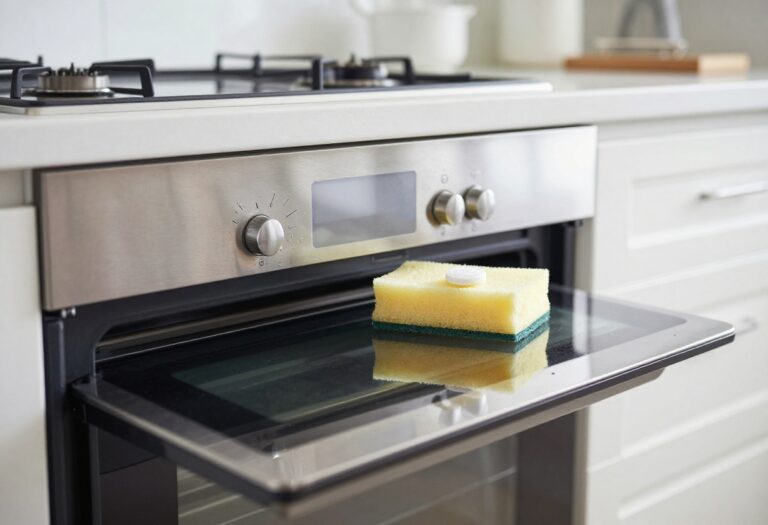
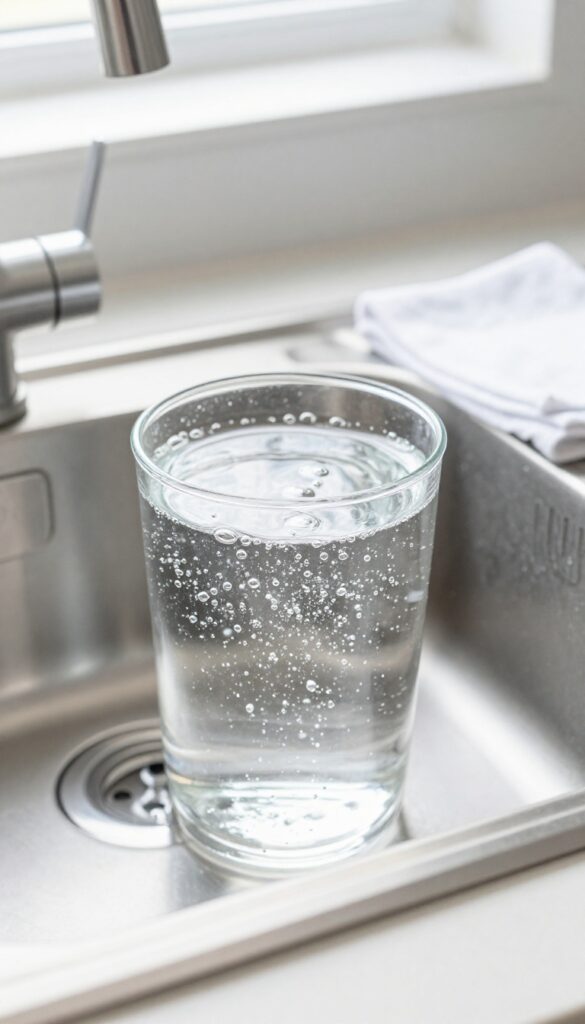
15 Sink Cleaning Tips for Stains, Odor, and Shine
A sparkling sink doesn't have to mean harsh chemicals or endless scrubbing. With a few pantry staples and clever tricks, you can banish stains, odors, and dullness in minutes.
These 15 tips target every problem area—from cloudy stainless steel to smelly garbage disposals—so your sink looks and smells fresh every day.
Let's dive into the methods that deliver real shine without the extra effort.
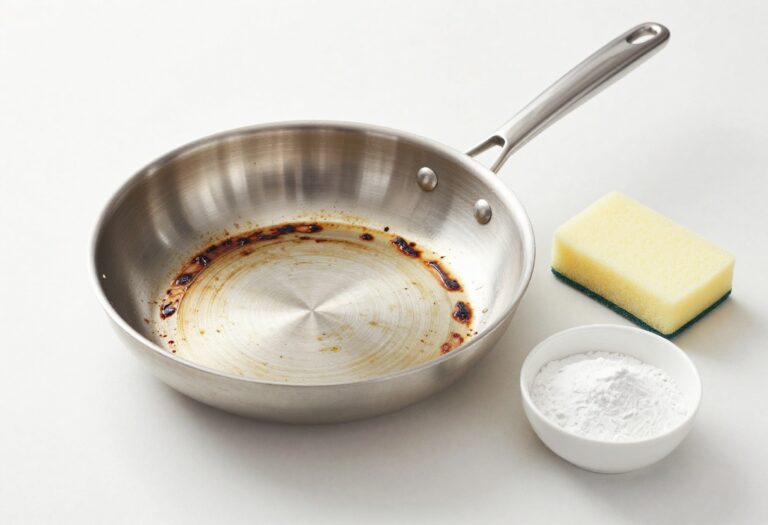
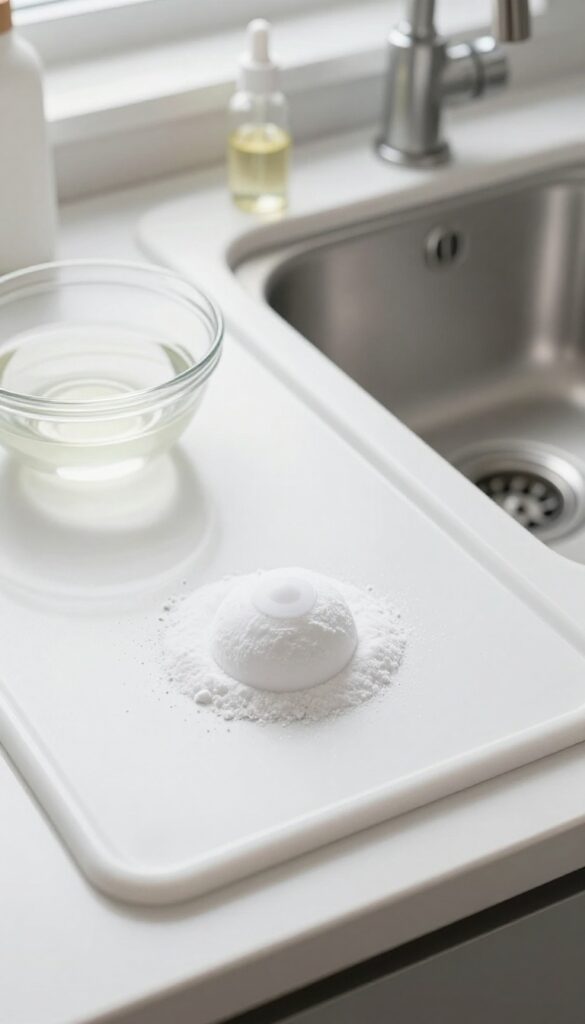
1. Baking Soda and Vinegar Fizz for Deep Cleaning
Sometimes the simplest solutions work best. Baking soda and vinegar create a fizzy reaction that lifts grime and neutralizes odors without scrubbing forever. This dynamic duo is gentle enough for daily use but powerful enough for tough buildup.
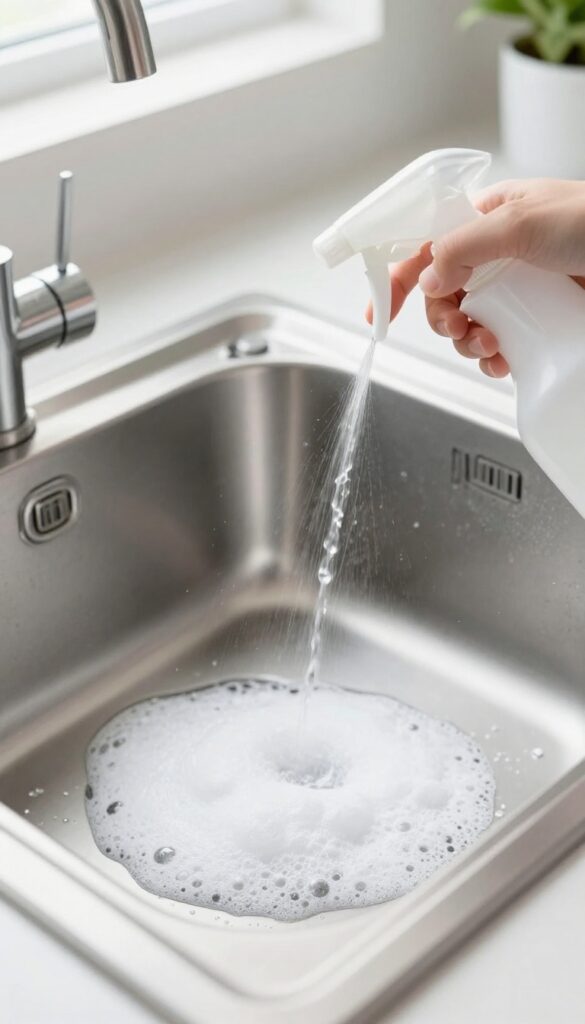
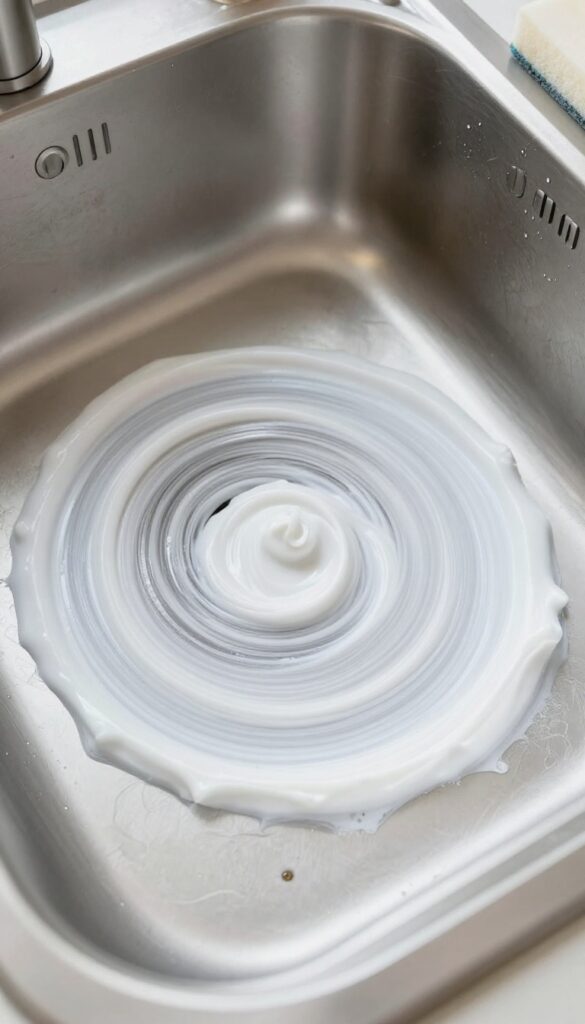
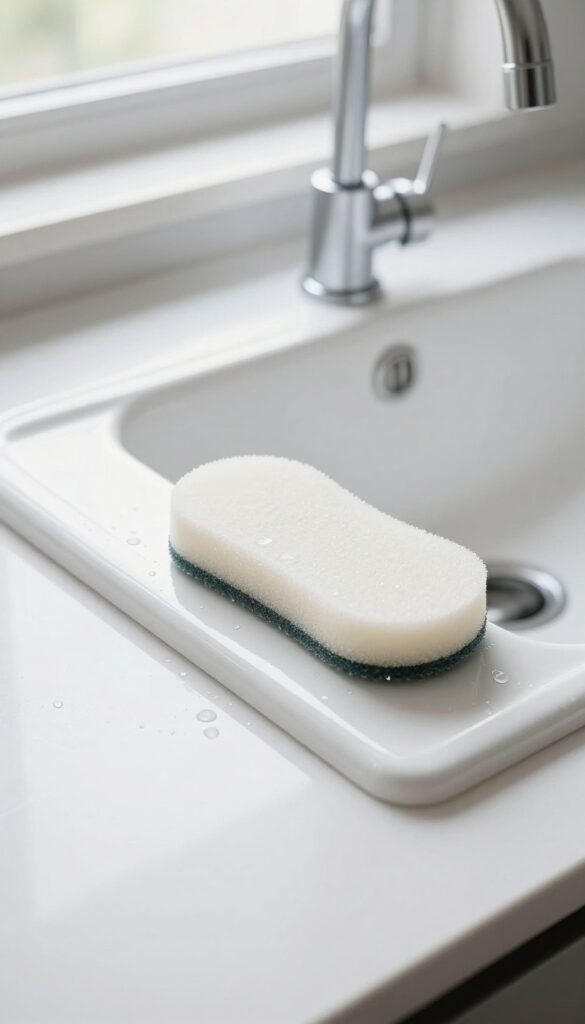
Start by sprinkling a generous layer of baking soda over the entire sink surface. Then spray or pour white vinegar over it until it starts to fizz. Let the mixture sit for 5–10 minutes—the bubbling action loosens stuck-on food, grease, and soap scum.
After that, scrub with a soft sponge or brush, focusing on corners and around the drain. Rinse thoroughly with warm water and dry with a microfiber cloth for a streak-free shine. This method works wonders on stainless steel, porcelain, and enamel sinks.
For extra stubborn stains, make a paste with baking soda and a little water, apply it directly, then spray vinegar on top.
Why This Combo Works So Well
Baking soda is a mild abrasive that scrubs without scratching, while vinegar's acidity dissolves mineral deposits and cuts through grease. The fizzing action helps lift debris from crevices, making it easier to rinse away. Plus, both ingredients are natural deodorizers, so your sink smells fresh after cleaning.
Best Sink Types For This Method
This technique is safe for most sink materials, including stainless steel, porcelain, ceramic, and enamel. Avoid using it on natural stone sinks like granite or marble, as the acid in vinegar can etch the surface. For those, stick to a baking soda paste with water only.
Pro Tips For Maximum Results
Use white vinegar—apple cider or balsamic can stain. If your sink has a lot of buildup, let the fizz sit longer, up to 15 minutes. For a deeper clean, scrub with a soft-bristled brush instead of a sponge.
Always rinse well and dry immediately to prevent water spots.
2. Lemon and Salt Scrub for Stain Removal
When your sink starts looking dull or stained, reach for a lemon and some salt. This dynamic duo cuts through grime without scratching surfaces. The citric acid breaks down mineral deposits and food residue, while salt provides gentle abrasion.
Plus, you get that fresh citrus scent as a bonus.
Cut a lemon in half, dip the cut side in salt, and scrub the sink in circular motions. The acid in lemon breaks down stains while the salt acts as a gentle abrasive. Rinse thoroughly for a fresh scent.
Why It Works
Lemon juice contains citric acid, a natural cleaner that dissolves soap scum, hard water spots, and light rust stains. Salt adds texture to lift grime without scratching stainless steel, porcelain, or enamel. Together, they create a paste that polishes as it cleans.
How To Do It Right
Use a fresh lemon—not bottled juice—for maximum acidity. Cut it in half, sprinkle a tablespoon of coarse salt on the cut side, and scrub the sink surface in small circles. Focus on stained areas, then let the mixture sit for 2–3 minutes before rinsing with warm water.
Dry with a soft cloth to prevent water spots.
When To Skip This Method
Avoid this scrub on natural stone sinks like granite or marble, as the acid can etch the surface. Also, don't use it on sinks with a protective coating or antique finishes—test on an inconspicuous spot first.
3. Hydrogen Peroxide and Baking Soda Paste for Tough Stains
Stubborn stains like coffee rings, tea splashes, or rust spots can make your sink look older than it is. Instead of reaching for harsh bleach, try a gentle but powerful paste made from hydrogen peroxide and baking soda. This combo lifts discoloration without damaging the surface, and it's safe for most sink materials including stainless steel, porcelain, and ceramic.
Mix three parts baking soda with one part hydrogen peroxide until you get a thick, spreadable paste. Apply it directly to the stained areas, making sure the paste covers the discoloration completely. Let it sit for 15 to 20 minutes—the hydrogen peroxide works to break down the stain while the baking soda gently abrades it.
Then scrub with a soft sponge or brush, using circular motions. Rinse thoroughly with warm water and dry with a microfiber cloth. For extra-stubborn marks, you can let the paste sit longer—up to 30 minutes—but don't let it dry completely.
Repeat if needed, but one treatment usually does the trick.
Why This Combo Works
Hydrogen peroxide is a natural bleaching agent that oxidizes stain molecules, making them colorless and easy to remove. Baking soda acts as a mild abrasive that physically scrubs away the stain without scratching. Together, they create a fizzing reaction that helps lift grime from the pores of the sink surface.
Best Stain Types For This Method
This paste is especially effective on organic stains like coffee, tea, juice, and wine. It also works well on light rust stains and hard water deposits. However, it's not recommended for deep-set rust or scratches, which may need a specialized cleaner.
Safety Tips
Always test the paste on a small, hidden area first, especially if your sink has a colored or coated finish. Do not use on marble, granite, or other porous natural stones, as the peroxide can etch the surface. Wear gloves if you have sensitive skin, and avoid mixing with vinegar or other acids, as that can create a corrosive reaction.
4. Ice Cubes and Salt to Sharpen Disposal Blades
Your garbage disposal works hard, but it can get grimy and dull over time. Instead of reaching for harsh chemicals, try this simple trick with ice and salt. It's a quick way to sharpen the blades and freshen things up without any elbow grease.
Drop a handful of ice cubes and a cup of rock salt into the garbage disposal. Run cold water and turn on the disposal. The ice helps dislodge debris while the salt scours the blades, reducing odors.
Why Ice Works
Ice cubes are firm enough to knock off stuck-on food particles but won't damage the disposal. As they grind, they create a scrubbing action that cleans the blades and the interior chamber. Plus, the cold water keeps any fats or oils solid so they get flushed away instead of coating the blades.
Salt As A Natural Scrub
Rock salt is coarse and abrasive, making it perfect for scouring the blades without scratching them. It helps remove built-up residue and neutralizes odors. Table salt works in a pinch, but rock salt is better because the larger crystals provide more scrubbing power.
How Often To Do This
Aim for once a week to keep your disposal running smoothly and smelling fresh. If you notice a lingering odor or slower grinding, you can do it more frequently. Just remember to always run cold water during the process to protect the disposal's motor.
5. Boiling Water Flush for Grease and Clogs
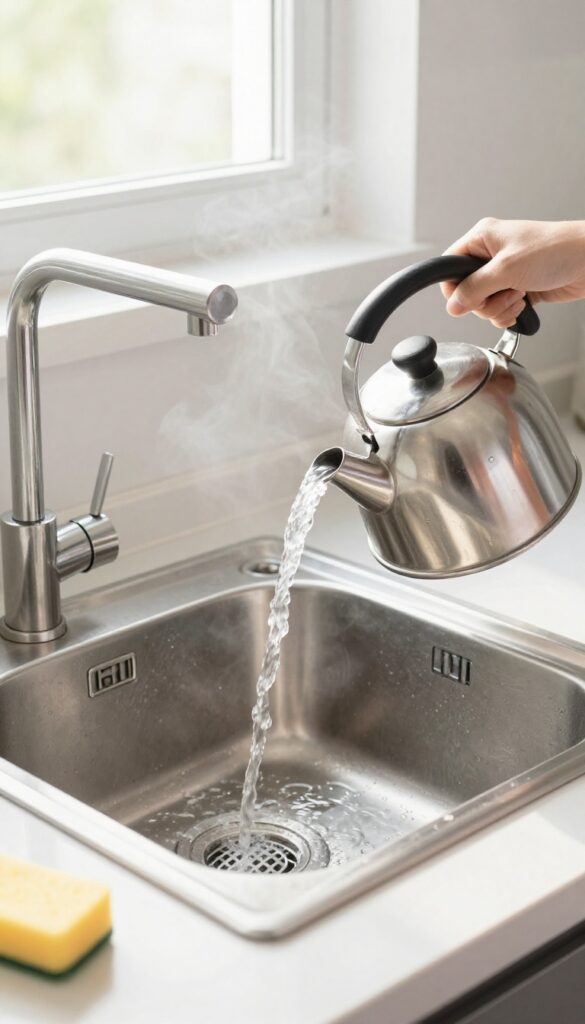
Grease buildup and slow drains are common sink headaches, but you don't need a plumber for simple fixes. A kettle of boiling water works wonders on soft clogs and greasy pipes when used regularly. Just be smart about your sink material to avoid damage.
Pouring boiling water down the drain once a week helps melt grease and clear minor blockages before they become stubborn clogs. This method is especially effective for kitchen sinks where cooking oils and food scraps accumulate. For stainless steel sinks, let the water cool for about 30 seconds after boiling to prevent warping or discoloration.
Cast iron or enamel sinks can handle direct boiling water without issue.
Why It Works
Hot water liquefies grease that solidifies inside pipes, allowing it to flow away easily. It also dislodges soap scum and food particles that contribute to slow drainage. A weekly flush maintains clear pipes without chemicals.
When To Avoid This Method
Skip boiling water if you have PVC pipes, as high heat can soften or damage them. Also avoid it if you've recently used a chemical drain cleaner, as the reaction can be dangerous. Stick to warm water in those cases.
Tips For Best Results
Use a full kettle of freshly boiled water for maximum effect. Pour slowly and directly into the drain, not over the sink surface. Follow up with cold water to help reset the pipes.
For extra oomph, add a tablespoon of baking soda before the hot water.
6. Club Soda Soak for Shine and Stain Prevention
Club soda isn't just for mixing drinks—it's a secret weapon for sink care. The carbonation and mild acidity work together to lift dirt and mineral deposits without scrubbing. A quick soak leaves your sink looking like new and helps prevent future stains from setting in.
Fill your sink with warm water and add a full liter of club soda. Let it sit for 10 minutes—the bubbles will loosen grime and dissolve hard water spots. Drain the water, then wipe the sink dry with a soft microfiber cloth.
The result is a streak-free shine that lasts. For extra protection, do this soak once a week to keep mineral buildup at bay.
Why Club Soda Works
The carbonation creates tiny bubbles that gently lift dirt from the surface without scratching. The mild carbonic acid helps dissolve alkaline mineral deposits, making it especially effective on hard water stains. Unlike vinegar, club soda leaves no lingering smell.
Best Sink Materials For This Method
This soak is safe for stainless steel, porcelain, enamel, and composite sinks. Avoid using it on natural stone like marble or granite, as the acidity can dull the finish. Always test a small hidden area first if you're unsure.
Pro Tips For Best Results
Use cold or room-temperature club soda—hot water can reduce carbonation. For extra cleaning power, add a squeeze of lemon juice. After soaking, rinse with plain water and dry immediately to prevent water spots.
7. Toothbrush Detailing for Faucet and Drain Areas
A sponge handles the wide open spaces, but what about the tight spots around your faucet and drain? Those little crevices are grime magnets. An old toothbrush is the perfect tool to get into those nooks and crannies.
Mix a thick paste of baking soda and water. Dip an old toothbrush into the paste and scrub around the faucet base, the drain flange, and any decorative ridges or crevices on your fixtures. Pay extra attention to the area where the faucet meets the counter—it's a common spot for soap scum and hard water buildup.
Rinse thoroughly with warm water after scrubbing. This simple trick removes hidden grime and restores shine to those hard-to-reach areas.
Why The Toothbrush Works Best
The bristles of a toothbrush are stiff enough to dislodge caked-on grime but soft enough not to scratch most sink finishes. They can reach into the narrow gaps around the drain flange and faucet base where a sponge can't fit. Plus, the small size gives you precise control.
Targeting The Drain Flange
The drain flange often develops a ring of gunk that's tough to remove with a cloth. Scrub the flange in a circular motion with the baking soda paste. For extra stubborn buildup, add a drop of dish soap to the paste.
Rinse well to reveal a clean, shiny surface.
Faucet Crevices And Details
Many faucets have decorative details or ridges that trap grime. Use the toothbrush to work the paste into these areas. For a final polish, wipe with a damp microfiber cloth.
The result is a faucet that looks like new.
8. Bleach Solution for Whitening Porcelain Sinks
Porcelain sinks can lose their bright white finish over time, especially from coffee, tea, or rust stains. A diluted bleach solution is a powerful way to restore their original color without heavy scrubbing. Just be careful not to overdo it, as bleach can eventually dull the surface with repeated use.
Mixing The Right Ratio
The key is to use a gentle mix: one part bleach to four parts water. This is strong enough to lift stains but not so concentrated that it damages the porcelain glaze. Always add bleach to water, not the other way around, to avoid splashing.
Application And Dwell Time
Wet the sink surface first, then apply the solution with a soft sponge or cloth. Let it sit for about five minutes—no longer. For tough stains, you can use a soft-bristled brush, but avoid abrasive pads that can scratch the finish.
Rinsing And Frequency
Rinse thoroughly with warm water until no bleach smell remains. Wipe dry with a clean towel to prevent water spots. Use this method only once a month or less, as frequent bleaching can cause yellowing or etching over time.
9. Rubbing Alcohol for a Streak-Free Mirror Finish
After a deep clean, your stainless steel sink can still look dull or streaky. Rubbing alcohol cuts through leftover residue and evaporates fast, leaving a mirror-like shine. It’s a simple final step that makes a big difference in appearance.
Rubbing alcohol is a fantastic finishing touch for stainless steel sinks. It removes any lingering soap film, hard water spots, or oils from your hands. Plus, it dries instantly, so you won't have to buff or wait around.
Just a quick wipe and you're done.
Why It Works So Well
Alcohol is a solvent that dissolves grease and residue without leaving its own marks. Unlike water, it evaporates completely, preventing streaks. It also sanitizes the surface, adding a layer of cleanliness.
How To Use It
Pour a small amount of rubbing alcohol onto a clean, dry microfiber cloth. Wipe the entire sink surface in one direction, overlapping slightly. Let it air dry—no rinsing needed.
For extra shine, follow with a dry section of the cloth.
Best Practices
Use 70% or higher isopropyl alcohol. Avoid using it on painted or coated sinks, as it may damage the finish. Always test on a small hidden area first.
Keep the cloth clean to avoid redistributing dirt.
10. Essential Oils for Natural Deodorizing
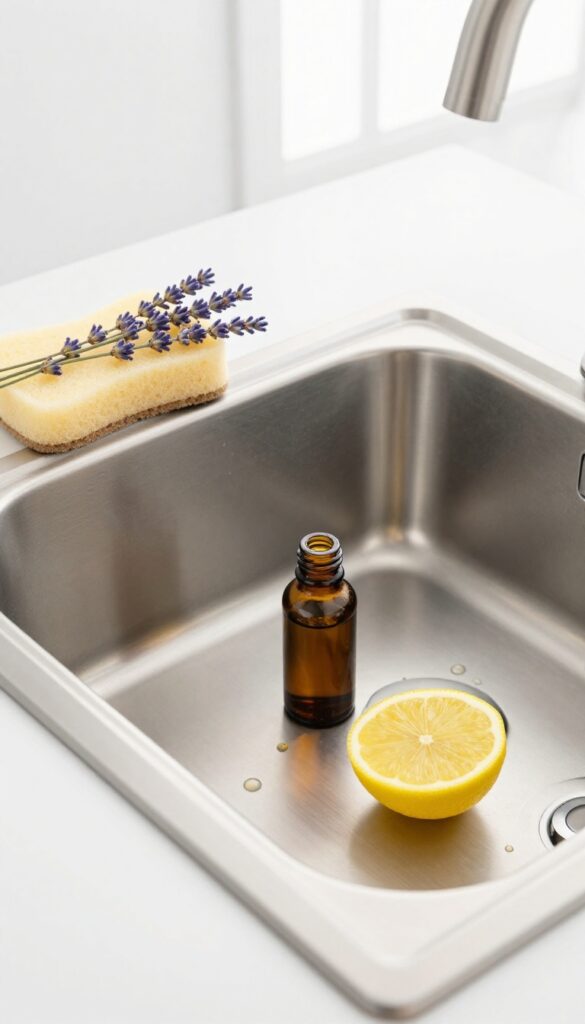
If you're tired of artificial air fresheners masking sink odors, essential oils offer a natural alternative. A few drops added to your cleaning routine can kill bacteria and leave a fresh, pleasant scent without chemicals.
Essential oils like tea tree, lemon, and lavender have natural antibacterial properties that target odor-causing bacteria. They also provide a clean, uplifting aroma that lingers after cleaning. Simply add 5–10 drops to your baking soda scrub or vinegar rinse for an effective, natural deodorizer.
Best Essential Oils For Sinks
Tea tree oil is a powerhouse against mold and mildew, making it ideal for damp sinks. Lemon oil cuts through grease and leaves a citrusy freshness. Lavender offers a calming scent and also fights bacteria.
You can mix them or use one at a time.
How To Use Essential Oils In Your Sink
For a quick deodorizing scrub, mix 1/2 cup baking soda with enough water to form a paste, then stir in 5–10 drops of your chosen oil. Apply to the sink, let sit for 5 minutes, then scrub and rinse. Alternatively, add 10 drops to a spray bottle of white vinegar for an all-purpose cleaner.
Safety Tips For Essential Oils
Always dilute essential oils before use, as undiluted oils can damage some sink finishes. Avoid using citrus oils on natural stone sinks like granite or marble, as the acidity can etch the surface. Test on a small area first if you're unsure.
11. Cream of Tartar Polish for Stubborn Water Spots
Water spots and hard water stains can make even a clean sink look neglected. Instead of reaching for abrasive powders that might scratch, try cream of tartar. This mild acidic powder mixed with lemon juice creates a gentle polish that breaks down mineral deposits and restores shine.
It's a simple, non-toxic solution that works wonders on stainless steel, porcelain, and ceramic sinks.
To make the polish, combine equal parts cream of tartar and lemon juice to form a thick paste. Apply it directly to the water spots or stains using a soft cloth or sponge. Let it sit for about 10 minutes so the acid can work on the minerals.
Then buff the area in circular motions with a clean, dry cloth. Rinse thoroughly with water and dry with a soft towel. The result is a spotless, shiny surface without any scratches.
Why Cream Of Tartar Works
Cream of tartar is a mild acid that dissolves alkaline mineral deposits like calcium and lime. Unlike harsh chemical cleaners, it's gentle on sink surfaces. The lemon juice adds extra acidity and a fresh scent, making the paste effective yet safe for daily use.
Best Surfaces For This Polish
This paste is safe for stainless steel, porcelain, ceramic, and enamel sinks. Avoid using it on marble, granite, or other natural stone, as the acid can etch the surface. Always test on a small hidden area first if you're unsure.
Pro Tip For Stubborn Stains
For really tough water spots, let the paste sit for up to 20 minutes. If the stain persists, gently scrub with a soft-bristled toothbrush before buffing. Repeat the process if needed, but avoid excessive scrubbing to protect the finish.
12. Dishwasher Tablet Trick for a Quick Clean
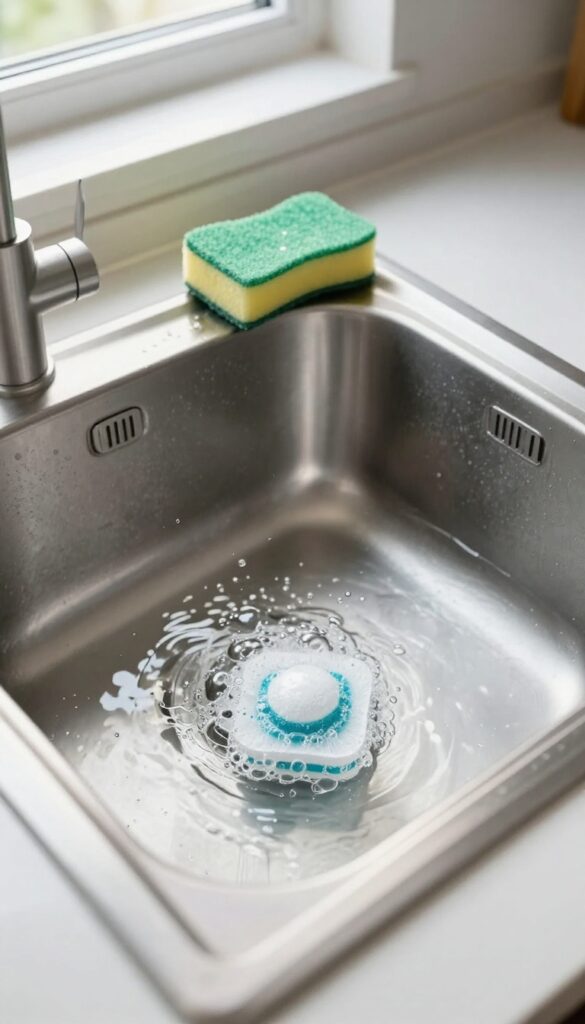
When your sink needs a deep clean but you're short on time, a dishwasher tablet can be a surprising lifesaver. These powerful little discs are designed to break down tough food residue and grease, and they work just as well on sink stains and grime. The best part?
You barely have to scrub.
Drop one dishwasher tablet into a sink filled with hot water. Let it dissolve completely, then let the water sit for about 30 minutes. The enzymes and cleaning agents in the tablet will loosen stuck-on food, cut through grease, and lift stains from the basin.
After soaking, drain the water and give the sink a quick wipe with a sponge. Rinse thoroughly with clean water to remove any residue. Your sink will look noticeably brighter with minimal effort.
Why It Works So Well
Dishwasher tablets contain powerful surfactants and enzymes that target protein-based stains and grease. In hot water, these ingredients activate and break down organic matter that ordinary dish soap might leave behind. This makes the tablet especially effective on sinks that see a lot of food prep or coffee stains.
Best Sink Materials For This Trick
This method works beautifully on stainless steel, porcelain, and enamel sinks. Avoid using it on natural stone like granite or marble, as the chemicals can damage the sealant or cause etching. When in doubt, test a small hidden area first.
Pro Tip For Stubborn Stains
For set-in stains or mineral deposits, let the tablet fizz directly on the stain before filling the sink. Scrub gently with a soft sponge after a few minutes. This gives the enzymes a head start on tough spots without extra soaking time.
13. Vinegar and Baking Soda Drain Bombs for Odor Control
Drain odors can make even a spotless sink feel dirty. Instead of reaching for chemical deodorizers, try these homemade fizzing bombs. They're easy to make, use simple ingredients, and leave your drain smelling fresh.
Mix 1 cup baking soda with 1/4 cup vinegar until crumbly, then press into silicone molds. Let dry overnight. Drop one bomb down the drain monthly, followed by hot water, to freshen and deodorize.
Why They Work
The chemical reaction between baking soda and vinegar helps loosen grime and neutralize odors. The fizzing action reaches areas a brush can't, while the baking soda absorbs smells long after the fizz stops.
How To Use Them
Drop one bomb into the drain, wait 10 minutes, then flush with boiling water. For extra freshness, add a few drops of lemon or tea tree essential oil to the mixture before molding.
Storage Tips
Keep your drain bombs in an airtight container in a cool, dry place. They can last for months, so make a batch of 12 and have one ready each month.
14. Microfiber Cloth Drying to Prevent Water Spots
Water spots are the enemy of a shiny sink. They form when hard water minerals are left behind after the water evaporates. The fix is simple: dry your sink after every use.
A microfiber cloth makes this quick and effective.
Keep a dedicated microfiber cloth near your sink and make it a habit to wipe the basin dry after each use. This prevents mineral deposits from forming and keeps the surface looking polished. It also reduces the need for frequent deep cleaning.
Why Microfiber Works Best
Microfiber cloths are designed to trap dust and moisture without scratching surfaces. Unlike cotton towels, they don't leave lint behind. They also absorb more water, so you can dry the sink in one pass.
Use a clean, dry microfiber cloth for best results.
How To Build The Habit
Store a microfiber cloth within arm's reach of the sink. After washing dishes or brushing your teeth, take a few seconds to wipe down the basin and faucet. This small routine pays off with a spot-free shine and less scrubbing later.
When To Replace Your Cloth
Microfiber cloths lose effectiveness over time. Replace them when they start to feel rough or leave streaks. Wash them separately from cotton items to avoid lint transfer, and skip fabric softener, which clogs the fibers.
15. Weekly Deep Clean Routine for Lasting Results
Consistency is the secret to a sink that always looks its best. A quick daily wipe helps, but a weekly deep clean tackles hidden grime and prevents buildup. Set aside just 10 minutes each week to follow this simple routine, and your sink will stay stain-free, odor-free, and brilliantly shiny with minimal effort.
This routine uses common household items to clean, deodorize, and polish your sink in one go. It works on stainless steel, porcelain, and composite sinks. The key is to follow the steps in order for maximum effectiveness.
Scrub With Baking Soda
Start by sprinkling baking soda over the entire sink surface, focusing on stained areas. Add a few drops of water to form a paste, then scrub gently with a soft sponge or cloth. Baking soda is mildly abrasive, so it lifts stains without scratching.
Rinse thoroughly with warm water.
Rinse With Vinegar
After scrubbing, spray or pour white vinegar over the sink. The vinegar reacts with any remaining baking soda residue, creating a fizzing action that lifts away odors and loosens stubborn deposits. Let it sit for a minute, then rinse with water.
This step also helps neutralize any lingering smells.
Polish With Rubbing Alcohol
Once the sink is clean and dry, dampen a microfiber cloth with rubbing alcohol and wipe down the entire surface. Alcohol evaporates quickly, leaving a streak-free shine. It also disinfects and removes any last traces of grease or film.
For stainless steel, this step restores that mirror-like finish.
Dry With A Microfiber Cloth
Finish by buffing the sink dry with a clean, dry microfiber cloth. This prevents water spots and keeps the surface gleaming. Microfiber is lint-free and gentle, so it won't leave scratches.
A quick once-over is all it takes to lock in the shine.
FAQ
How often should I clean my sink?
For daily maintenance, wipe the sink dry after use. A deep clean with baking soda and vinegar once a week is usually enough to prevent stains and odors.
Can I use bleach on a stainless steel sink?
Bleach can damage stainless steel if left too long. Use a diluted bleach solution sparingly and rinse thoroughly. For regular cleaning, stick to gentler methods like baking soda.
What's the best way to remove hard water stains?
A paste of cream of tartar and lemon juice works well. Alternatively, soak a cloth in vinegar and lay it on the stain for 15 minutes before scrubbing.
How do I get rid of a bad smell from the drain?
Pour baking soda down the drain, followed by vinegar. Let it fizz for 10 minutes, then flush with hot water. Repeat weekly to keep odors at bay.
Is it safe to use lemon juice on a granite sink?
Lemon juice is acidic and can etch natural stone. For granite or marble sinks, use a pH-neutral cleaner instead of acidic substances like lemon or vinegar.
Conclusion
A clean sink doesn't have to be a chore. With these 15 tips, you can tackle stains, odors, and dullness using simple ingredients you probably already have. The key is consistency—a quick daily wipe and a weekly deep clean will keep your sink looking its best.
Try a few of these methods and see which ones work for your sink type. Your kitchen or bathroom will thank you with a fresh, shiny finish every day.