15 Cleaning Pans Tips for Burnt Food and Greasy Bottoms
Burnt-on crust and greasy bottoms are the two biggest headaches after a good meal. You've scrubbed, soaked, and still that stubborn residue won't budge. The good news is you don't need harsh chemicals or endless elbow grease to fix it.
These 15 cleaning hacks use everyday pantry staples and clever tricks to tackle even the toughest burnt food and grease. From baking soda pastes to surprising soaks like dryer sheets, each tip targets a specific pan material and problem.
No more ruined pans or frustrated scrubbing sessions. Let's get your cookware looking like new again.
1. Baking Soda Paste for Burnt-On Crust
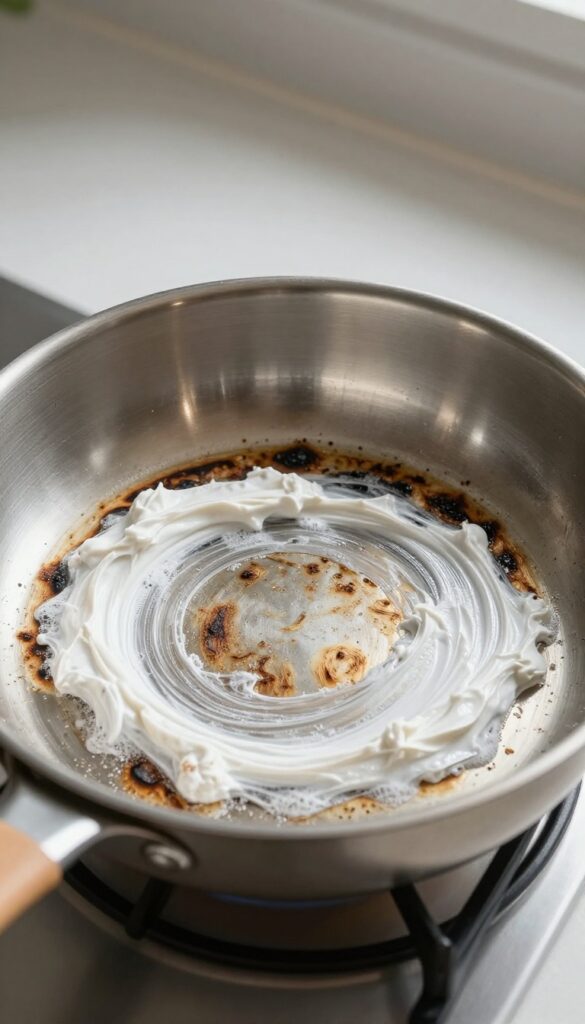
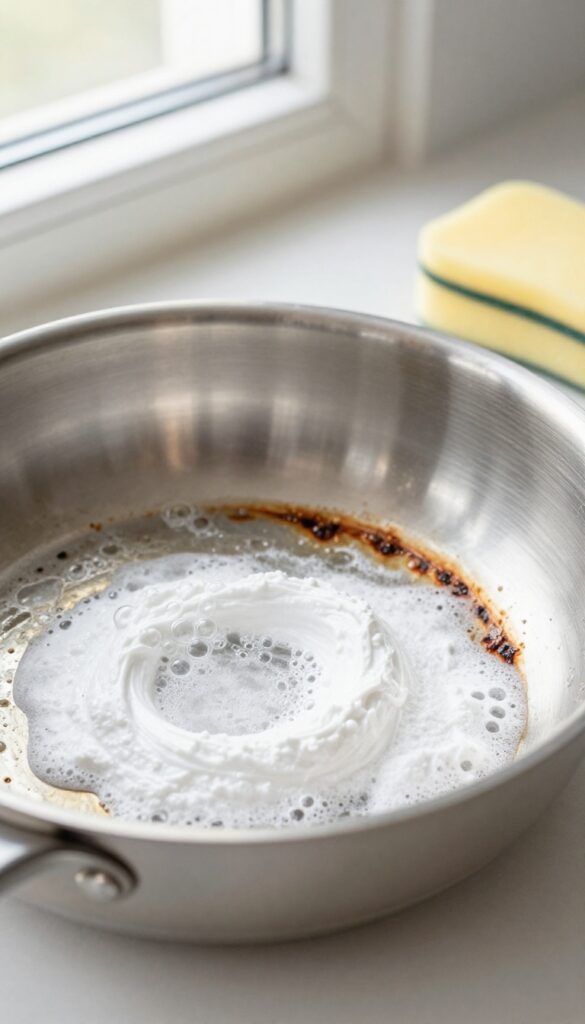
Baking soda is a kitchen superhero when it comes to lifting burnt food without scratching your pans. Mix it with a splash of water to create a thick paste—think toothpaste consistency. Spread it over the charred spots and let it sit for about 15 minutes.
The mild abrasiveness works like a gentle scrub, breaking down the crust so you can wipe it away with minimal effort.
This method works wonders on stainless steel, ceramic, and non-stick pans (as long as you use a soft sponge). For extra stubborn spots, add a few drops of dish soap or a splash of vinegar to the paste. Let it bubble and fizz before scrubbing—it helps loosen the burnt bits even more.
Rinse thoroughly and dry immediately to avoid water spots.
Why Baking Soda Works So Well
Baking soda is mildly alkaline, which helps break down acidic burnt food residues. Its fine crystalline structure provides just enough abrasion to scrub away carbonized bits without scratching delicate surfaces. Plus, it's non-toxic and cheap, making it a go-to for eco-friendly cleaning.
How To Apply For Best Results
Start with a cool pan—never apply paste to a hot surface. Use a ratio of 3 parts baking soda to 1 part water, adjusting to get a spreadable paste. Apply generously, let it sit for 15 minutes, then scrub with a non-abrasive sponge or soft brush.
For tough spots, let it sit longer or add a little lemon juice to boost the fizz.
Pans To Avoid
Skip this method on aluminum or copper pans, as baking soda can cause discoloration or react with the metal. Also avoid using it on pans with delicate non-stick coatings if you scrub too hard—stick to a soft cloth for those.
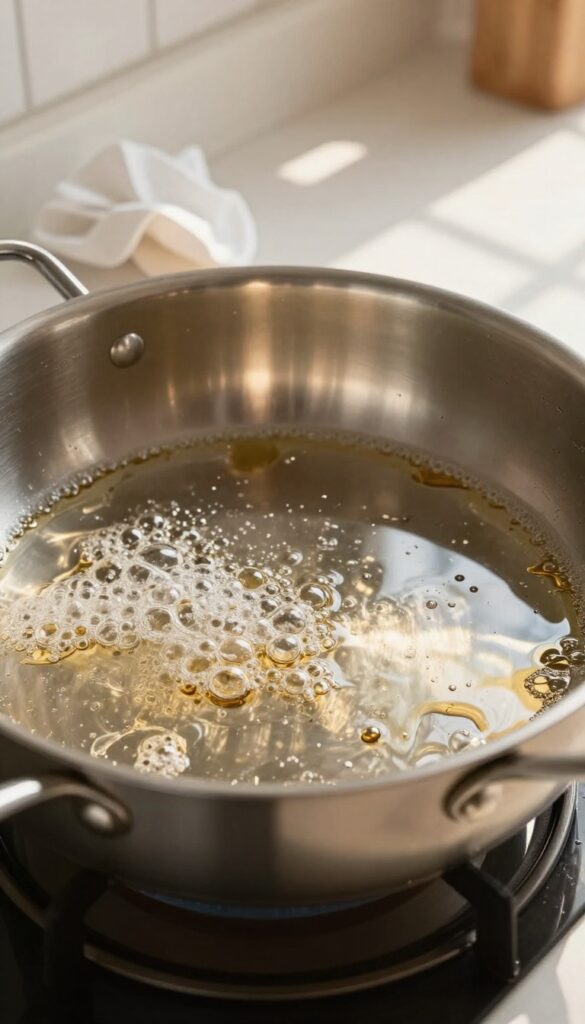
2. Vinegar and Water Boil for Grease
White vinegar is a powerhouse when it comes to cutting through grease. Its acidity breaks down stubborn oils without any harsh scrubbing. This method works especially well on stainless steel and non-stick pans that have a slick, greasy film after cooking.
Fill the pan with equal parts white vinegar and water, enough to cover the greasy area. Bring the mixture to a boil, then reduce to a simmer for about 5 minutes. The acid in the vinegar loosens the grease, making it easy to wipe away with a sponge.
For extra stubborn spots, let it cool slightly and scrub gently with a non-abrasive pad.
Why Vinegar Works So Well
Vinegar is a mild acid that reacts with grease molecules, breaking them down so they release from the pan's surface. Unlike soap, it doesn't leave a residue, and it's safe for most cookware materials. Plus, it's cheap and non-toxic.
Best Pan Types For This Method
This technique is ideal for stainless steel, enameled cast iron, and non-stick pans. Avoid using it on unseasoned cast iron or aluminum, as the acid can damage the surface. For those pans, stick to gentler cleaning methods.
Step-by-step Process
Start by adding a 1: 1 ratio of vinegar and water to the pan. Bring to a boil over medium-high heat, then reduce to a simmer for 5 minutes. Turn off the heat and let the liquid cool slightly.
Pour out the mixture and wipe the pan with a soft sponge. Rinse with warm water and dry thoroughly.
3. Dishwasher Tablet Soak for Tough Residue
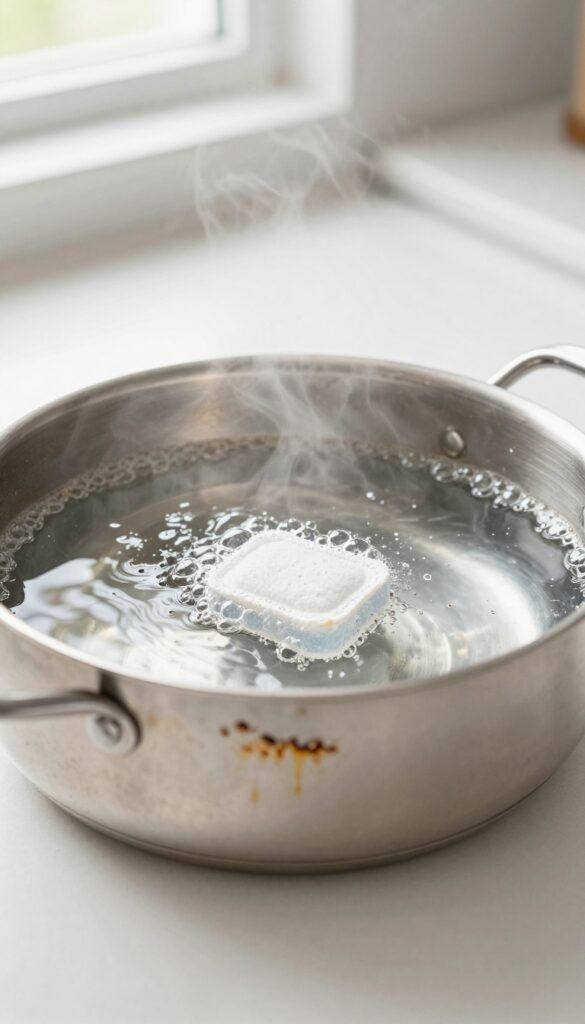
If you have a dishwasher, you already own one of the best cleaning tools for burnt pans. Dishwasher tablets contain powerful enzymes and surfactants designed to break down dried-on food. Drop one into your pan, add hot water, and let it work its magic for an hour.
The result is a pan that practically rinses clean with zero scrubbing.
This method is especially effective for stainless steel and ceramic pans with thick, burnt-on layers. The tablet dissolves slowly, releasing cleaning agents that penetrate the crust. For extra stubborn spots, you can let it soak overnight.
Just make sure to rinse thoroughly afterward, as the residue can be slippery.
How It Works
Dishwasher tablets contain a mix of alkaline salts, enzymes, and oxygen bleach. When dissolved in hot water, they create a powerful cleaning solution that chemically breaks down proteins and starches from burnt food. The heat helps activate the enzymes, making the process faster and more effective.
Best Pan Materials
This soak works wonders on stainless steel, ceramic, and enameled cast iron. Avoid using it on non-stick pans, as the abrasive particles in some tablets can scratch the coating. For aluminum pans, test a small area first, as prolonged exposure may cause discoloration.
Step-by-step Instructions
Fill the pan with enough hot water to cover the burnt areas. Drop in one dishwasher tablet. Let it soak for at least one hour, or overnight for heavy buildup.
After soaking, pour out the water and scrub gently with a sponge. Most of the residue will slide off. Rinse well with clean water and dry immediately.
4. Salt Scrub for Cast Iron
Cast iron is a kitchen workhorse, but burnt-on food and grease can feel like a disaster. The seasoning—that nonstick layer you've carefully built—is delicate, so harsh scrubbing or soap can ruin it. That's where coarse salt comes in.
It's a gentle abrasive that lifts grime without stripping the seasoning, leaving your skillet clean and ready for the next meal.
This method is incredibly simple and uses just one ingredient you already have. The salt absorbs excess grease while its texture scrubs away burnt bits. It's perfect for cast iron because it won't scratch the surface like steel wool or damage the seasoning like dish soap.
Plus, it's cheap and chemical-free.
How To Do It
After cooking, let the pan cool slightly but not completely—warm is ideal. Sprinkle a generous layer of coarse salt (about 2 tablespoons for a 10-inch skillet) onto the pan. Use a paper towel or a soft brush to scrub the salt in circular motions, focusing on stuck-on spots.
The salt will turn gray as it absorbs grease and lifts debris. Once done, dump the salt into the trash (not the sink, to avoid clogs). Rinse the pan with hot water and dry it immediately with a towel or on the stove.
If needed, apply a thin layer of oil to maintain the seasoning.
When To Use It
This scrub works best for light to moderate burnt food and greasy residue. For heavy caked-on layers, you may need to combine it with a brief soak in hot water first. Use it after every few cooks to keep your cast iron in top shape without over-scrubbing.
It's also great for removing odors or flavors from strong foods like fish or garlic.
Why It Works
Coarse salt is abrasive enough to physically dislodge burnt particles but soft enough not to harm the seasoned surface. Its hygroscopic nature (it absorbs moisture and grease) helps lift oily residues without soap. Unlike baking soda, salt won't leave a residue that affects the pan's nonstick properties.
This technique has been used for generations by cast iron enthusiasts for a reason—it's effective and preserves the pan's integrity.
5. Lemon Juice and Baking Soda Fizz
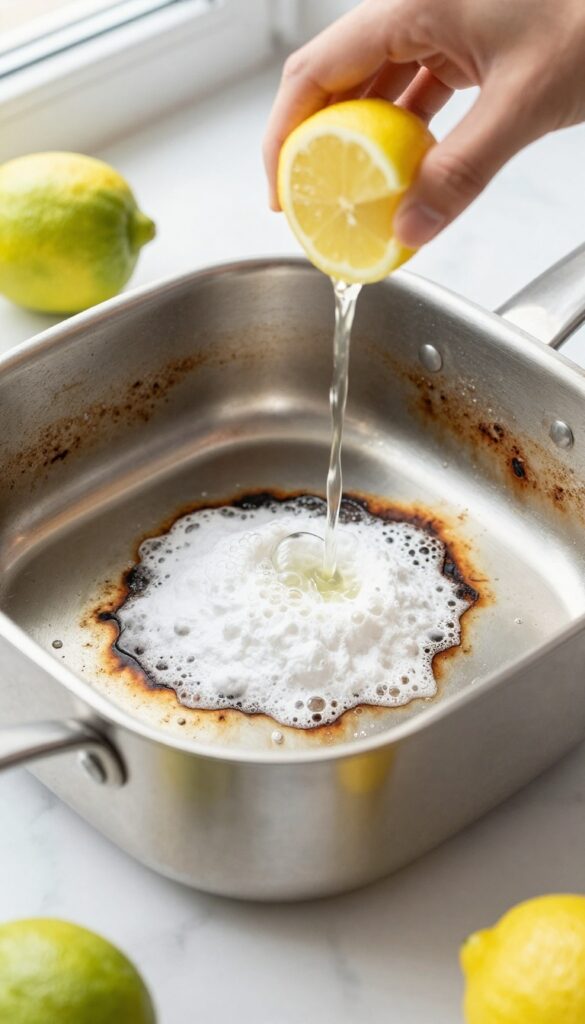
When burnt food clings to your pan like cement, a little kitchen chemistry can save the day. Lemon juice and baking soda create a fizzy reaction that lifts stubborn residue without harsh scrubbing. It's gentle on pans but tough on grime.
Sprinkle a generous layer of baking soda over the burnt area, covering all the dark spots. Squeeze fresh lemon juice directly onto the baking soda until it starts to fizz. Let the mixture sit for 10 minutes—the bubbles work to loosen debris.
Rinse with warm water and wipe clean. For extra stubborn spots, scrub gently with a non-abrasive sponge.
Why It Works
Baking soda is mildly abrasive and alkaline, while lemon juice is acidic. When combined, they produce carbon dioxide bubbles that help lift burnt food from the pan's surface. The citric acid also cuts through grease, making it a double-action cleaner.
Best Pan Types
This method works great on stainless steel, enameled cast iron, and ceramic non-stick pans. Avoid using it on raw cast iron or aluminum, as the acid can damage the seasoning or cause discoloration. Always test a small area first if unsure.
Pro Tips For Best Results
Use a fresh lemon for maximum acidity—bottled juice is less effective. For extra fizzy power, add a splash of white vinegar after the lemon juice. If the burnt layer is thick, let the paste sit for 15-20 minutes before rinsing.
Rinse thoroughly to remove all residue.
6. Hydrogen Peroxide and Baking Soda for Stubborn Stains
Some stains are just plain stubborn. Burnt-on layers that have been baked in over time need something stronger than a simple scrub. That's when hydrogen peroxide and baking soda come to the rescue.
This duo creates a fizzing reaction that lifts discoloration and softens those tough, crusty spots without any harsh chemicals.
To make the paste, mix three parts baking soda with one part hydrogen peroxide until it forms a spreadable consistency. Apply it directly to the stained areas, making sure to cover all the burnt bits. Let it sit for about 20 minutes—you'll see it start to bubble and work its magic.
After that, scrub with a non-abrasive sponge or brush. For extra tough spots, let it sit longer or add a little more hydrogen peroxide. Rinse thoroughly and dry.
This method works wonders on stainless steel and enameled cookware, but avoid it on aluminum or non-stick surfaces as it can cause damage.
Why This Combo Works So Well
Hydrogen peroxide is a mild bleaching agent that helps lift stains, while baking soda provides gentle abrasion and reacts with the peroxide to create oxygen bubbles. Those bubbles help dislodge burnt-on food from the pan's surface. Together, they tackle both discoloration and stuck-on layers without scratching.
Best Pans For This Method
Stainless steel pans and enameled cast iron are ideal candidates. The paste won't harm their surfaces and can restore their original shine. Avoid using it on aluminum, copper, or non-stick coatings, as the peroxide can react and cause pitting or peeling.
Tips For Maximum Effectiveness
Make sure the paste is thick enough to stay put on vertical surfaces. If it drips, add more baking soda. For really stubborn stains, cover the paste with plastic wrap to keep it moist and let it work longer—up to an hour.
You can also apply a second round if needed.
7. Cream of Tartar for Aluminum Pans
Aluminum pans are lightweight and heat evenly, but they're also prone to oxidation and stubborn burnt-on stains. Harsh abrasives can scratch the surface, making things worse. Cream of tartar offers a gentle yet effective solution that tackles both discoloration and residue without damaging the metal.
Cream of tartar, a common baking ingredient, is a mild acid that breaks down burnt food and restores aluminum's natural shine. It's safe, inexpensive, and works wonders on those dark, greasy patches.
How To Make The Paste
Mix cream of tartar with a small amount of water to form a thick paste—about 2 tablespoons of cream of tartar to 1 tablespoon of water. Adjust the ratio as needed. The paste should be spreadable but not runny.
Application And Wait Time
Apply the paste generously to the burnt areas, covering them completely. Let it sit for 30 minutes. During this time, the acid works to loosen the residue and lift oxidation stains.
For extra stubborn spots, let it sit up to an hour.
Rinsing And Finishing
After the wait, scrub gently with a soft sponge or cloth. Rinse thoroughly with warm water and dry immediately. Your pan should look noticeably cleaner, with reduced discoloration.
Repeat if necessary for heavy buildup.
8. Dryer Sheet Soak for Greasy Bottoms
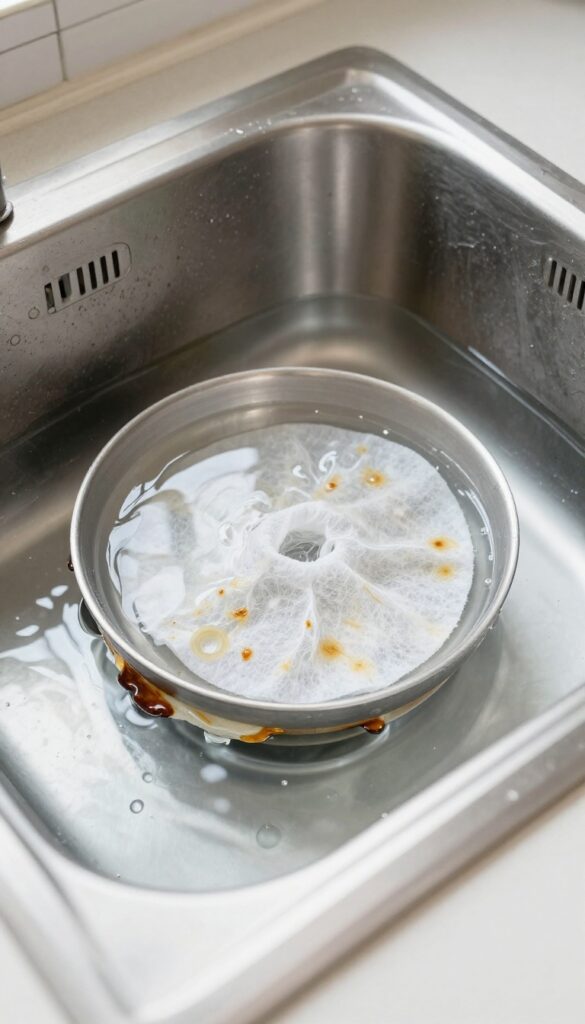
You've probably used dryer sheets to soften laundry and reduce static, but did you know they can also tackle greasy pan bottoms? The fabric softener contains surfactants that help break down stubborn grease, making it easy to wipe away. This trick is especially useful for pans with baked-on oil or sticky residue that won't come off with regular scrubbing.
This method is simple and requires almost no effort. Just fill your greasy pan with warm water, add a drop of dish soap, and drop in a used or new dryer sheet. Let it soak overnight, and by morning, the grease will have loosened significantly.
A quick rinse and gentle scrub should do the trick. It's a great alternative to harsh chemicals or endless scrubbing.
How It Works
Dryer sheets are coated with fabric softeners that contain cationic surfactants. These compounds reduce the surface tension of water and help lift grease from metal surfaces. The combination of heat from the warm water and the softening agents works together to break down the oily residue.
It's a gentle but effective chemical reaction that does the heavy lifting for you.
Best Pans For This Method
This soak works best on stainless steel and nonstick pans. Avoid using it on cast iron, as the dryer sheet can leave a residue that interferes with seasoning. Also, skip this for aluminum pans, as the chemicals may cause discoloration.
For best results, use a fresh sheet and ensure the water covers the greasy areas completely.
Tips For Maximum Effectiveness
For extra stubborn grease, use hot water and let the pan soak for at least 8 hours. You can also add a tablespoon of baking soda to boost the cleaning power. After soaking, scrub with a soft sponge to avoid scratching the surface.
Rinse thoroughly to remove any leftover softener residue. This method is safe for most pans and leaves them shiny and grease-free.
9. Ketchup for Copper and Stainless Steel
Ketchup isn't just for fries—it's a surprising secret weapon for cleaning copper and stainless steel pans. The acidity in tomatoes works like a gentle acid cleaner, breaking down burnt carbon and tarnish without scratching. Plus, it adds a nice shine to metal surfaces.
Spread a generous layer of ketchup over the burnt spots or tarnished areas on your copper or stainless steel pan. Let it sit for about 20 minutes—the longer for tougher stains. Then scrub with a soft sponge or cloth and rinse with warm water.
You'll see the burnt bits lift off and the metal regain its luster. For extra shine, buff with a dry cloth afterward.
Why Ketchup Works
Ketchup contains vinegar, salt, and tomatoes, all of which have mild acidic and abrasive properties. The acid dissolves carbonized food and oxidation, while the salt provides gentle scrubbing power. It's a natural, non-toxic alternative to harsh chemical cleaners.
Best For Light To Moderate Burns
This method works best on pans with light to moderate burnt-on residue or tarnish. For heavy, thick carbon layers, you may need to repeat the process or combine it with a baking soda paste. Always test on a small area first if you're unsure.
Rinse And Shine
After scrubbing, rinse thoroughly with warm water and dry immediately to prevent water spots. For extra sparkle, polish with a microfiber cloth. Your pan will look almost new—and smell like a burger joint for a minute.
10. Bar Keepers Friend for Stainless Steel
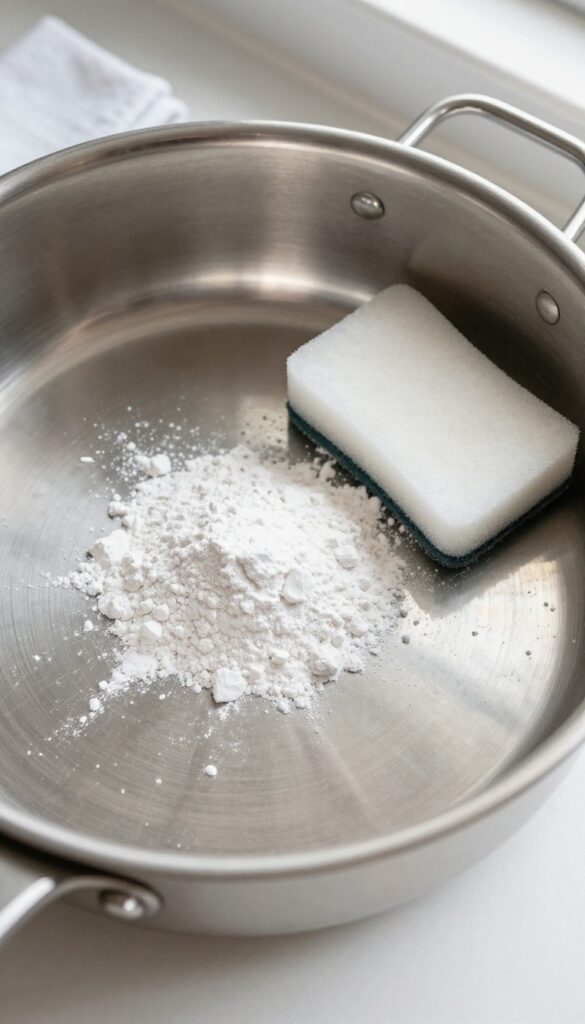
If you own stainless steel pans, Bar Keepers Friend is a game-changer. This powdered cleaner contains oxalic acid, which cuts through burnt-on food and restores that mirror-like shine without harsh scrubbing. It's gentle enough for daily use but tough enough to handle your worst cooking disasters.
To use it, sprinkle a small amount of Bar Keepers Friend onto the pan's surface, then add just enough water to form a thick paste. Use a soft sponge or cloth to gently scrub in circular motions, focusing on the burnt areas. Let the paste sit for about a minute, then rinse thoroughly with warm water.
Dry immediately with a soft towel to prevent water spots. The result is a pan that looks almost new, with no scratches or residue.
Why It Works So Well
Bar Keepers Friend's active ingredient, oxalic acid, is a mild acid that chemically breaks down burnt-on food particles and oxidized stains. Unlike abrasive powders, it dissolves grime without scratching the metal. It also helps remove the rainbow discoloration that sometimes appears on stainless steel from overheating.
Best Practices For Best Results
Always test on a small, inconspicuous area first. Avoid using on non-stick or anodized aluminum surfaces, as it can damage them. For extra stubborn spots, let the paste sit for up to 5 minutes, but never let it dry completely.
Rinse thoroughly to remove all traces of the cleaner before cooking again.
What To Avoid
Never use Bar Keepers Friend with bleach or other harsh chemicals. Don't use metal scrubbers or rough pads, as they can scratch the stainless steel. Always wear gloves if you have sensitive skin, and keep the powder away from children and pets.
11. Boiling Water with Baking Soda for Non-Stick
Non-stick pans are a dream to cook with, but they can be a nightmare to clean once food burns onto the surface. Scrubbing too hard can ruin the coating, leaving you with a pan that sticks worse than before. That's where a gentle boiling method with baking soda comes to the rescue.
This method is perfect for non-stick pans because it uses heat and mild abrasion instead of harsh scrubbing. The baking soda helps loosen burnt-on food while the boiling water softens the residue. It's a safe, effective way to restore your pan without damaging the non-stick layer.
How It Works
Fill your non-stick pan with enough water to cover the burnt area. Add a tablespoon of baking soda and bring it to a boil. Let it boil for about 10 minutes.
The combination of heat and baking soda's gentle abrasive action will break down the burnt food, making it easy to wipe away with a soft sponge.
Tips For Best Results
Use a wooden or silicone spatula to stir the water occasionally to help dislodge residue. Avoid metal utensils that could scratch the coating. After boiling, let the water cool slightly, then pour it out and rinse the pan.
For stubborn spots, make a paste of baking soda and water and gently scrub with a soft cloth.
What To Avoid
Never use steel wool or abrasive scrubbers on non-stick pans. Also, avoid using this method on pans with damaged or peeling coating, as the boiling water could seep underneath and worsen the problem. Stick to gentle cleaning to prolong your pan's life.
12. Potato Peel and Salt for Carbonized Grease
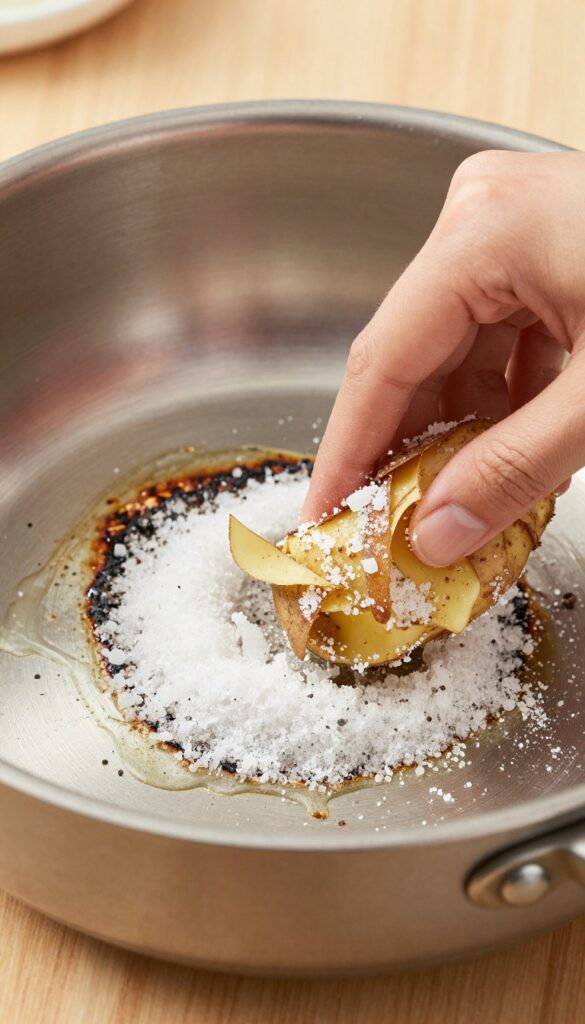
Potato peels are usually destined for the compost bin, but they have a surprising second life as a cleaning tool. When combined with coarse salt, they become a gentle yet effective scrubber for carbonized grease and burnt-on food. The starch in the peels helps absorb grease, while the salt provides abrasion to lift stubborn residue without scratching your pans.
This method works especially well on cast iron, stainless steel, and enameled cookware. It's a zero-waste hack that saves you from harsh scrubbing pads and chemical cleaners.
How It Works
Potato peels contain natural starches that bind to grease and oil, making them easier to wipe away. The coarse salt acts as a mild abrasive, scrubbing off carbonized bits without damaging the pan's surface. Together, they create a paste-like action that breaks down stubborn residue.
Step-by-step Instructions
Start with a cool pan—never use this method on a hot surface. Sprinkle a generous handful of coarse salt (kosher or sea salt works best) over the burnt areas. Add a handful of clean potato peels, skin side down if possible.
Use the peels as a scrubber, rubbing in circular motions with moderate pressure. Focus on the toughest spots. Rinse with warm water and repeat if necessary.
Finish by washing with mild dish soap and drying thoroughly.
Best Pan Materials For This Trick
This technique is safe for cast iron, stainless steel, carbon steel, and enameled cast iron. Avoid using it on non-stick pans, as the salt can scratch the coating. For delicate surfaces like copper or aluminum, test on a small area first.
Why It Beats Store-bought Cleaners
Potato peels and salt are free or nearly free, non-toxic, and already in your kitchen. Unlike harsh chemical sprays, they won't leave fumes or residue. Plus, you're repurposing food scraps instead of throwing them away—a win for your pans and the planet.
13. Club Soda for Fresh Grease Spills
A fresh grease spill on a warm pan can feel like a losing battle if you grab the wrong cleaner first. Club soda offers a fizzy fix that breaks down grease without scrubbing. The carbonation lifts the oil away from the surface, so you can wipe it clean in seconds.
Pour club soda over a fresh grease spill while the pan is still warm. The carbonation lifts grease, making it easy to wipe with a paper towel.
Why Club Soda Works
Club soda contains carbonic acid, which reacts with grease to break its bond with the pan. The bubbles also help physically lift oil particles off the surface. It's a gentle but effective degreaser that won't damage non-stick or stainless steel finishes.
How To Use It
After cooking, let the pan cool slightly until it's warm but not hot. Pour enough club soda to cover the greasy area. Let it fizz for about 30 seconds, then wipe with a paper towel or soft sponge.
For stubborn spots, repeat or let it sit a little longer.
Best Pan Types For This Trick
Club soda works best on stainless steel, enameled cast iron, and non-stick pans. Avoid using it on raw cast iron or carbon steel, as the acidity can strip seasoning. Stick to warm pans—cold pans won't activate the fizz as effectively.
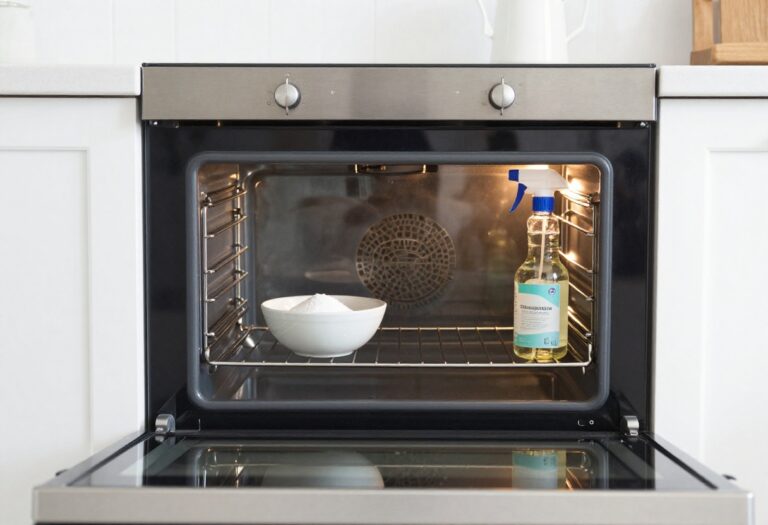
14. Oven Cleaner for Burnt-On Carbon (Ventilated Area)
When baking soda and vinegar aren't cutting it, it's time to bring out the big guns. Oven cleaner is formulated to break down the toughest baked-on carbon and grease, making it a surprisingly effective pan cleaner. But this method isn't for every pan, and you need to be careful with the fumes.
Which Pans Can Handle It?
Oven cleaner is harsh, so it's best for sturdy pans like stainless steel, cast iron (if you're stripping seasoning), and oven-safe glass or ceramic. Avoid using it on non-stick, aluminum, or copper pans, as the chemicals can damage the surface. Always check the manufacturer's instructions if you're unsure.
How To Apply Safely
Work in a well-ventilated area—open windows or use a fan. Spray the oven cleaner generously over the burnt areas, then let it sit for 15 minutes. Don't let it dry out completely.
Wear gloves to protect your skin from the chemicals.
Rinsing And Finishing Up
After the soak, rinse the pan thoroughly with hot water and dish soap. You may need to scrub lightly with a non-abrasive sponge to remove any remaining residue. Repeat if necessary, but most burnt-on carbon should lift off easily.
Dry the pan immediately to prevent water spots.
15. Professional Polishing for Vintage Pans

Heirloom and high-end pans deserve special treatment. When everyday cleaners leave them looking dull or scratched, a quality metal polish can restore their original luster. Products like Flitz or Wright's are gentle enough for delicate surfaces yet effective at removing years of grime.
Polishing vintage pans isn't about heavy scrubbing—it's about careful buffing. Start by washing the pan with mild soap and drying it completely. Apply a pea-sized amount of polish to a soft, lint-free cloth.
Work in small circular motions, covering the entire surface. Let it sit for a minute, then buff with a clean cloth until shiny. Rinse with warm water and dry immediately to prevent water spots.
Choosing The Right Polish
Not all metal polishes are safe for cookware. Flitz is a non-toxic, water-based polish that works on stainless steel, copper, and aluminum. Wright's is another classic choice, especially for copper bottoms.
Avoid abrasive polishes containing ammonia or bleach, as they can etch the metal. Always test a small hidden area first.
Step-by-step Polishing Process
Wash and dry the pan thoroughly. Apply polish sparingly to a soft cloth—too much can leave residue. Buff in small circles, focusing on one section at a time.
Use a separate clean cloth to remove excess polish. For intricate patterns or handles, use a cotton swab. Finish with a warm water rinse and towel dry.
Maintaining The Shine
After polishing, avoid using metal utensils or abrasive sponges that can scratch the surface. Hand wash with mild soap and a soft sponge. Store pans with a soft cloth between them to prevent scratches.
A quick buff every few months keeps them looking museum-quality.
FAQ
Can I use baking soda on non-stick pans?
Yes, but use a soft sponge and avoid harsh scrubbing. Baking soda is mildly abrasive, so gentle application is key to preserving the non-stick coating.
How do I remove burnt food from stainless steel without scratching?
Use a paste of baking soda and water or Bar Keepers Friend. Apply with a non-abrasive sponge and let it sit before scrubbing gently.
Is it safe to boil vinegar in a pan?
Yes, for stainless steel, aluminum, and non-stick pans. Avoid prolonged boiling in aluminum as it can react. Always rinse thoroughly afterward.
What's the best way to clean cast iron pans?
Use coarse salt and a paper towel to scrub off residue. Avoid soap if possible, and dry immediately to prevent rust. Re-season if needed.
Can I use oven cleaner on all pans?
No. Oven cleaner is harsh and can damage non-stick coatings, aluminum, and copper. Use only on stainless steel or cast iron in a ventilated area.
Conclusion
Burnt pans and greasy bottoms don't stand a chance once you have the right tricks in your cleaning arsenal. Start with the gentlest method that matches your cookware, then level up to tougher techniques only if needed.
A little patience and the right approach will have your pans looking like new again. Pick the tip that tackles your biggest pain point, give it a try, and enjoy cooking without the dread of cleanup.