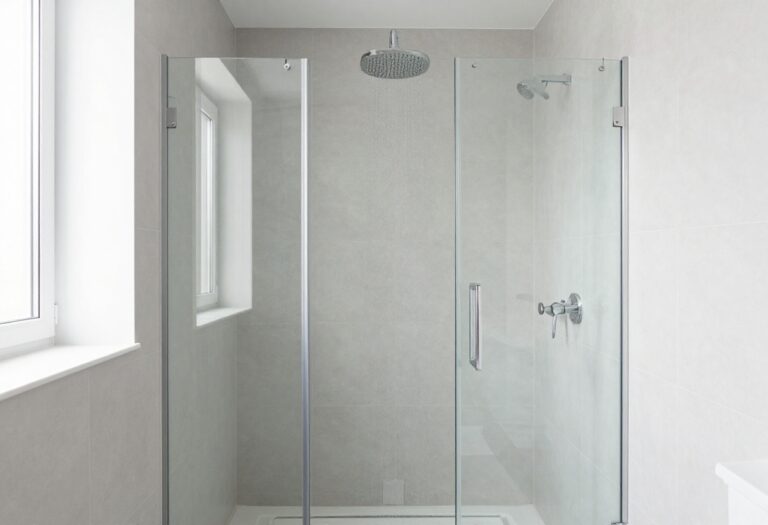
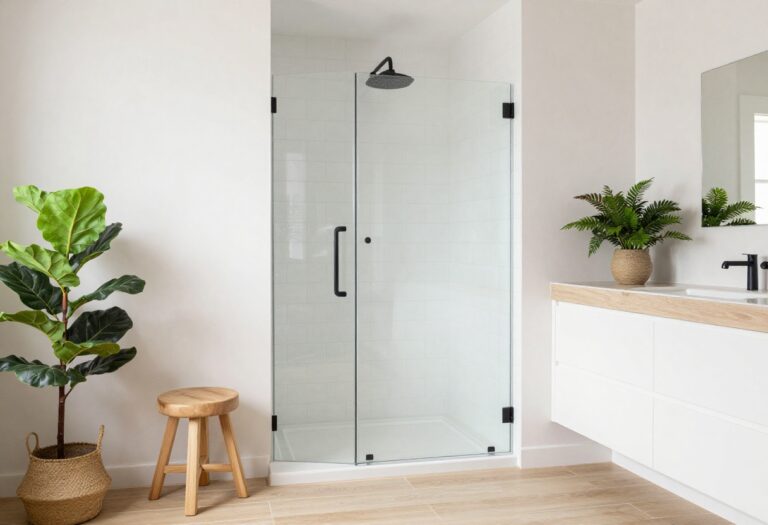
10 Tub to Shower Conversion Ideas for a Clean, Polished Look
Swapping a bulky tub for a sleek shower can completely change how your bathroom feels and functions. You gain more space, easier access, and a modern look that's simpler to keep clean. But the choices can feel overwhelming, from layout to materials to fixtures.
That's why we've rounded up ten practical conversion ideas that balance style and usability. Each one addresses a different need, whether you're short on space, planning for aging in place, or just craving a spa-like retreat.
You'll find clear benefits and design details to help you decide what works best for your home. Let's walk through these options and find the one that turns your bathroom into a standout feature.
1. Walk-In Shower with a Curbless Entry
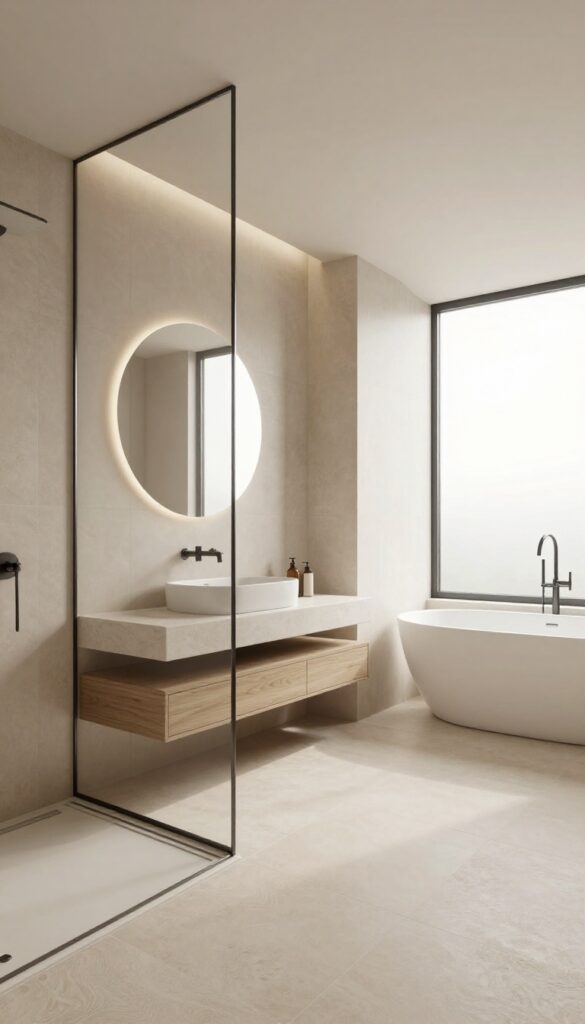
A curbless entry does more than remove a step—it opens up the whole bathroom. Without a raised threshold, the shower blends seamlessly with the rest of the floor, making the space feel larger and more connected. It's a favorite for modern renovations, but it also solves practical problems like accessibility and easy cleaning.
You'll need careful planning to get the slope right, and a linear drain is almost essential to keep water from escaping. But once it's in, you'll wonder why you ever lived with a tub.
The biggest win here is the seamless look. Your eye travels uninterrupted from vanity to shower, which makes even a small bathroom feel more spacious. It also eliminates the trip hazard that comes with a traditional shower curb, so it's a smart choice if you're planning to age in place or have kids who might slip.
Water management is the key to making this work. Without a curb, you need the floor to slope gently toward a linear drain, and proper waterproofing is non-negotiable. A trench drain along the wall or opening looks sleek and handles high water flow, so your bathroom floor stays dry.
Why Go Curbless?
The open entry makes the shower feel more like part of the room, not a separate box. It's also easier to roll a wheelchair or walker in if needed, and you won't have to lift your feet over a lip every time you step in. For families with young kids, it's one less thing to trip on.
What You Need To Know
You'll need to recess the shower floor or raise the rest of the bathroom to create the right slope. That means extra work on the subfloor, so it's not a DIY weekend project. A linear drain is your best friend here—it catches water efficiently and keeps the floor from feeling wet underfoot.
Design Ideas To Steal
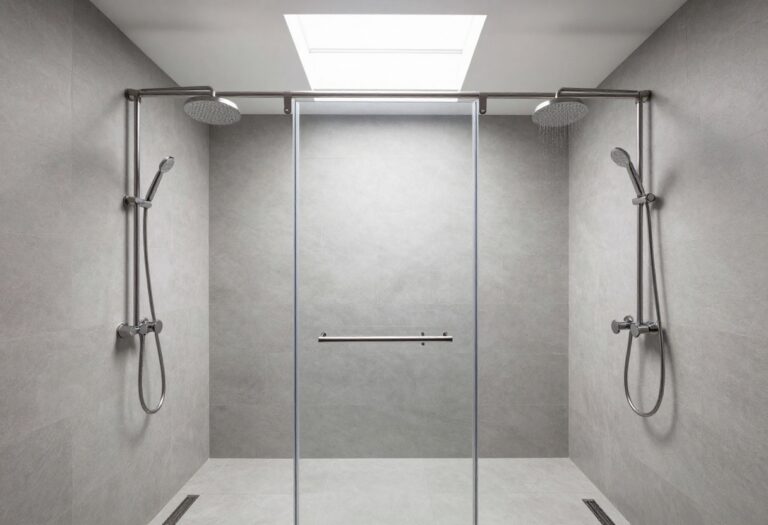
Pair the curbless entry with floor-to-ceiling glass panels for an airy, open feel. Use large-format tiles to minimize grout lines and keep the space looking clean. Add a niche for shampoo and soap to avoid cluttering the floor, and consider a rainfall showerhead to complete the spa vibe.
2. Glass Enclosure for a Spacious Feel
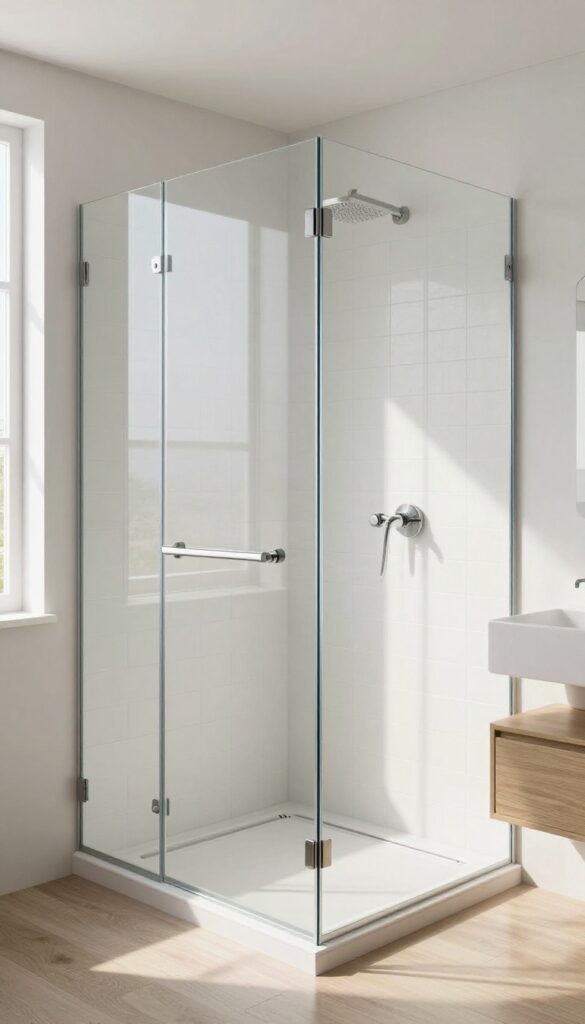
Nothing makes a bathroom feel larger than swapping a bulky curtain or opaque door for clear glass. The transparency lets your eye travel across the whole space, which instantly reads as more open and airy. Plus, it lets natural light bounce around, showing off any tile or fixtures you've invested in.
If you want a clean, polished look that's also easy to maintain, glass is a smart move.
Glass enclosures come in a few styles, and each has its own pros and cons. Frameless glass is the most seamless and modern, but it's also the priciest because it requires thicker glass and precise installation. Semi-frameless options have minimal metal framing that adds structure at a lower cost, while still looking sleek.
Both beat a shower curtain in terms of durability and ease of cleaning—no more scrubbing soap scum off plastic liners. Just keep in mind that glass does need a quick wipe-down after showers to stay spotless, but a squeegee makes that a breeze.
Frameless Vs. Semi-frameless
Frameless glass uses heavy, tempered panels held by discreet hinges and clips, giving you an uninterrupted view. It's the go-to for a high-end spa feel. Semi-frameless has a thin metal frame around the edges, which adds support and lowers the cost.
Both look far more polished than a curtain, but if you're on a budget, semi-frameless is the smart compromise.
Clear Glass And Tile Showcase
The whole point of clear glass is to show off your bathroom's details. If you've chosen a striking tile pattern or a bold accent wall, glass lets it shine. It also makes the room feel more cohesive because you can see the entire shower from anywhere in the bathroom.
Just make sure your tile work is finished neatly—this enclosure leaves nothing to hide.
Maintenance And Cleaning Tips
Glass enclosures are easy to keep clean if you stay on top of it. A daily spray with a squeegee after your shower prevents water spots and soap scum. For a deeper clean, use a mixture of vinegar and water or a commercial glass cleaner.
Avoid abrasive scrubbers that can scratch the surface. With minimal effort, your glass will stay crystal clear for years.
3. Spa-Inspired Rainfall Showerhead
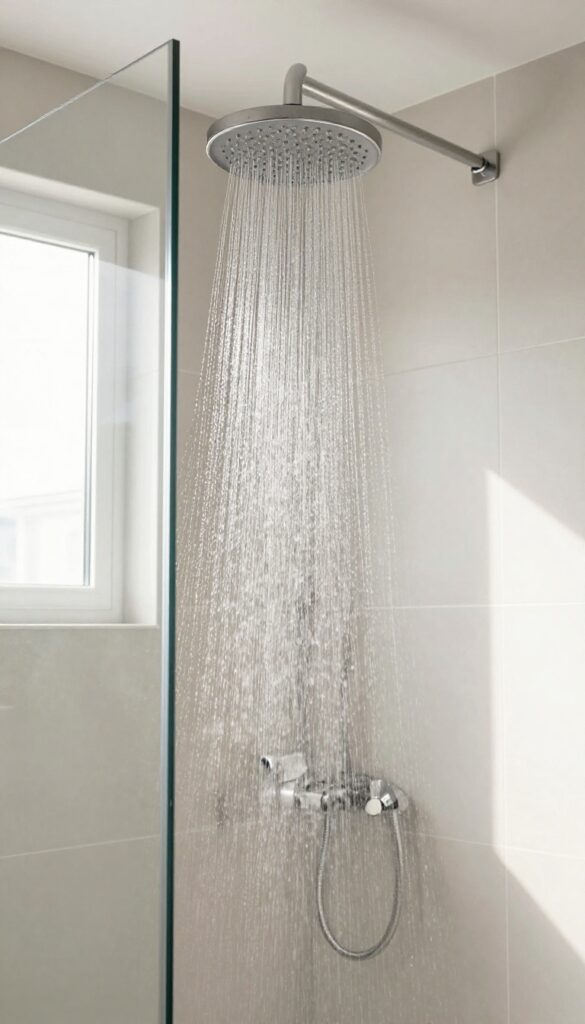
A rainfall showerhead can turn an ordinary shower into a daily escape. Mounted overhead, it delivers a gentle, wide spray that feels like standing in a warm summer rain. This simple swap adds a touch of luxury without the cost or hassle of a full remodel.
The key to making a rainfall showerhead work in a tub-to-shower conversion is choosing the right size and placement. A larger diameter head (10 to 12 inches) covers more of your body, so you feel enveloped by the water. Make sure it's positioned high enough to clear your head and far enough from the wall to avoid splashing out.
Pair it with a handheld wand for flexibility—great for rinsing off, cleaning the shower, or washing pets. This combo gives you the best of both worlds: a relaxing overhead rain and a practical, targeted spray.
Choosing The Right Rainfall Head
Look for a model with adjustable flow settings or a water-saving design to keep your water bill in check. Consider the finish and style to match your bathroom's look—brushed nickel and matte black are popular choices that hide water spots. Also, check the arm length and angle to ensure the head sits centered over the shower area, not too close to the wall.
Installation Tips
If you're comfortable with basic plumbing, swapping a standard showerhead for a rainfall model is a manageable DIY project. You'll need to extend the pipe from the wall to the ceiling, which may require cutting into the ceiling and rerouting the supply line. If that sounds like too much, hire a licensed plumber to ensure proper support and waterproofing.
Always use a pressure-balancing valve to prevent sudden temperature changes.
Pairing With A Handheld Wand
A handheld wand is a smart addition to any rainfall shower. It makes cleaning the shower easier and is handy for rinsing hard-to-reach areas. Choose a model with a diverter valve so you can switch between the rainfall head and the wand without losing water pressure.
This combination is especially useful for families, pet owners, or anyone who wants flexibility.
4. Built-In Niche and Shower Bench
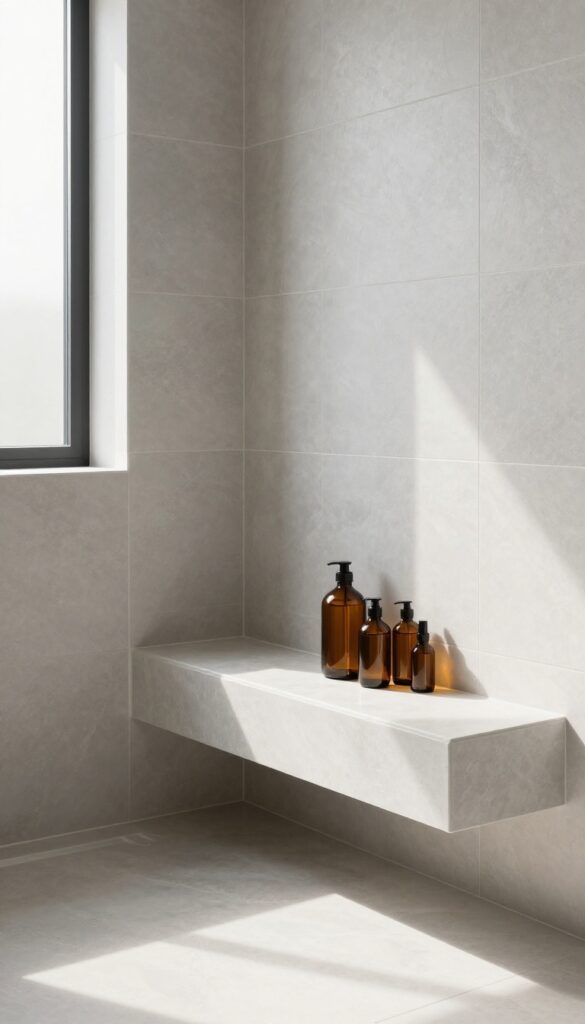
A built-in niche and shower bench can turn a simple shower into a thoughtfully designed space. The niche keeps your shampoos and soaps within easy reach without cluttering the floor or hanging caddies. A bench offers a spot to sit, shave your legs, or just relax under the warm water.
These features also add a custom, polished look that feels intentional and upscale. Because they're built into the shower, they eliminate visual clutter and make cleaning easier. With the right materials, they'll look great and hold up for years.
Adding a built-in niche and bench is a smart way to maximize function and style in your new shower. Here's how to get the most out of them.
Designing The Perfect Niche
The niche should be sized to fit your everyday bottles—typically 12 to 16 inches wide and 12 inches tall. Place it on a wall that's easy to reach, but not directly under the showerhead, to avoid soaking your products. You can also add a slight slope to the shelf so water doesn't pool, and use the same tile as the shower walls for a seamless look.
Choosing A Bench Style
A corner bench saves space, while a full-width bench offers more room to sit. Consider a floating bench that's anchored to the wall, or a solid block that extends from floor to seat. If you're short on square footage, a corner bench is a smart compromise.
For a more open feel, choose a bench with a gap underneath—it makes the floor look larger and simplifies cleaning.
Picking Waterproof Materials
Tile is a classic choice for both niches and benches, but make sure to use a waterproof membrane behind it. Solid surface materials like quartz or marble are non-porous and easy to wipe down. If you go with a wooden bench, opt for a teak or a composite that's made for wet areas—they resist mold and warping.
Whichever you pick, ensure it's installed with proper waterproofing to keep moisture out.
5. Frameless Glass Door with Black Hardware
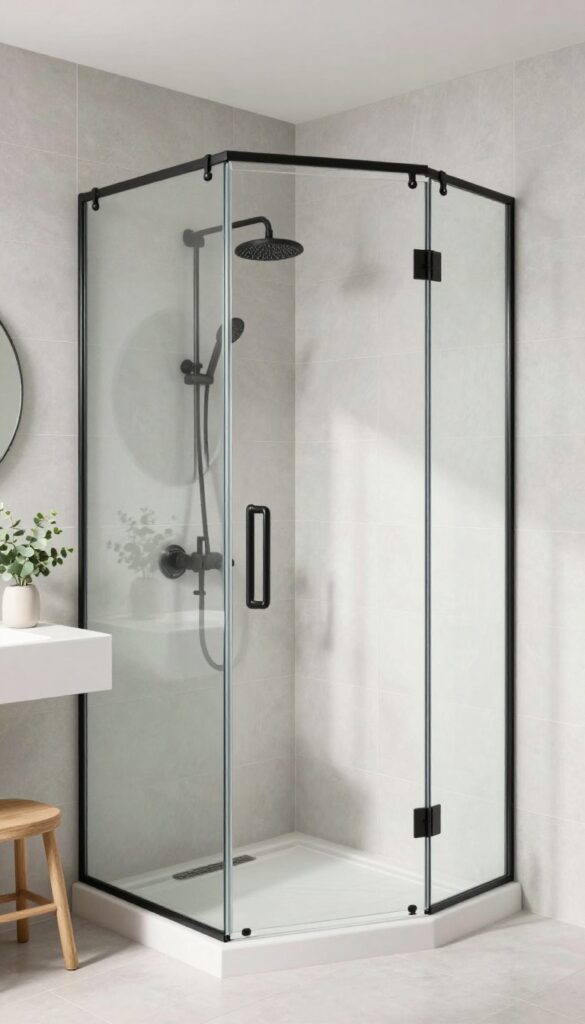
Swapping a dated tub for a shower is already a big upgrade, but the details are what really sell the new look. A frameless glass door paired with matte black fixtures is one of those combinations that instantly feels more custom and expensive. It's a style that works with almost any tile or wall color, and it brings a crisp, modern edge that's hard to beat.
The contrast between clear glass and dark hardware creates a striking focal point without overwhelming the space. Black fixtures also hide water spots and fingerprints far better than chrome, so the shower stays looking cleaner between wipes. Plus, the hardware is typically made from durable materials like stainless steel with a powder-coated finish, so it holds up well in a steamy bathroom.
Why Black Hardware Works
Matte black has become a go-to finish in modern bathrooms because it adds depth without being too flashy. Against white or light gray tile, the black framing pops and gives the shower a defined outline. It also pairs beautifully with natural wood accents or greenery, so you can easily bring in other textures without clashing.
Frameless Vs. Semi-frameless
A true frameless door uses thick tempered glass (usually 3/8 or 1/2 inch) with minimal metal clips and hinges. That means fewer surfaces for soap scum to cling to, which makes cleaning a breeze. Semi-frameless options have a thin metal frame around the glass, which can be a bit more budget-friendly, but they don't offer quite the same seamless, open feel.
Installation And Maintenance Tips
Proper installation is key—make sure the glass is tempered and the hinges are rated for the door's weight. You'll also want to use a squeegee after each shower to keep the glass crystal clear. For the black hardware, a mild soap and water solution is all you need; avoid abrasive cleaners that could scratch the finish.
6. Linear Drain for a Seamless Floor
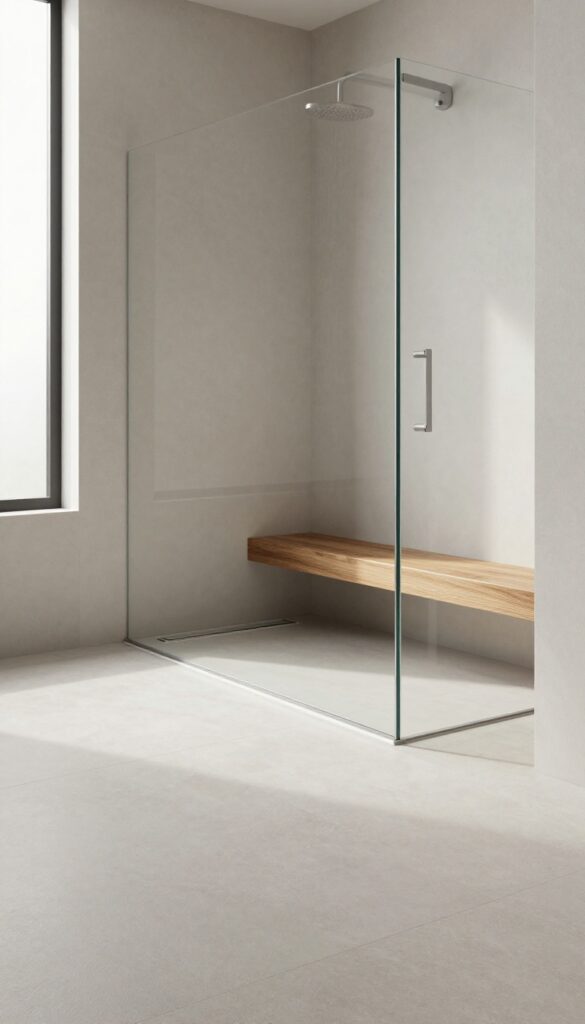
A linear drain is a small detail that makes a big visual impact. Instead of a traditional center drain, this long, narrow channel sits flush with the floor, letting you create a perfectly flat shower base. The result is a clean, uninterrupted surface that looks sharp and is a breeze to wipe down.
The beauty of a linear drain is that it allows for a completely level shower floor. Water runs toward the drain along a subtle slope that's barely noticeable underfoot. This opens the door to using large-format tiles or even natural stone without the need for multiple small pieces to create a pitch.
The drain itself can be placed along the back wall, under a bench, or right at the entrance to keep water from spilling out. With a linear drain, you get a modern, minimalist look that's also highly functional.
Why Choose A Linear Drain?
Traditional drains require a sloped floor from all directions, which often means cutting tiles into awkward shapes. A linear drain simplifies the layout by allowing a single, gentle slope toward one side. This not only looks cleaner but also makes the shower feel more spacious.
Plus, the wide channel catches water quickly, so you won't have puddles forming at your feet.
Placement Options To Consider
Where you put the drain affects both looks and function. Mounting it along the wall creates a sleek, uninterrupted floor that's easy to clean. Placing it at the entrance acts as a subtle barrier, keeping water inside the shower zone.
You can also install it under a bench or niche for a discreet, integrated look. Think about how you move in the shower and choose the spot that feels most natural.
Pairing With Large-format Tiles
Large-format tiles are a natural match for linear drains. With fewer grout lines, the floor looks more seamless and modern. You can use the same tile on the walls and floor for a continuous, spa-like feel.
Just make sure the tiles are properly supported and the slope is correctly installed to avoid any standing water. When done right, this combination is both stunning and practical.
7. Corner Shower to Maximize Space
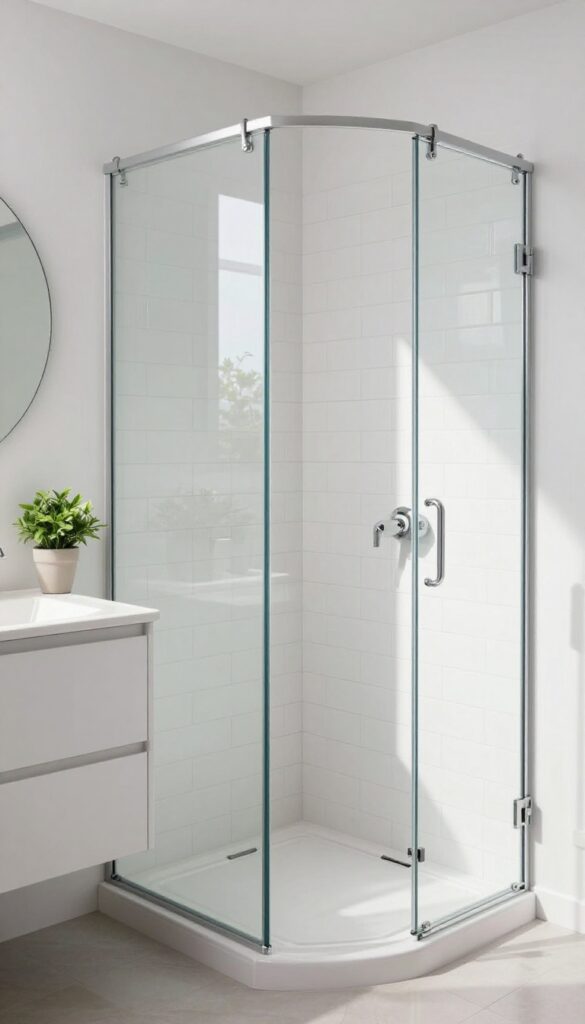
Tight bathrooms make every inch count, and a corner shower is one of the smartest ways to free up floor space. Instead of letting a tub hog the room, a neo-angle or quadrant enclosure tucks neatly into the corner, leaving more room for a vanity, storage, or even just breathing space. With the right door choice, it can feel open and airy without sacrificing practicality.
A corner shower is a game-changer for compact bathrooms. By using the corner, you open up the rest of the floor plan, making the room feel larger and more functional. The key is choosing the right enclosure shape—neo-angle for a modern look or quadrant for a softer curve—and a door that doesn't swing into the room.
Sliding doors are a no-brainer here because they don't need clearance, so you can place a toilet or cabinet right next to the shower without any awkward bumping.
Choose The Right Enclosure Shape
Neo-angle enclosures have a flat front and angled sides, which work well in tight corners and give a contemporary edge. Quadrant enclosures have a curved front that feels softer and can make the shower feel a bit more spacious. Measure your corner carefully and consider how the door will open.
A sliding door is usually the best fit because it moves along tracks rather than swinging out.
Pick A Door That Works With Your Layout
Sliding doors are the obvious choice for corner showers because they don't require swing clearance. If you prefer a hinged door, make sure there's enough room for it to open without hitting a towel bar or the toilet. Frameless glass doors keep the space feeling open and are easier to clean, but framed options are more budget-friendly.
Think about how you'll use the shower daily—if you have kids or pets, a door that's easy to slide is a plus.
Make It Feel Bigger With Glass And Tile
Clear glass panels let light travel through the bathroom, making the corner shower feel less boxed in. Pair that with large-format tiles in a light color to minimize grout lines and visually expand the space. A niche in the corner for shampoo and soap keeps everything within reach without adding bulky shelves.
Consider a linear drain along the wall to keep the floor flat and seamless, which also helps with accessibility.
8. Heated Floor and Towel Warmer
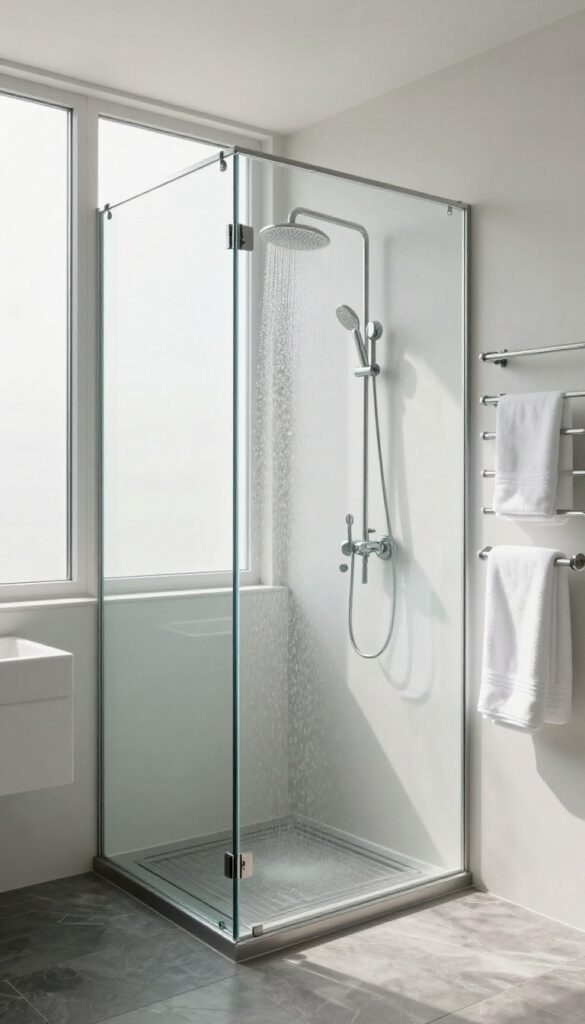
There's nothing quite like the feeling of stepping out of a warm shower onto a cold bathroom floor—unless you've upgraded to heated floors. Adding radiant floor heating and a towel warmer transforms your daily routine into a cozy ritual, especially during chilly mornings. These features not only boost comfort but also add a touch of luxury that makes your bathroom feel like a high-end spa.
Heated floors and towel warmers are more than just indulgences; they're practical additions that enhance your bathing experience. Radiant floor heating warms the tiles evenly, eliminating that shock of cold underfoot, while a towel warmer ensures you always have a toasty, dry towel waiting. Together, they create a warm, inviting atmosphere that makes every shower feel like a treat, even in the dead of winter.
Why Heated Floors Are A Game-changer
Radiant floor heating works by running warm water or electric cables beneath your flooring, warming the surface from the ground up. This provides consistent, gentle heat that doesn't blow dust or dry out the air like forced-air systems. It's also energy-efficient, as it heats the room directly where you stand, allowing you to lower your thermostat and still feel cozy.
Towel Warmers: A Small Luxury With Big Impact
A towel warmer is a simple addition that elevates your post-shower experience. Whether you choose a wall-mounted rack or a freestanding unit, it keeps towels warm and dry, reducing musty smells and mildew. Some models even double as a space heater for the room, making them a versatile choice for smaller bathrooms.
Installation Considerations
If you're already remodeling your tub-to-shower conversion, it's the perfect time to install these features. Electric floor heating mats are easier to retrofit, while hydronic systems are more efficient for larger areas. For towel warmers, ensure you have a nearby electrical outlet or plan for hardwiring.
Professional installation is recommended for safety and optimal performance.
9. Matte Black or Brushed Nickel Fixtures
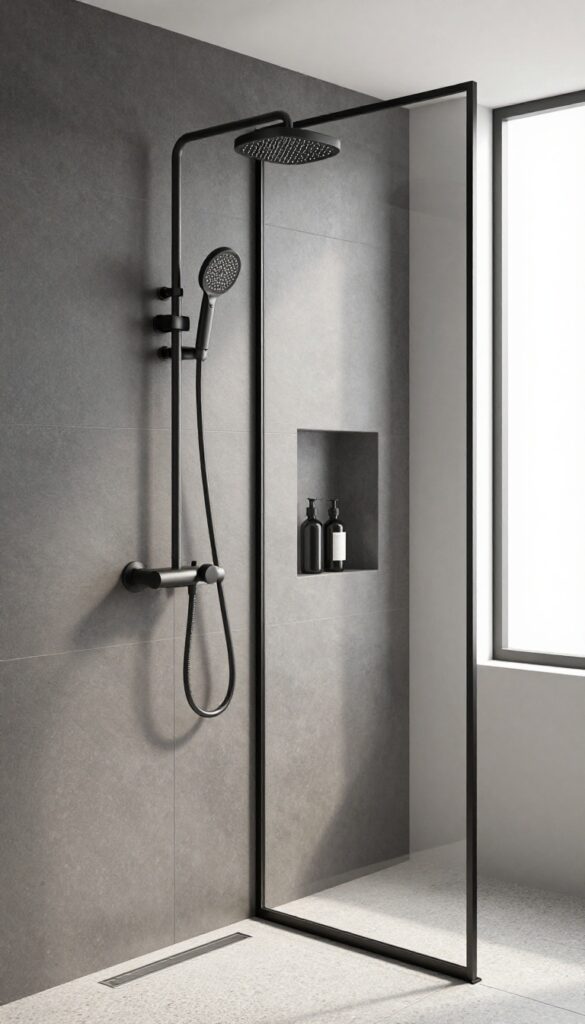
The fixtures you choose can make or break the overall vibe of your new shower. Chrome has been the default for years, but it shows every water spot and fingerprint. Matte black and brushed nickel offer a more refined, modern look while being surprisingly practical.
These finishes hide smudges and mineral deposits far better than shiny chrome, so your shower stays looking fresh with less effort. They also pair beautifully with a wide range of tile colors, from crisp white to deep charcoal.
Swapping out standard chrome fixtures for matte black or brushed nickel instantly updates the look. These finishes resist fingerprints and water spots, keeping your shower looking clean. They pair well with a variety of tile colors and styles.
Why Finish Matters
Think of fixtures as the jewelry of your bathroom. They draw the eye and set the tone. Chrome is bright and reflective, which can feel dated or too flashy.
Matte black adds a bold, grounded contrast, while brushed nickel offers a warm, subtle sheen that feels softer and more classic. Both finishes are durable and easy to maintain, making them ideal for a space that sees daily use.
Matching Your Tile And Style
Matte black works exceptionally well with white, gray, or even bold colored tiles, creating a crisp, contemporary look. Brushed nickel, on the other hand, complements warmer tones like beige, cream, or wood-look tile, giving a more traditional or transitional feel. Consider the overall palette of your bathroom and choose a finish that either contrasts or harmonizes with it.
Where To Use Them
You don't have to replace every fixture at once. Start with the showerhead and handles, then move to the faucet, drain cover, and even towel bars. For a cohesive look, keep the same finish throughout the bathroom.
Mixing metals can work, but it's safer to stick with one finish for a polished, intentional appearance.
10. Large-Format Tile for Fewer Grout Lines
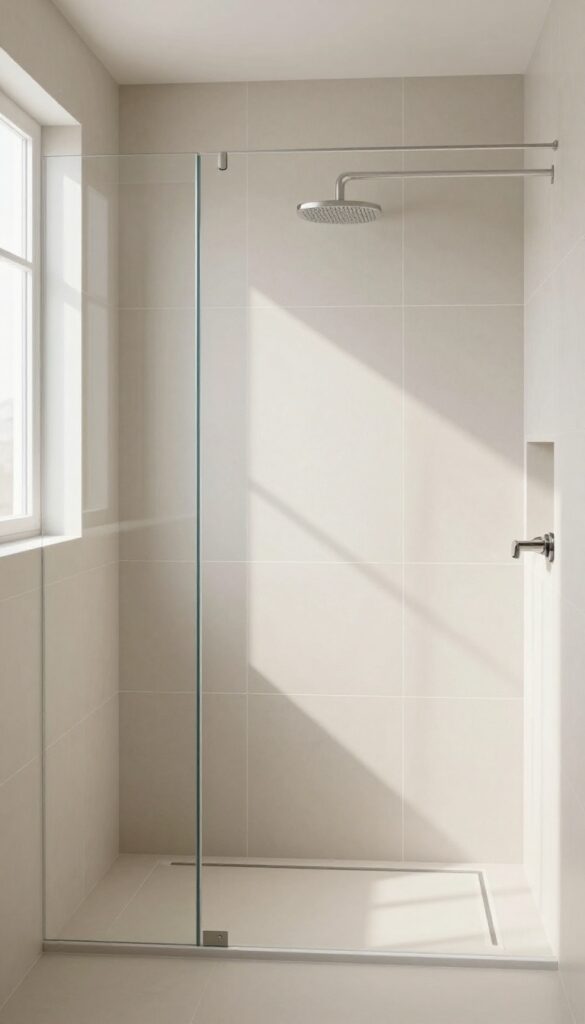
If you want a shower that feels seamless and modern, large-format tiles are a game-changer. These big slabs cut down on grout lines, which means less scrubbing and a cleaner look overall. Plus, they make the space appear larger and more open, which is a huge bonus in a compact bathroom.
Large-format tiles are a popular choice for tub-to-shower conversions because they offer a sleek, contemporary aesthetic that's also practical. With fewer grout lines, there's less surface area for soap scum and mildew to build up, making maintenance a breeze. The smooth, continuous surface also creates a visually calming effect, turning your shower into a mini retreat.
Why Large Tiles Work So Well
Large tiles, typically 12×24 inches or larger, reduce the number of grout joints, which are the most vulnerable spots for staining and water damage. This means less upkeep and a more hygienic shower. They also create a more uniform look that can make a small bathroom feel bigger, as there are fewer visual interruptions.
Choosing The Right Material
Porcelain and ceramic are top choices for large-format tiles because they're durable, water-resistant, and come in a variety of finishes. For a truly polished look, consider a matte or satin finish that hides water spots and fingerprints. If you want a natural stone look, large-format porcelain can mimic that aesthetic without the high maintenance.
Safety And Installation Tips
For the shower floor, always choose slip-resistant tiles with a textured surface or a matte finish. Large tiles can be slippery when wet, so prioritize safety. During installation, make sure the substrate is perfectly level to avoid lippage, and use a leveling system to keep the tiles flush.
Hiring a professional installer is often worth the cost for large-format tiles, as they require precision.
FAQ
How much does a tub to shower conversion cost?
The cost varies widely based on materials, labor, and whether you change the plumbing layout. On average, a basic conversion runs between $3, 000 and $8, 000, while high-end remodels can exceed $15, 000.
Will converting my tub to a shower reduce my home's value?
In many cases, a well-done conversion can increase home value, especially if you create a spa-like shower. However, if you have only one bathroom, keeping a tub might be more appealing to families with young children.
Do I need a permit for a tub to shower conversion?
Most likely, yes. Any plumbing or electrical work typically requires a permit. Check with your local building department to ensure your project complies with codes.
Can I convert my tub to a shower myself?
While DIY is possible, it's risky due to plumbing, waterproofing, and structural changes. Hiring a professional ensures the job is done safely and correctly, potentially saving you money in the long run.
What is the best flooring for a shower conversion?
Porcelain or ceramic tile with a textured finish is ideal for shower floors. These materials are durable, water-resistant, and offer good traction. Avoid polished stone, which can be slippery when wet.
Conclusion
Converting your tub to a shower is a smart way to modernize your bathroom and improve daily comfort. The ideas above range from simple fixture swaps to full layout changes, so you can pick what fits your budget and style. Remember to prioritize waterproofing and safety, and don't hesitate to consult a professional for complex work.
With the right design, your new shower will not only look clean and polished but also add lasting value to your home. Take your time to plan, and enjoy the process of creating a bathroom you'll love for years to come.