15 Space-Smart Shower-Over-Bath Ideas for Small Spaces
Small bathrooms force tough choices, and the tub-versus-shower debate is one of the hardest. But you don't have to pick one or the other. A shower-over-bath setup can give you both, if you plan it right.
The key is making every inch work harder. With the right fixtures, storage, and layout tweaks, you can turn a cramped tub corner into a functional, even enjoyable, shower space.
These ideas focus on real-world solutions that won't break the bank or require a full remodel. Whether you're dealing with a narrow footprint or just want to refresh your current setup, these 15 space-smart ideas will help you get more from your shower-over-bath without feeling squeezed.
1. Swap a Curtain for a Sliding Screen
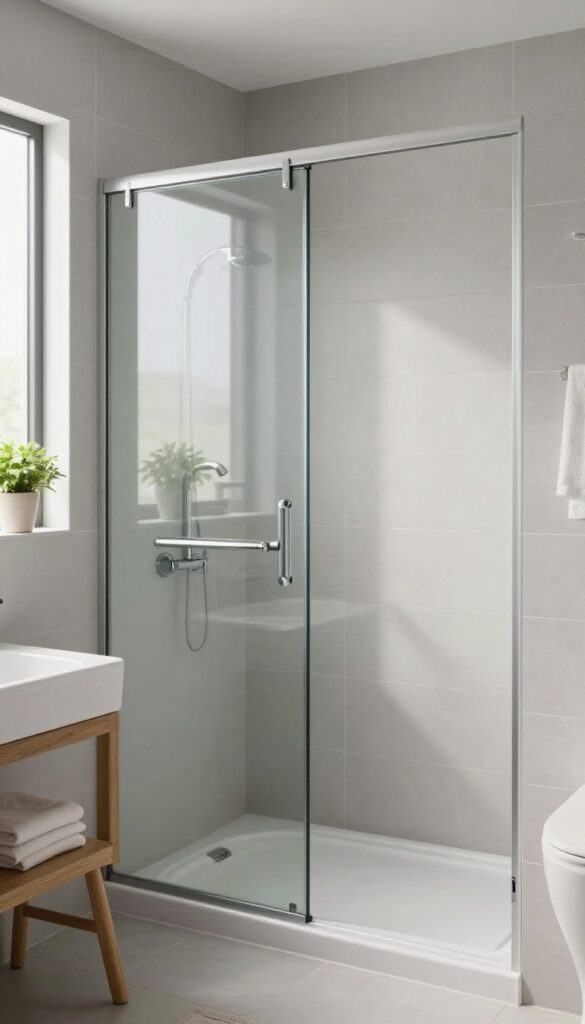
A shower curtain rod bows, drips, and visually chops the room in half. That flimsy barrier also eats up precious floor space when you're stepping in and out. Swapping it for a sliding screen changes the whole feel of your bathroom.
Sliding screens are a simple upgrade that makes a small bathroom feel larger and more open. Unlike a curtain that sags and sticks to you, a glass or acrylic panel glides smoothly and keeps water where it belongs. Plus, it lets natural light travel across the room, so the space doesn't feel like a cave.
Why A Curtain Falls Short
Curtains block light, trap moisture, and often end up with soap scum or mildew. They also take up visual space, making the tub area feel closed off. A screen removes that visual barrier, so your eye can travel from the tub to the rest of the bathroom.
The Space-saving Payoff
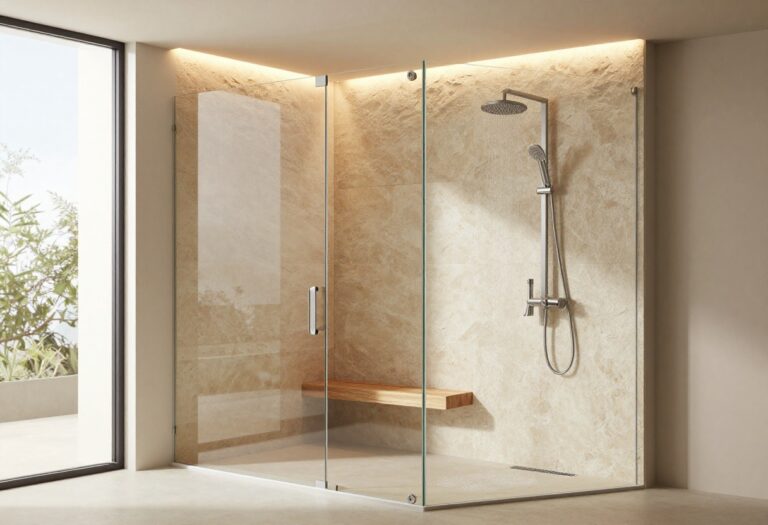
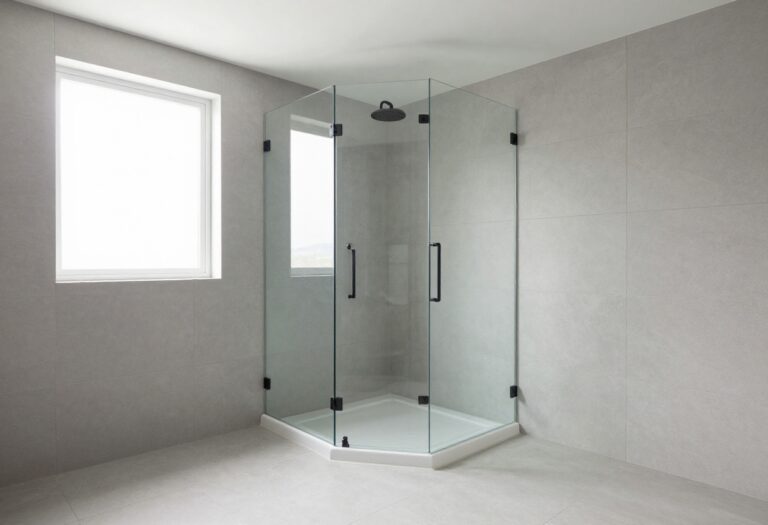
With a sliding screen, you don't need to leave extra room for a curtain to swing or bunch up. The panel tucks neatly against the tub edge when not in use, freeing up a few inches of floor space. That can make a real difference in a tight bathroom.
What To Look For
Choose a frameless or semi-frameless design for a cleaner look. Tempered glass is durable and easy to clean, while acrylic is lighter and more budget-friendly. Make sure the track is smooth and the panel glides easily, so it's a pleasure to use every day.
2. Install a Corner Caddy for Vertical Storage
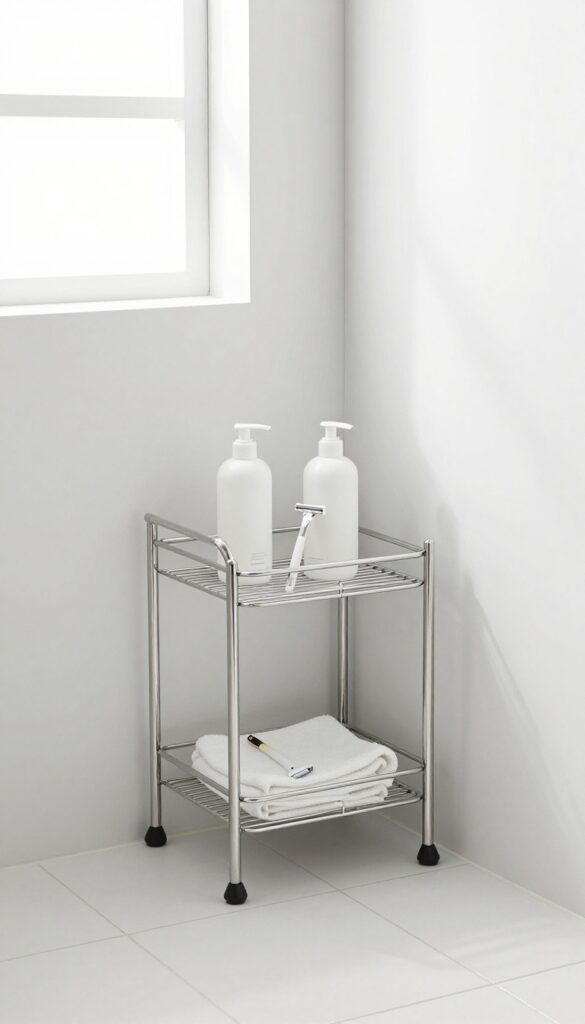
Floor space is precious in a small bathroom, and the tub area often becomes a dumping ground for bottles and bars. A corner caddy that hooks over the tub edge changes that by lifting everything off the floor and putting it within easy reach. It’s a simple swap that makes the whole shower feel more open and organized.
A corner caddy is one of those small upgrades that pays off every single day. Instead of juggling slippery bottles on the tub ledge or stacking them on the floor, you get a dedicated spot for everything. The vertical design uses space that would otherwise be wasted, and because it hangs over the edge, it doesn’t interfere with the curtain or door.
Look for a rust-proof finish, like stainless steel or coated aluminum, to keep it looking new for years. Installation takes minutes—no drilling required—and you can adjust the height to suit your reach.
Pick The Right Size And Shape
Measure the corner of your tub and the height of the wall before buying. A caddy that’s too wide will crowd the space, while one that’s too narrow won’t hold much. Angled shelves are great for letting water drain off, and a lower tier is handy for smaller items like razors or washcloths.
If you have a glass door, make sure the caddy doesn’t block the swing.
Organize By Frequency Of Use
Keep daily essentials like shampoo and body wash on the top shelf, where they’re easiest to grab. Reserve the lower tier for occasional items, like face masks or bath salts. This way, you’re not digging through a jumble every time you shower.
Using matching bottles or decanting into uniform containers can also make the caddy look tidier and more intentional.
Keep It Clean And Dry
Because the caddy sits in a wet area, soap scum and hard water spots can build up. A quick wipe-down with a squeegee or a damp cloth after each use helps. Every couple of weeks, give it a deeper clean with a mild vinegar solution to keep it sparkling.
If you notice any rust starting, replace it sooner rather than later—it’s a cheap fix that keeps your bathroom looking fresh.
3. Choose a Handheld Showerhead with a Diverter
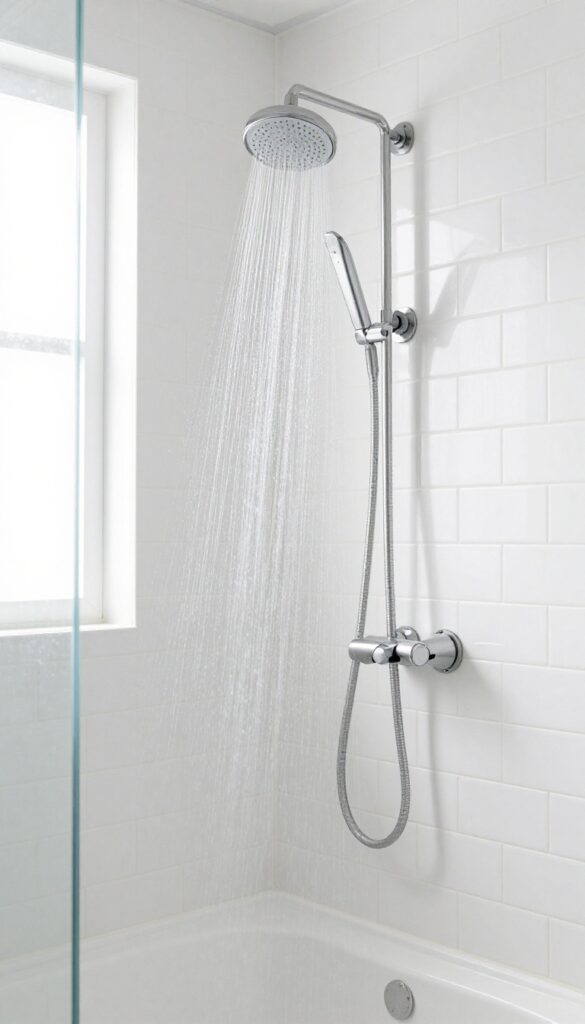
A fixed showerhead can feel restrictive, especially when you're trying to rinse shampoo out of a toddler's hair or wash down the tub afterward. A handheld model with a diverter gives you the best of both worlds: a regular overhead spray for your daily shower and a flexible wand for everything else. It's a small swap that makes a big difference in how you use the space.
The diverter is the key feature here. It lets you switch between the overhead shower and the handheld spray with a simple flip of a lever or button. That way, you don't have to choose one or the other—you get both functions from a single fixture.
It's especially handy in a shower-over-bath setup where you might want to fill the tub without getting soaked or rinse the walls after a bath.
Why A Diverter Matters
A diverter is a small valve that redirects water flow between two outlets. Without it, you'd have to unscrew one head and screw on the other, which is a hassle. With a diverter, the switch is instant.
You can start with the overhead spray, then grab the handheld to rinse your hair or clean the tub. It's a simple mechanism that adds a lot of flexibility.
What To Look For
When shopping for a handheld showerhead with a diverter, pay attention to the hose length and spray settings. A longer hose (at least 60 inches) gives you more reach, especially if you need to rinse the far corners of the tub. Look for multiple spray patterns—like a massage setting for sore muscles and a gentle mist for kids.
Also, check that the diverter is easy to operate with wet, soapy hands.
Installation Tips
Most handheld showerheads with diverters are designed to replace your existing showerhead without any special tools. You'll need to unscrew the old head, wrap plumber's tape around the pipe threads, and screw on the new bracket. The handheld unit then rests in a cradle that can be mounted on the wall or the tub spout.
If you're not comfortable doing it yourself, a plumber can usually handle it in under an hour.
4. Add a Fold-Down Seat for Comfort and Safety
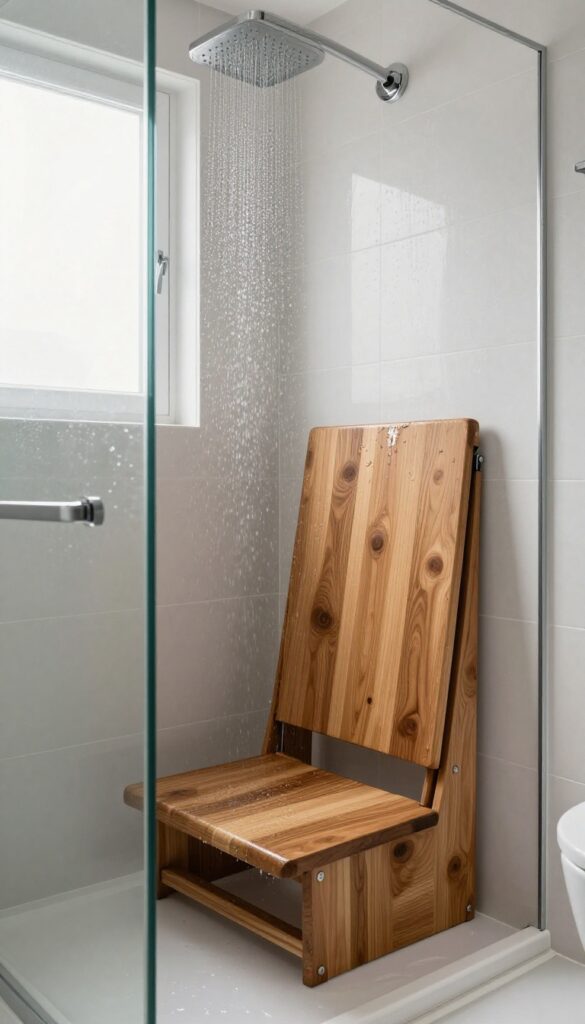
Standing on one foot while trying to shave your legs or wash your feet in a slippery tub is a balancing act nobody enjoys. A fold-down seat solves that by giving you a sturdy place to sit whenever you need it, then tucks flat against the wall when you're done. It's a small addition that makes the shower-over-bath setup feel more like a luxury spa and less like a contortionist routine, especially for kids, older adults, or anyone who just wants a more relaxed rinse.
A fold-down seat is one of those upgrades that seems simple but changes how you use the space. It mounts securely to the wall above the tub, so it takes up zero floor space when folded up. When you flip it down, you get a stable perch that's perfect for sitting while showering, washing your feet, or even just resting a bottle of shampoo within easy reach.
Many models are made from teak or marine-grade plastic, so they handle moisture without warping or growing mold. The best part? You can install one in an afternoon with basic tools, and it won't interfere with your existing showerhead or curtain rod.
Pick The Right Material
Teak looks warm and natural, and it's naturally water-resistant, which makes it a popular choice for bathrooms. It does need occasional oiling to keep its golden color, but that's a small trade-off for the beauty. Plastic seats, on the other hand, are lighter, cheaper, and virtually maintenance-free.
They come in white or gray to blend with most fixtures. If you're going for a spa vibe, teak is hard to beat. If you want something that just works and never needs attention, go with a high-density polyethylene seat that won't crack or fade.
Installation Tips
The key to a safe fold-down seat is finding the wall studs. Use a stud finder to locate them, then mark the spots before drilling. If you can't hit studs, use heavy-duty toggle bolts rated for at least 300 pounds.
The seat should be mounted at a height that lets your feet rest flat on the tub floor when you sit—usually around 17 to 19 inches above the tub. Also, make sure the seat clears the tub rim when folded down, so it doesn't scrape or catch on the edge.
Making It Work In A Small Space
Even in a tiny bathroom, a fold-down seat doesn't crowd things because it only takes up about 4 inches of wall depth when folded. That leaves plenty of room for a shower caddy or a handheld sprayer on the opposite wall. If you're worried about it getting in the way, choose a model that folds up completely flat against the wall and locks into place.
Some even come with a built-in handle or a small shelf underneath, which adds extra utility without adding bulk.
5. Use a Tension Rod for Extra Drying Space
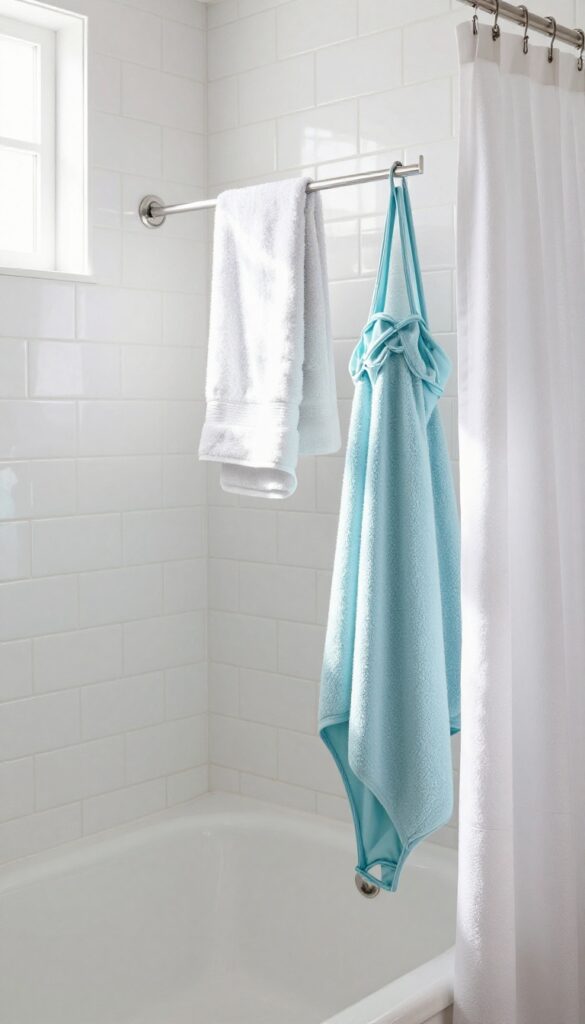
Damp towels and swimsuits often end up draped over the shower curtain rod or the edge of the tub, which can block light and make the space feel cluttered. A second tension rod, placed higher up above the tub, gives you a dedicated spot to hang these items without interfering with your shower. It's a simple, renter-friendly upgrade that costs next to nothing and instantly adds functional drying space where you need it most.
A tension rod is one of the easiest ways to add drying space without drilling holes or committing to a permanent fixture. You can install it in seconds and adjust it whenever you need more room. Plus, it keeps wet items off the curtain rod, so your shower curtain stays cleaner and moves more freely.
Where To Place It
Position the rod above the showerhead, usually around 6 to 8 inches below the ceiling, so it's out of the way of your daily shower routine. Make sure it's far enough from the wall to let air circulate around hanging items. If you have a shower curtain rod already, place the tension rod a few inches above it to avoid interference.
What To Hang
Use the rod for lightweight items like hand towels, washcloths, or a bathrobe. For heavier items like wet jeans or thick bath towels, spread them out and use multiple hangers to distribute weight. You can also hang mesh bags with delicates or use it to air-dry swimwear after a pool day.
Tips For Keeping It Secure
To prevent the rod from slipping, make sure it's properly tensioned—twist it until it's snug and test it with a gentle pull. You can add rubber pads or grippy tape on the ends for extra grip. Avoid overloading it with heavy items, and always check the tension periodically, especially in humid bathrooms where moisture can affect grip.
6. Opt for a Slimline Tub Filler with a Shower Attachment
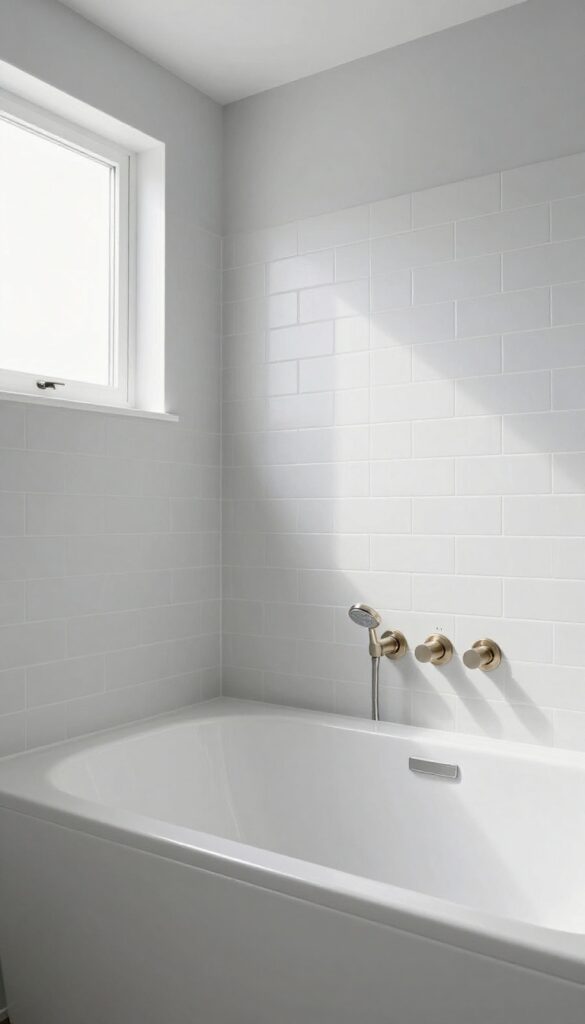
Traditional tub faucets with a separate shower arm and spout can clutter the wall and eat up visual space. A slimline tub filler with an integrated shower hose streamlines everything into one sleek unit. It mounts directly to the wall or floor, freeing up the area around the tub and giving you a cleaner, more open look.
A wall-mounted tub filler with a built-in shower hose is a smart swap for small bathrooms. It eliminates the need for a separate spout and shower arm, which reduces visual clutter and makes the wall easier to clean. Plus, the integrated design often includes a handheld showerhead that can be used for rinsing the tub, washing pets, or directing water exactly where you need it.
Why It Works In Small Spaces
Because the filler is mounted on the wall, it doesn't take up any floor space. The slim profile extends less from the wall than a traditional spout, so it feels less intrusive. And since there's no separate shower arm, you gain a few extra inches of clearance—which can make a big difference in a tight tub area.
Installation Tips
If you're replacing an existing tub faucet, the plumbing rough-in is usually the same, so it's a straightforward DIY for a confident homeowner. Make sure to choose a model with a diverter that switches between the tub spout and the showerhead smoothly. Also, pick a finish that matches your other fixtures to keep the look cohesive.
Style And Function Combined
These fillers come in modern, minimalist designs that look great in contemporary bathrooms. Some models have a long reach that makes filling a deep tub easier, while others feature a pull-out sprayer for added flexibility. You can even find options with a built-in shelf or hook for your shower essentials, saving you from installing extra storage.
7. Build a Recessed Niche for Toiletries
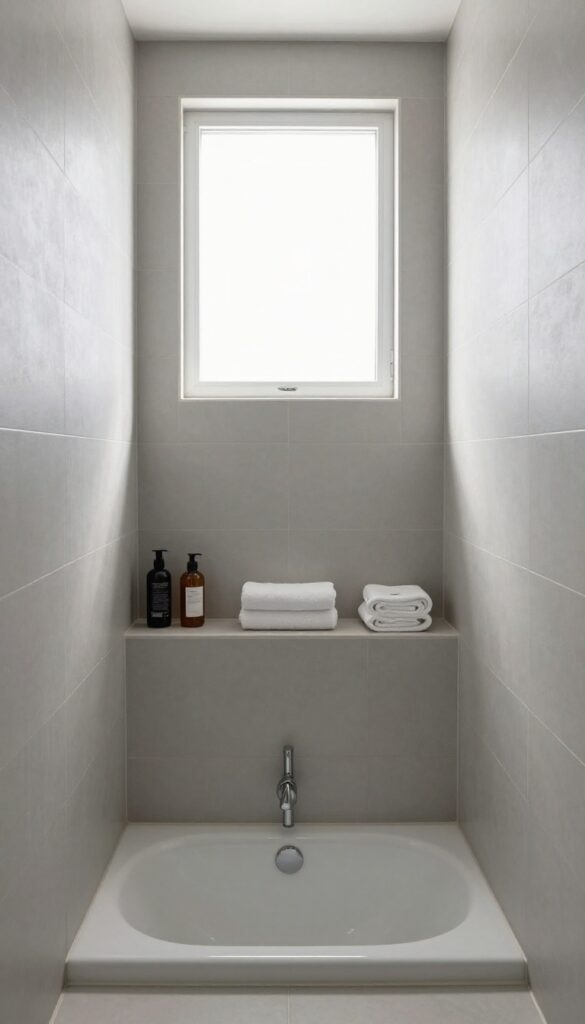
Tubs tend to collect a lot of stuff. Shampoo bottles, soap bars, loofahs, razors—they all end up lined along the edge or in a caddy that hangs off the faucet. That clutter makes the space feel smaller and gets in the way when you're trying to bathe.
A recessed niche solves this by giving you built-in storage that's flush with the wall. It's a simple addition during a tile job, and it creates a clean, organized spot for everything you need within arm's reach.
A recessed niche is essentially a shelf carved into the wall, finished with tile to match your bathroom. It's a classic solution for small showers, and it works just as well in a shower-over-bath setup. Instead of relying on the tub's edge or a bulky organizer, you get a seamless place to keep your essentials.
The best part? It doesn't take up any floor or tub space. Because the niche sits inside the wall, it's completely out of the way.
You can place it at a height that's comfortable for you, and you can even add multiple niches if you need more room. If you're planning a remodel or retiling, this is one of the smartest upgrades you can make. It's not the cheapest option, but it's a permanent fix that adds value and convenience.
Where To Place The Niche
Location matters more than you might think. You want the niche to be easy to reach but not in the direct spray of the showerhead. A common spot is on the wall opposite the faucet, or on the side wall if you're standing to shower.
Think about what you'll store there. If it's mostly bottles, place it at chest or shoulder height. If you need a spot for a razor or washcloth, a lower niche might work better.
You can also install two niches at different heights for maximum flexibility.
Sizing And Depth Considerations
The depth of your niche should match the items you'll store. Standard shampoo bottles are usually about 3 to 4 inches deep, so a niche that's 4 to 5 inches deep is a safe bet. If you have larger bottles, you might want to go deeper.
Width is flexible. A single niche can span the space between two studs, which is typically about 14 to 16 inches. That's enough for a few bottles side by side.
You can also make it taller to accommodate pumps or taller containers.
Tiling And Waterproofing Tips
A niche is only as good as its waterproofing. Make sure the opening is properly sealed with a waterproof membrane before tiling. This prevents moisture from seeping into the wall and causing mold or rot.
When tiling, use a slight slope on the bottom shelf so water drains out instead of pooling. Also, choose tiles that are easy to clean, like ceramic or porcelain. Avoid natural stone, which can stain from soap and shampoo residue.
8. Choose a Shower Curtain with a Curved Rod
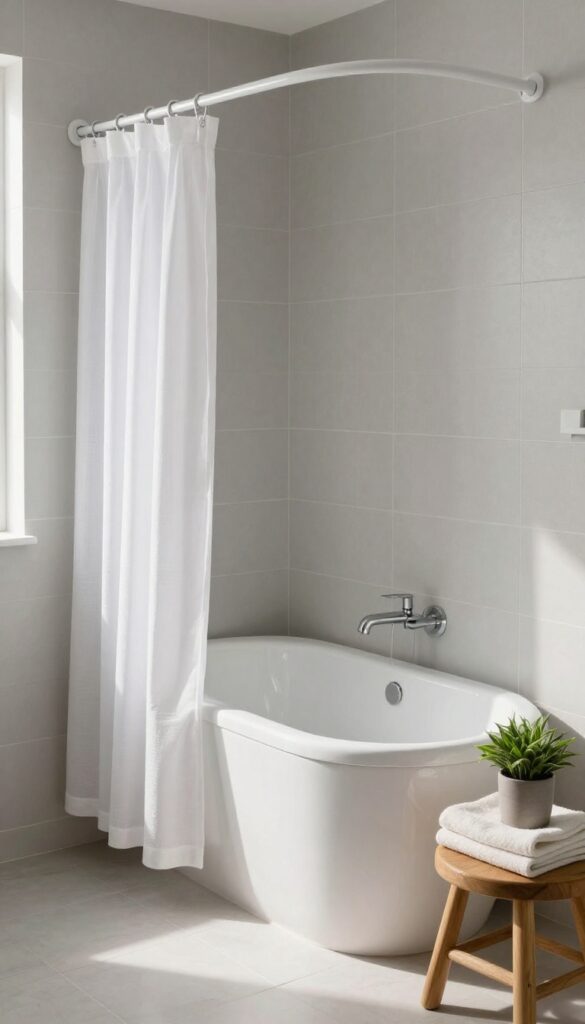
A straight rod might be the default, but it’s also the reason you feel like you’re showering in a phone booth. A curved rod pushes the curtain outward, giving you more elbow room inside the shower without expanding the footprint. It’s one of the simplest swaps you can make, and it instantly makes the space feel less claustrophobic.
The beauty of a curved rod is that it adds precious inches where you need them most—right at your shoulders and elbows. That extra space means you can move freely without constantly brushing against the wet curtain. It also helps keep the curtain from clinging to your body when the water pressure is on, which is a small but real upgrade to your daily routine.
How Much Extra Space Does It Actually Give?
A typical curved rod extends about 6 to 8 inches into the bathroom at the center. That might not sound like a lot, but when you’re standing in a 30-inch-wide tub, those few inches make a noticeable difference. You’ll have more room to bend, reach, and turn without feeling boxed in.
Installation Tips For A Curved Rod
Most curved rods are tension-mounted, so you can install them in minutes without drilling. Just make sure your walls are sturdy enough to hold the tension. If you prefer a more permanent solution, choose a rod that mounts to the wall with brackets—this also lets you use a heavier curtain without worrying about sagging.
Pairing It With The Right Curtain
To get the most out of a curved rod, pair it with a curtain that has a slightly longer drop or a weighted bottom. This keeps the curtain from billowing inward and helps it hang neatly along the curve. A fabric liner with magnets at the bottom also helps keep water inside the tub, so you’re not just gaining space—you’re also keeping your floor dry.
9. Add a Grab Bar That Doubles as a Towel Rack
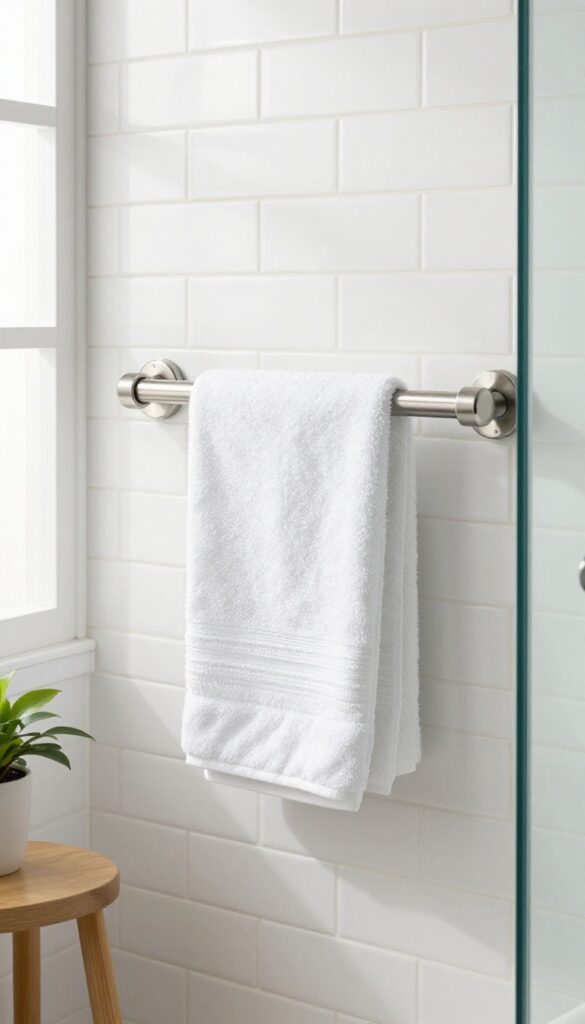
Safety and convenience don't have to be separate concerns. A grab bar that also holds your towel is a clever way to add both without eating up extra wall space. It's a small swap that makes a big difference in a tight bathroom.
Combining a grab bar with a towel rack is a smart move for small bathrooms. You get the security of a sturdy handhold when stepping in and out of the tub, plus a spot to hang a towel within easy reach. This dual-purpose fixture is especially useful for kids, older adults, or anyone who appreciates extra stability.
And because it serves two functions, it saves valuable wall space that would otherwise be taken up by separate items.
Why This Combo Works So Well
A grab bar and towel rack in one means you're not sacrificing safety for convenience or vice versa. The bar is typically mounted horizontally, giving you a solid grip right where you need it most—near the tub's edge. The towel bar sits above or integrates seamlessly, so you can grab a towel without stepping away from the tub.
This setup is especially handy in tight spaces where every inch counts.
Choosing The Right One
Look for a model that's rated for safety, meaning it can support your weight. Stainless steel or brushed nickel finishes resist moisture and match most bathroom fixtures. Measure the distance between your tub edge and the wall to ensure the bar is within easy reach.
Some designs have a curved or angled shape that makes them more comfortable to grip, while others feature a built-in shelf for extra storage.
Installation Tips
Proper installation is critical for safety. Always attach the grab bar to wall studs or use heavy-duty anchors designed for this purpose. If you're not confident in your DIY skills, hire a professional to ensure it's secure.
Position it at a height that's comfortable for everyone in the household, typically around 33 to 36 inches above the tub floor. And don't forget to leave enough clearance for the towel to hang without dragging on the floor.
10. Use Clear Glass for a Seamless Look
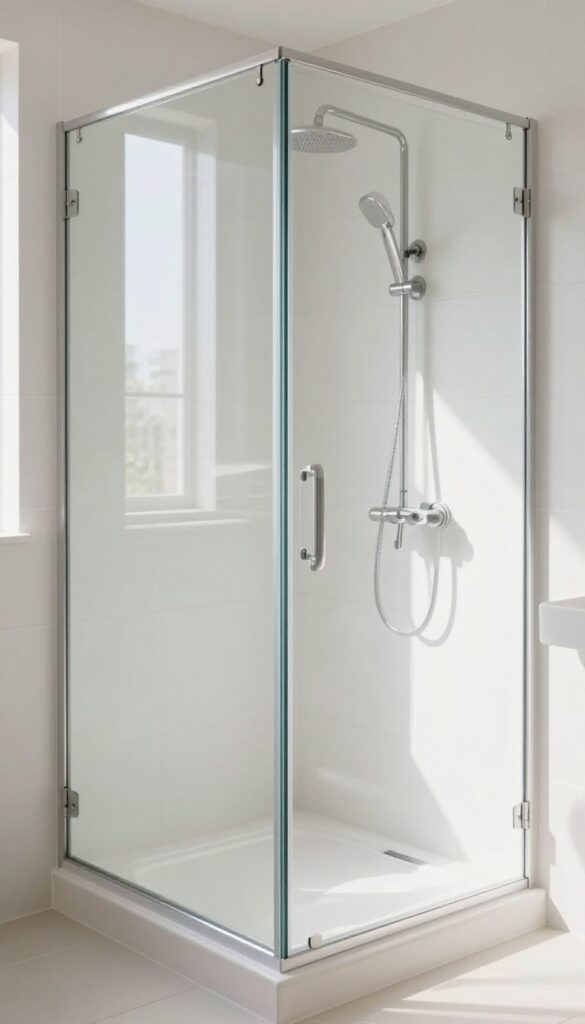
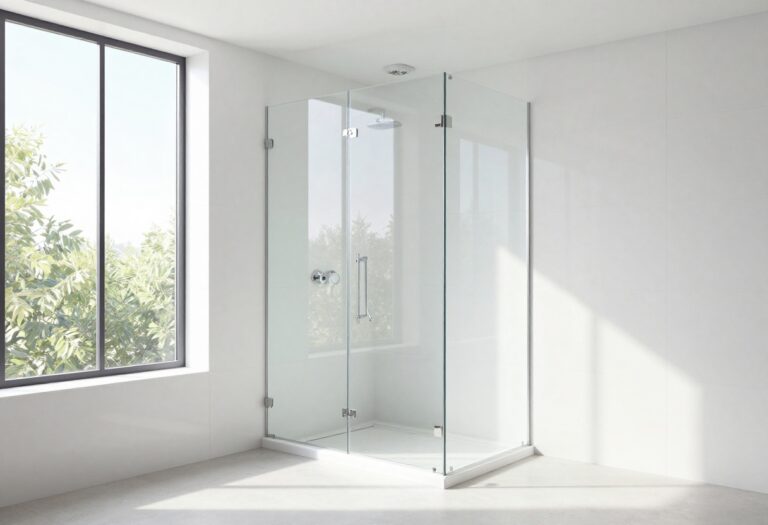
Frosted glass might seem like a good idea for privacy, but it can make a small bathroom feel closed off. Clear glass, on the other hand, lets your eye travel across the entire space, which instantly makes the room feel bigger and more open. It's a simple swap that pays off in both light and perceived space.
If you're installing a shower door over your tub, clear glass is the way to go. It allows natural light to flow through, and it doesn't visually chop the room in half. Plus, it shows off your beautiful tile or tub, so the whole setup feels more intentional and less like an afterthought.
The Light Factor
Clear glass lets light bounce around the room, making it feel brighter and more airy. If your bathroom has a window, clear glass helps that daylight reach the shower area. Even with artificial lighting, the transparency reduces shadows and makes the space feel more inviting.
Making It Work
Clear glass does show water spots and soap scum more easily, so you'll need to wipe it down regularly or use a squeegee after each shower. To keep it looking great, consider a water-repellent coating. But the trade-off is worth it: the open feel is a huge win in a small bathroom.
Style And Maintenance
Clear glass also gives you more design flexibility. It pairs well with any tile or fixture finish, and it keeps the visual focus on your tub and tile rather than the door. If you're worried about privacy, you can always add a frosted film later, but you might find you don't need it.
11. Install a High-Pressure Showerhead for a Better Rinse
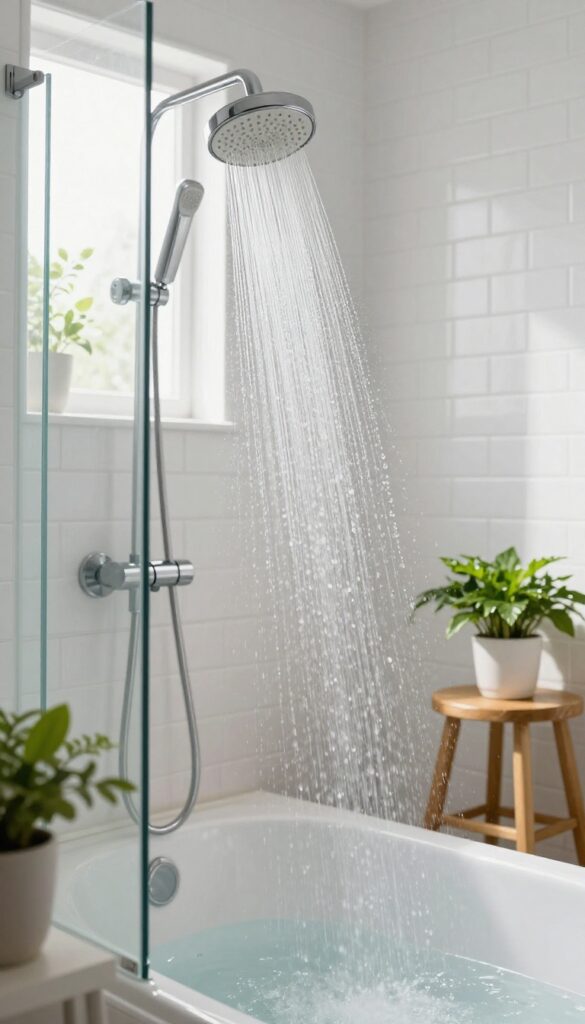
If you've ever stepped into a shower-over-bath combo and felt like the water was barely trickling out, you're not alone. The extra plumbing and distance from the water heater often mean lower pressure at the showerhead. Upgrading to a high-pressure model can completely change how your shower feels, making it more refreshing and effective.
A high-pressure showerhead compensates for the lower water pressure often found in tub-shower combos, giving you a more satisfying shower. It's a simple swap that doesn't require any major plumbing work, and it can make a world of difference in your daily routine. Plus, many models are designed to save water while still delivering a powerful spray, so you can enjoy a great rinse without worrying about your utility bills.
Why Pressure Drops In Tub-shower Combos
Tub-shower combos have longer pipe runs and more fittings than a dedicated shower, which can reduce water pressure at the head. Also, if your showerhead is old or clogged with mineral deposits, the flow will be even weaker. Understanding this helps you see why a simple upgrade can have such a big impact.
What To Look For In A High-pressure Showerhead
When shopping, look for models with multiple spray settings, a flow rate of at least 2. 5 gallons per minute (GPM) if your local code allows, and a design that uses a smaller nozzle or a turbine to boost pressure. Rain showerheads look great but often have lower pressure, so stick with a standard or massage-style head for the strongest rinse.
Installation Tips And Tricks
Most high-pressure showerheads screw right onto your existing arm, but you may need to use plumber's tape to prevent leaks. If your current arm is too short or angled, consider replacing it with a longer or adjustable one. Also, clean the new head regularly to keep mineral buildup from reducing pressure over time.
12. Add a Non-Slip Mat or Treads for Safety
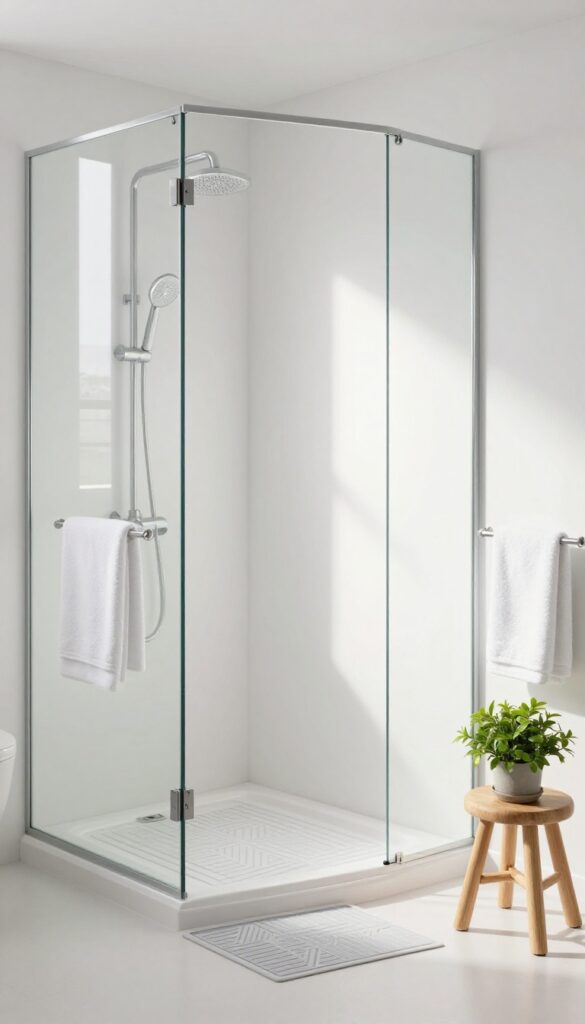
Slippery tub floors are a real hazard, especially when you're combining a shower with a bath. A simple non-slip mat or adhesive treads can make a huge difference in preventing accidents. It's one of the easiest upgrades you can make, and it doesn't require any special tools or skills.
When you're stepping into a tub that doubles as a shower, the last thing you want is to worry about your footing. Soap and water create a slick surface, and that's a recipe for a nasty fall. Adding a non-slip mat or treads gives you peace of mind and makes the whole experience more comfortable.
Plus, they come in a variety of styles, so you can find something that fits your bathroom's look without sacrificing safety.
Choose The Right Type
There are two main options: mats and adhesive treads. Mats are easy to remove and clean, but they can shift around. Adhesive treads stick directly to the tub surface and stay put, but they're more permanent.
Think about your priorities. If you want flexibility, go with a mat. If you want a set-and-forget solution, treads are your best bet.
Focus On Texture And Grip
Not all non-slip products are created equal. Look for mats or treads with strong suction cups or a textured surface that provides real grip, even when wet. Avoid anything that feels smooth or flimsy.
The whole point is to create friction between your feet and the tub, so don't skimp on quality.
Keep It Clean
Mats and treads can accumulate soap scum and mildew over time. Give them a quick scrub with a brush and some mild cleaner every couple of weeks. If you have a mat, you can toss it in the washing machine on a gentle cycle.
Keeping them clean not only extends their life but also maintains their grip.
13. Use a Shower Curtain Liner with Magnets
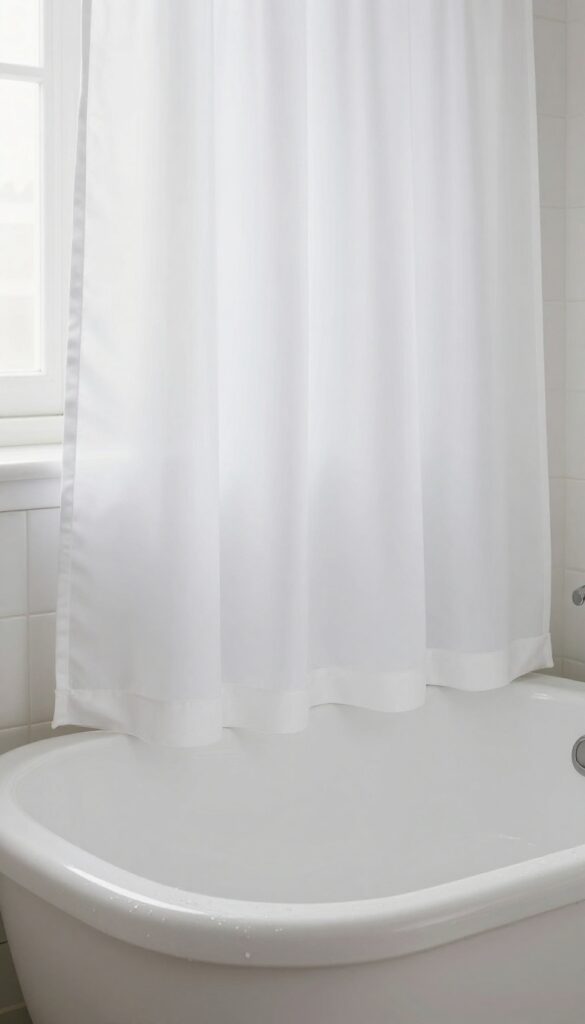
A shower curtain that billows inward and clings to your legs is a classic annoyance in a shower-over-bath. The fix is simpler than you think: a liner with magnetic weights sewn into the bottom hem. These small magnets grab onto the metal or porcelain edge of the tub, keeping the liner in place and stopping water from sneaking out onto the floor.
This is one of those upgrades you don't realize you need until you try it. It's cheap, takes seconds to install, and makes a real difference in how dry your bathroom stays after every shower.
The main job of a shower curtain liner is to keep water inside the tub, but standard liners often fail because they float and move with the water flow. Magnetic liners solve this by using small, powerful magnets sewn into the bottom edge. When you pull the curtain closed, the magnets snap against the tub's metal or porcelain surface, creating a secure seal that stays put even with strong water pressure.
Beyond preventing puddles, this simple swap also reduces the need to constantly straighten the curtain after each use. It's a small detail that makes your daily routine smoother and your bathroom safer, especially if you have kids who tend to splash around.
Why Magnetic Liners Work So Well
The secret is in the design. Instead of relying on gravity or the curtain's own weight, magnetic liners use the attraction between the magnets and the tub's surface. This creates a firm, continuous contact that water can't easily break through.
It's especially effective in shower-over-bath setups where the curtain is longer and more prone to flapping. Plus, the magnets are usually strong enough to hold even when the curtain is slightly pulled or tugged. So you get a reliable barrier without having to fuss with clips or extra weights.
How To Choose The Right Magnetic Liner
Not all magnetic liners are created equal. Look for one with a reinforced hem and magnets spaced every few inches for consistent hold. The liner should be made of a durable, mildew-resistant material like PEVA or polyester.
Check the width to ensure it fits your curtain rod, and consider a heavier gauge if you have a strong showerhead. Also, think about the bottom edge: some liners have a weighted hem in addition to magnets, which adds extra stability. If your tub is fiberglass or acrylic, make sure the liner's magnets are compatible—most are, but it's worth double-checking the product description.
Installation And Maintenance Tips
Installing a magnetic liner is no different from a regular one—just hang it on the shower rod behind your decorative curtain. The magnets will do the rest. To keep the liner working well, clean it regularly to prevent soap scum buildup, which can reduce the magnetic grip over time.
If you notice the magnets losing their hold, it might be time for a replacement. Most liners last a year or two with normal use. And always let the liner dry fully after each shower to prevent mildew and keep the magnets from rusting.
14. Install a Wall-Mounted Shower Caddy with a Soap Dish
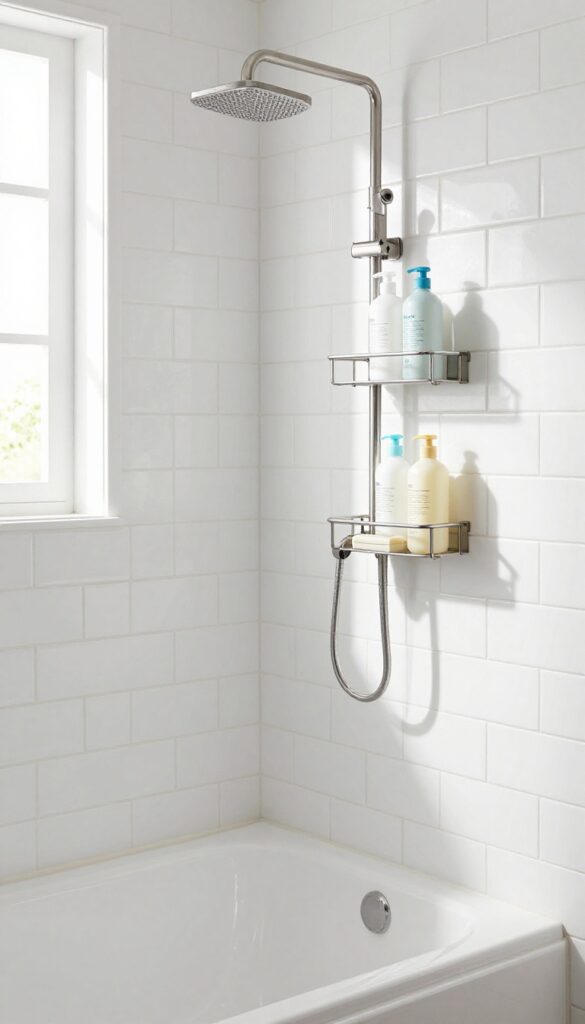
Shampoo bottles, body wash, and soap bars tend to pile up on the tub edge, eating into the little space you have. A wall-mounted caddy with a built-in soap dish clears the clutter and keeps everything within easy reach. It’s a simple upgrade that makes your shower-over-bath feel much more organized.
Mounting a caddy on the wall frees up the tub ledge and the floor, so you can move around without knocking things over. With a soap dish attached, you don’t need a separate tray or magnet holder for your bar soap. This setup is especially handy if your tub edge is narrow or sloped, where things tend to slide off.
Choose The Right Material
Look for rust-resistant materials like stainless steel, aluminum, or coated plastic. These hold up well in humid conditions and are easy to wipe down. Avoid cheap metals that can corrode and leave stains on your wall or products.
Placement Matters
Mount the caddy at a height that feels natural for you—usually around shoulder or chest level. Keep it close to the showerhead but not directly under the spray, so water doesn’t pool in the soap dish. If you have a handheld showerhead, position the caddy on the opposite wall to keep it dry.
Installation Tips
Most wall-mounted caddies come with adhesive strips or screws. Adhesive is great for tile and doesn’t require drilling, but make sure the surface is clean and dry before sticking. For a more permanent hold, use screws with wall anchors, especially if you plan to store heavy bottles.
15. Add a Small Heated Towel Rack
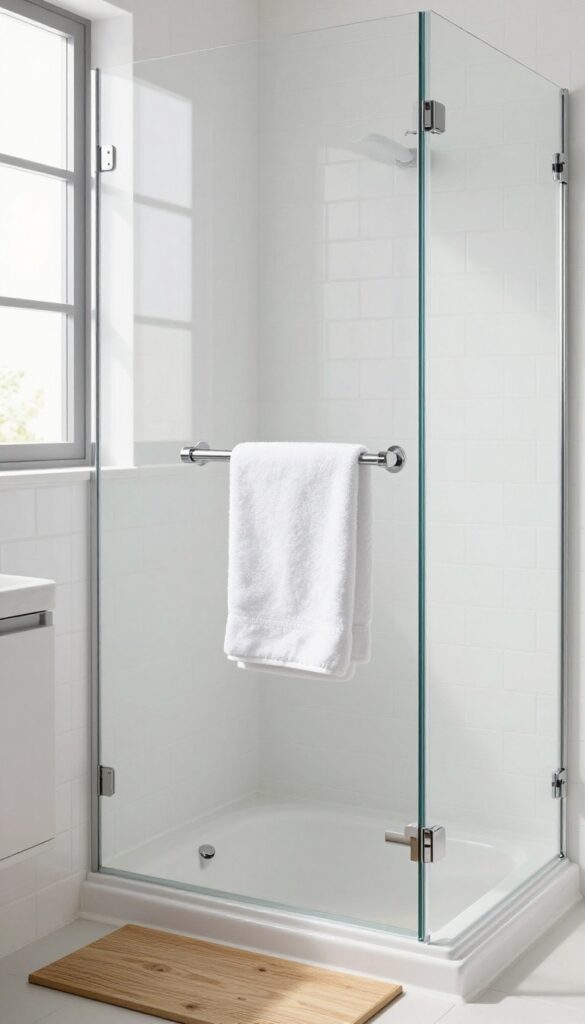
Stepping out of a warm shower into a chilly bathroom is never fun, especially in a small space where the cold seems to hang around. A heated towel rack can change that instantly. It doesn't take up any floor space, and it adds a touch of luxury that makes your compact bathroom feel more like a spa.
A small heated towel rack mounted on the wall near the tub is a smart upgrade for a shower-over-bath setup. It keeps your towel warm and dry, so you can wrap up in comfort right after you step out. Plus, it can double as a handy spot to air out damp washcloths or hang a robe.
Pick The Right Size And Style
Look for a compact rack that fits the wall space you have. A slim vertical design works well in tight corners, while a horizontal bar can sit above the tub if you have a bit of wall height. Choose a finish that matches your fixtures—chrome, brushed nickel, or matte black all look great.
Make sure it's rated for bathroom use and has a timer or thermostat for safety and efficiency.
Install It Where It's Most Useful
Place the rack within easy reach of where you step out of the tub. That might be on the side wall near the showerhead or on the back wall opposite the faucet. Also, think about the electrical outlet—you'll need one nearby unless you go with a hardwired model.
If you're not comfortable with wiring, a plug-in version is a simple DIY project.
Make It Work Harder For You
Beyond warming towels, a heated rack can help dry out swimsuits or delicate hand-washed items overnight. Use it to pre-warm a robe on chilly mornings. And because it's wall-mounted, it frees up floor space that a freestanding towel warmer would eat up.
That's a win in any small bathroom.
FAQ
Are shower-over-bath combos a good idea for small bathrooms?
Yes, they maximize space by combining two functions in one footprint, making them ideal for small bathrooms where a separate shower and tub won't fit.
How can I prevent water from splashing onto the floor?
Use a shower curtain with a magnetic liner, install a curved rod to keep the curtain away from you, and ensure the curtain or door overlaps the tub edge properly.
What's the best material for a shower curtain in a small bathroom?
A lightweight, water-repellent fabric or a clear vinyl liner works well. Clear liners let in more light, making the space feel bigger.
Can I install a shower-over-bath without a full remodel?
Often, yes. You can swap out fixtures, add storage, and change the curtain or door with minimal renovation. Recessed niches or new tile may require more work.
How do I make a shower-over-bath feel more spacious?
Use clear glass, light colors, and minimal clutter. Adding a curved rod or a handheld showerhead can also make the space feel more open and functional.
Conclusion
These 15 ideas show that a shower-over-bath combo doesn't have to feel like a compromise. With a few smart upgrades, you can make your small bathroom more practical, comfortable, and even a little luxurious.
Start with the changes that address your biggest pain points, whether that's water on the floor or a lack of storage. Small tweaks can make a big difference, and you might find you love your tub-shower setup more than you expected.