23 Cleaning Laminate Wood Floors Tips for Gentle Shine
Laminate floors are tough, but they're not invincible. Too much water, harsh cleaners, or just the wrong mop can leave them dull and damaged. The good news?
You don't need fancy products or expensive treatments to keep them looking great. These 23 tips focus on gentle, effective methods that protect your floor's finish while saving you time and money.
From daily dusting to spill emergencies, you'll learn exactly what works—and what to avoid. Let's get started.
1. Start with a Soft Broom or Microfiber Dust Mop
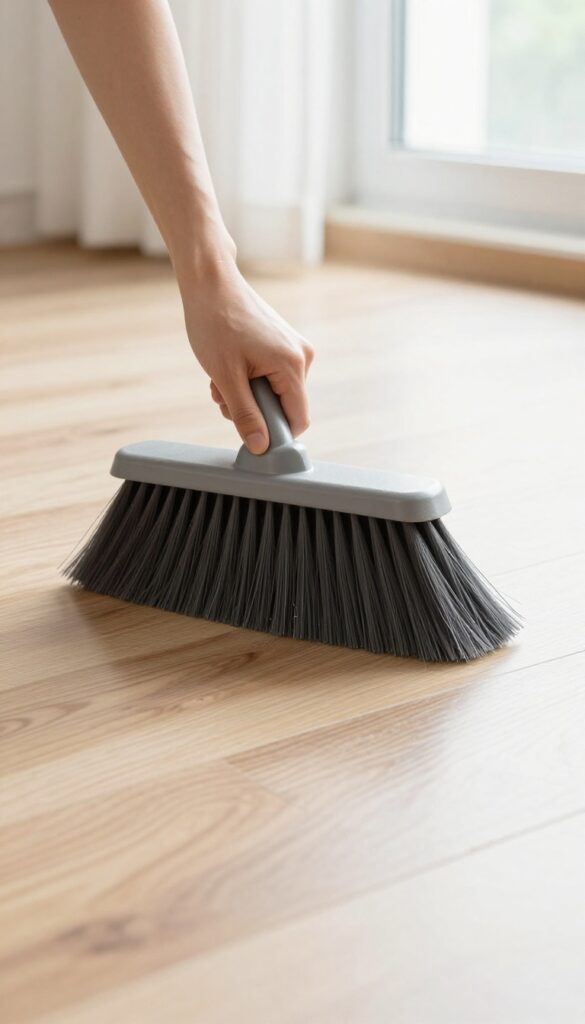
Sweeping might seem too simple to mention, but it's the single most important step for keeping laminate floors scratch-free. Grit and dirt act like sandpaper underfoot, wearing down the protective layer over time. A quick daily pass with the right tool makes all the difference.
Why Soft Bristles Matter
Hard-bristle brooms can leave fine scratches on laminate, especially if they pick up coarse debris. A soft-bristle broom glides over the surface without damage. Look for flagged ends (split tips) that trap dust rather than push it around.
Microfiber: The Better Choice
Microfiber dust mops use static electricity to attract dust and hair, lifting them off the floor instead of scattering them. They're washable and reusable, making them eco-friendly and cost-effective. Use a dry pad only—never a wet one for dusting.
How Often Should You Dust?
High-traffic areas like hallways and kitchens benefit from daily dusting. Less-used rooms can go every other day. The goal is to remove grit before it gets ground in by footsteps or furniture movement.
2. Vacuum on the Hard Floor Setting
Vacuuming seems straightforward, but using the wrong setting can do more harm than good. The spinning brush or beater bar on many vacuums is designed for carpets and can scratch laminate's delicate surface. Instead, switch to the hard floor setting or turn off the brush roll entirely.
This simple adjustment keeps your floor safe while still picking up dust, pet hair, and debris.
When you vacuum on the wrong setting, you're essentially dragging a rotating brush across your laminate, which can create micro-scratches that dull the finish over time. These scratches collect dirt and make the floor look worn. By using the hard floor setting, you engage suction-only mode or a soft brush attachment that glides without abrasion.
If your vacuum lacks a hard floor setting, you can manually disable the beater bar or lift it off the floor using a height adjustment. For best results, vacuum in the direction of the planks to avoid catching edges.
Why The Beater Bar Is Bad For Laminate
The beater bar's bristles are stiff and rotate at high speed. On laminate, they can leave fine scratches that are invisible at first but accumulate over time. These scratches trap dirt and make the floor look hazy.
Even soft bristles can be abrasive on the protective wear layer. That's why most vacuum manufacturers include a hard floor setting or recommend turning off the brush roll.
How To Check Your Vacuum Settings
Look for a switch or dial labeled "hard floor, " "bare floor, " or "carpet/hard floor. " Some models have a button to turn off the brush roll. If you're unsure, check the manual or search online for your model.
For canister vacuums, use the included hard floor nozzle, which typically has soft bristles or felt strips. Stick vacuums often have a dedicated hard floor mode that reduces brush speed.
Best Practices For Vacuuming Laminate
Vacuum at least once a week, or more often in high-traffic areas. Use slow, overlapping passes to give suction time to lift debris. Avoid dragging the vacuum cord across the floor—lift it or use a cordless model.
For edges and corners, use a soft brush attachment or a microfiber dust mop. Empty the dustbin or replace the bag regularly to maintain strong suction.
3. Damp Mop, Never Wet Mop
Laminate flooring and water don't mix well. Even a small amount of standing water can seep into the seams, causing the boards to swell, warp, or develop a cloudy finish. That's why the golden rule is to keep your mop barely damp—think wrung-out sponge, not soaking wet rag.
The key is to use as little water as possible while still effectively cleaning. A microfiber mop with a spray bottle gives you full control, letting you mist the floor lightly rather than drench it. Always dry any accidental puddles immediately with a soft towel.
The Right Mop For The Job
Skip traditional string mops and bucket systems—they hold too much water. Instead, use a flat microfiber mop with a built-in sprayer. Microfiber attracts dust and grime without scratching, and the sprayer lets you apply just enough moisture to clean without soaking the floor.
How To Wring Properly
If you're using a bucket mop, wring it until no water drips when you hold it up. Then wring it one more time. The mop head should feel damp to the touch but not leave any moisture behind on the floor.
Test on a small, inconspicuous area first.
What To Do If You Over-wet
Accidents happen. If you notice puddles or a wet spot, grab a dry microfiber cloth or towel and blot it up immediately. Don't let water sit for more than a few seconds.
For larger spills, use a wet/dry vacuum on low suction to remove excess moisture quickly.
4. Choose a pH-Neutral Cleaner
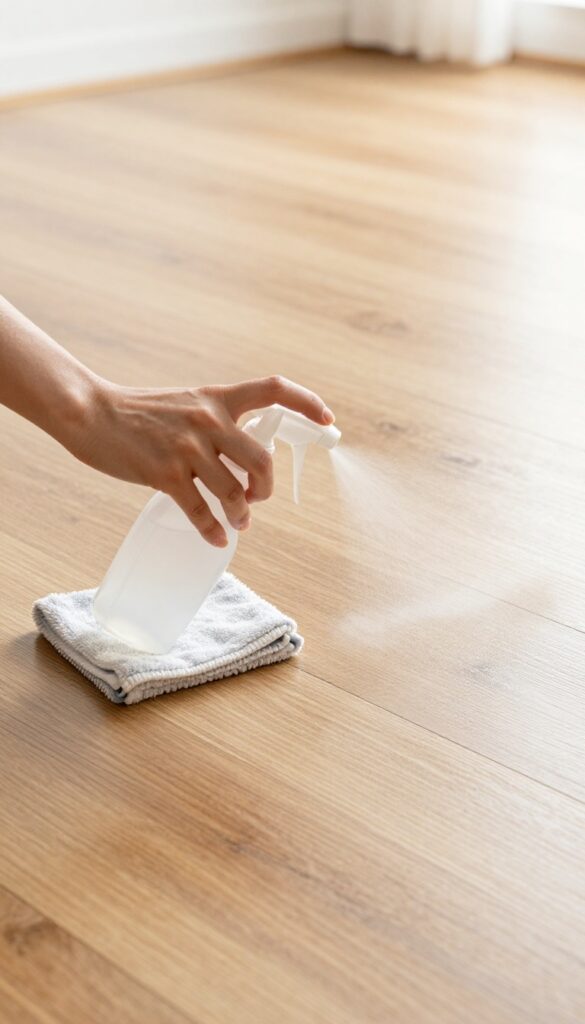
Not all cleaners are laminate-friendly. Many all-purpose sprays contain harsh chemicals that can eat away at the protective layer over time. The result?
A dull, hazy finish that no amount of buffing can fix. Stick with products labeled specifically for laminate floors or a mild pH-neutral soap. Always dilute according to the instructions—too much concentrate leaves a sticky residue that attracts dirt.
Using the wrong cleaner is one of the fastest ways to ruin your laminate's shine. Ammonia, bleach, and acidic solutions are especially damaging. They break down the wear layer, making the floor vulnerable to scratches and moisture.
A pH-neutral cleaner (typically around 7 on the pH scale) is gentle enough to clean without stripping. You can find these at most hardware stores or make your own by mixing a few drops of mild dish soap with water. Just be careful not to oversuds—too much soap leaves a film.
Why Ph Matters
The protective layer on laminate is sensitive. Alkaline cleaners (high pH) can cloud the finish, while acidic ones (low pH) can etch it. Neutral pH means the cleaner is balanced, so it lifts dirt without attacking the seal.
Think of it like washing a delicate fabric—you wouldn't use bleach on silk, and you shouldn't use harsh chemicals on laminate.
How To Use It Right
Even the best cleaner can cause problems if you overdo it. Mix the recommended amount with warm water in a spray bottle or bucket. Spray lightly onto the floor or directly onto your mop—never soak the laminate.
Wipe with a damp (not wet) mop, then follow with a dry microfiber cloth to pick up any excess moisture. This prevents water from seeping into the seams.
5. DIY Vinegar Solution (Diluted)
White vinegar is a household hero for many cleaning tasks, and laminate floors are no exception. When diluted properly, it cuts through grease and grime without leaving a sticky residue or damaging the protective layer. The key is getting the ratio right—too strong and you'll strip the shine; too weak and it won't clean effectively.
Why Vinegar Works On Laminate
Vinegar is mildly acidic, which helps dissolve dirt and grease that plain water can't handle. Unlike some commercial cleaners, it doesn't contain waxes or oils that build up over time. This makes it a safe, streak-free option for routine cleaning.
The Perfect Ratio For Gentle Cleaning
Stick to 1/4 cup of white vinegar per gallon of warm water. This dilution is strong enough to cut grime but gentle enough to preserve your floor's finish. Avoid using more vinegar—it can dull the surface and leave a faint smell that lingers.
How To Apply Without Overwetting
Use a microfiber mop and spray the solution lightly onto the floor, not directly on the mop. Work in small sections, and dry immediately with a clean microfiber cloth. Standing water is the enemy of laminate, so keep it damp, not wet.
6. Avoid Steam Mops
Steam mops promise a deep clean, but they're one of the worst things you can use on laminate. The high heat and moisture force water into the seams, causing swelling and warping over time. Once that happens, there's no easy fix—you're looking at replacing planks.
Stick to a well-wrung damp mop instead. A microfiber mop with a spray bottle gives you full control over how much moisture touches the floor. Mist lightly, mop, and dry any puddles immediately.
Your laminate will stay flat, smooth, and shiny without the steam risk.
Why Steam Is Risky
Laminate is made of compressed wood fibers with a protective top layer. Steam penetrates through tiny gaps in the seams and gets trapped underneath. Over time, that moisture causes the core to expand, leading to bubbles, cupping, and permanent damage.
Even high-end laminate isn't fully sealed against steam.
Better Alternatives
A microfiber flat mop with a washable pad is your best friend. Use it dry for dust, or dampen it with a laminate-safe cleaner. For deeper cleaning, spray the cleaner directly onto the pad—never the floor—to avoid excess moisture.
You'll get a streak-free shine without the steam gamble.
When Steam Might Be Okay
Some newer laminate floors are labeled "steam-safe, " but even then, proceed with caution. Test a small hidden area first, and always use the lowest steam setting. Keep the mop moving and never let it sit in one spot.
Honestly, it's still safer to skip steam entirely and stick to damp mopping.
7. Wipe Spills Immediately
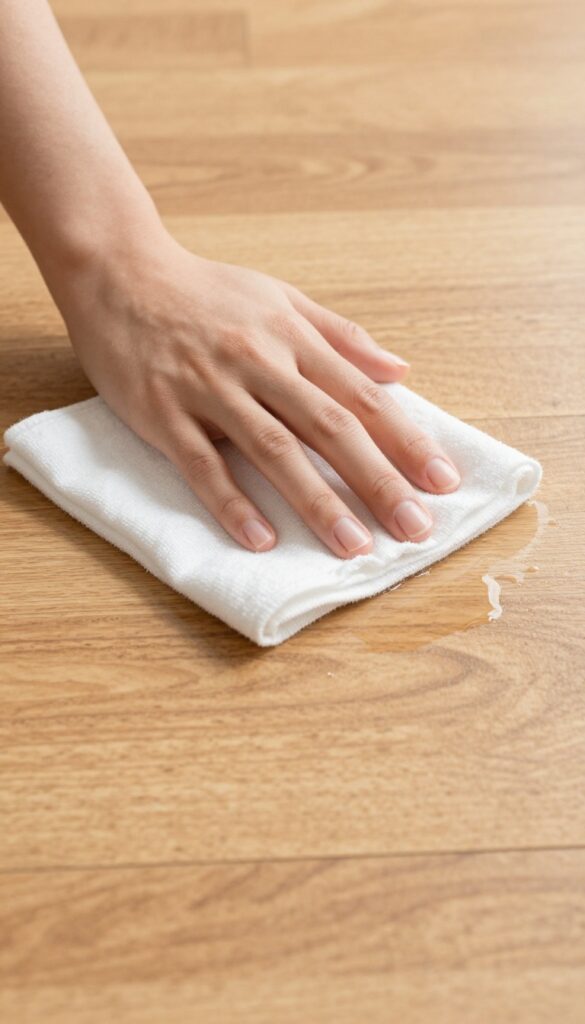
Laminate floors look great, but they have one major weakness: moisture. Unlike tile or vinyl, laminate is made of compressed wood fibers topped with a protective layer. When liquid seeps through the seams or sits too long, it can cause swelling, warping, or permanent stains.
That's why speed matters.
Why Laminate Hates Standing Water
Laminate planks are not waterproof. The core is highly absorbent, and once moisture gets in, the damage is often irreversible. Even a small puddle left overnight can make the edges swell and lift.
That's why blotting spills immediately is your best defense.
The Right Way To Blot
Grab a soft, lint-free cloth or paper towel. Press down gently to absorb the liquid—don't rub. Rubbing can spread the spill and push moisture into the seams.
For sticky spills like juice or wine, dab until the area feels dry to the touch.
What To Do With Stubborn Spills
If something has already started to dry, dampen a cloth with plain water and gently wipe the spot. Then dry it immediately with a clean cloth. Avoid using soap or cleaner for everyday spills—water alone is usually enough.
For greasy spills, a tiny drop of mild dish soap in water works, but make sure to rinse and dry thoroughly.
8. Use Felt Pads Under Furniture
Furniture legs are a hidden enemy of laminate floors. Every time you slide a chair or table, you risk scratching the surface. That's where felt pads come in—they're a simple, cheap fix that keeps your floors looking new.
Stick felt pads on the bottom of chairs, tables, sofas, and any other furniture that moves. They create a soft barrier between the hard leg and the laminate, preventing scratches and scuffs. Check them every few months and replace when they get dirty or worn out.
Choose The Right Pads
Not all felt pads are created equal. Look for thick, self-adhesive pads made specifically for hard floors. Avoid thin felt that wears down quickly.
Some pads come with a sticky backing that can leave residue—peel-and-stick felt with a smooth back works best.
Apply Them Correctly
Clean the furniture leg first with a damp cloth and let it dry completely. Peel the pad and press firmly onto the leg. For uneven or curved legs, use pads with a flexible backing or cut larger pads to fit.
Make sure the pad covers the entire contact area.
Keep An Eye On Wear
Felt pads don't last forever. Over time, they pick up dirt and lose their smoothness. Inspect them every few months.
If you see dark spots or the felt feels rough, replace them. Dirt embedded in worn pads can actually scratch the floor.
9. Place Doormats at Entrances
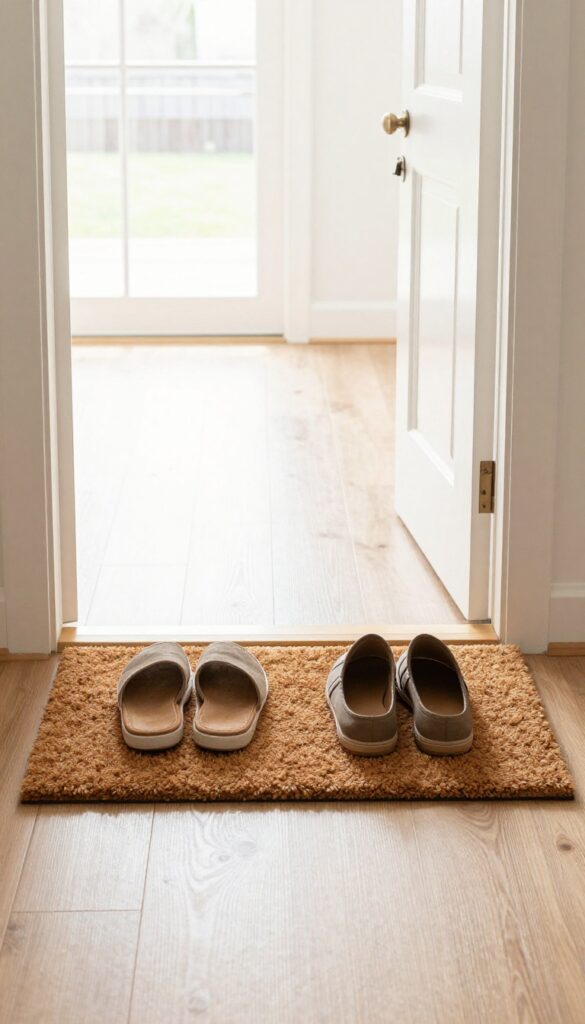
Dirt, sand, and grit are the biggest enemies of laminate flooring. They act like sandpaper, scratching the surface every time you walk across the room. The simplest defense is a good doormat strategy.
A quality doormat traps debris before it ever touches your laminate. Place one outside each entry to catch coarse dirt, and another just inside to absorb any moisture and fine particles that slip through.
Choose The Right Outdoor Mat
Look for a scraper-style mat made of coarse fibers like coir or rubber. These are designed to scrape mud, gravel, and snow off shoes. Shake it out weekly to keep it effective.
Pick A Soft Indoor Mat
Inside, use a fabric or microfiber mat that won't scratch the floor. Avoid mats with rough rubber backing that can stain or damage laminate. Machine-washable mats are ideal for easy maintenance.
Keep Mats Clean
A dirty mat just spreads grime around. Vacuum indoor mats regularly and shake out outdoor mats. Replace them when they become worn or caked with dirt.
10. Remove Shoes Indoors
Your shoes have been everywhere—sidewalks, parking lots, muddy trails. Each step brings in tiny particles of grit and sand that act like sandpaper on your laminate floor's finish. A simple no-shoes policy can dramatically reduce scratches and wear, keeping your floors looking newer for longer.
The Grit Factor
A single walk across a laminate floor with outdoor shoes can grind microscopic abrasives into the surface. Over time, this creates a dull, scratched appearance that no cleaner can fix. The best solution?
Leave shoes at the door. Provide a bench and a shoe rack to make the habit easy for family and guests.
Make It Easy For Guests
Not everyone feels comfortable being asked to remove shoes. Place a friendly sign near the entrance, offer disposable slippers or soft indoor-only socks, and keep a small basket of clean socks for visitors. This turns an awkward request into a welcoming gesture.
Slipper Station Setup
Designate a spot right inside the door for house slippers. Choose slippers with soft, non-marking soles—avoid hard plastic or rubber that can still scratch. Having a dedicated pair for each family member makes it effortless to kick off outdoor shoes and slip into something floor-friendly.
11. Trim Pet Nails Regularly
Our furry friends bring so much joy, but their nails can be a real hazard for laminate floors. Even a quick dash across the room can leave behind tiny scratches that accumulate over time. The fix is simple: keep those nails trimmed short and smooth.
Why Long Nails Are Trouble
When a dog or cat walks, their nails make contact with the floor. Long nails act like little picks, digging into the laminate surface and leaving permanent marks. The damage is often subtle at first, but after months of running and playing, you'll notice a dull, scratched-up finish.
How Often To Trim
Check your pet's nails every two to three weeks. If you hear clicking on the floor, it's time for a trim. Regular maintenance not only protects your floors but also keeps your pet comfortable—overgrown nails can cause pain and joint issues.
Rugs As Extra Protection
Place rugs or runners in the spots your pet uses most, like hallways, near doors, and in front of their favorite couch. This gives them a soft path and reduces the chance of scratches. Bonus: rugs also help catch dirt and fur before they reach the laminate.
12. Use a Spray Mop for Quick Cleans
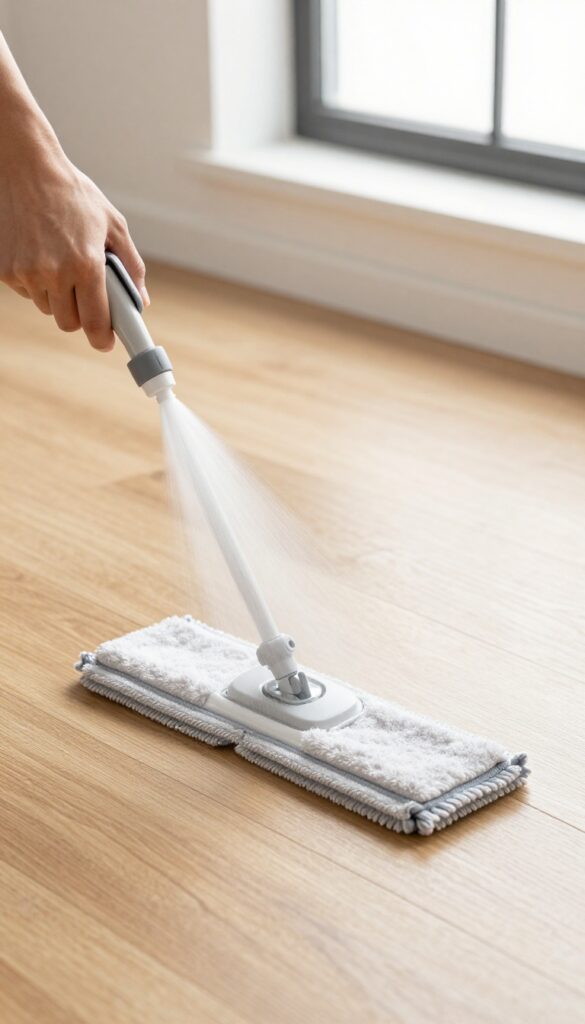
A spray mop is a game-changer for laminate floors. It lets you control exactly how much moisture hits the surface—no more wringing out a sopping wet mop. Just fill the reservoir with a laminate-safe cleaner, mist the floor lightly, and wipe away dirt in seconds.
No bucket, no mess, no risk of over-wetting.
Spray mops are perfect for quick touch-ups between deeper cleans. They keep your floors looking fresh without the hassle of traditional mopping. Plus, they're gentle on the finish when used correctly.
Choose The Right Spray Mop
Not all spray mops are created equal. Look for one with a microfiber pad that traps dirt without scratching. Avoid models that spray too much liquid—a fine mist is all you need.
Some spray mops have a separate trigger for water and cleaner, giving you even more control.
Use A Laminate-safe Solution
Never use harsh chemicals or vinegar on laminate. Fill your spray mop with a pH-neutral cleaner specifically made for laminate floors. You can also use a few drops of dish soap in water, but rinse thoroughly.
Too much soap leaves a residue that attracts dirt.
Mist, Don't Soak
The golden rule: less is more. Spray just enough to dampen the pad, not puddle the floor. Work in small sections, and dry any excess moisture with a clean microfiber cloth.
Standing water is laminate's worst enemy—it can seep into seams and cause swelling.
13. Tackle Sticky Spots with Rubbing Alcohol
Sticky spots from tape residue, spilled juice, or food can be annoying. They attract dirt and make your floor look messy. But you don't need harsh chemicals to remove them.
Rubbing alcohol is a gentle yet effective solution for sticky messes on laminate. It evaporates quickly, so it won't soak into the seams or damage the finish. Just a small amount on a soft cloth does the trick.
Why Rubbing Alcohol Works
Rubbing alcohol breaks down sticky adhesives and sugars without being as aggressive as acetone or bleach. It's safe for laminate's protective layer when used sparingly. Plus, it disinfects the area as you clean.
How To Apply It Safely
Dampen a clean, white cloth with rubbing alcohol—don't soak it. Gently rub the sticky spot in a circular motion. The residue should lift off within a few seconds.
Wipe away any leftover alcohol with a dry cloth.
Always Test First
Before you go all in, test the alcohol on a hidden area, like inside a closet or under furniture. Wait a few minutes to check for any discoloration or dullness. Laminate finishes vary, so this step prevents surprises.
14. Remove Scuff Marks with a Pencil Eraser
Rubber scuffs from shoes often lift off with a clean pencil eraser. It's gentle and effective on most laminate finishes. You don't need harsh chemicals or abrasive pads—just a simple eraser can do the trick.
Scuff marks are one of the most common eyesores on laminate floors, but they're also one of the easiest to fix. A standard pencil eraser (the kind you'd find on the back of a No. 2 pencil) works surprisingly well.
Just rub it gently over the mark until it disappears. This method is safe for most laminate finishes because it's non-abrasive and chemical-free. For stubborn scuffs, you can try a melamine foam eraser (like a Magic Eraser) but test it in an inconspicuous area first, as it can be slightly abrasive.
Why Pencil Erasers Work
Pencil erasers are made of soft rubber that lifts scuff marks through friction without scratching the laminate's wear layer. The eraser's texture grabs the rubber residue from shoes and rolls it off the surface. It's a low-tech solution that's always ready to use.
Step-by-step Technique
Start with a clean floor—dust or sweep first so you're not grinding dirt into the finish. Use a clean, white pencil eraser (colored ones may transfer dye). Rub the scuff mark in a back-and-forth motion, applying light pressure.
The mark should start to fade within a few strokes. Wipe away any eraser crumbs with a dry cloth.
When To Upgrade To A Melamine Eraser
If a pencil eraser doesn't fully remove the scuff, try a melamine foam eraser. Dampen it slightly (wring out excess water) and gently rub the mark. Always test on a hidden area first, as some laminate finishes can be dulled by melamine.
Never use it dry, as that can be too abrasive.
15. Use Baking Soda for Tough Stains
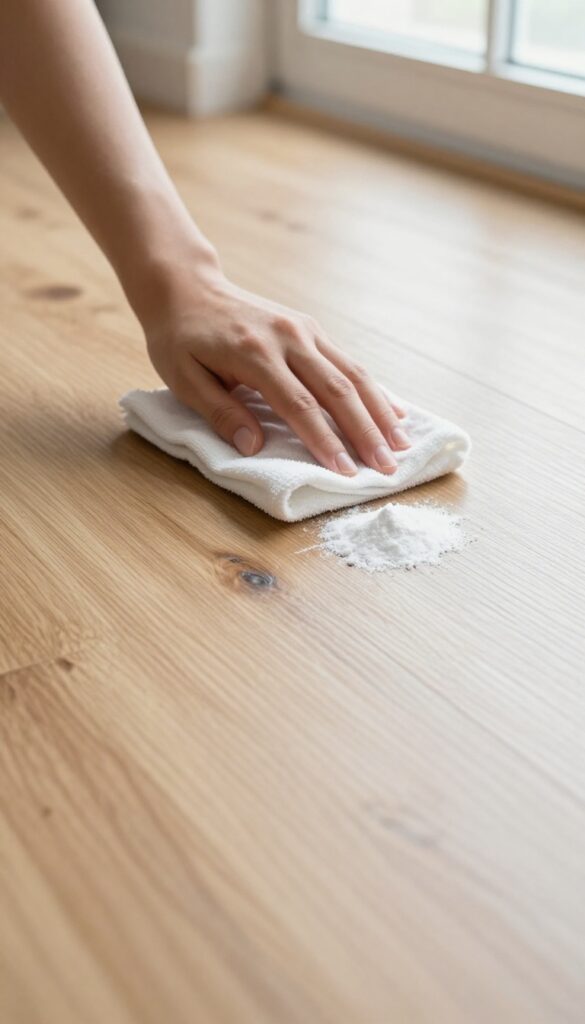
Some stains just won't budge with a damp cloth. That's where baking soda steps in. It's gentle enough for laminate but tough on gunk.
This simple pantry staple can save you from scrubbing too hard or reaching for harsh chemicals.
Baking soda is a mild abrasive that lifts stains without scratching the surface. It works wonders on dried food, grease spots, or mystery marks. The key is to use it as a paste and rinse thoroughly afterward.
Making The Paste
Mix about two tablespoons of baking soda with a teaspoon of water. Stir until it forms a thick, spreadable paste. Add more water drop by drop if needed, but keep it pasty—not runny.
Applying And Rinsing
Scoop a small amount onto a soft cloth or sponge. Gently rub the stain in a circular motion. Don't press hard—let the baking soda do the work.
Once the stain lifts, wipe the area with a damp cloth to remove any residue, then dry with a clean towel.
When To Avoid This Method
Skip baking soda on deep scratches or worn areas where the protective layer is gone. It can get trapped in cracks and cause cloudiness. Also, never let the paste sit for more than a minute—it can dry and become difficult to remove.
16. Avoid Wax or Polish Products
It might seem like a good idea to give your laminate floor that extra shine with a wax or polish. But these products can actually do more harm than good. Laminate comes with a protective wear layer that doesn't need any coating—adding wax or polish can leave a cloudy, sticky film that's tough to remove.
Stick to cleaning methods that respect the floor's built-in finish. A simple damp mop with a laminate-safe cleaner is all you need. If you want more shine, try a microfiber mop or a cleaning solution with a touch of vinegar (diluted properly).
Your floor will look great without the risk of buildup.
Why Wax And Polish Don't Work
Laminate floors are engineered with a tough, clear wear layer that provides protection and shine. Wax and polish are designed for porous surfaces like hardwood or stone. On laminate, they sit on top of the wear layer, creating a dull, hazy residue that attracts dirt and is difficult to remove without harsh chemicals.
The Cloudy Film Problem
Once you apply wax or polish, you might notice a cloudy film that makes the floor look dirty even after cleaning. This film can be sticky, trapping dust and grime. Removing it often requires multiple passes with a specialized cleaner or even a mild solvent, which can be time-consuming and may damage the laminate if not done carefully.
Better Ways To Add Shine
Instead of coating your floor, focus on proper cleaning. Use a laminate floor cleaner or a DIY solution of water and a few drops of dish soap. For extra shine, buff the floor with a dry microfiber cloth after mopping.
Regular sweeping and prompt spill cleanup will keep the floor looking its best without any added products.
17. Dry Floors After Mopping
You might think the job is done once you've mopped, but skipping the drying step can leave your laminate floor looking streaky and dull. Excess moisture that lingers on the surface can also seep into seams over time, causing swelling or warping. A quick dry pass makes all the difference.
After damp mopping, go over the floor with a dry microfiber cloth or mop. This prevents water spots and speeds up drying, keeping your laminate looking clean and shiny without the risk of moisture damage.
Why Drying Matters
Laminate is not waterproof—it's water-resistant at best. Even a small amount of standing water can find its way into the joints and cause the core board to swell. Drying the floor immediately after mopping removes that risk and also eliminates any leftover streaks from the cleaning solution.
The Best Tool For The Job
A dry microfiber mop or cloth works best because it's highly absorbent and won't scratch the surface. Avoid using paper towels—they can leave lint behind. If you're using a flat mop, simply swap the wet pad for a dry one and go over the floor again.
How To Dry Efficiently
Work in sections: mop a small area, then immediately dry it before moving on. This way, no puddle has time to form. For larger rooms, you can use a dry mop with a telescopic handle to cover ground quickly.
If the floor still feels damp after the first pass, use a second dry cloth.
When To Skip Drying
If you're using a microfiber mop that's only slightly damp (almost dry), you might not need to dry afterward. The key is to wring out your mop thoroughly before starting. Test a small corner: if the floor dries within a minute or two with no visible moisture, you're good.
18. Use a Microfiber Cloth for Spot Cleaning
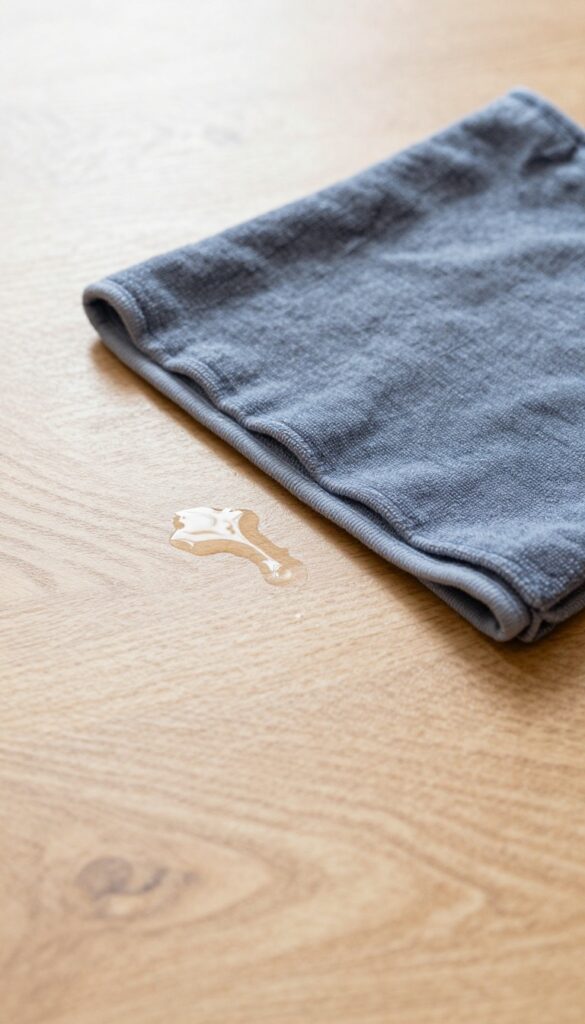
Spills happen, and when they do, you want to grab something that works fast without leaving a mess behind. A microfiber cloth is your best friend for spot cleaning laminate floors. It picks up dirt and liquid effectively, and it won't leave lint or scratches like paper towels or rough rags can.
Keep a stack of microfiber cloths handy in the kitchen and bathroom for quick cleanups. When a spill occurs, dampen the cloth slightly with water or a laminate-safe cleaner, then wipe the area gently. For dried-on spots, let the damp cloth sit on the spot for a few seconds to soften it before wiping.
Always follow up with a dry microfiber cloth to remove any moisture, because standing water can damage laminate over time.
Why Microfiber Works Best
Microfiber has split fibers that create a static charge, which attracts dust and dirt like a magnet. Unlike cotton or paper, it traps particles in the fabric instead of pushing them around. This means you pick up more grime with less effort, and you don't need harsh chemicals to get the job done.
How To Use It For Spot Cleaning
For everyday spots, just dampen the cloth with water and wring it out well. Wipe the spot in a gentle circular motion, then dry the area with a separate dry microfiber cloth. For sticky residues like juice or food, add a drop of mild dish soap to the damp cloth, but rinse and dry thoroughly afterward to avoid soap film.
Caring For Your Microfiber Cloths
To keep them effective, wash microfiber cloths separately from lint-producing fabrics like towels. Use a mild detergent without fabric softener, which clogs the fibers and reduces their cleaning power. Air dry or tumble dry on low heat.
Replace cloths when they start to smell or lose their grip.
19. Clean in the Direction of the Planks
It's a small detail that makes a big difference. When you mop or dust your laminate floors, always move along the length of the planks, not across them. This simple habit keeps dirt from getting trapped in the seams and cuts down on those annoying streaks that show up after cleaning.
Going with the grain is like petting a cat the right way—everything looks smoother and stays cleaner. The same logic applies to your floors. By working parallel to the planks, you're less likely to push debris into the gaps where it can scratch the surface or cause discoloration over time.
Plus, any leftover moisture or cleaning solution will evaporate more evenly, leaving a uniform shine instead of patchy spots.
Why Direction Matters
Laminate floors are designed with a top wear layer that's vulnerable to scratches and moisture. When you mop across the planks, you're essentially forcing water and dirt into the seams, which can cause swelling or warping. Cleaning with the grain minimizes this risk and helps preserve the floor's integrity.
How To Mop The Right Way
Start at one end of the room and work your way toward the exit, moving the mop in long, straight strokes parallel to the planks. Overlap each pass slightly to avoid missing spots. For dust mopping, use a microfiber pad and glide it in the same direction—no back-and-forth scrubbing.
The Streak-free Bonus
Streaks happen when cleaning solution dries unevenly or when you leave behind residue. Cleaning in the direction of the planks allows the liquid to spread and evaporate uniformly, which means fewer streaks and a more consistent shine. It's a simple trick that makes your floors look professionally cleaned.
20. Refresh with a Laminate Floor Restorer
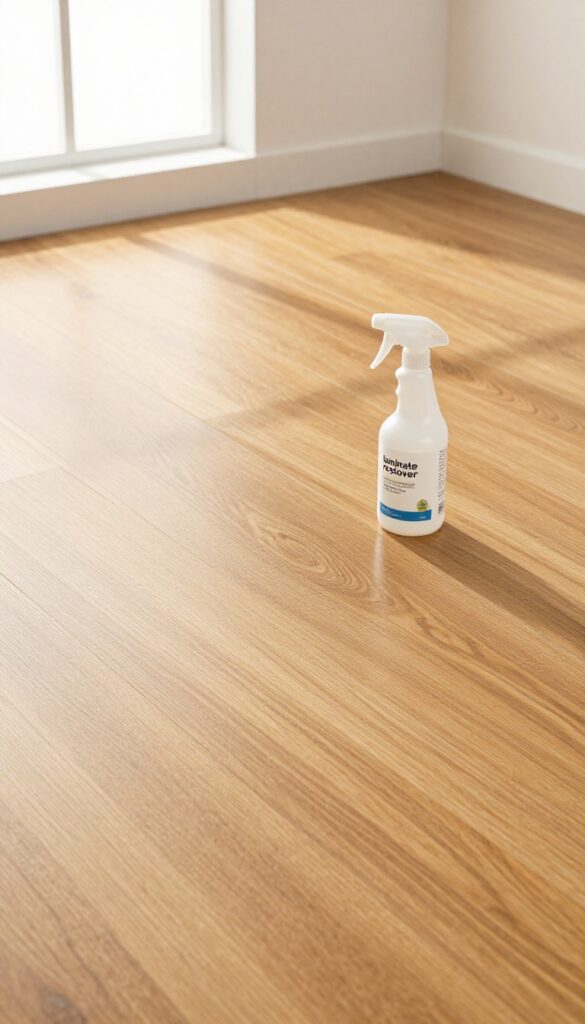
Over time, even the most careful cleaning routine can leave your laminate looking a little tired. Foot traffic, sunlight, and everyday wear slowly steal that original luster. Before you consider replacing the floor, a laminate floor restorer can bring back the glow without a full refinishing job.
Laminate floor restorers are specially formulated to fill in micro-scratches and add a protective layer that revives shine. They're not the same as wax or polish, which can leave a hazy buildup. A good restorer works with the existing finish, not against it.
Use it sparingly—a little goes a long way. Apply a thin, even layer with a microfiber mop, let it dry completely, then buff lightly for a smooth, renewed surface. This simple step can extend the life of your floor and keep it looking fresh for years.
Choosing The Right Restorer
Not all restorers are created equal. Look for one labeled specifically for laminate floors, not hardwood or tile. Check the ingredients—avoid products with silicone or oils that can attract dirt.
A water-based formula is usually safest. Read reviews to see how it holds up on your type of laminate. Test in an inconspicuous spot first to ensure compatibility.
Application Tips For Best Results
Clean the floor thoroughly before applying restorer—any dust or residue will get sealed in. Use a microfiber mop with a spray bottle to apply a thin, even coat. Work in small sections, overlapping slightly.
Let it dry for the time recommended on the label, usually 30-60 minutes. Then buff with a clean, dry microfiber cloth to bring out the shine. Avoid walking on the floor until it's fully cured.
How Often To Restore
Laminate restorers aren't for everyday use. Depending on traffic, once every 6-12 months is plenty. Overuse can lead to buildup that dulls the floor and makes it slippery.
If you notice the shine fading again after a few months, it's time for another thin coat. But if you see peeling or bubbling, stop—that means the restorer isn't compatible or the floor needs professional attention.
21. Avoid Abrasive Scrubbers
Steel wool, scouring pads, and stiff brushes might seem like the quickest way to tackle stubborn grime, but they're actually a fast track to scratching your laminate's finish. Those tiny scratches catch dirt and light, making the floor look dull and worn over time. The solution is simple: stick with soft cloths, microfiber mops, and gentle sponges that clean without damage.
When you reach for a cleaning tool, think soft. Microfiber cloths are ideal because they trap dust and dirt without scratching. For sticky spots, let a damp cloth sit on the spot for a minute to loosen the mess, then wipe gently.
If you need a bit more scrubbing power, use a soft-bristled brush—like a toothbrush—for tight corners or grout lines, but never press hard. And always test a small, hidden area first to make sure your tool won't leave marks.
Why Soft Tools Win
Laminate's top layer is a durable but thin wear layer. Abrasive scrubbers can gouge it, exposing the core to moisture and dirt. Soft cloths and sponges preserve that protective layer, keeping your floor looking new longer.
Plus, they're gentler on your hands and easier to rinse clean.
What To Grab Instead
Keep a stash of microfiber cloths, a soft sponge (non-scratch), and a lambswool duster handy. For mopping, use a microfiber flat mop with a removable head that you can wash. Avoid cellulose sponges with a rough scrub pad on one side—they're too harsh.
If you need to dislodge dried-on food or dirt, let a damp cloth sit on the spot for 30 seconds, then wipe.
When You're Tempted To Scrub Hard
Sometimes a spill or scuff mark seems impossible to remove without force. Instead, try a gentle cleaner like a mix of water and a few drops of dish soap. Apply it to a soft cloth, not directly on the floor, and rub in a circular motion with light pressure.
If that doesn't work, repeat or use a specialized laminate cleaner. Never resort to steel wool or abrasive pads—they'll do more harm than good.
22. Test Cleaners in a Hidden Spot
You've probably heard that some cleaners can damage laminate, but it's hard to know which ones are safe just by reading labels. That's why a quick test in an unseen area is worth the extra minute. It's a simple habit that can save you from permanent discoloration or a dull finish.
Before you use any new cleaner—even one labeled 'safe for laminate'—apply a small amount to a hidden spot like inside a closet or under a piece of furniture. Wait a few minutes, then wipe it off and inspect the area once it's dry. Look for any change in color, cloudiness, or residue.
If the spot looks exactly like the surrounding floor, you're good to go. If not, you've just avoided a costly mistake.
Why Hidden Spots Matter
Laminate finishes can react unpredictably with certain chemicals, especially those with high pH or abrasives. Even natural cleaners like vinegar can dull the protective layer over time. Testing in a hidden spot gives you a real-world check without risking a visible area.
How To Test Properly
Dampen a soft cloth with the cleaner and rub a small patch (about the size of a quarter) on the floor. Let it sit for 3–5 minutes, then wipe dry with a clean cloth. Wait at least 30 minutes to see the final result.
Check in good light for any sheen change or residue.
What To Look For
After the test area dries, compare it to the surrounding floor. Signs of damage include a whitish haze, a darker spot, or a sticky film. If the finish looks uneven or dull, don't use that cleaner on the rest of your floor.
23. Schedule a Deep Clean Seasonally
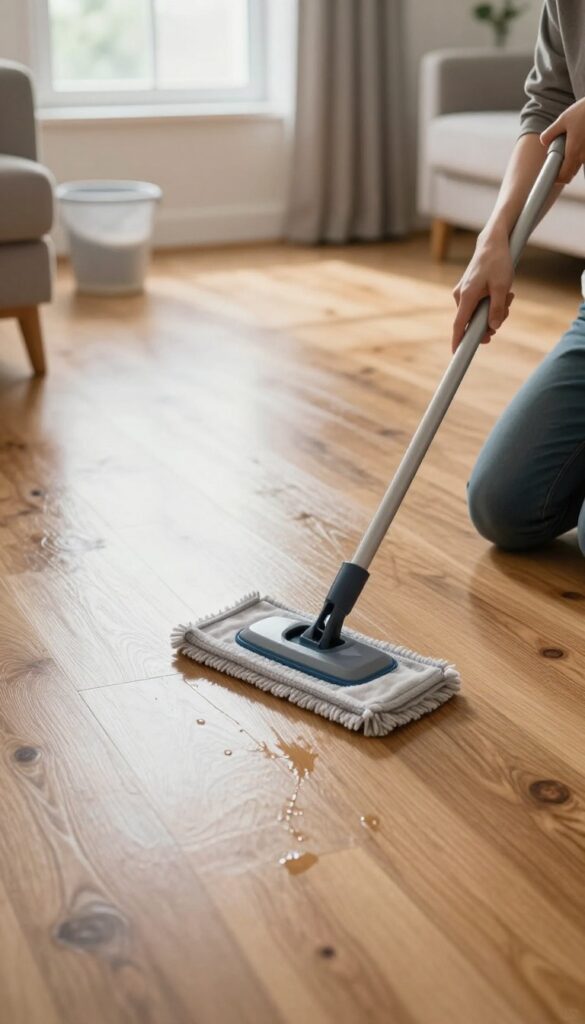
Even with the best weekly routine, laminate floors can still collect grime in corners and under furniture. A seasonal deep clean resets the surface, removing buildup that regular mopping misses. Think of it as a refresh for your floors—like spring cleaning, but for every season.
A seasonal deep clean doesn't mean scrubbing for hours. It's a systematic approach: start with a thorough dusting or vacuuming to lift all loose dirt. Then use a barely damp microfiber mop with a laminate-safe cleaner, working in small sections.
Finally, spot-treat any stains or sticky spots with a gentle solution. This three-step process keeps your floors looking fresh without over-wetting or damaging the finish.
Prep Work: Dust And Vacuum First
Before any liquid touches the floor, remove all surface debris. Use a soft-bristle vacuum attachment or a dry microfiber mop to capture dust from baseboards, corners, and under furniture. Skipping this step can turn dirt into a gritty paste that scratches the laminate during mopping.
The Right Damp Mop Technique
Fill a bucket with warm water and a few drops of laminate floor cleaner—never use vinegar, bleach, or steam mops. Wring the mop until it's almost dry; it should feel damp, not wet. Mop in the direction of the planks to avoid streaks, and rinse the mop head frequently.
Let the floor air-dry completely before walking on it.
Spot Treating Stubborn Marks
For dried-on food, ink, or scuff marks, make a paste of baking soda and water. Apply it to the stain, let it sit for a few minutes, then gently rub with a soft cloth. Rinse with a barely damp cloth and dry immediately.
Avoid abrasive pads or brushes—they'll dull the finish.
FAQ
Can I use vinegar on laminate floors?
Yes, but only in a very diluted solution—about 1/4 cup per gallon of water. Too much vinegar can dull the finish over time.
Is it safe to use a steam mop on laminate?
No, steam mops force moisture into the seams, which can cause swelling and warping. Stick to damp mopping.
How often should I clean laminate floors?
Sweep or dust daily to remove grit. Damp mop once a week or as needed. Deep clean seasonally.
What is the best mop for laminate floors?
A microfiber flat mop with a spray function is ideal. It allows you to control moisture and is gentle on the surface.
Can I use bleach on laminate floors?
No, bleach can discolor and damage the protective layer. Use a mild pH-neutral cleaner instead.
Conclusion
You don't need a cabinet full of specialty products to keep laminate floors looking their best. These 23 tips focus on gentle, everyday habits that protect the finish and prevent dull buildup without harsh chemicals or expensive gear. Start with the simplest changes—like dusting daily and using a barely-damp mop—then add deeper care as needed.
Your floors will reward you with a lasting shine that feels effortless. Pick two or three tips to try this week and watch the difference.